hamilton photographer - full service studio
about
blog
Find me ON
already a client?
login here
galleries
info
contact
hamilton photographer - full service studio
Find me ON
already a client?
login here
about
blog
galleries
info
contact
hamilton photographer - full service studio
Find me ON
already a client?
login here
about
blog
galleries
info
contact
the blog
Aylah’s Circus Party
January 10, 2020
Well, it’s finally here. The much anticipated “birthday party post”. This past November Aylah celebrated her SEVENTH birthday (I’m not crying, you’re crying). This theme was SO much fun to do. It was sort of a circus/carnival hybrid. I wanted the big top and the wild animals from a circus, but I wanted the games and food from a carnival. But what was most important was … NO CLOWNS!! Lol
As usual I will be selling some of the decor items and all of the games from this party. All available items will be listed at the bottom of this post and updated as they sell.

These invitations were made using my Cricut and the design was all from my head. I knew I wanted a tent that opened up so I made two tent cuts and sliced one down the middle. I was worried that the sides wouldn’t stay stuck together so I gently scored the fold lines so there wasn’t extra stress being put on the part that is glued.

The decor for this party was so fun to do!! I don’t usually care for bold and vibrant colours in my everyday decor so this type of event gives me an outlet to use colours I wouldn’t normally like. And then when it’s all over I’m equally happy to take it all down and go back to my boring neutral home, lol.

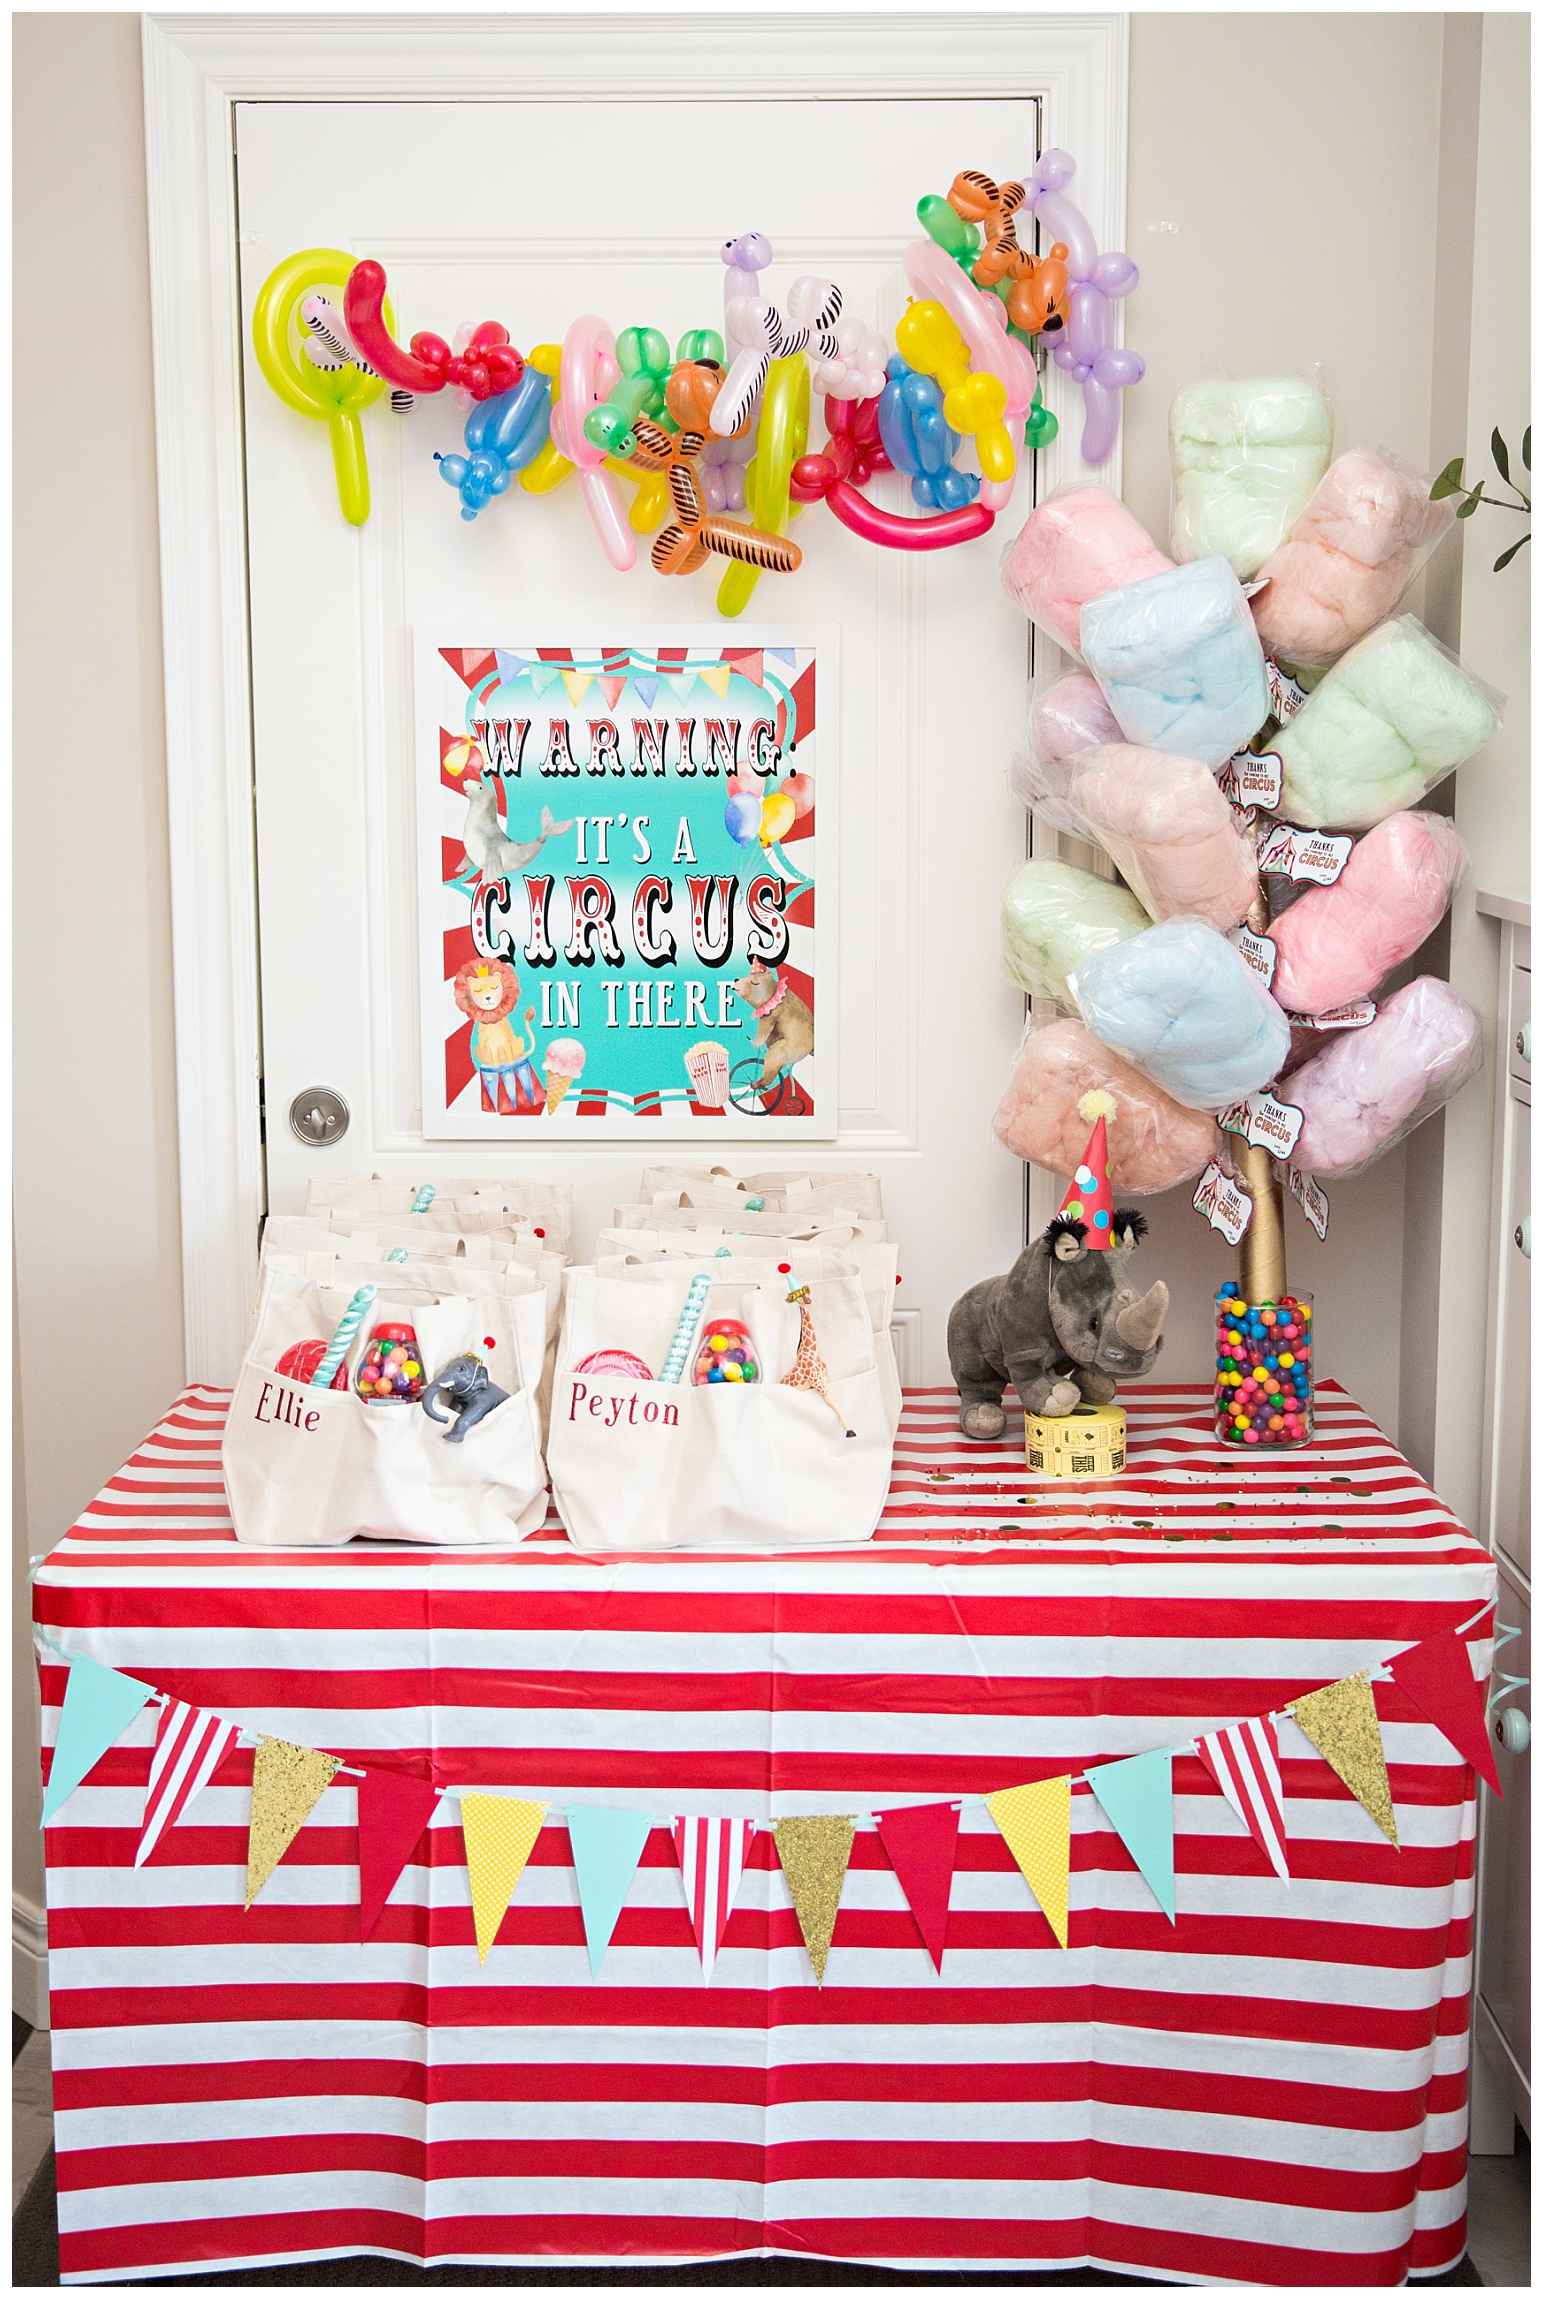
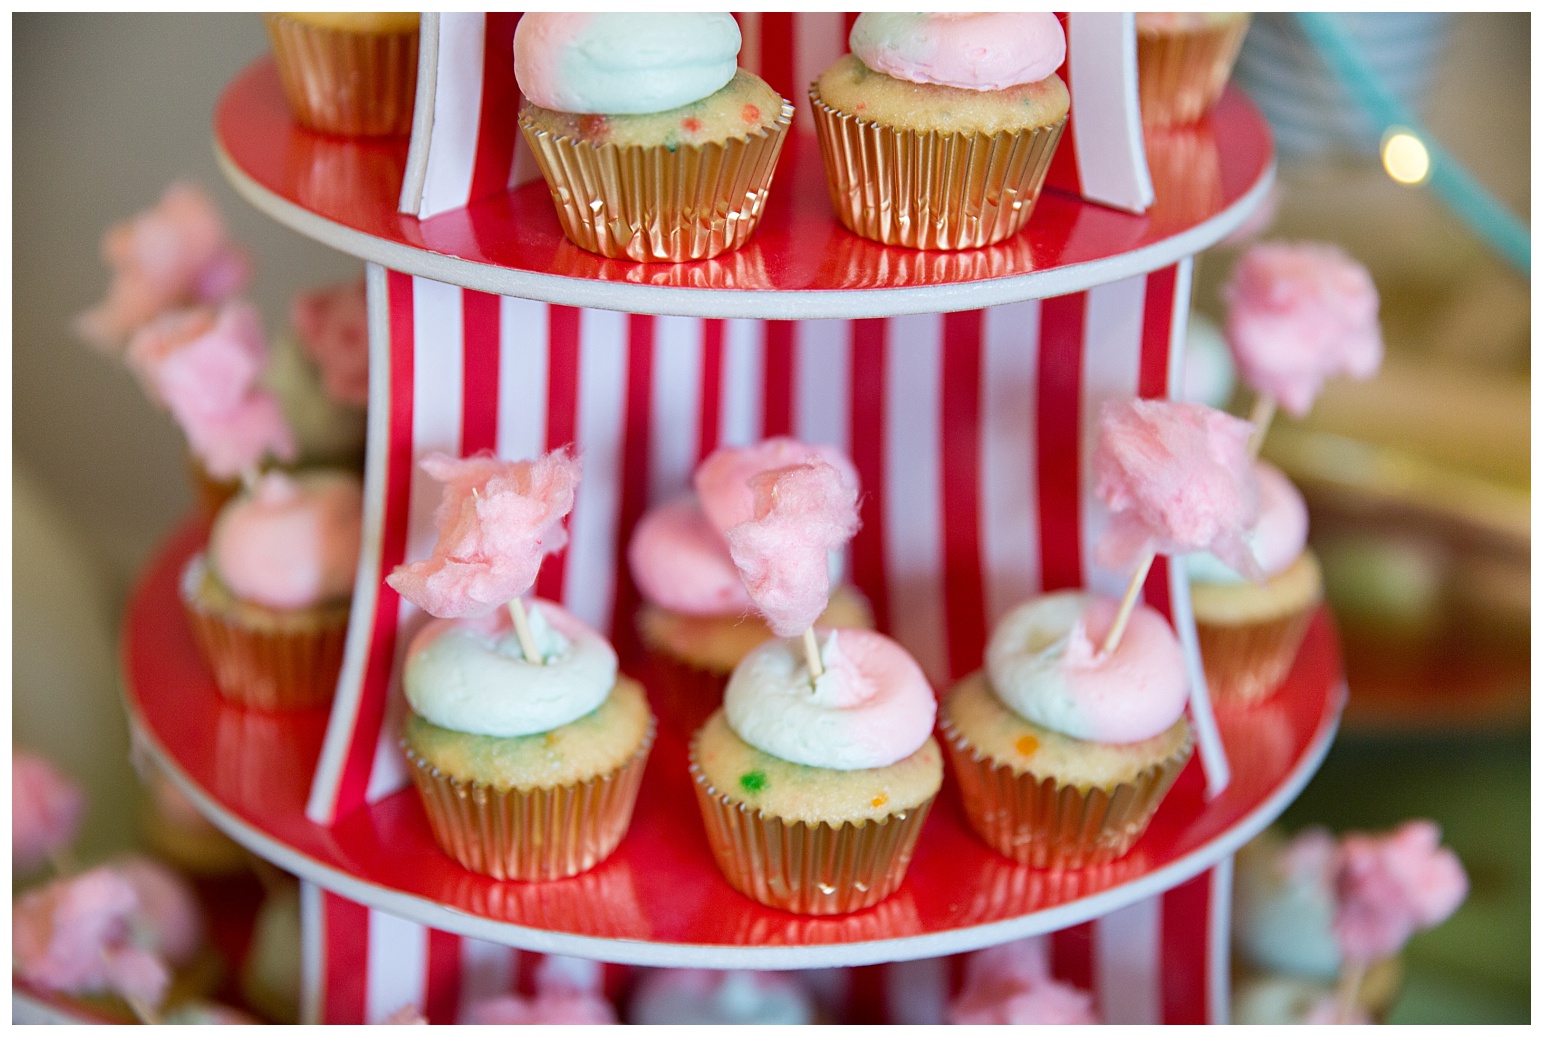
The delicious cotton candy was from Sugar Clouds. I have used them before for other events and their product is great and the price is the lowest I’ve seen, not to mention they will deliver it right to your door for a very reasonable fee. I would highly recommend.
The thank you tags were handmade by me.

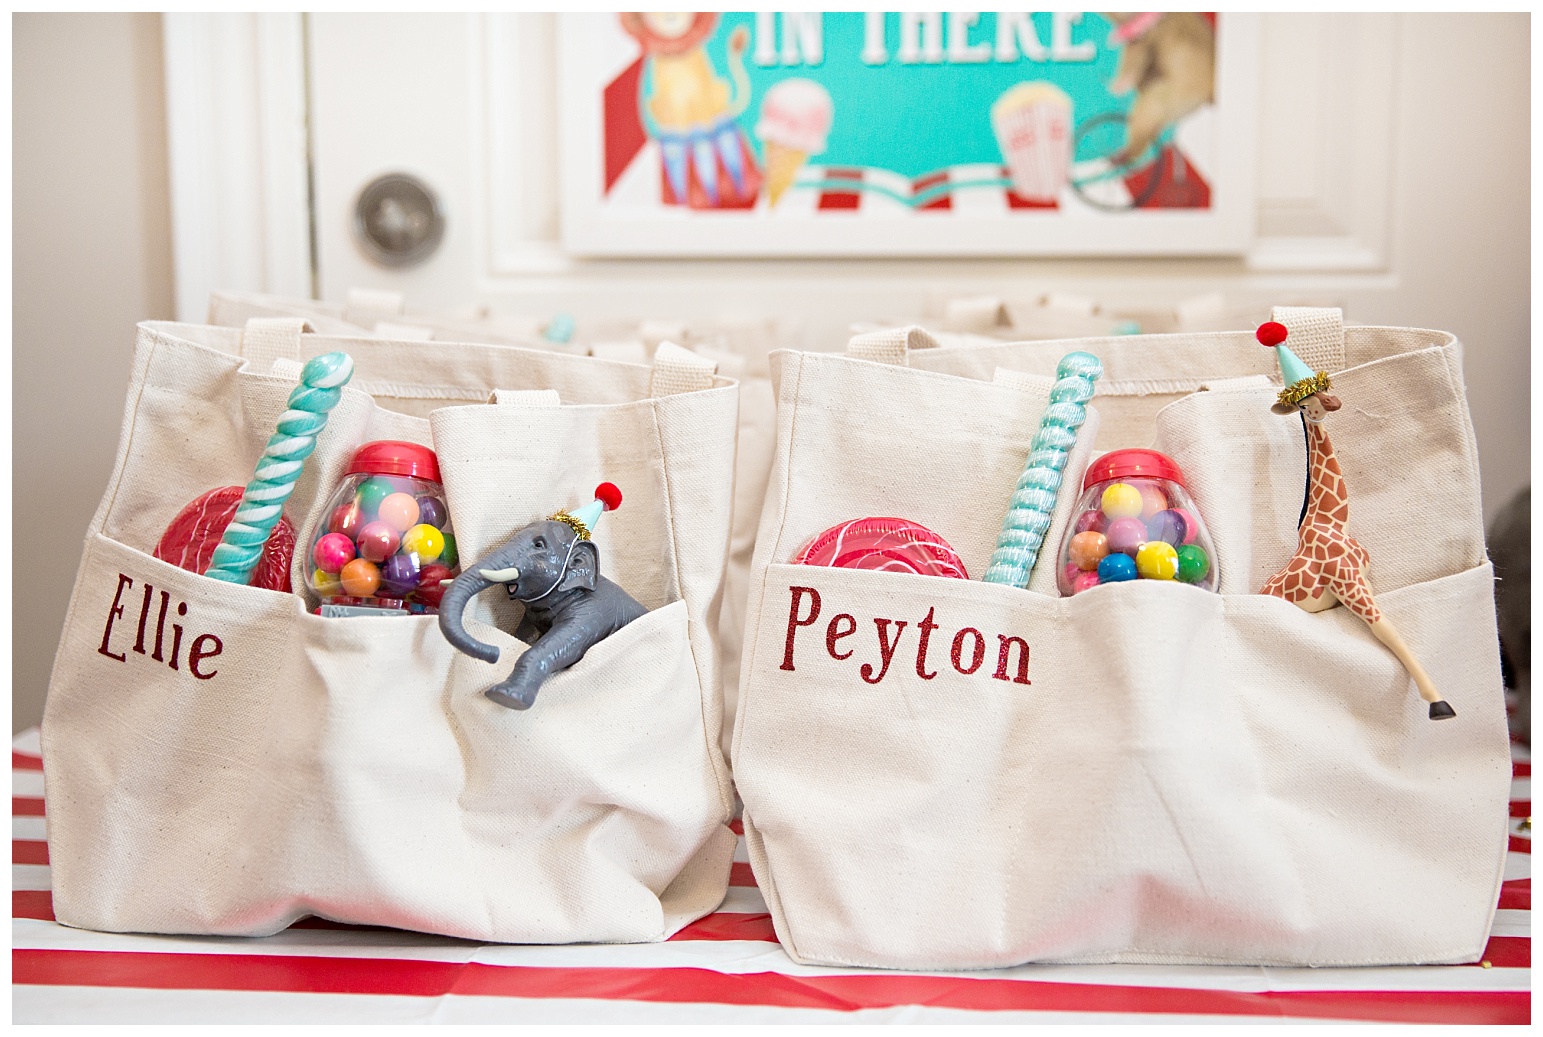
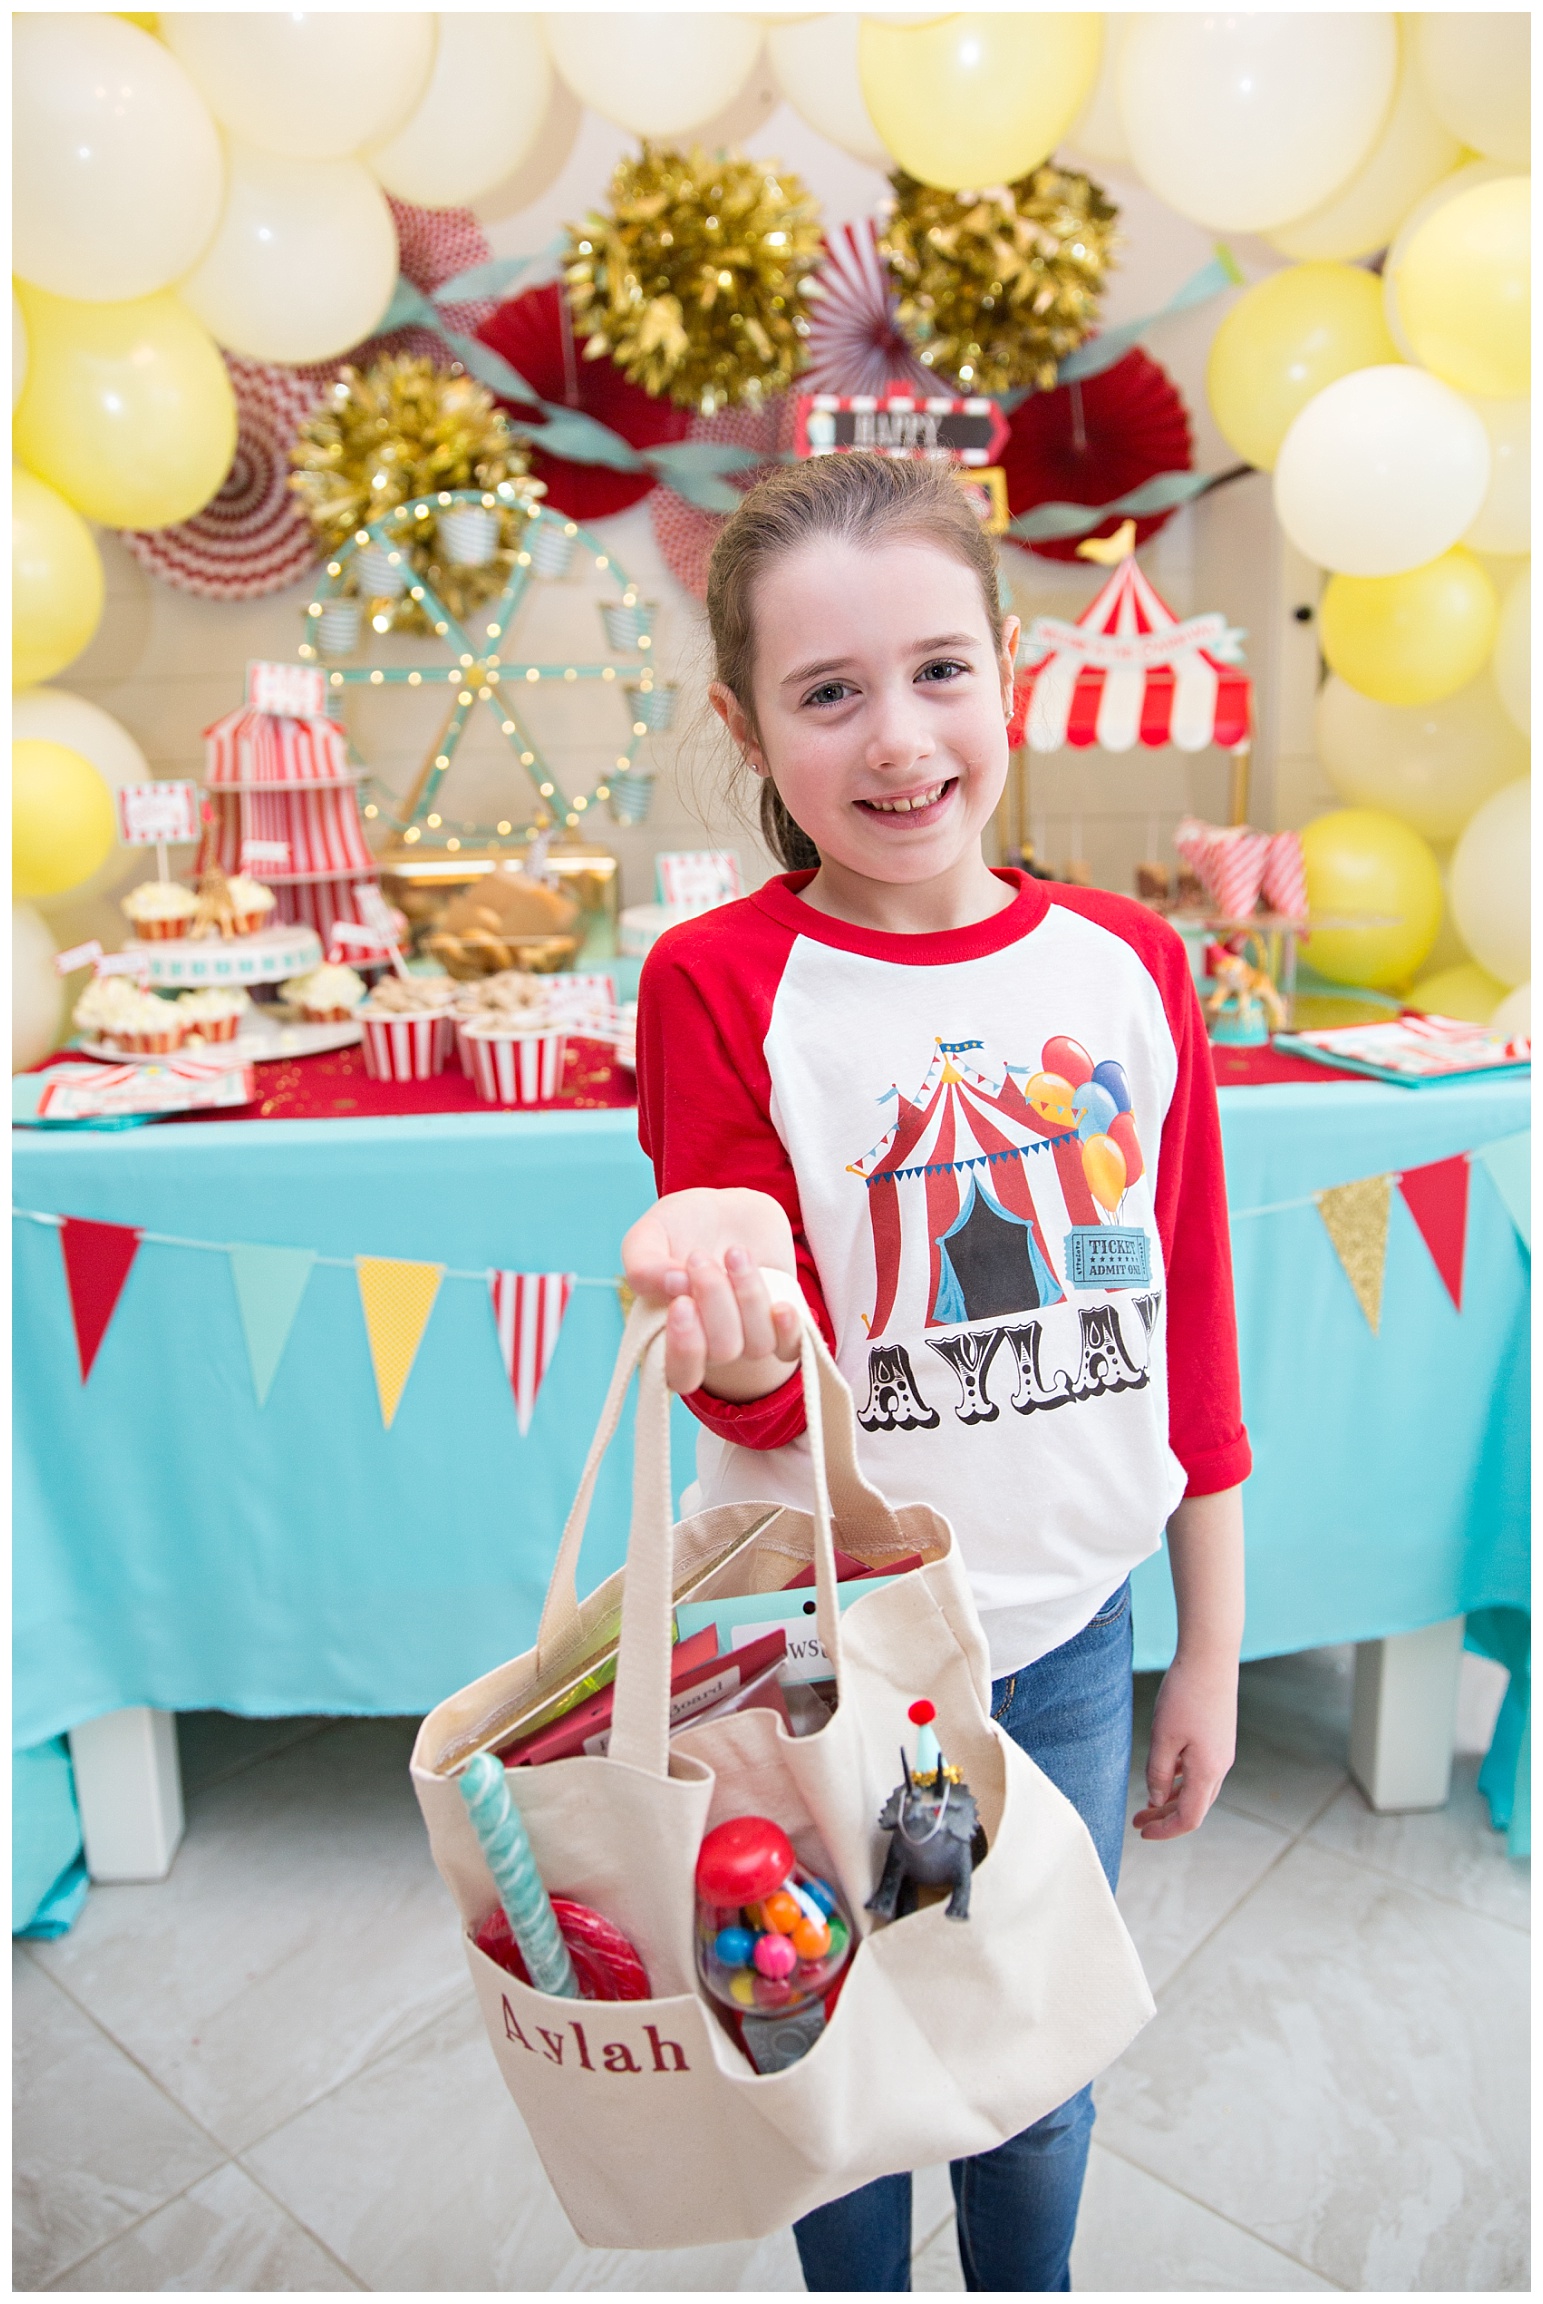
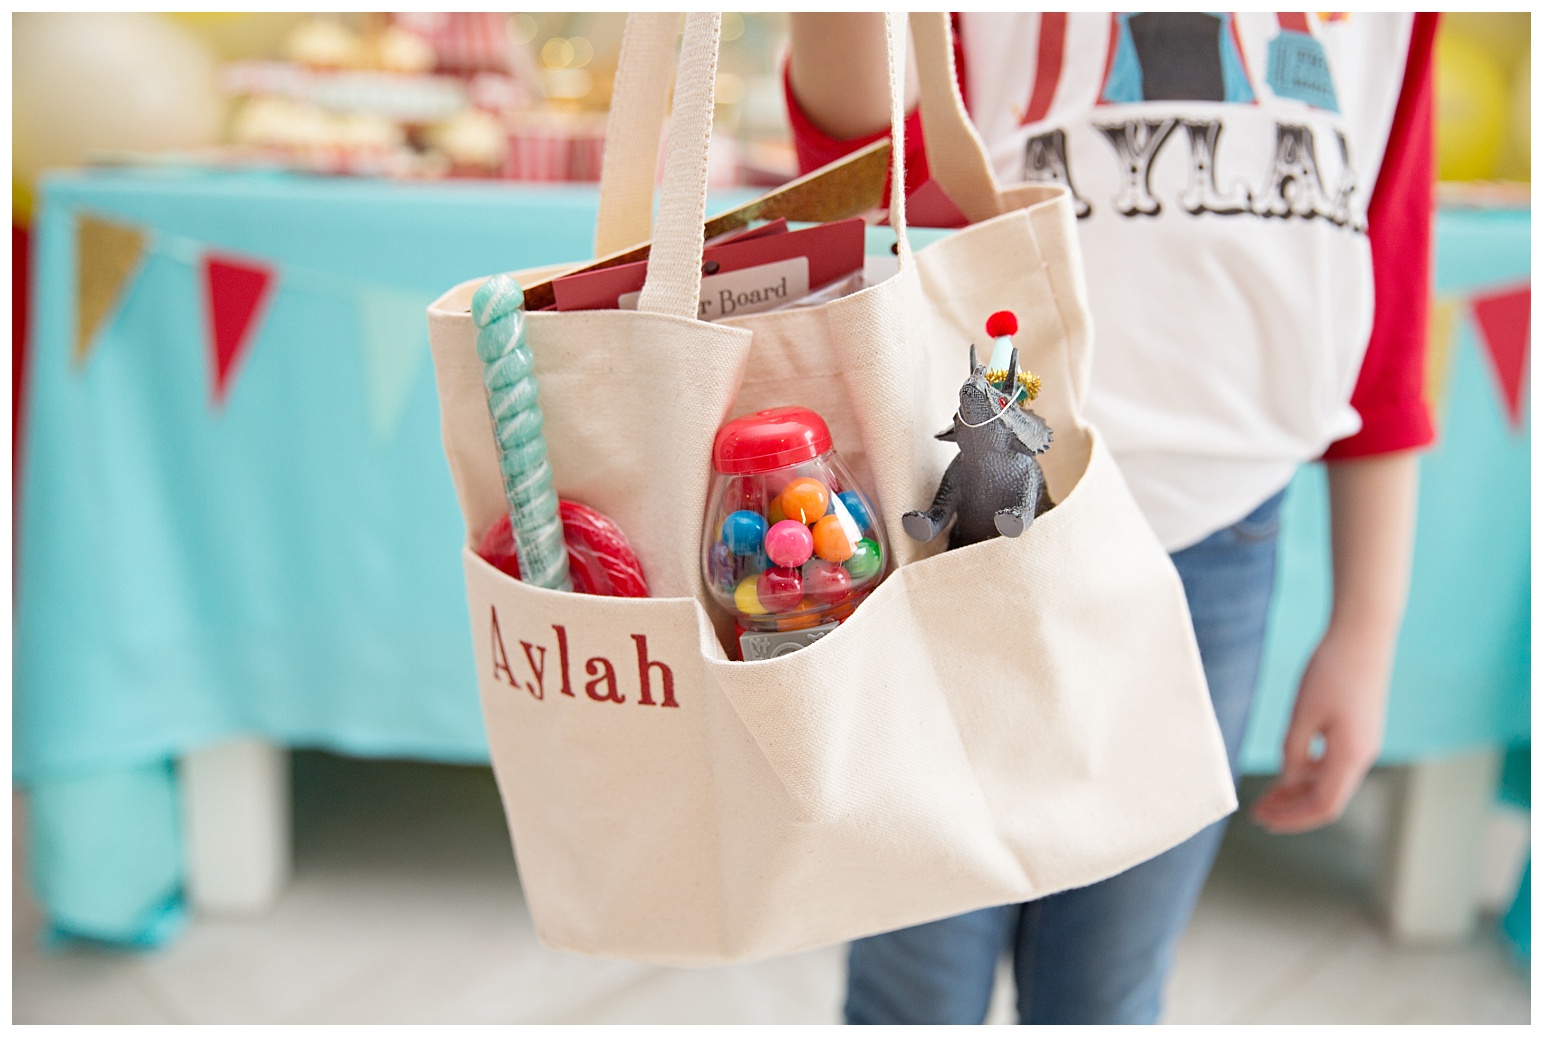
These loot bags are from Hobby Lobby and I used my Cricut to put the kids’ names on them. The front pockets contained some cute favours, while the bag itself was intended to hold the prizes that the kids won while playing the carnival games.
Gourmet lolly pops – Party City
Mini gumball machines – Wedding Star
Animal figurines – Amazon

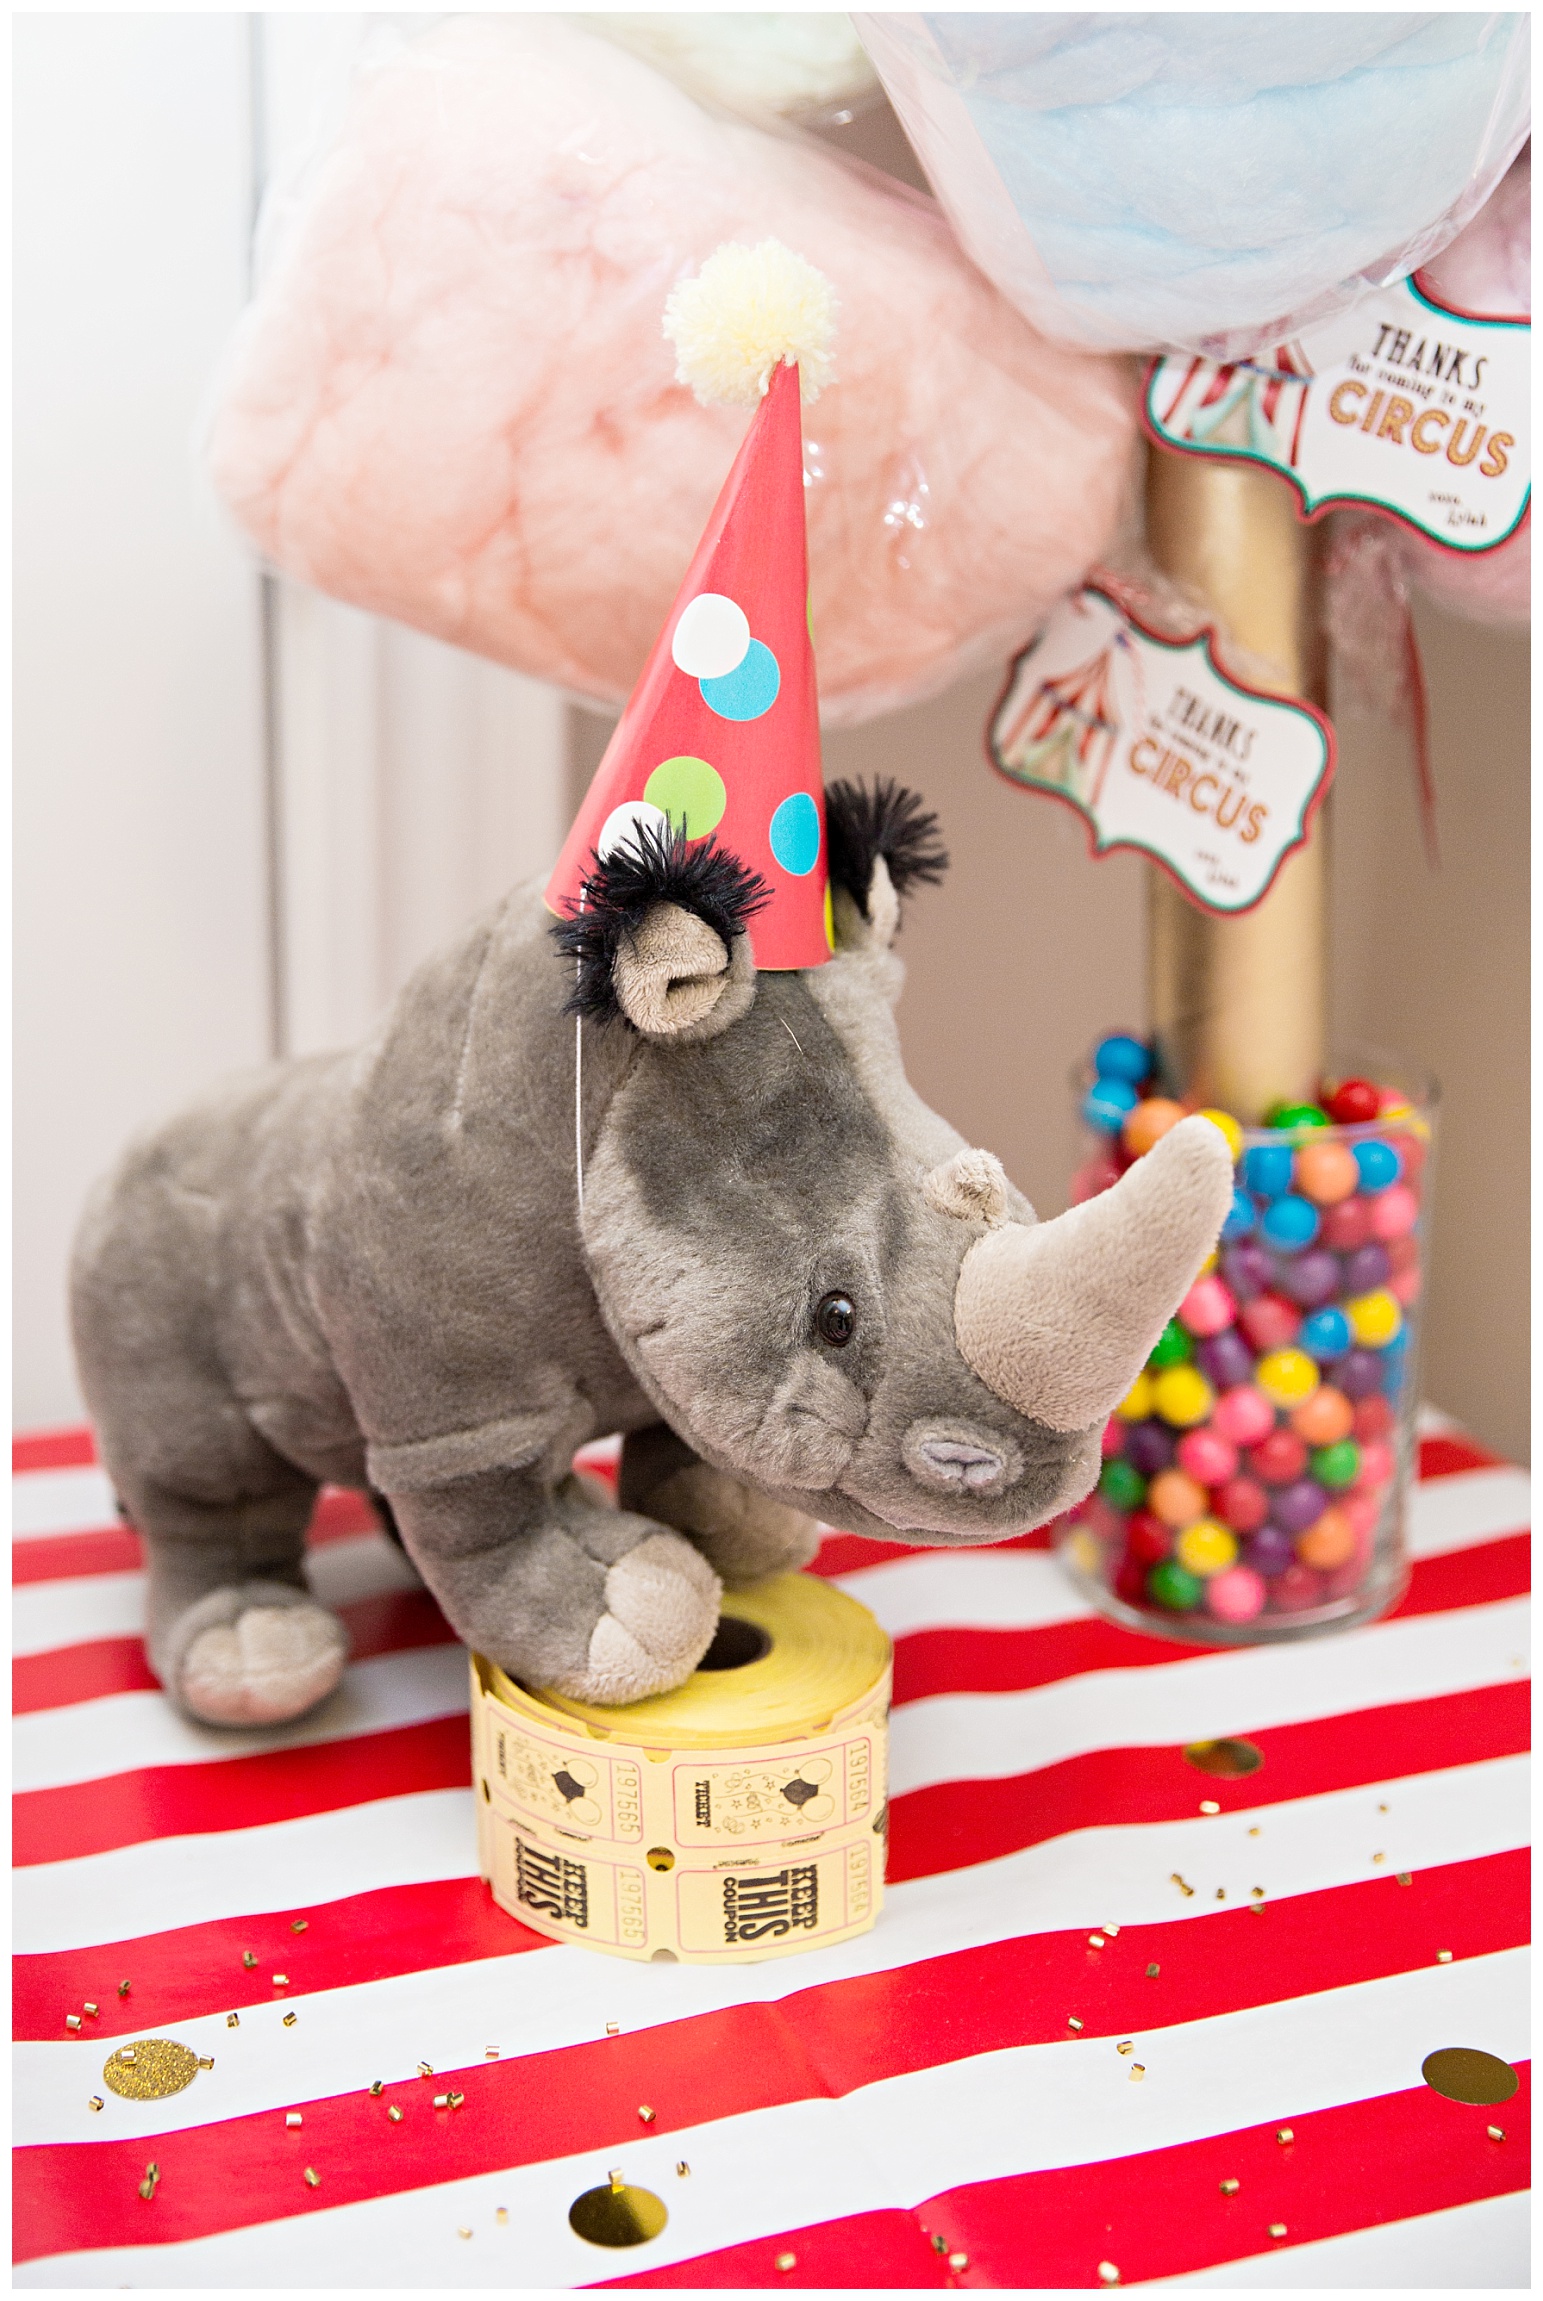
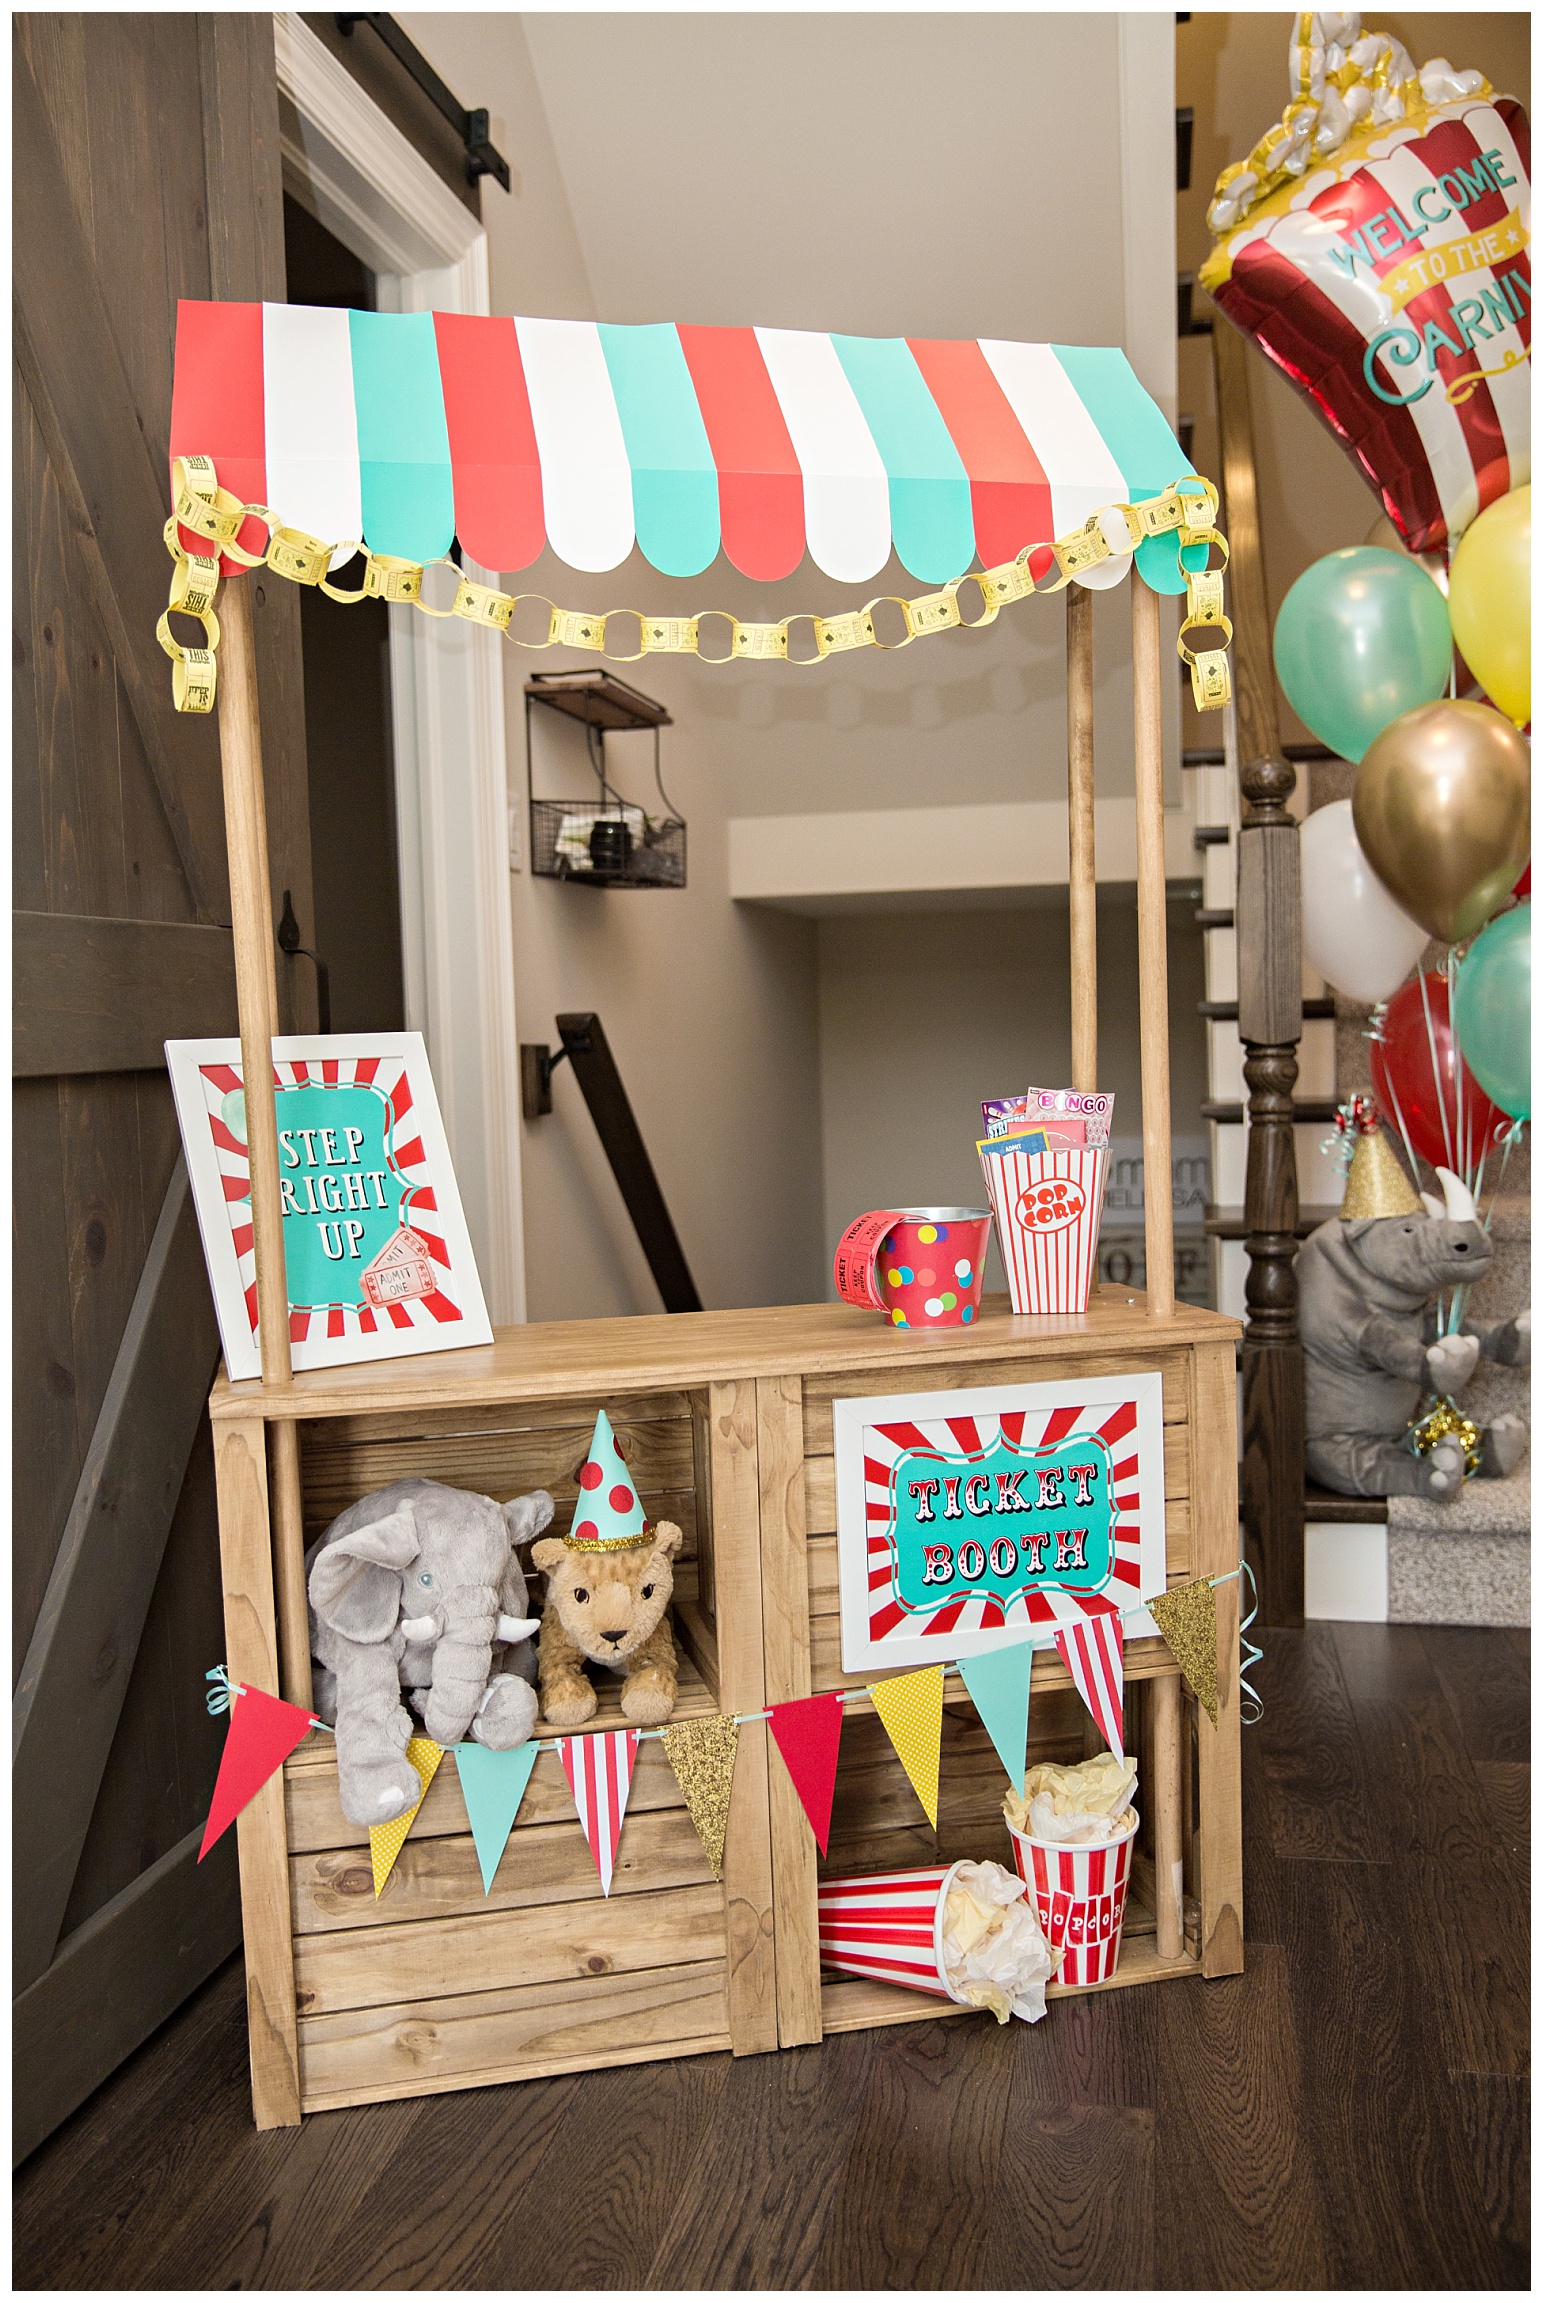
Some of you may recognize this wooden ticket booth as the lemonade stand I made for Aylah back in the summer. I just made a new awning and bunting banners in the appropriate colours, switched out the signage and bam, carnival ticket booth.
We even put together a little raffle basket for the grown ups including some scratch tickets and small gift cards.
Let’s be honest, no adult truly enjoys a kid’s birthday party so I always try to include a little something for the grown ups to get excited about.

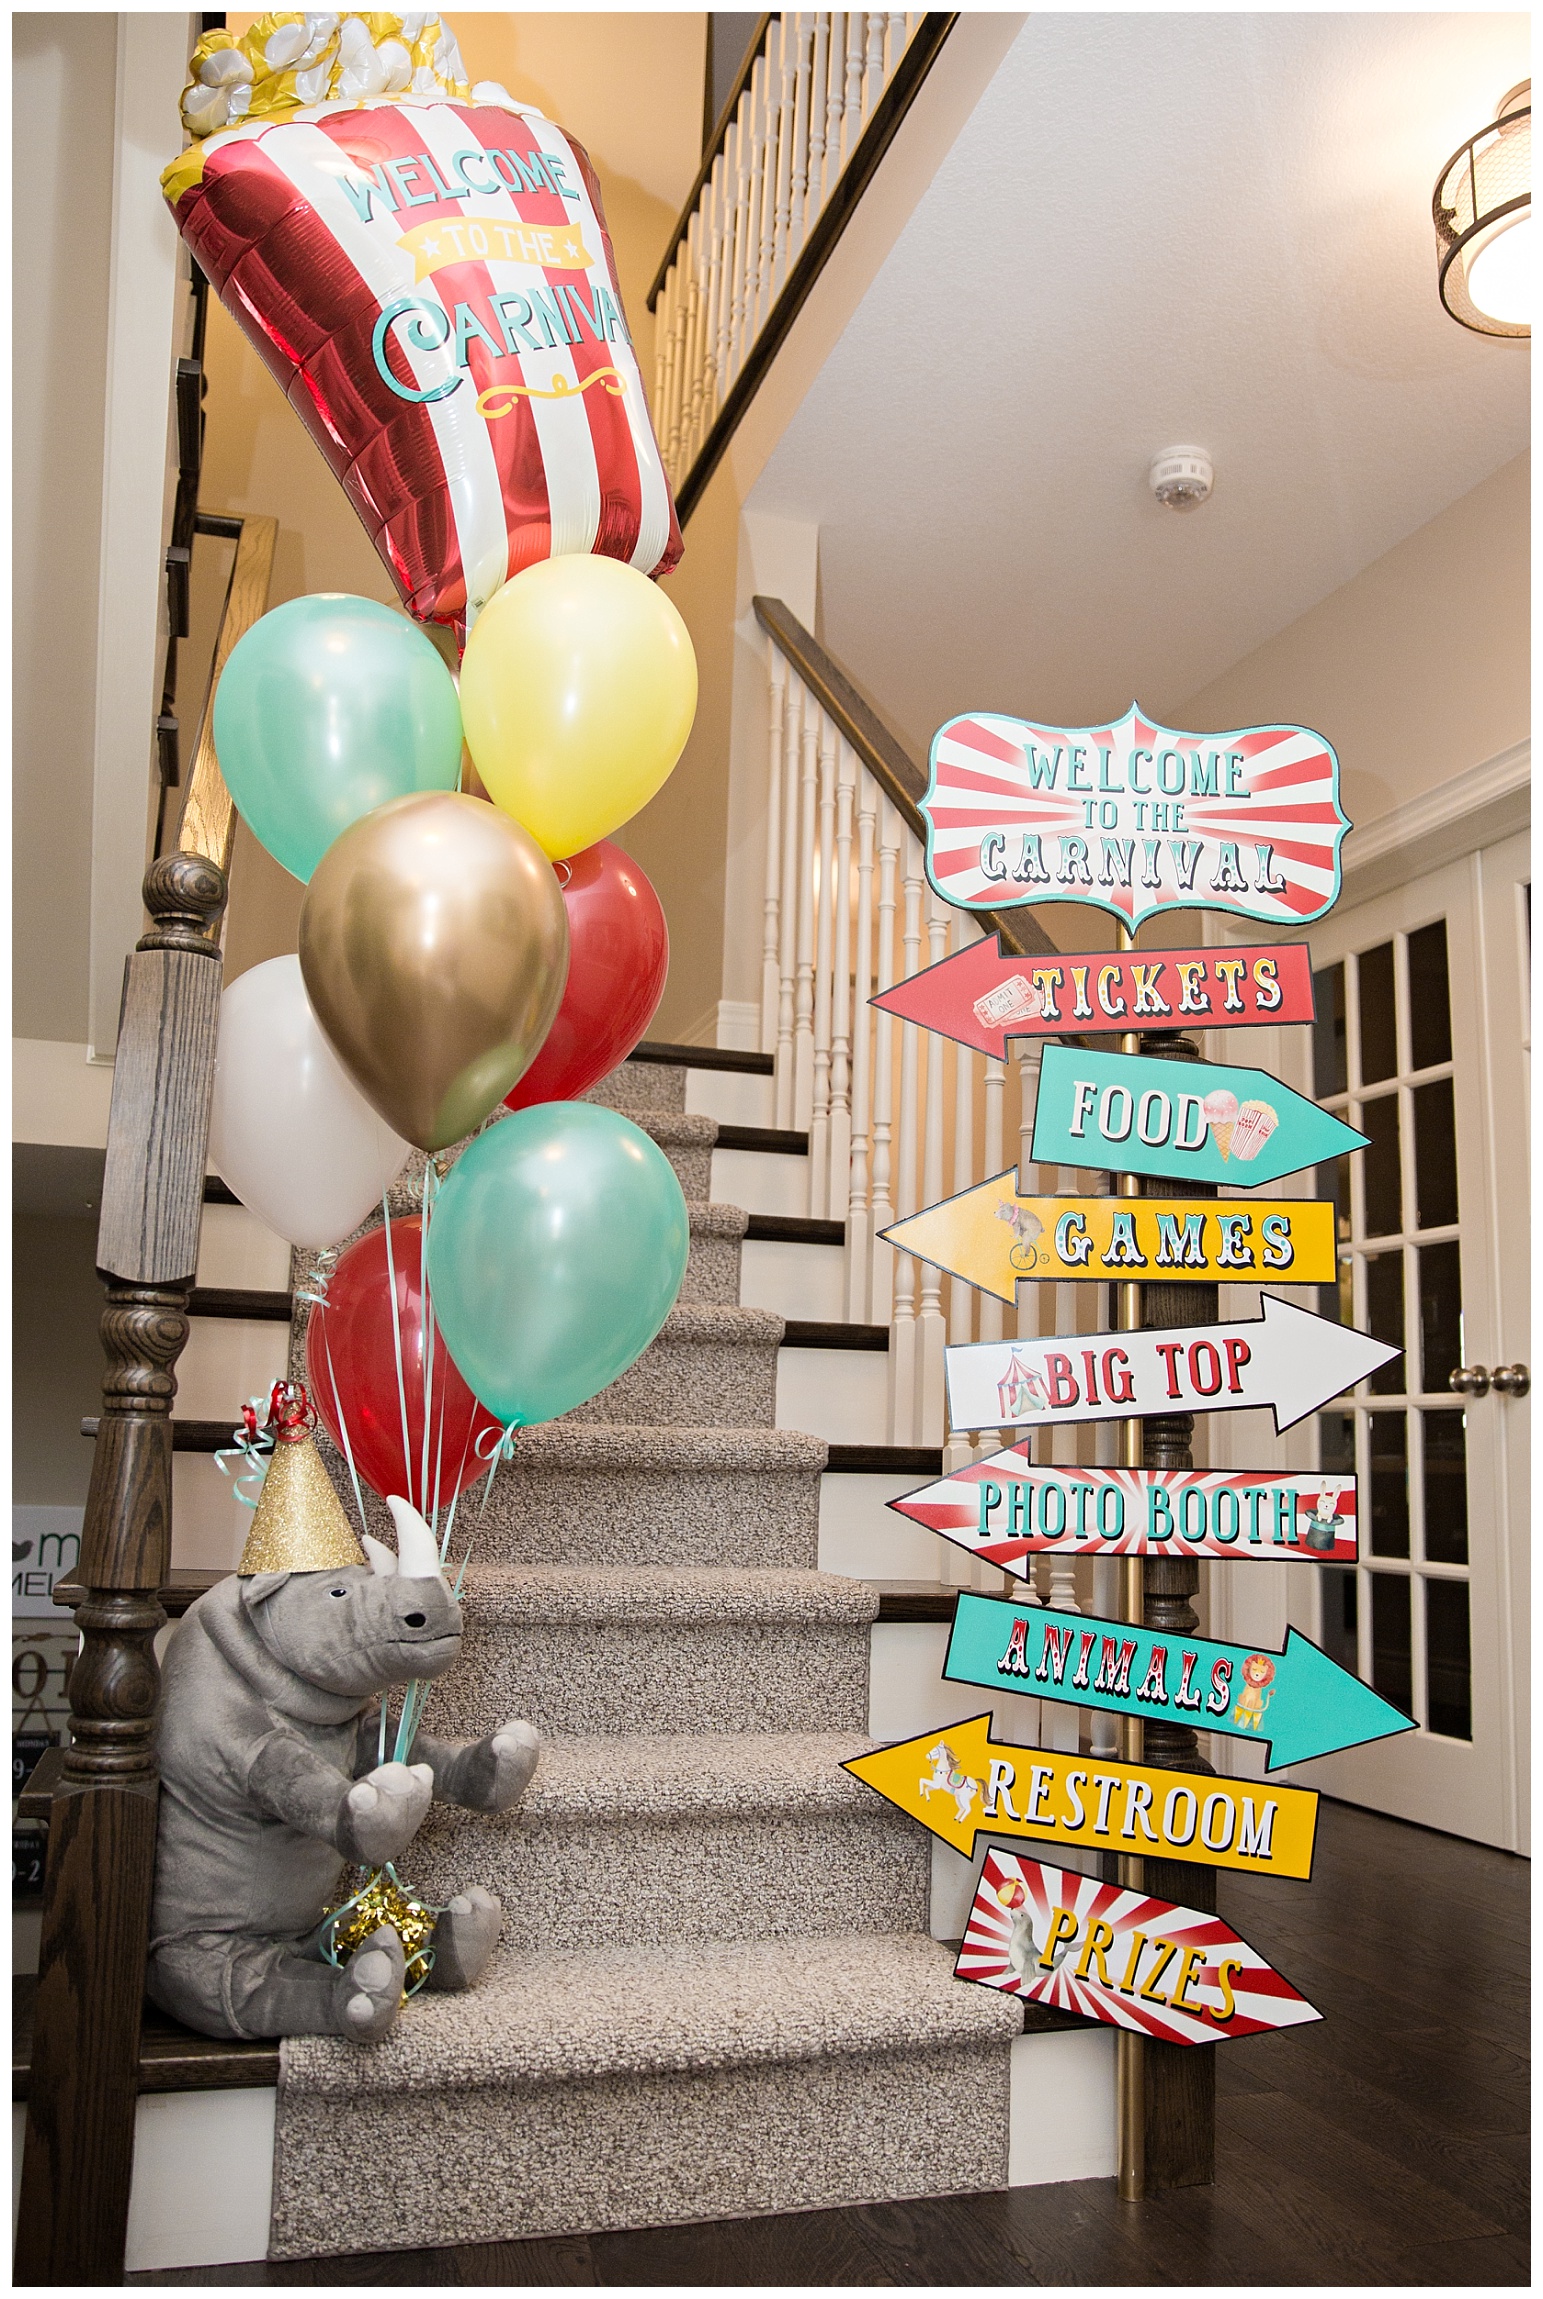
This arrow post was a bit of a pain to make, but I’m so so happy with how it turned out! I had the images professionally printed through my lab and then I cut them all out and mounted them on foam board. The pole is just a piece of pvc pipe spray painted gold and the arrows are hot glued to the pipe.
The watercolour clipart used on all of the signage for the party is from Etsy.

And that concludes the tour of the front hall … now we move into the living area where the real magic is …

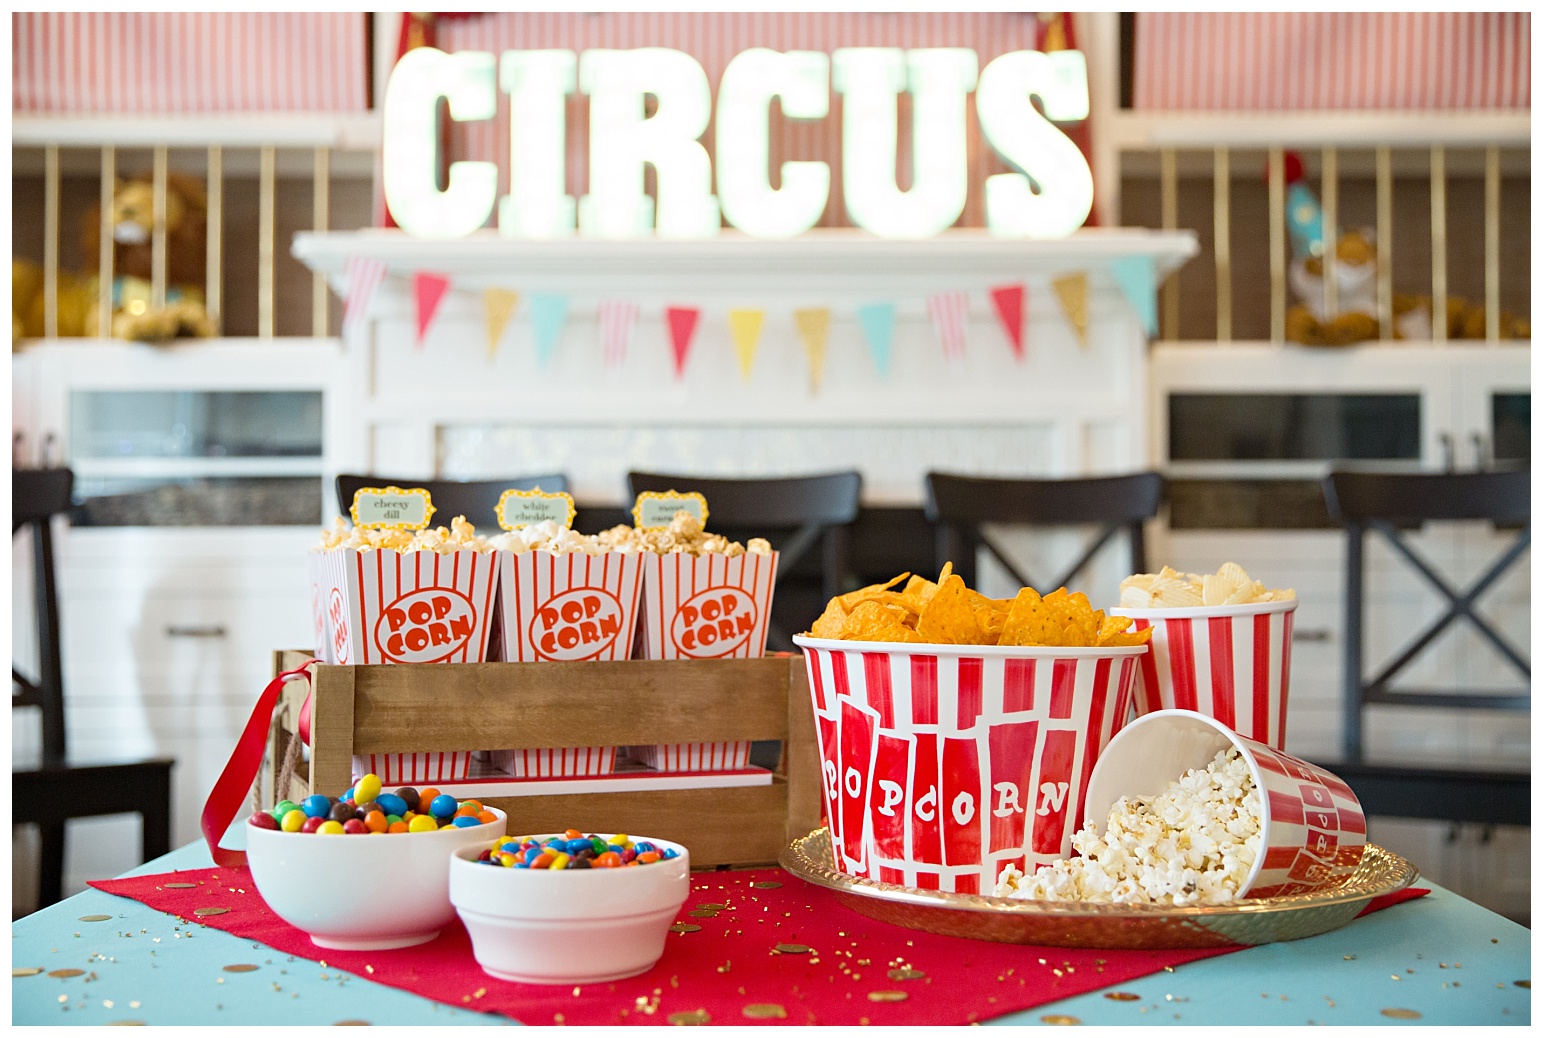
First let’s talk about the marquee letters. What a statement piece!!
I tried to source some letters. They were expensive. Like really expensive. And I would have needed approx. one million batteries, lol. So then I thought what any normal crazy person would think … I CAN MAKE THAT!!
These were tricky, I’m not gonna lie, but here’s how I did it.
The letters themselves are thin wood letters from Hobby Lobby, which was a good place to start, but I needed more depth to make them look like true marquee letters. The sides are made from craft foam cut into strips and hot glued all along the edges of the wood letters. I drilled holes into the wood and inserted these lights through the back. I already had all of the lights so I didn’t consider that a cost for this project. Not including the lights, my total cost for this project was roughly $25, while actual marquee letters this size would have ran me $50 EACH.

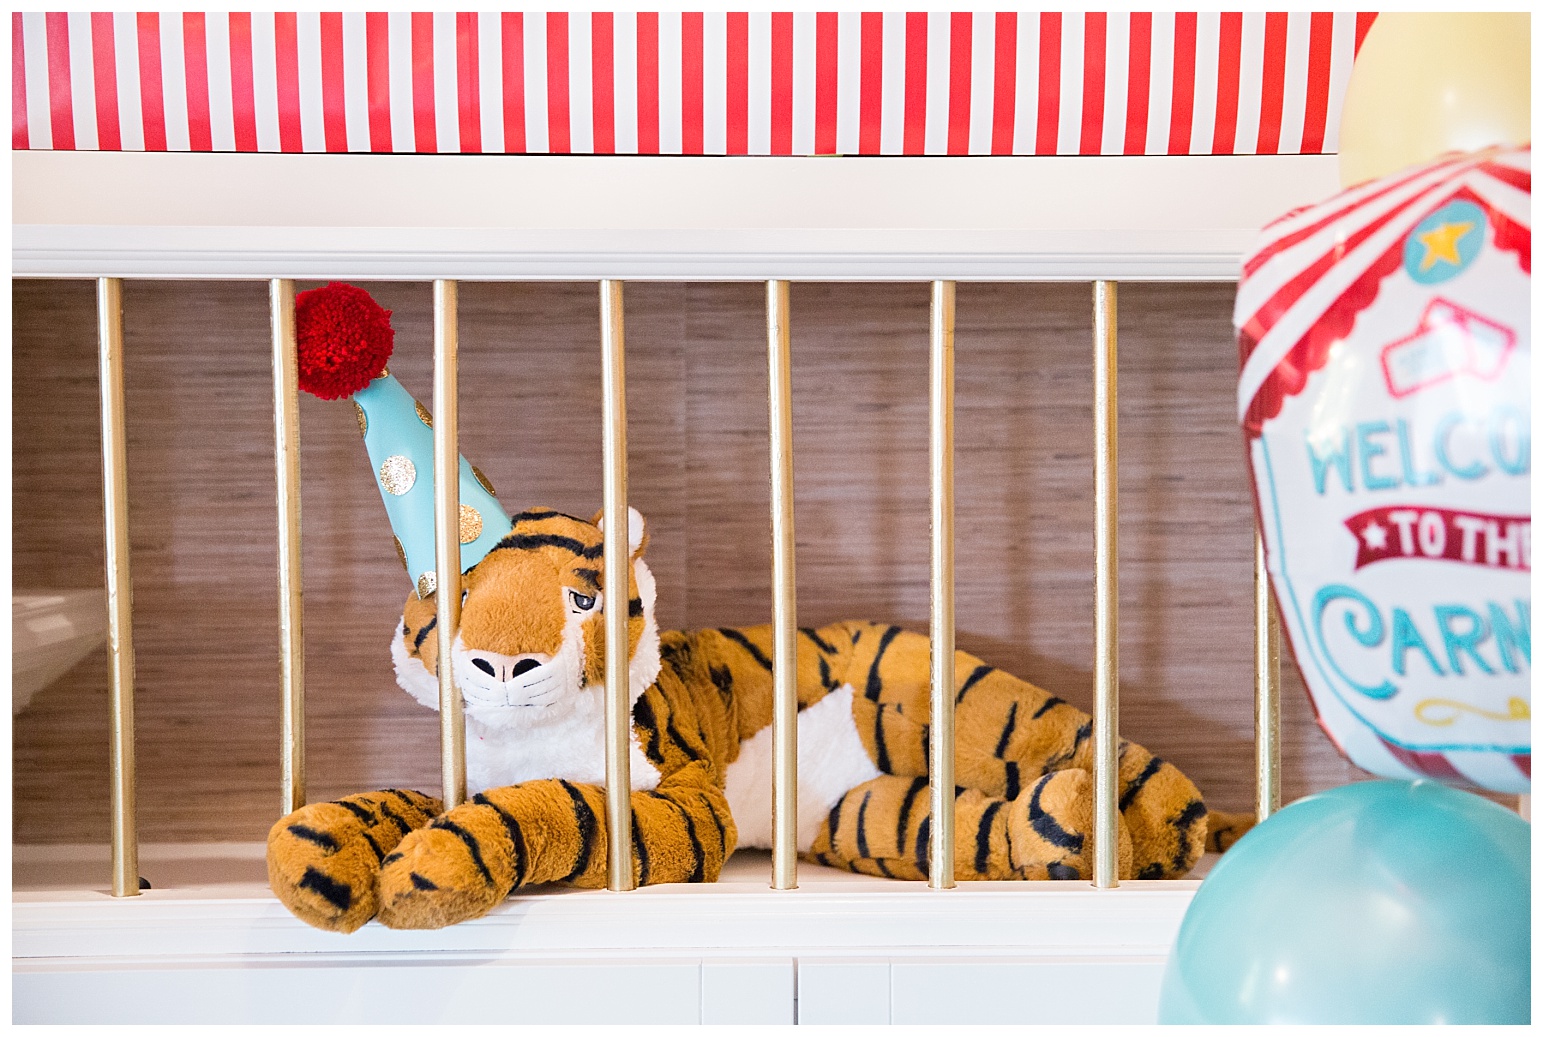
The large lion and tiger stuffies are from Ikea and have been since added to Aylah’s huge stuffy collection.
The gold bar cages were another one of my projects. The top and bottom are wood that I painted the same white as my living room built-ins so that they would blend and the bars are more pvc painted with gold spray paint.

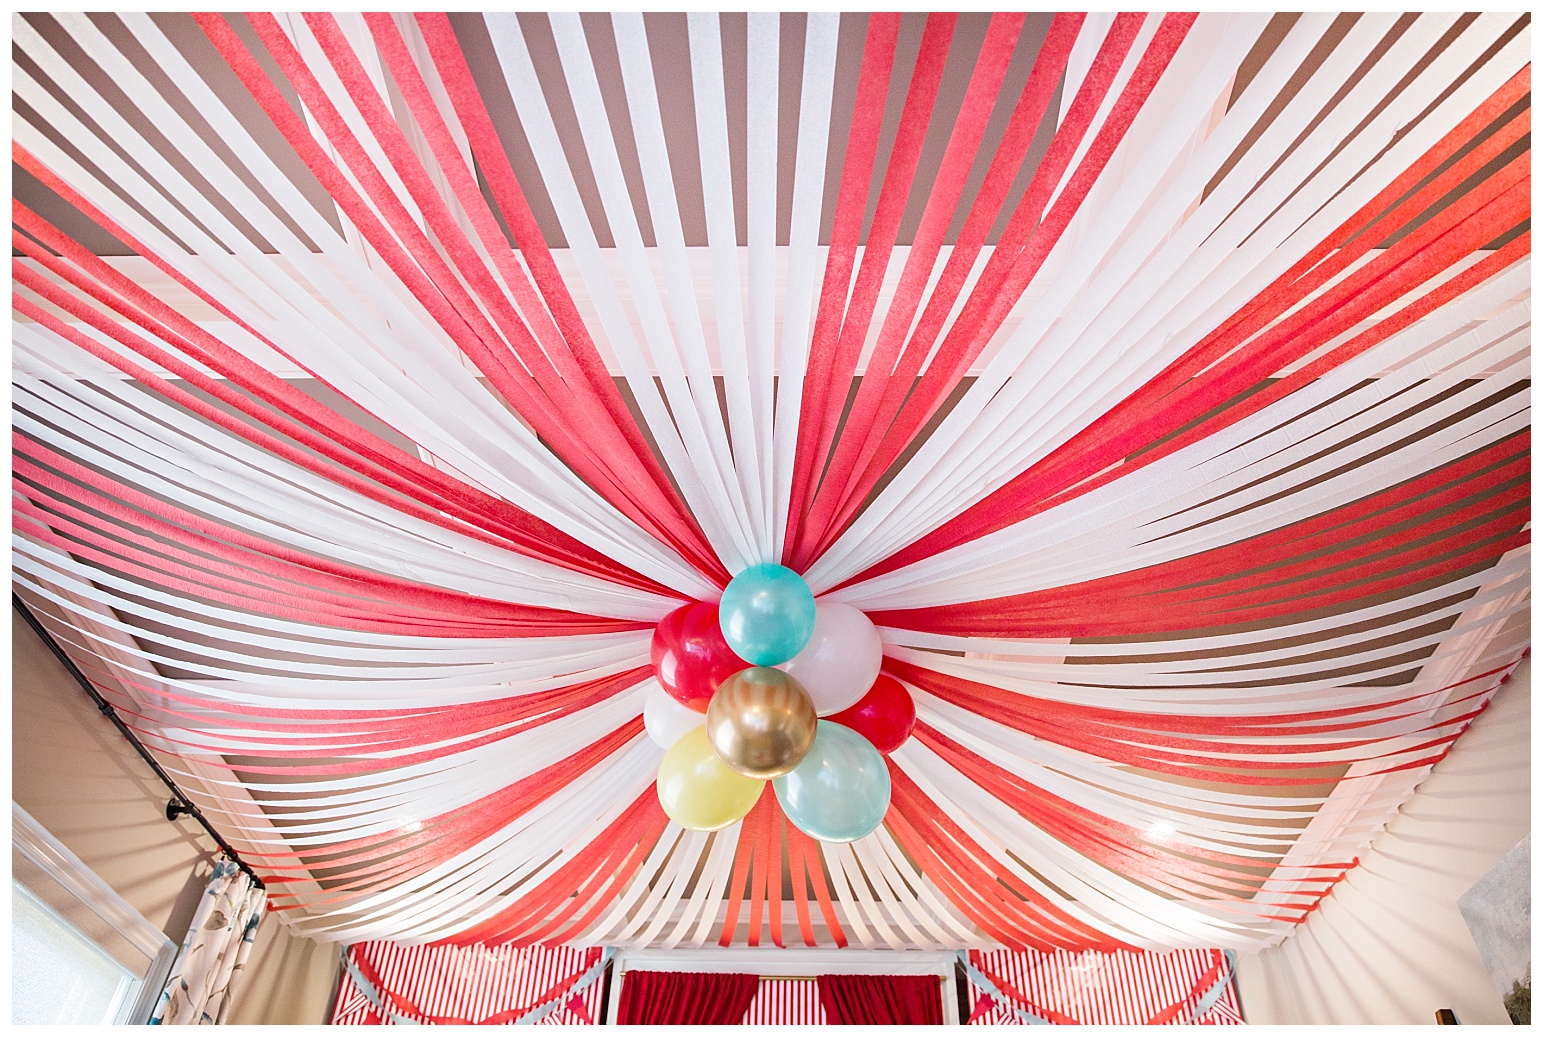
This ceiling was my biggest project and had the biggest impact. It took me a couple of days to execute and about 600 trips up and down the ladder, but it was so worth it!!
If you’re going to try and recreate this, do the math first. Do not try to wing it because it won’t look right. I knew that I wouldn’t be happy unless the stripes worked out perfectly and were all the same size so I spent a good hour measuring, and measuring again, and figuring out calculations, and adjusting them, and adjusting them again.
How it’s attached: So first I cut pieces of bristol board into 1 inch wide strips and I taped them all together end to end to make one huge long strip. I then attached that strip to the top of the wall using my favourite command strips (no paint damage). Once the strip was up (and level) then I had something to attach the streamers to. I also made marks all along the strip so that the streamers were all perfectly spaced (mine were 3.5 inches apart). In the middle the streamers are attached to the bottom of my light fixture. I took the bulbs out of the fixture so that I could hang the balloons there and not worry about the heat since I wanted to be able to use the pot lights which are on the same switch as the center fixture.

The awesome mylar balloons that fit perfectly with my theme and colour scheme are from Bargain Balloons. I will talk more about the latex balloons later.

Now let’s talk balloon animals. I bit off a lot with this one, but it was a lot of fun. I wanted to do a variety of different balloon animals so I took to YouTube to learn how. Once I got rolling I made a bunch, and then a bunch more, and then I had made so many that I thought why not just make enough so each kid can take home one of every kind of animal. I made 9 animals. There were 8 kids. Do the math. I’m nuts.

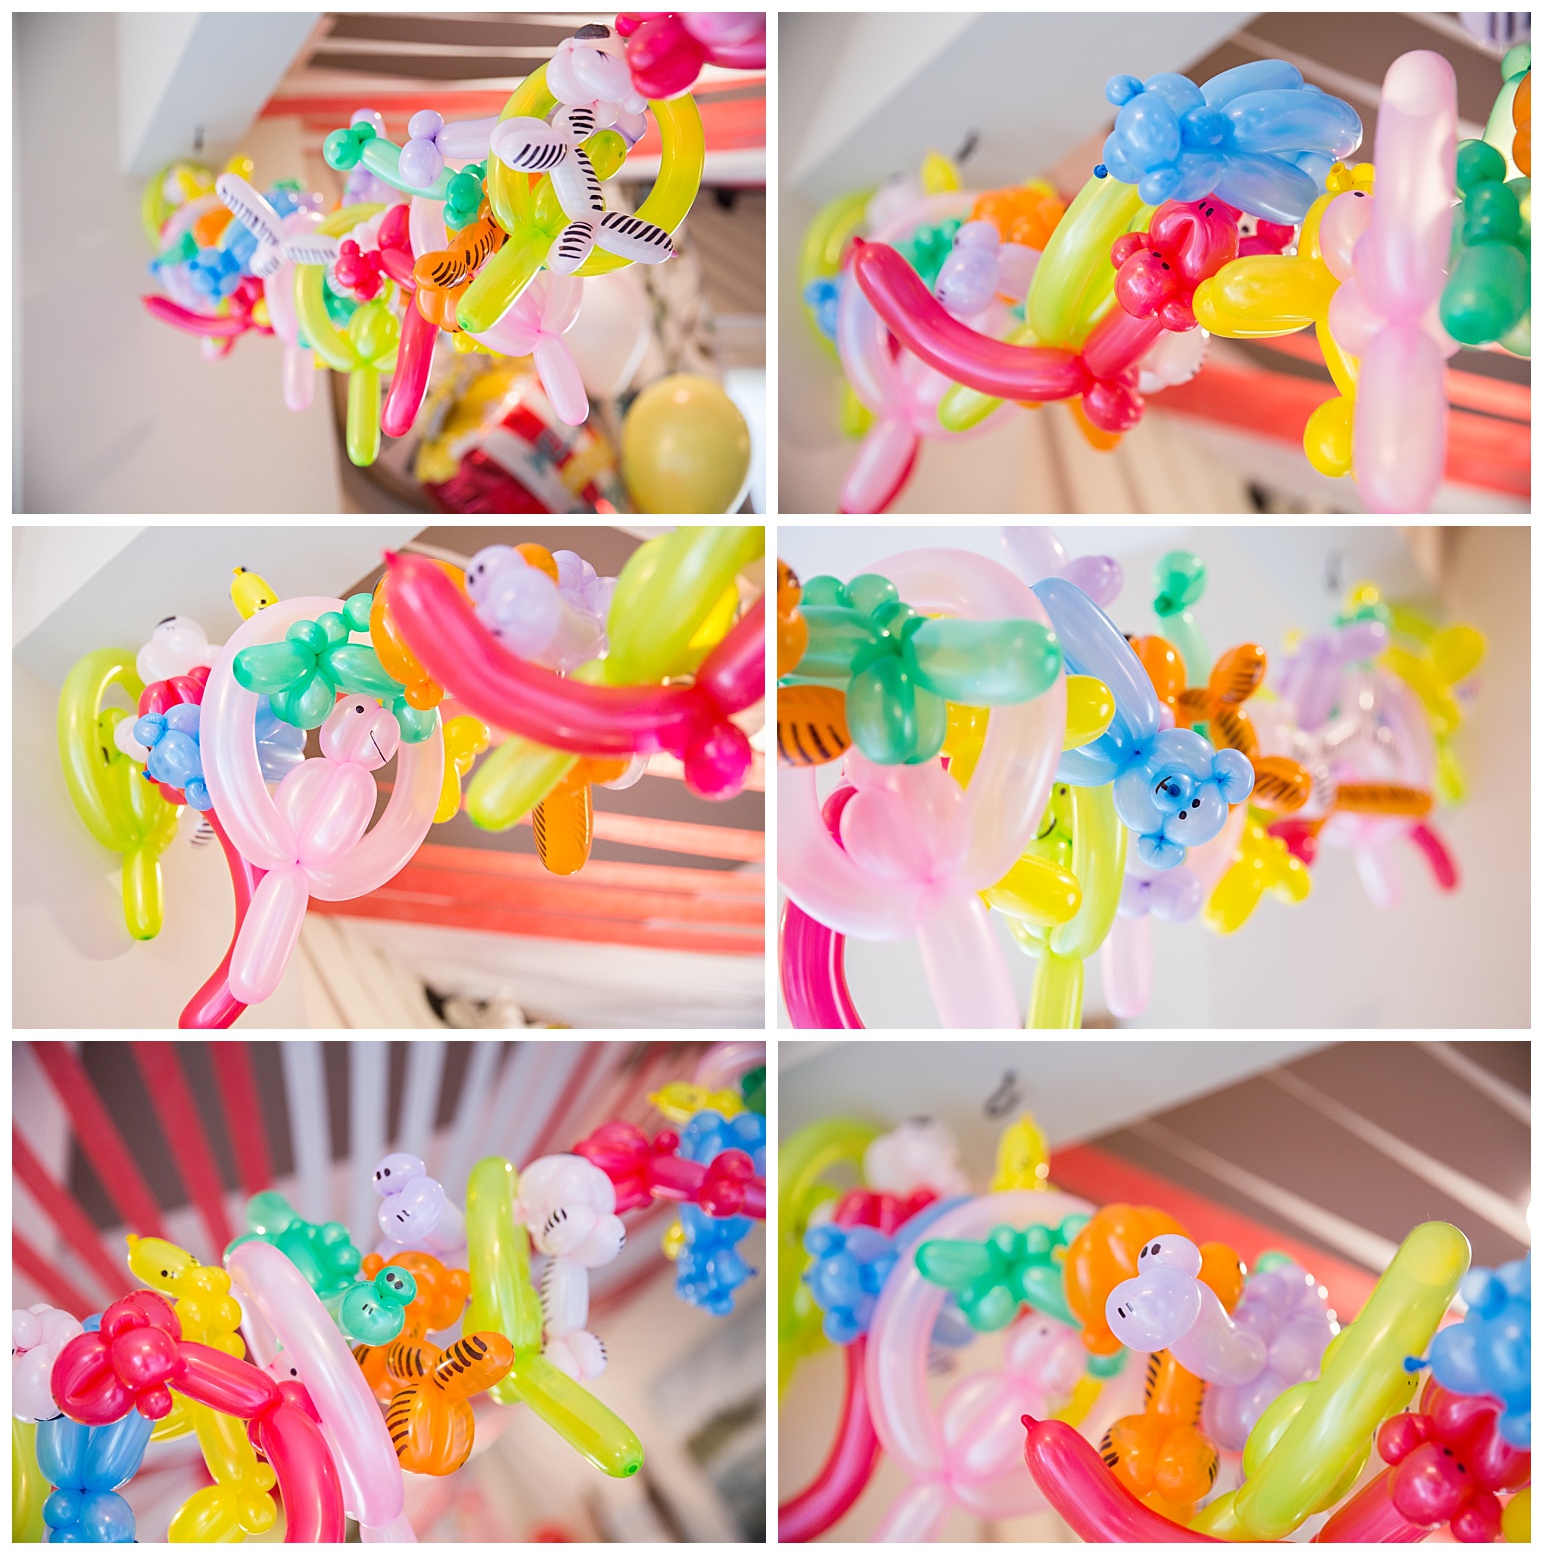
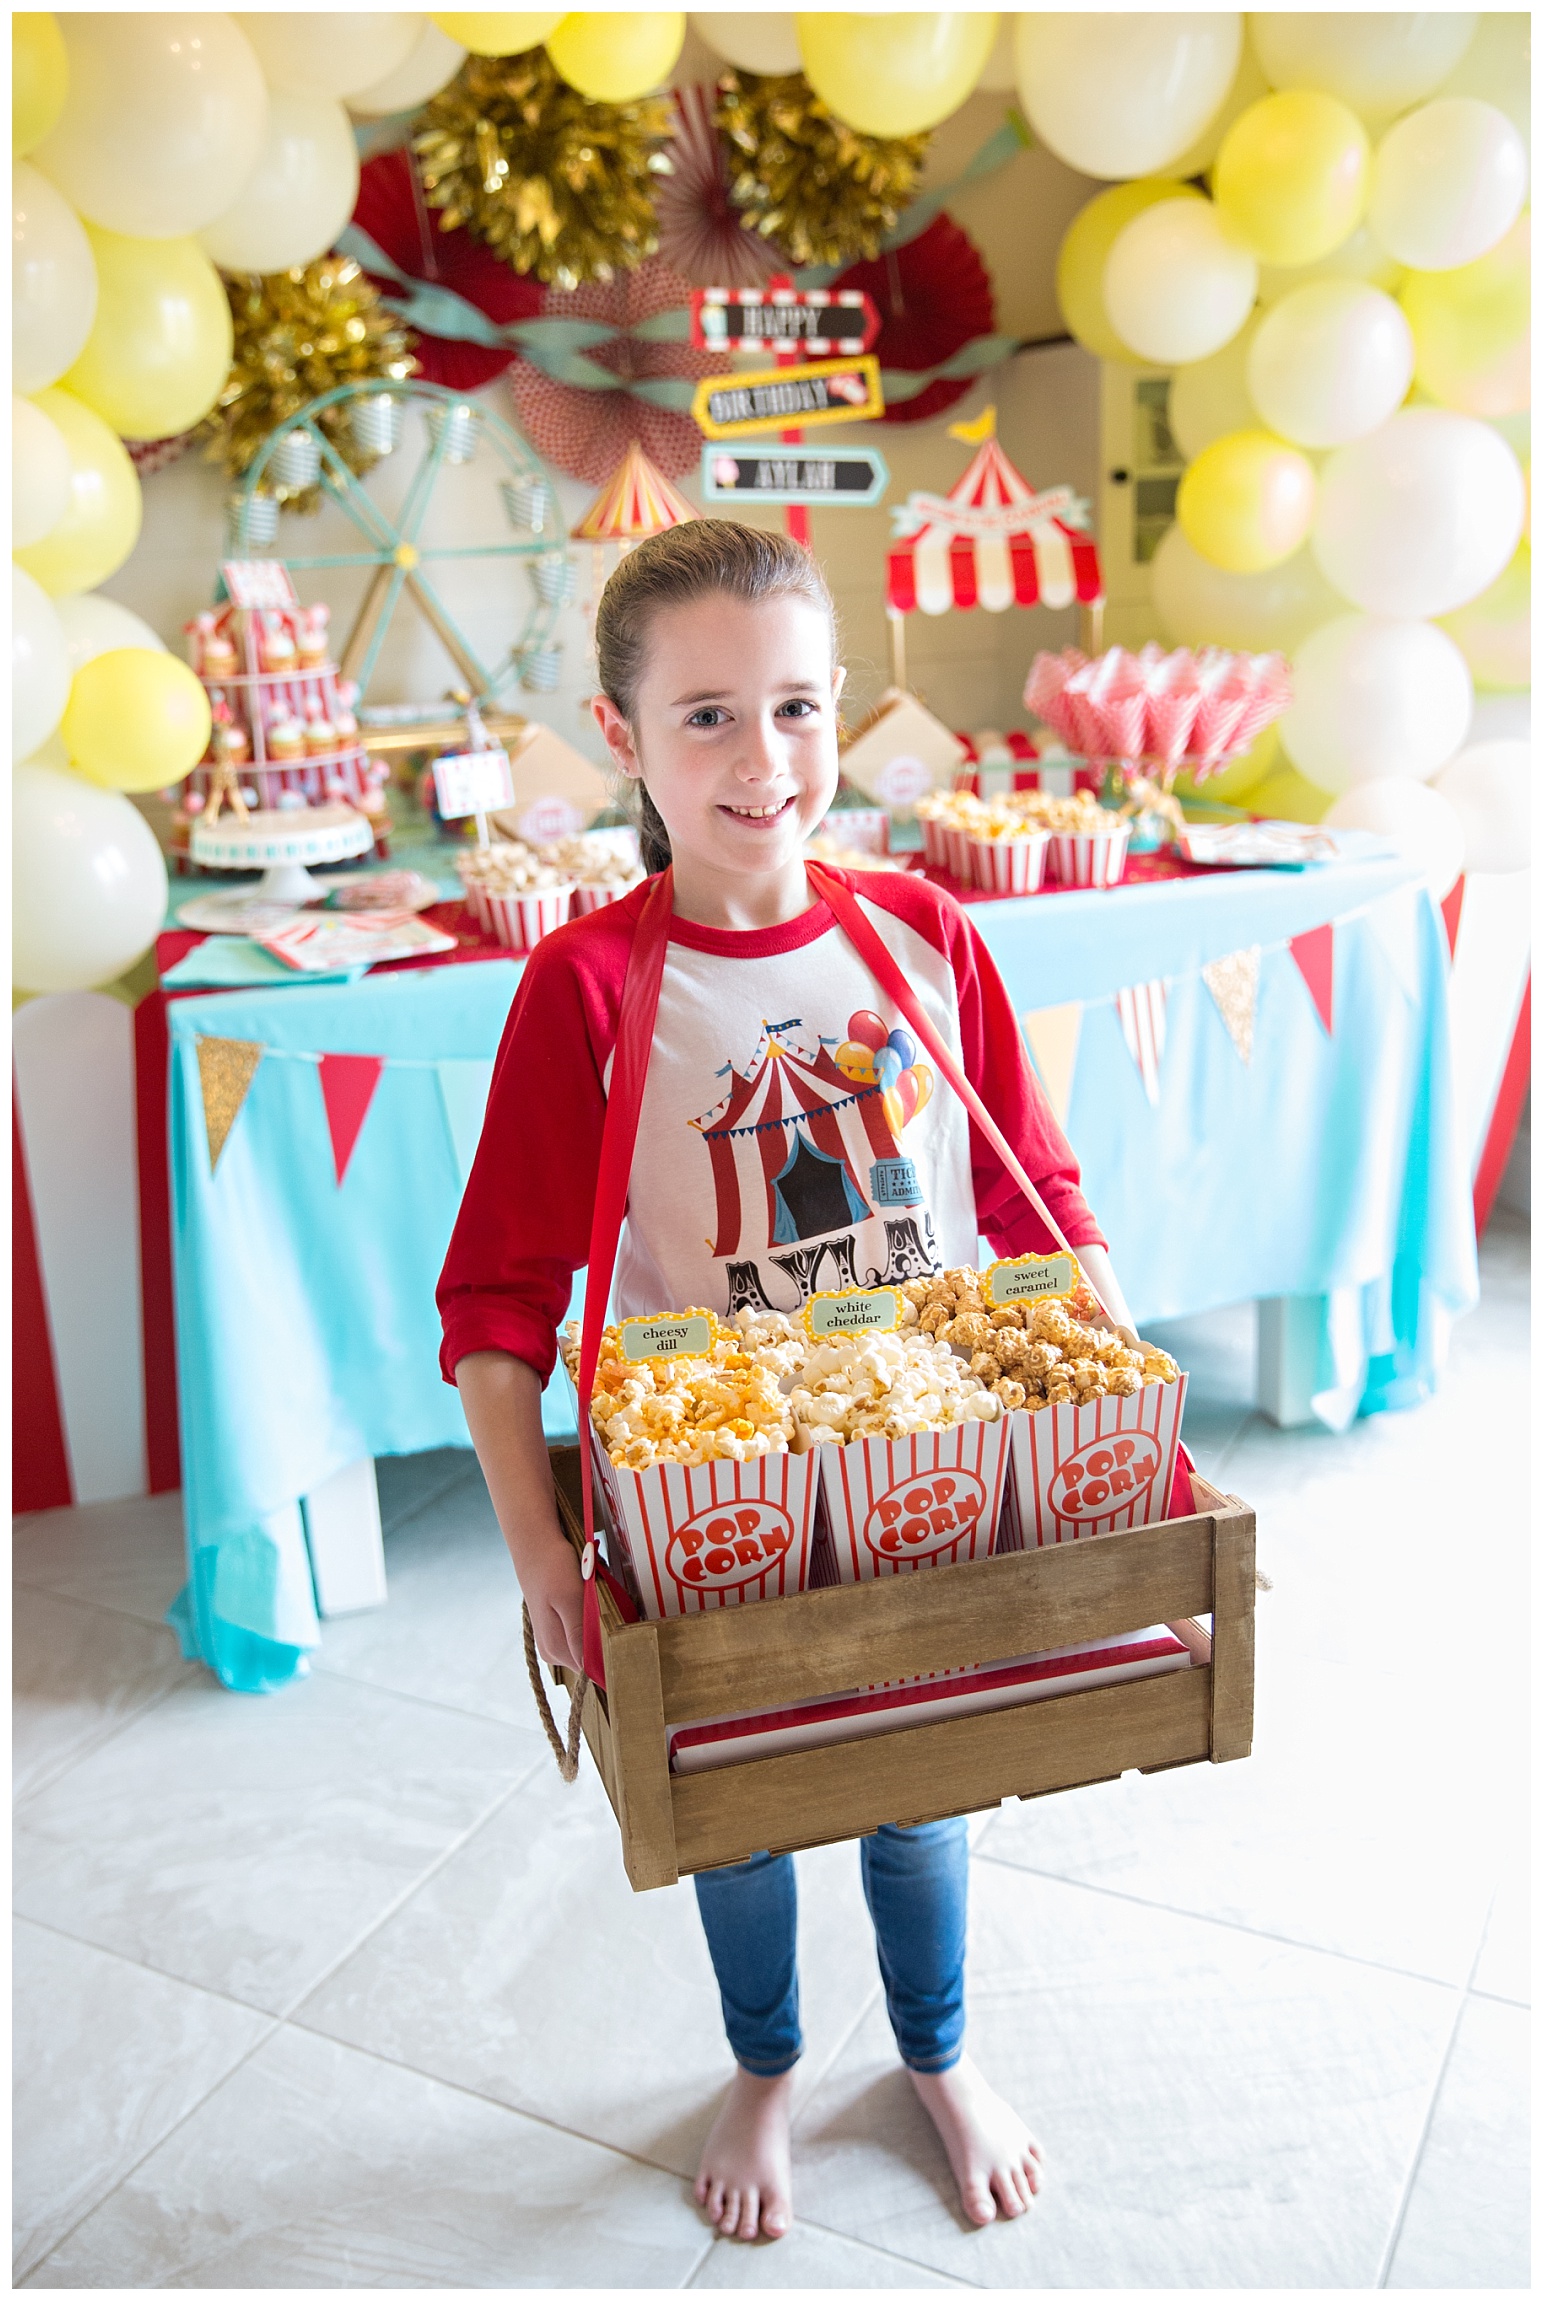
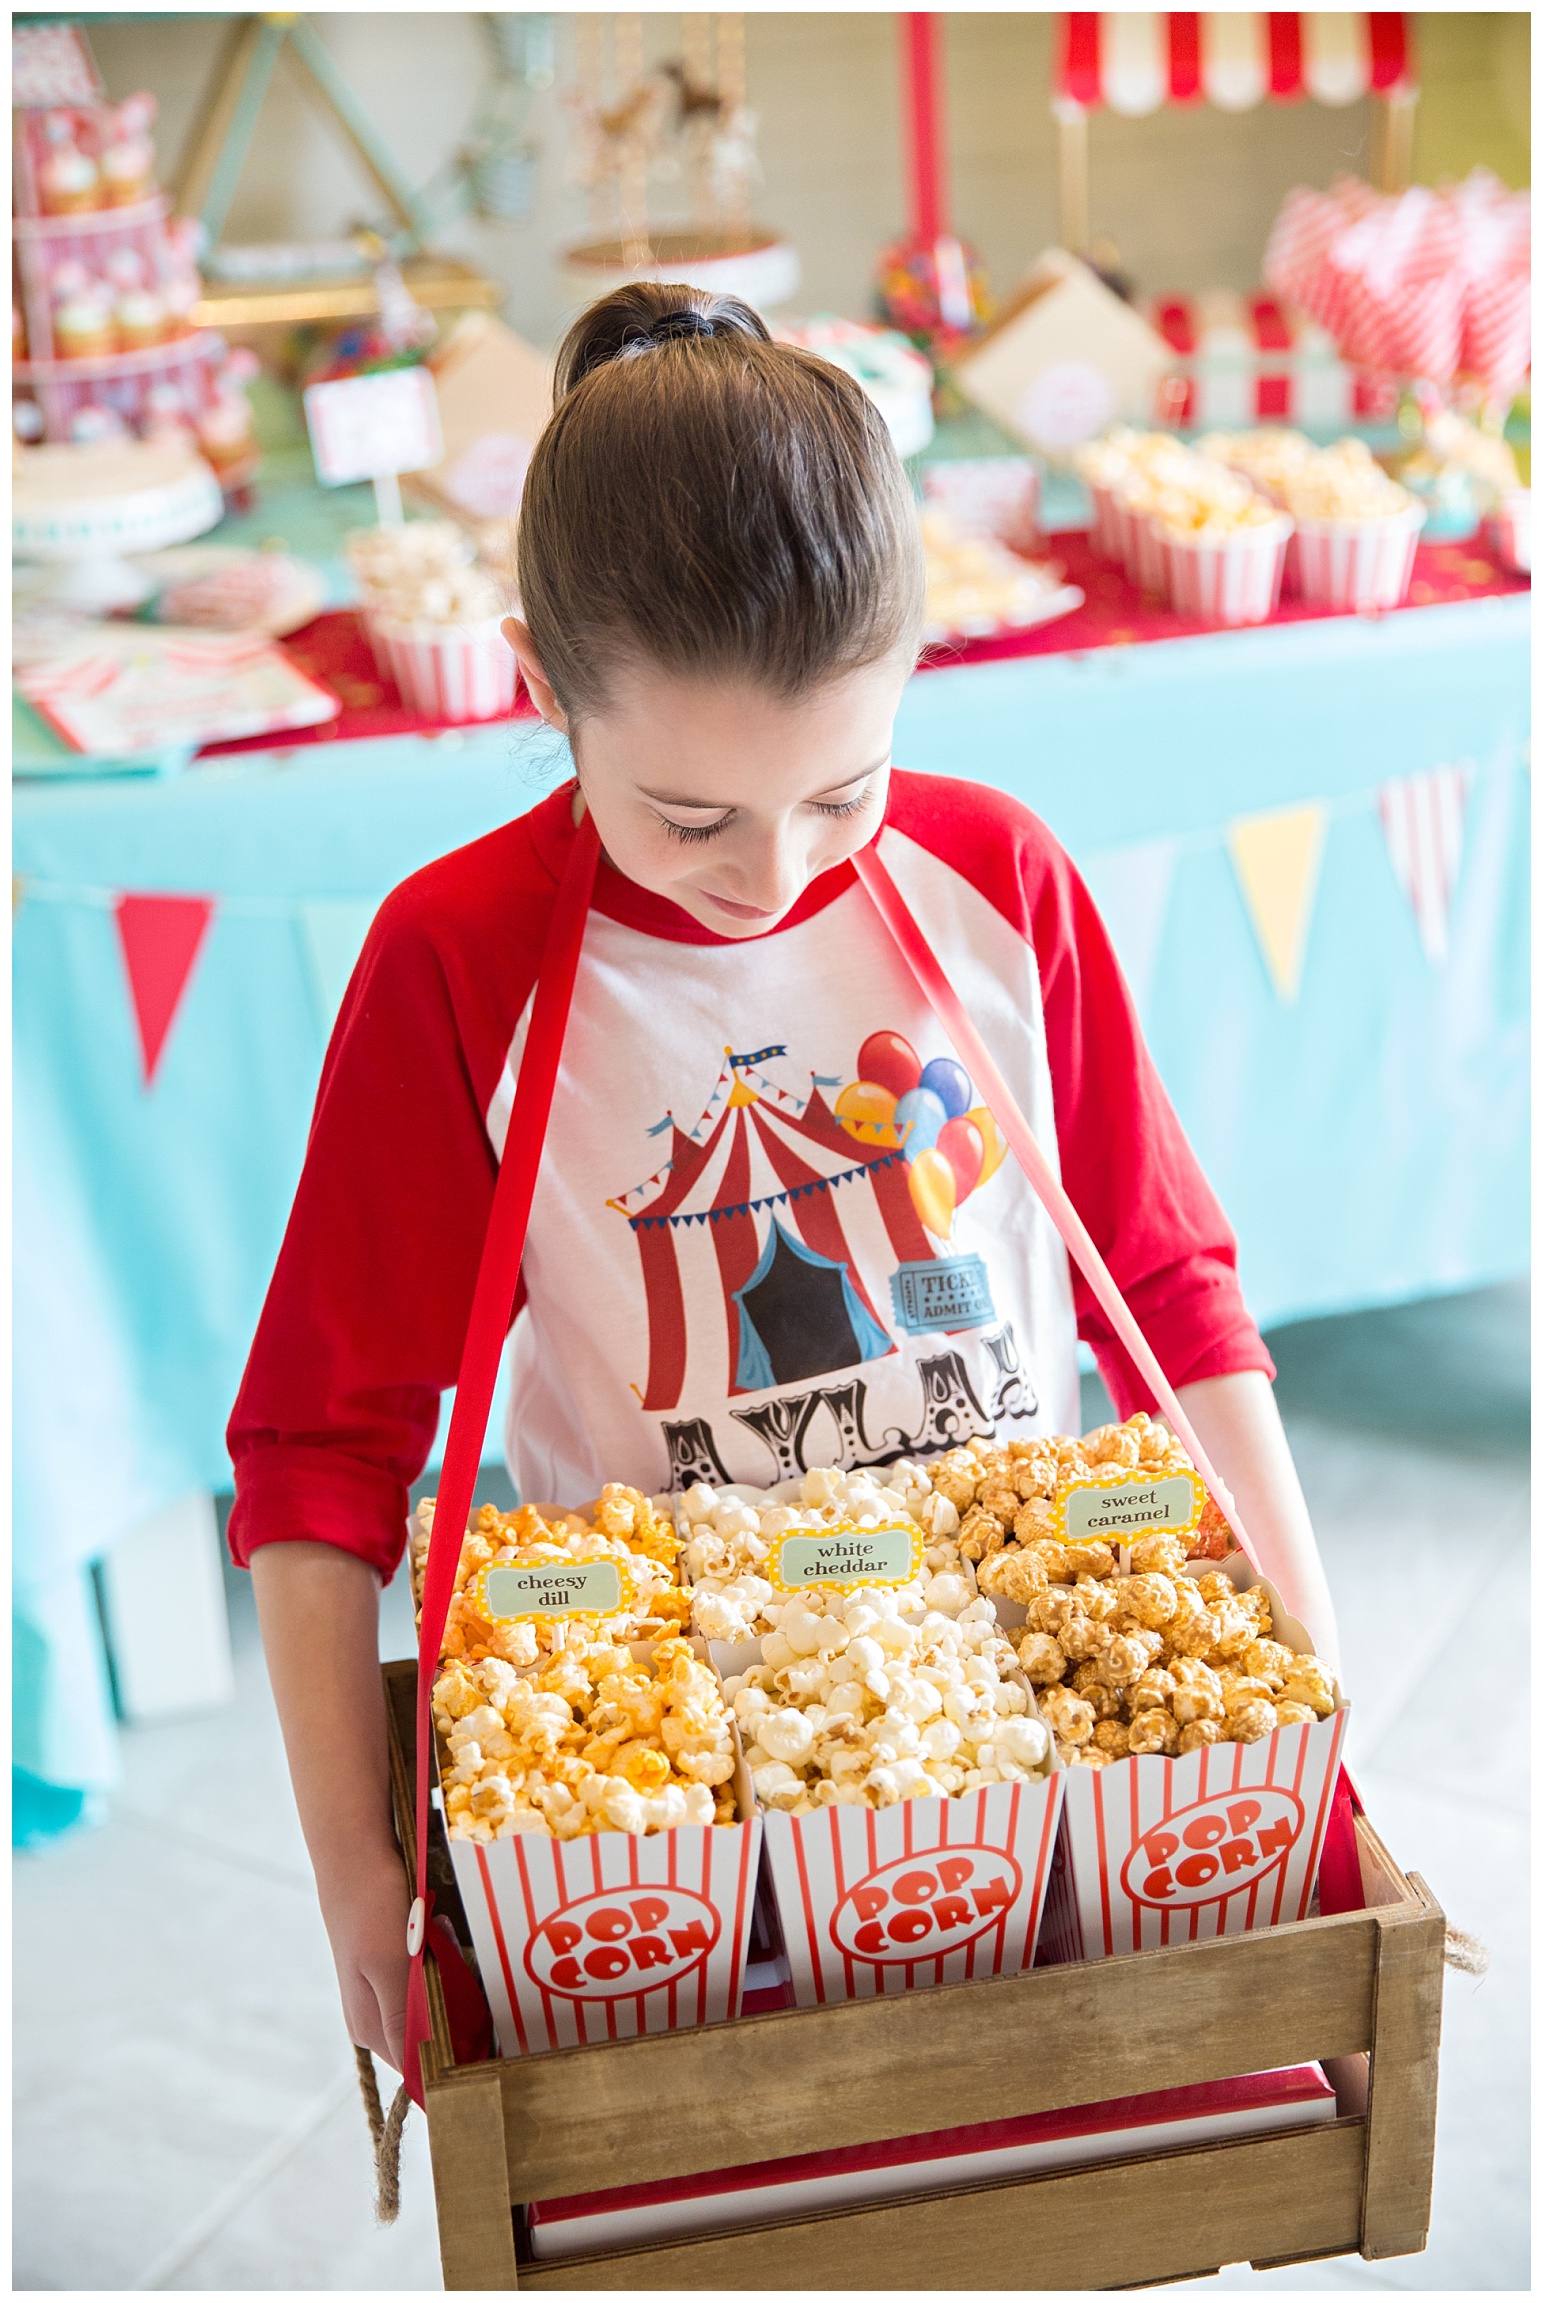
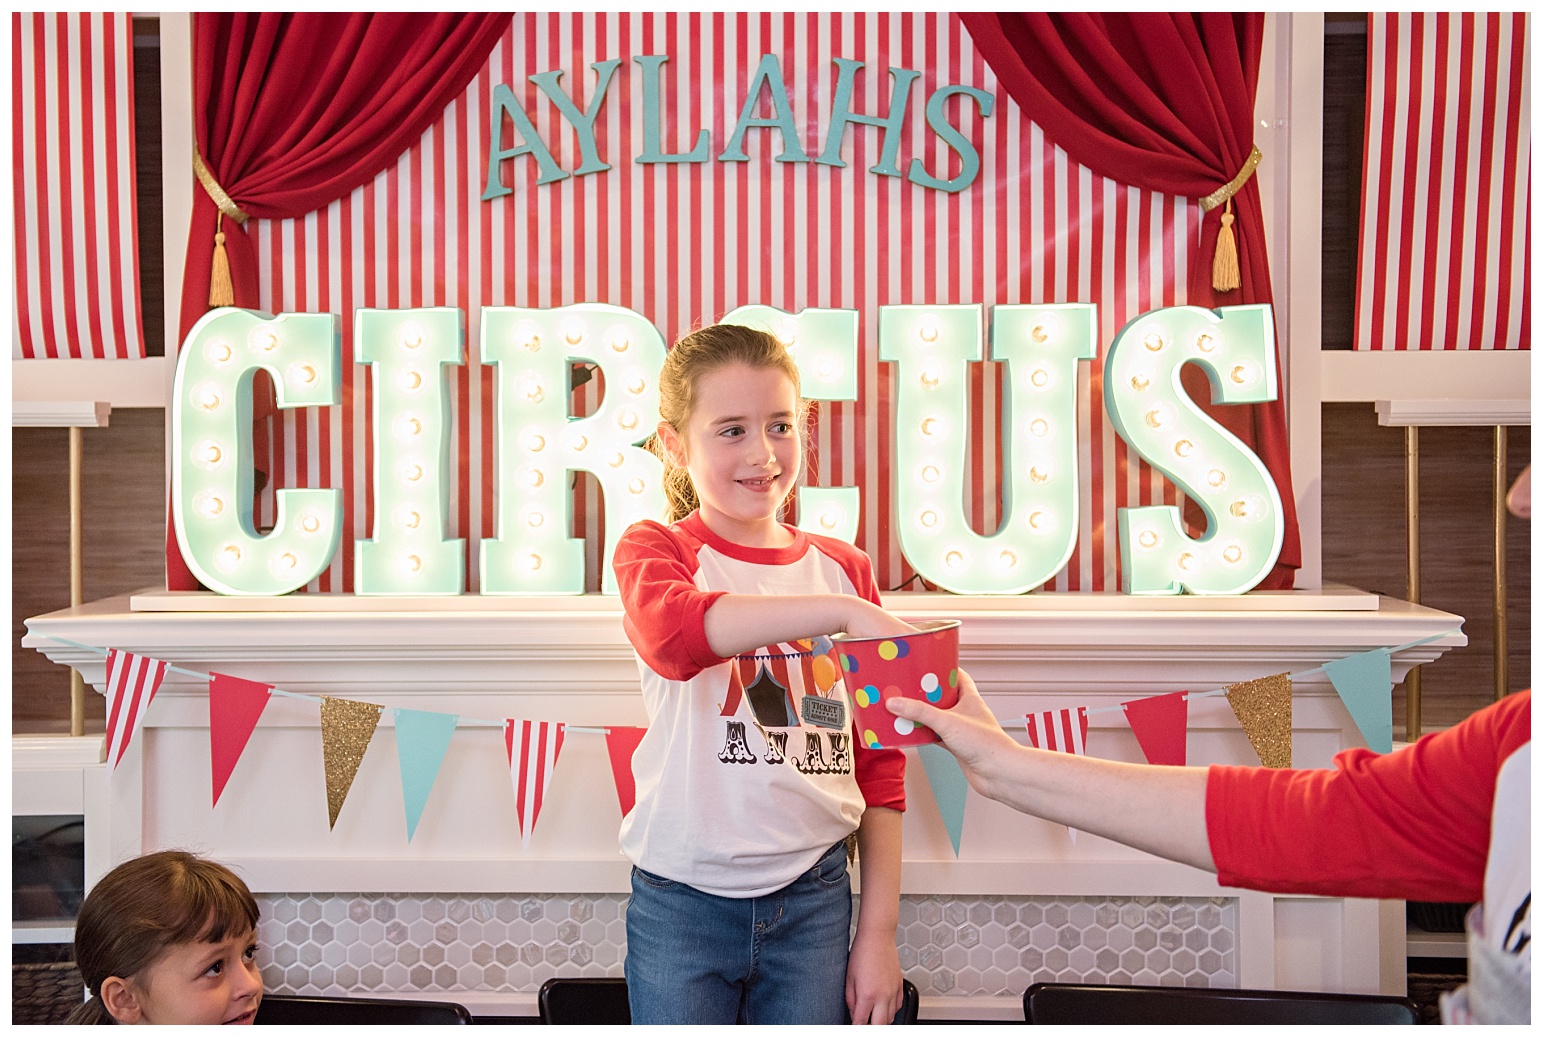
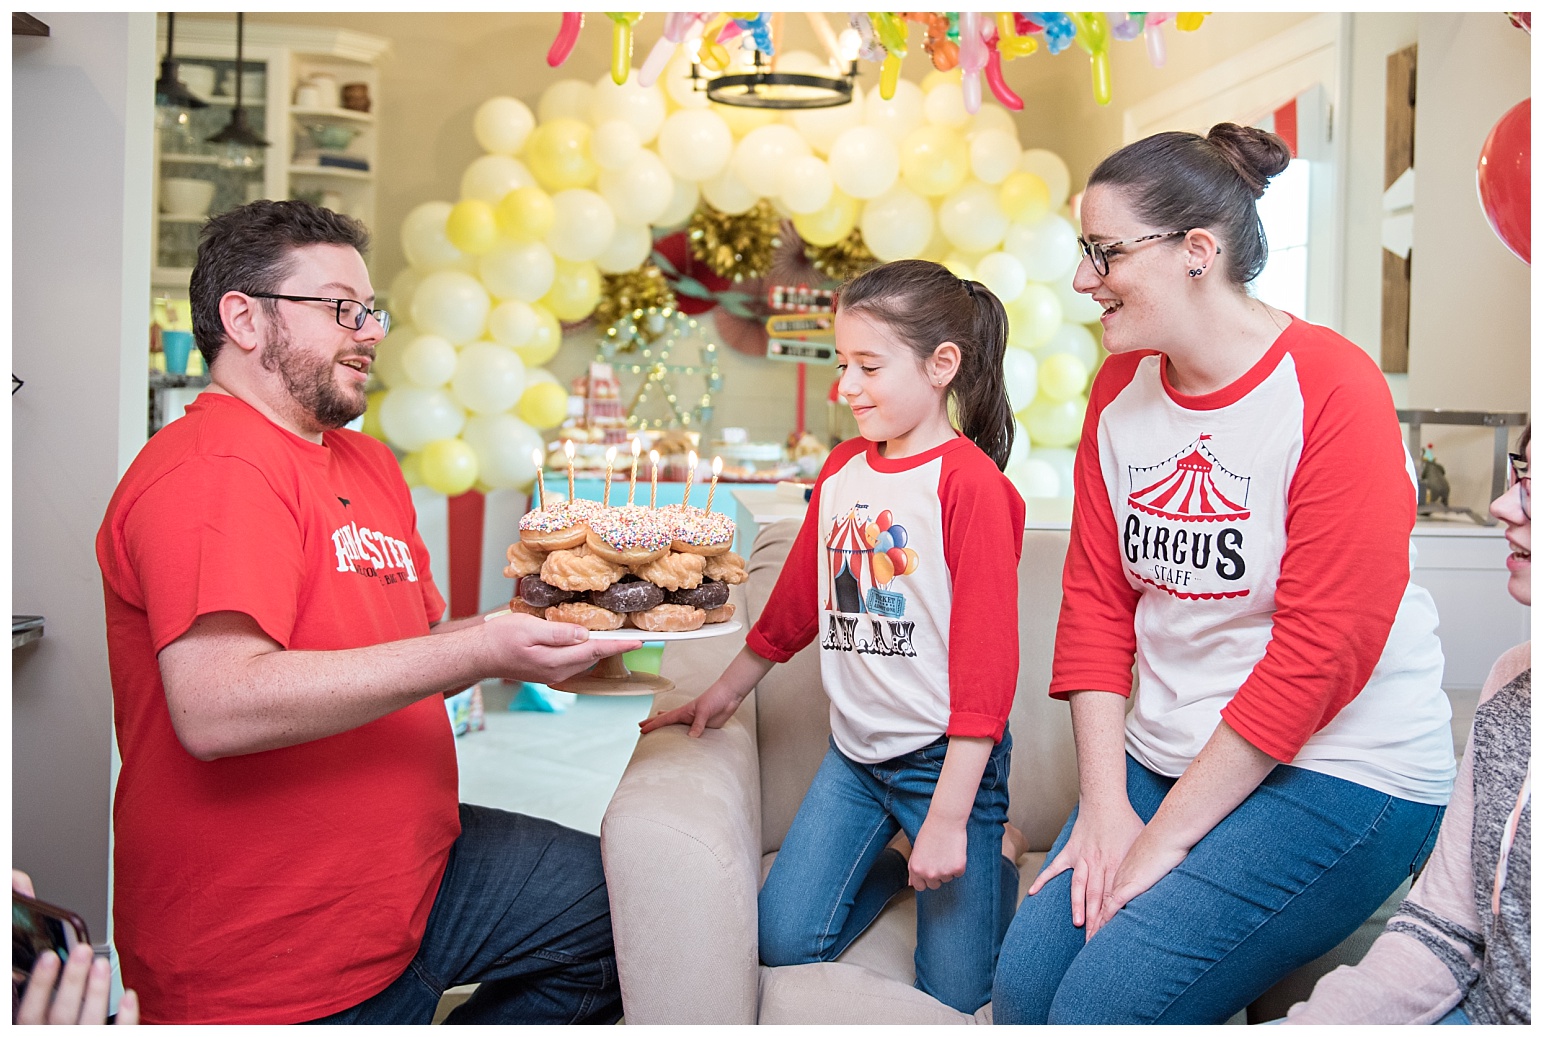
Aylah’s shirt was purched on Etsy, and mine and Craig’s were designed and made by me (and my Cricut).

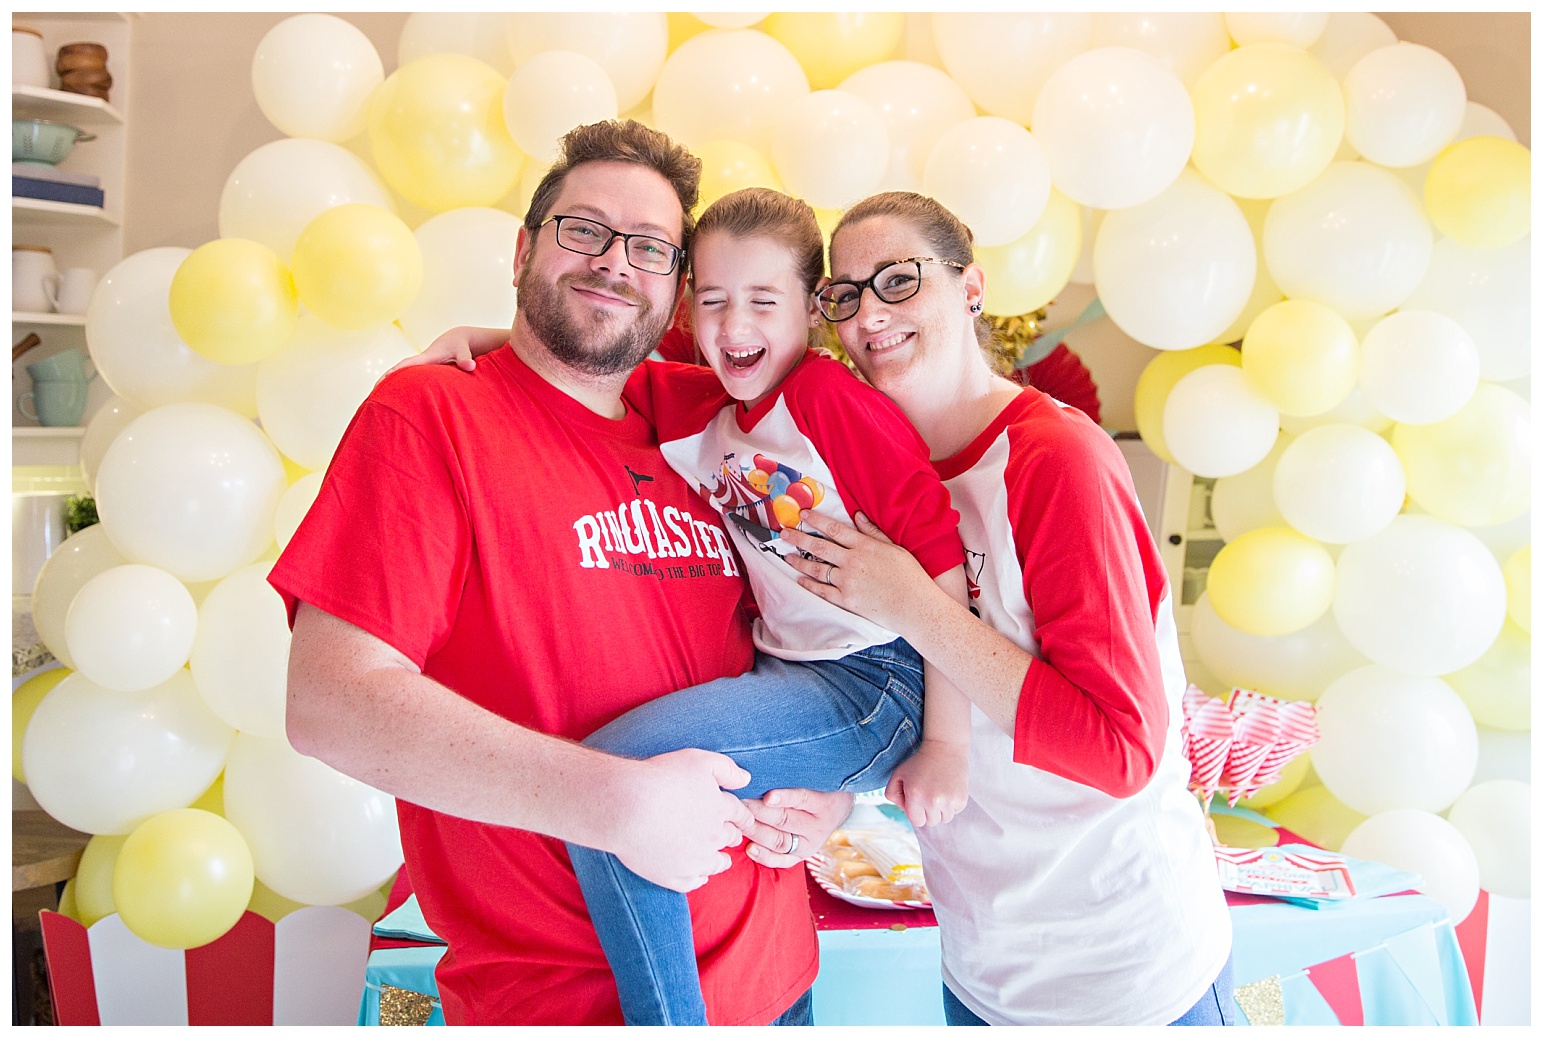
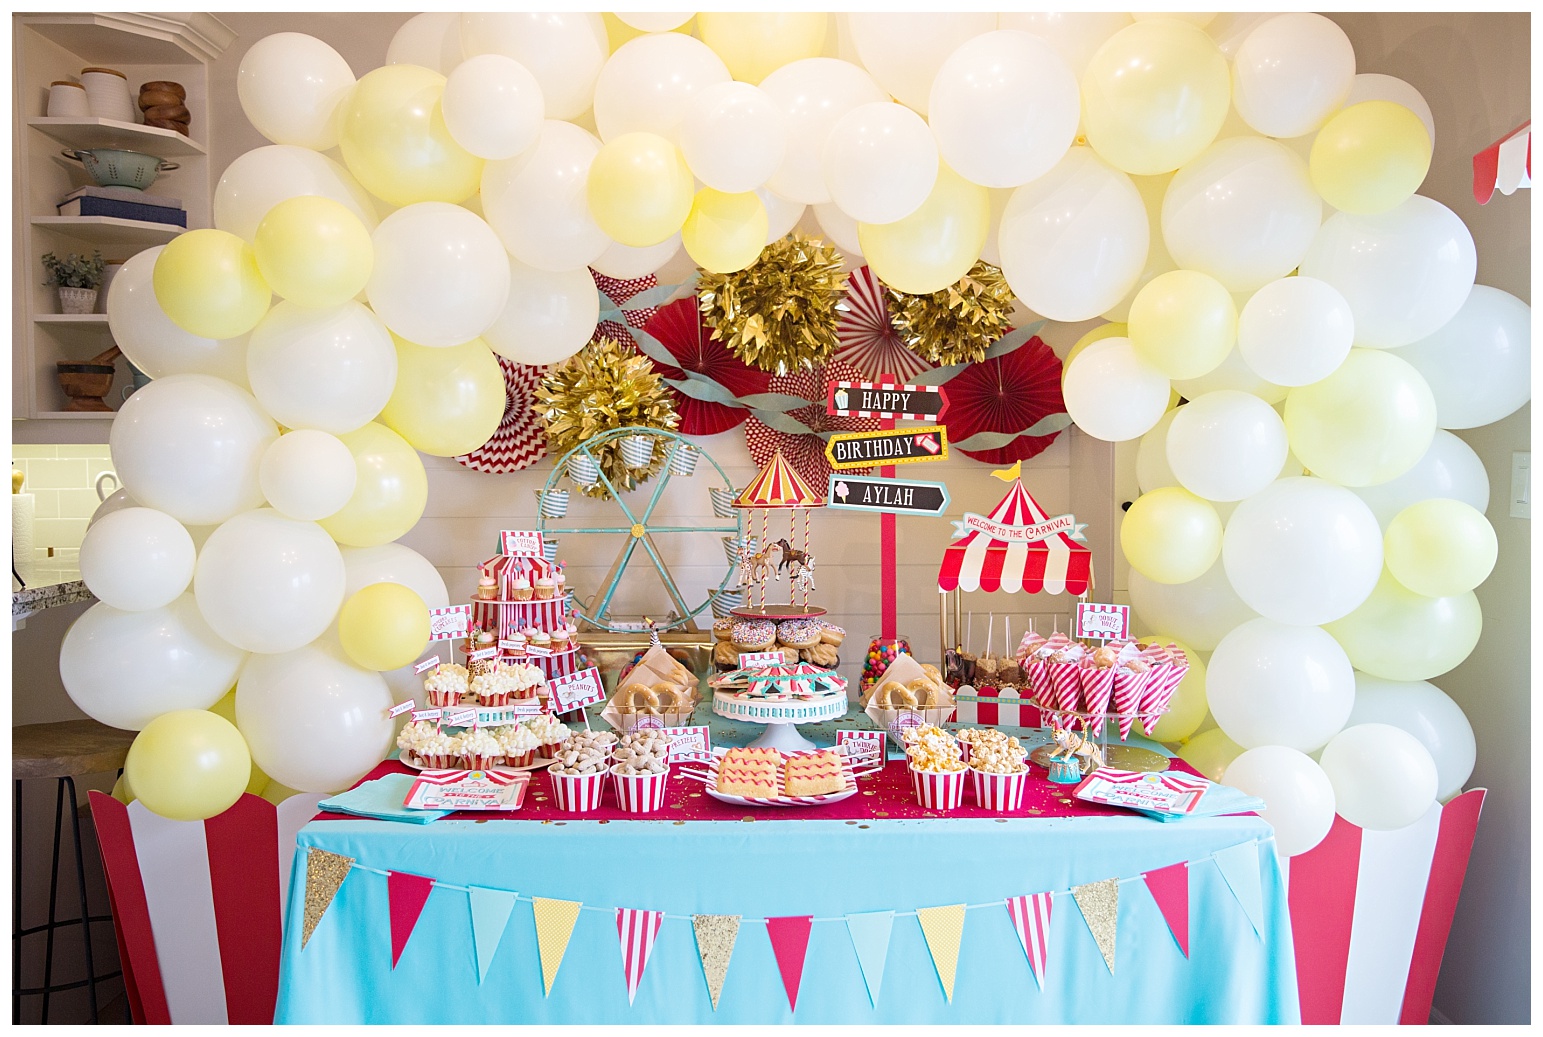
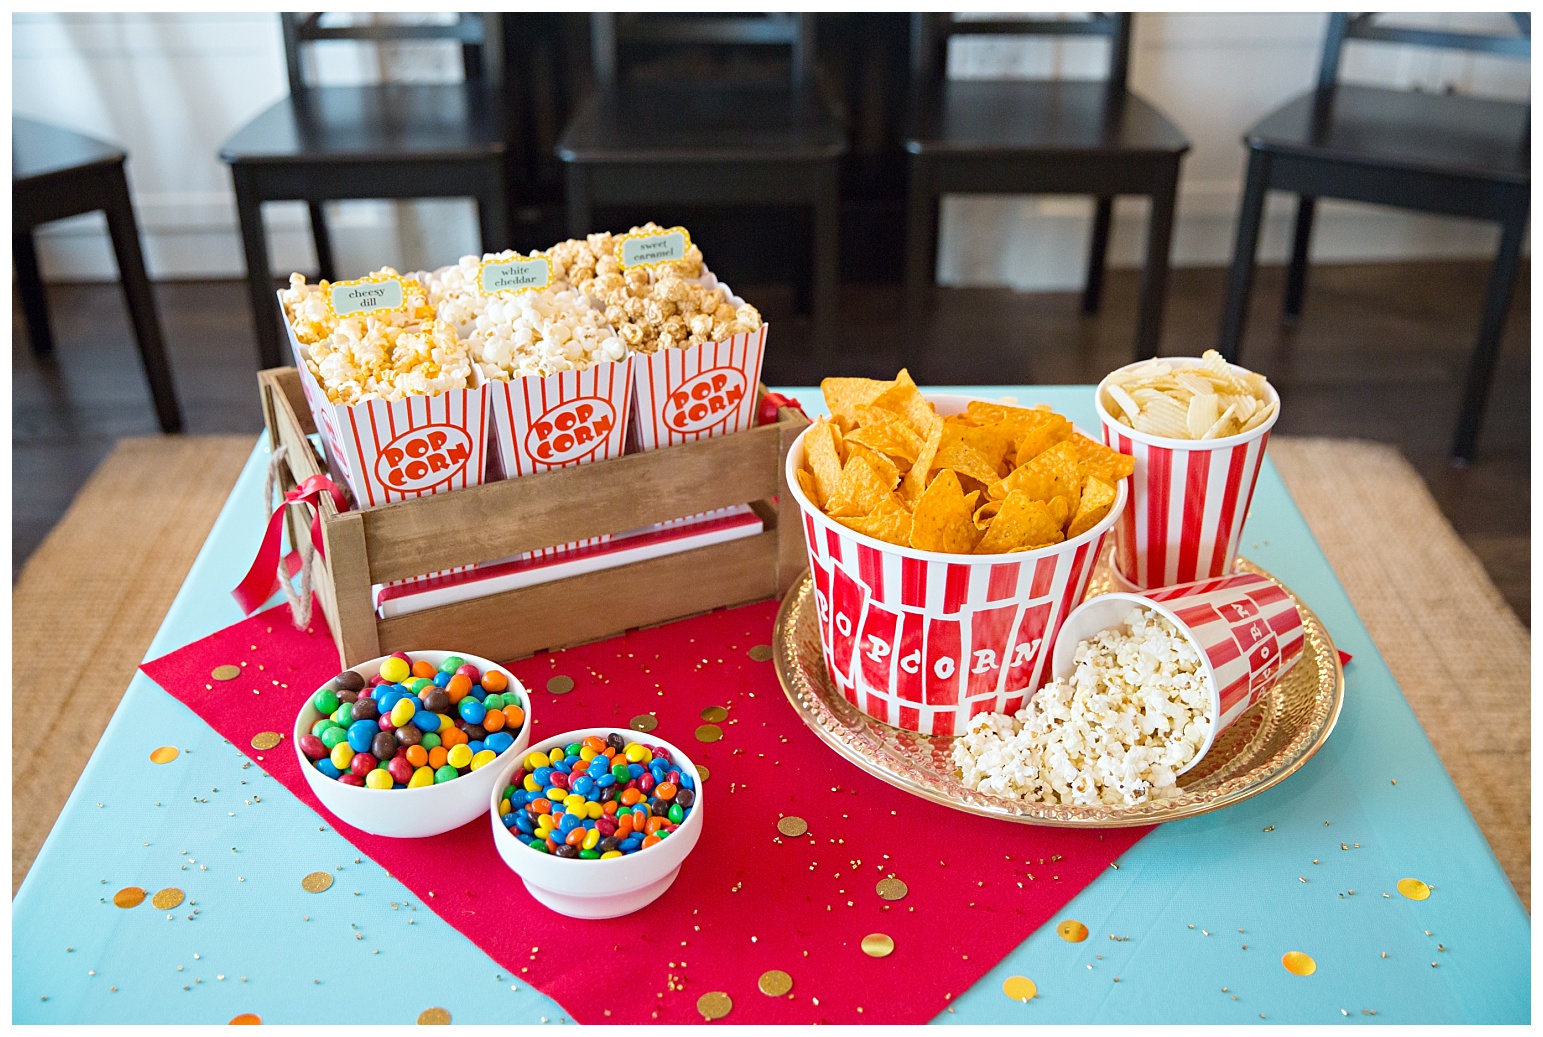
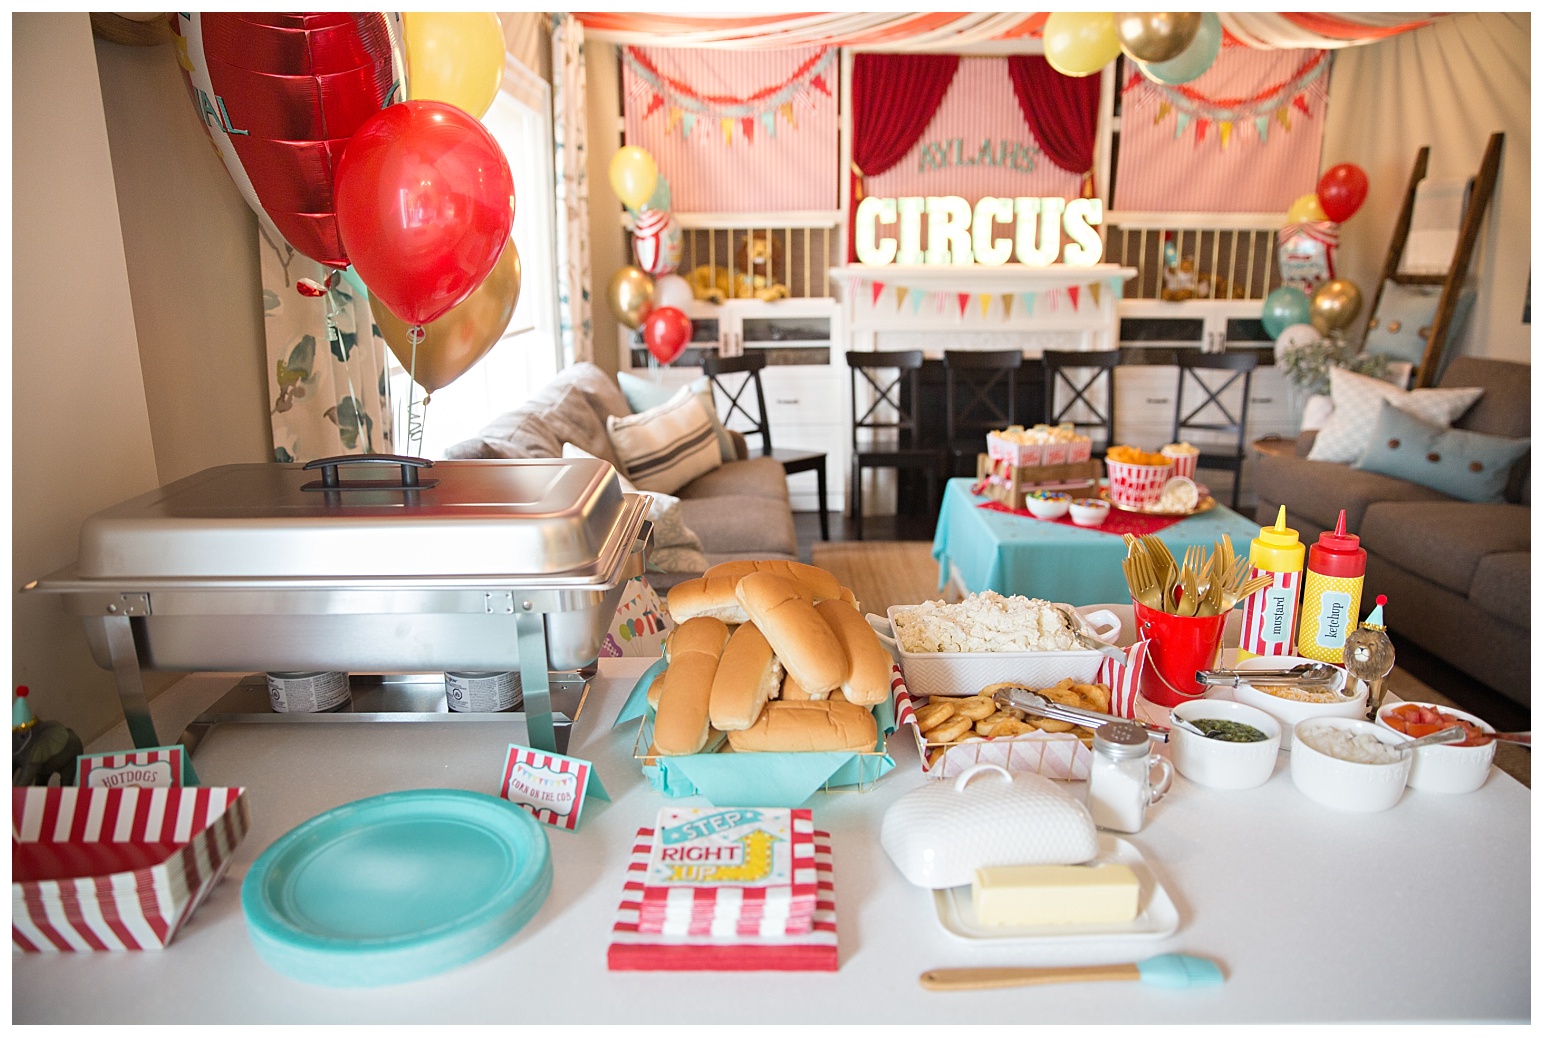
And now we come to the food table. I got the idea of the popcorn balloon arch from this pin and I ran with it. The boxes were easy but time consuming (and lots more math to get the stripes right). I used bristol board mounted on foam board to give it extra rigidity. Best part is they are totally collapsible for easy storage. The balloons are from my favourite balloon supplier and the only one I use … Bargain Balloons. They sell Qualatex which are amazing quality and last a good long time. I’ve grown to love doing these balloon arches mostly because they have a huge impact for little cost, but they are also a lot of fun to make. My biggest issue is always prep time. There a lot of last minute things that go into these parties and balloons have to be left to the end. So when you have a big job like this, leaving it to the end is stressful. But I’ve done enough now to have a good system, and by using the Qualatex balloons I am happy to report that I made this balloon arch a full week before the party and it held up just fine. My only pointer would be to just do the base ahead of time and don’t add the filler balloons until a day before. Reason being the base balloons will ever so slightly deflate (not even noticeable to the eye) but when that happens they slightly shift and then the filler balloons that are only attached with the glue dots shift too and can start to fall off under the added pressure. The filler balloons are super fast though, so adding them the day before is a quick task.
For this popcorn arch I decided not to use true white and true yellow as I had seen on pinterest because it looked too artificial. Instead I went with an off-white and a dull yellow to look more like actual buttered popcorn. If you’re ordering from Bargain Balloons the white I used was called “Ivory Silk” and the yellow I used was called “Lemon Chiffon”. I got 100 of each colour and used almost all of them.
The cute awnings on our back doors are from Amazon. They came in a set of two so it was perfect!

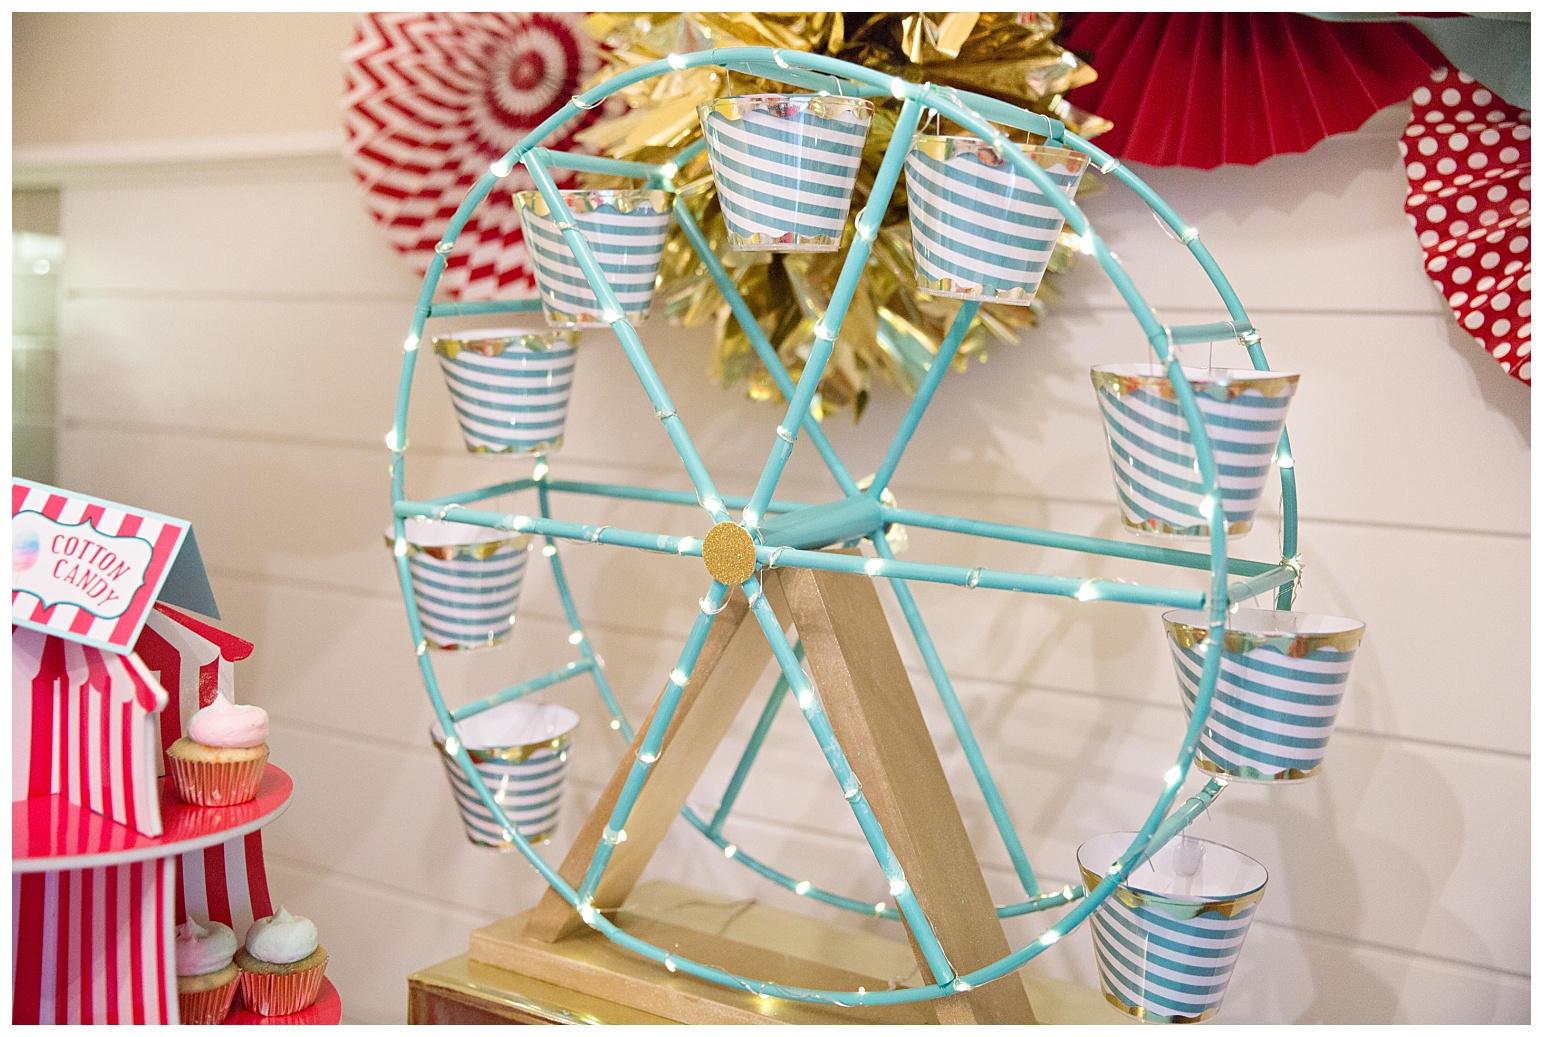
I had visions of a ferris wheel on the table-scape … a LIT UP ferris wheel. Challenge accepted!!
This sucker is made out of milkshake straws, fishtank tubing, wood, a dowel, spray paint, fishing wire, plastic cups, scrapbook paper and fairy lights. It was annoying to make and looked AMAZING!!! The pictures obviously don’t show it but the lights were cycling through a pattern. It looked like a legit ferris wheel at night. No it did not spin, I’m not a magician. LOL!

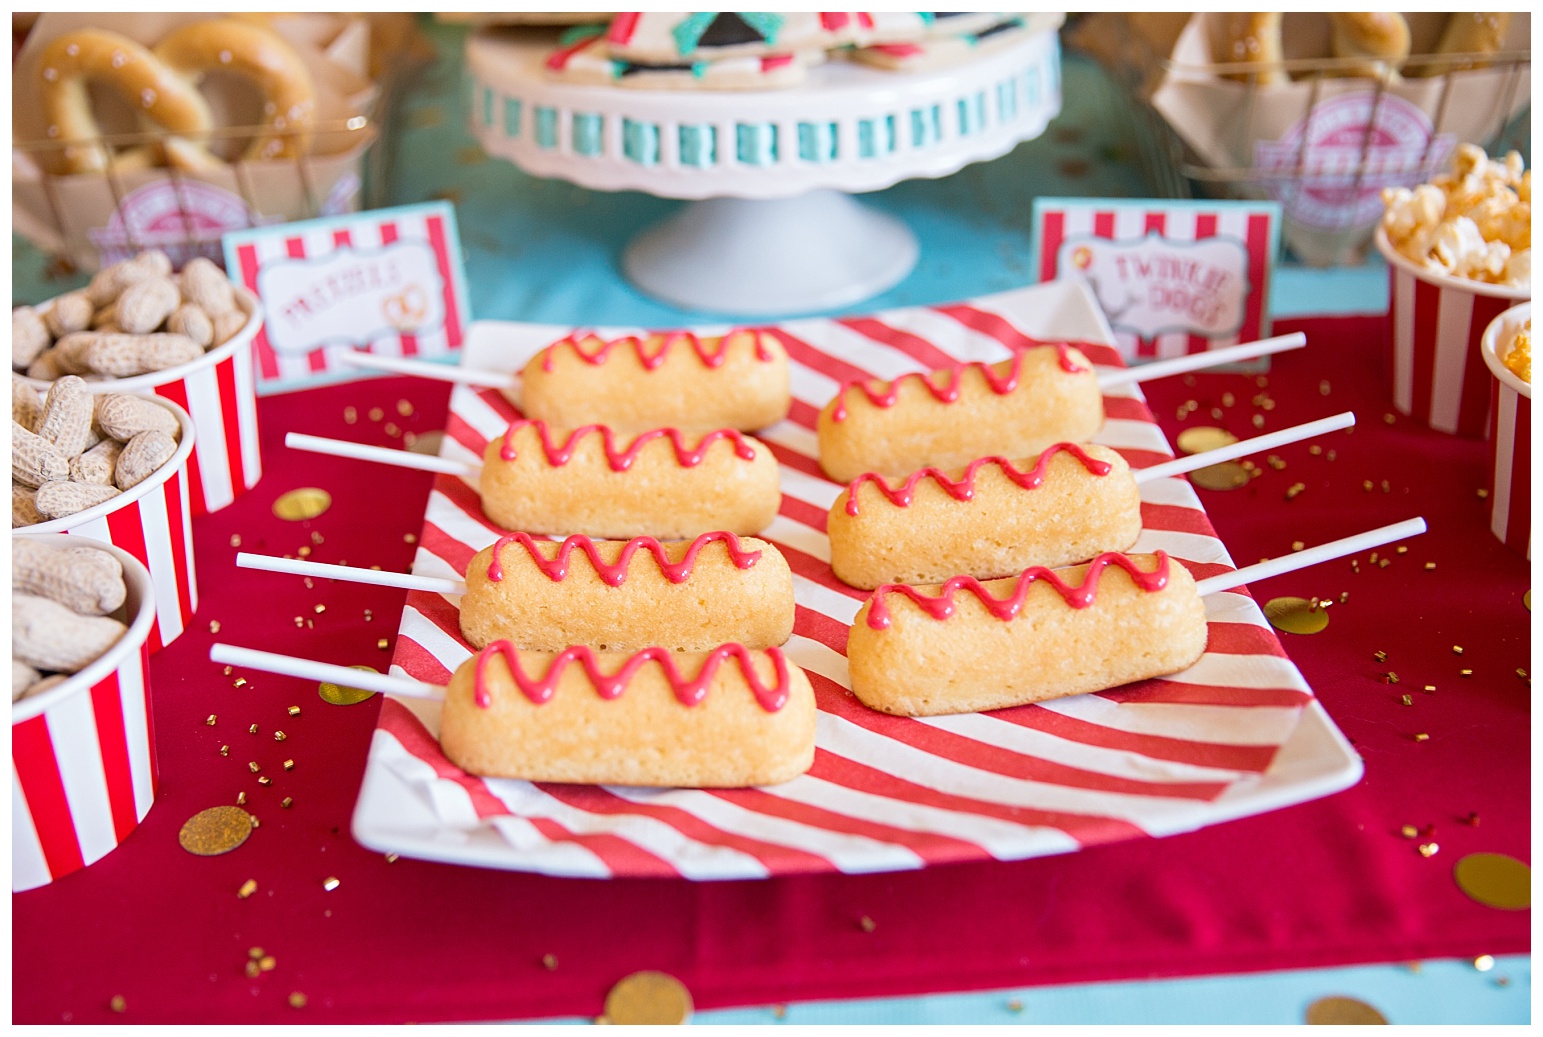

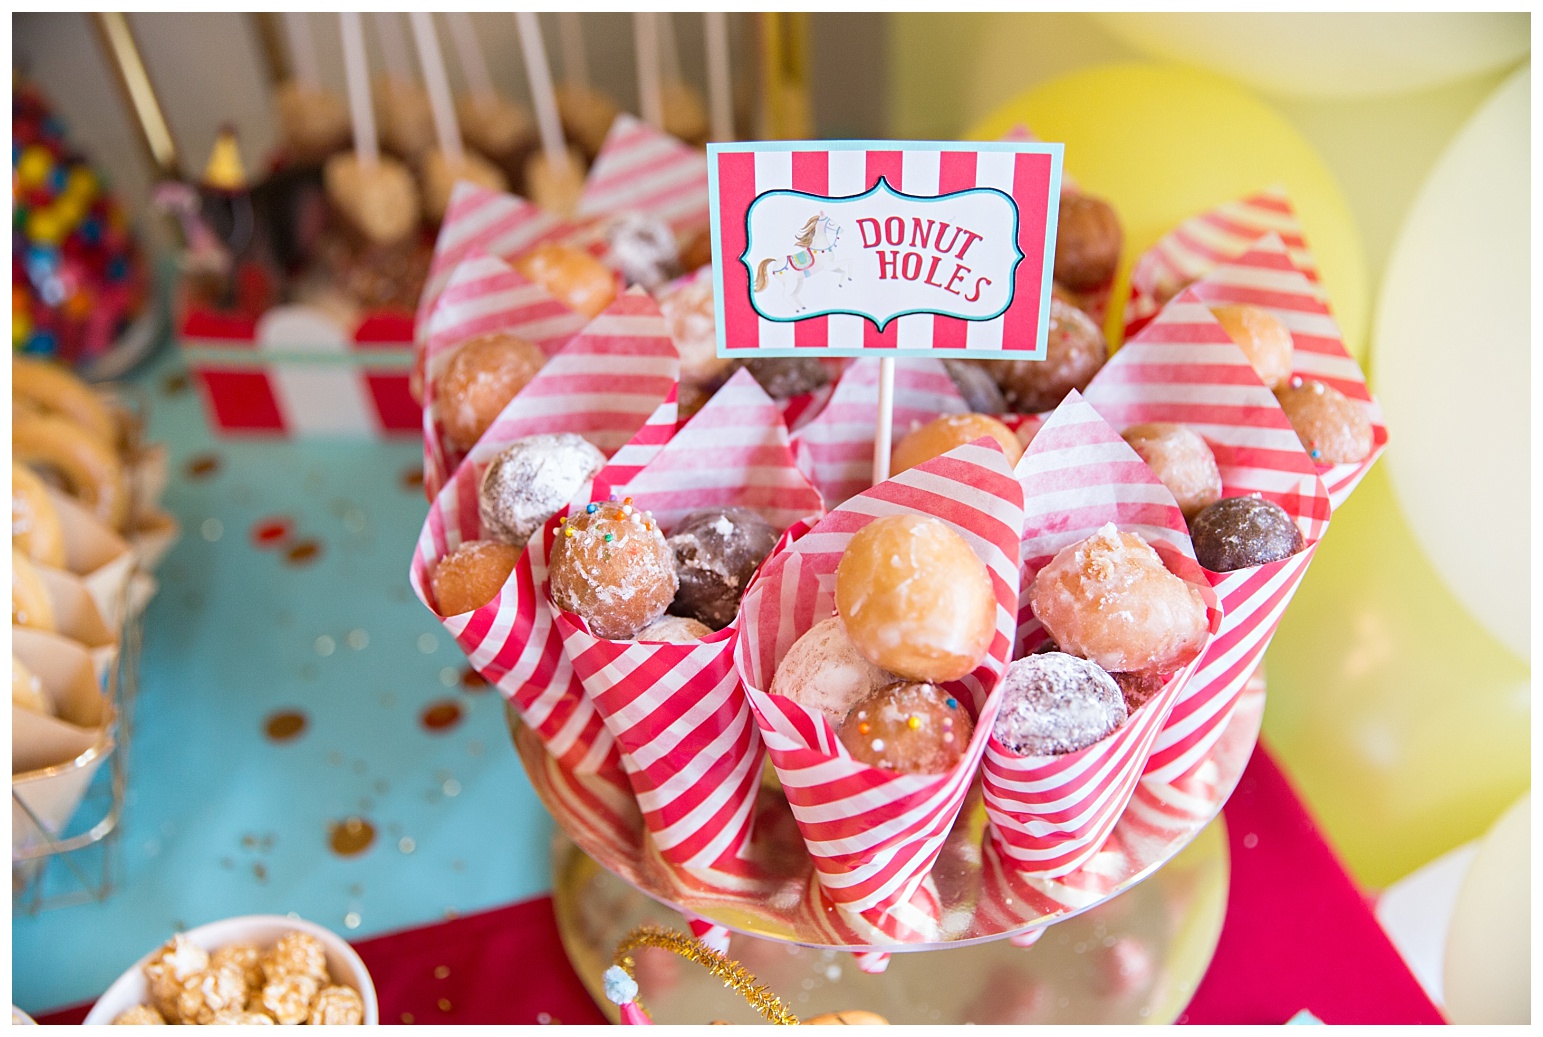
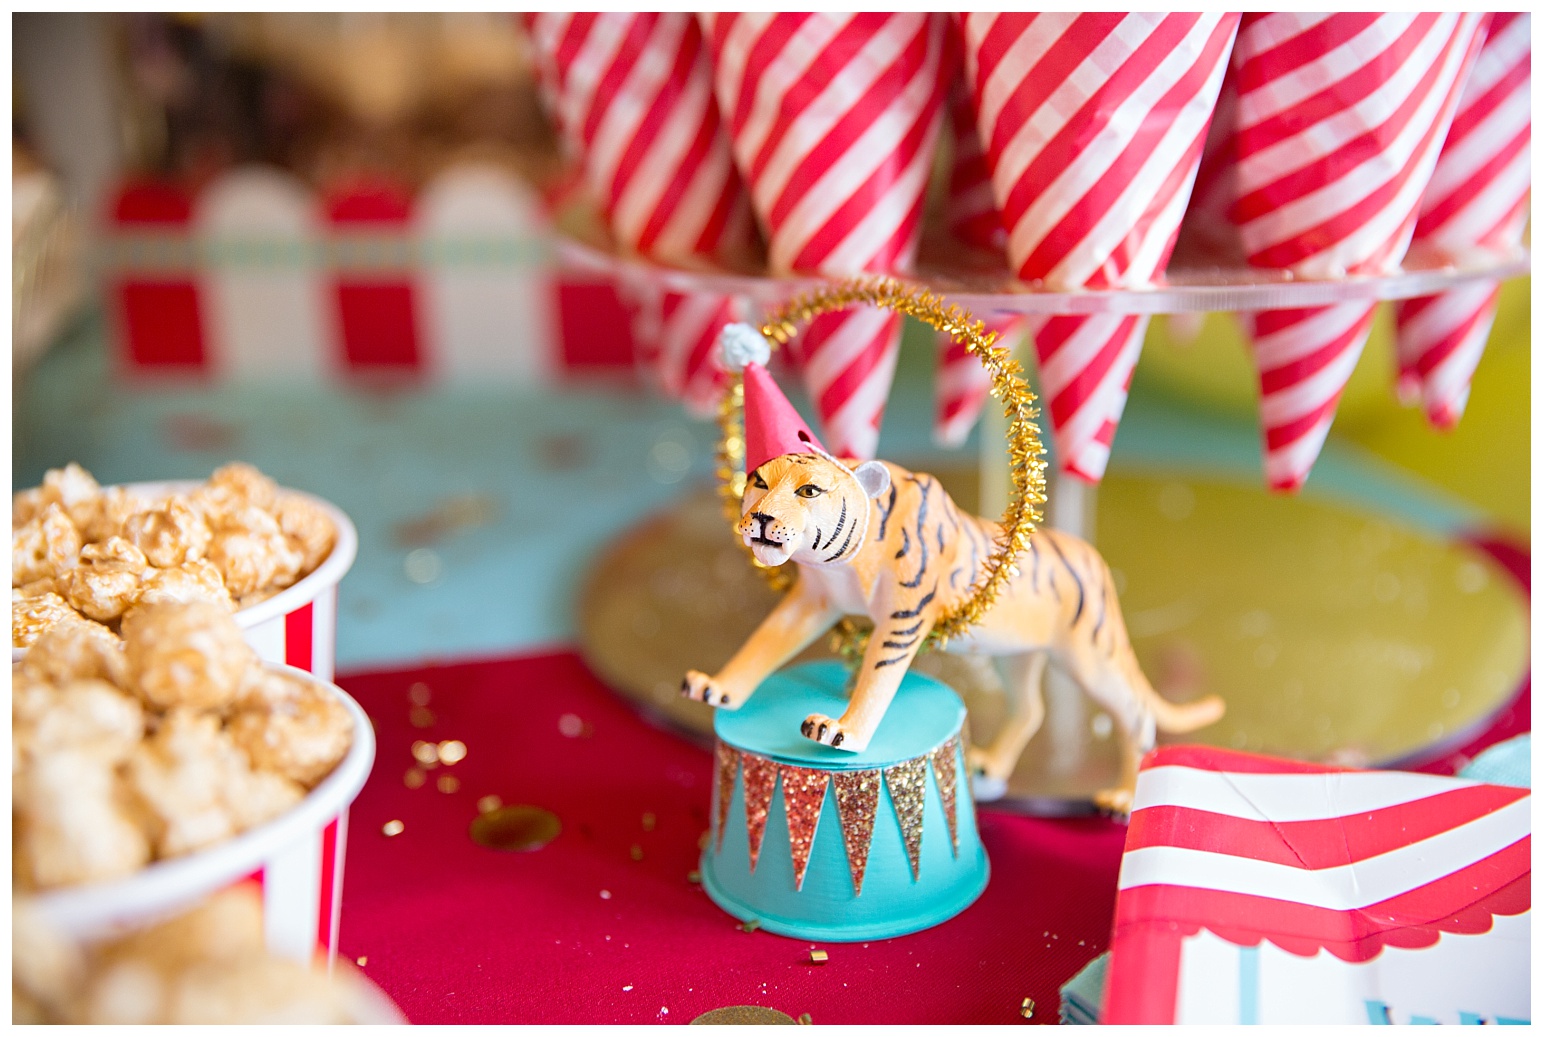
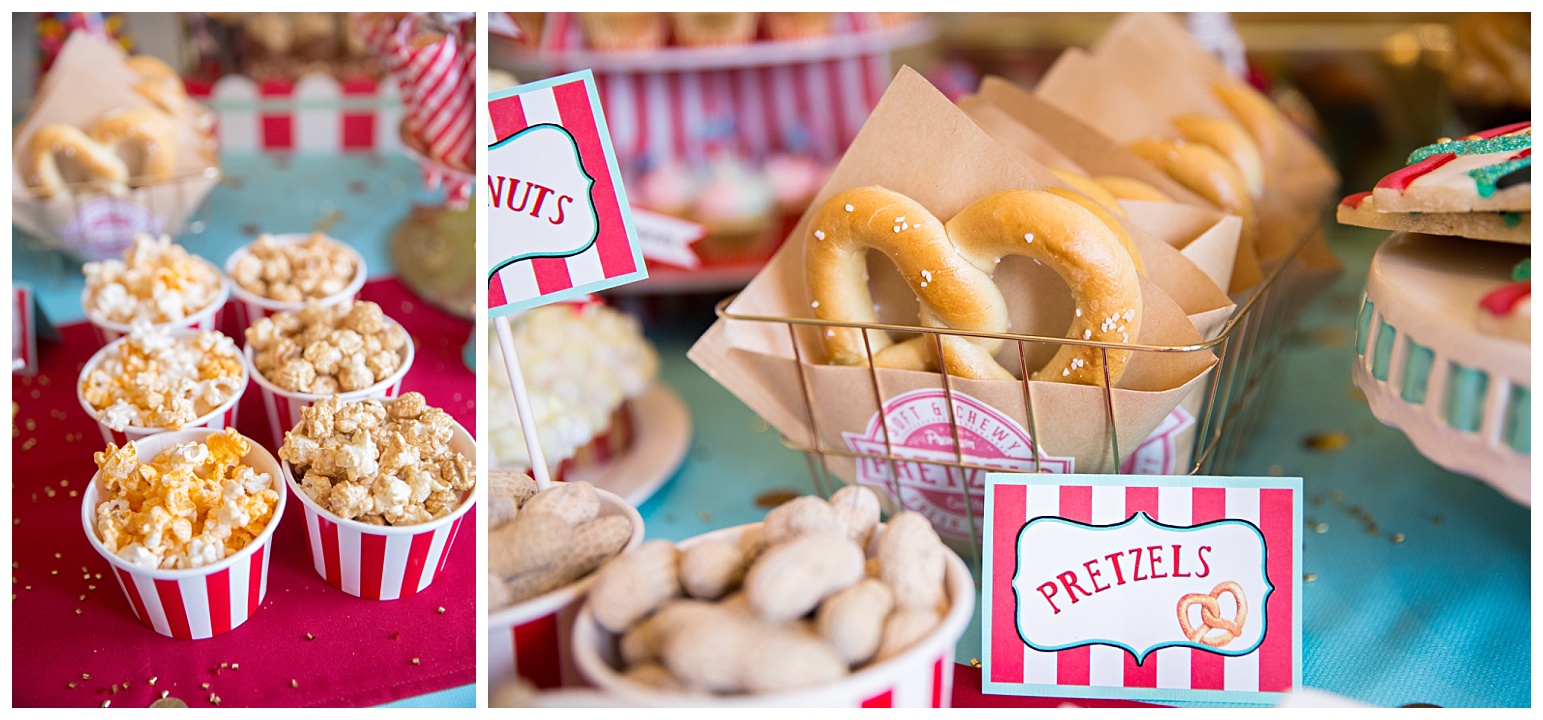
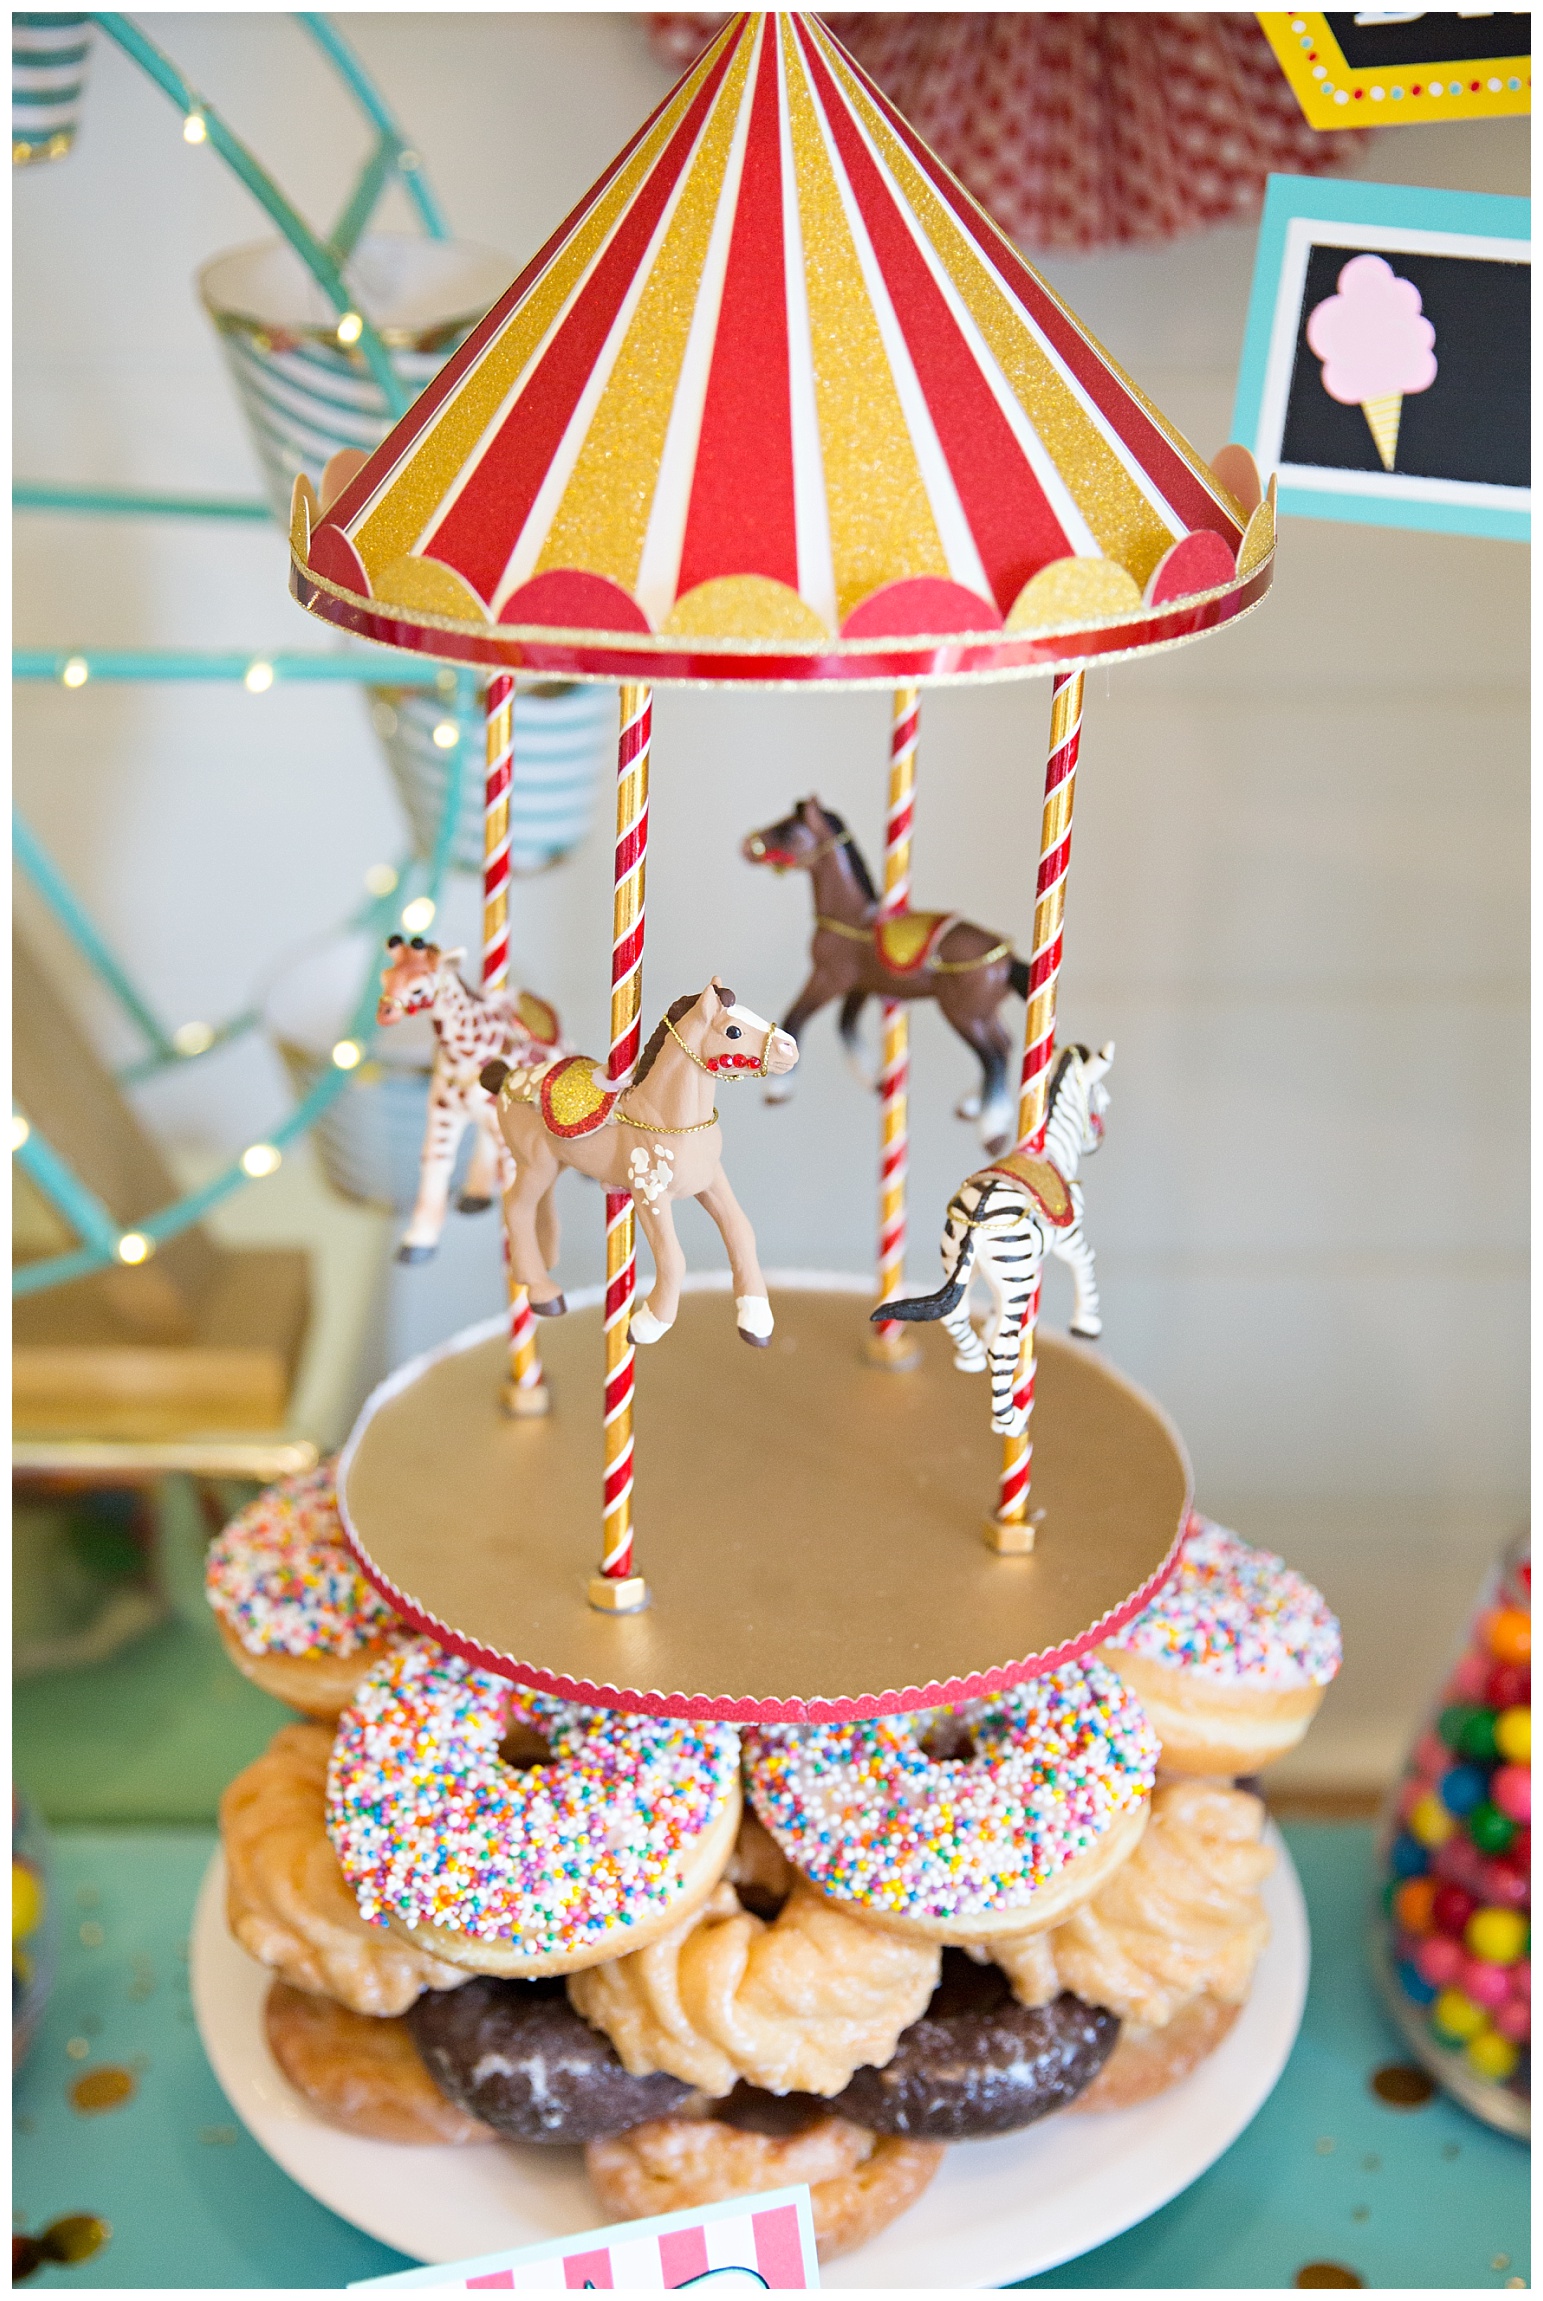
Our usual cake baker fell through this year and Aylah isn’t a huge cake fan anyway so we decided to do donuts this year. But of course there still needed to be a “cake” topper, so I got to work making this carousel. The animals are from Michaels (I painted one of the horses so it would look different than the other one) and I added some saddles and reigns to make them look like carousel animals. Other materials used were paper straws, scrapbook paper, nuts painted gold, lots of math, and even more hot glue.

The above treat stand is from Party City, but I painted the posts gold. The sign below is also from Party City and I did the words with my Cricut.

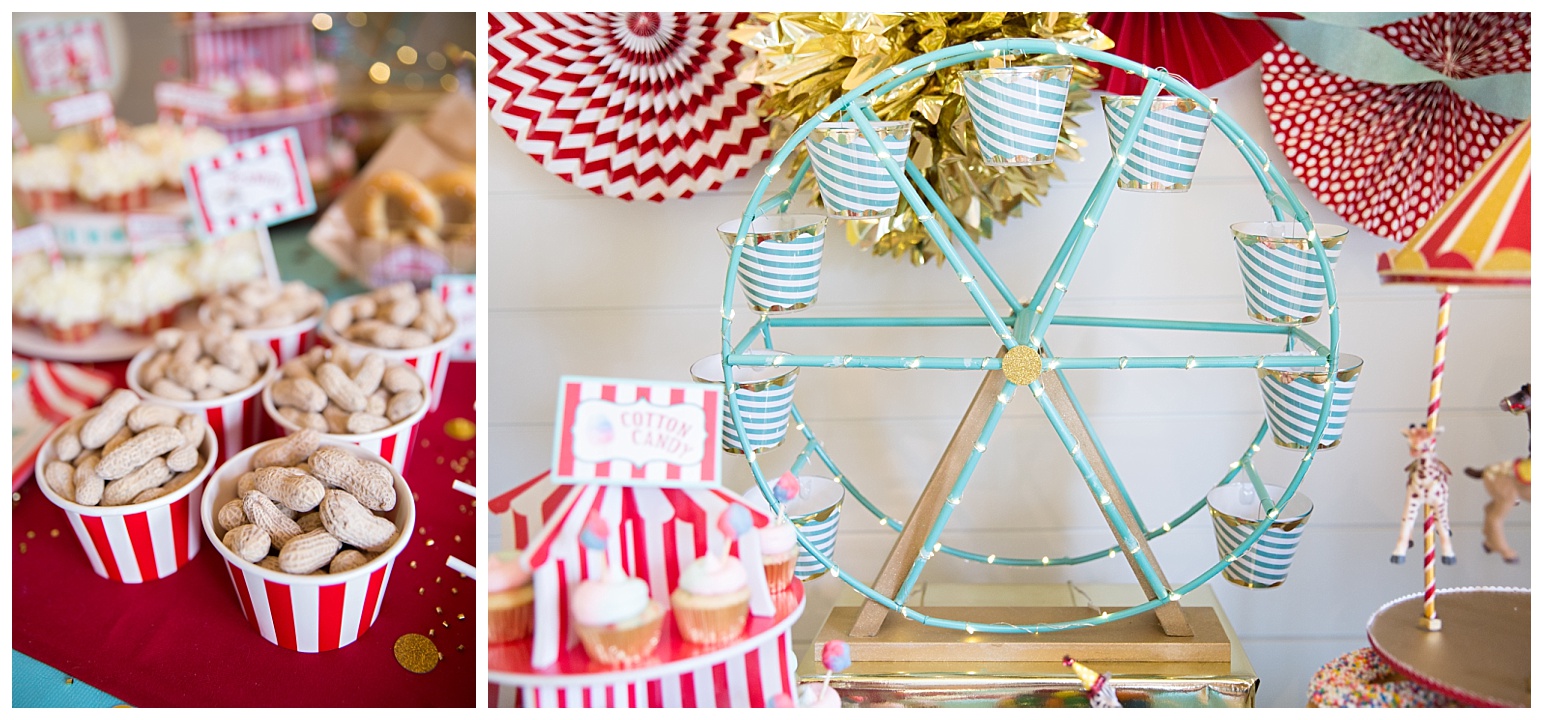
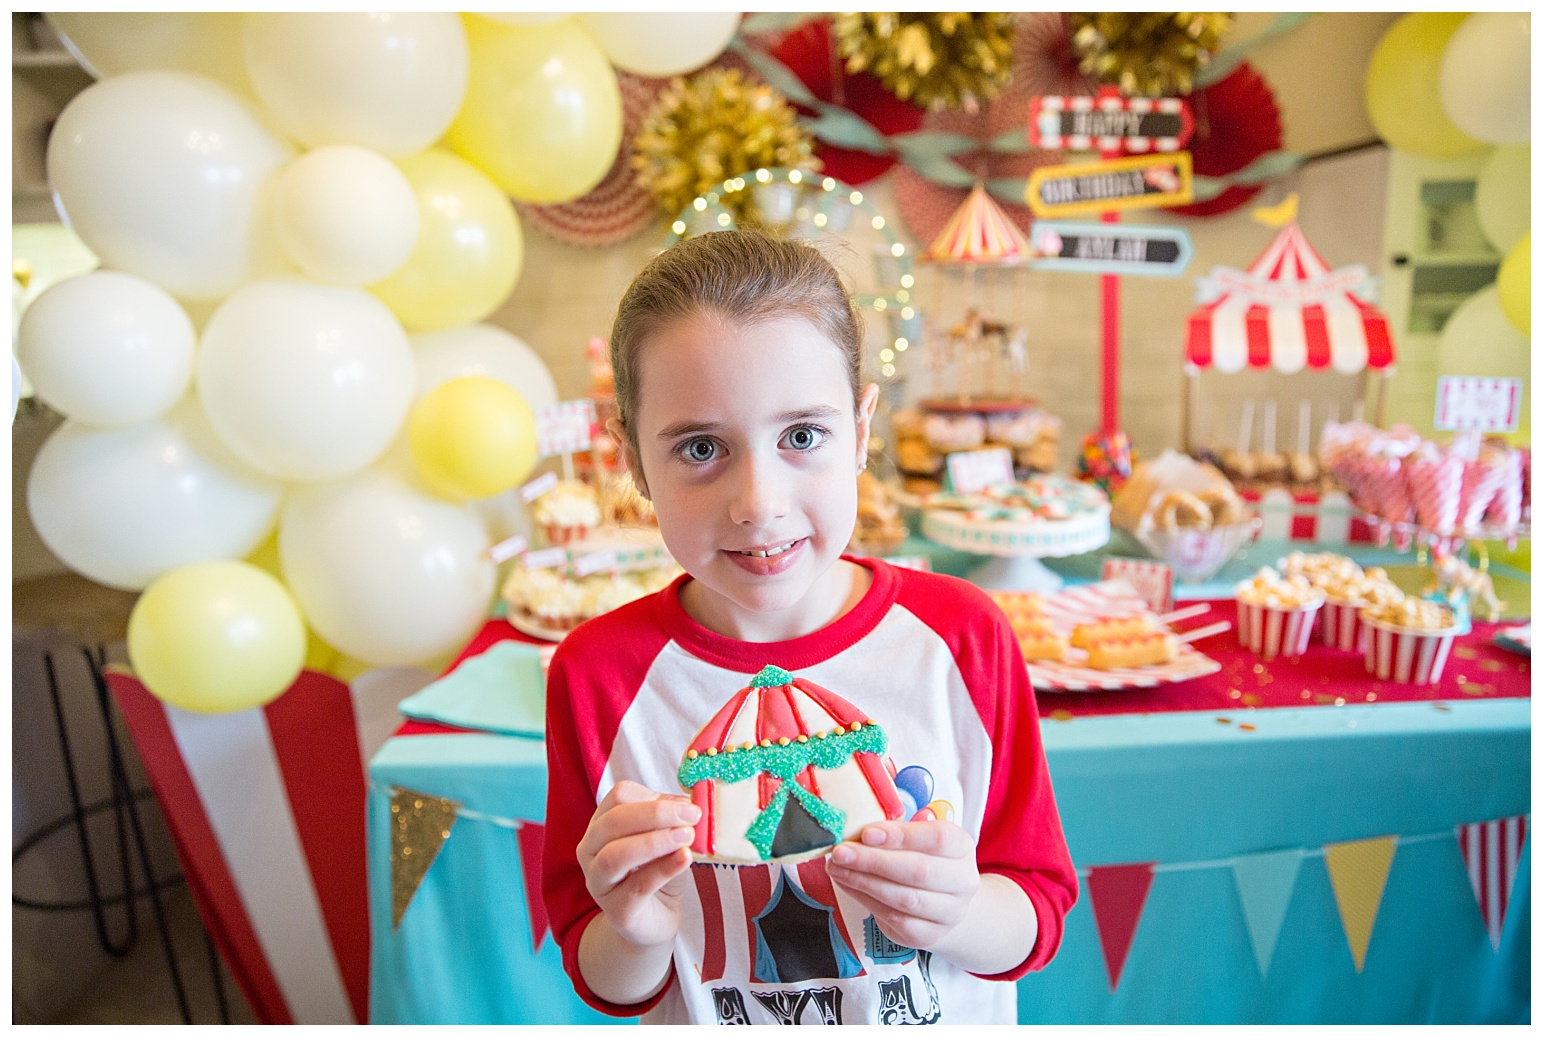
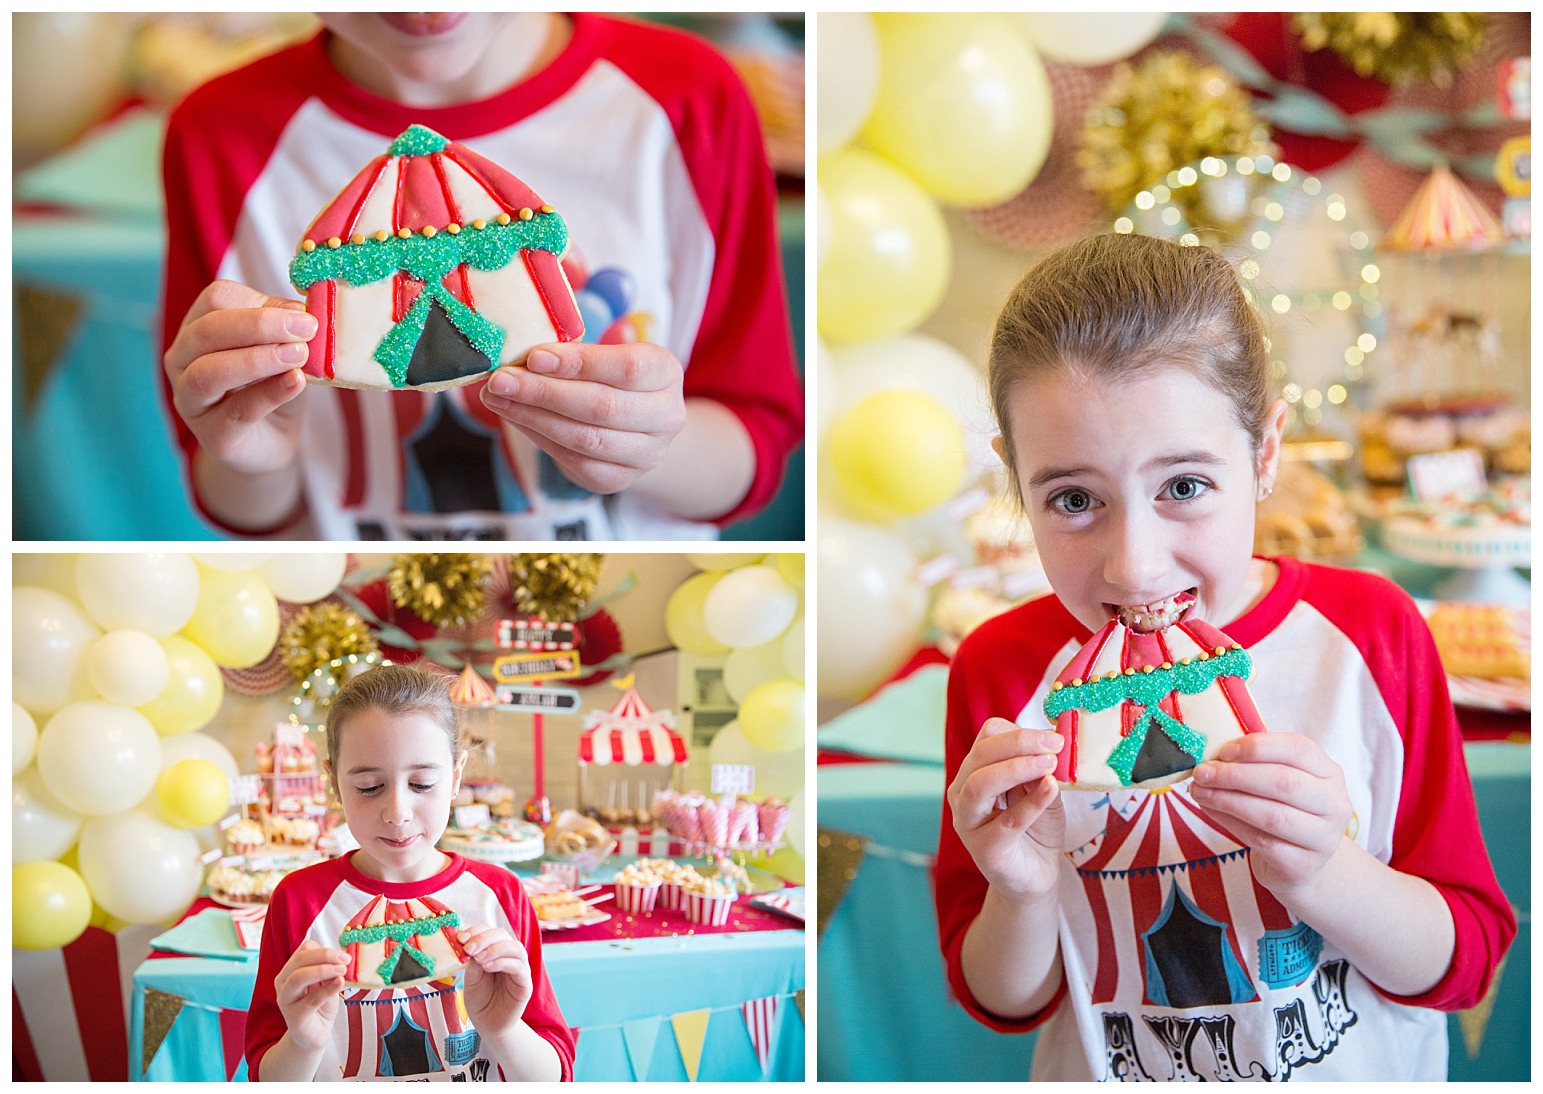
These big top sugar cookies turned out so good. I got the cookie cutter from this Etsy shop but it seems she is currently not selling the tent cutter, hopefully it will come back at some point.

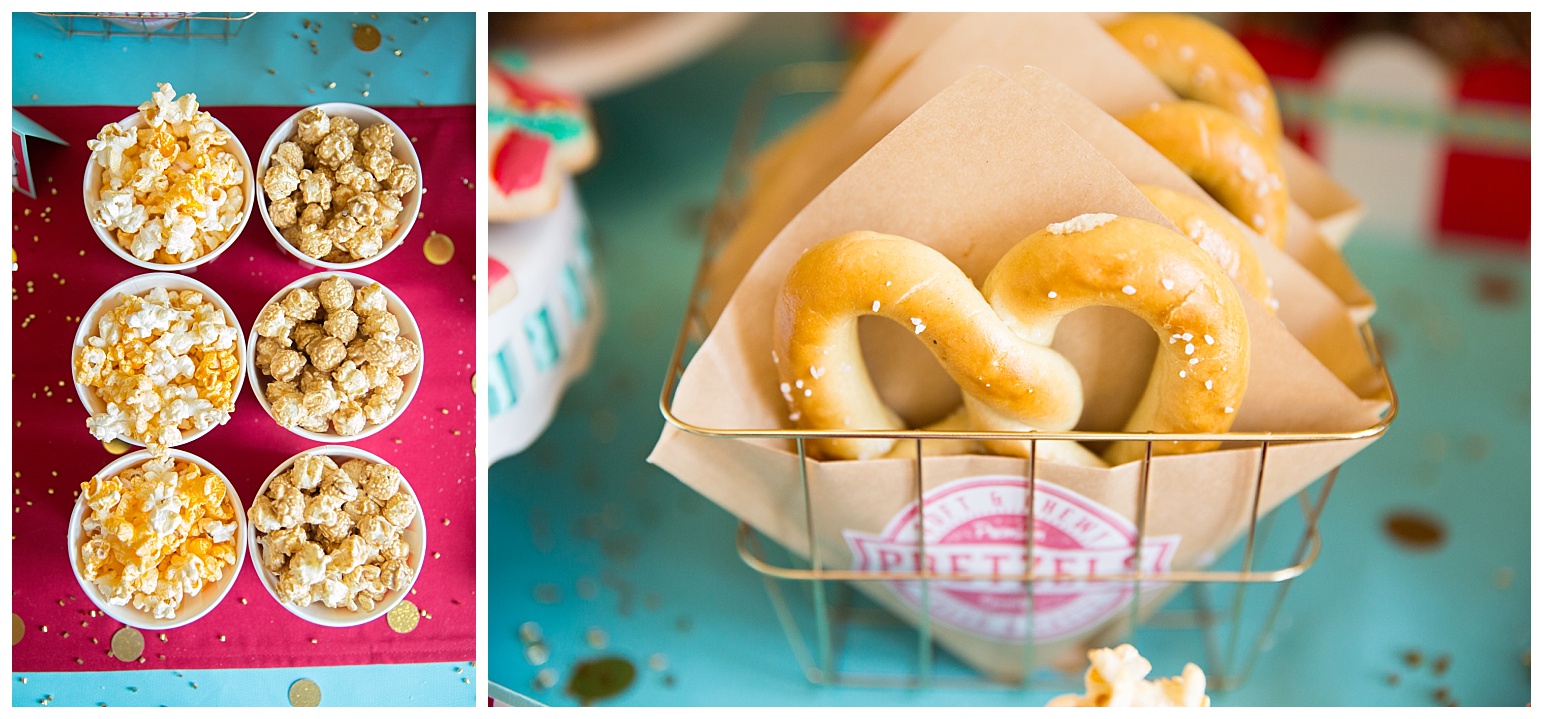
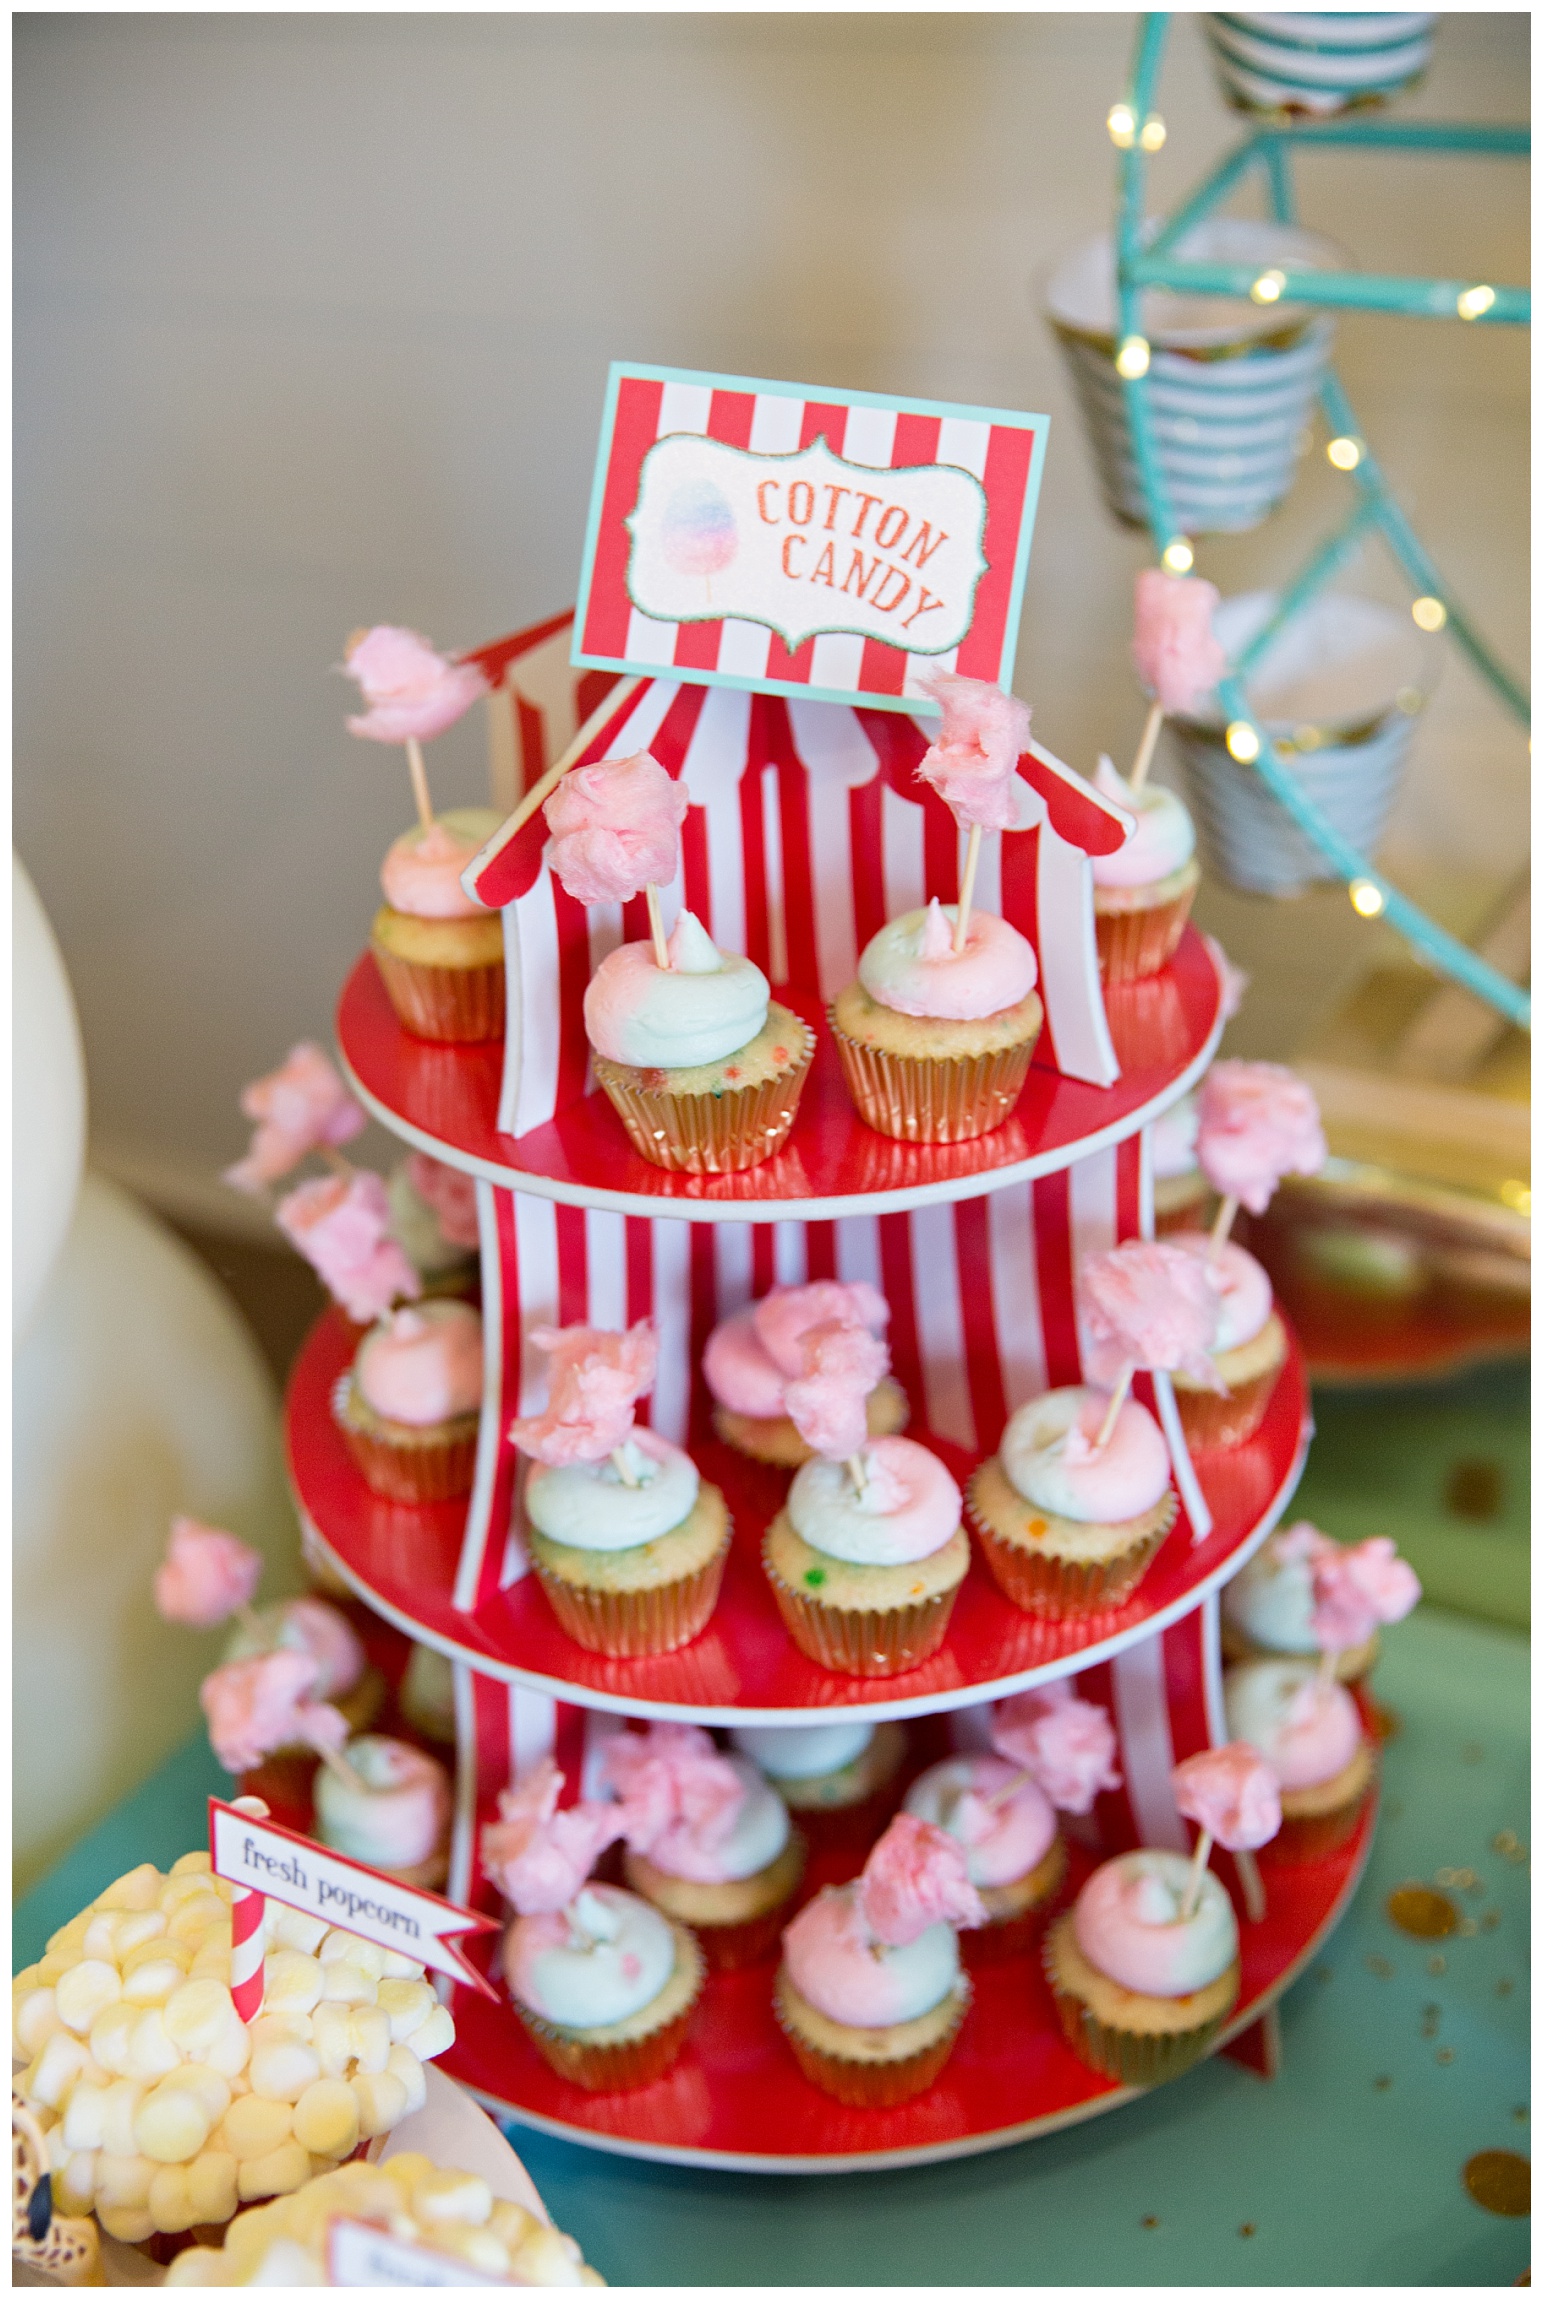
This perfect cupcake stand is from Amazon.
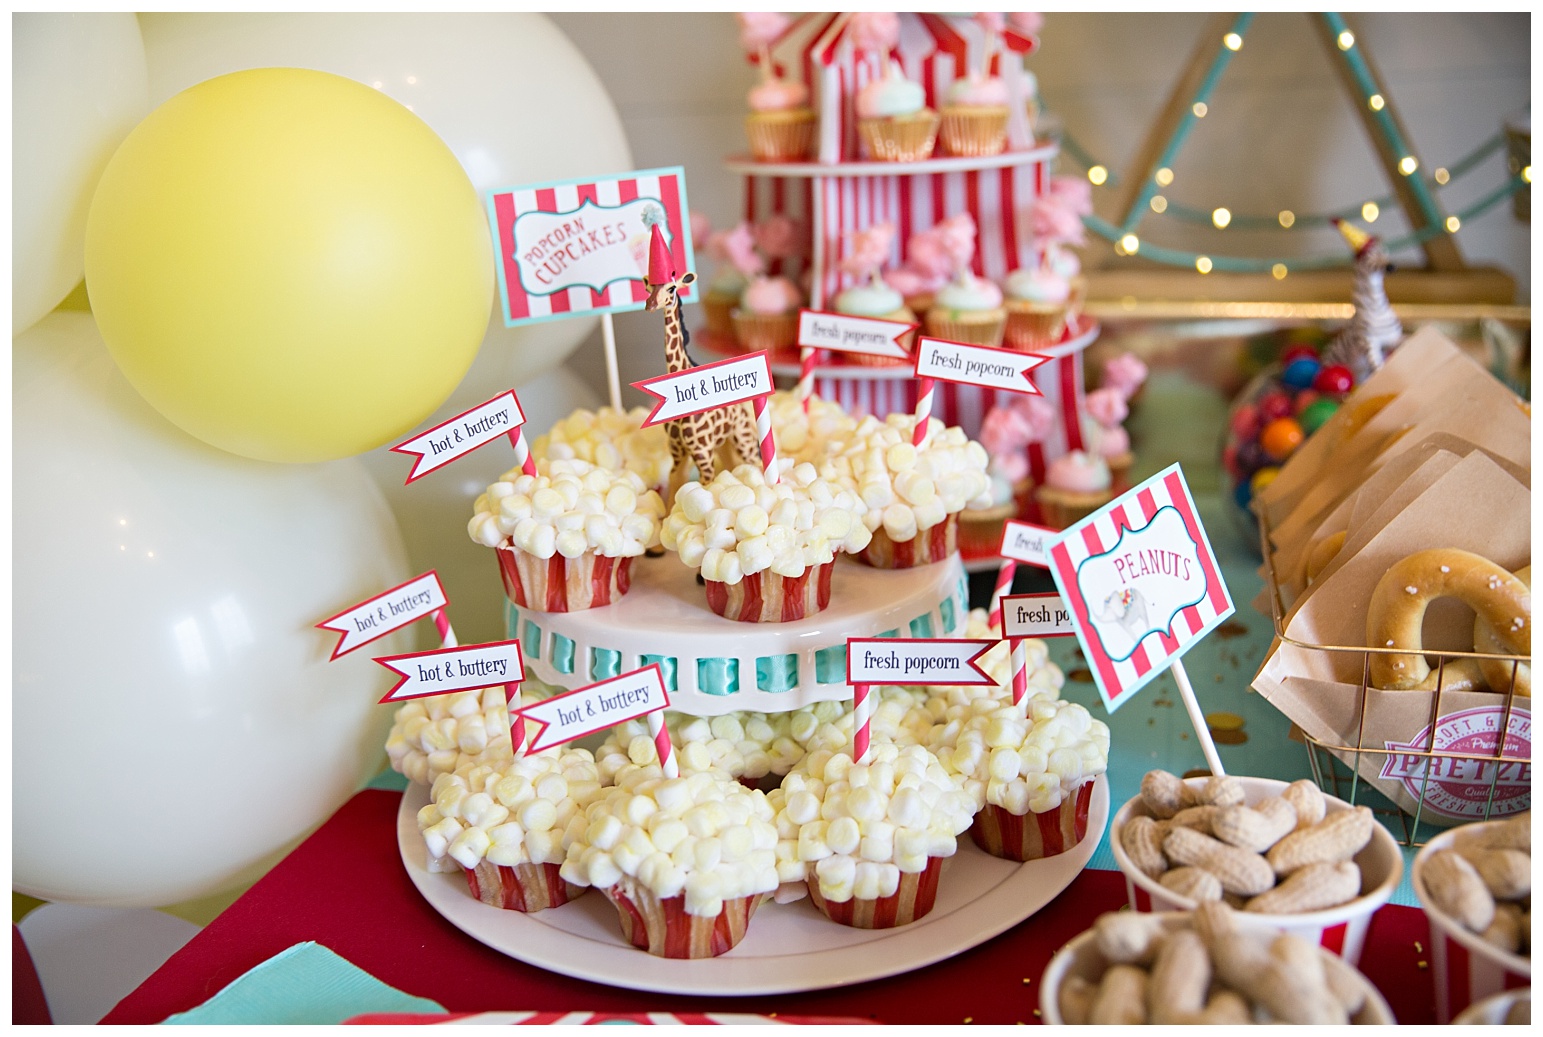
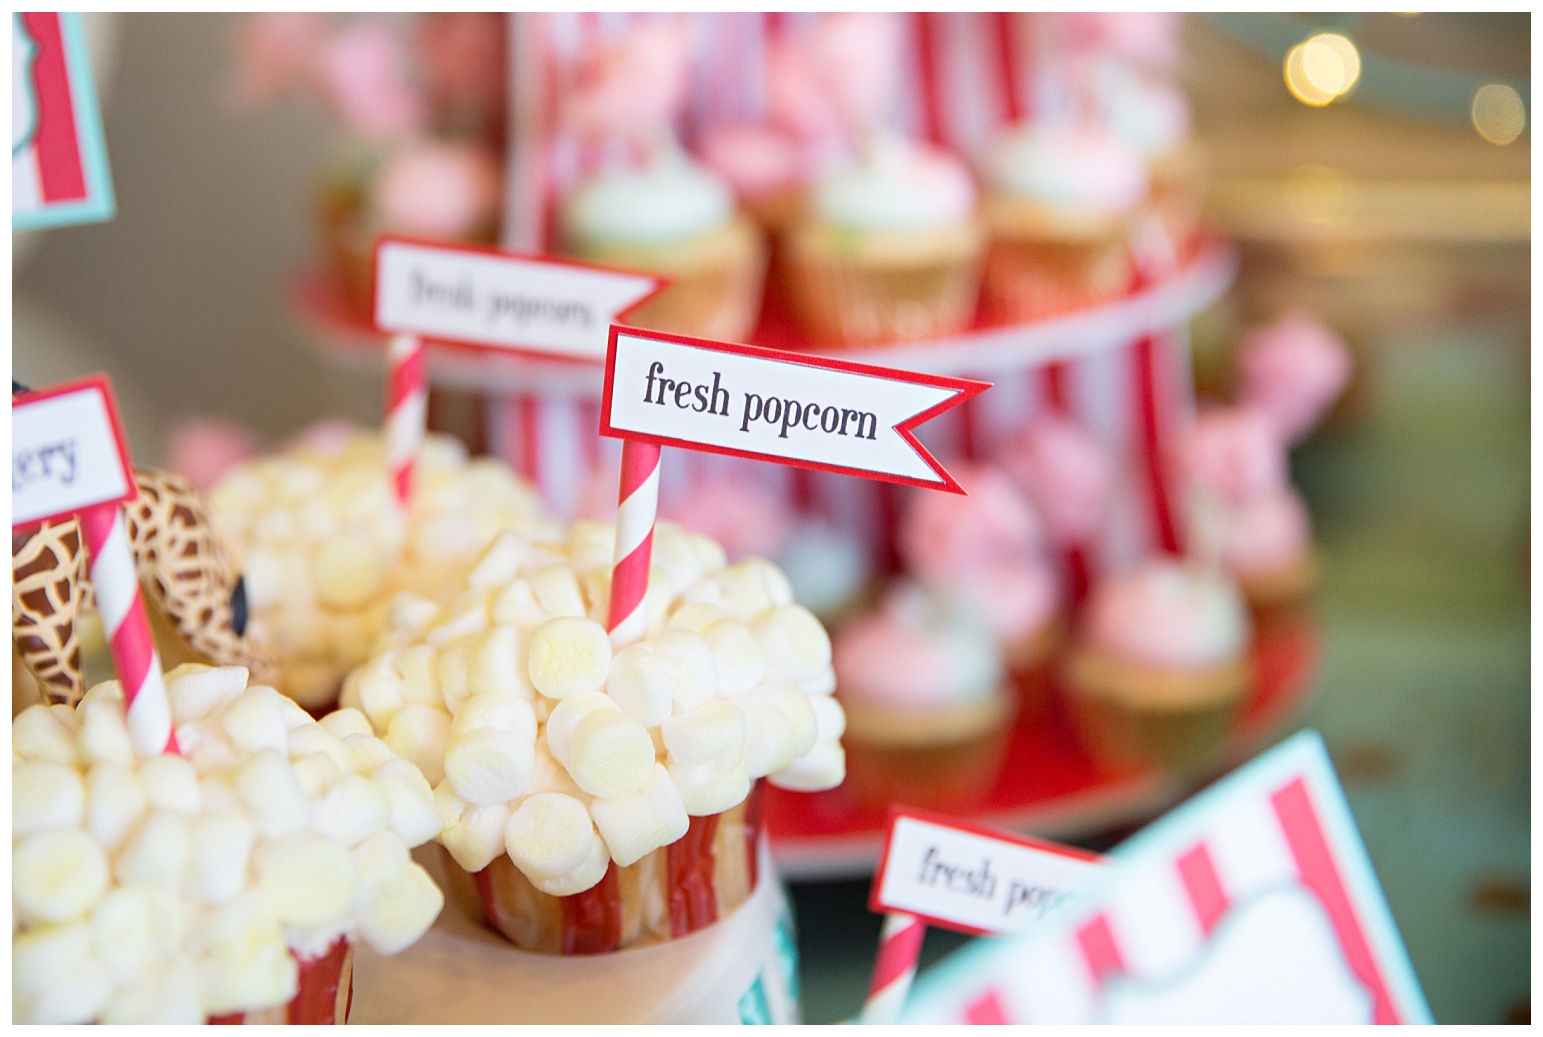
These popcorn cupcakes were so easy to make. Inspiration and instructions came from this very helpful blog post.

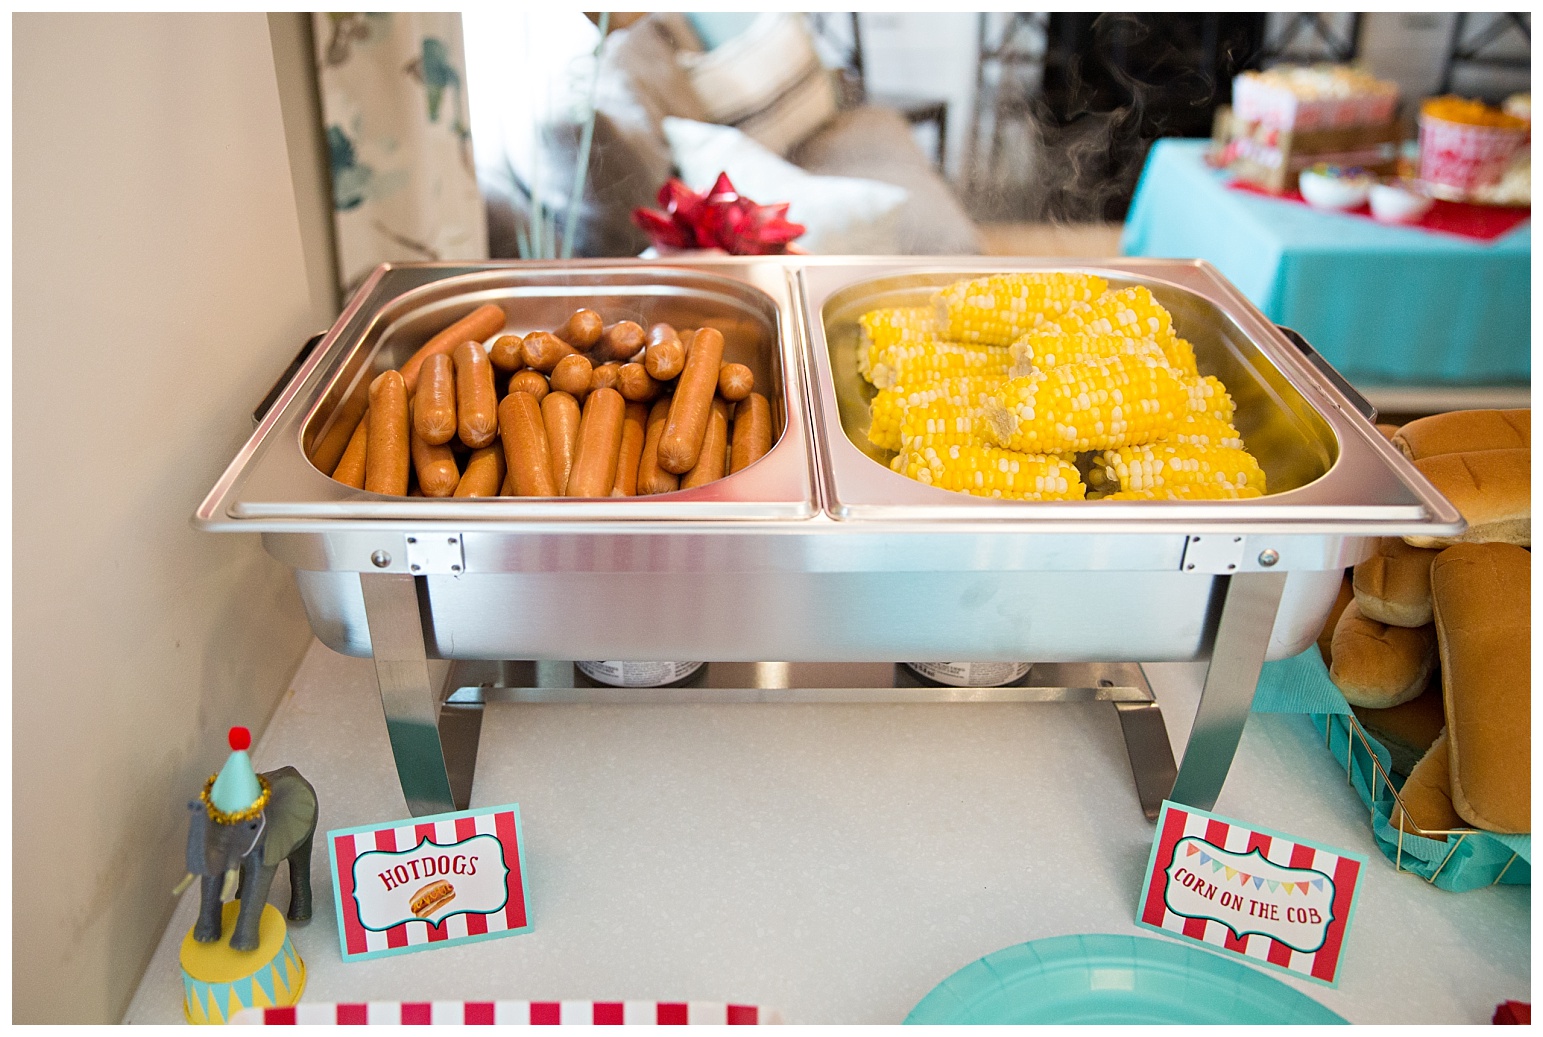
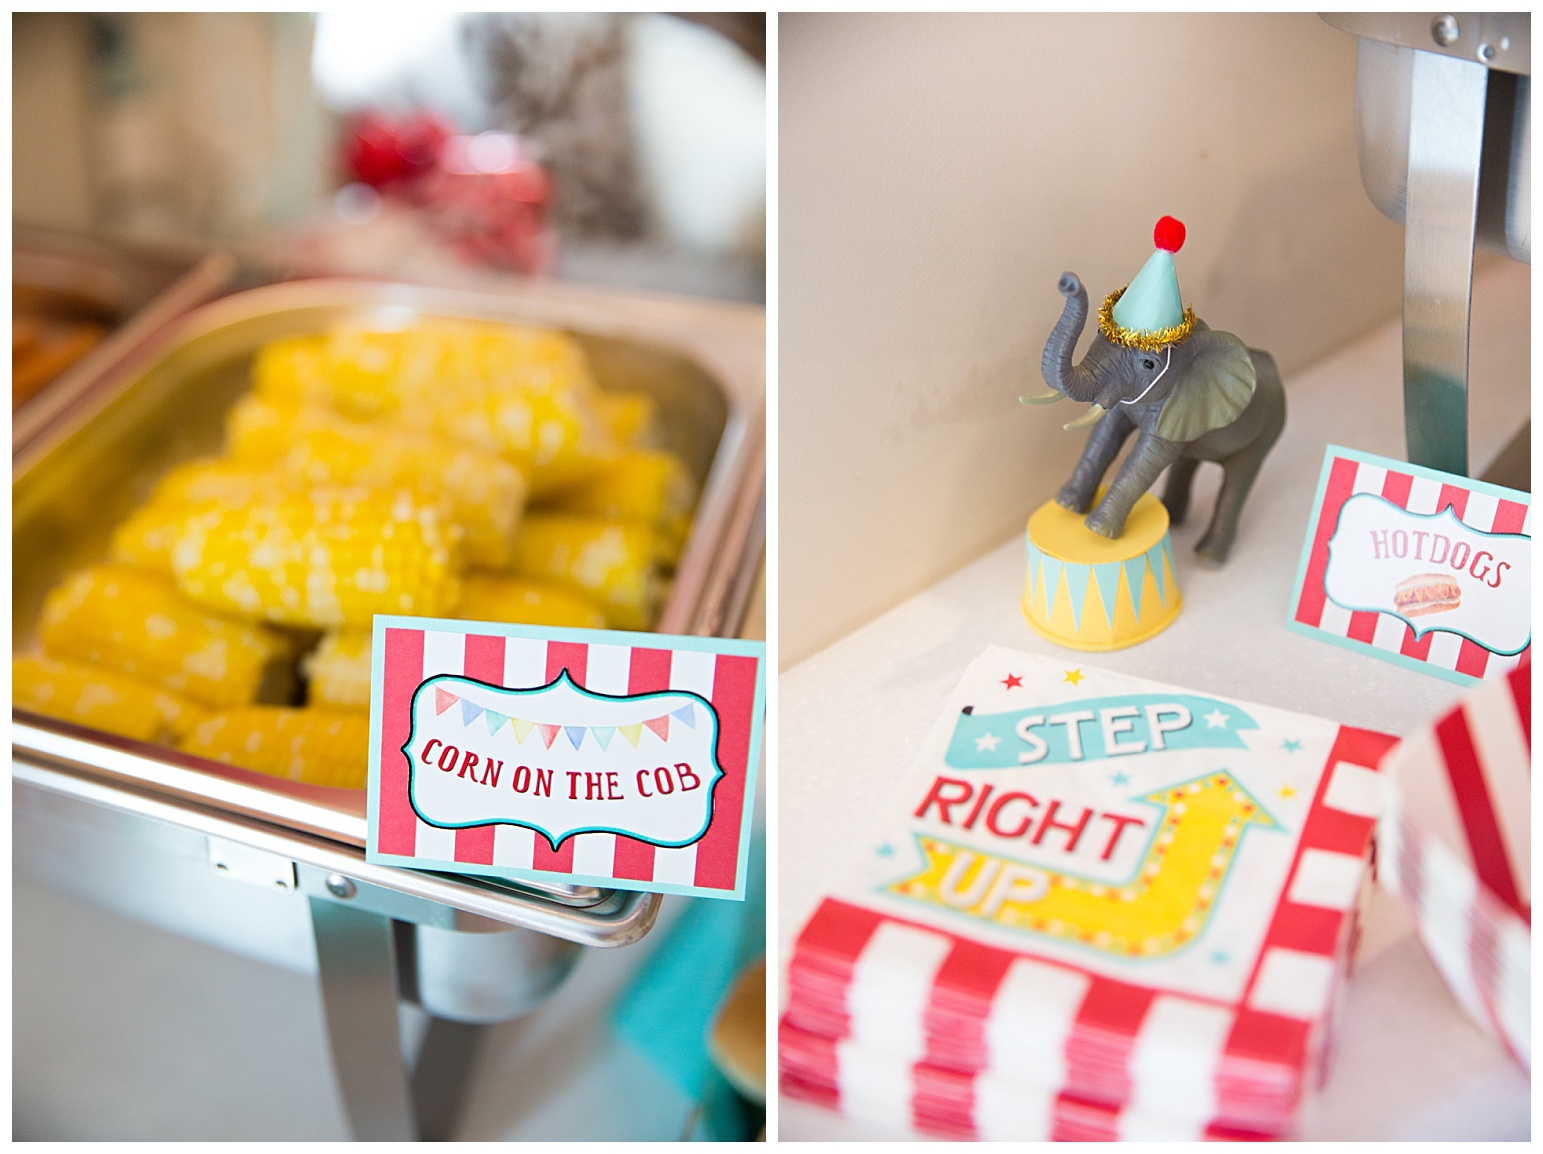
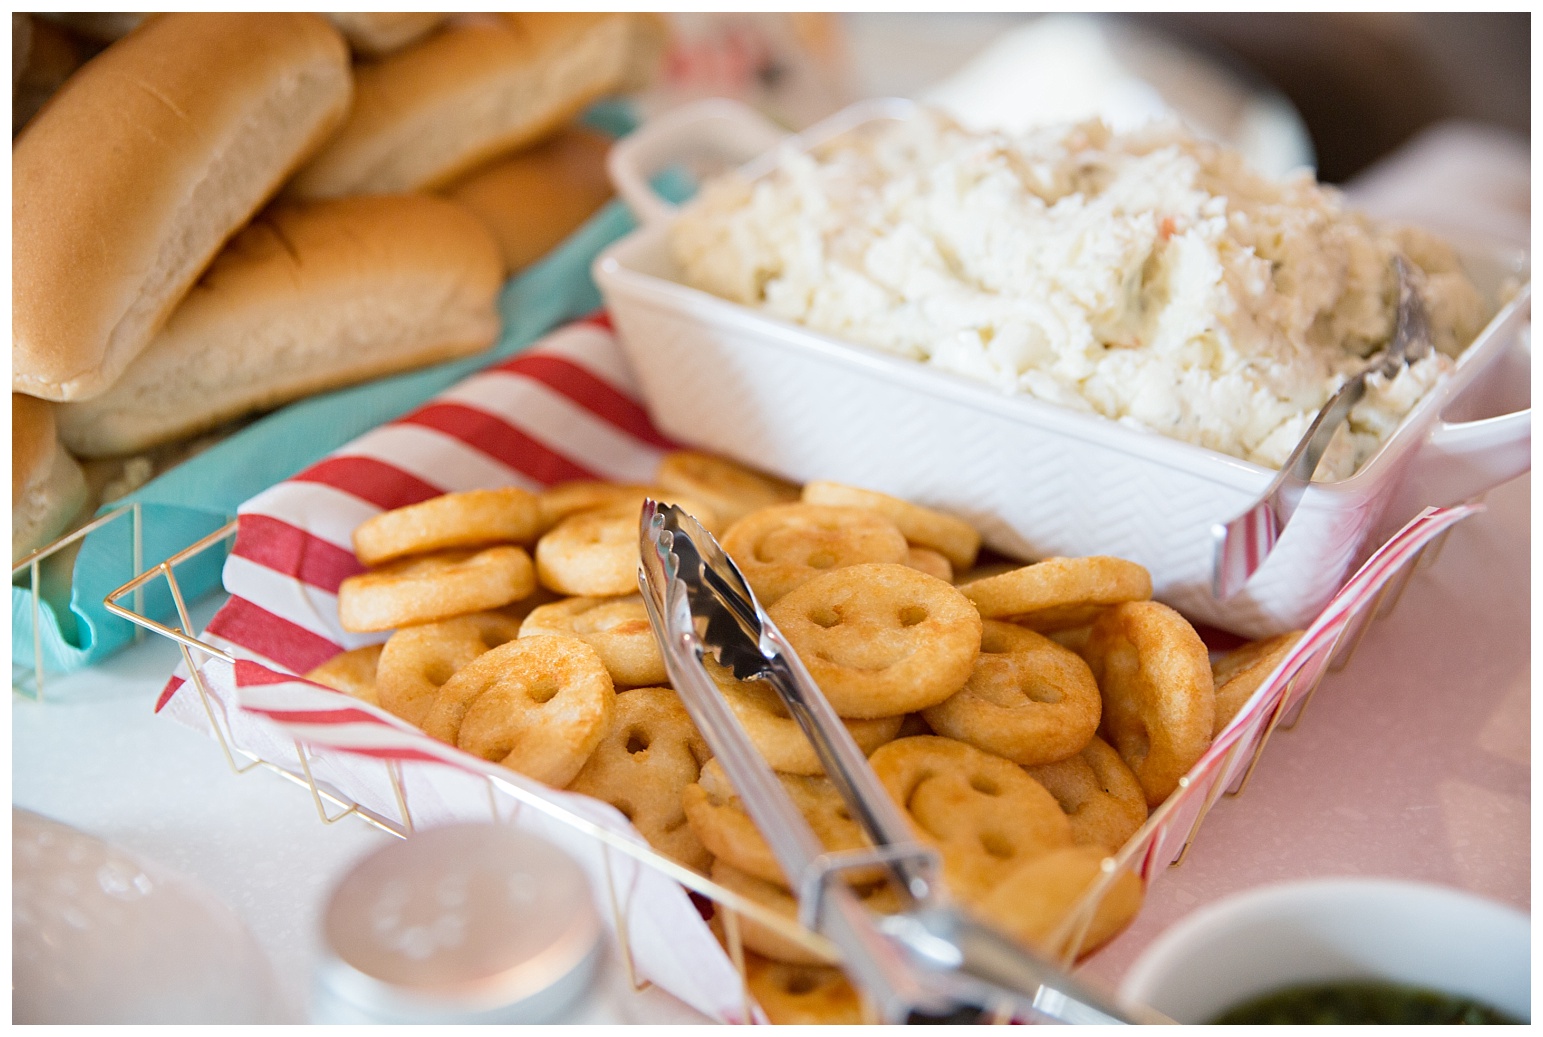
Aylah thought it was hilarious that the lion’s foot was in the cheese. Kids … Amiright?!?

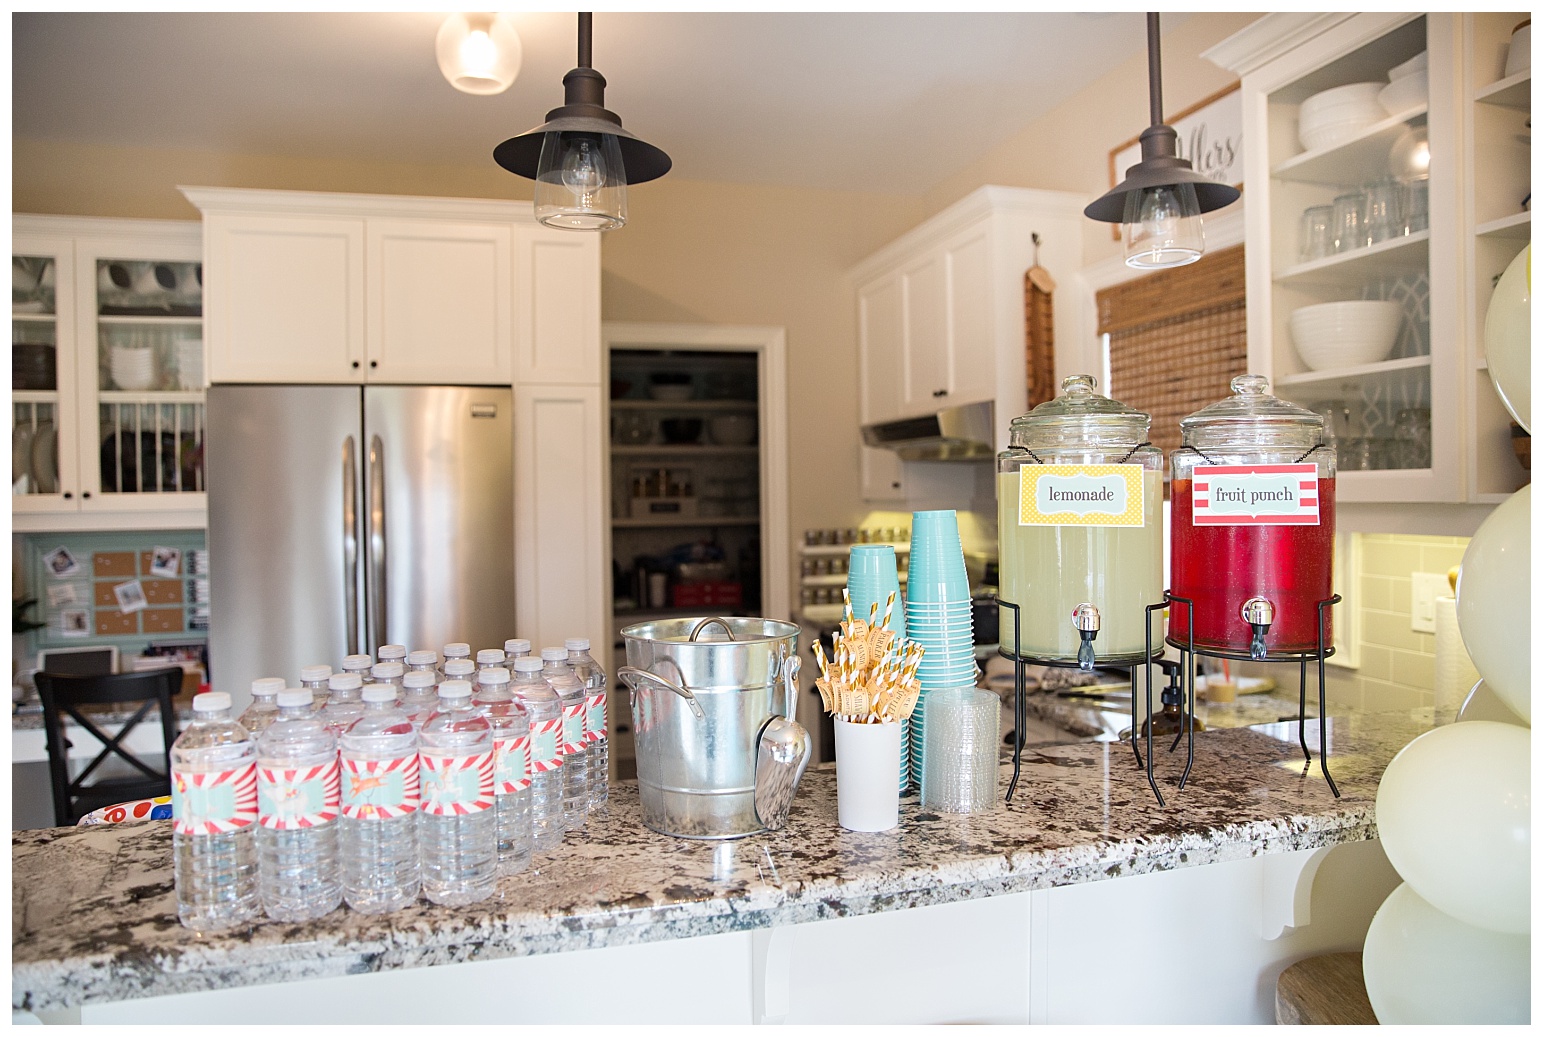
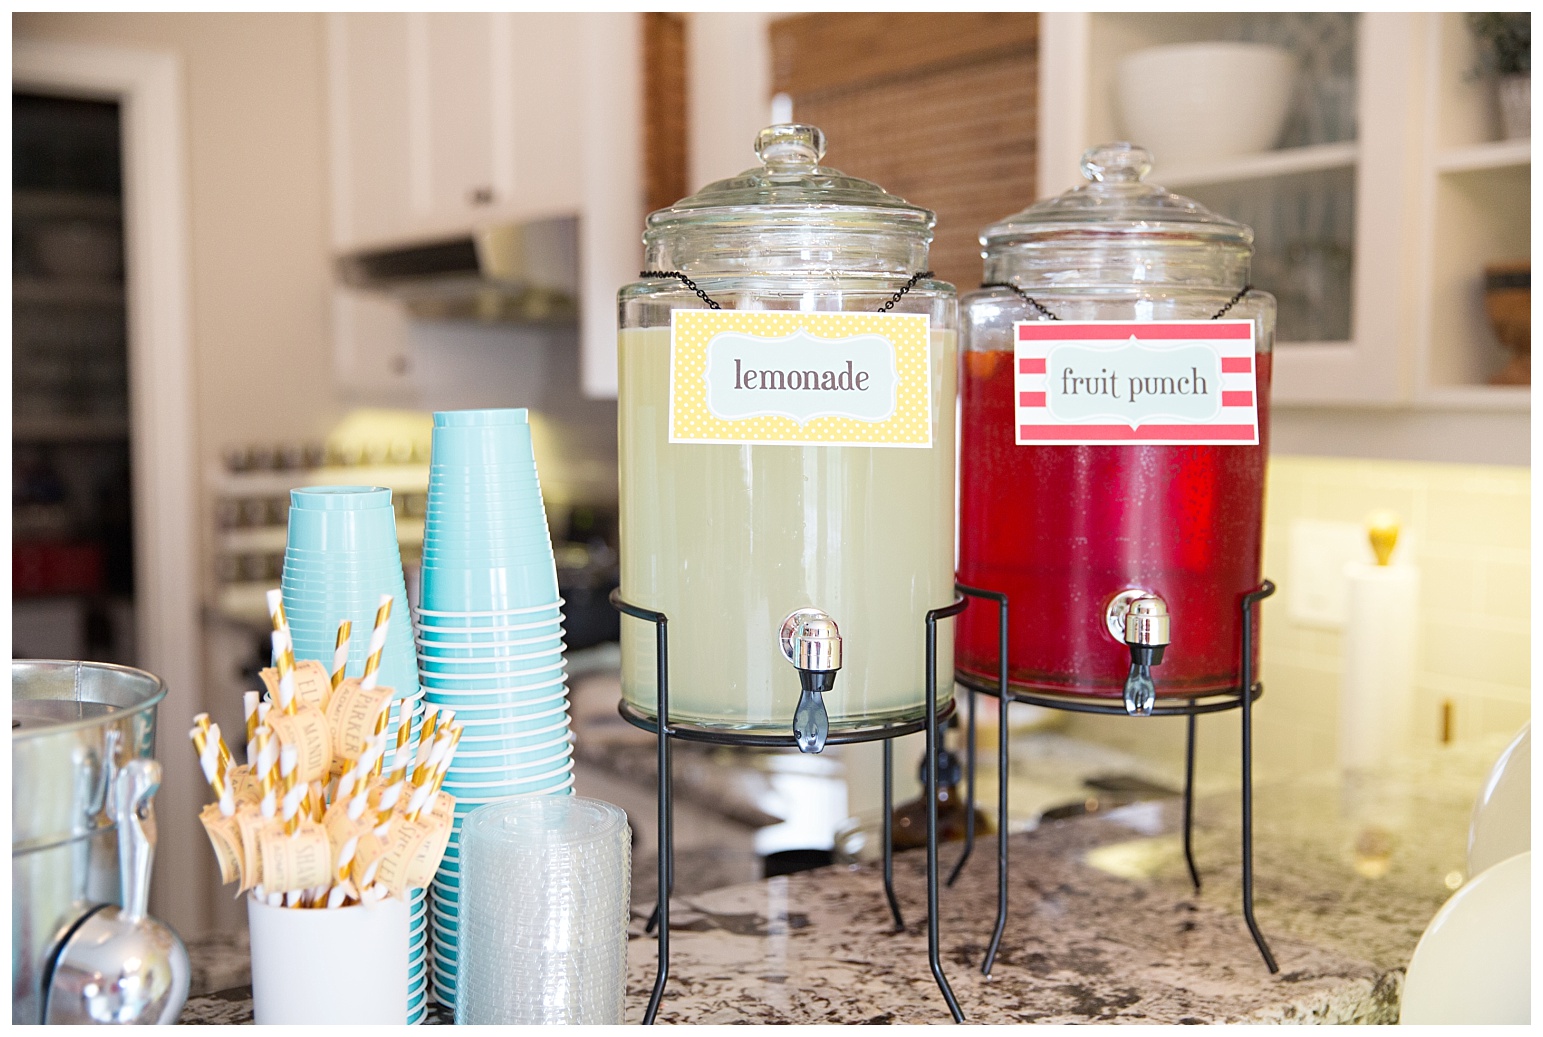
I usually like to label the cups somehow since they all look the same and kids are little germ carriers, lol. I thought these ticket labels with everyone’s names on them would be perfect. I designed them in Photoshop and printed them onto cardstock. I even cut the top and bottom edges with my Fiskars craft scissors with the postage stamp effect so it would have the appearance of the perforated edge.
The gold paper straws are from Amazon.

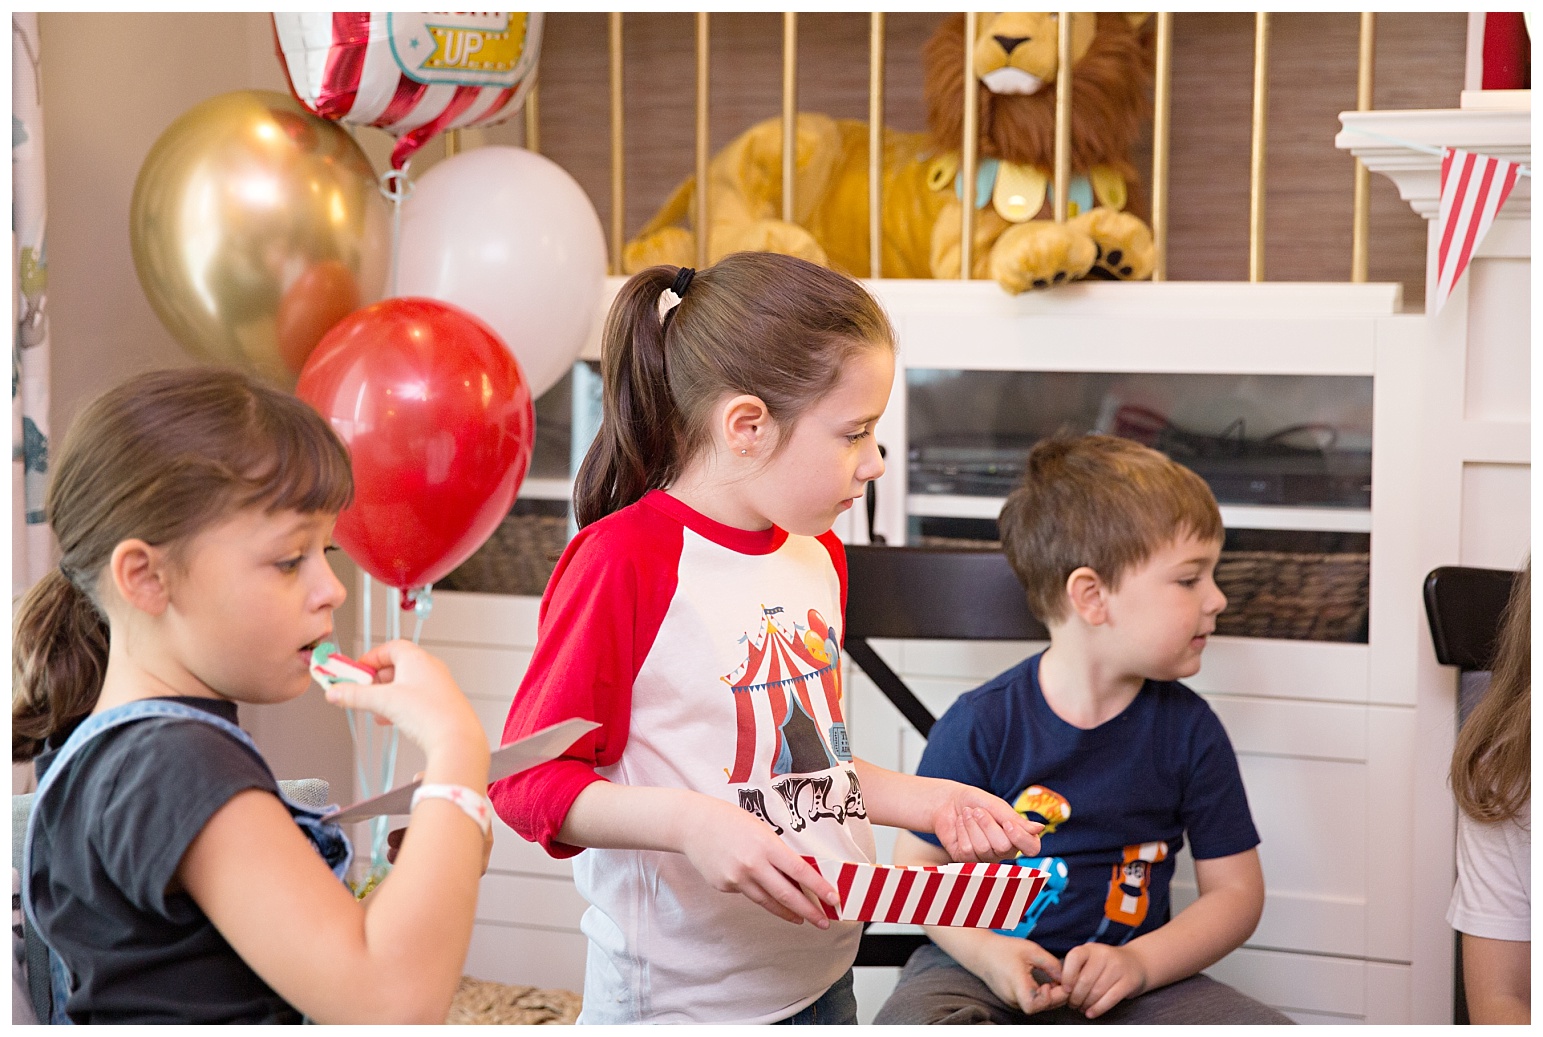
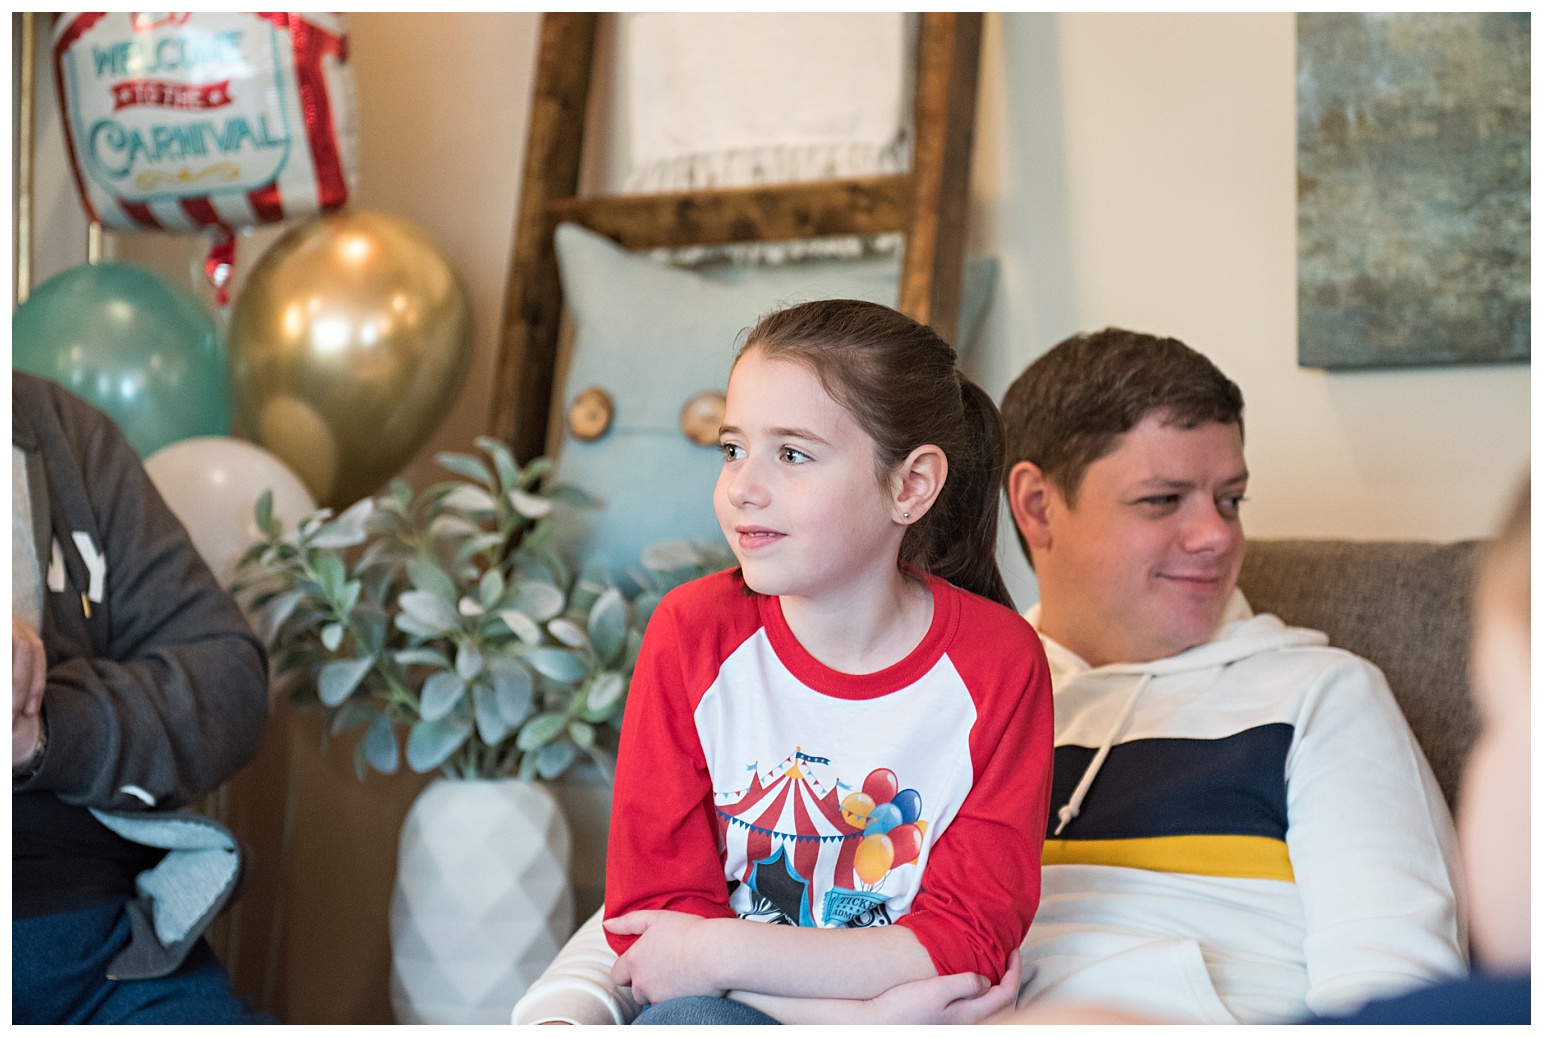
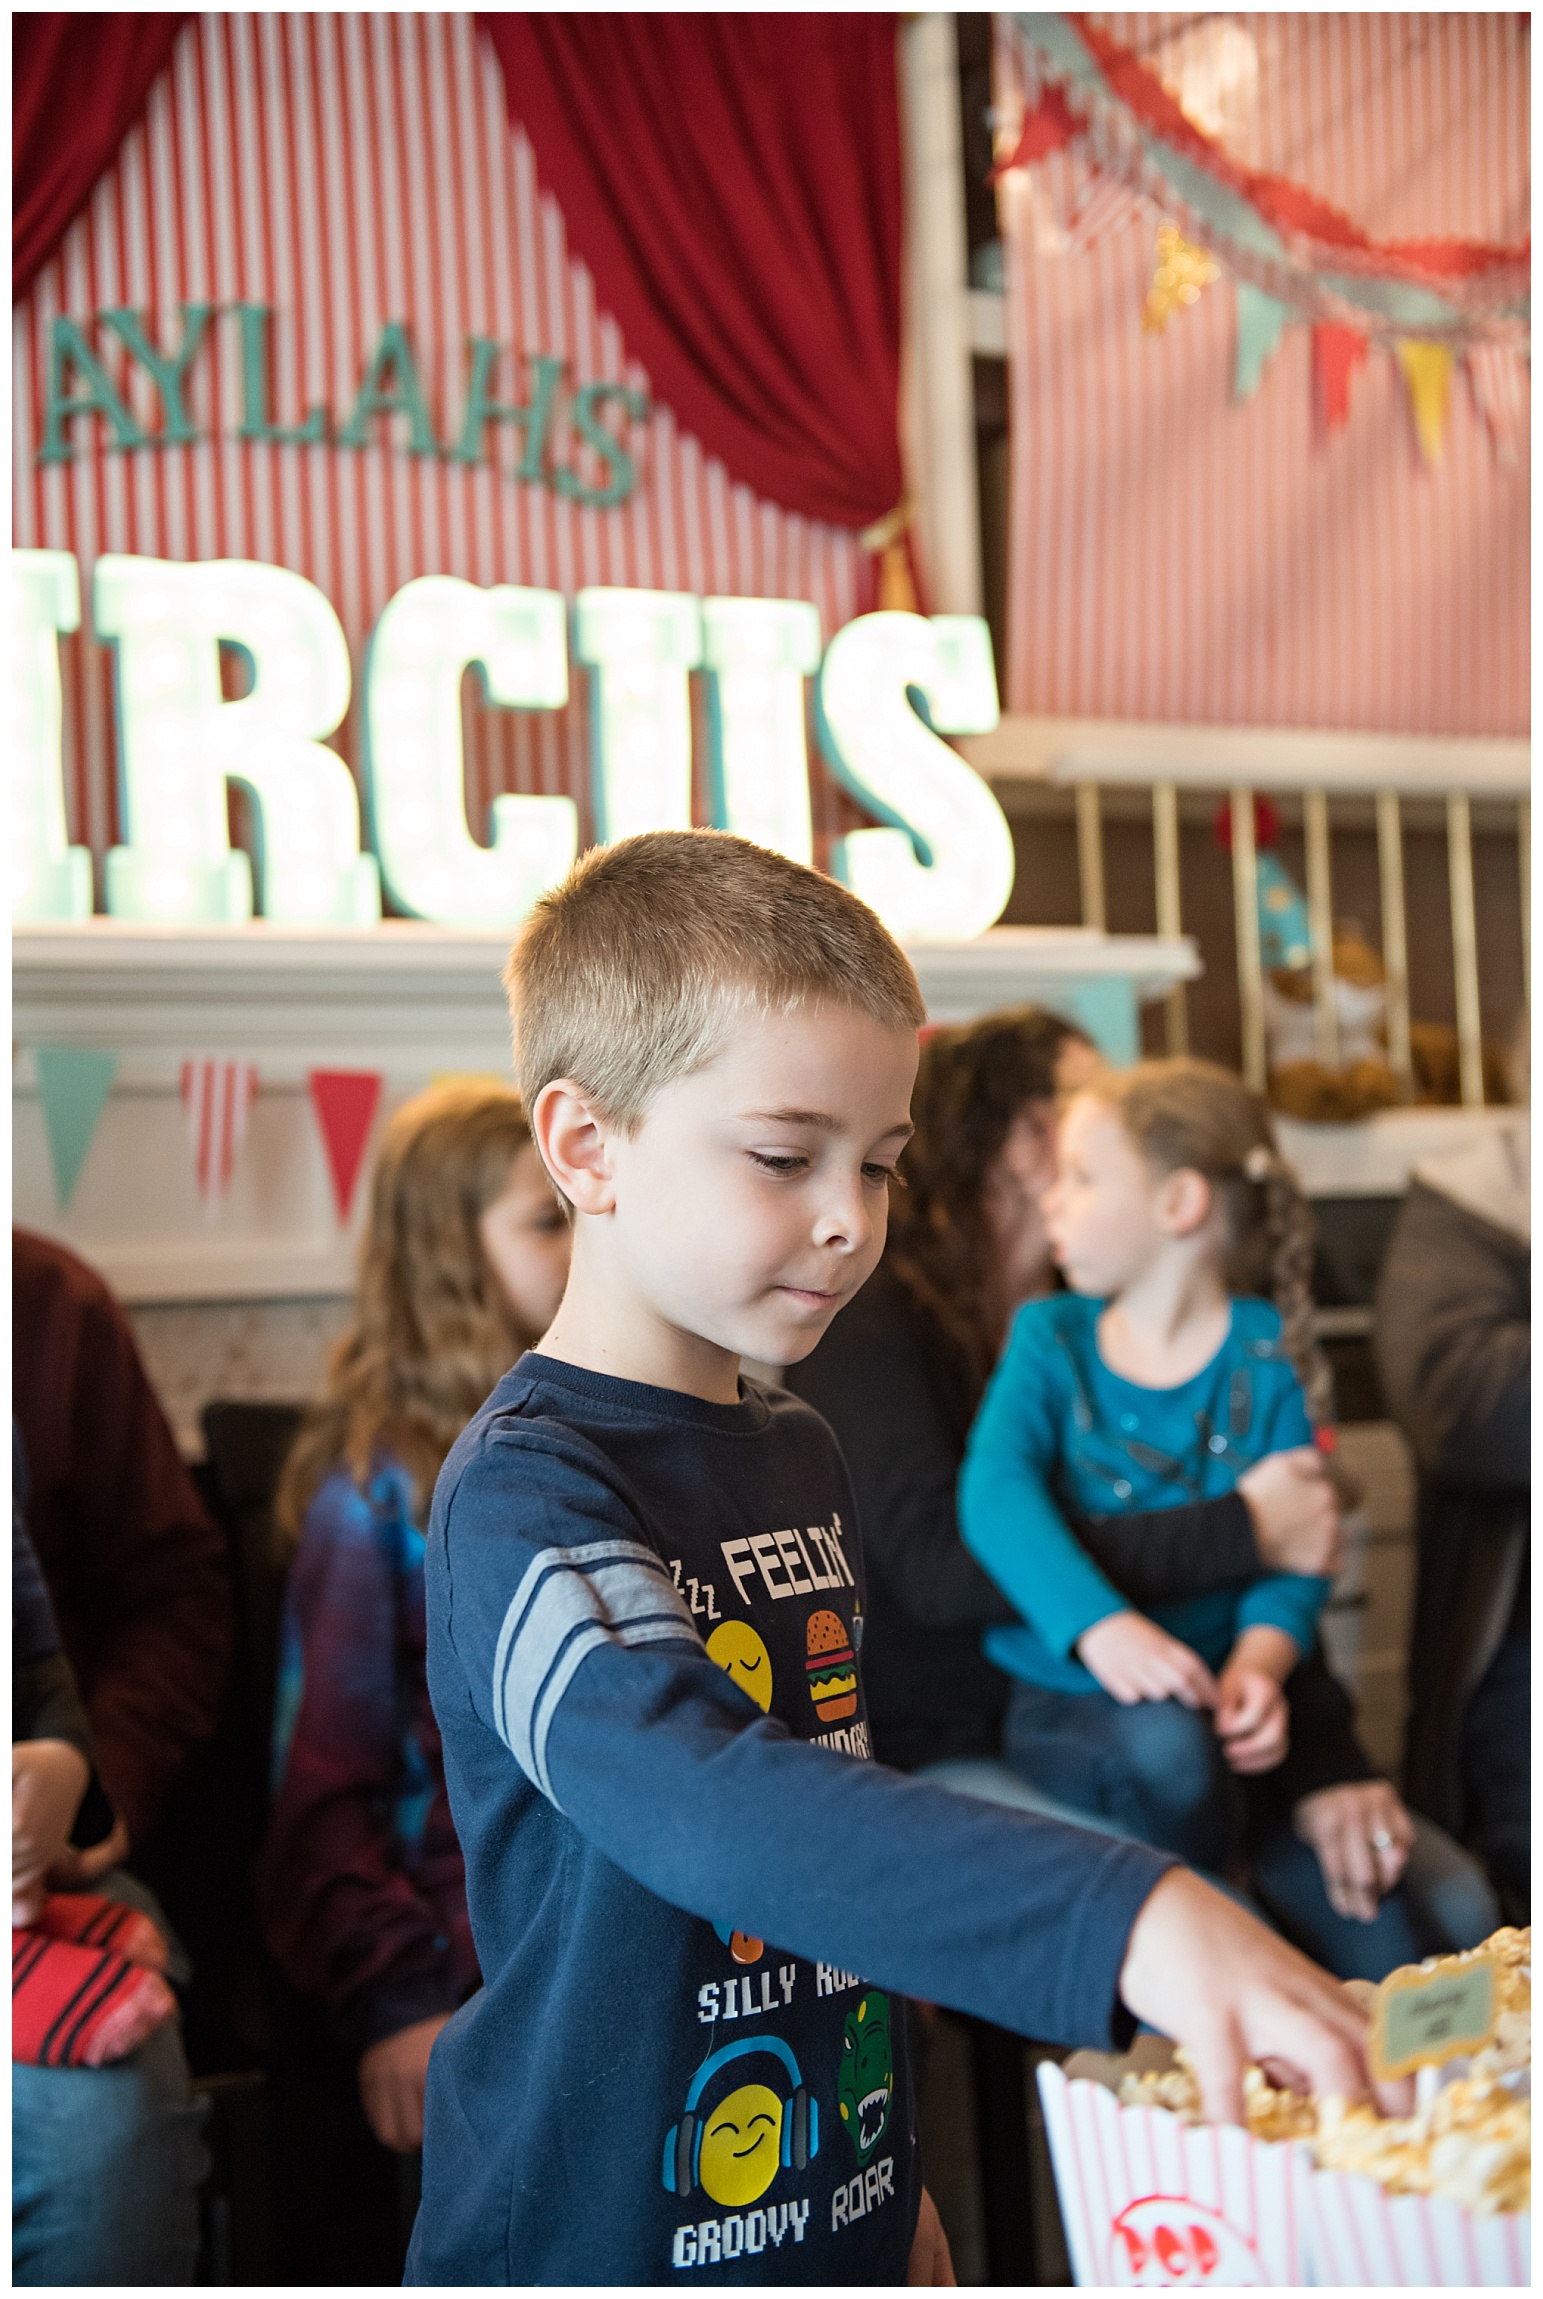
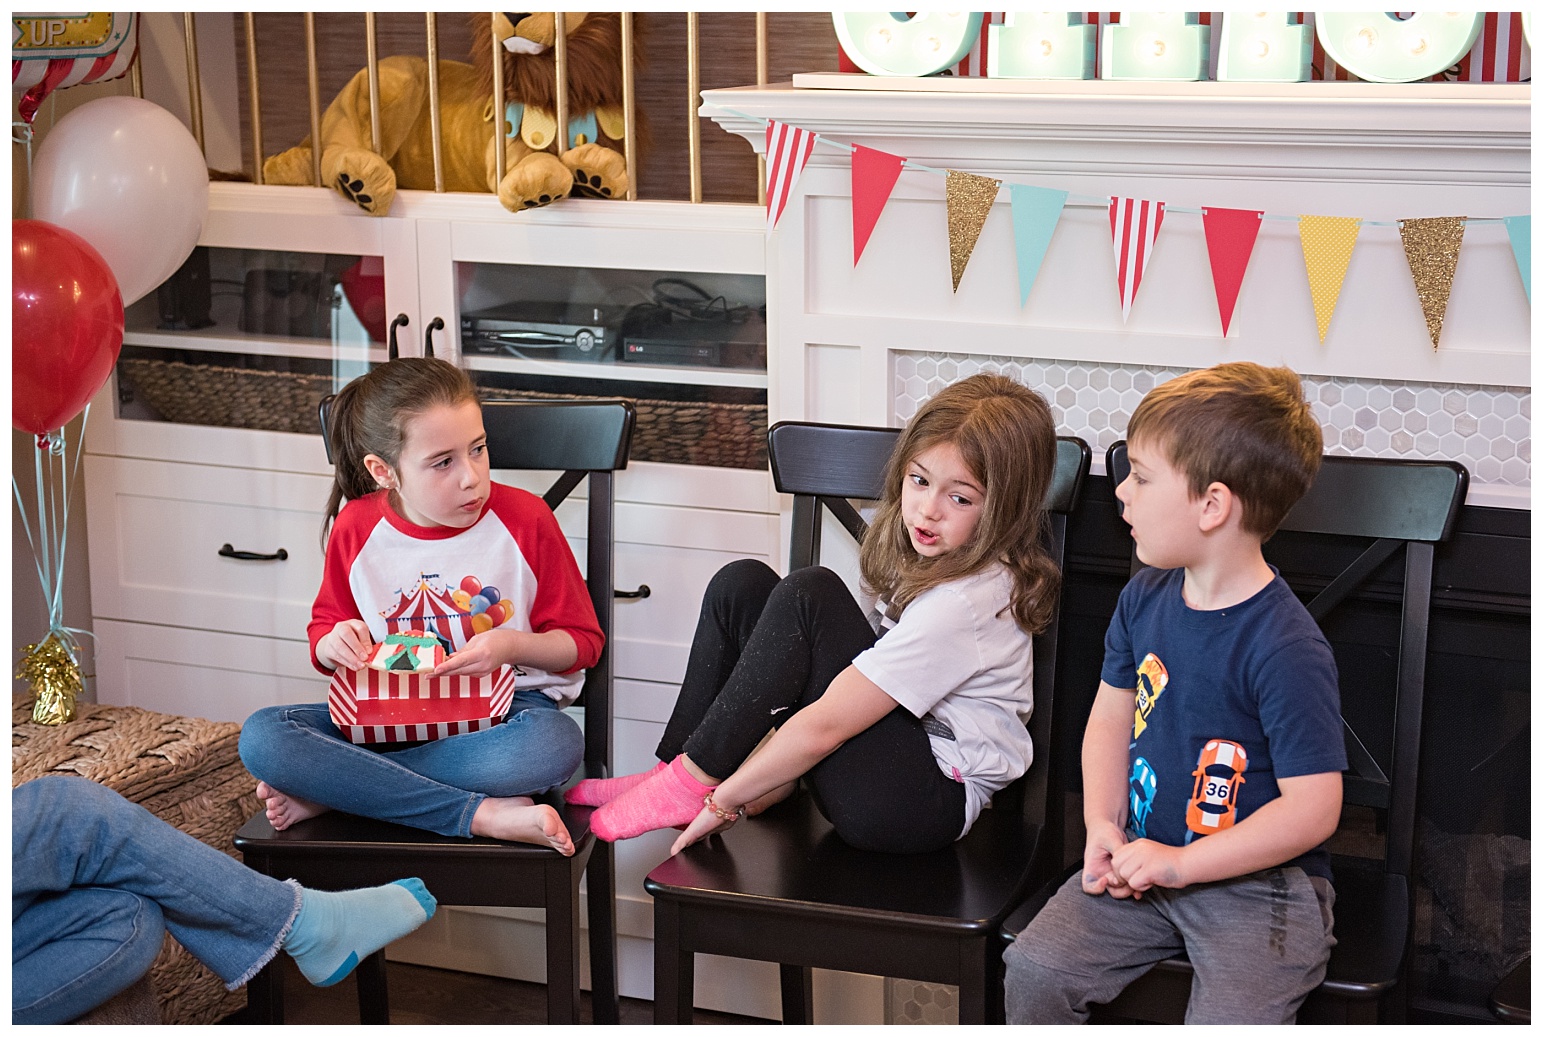
The carnival games were the main event of this party. I set up 5 different game stations where the kids would play for tickets. The tickets could then be used to redeem prizes from the prize stand. It was SO much fun!!

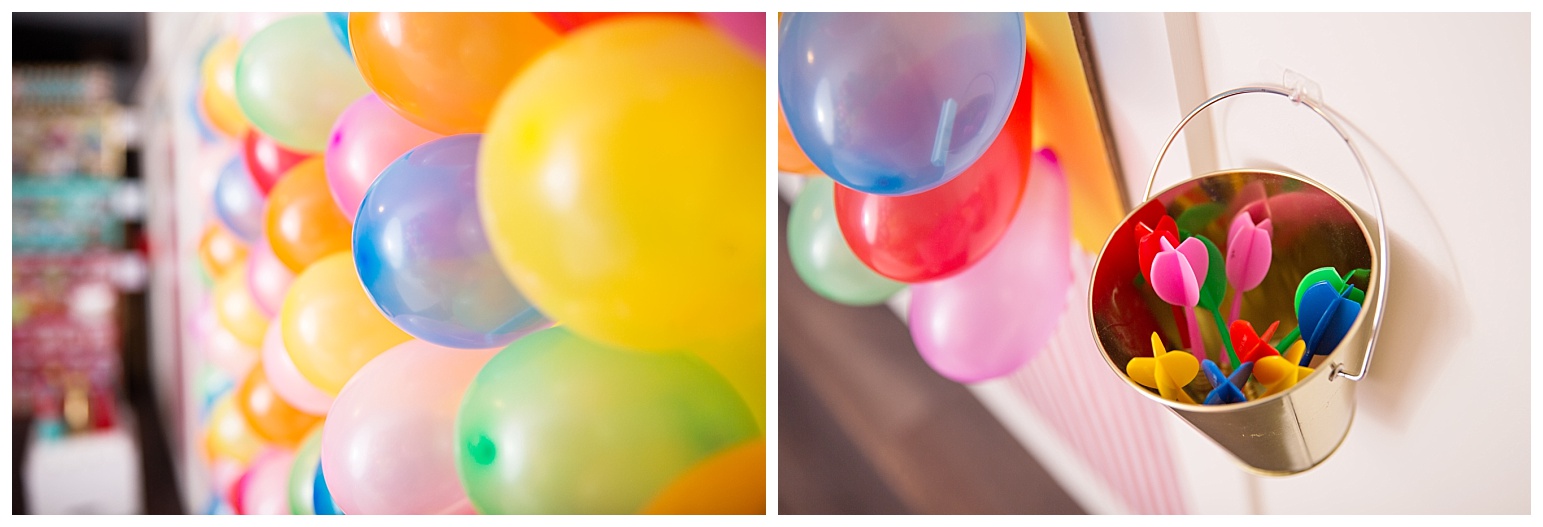
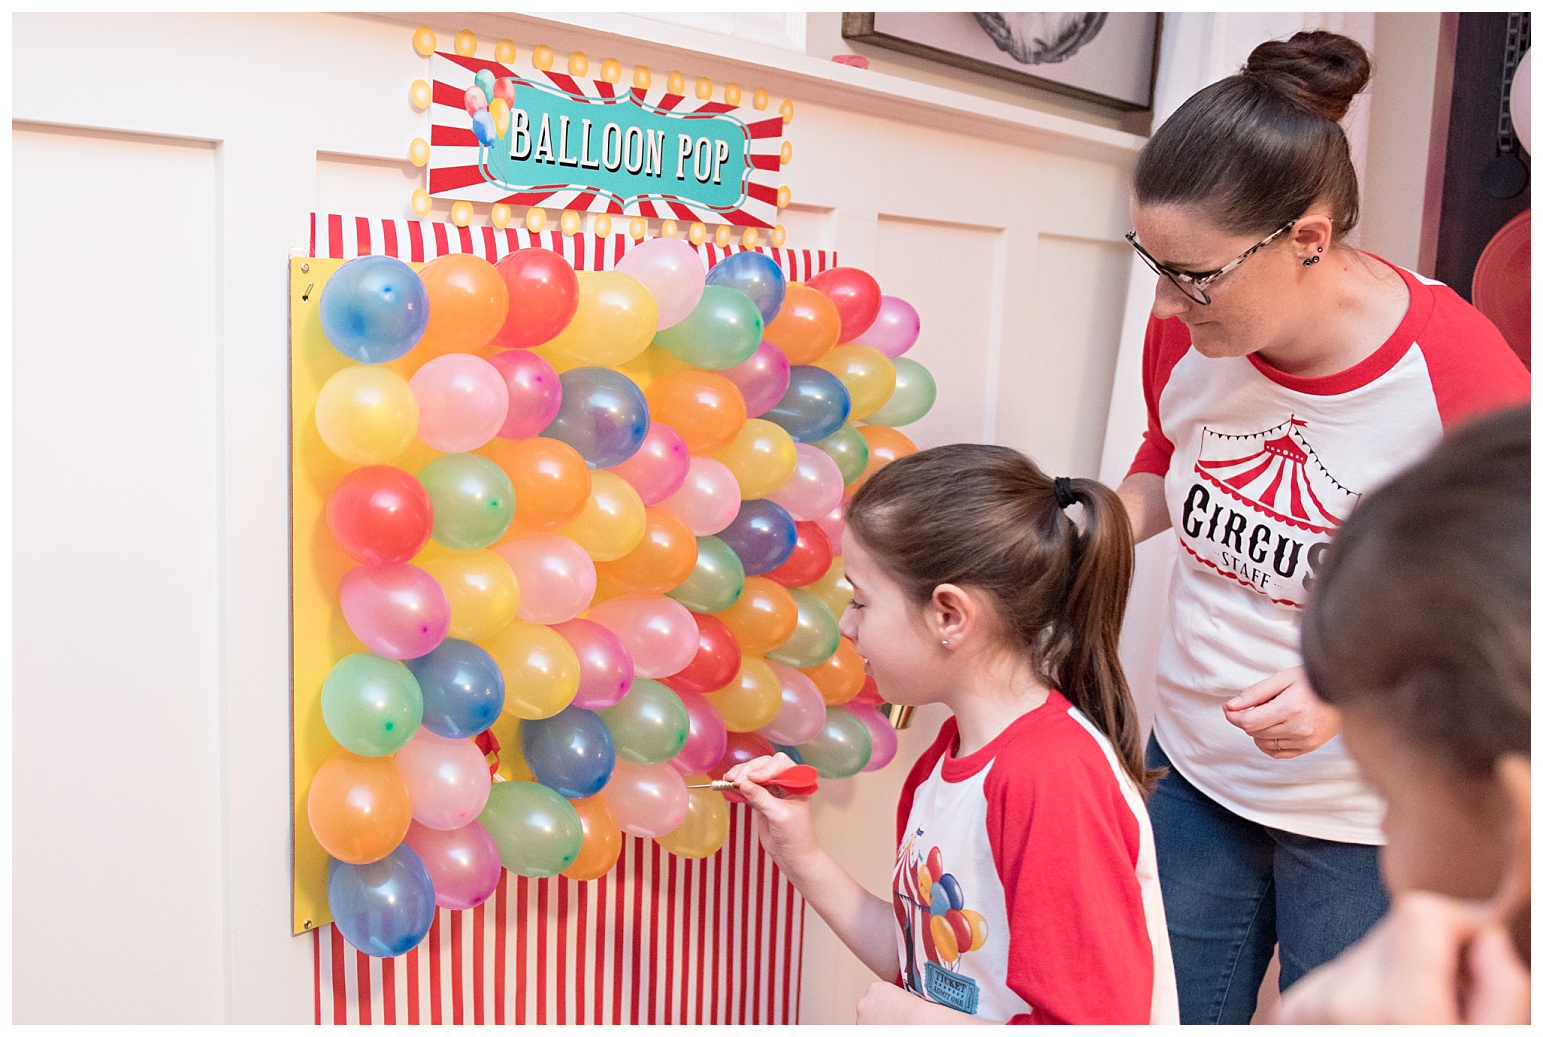
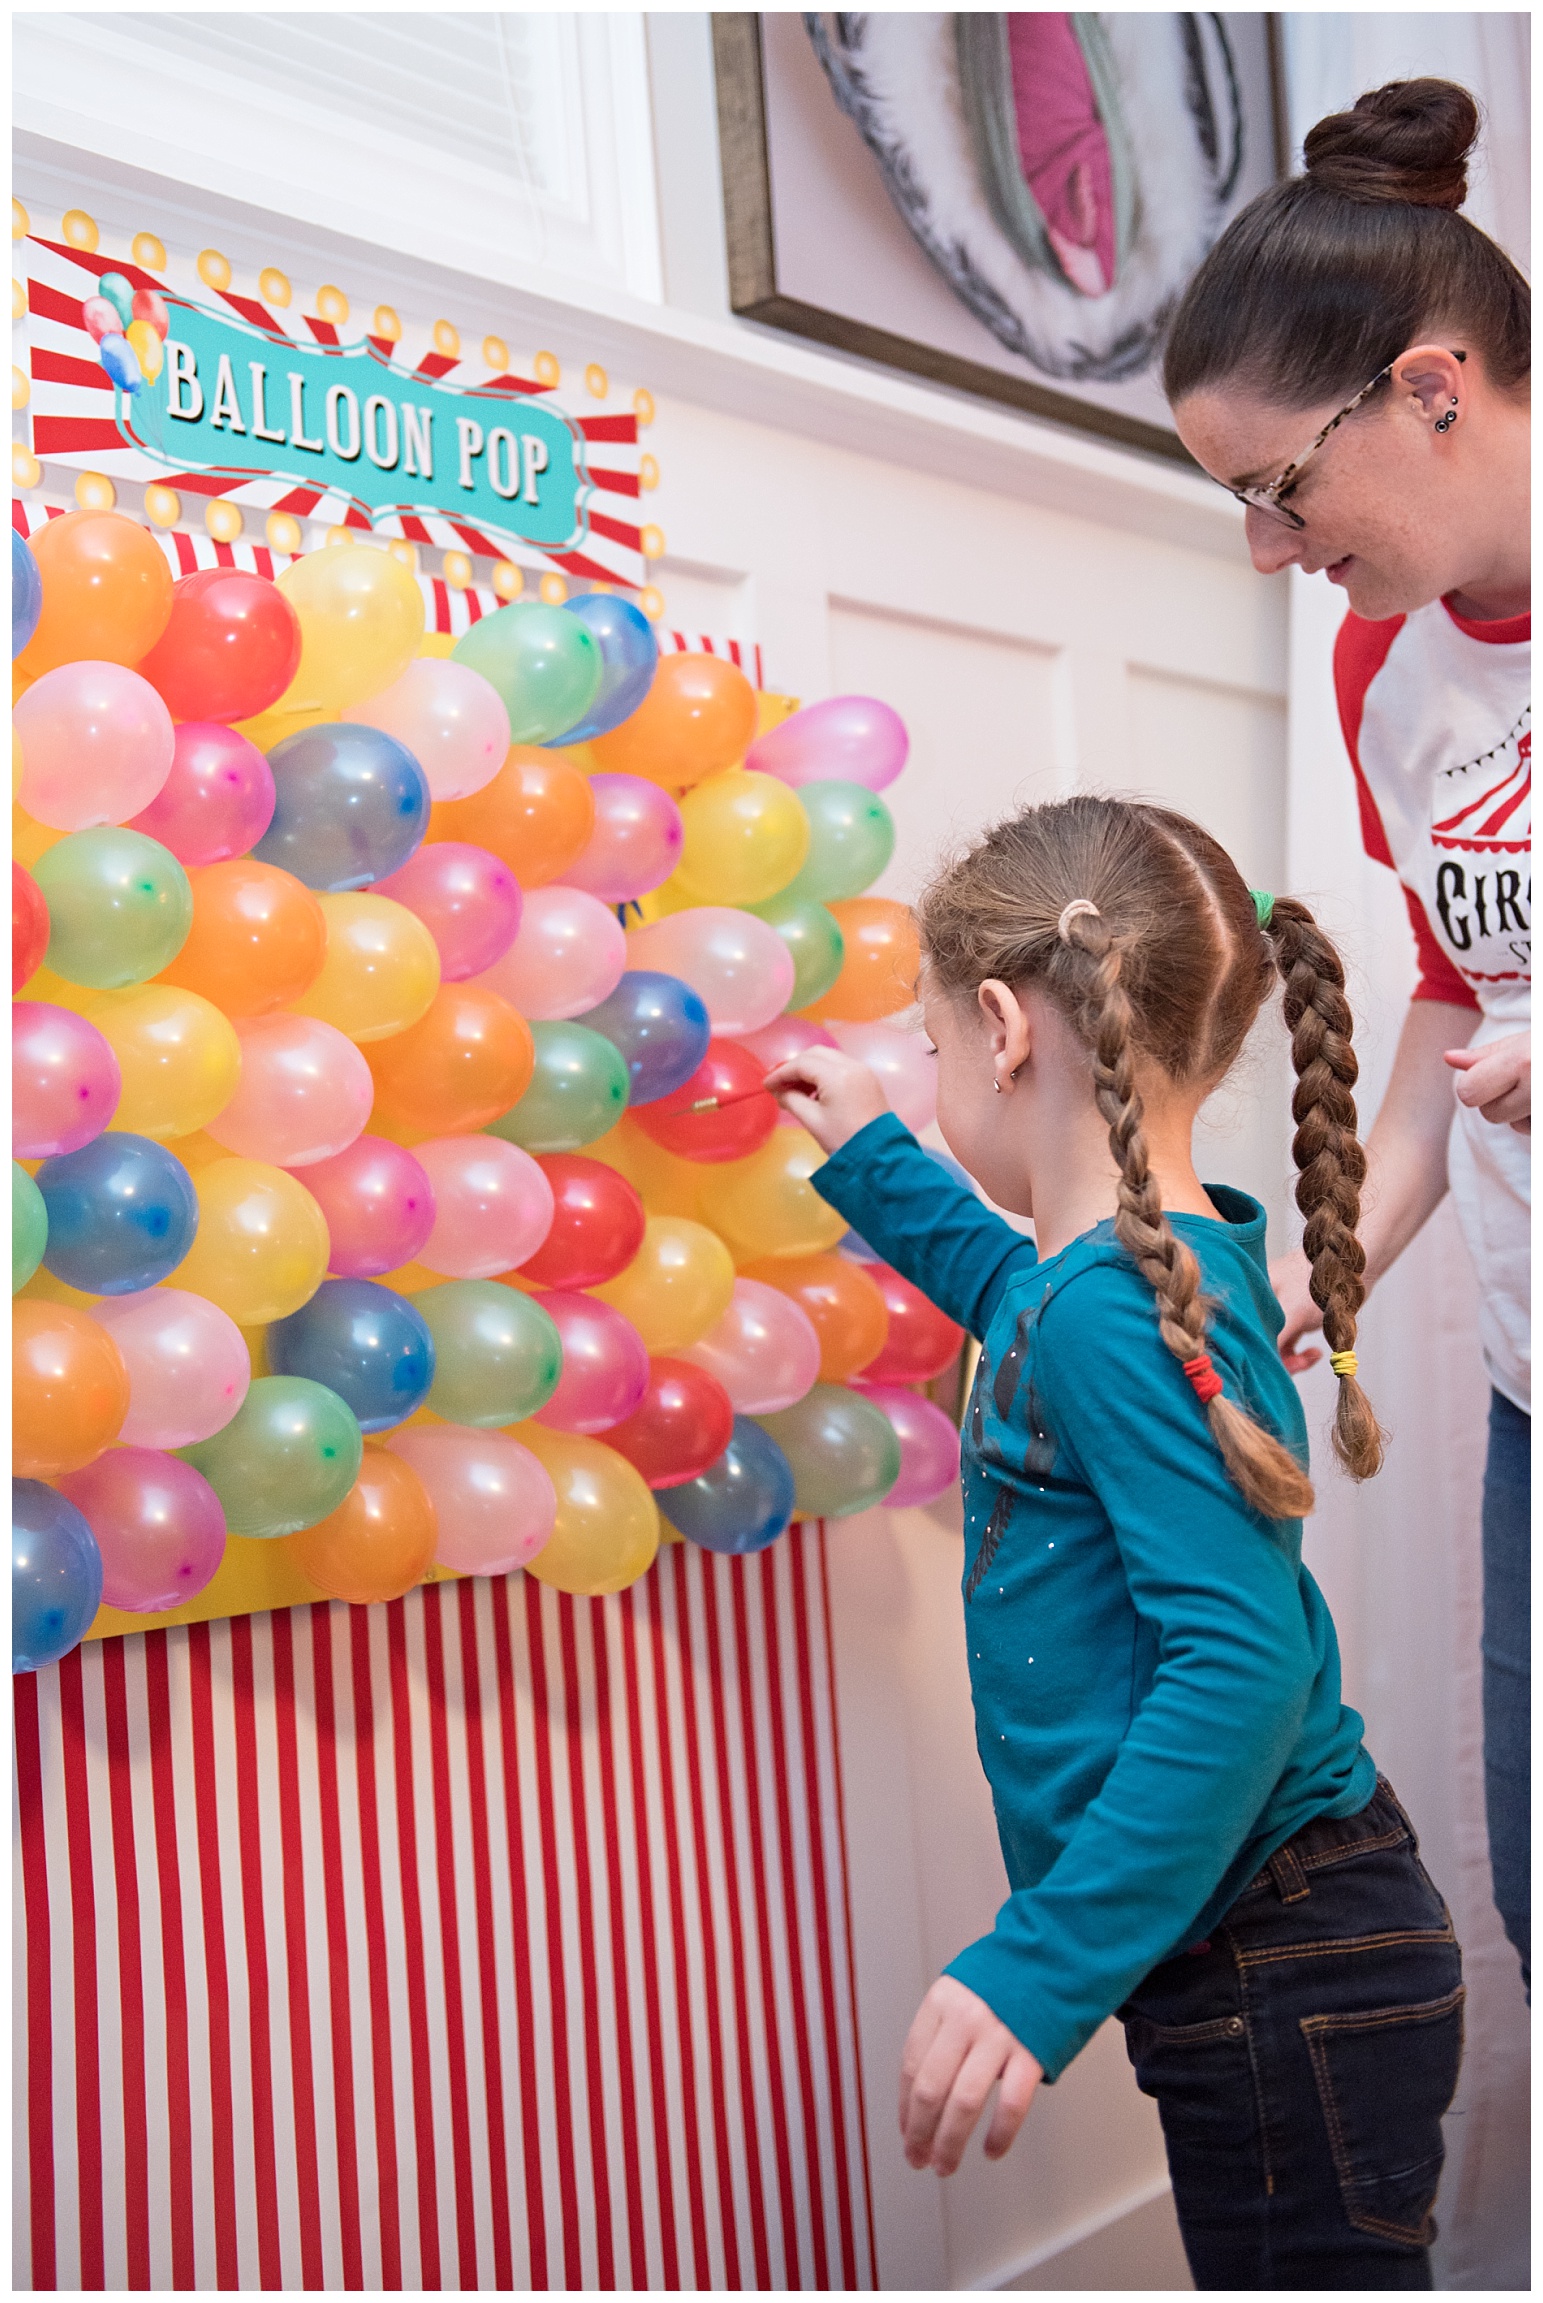
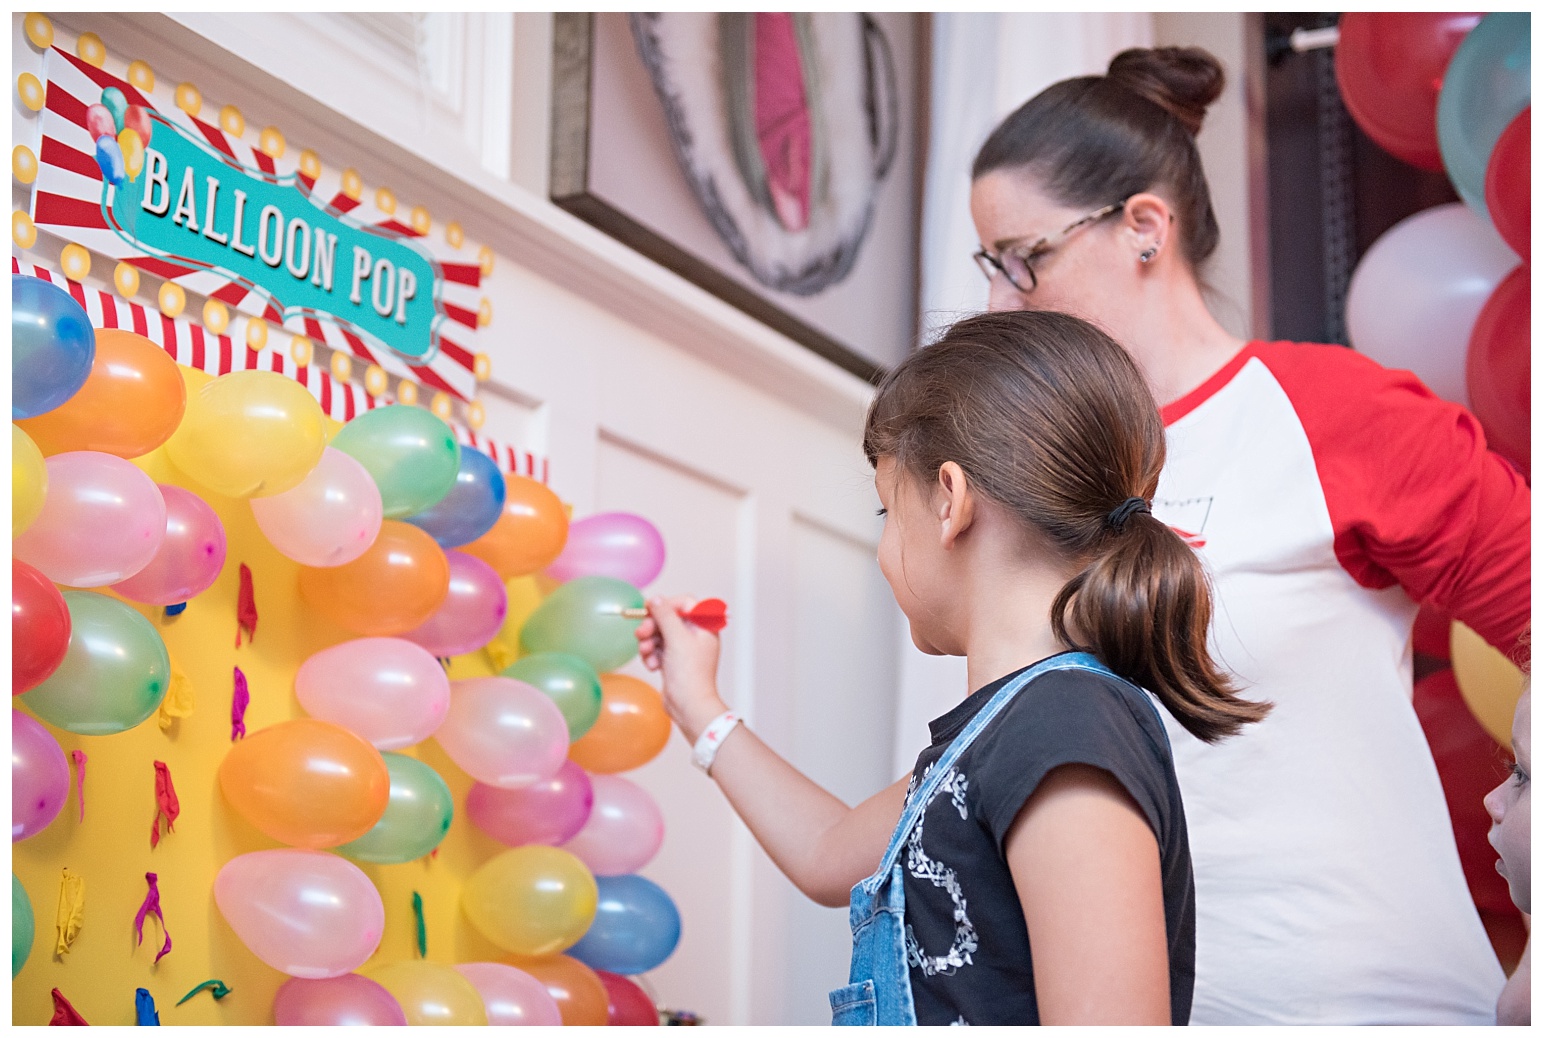
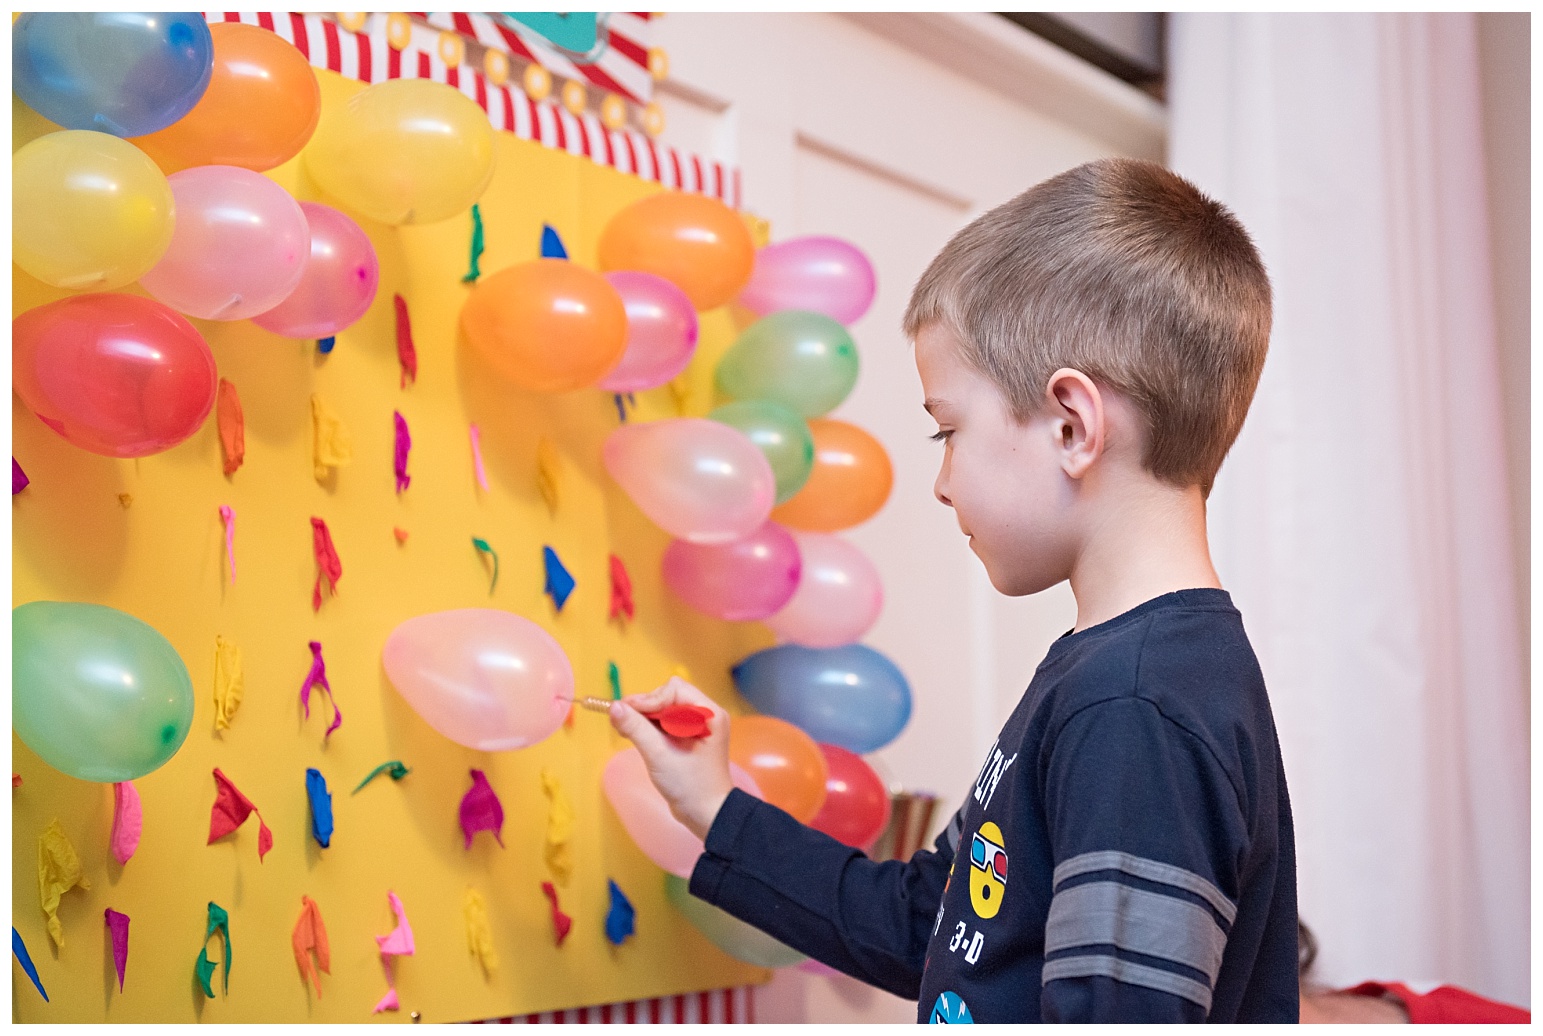
First up was Balloon Pop. Now I didn’t want 4-9 year olds throwing real darts at my board and batten wall so instead they just went right up to the balloons to pop them. I put a rolled up piece of paper inside each balloon. Some of the papers had ticket values on them (1, 2 or 3) and some said “try again” or “sorry no luck”. So the point wasn’t to pop the balloon, the point was to pick one and hope for a good ticket value. This is a great way to do this game with younger kids when you don’t want them to actually be throwing darts around.
The balloons are attached to a pegboard that is covered in bristol board to hide the holes. the balloon ends are poked through the holes and taped on the back side. It held together really nicely and made perfectly spaced lines.

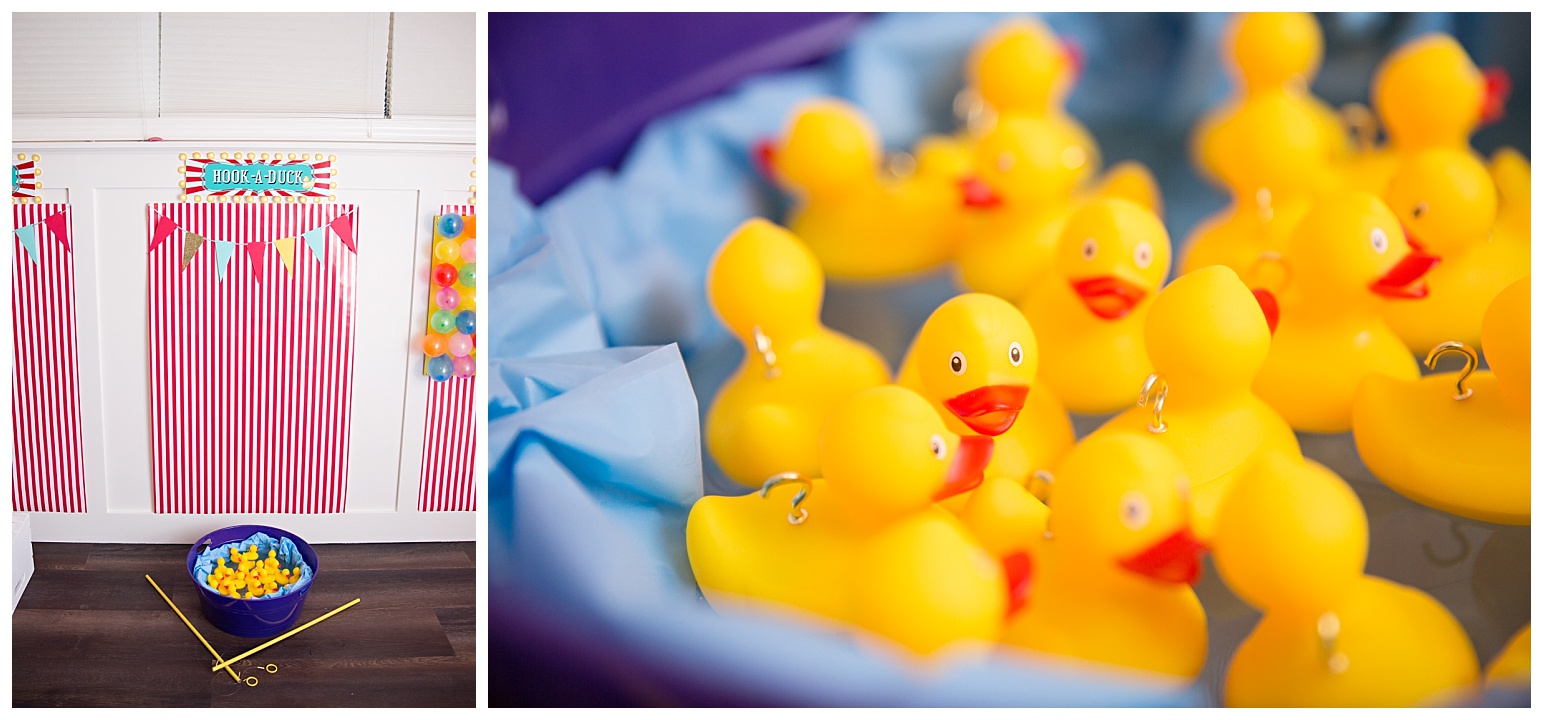
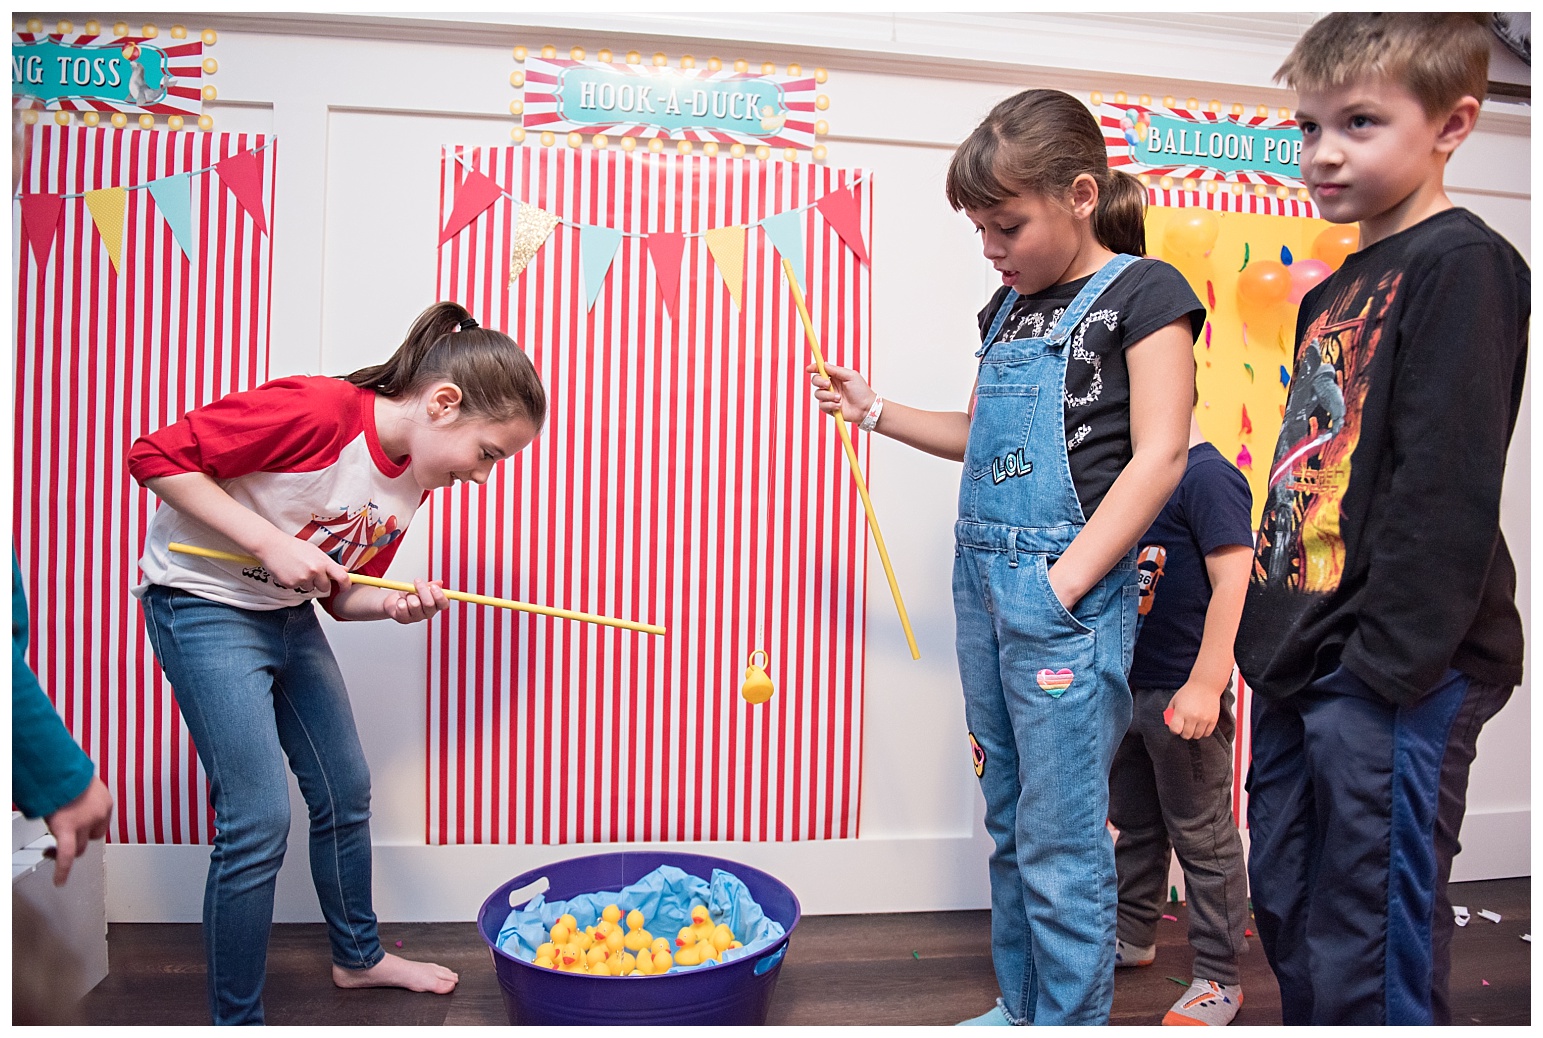
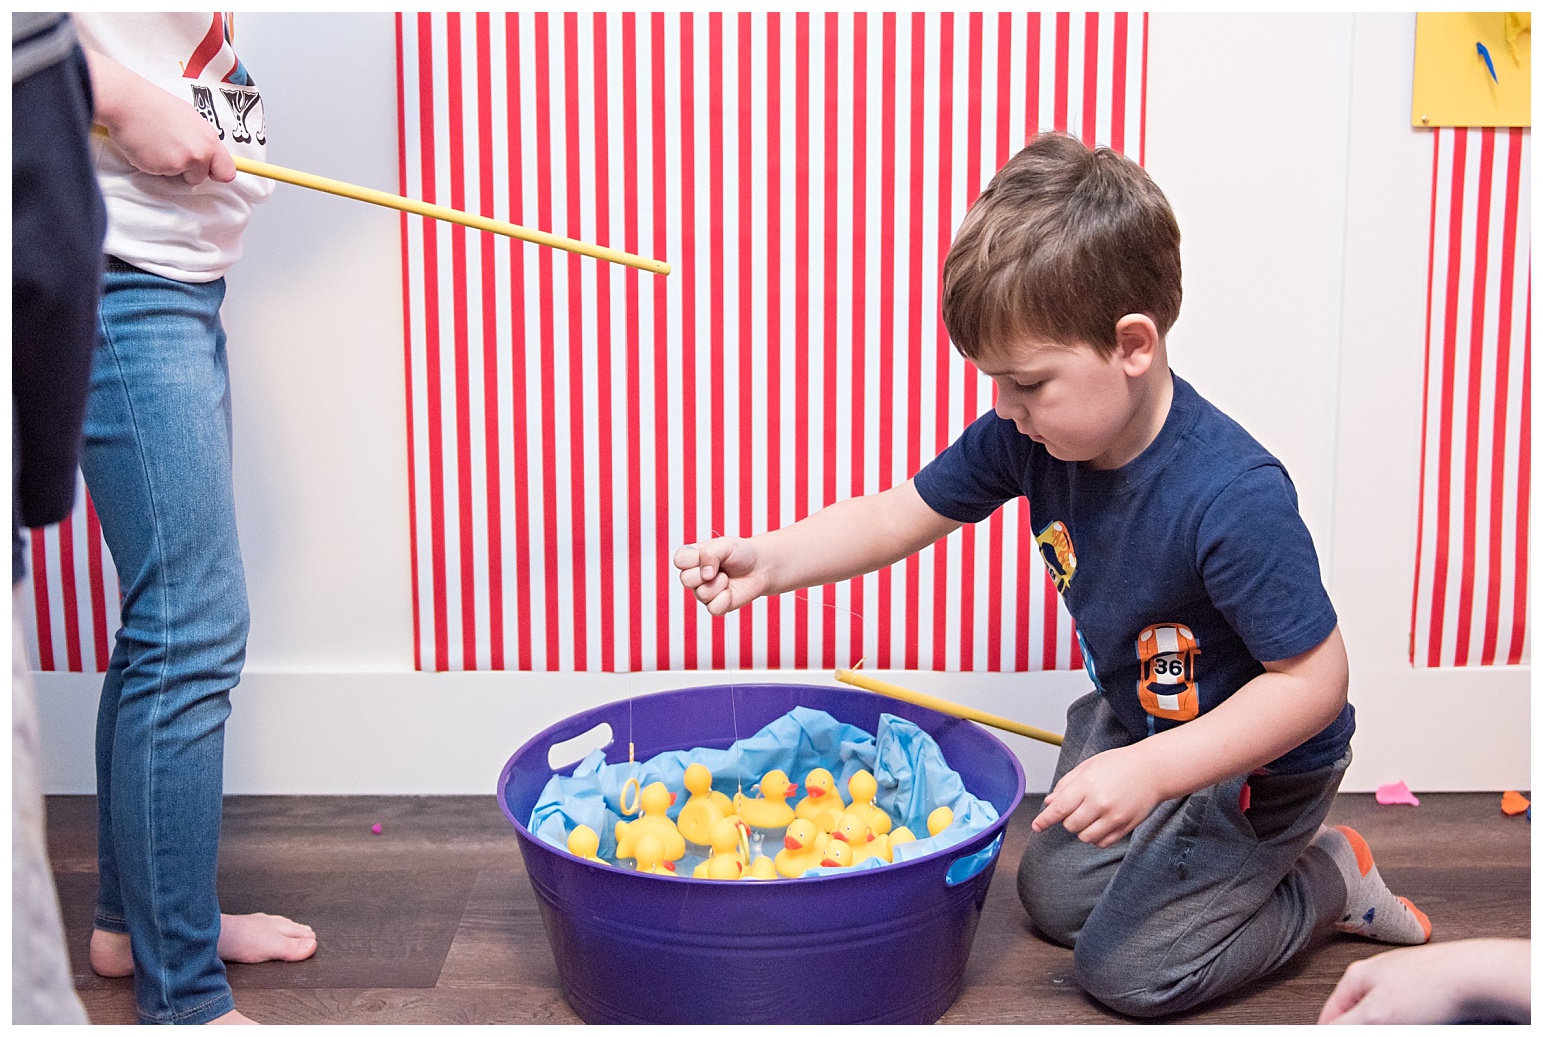
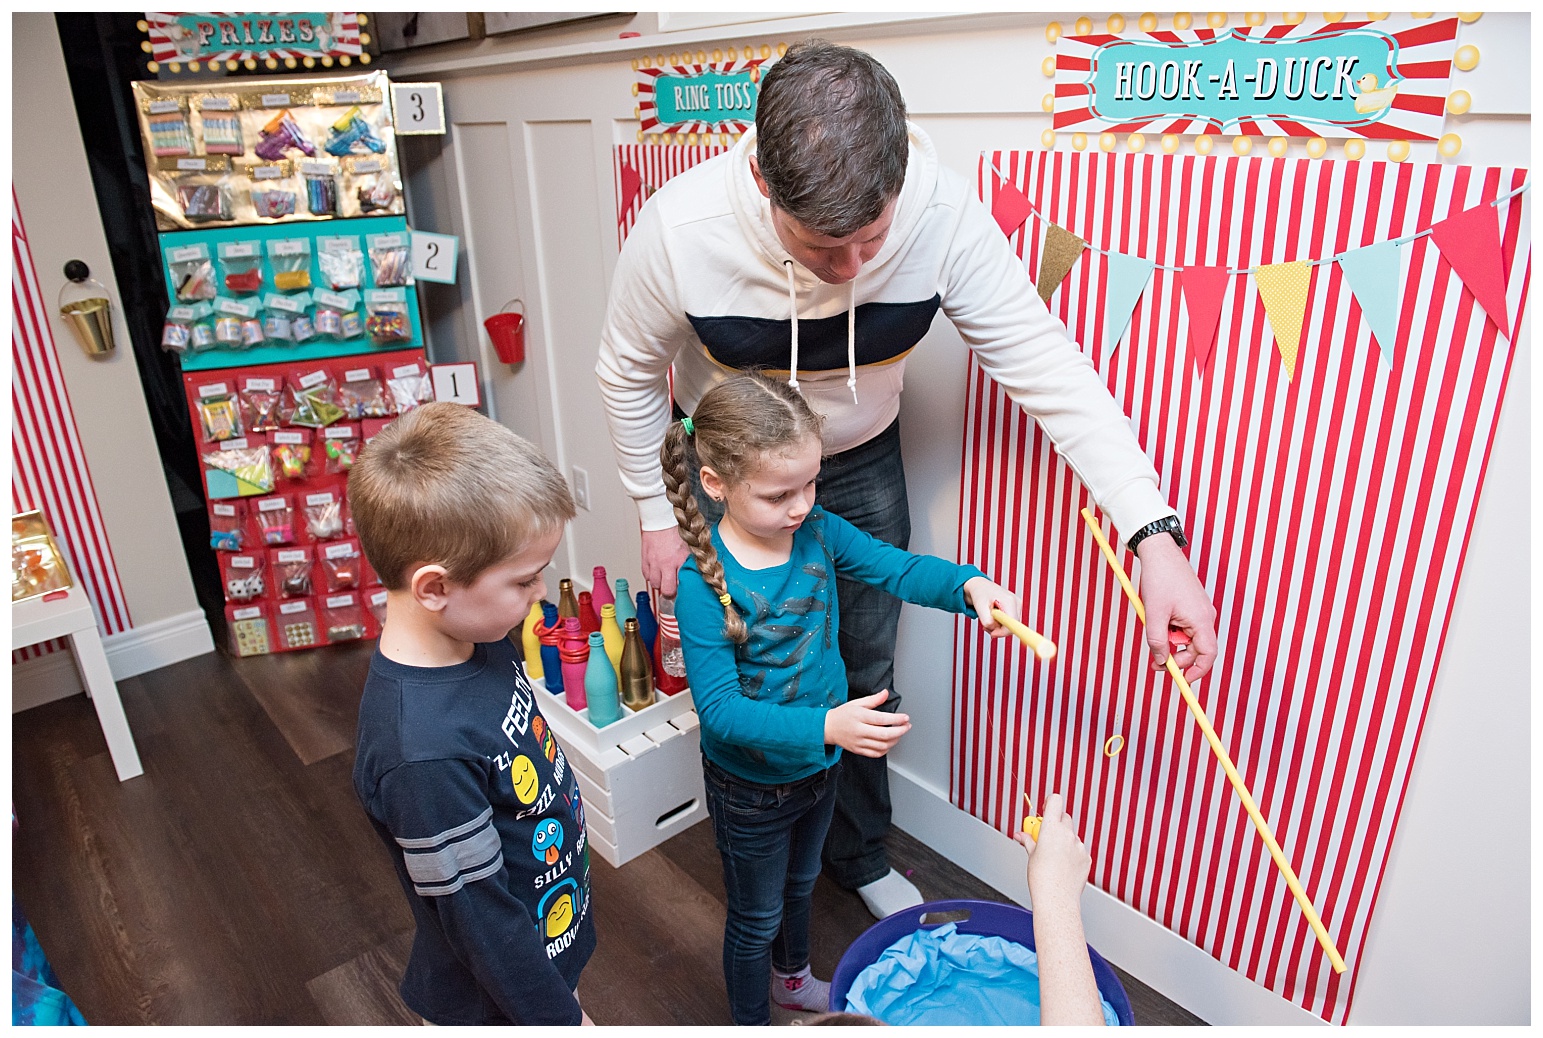
Next up was Hook-A-Duck. I purchased these rubber ducks from Amazon. I had found a few different suppliers but after reading reviews these ones had the best results for floating upright and not tipping over (which is obviously important for this game). I then got small hooks and stuck them in the ducks’ backs. Now this is where I had some issues. The first hooks I tried were too big and it threw off the balance and they all tipped over. The hook size I ended up with was 1/2 inch and that seemed to stop the tipping problem. Be sure to make sure you are placing the hook in the dead center of the ducks back … if it is even a little bit off to one side it will tip the duck. I used sharpie to write point values on the bottom of each duck and the kids took turns fishing.
The rods are made from dowels, fishing line and metal rings (painted yellow).
This game was a bit trickier for the younger kids, but it was easy enough to adjust the skill level by wrapping the fishing line around the rod to make it’s length shorter.

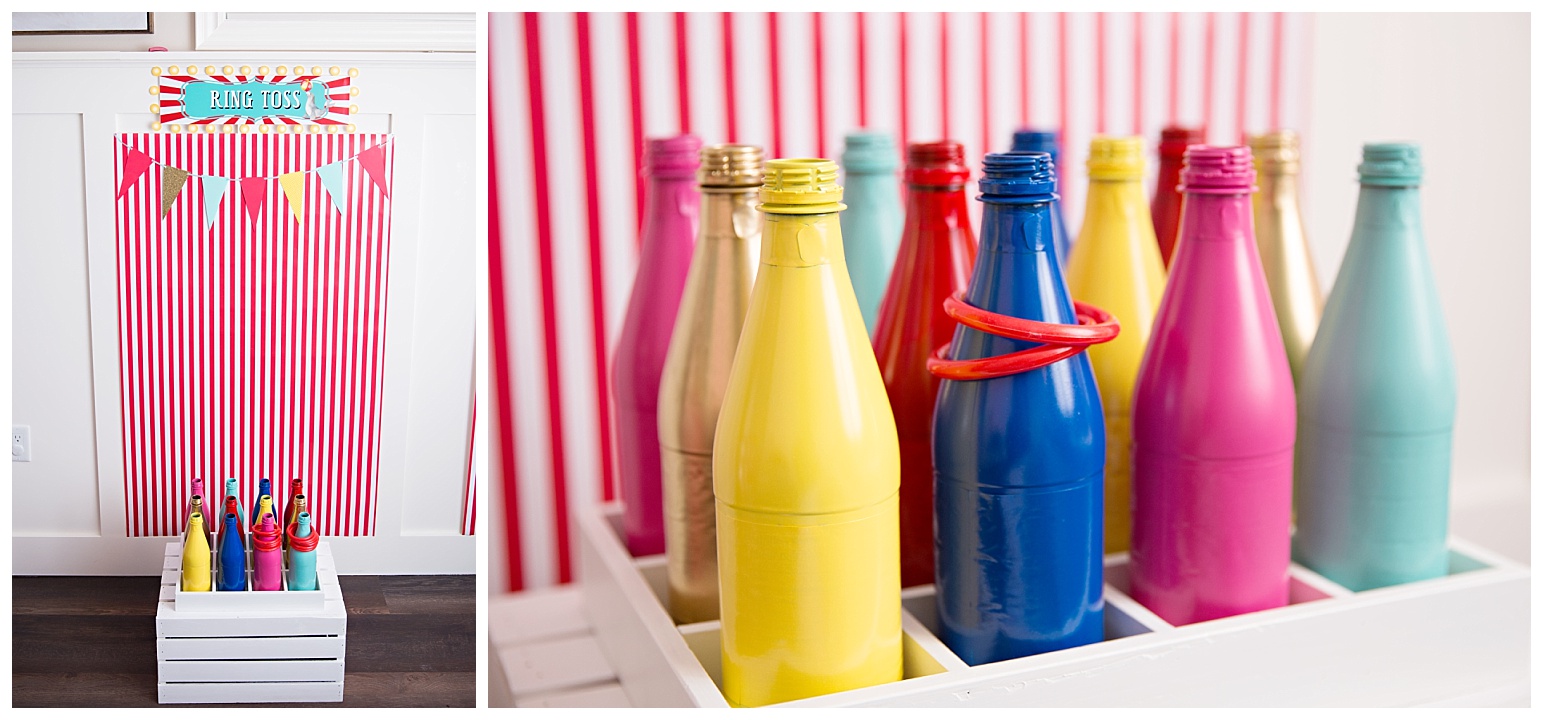
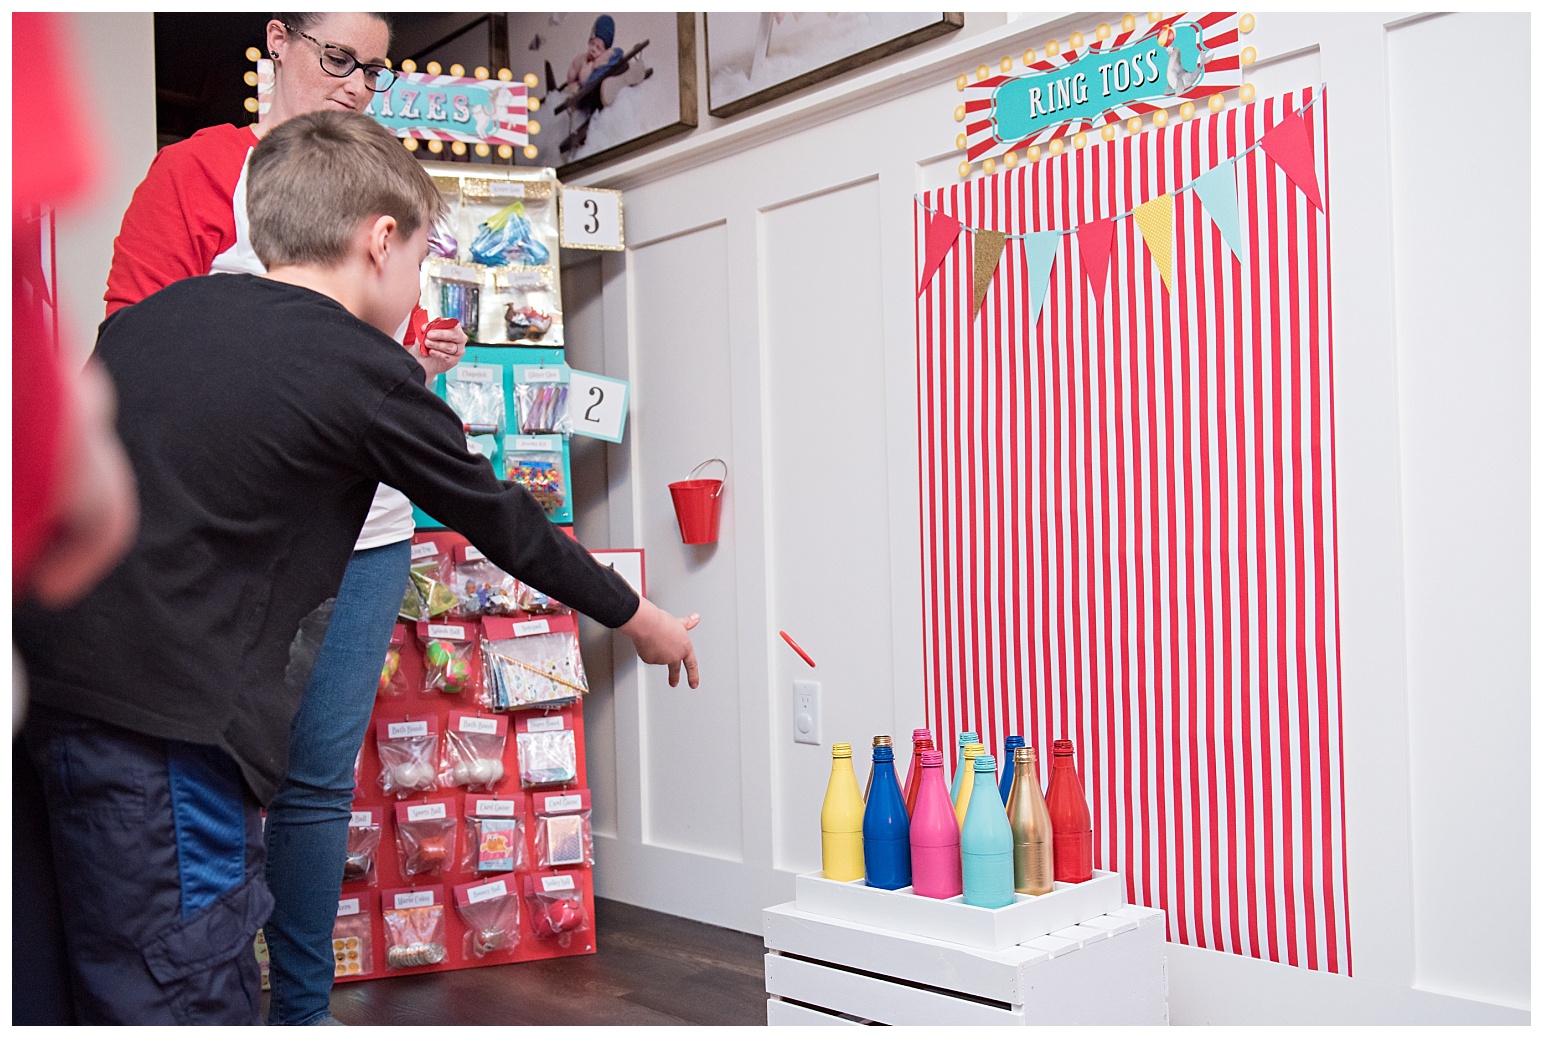
The third game was a standard ring toss. I saved some bottles and spray painted them. The rings are from Amazon, and these ones were the perfect size for small neck bottles. I saw a bunch of much larger toss rings online that wouldn’t have worked at all. I painted two of the bottles gold and gave them a higher point value just to make it interesting.


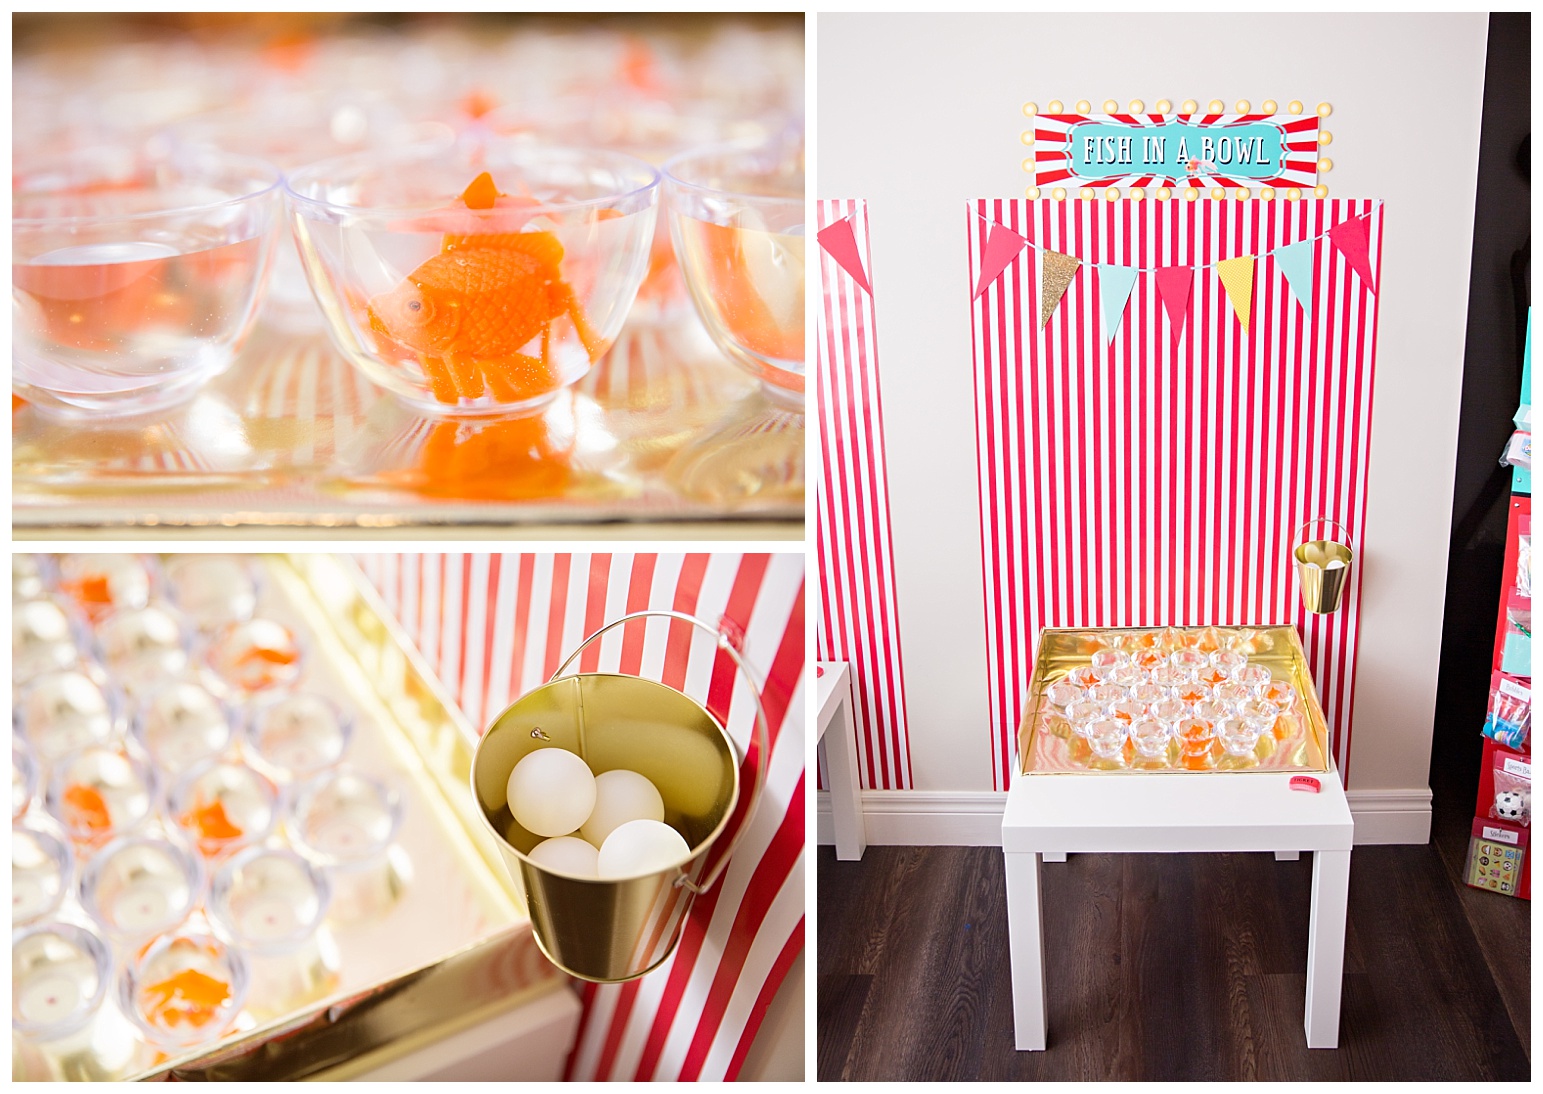
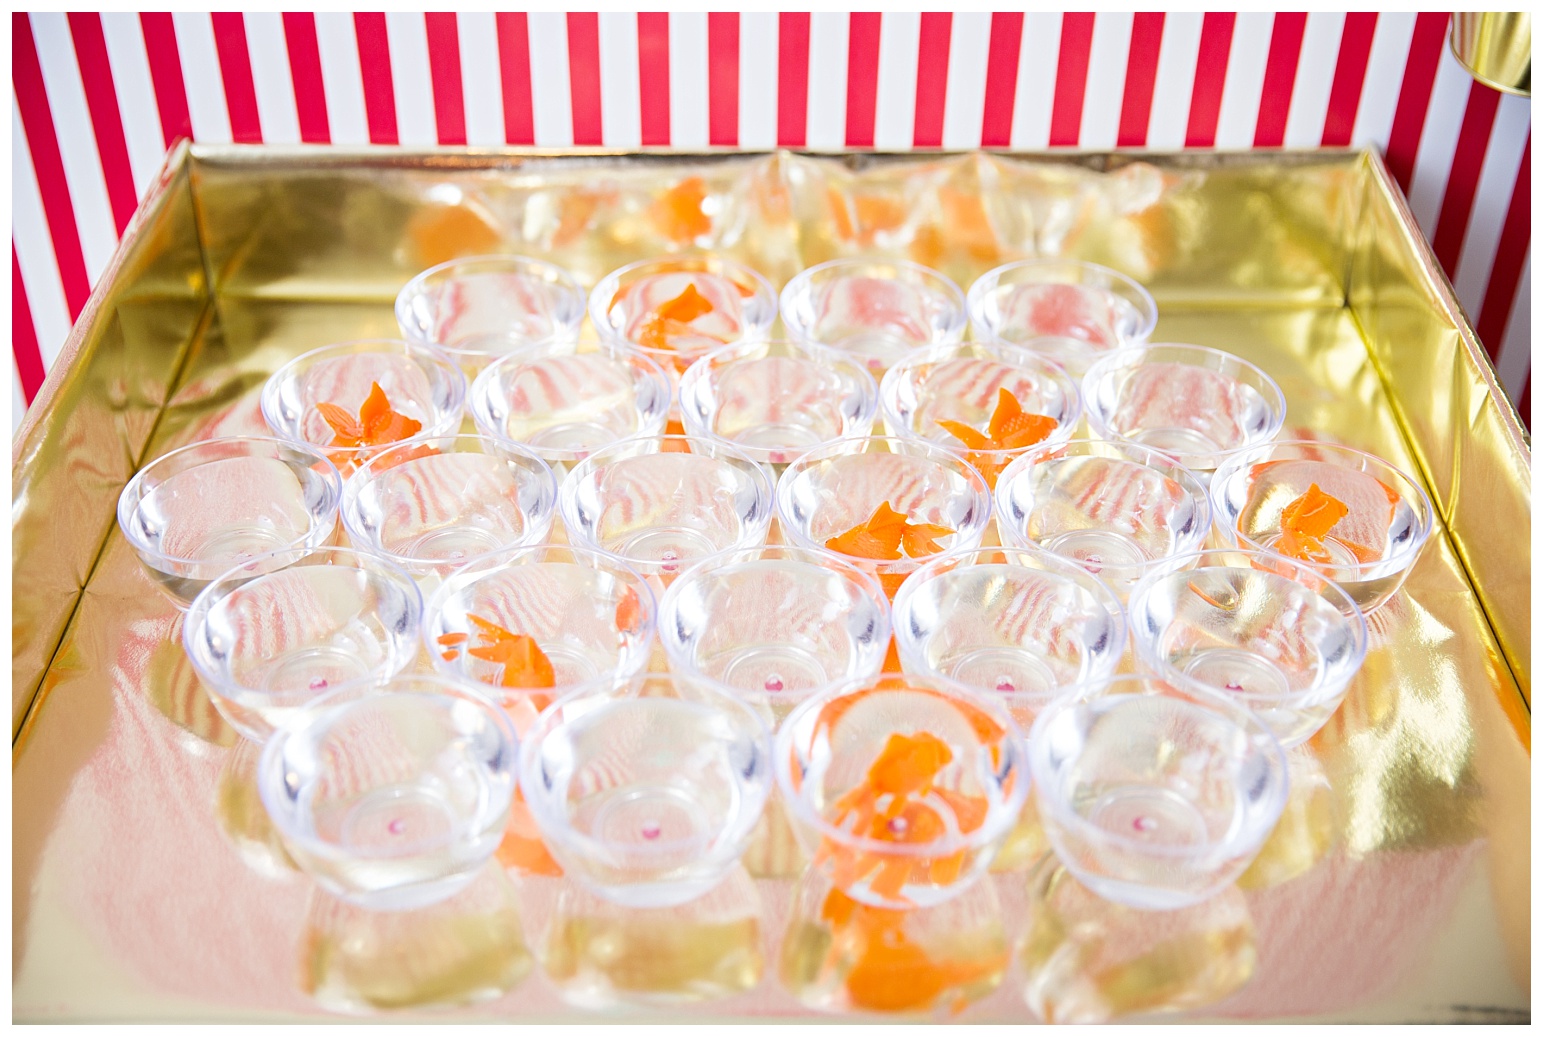
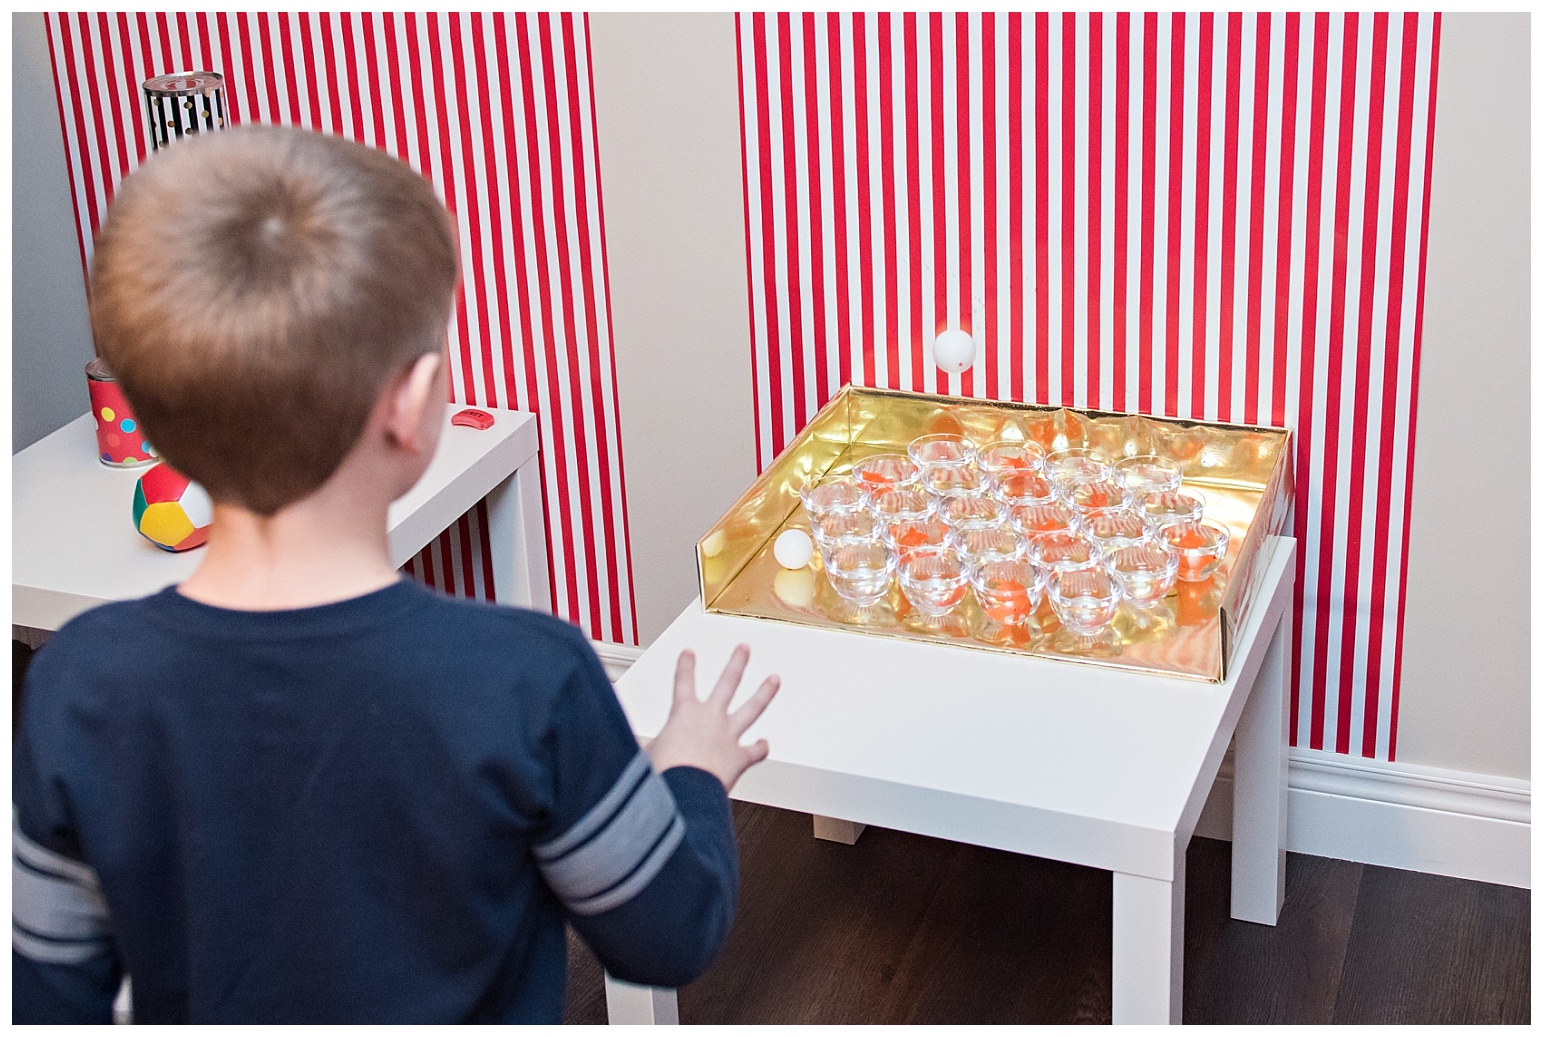
Next up is Fish-In-A-Bowl. This one was actually the funnest for the kids I think (and maybe some of the grown ups too, lol). The little plastic bowls were from the dollar store and the fish were from Amazon. Can you tell I shop on Amazon a lot? These fish were so cool because they are weighted so that they swim upright like real fish and their tails are also articulated … super cute! The goal was to bounce the ping pong ball off of the white table and have it land in a bowl. The bowls with the fish in them were worth double points.
No real fish were harmed in the playing of this game, lol.


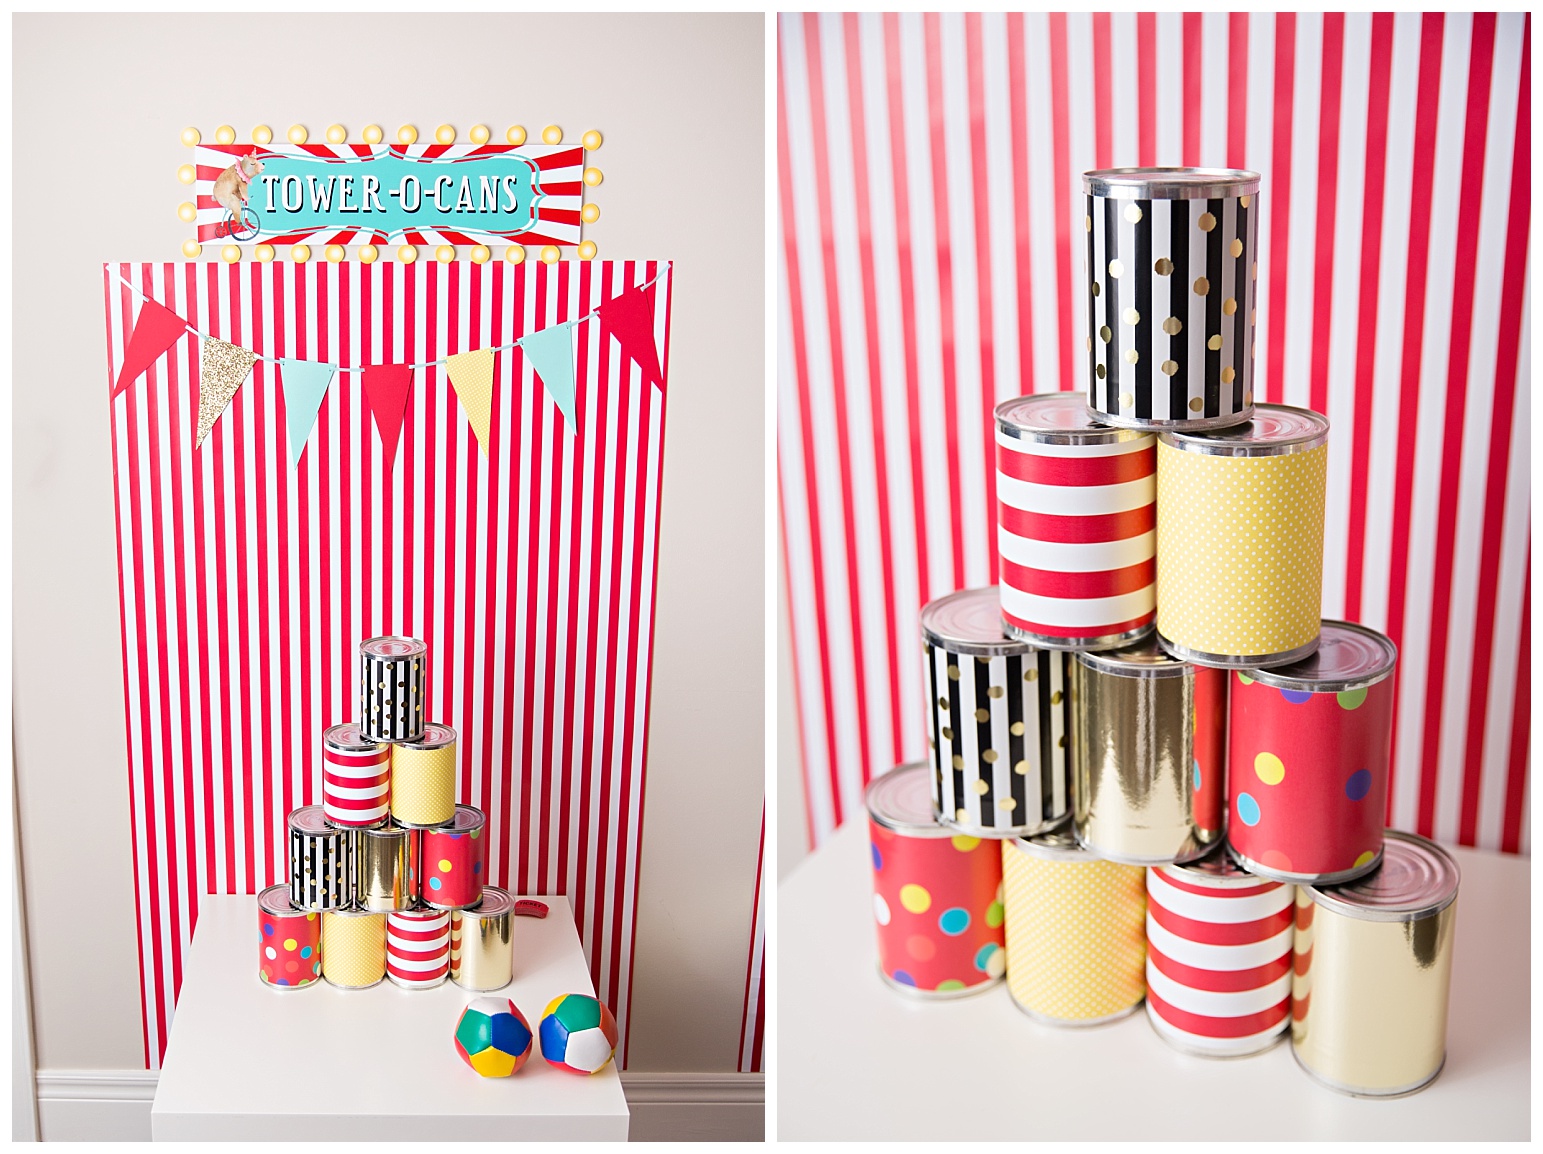
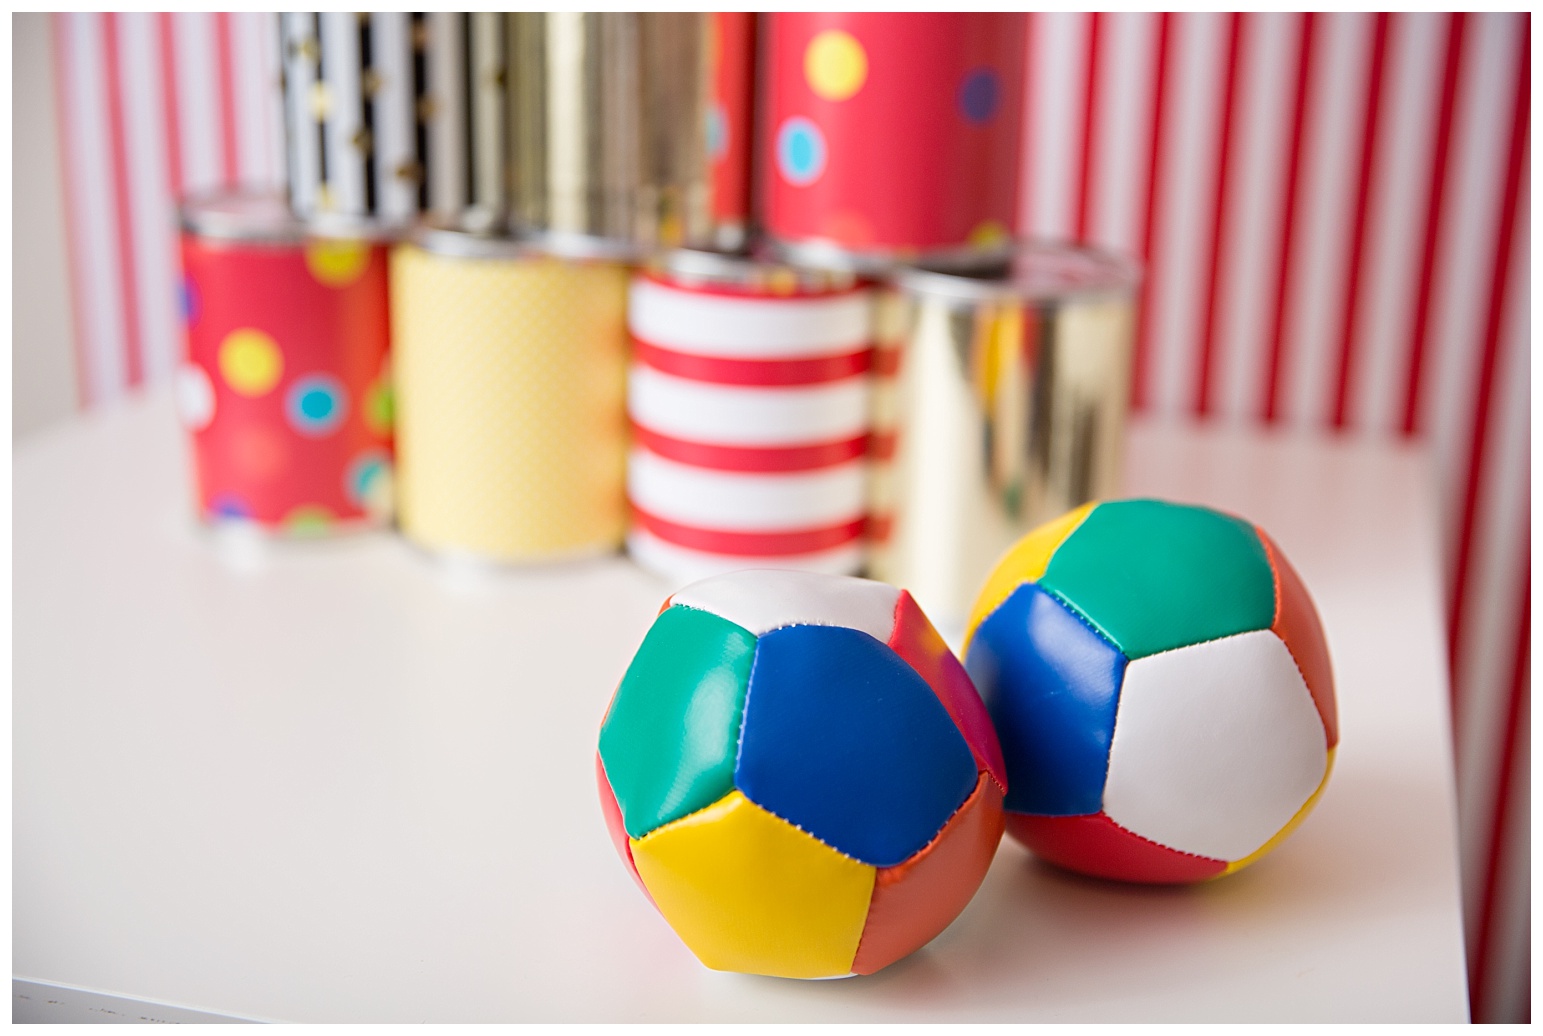
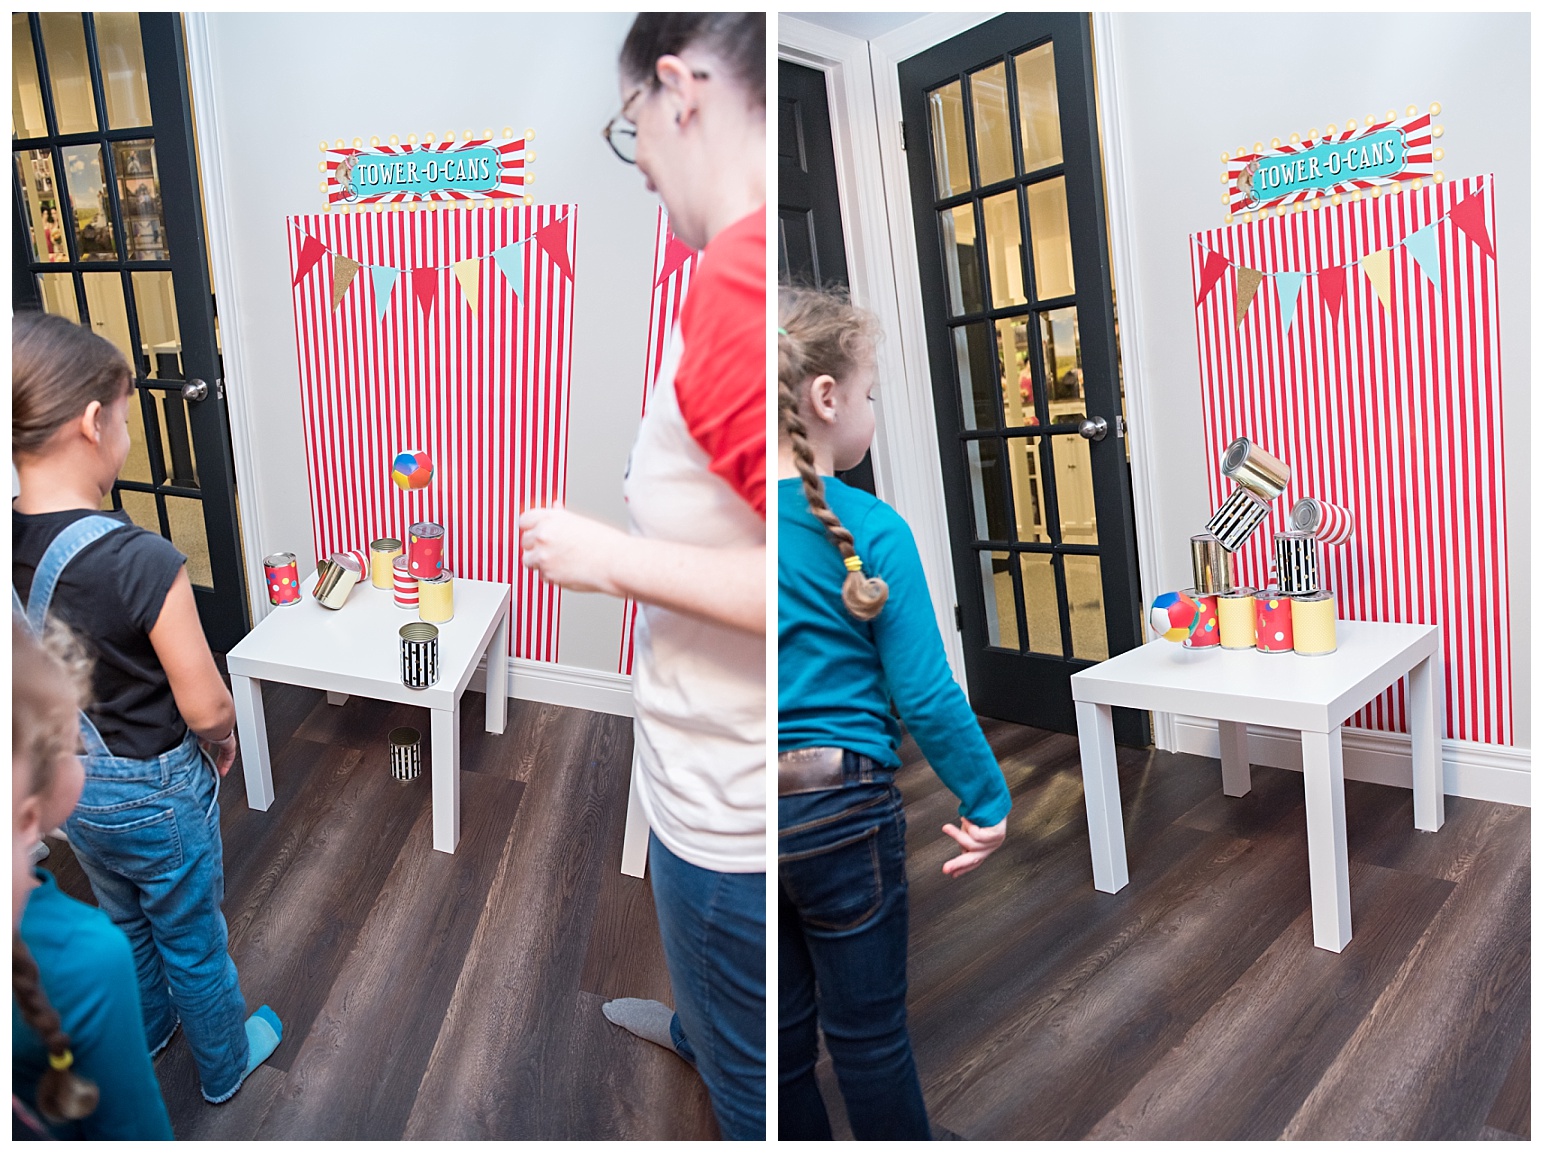
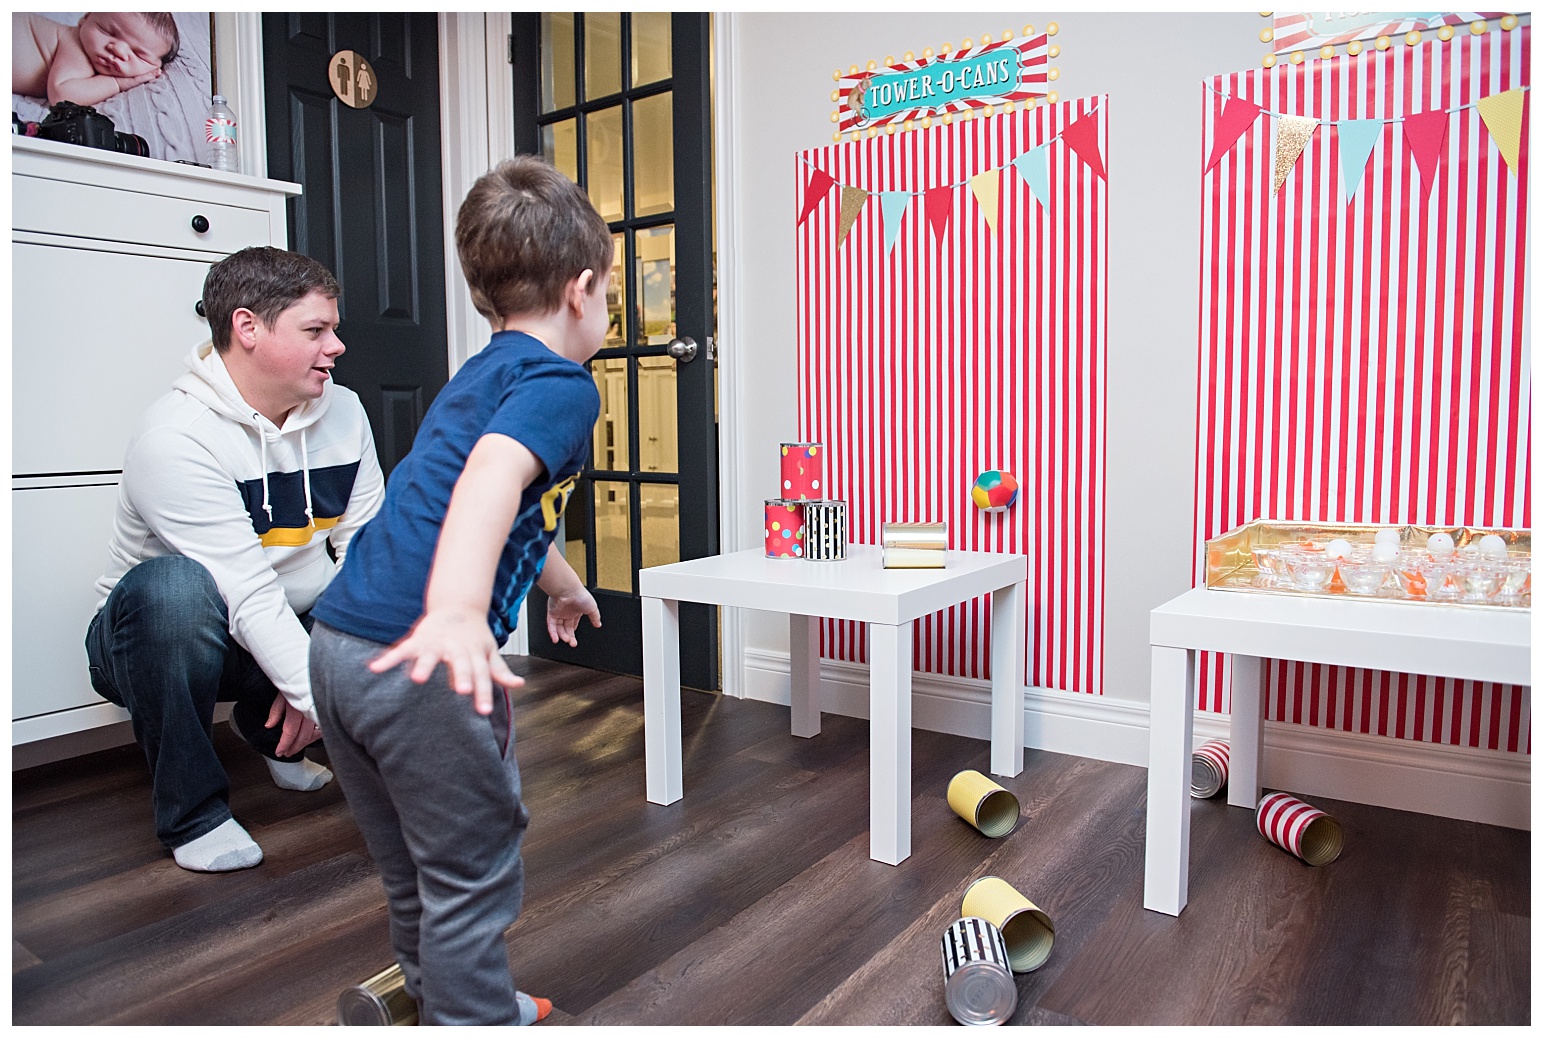
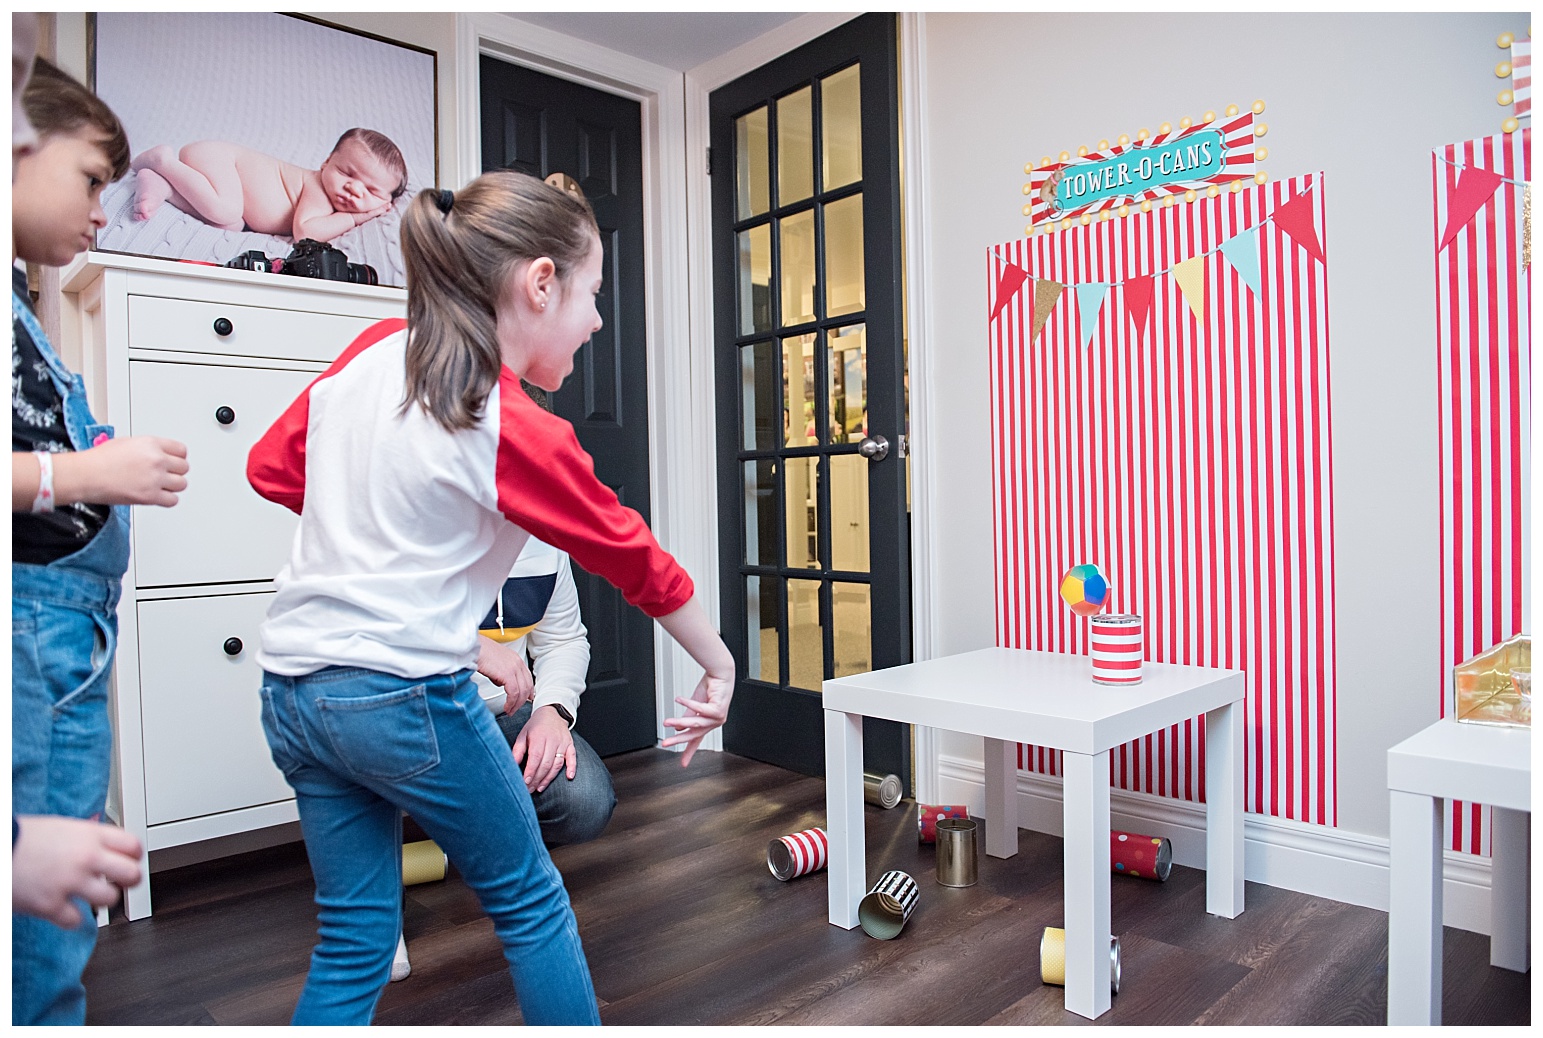
And last but certainly not least, Tower-O-Cans. Though loud, this one was a huge hit with the kids. The soft balls (from Party City) didn’t hurt any people or furniture or walls so the kids could whip them as hard as they wanted. I just used regular soup cans and covered them in fun papers. Very simple, lots of fun.


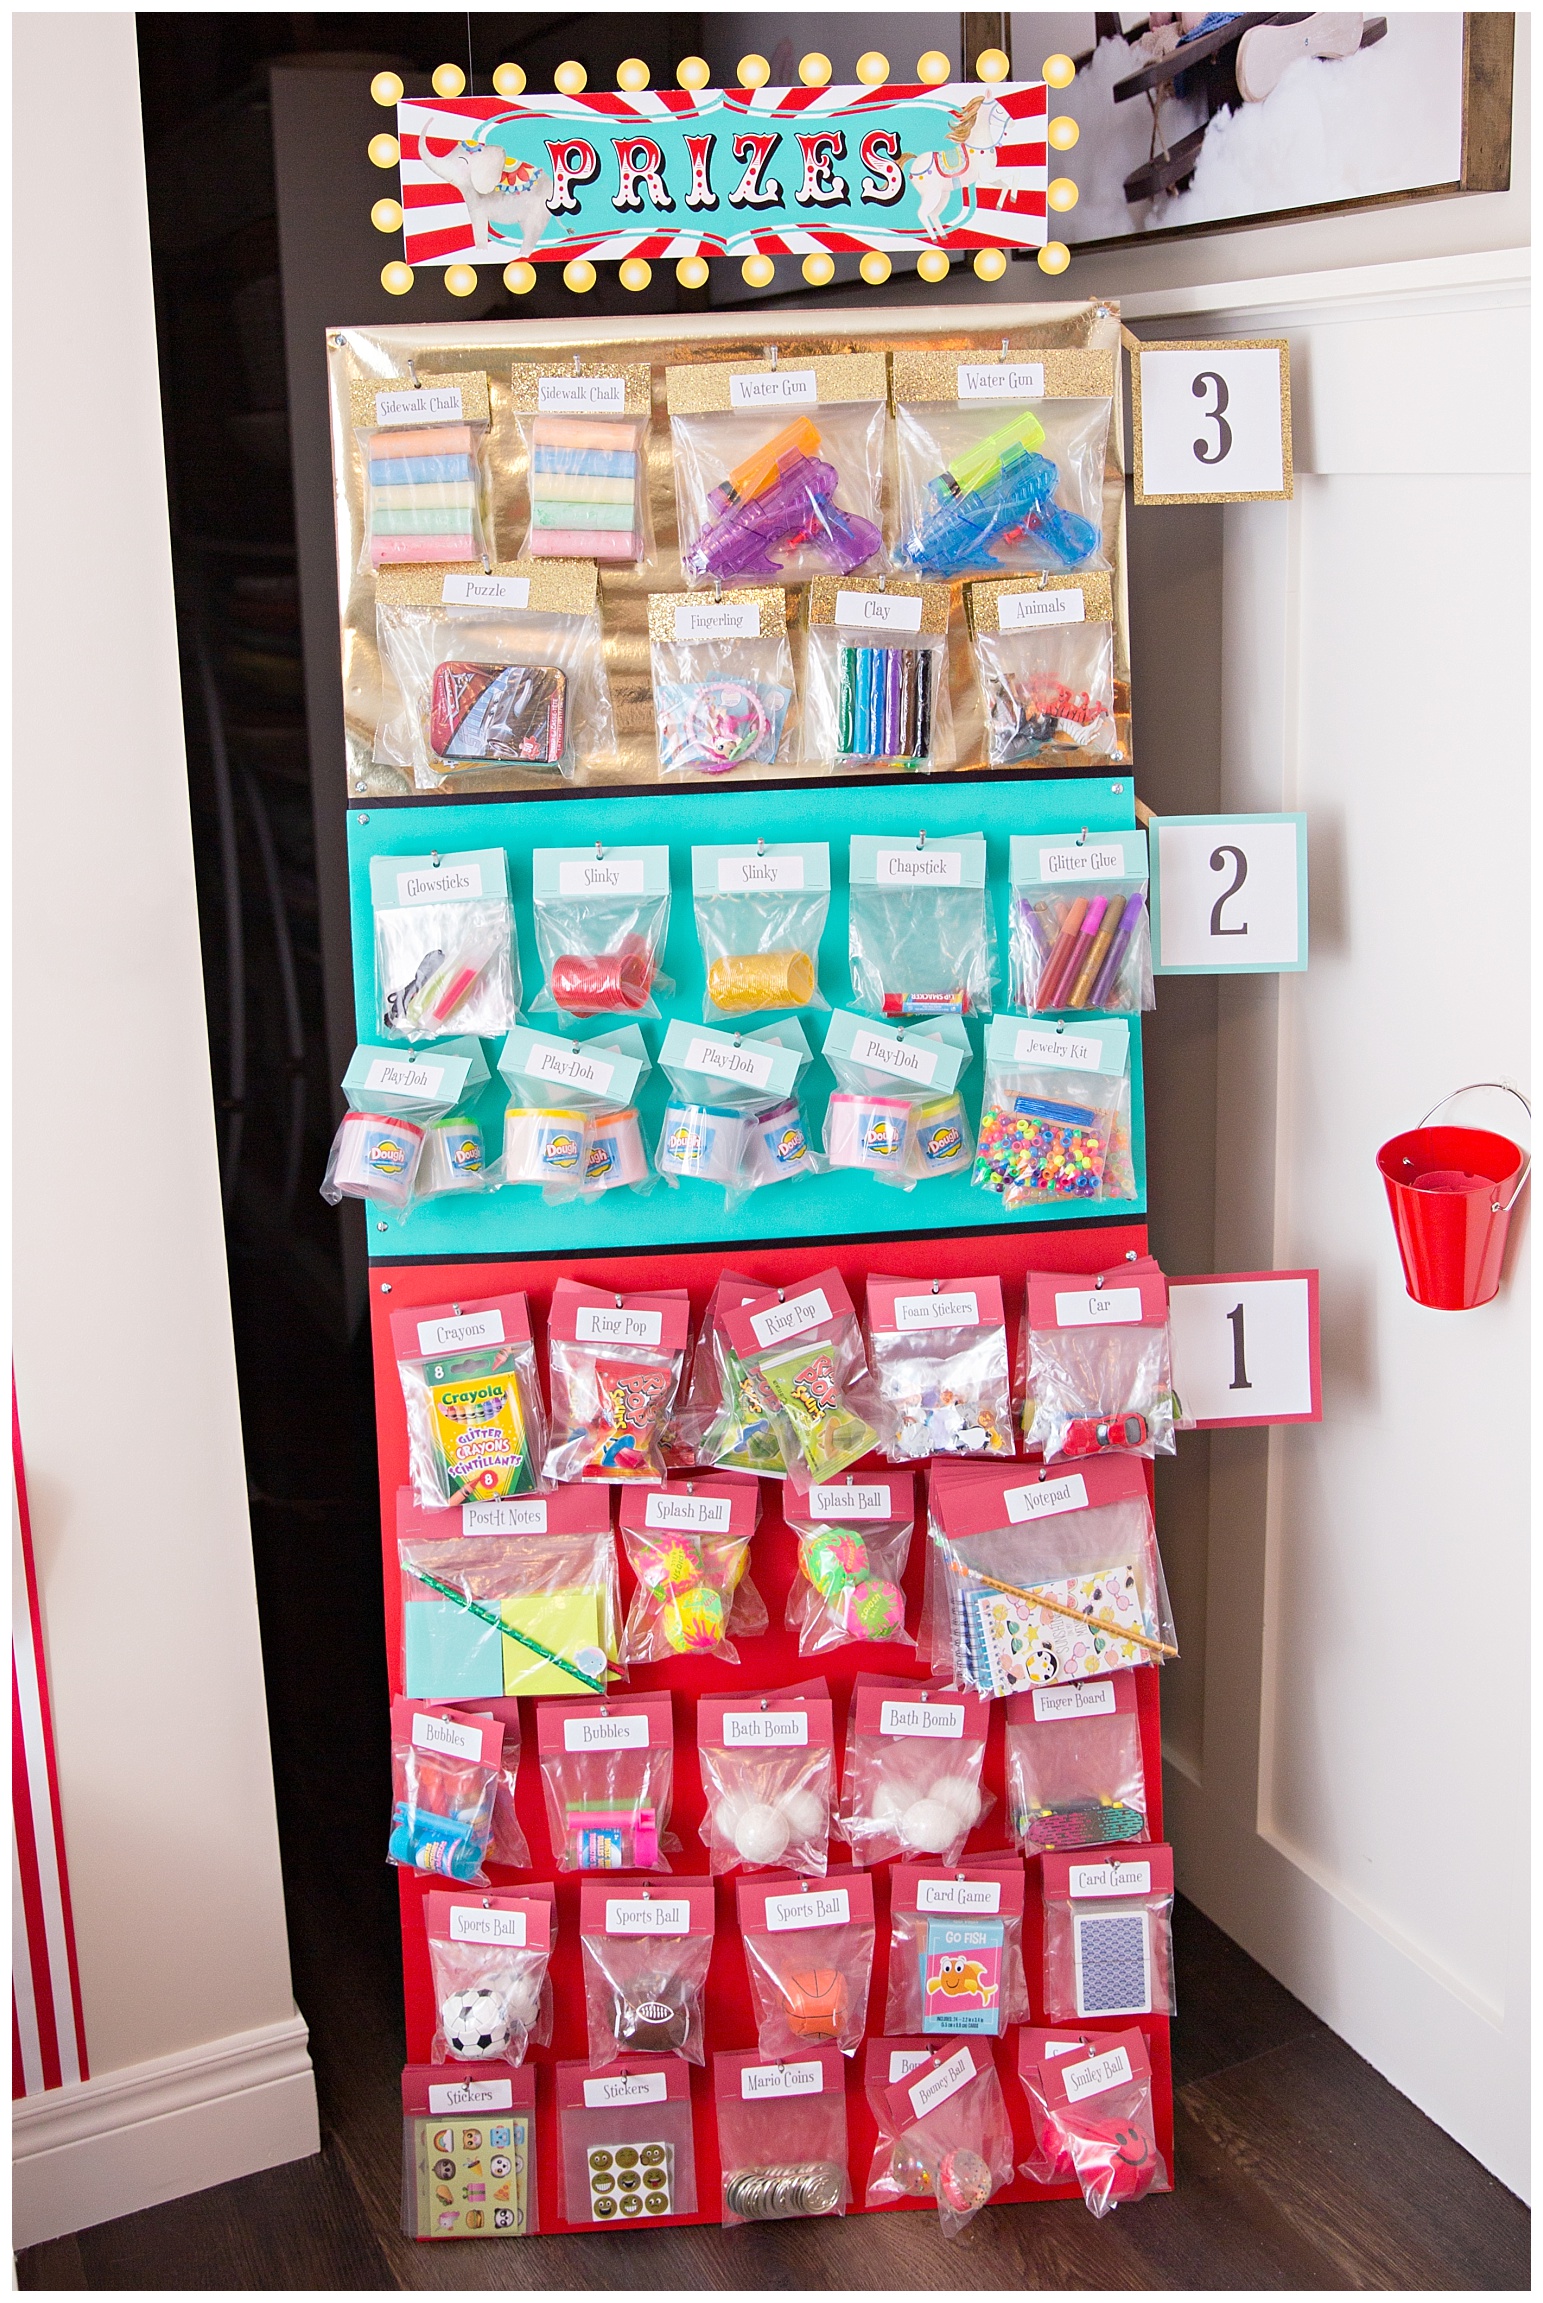
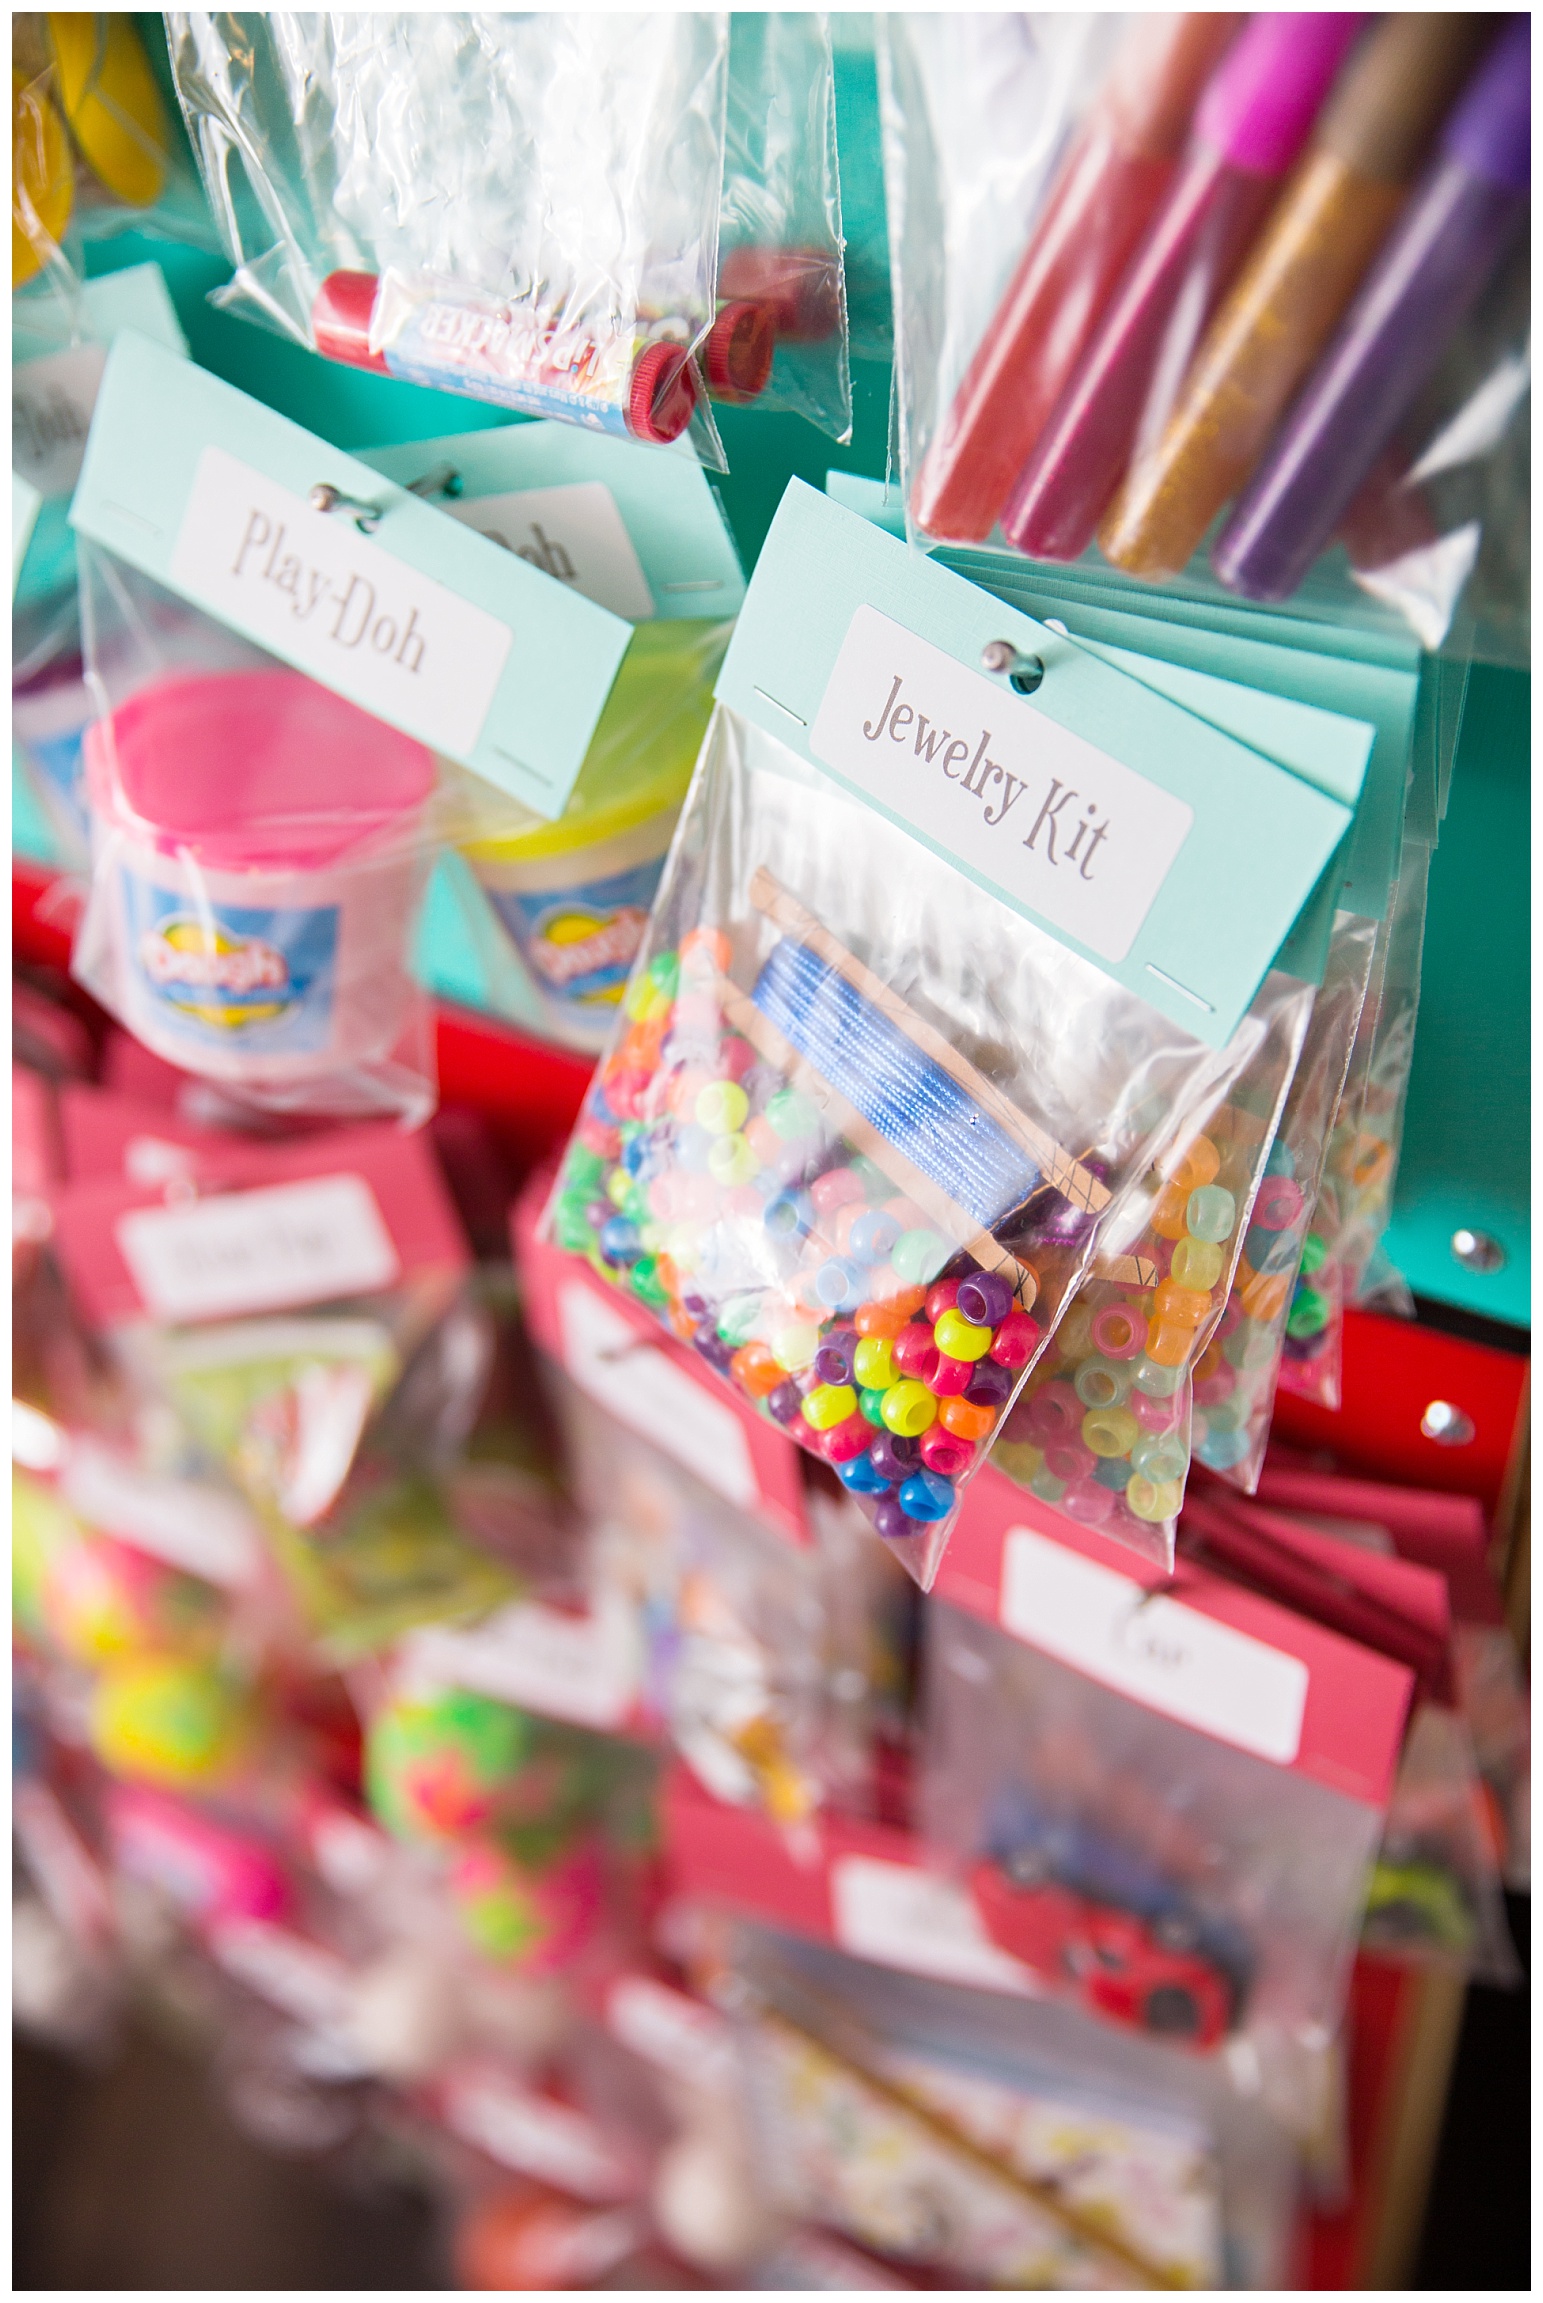
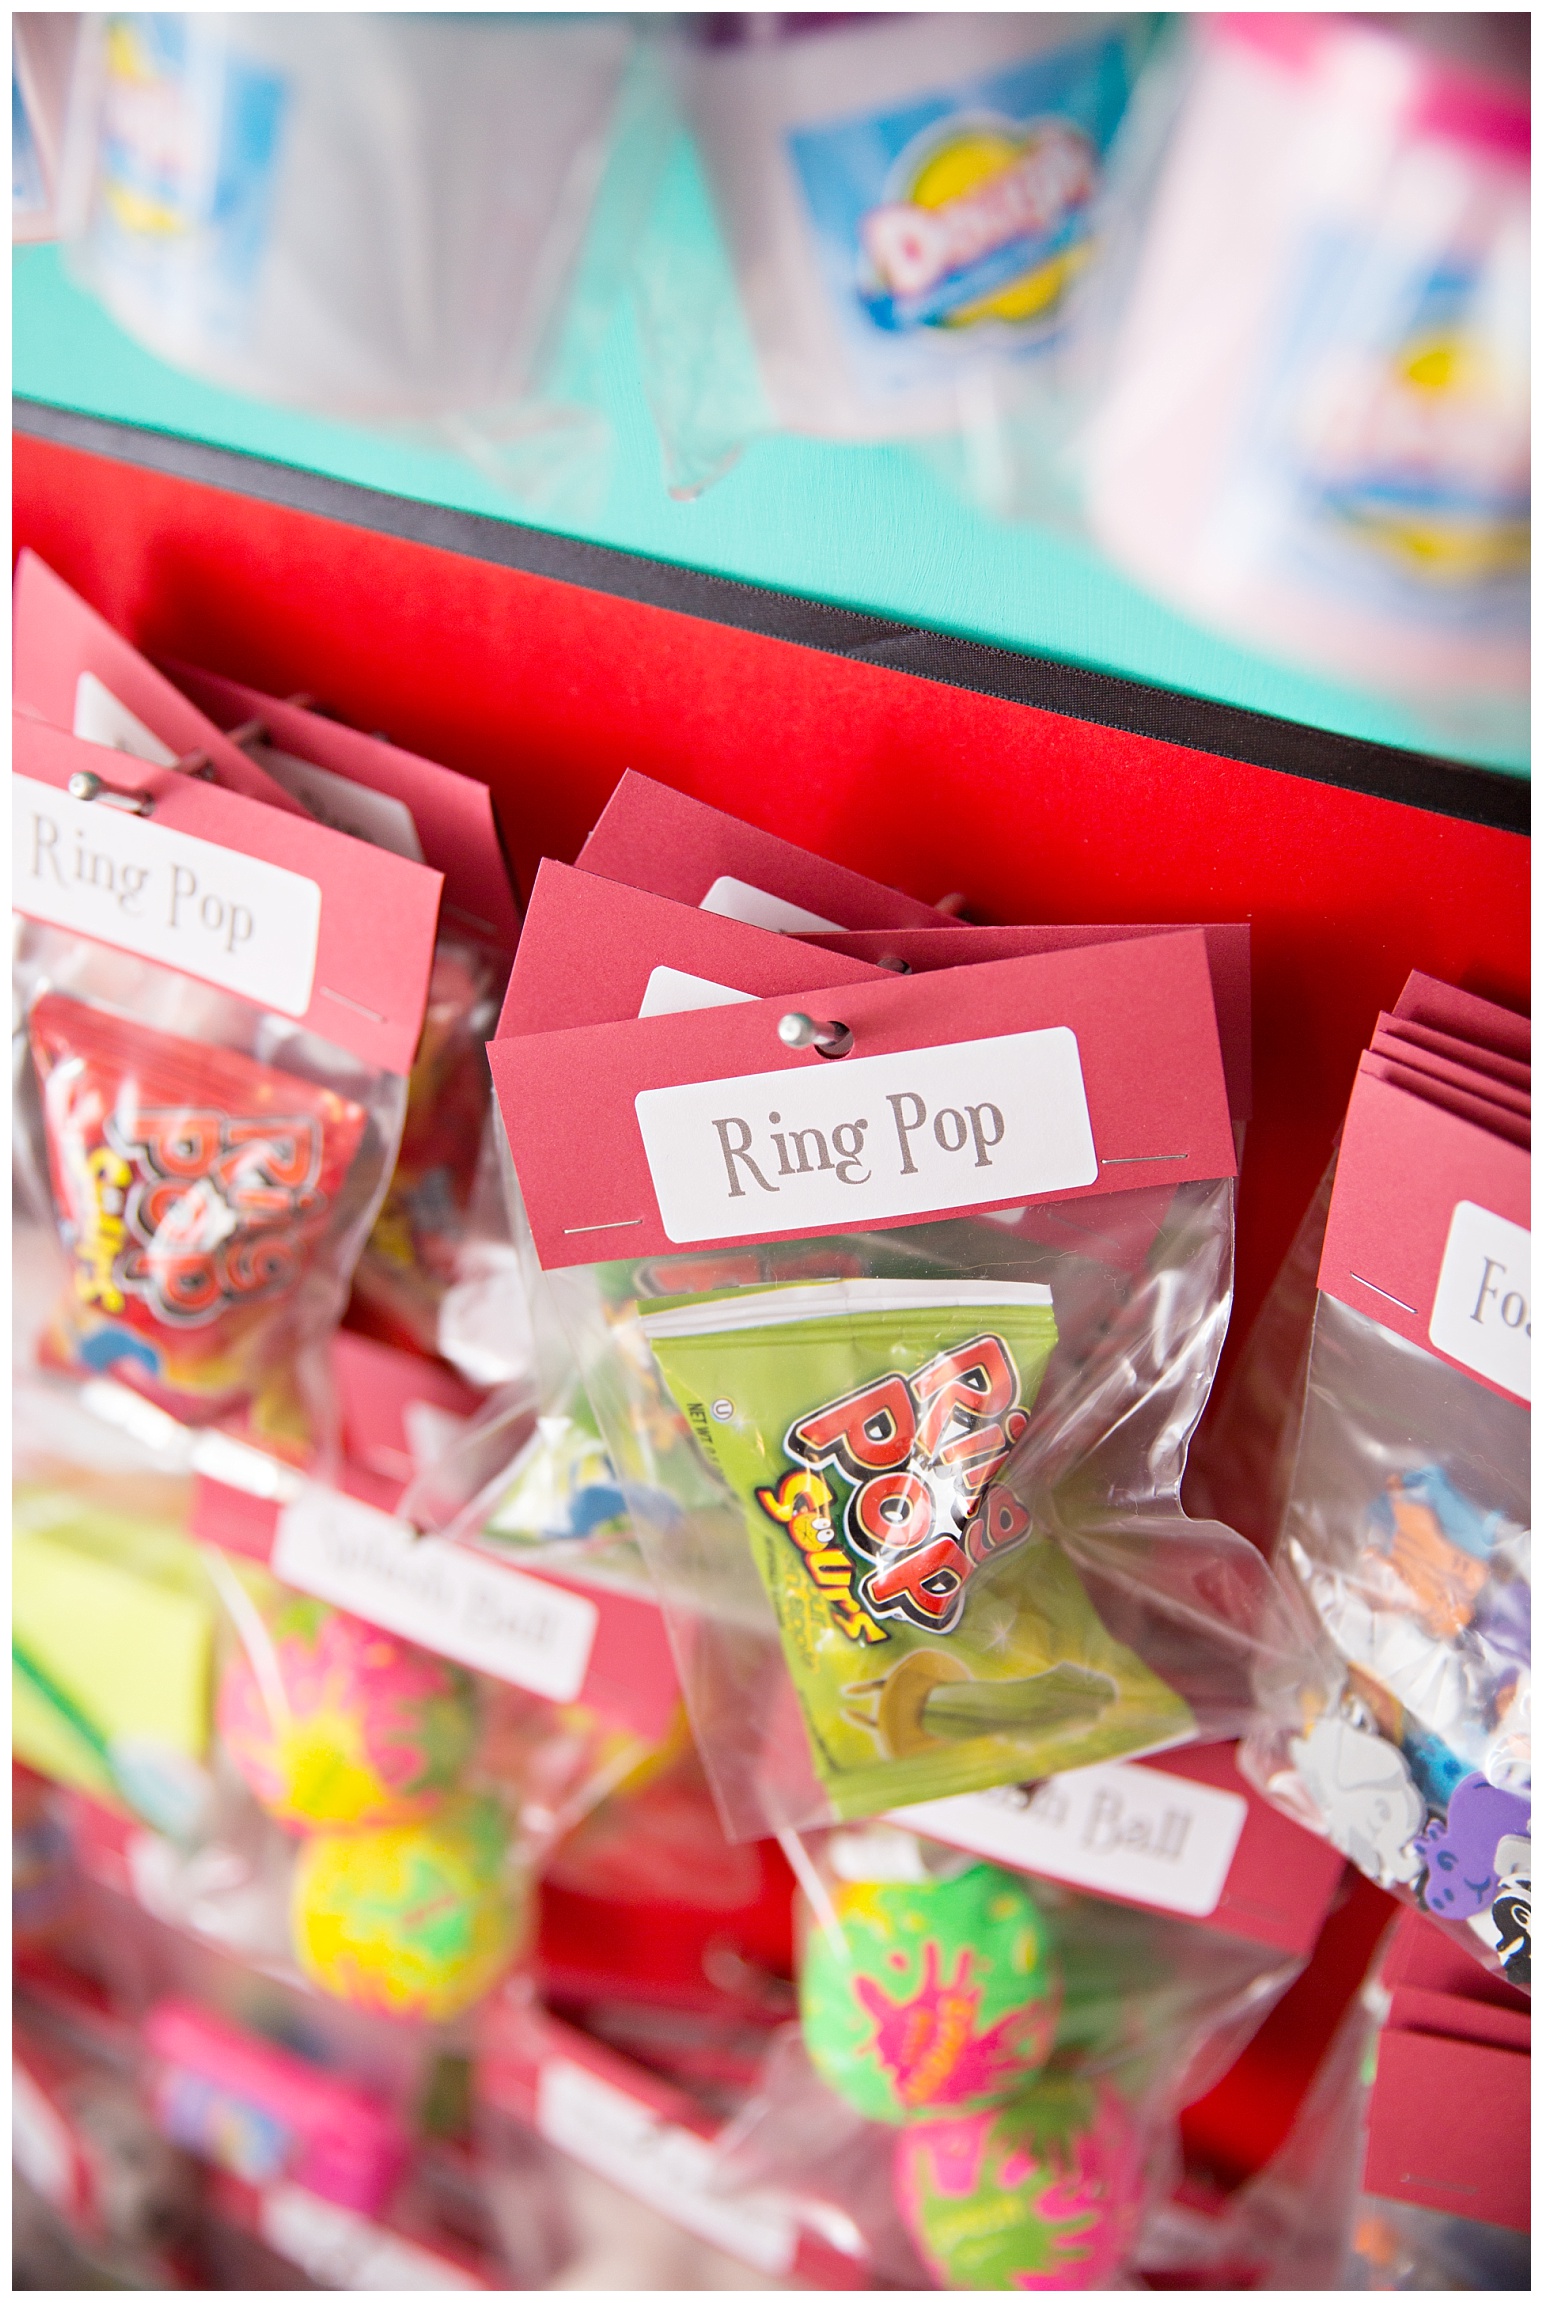
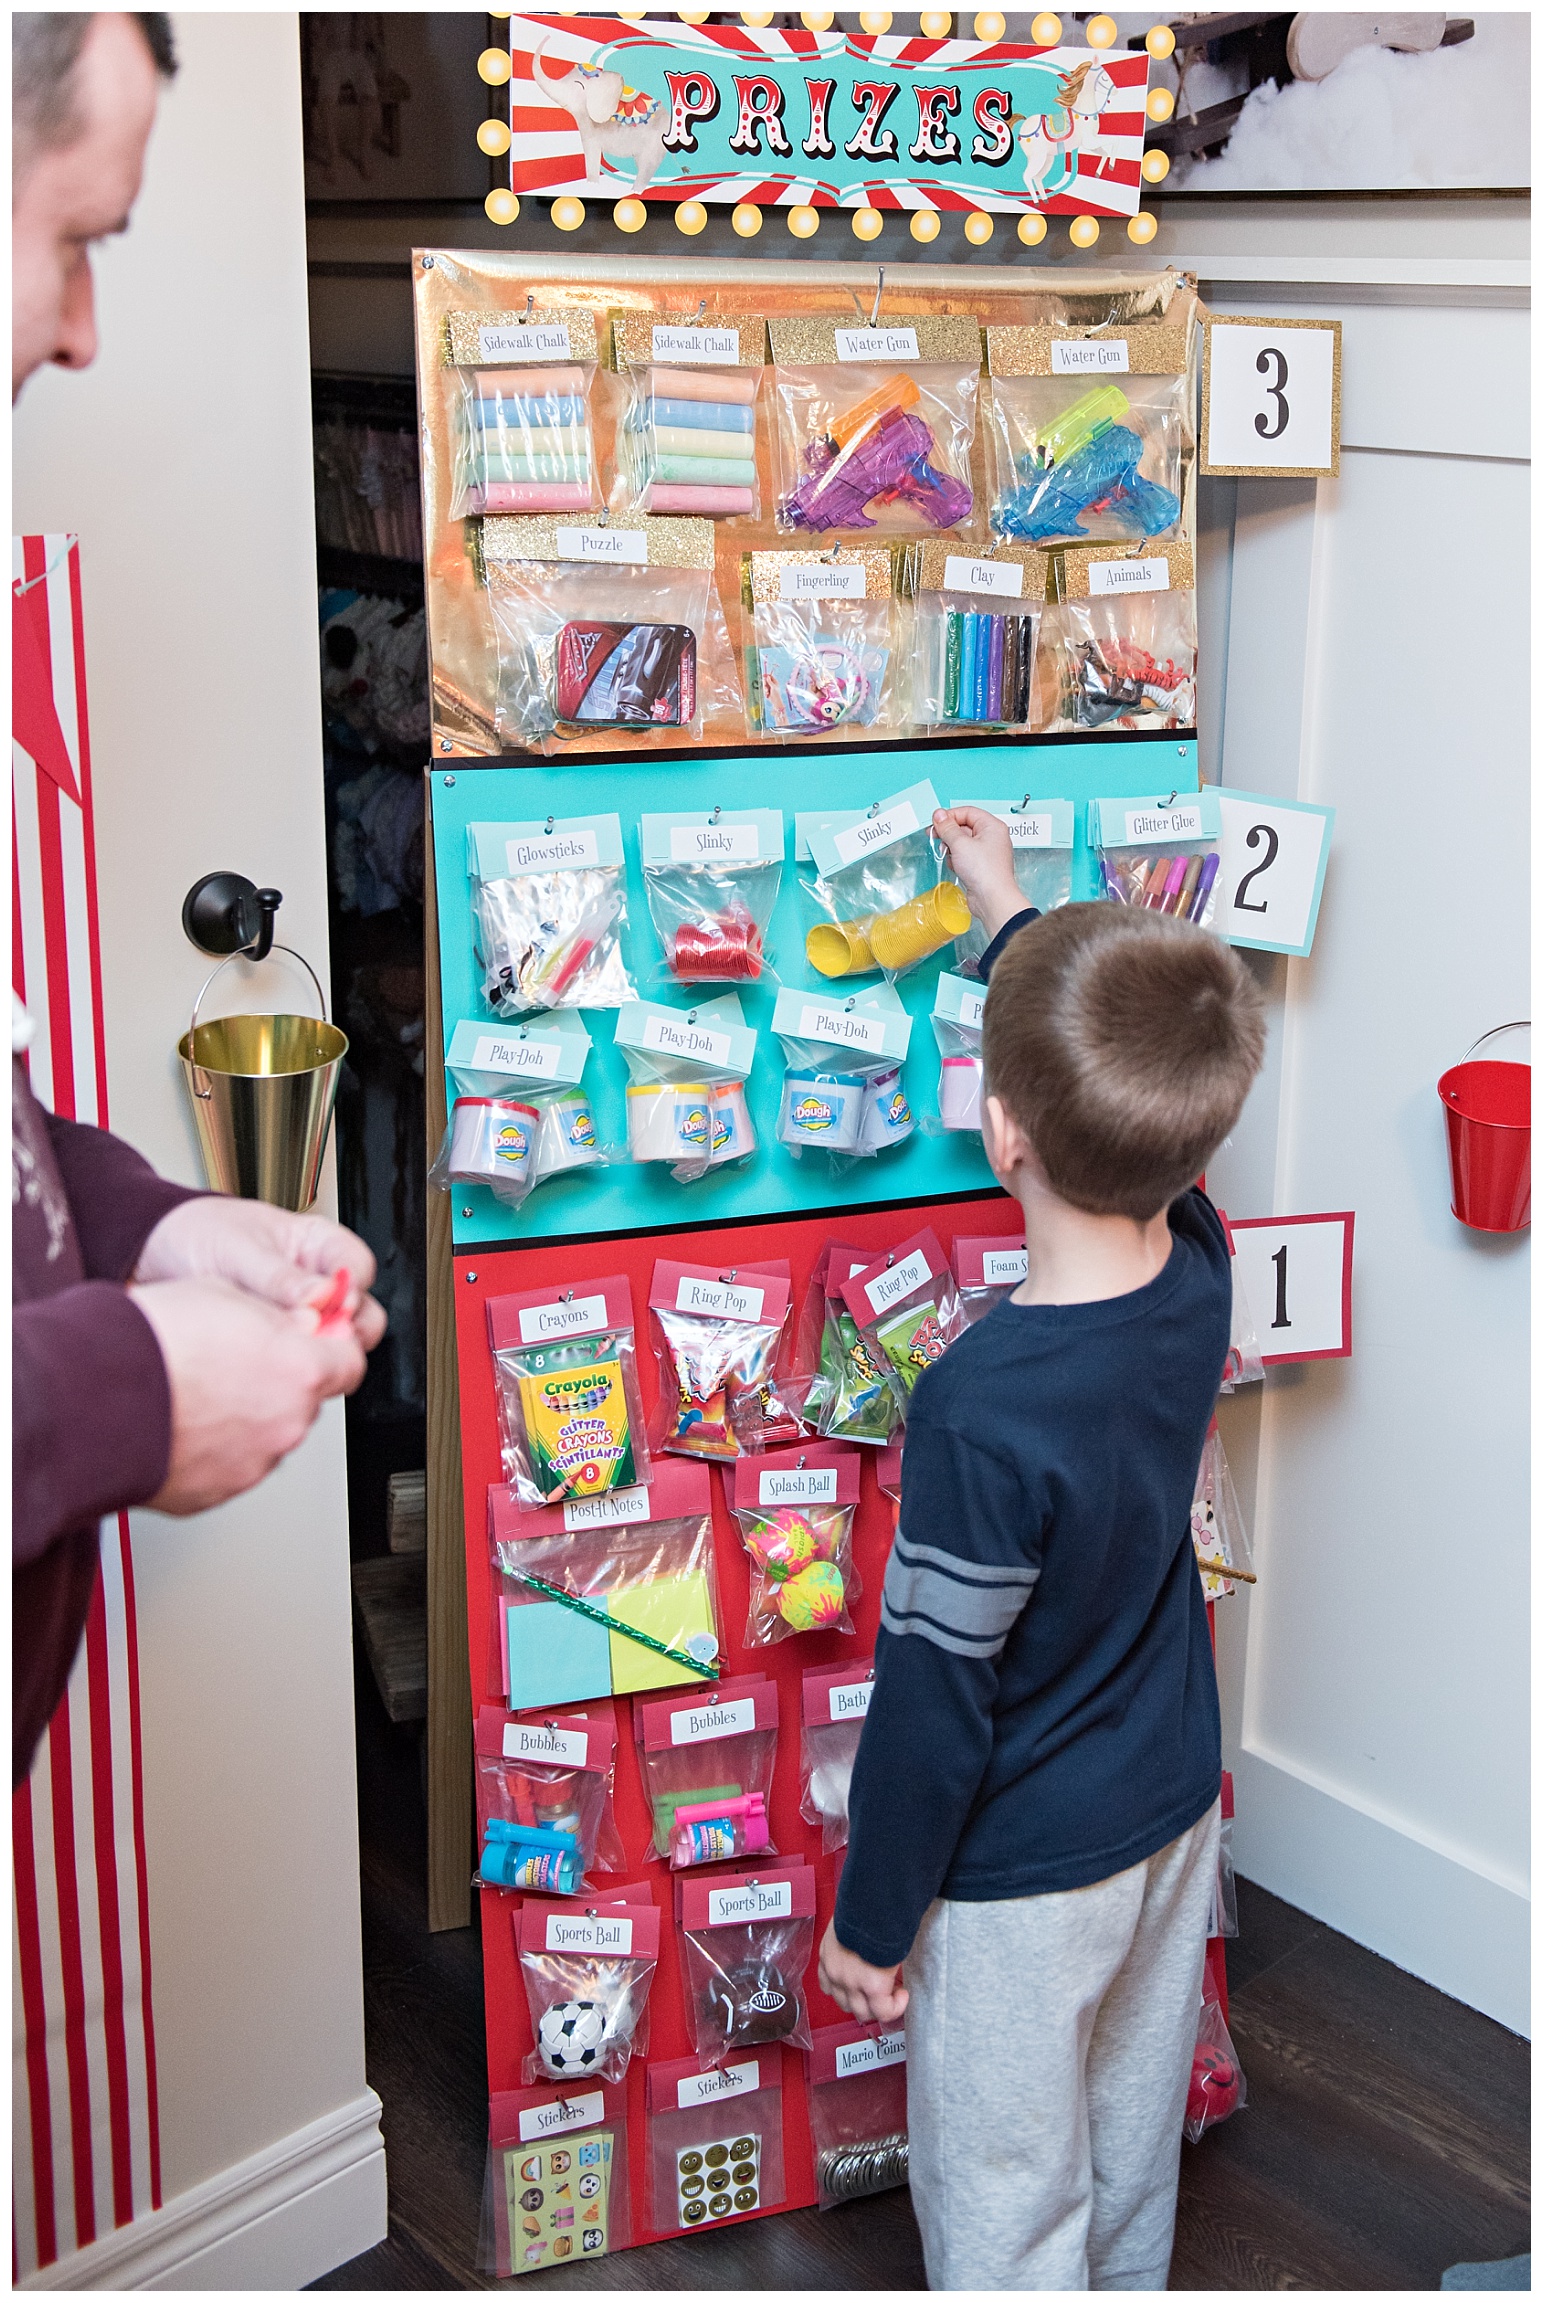
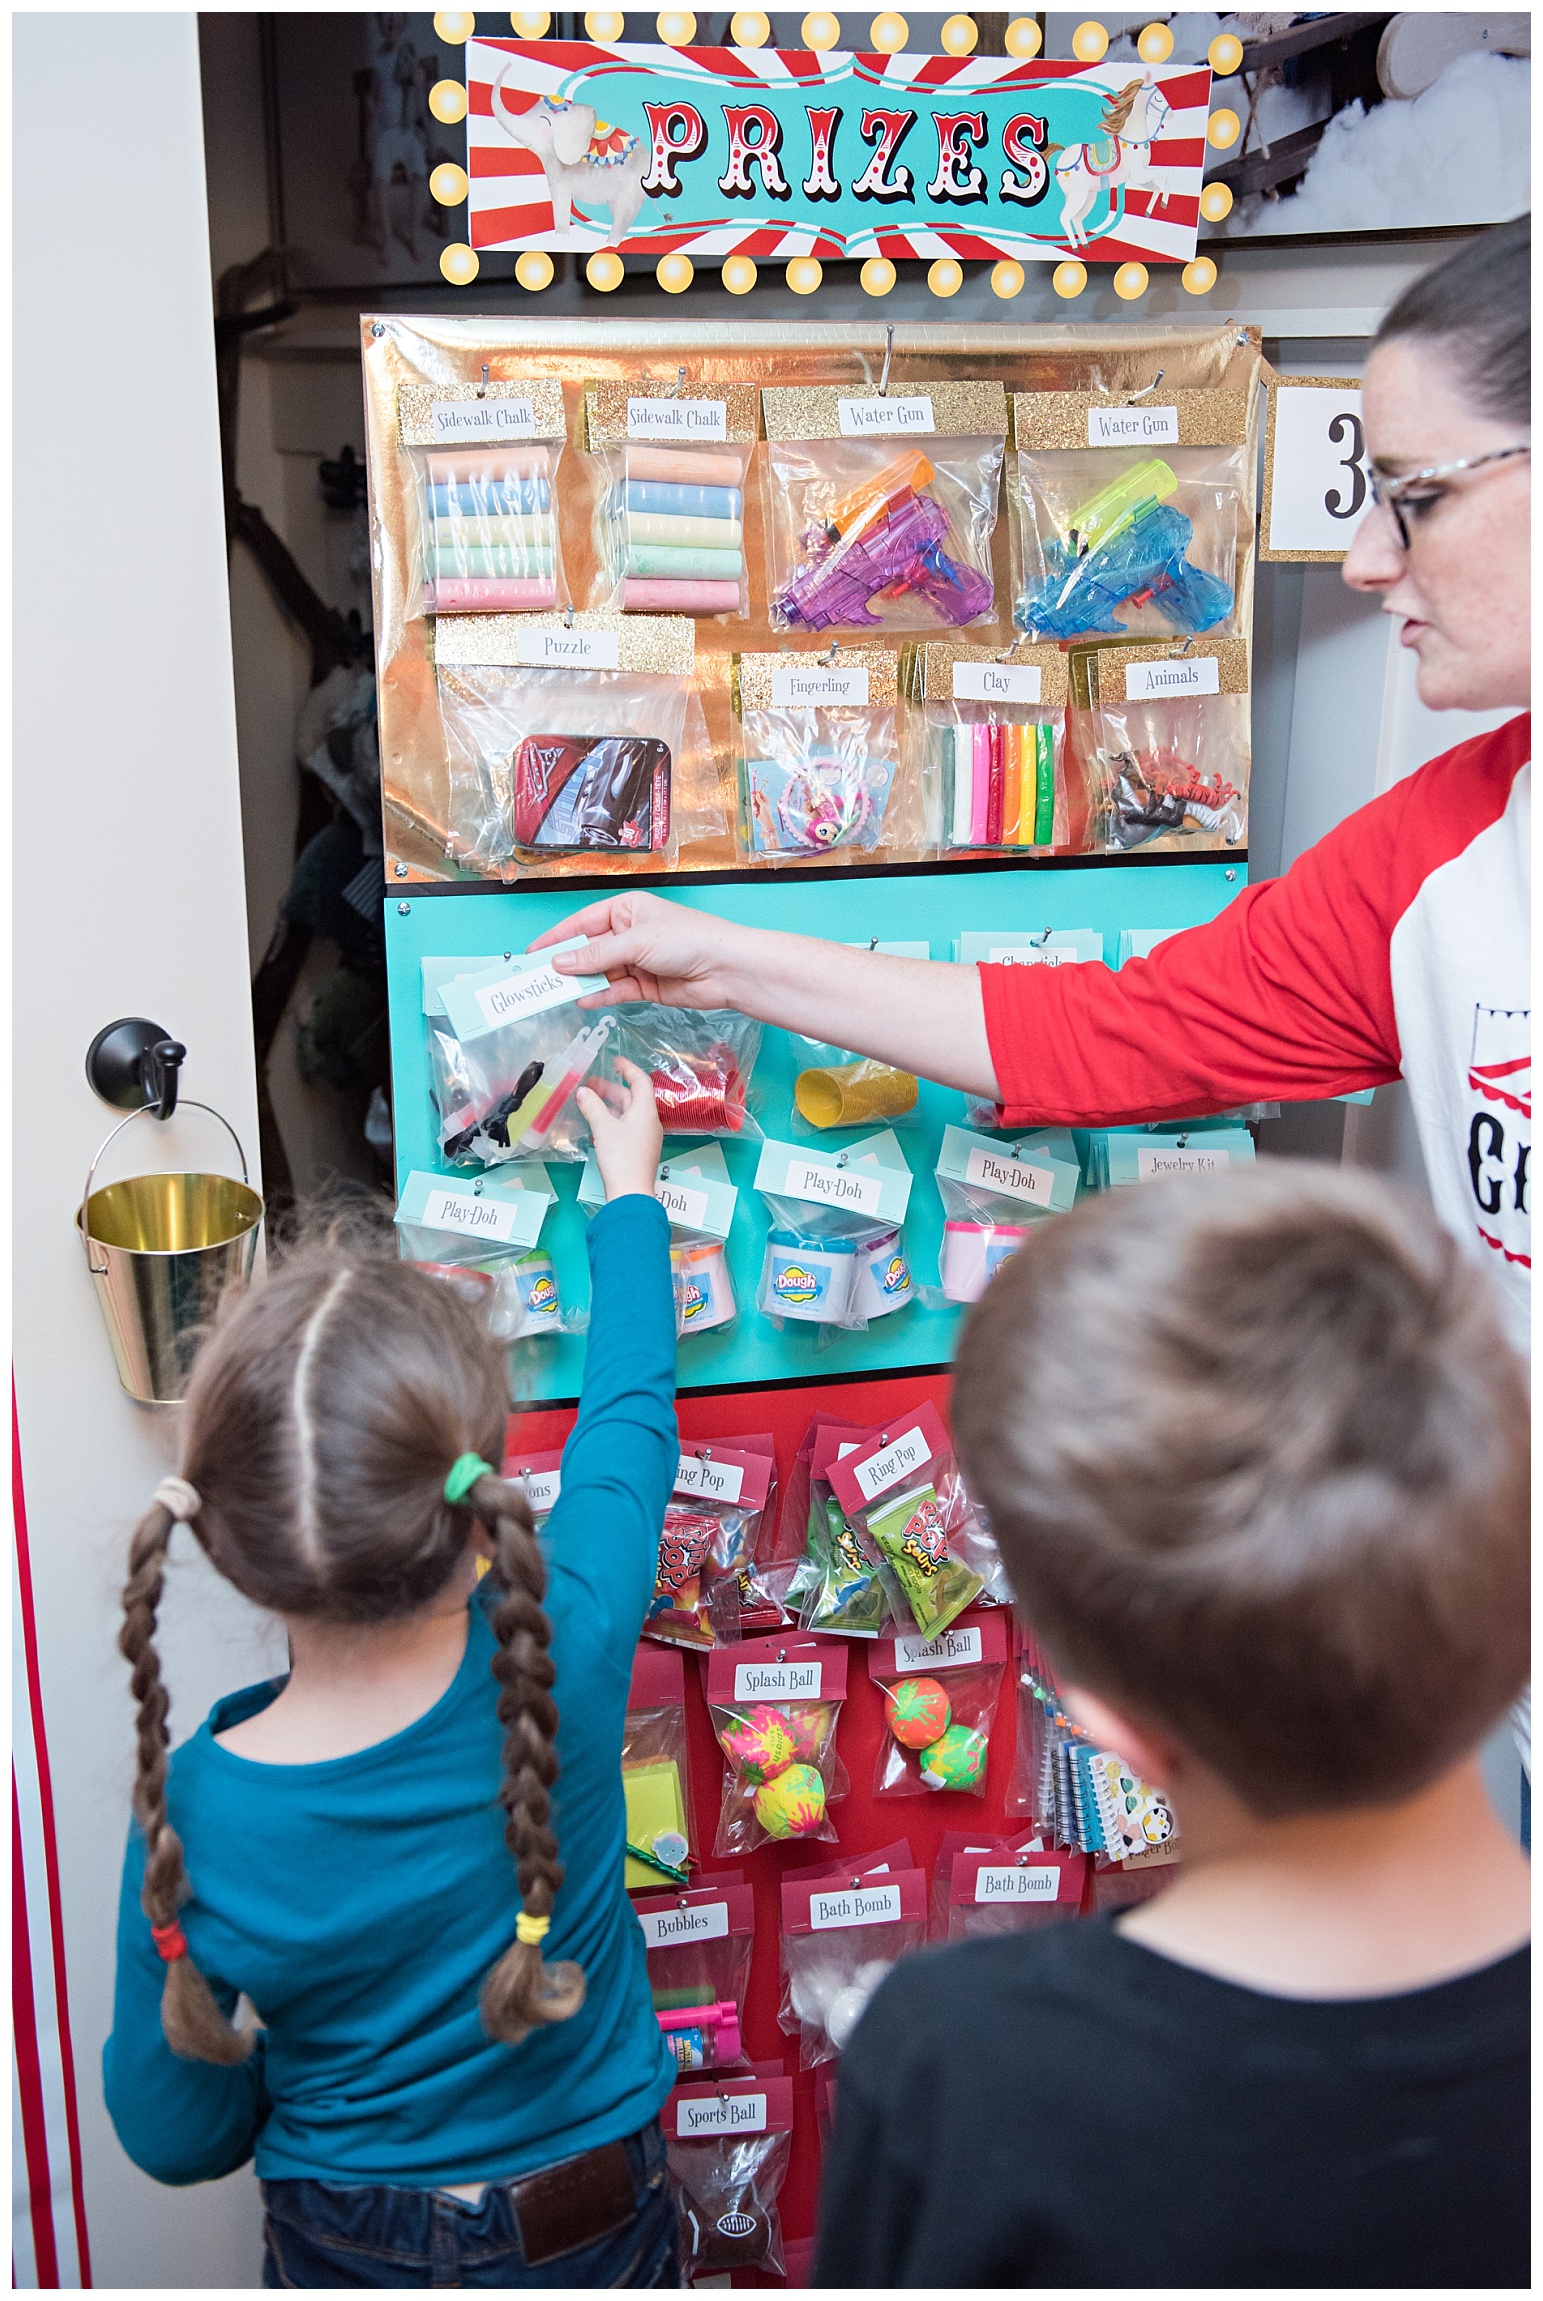
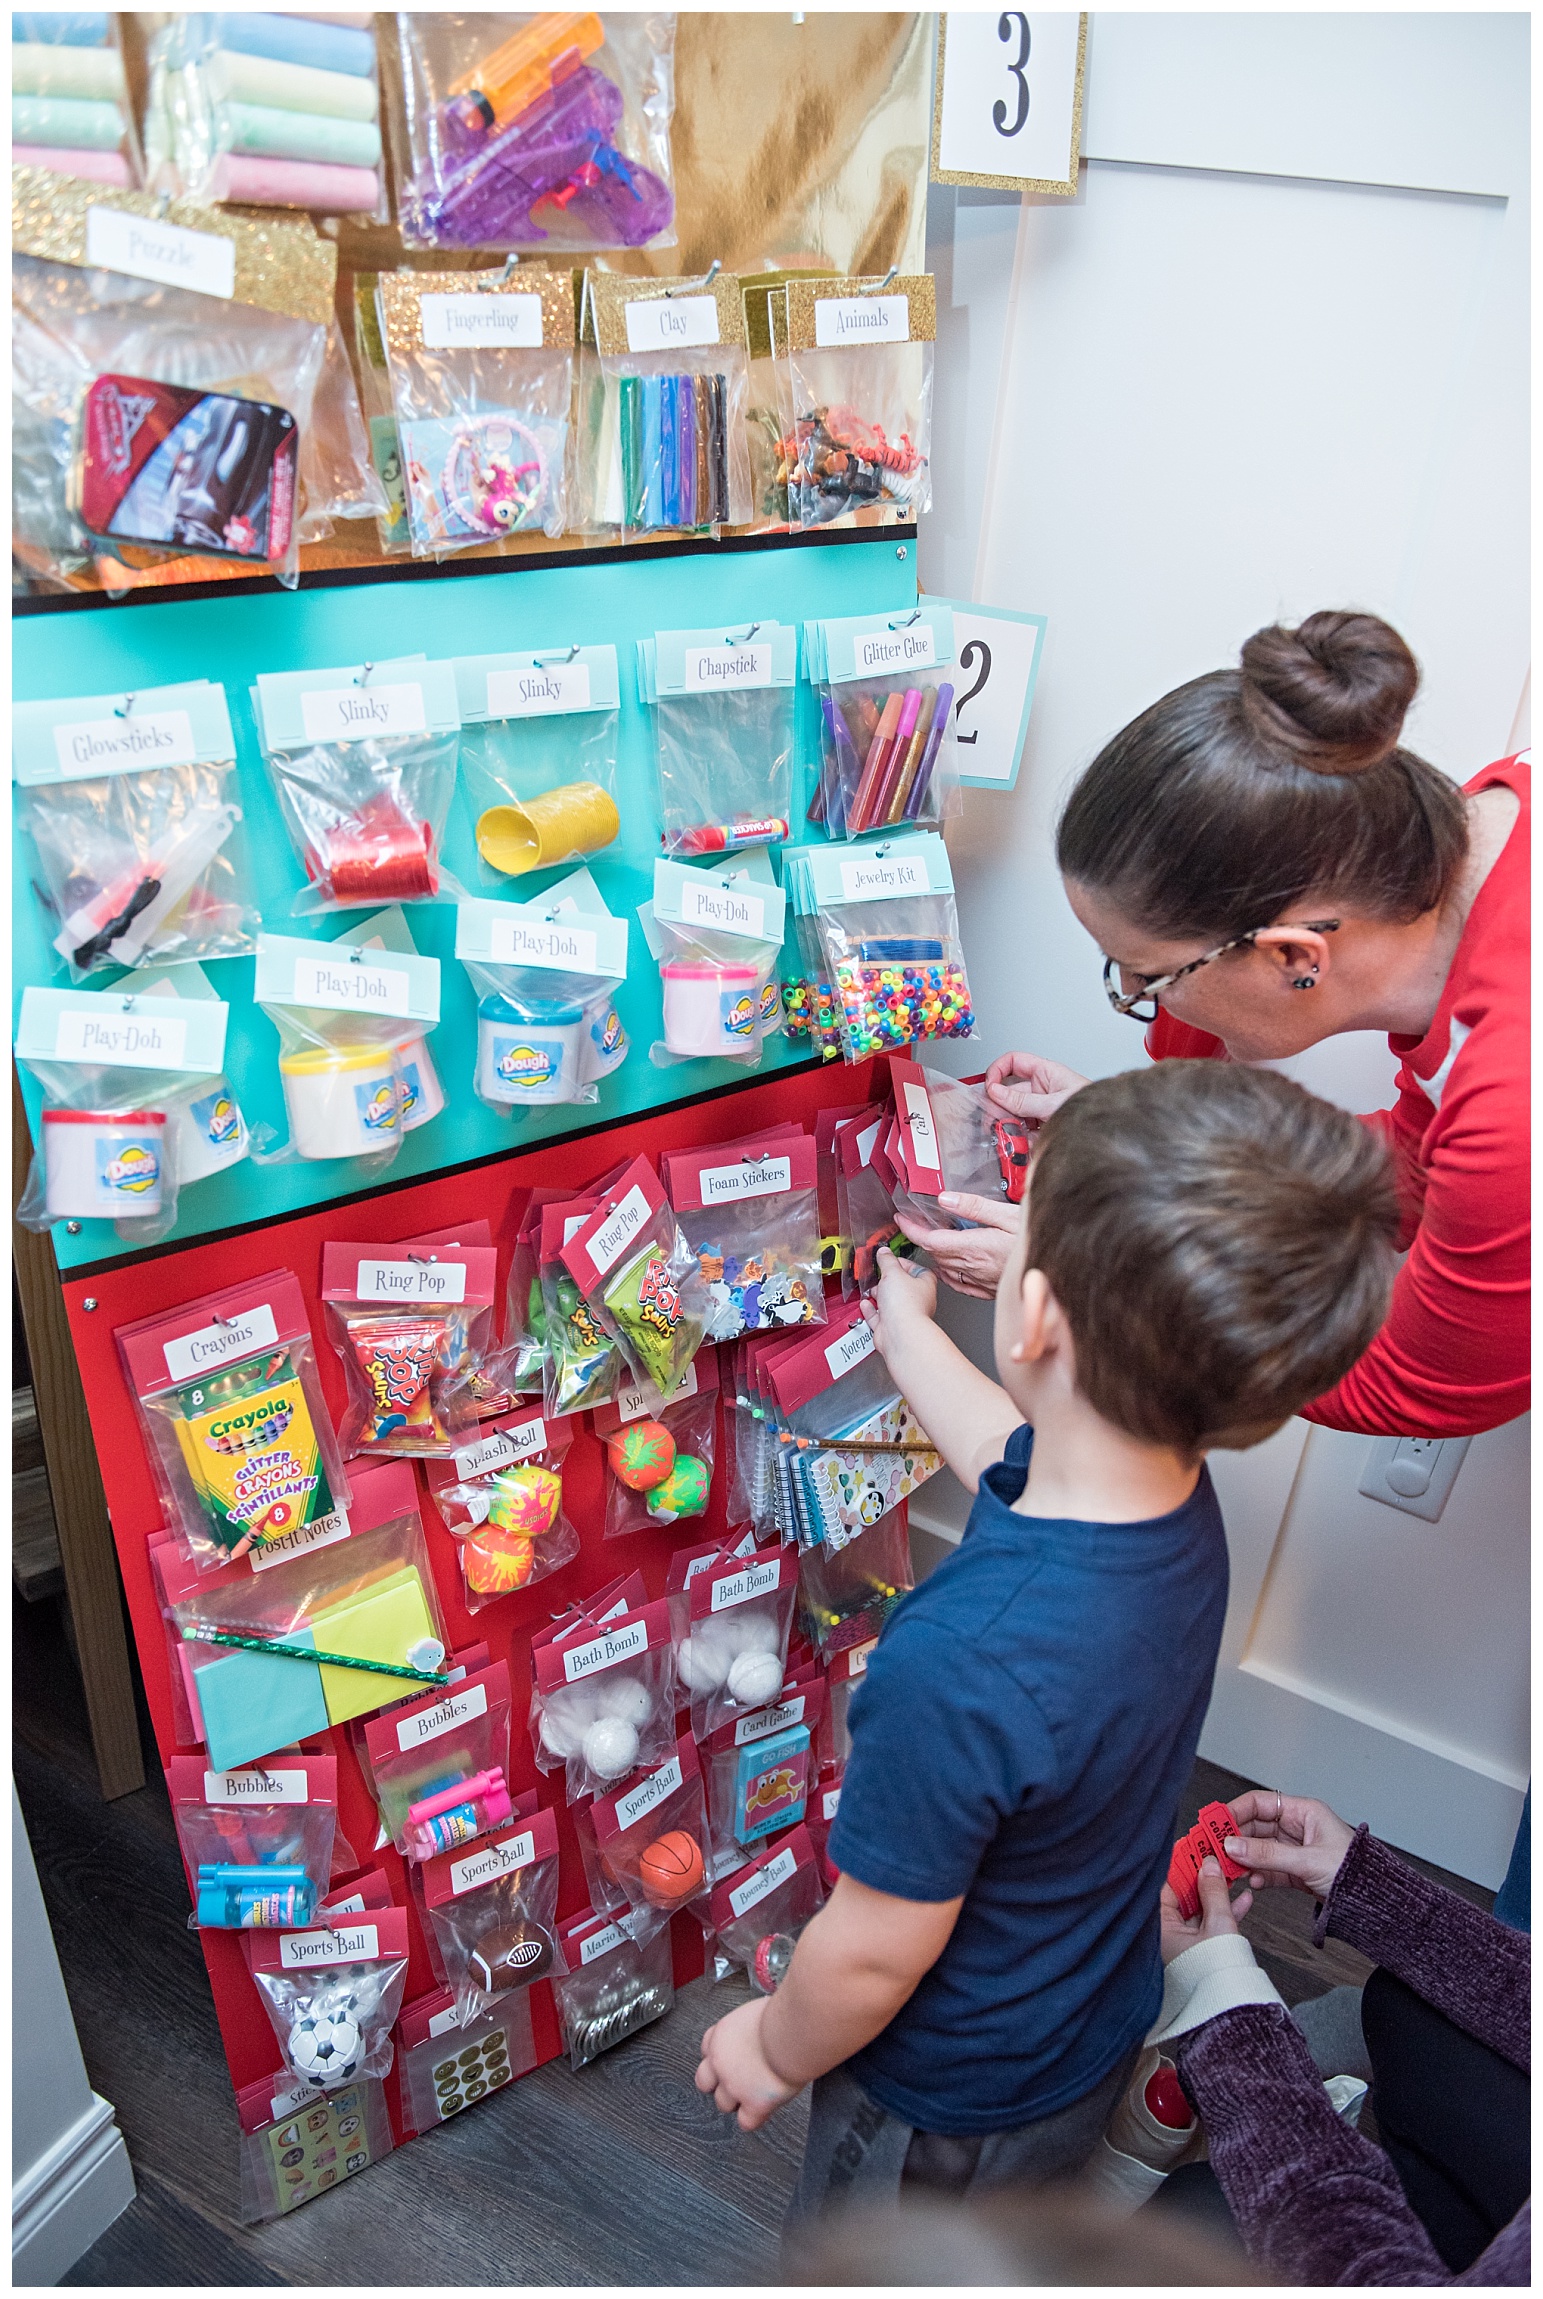
So once all of the tickets were distributed it was time to cash them in for prizes. All of the prizes were either from the dollar store or they were larger sets of things that I broke down into multiple prizes (for instance the chalk came in a tub of 20 sticks so I divided it up into 4 prizes of 5 sticks each). I spent no more on this prize board then I would have normally spent on goody bags and it gave the kids a sense of control since they got to choose their prizes themselves. There were many serious deliberations, lol.
The board itself is a large piece of pegboard I had in the garage. I used these hooks to hang the prizes off of. By rebagging all of the prizes and adding the labels it gave the whole thing a really put together look. The kids used their canvas bags with their names on them to carry all of their prizes home.
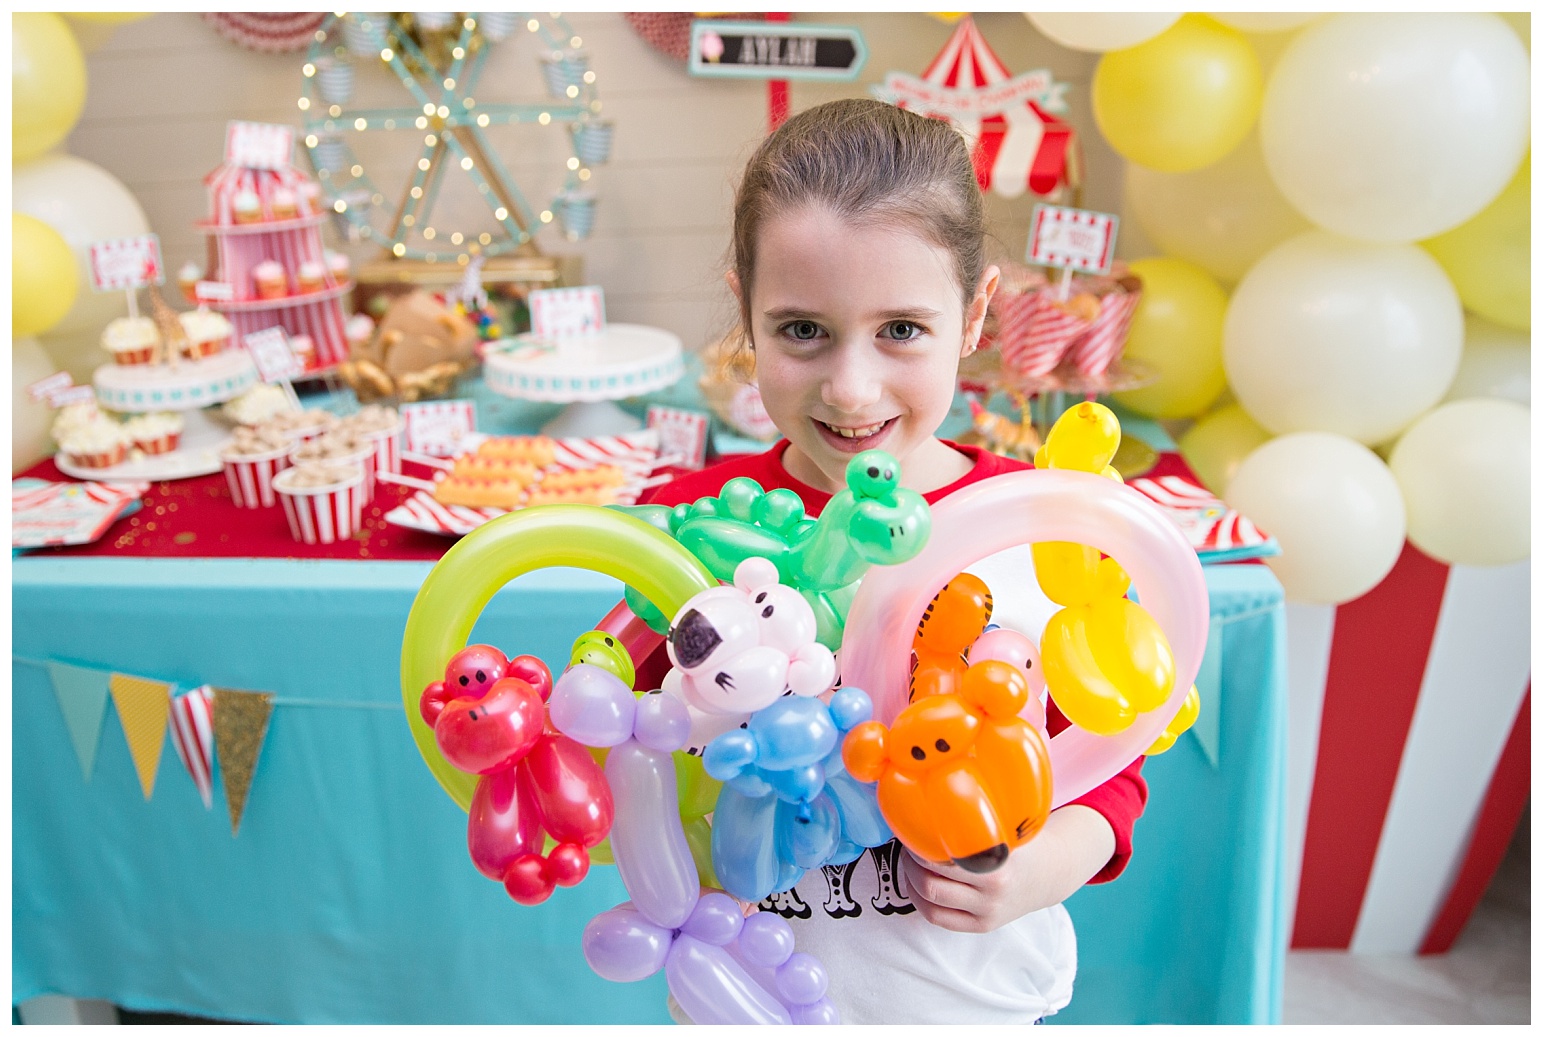
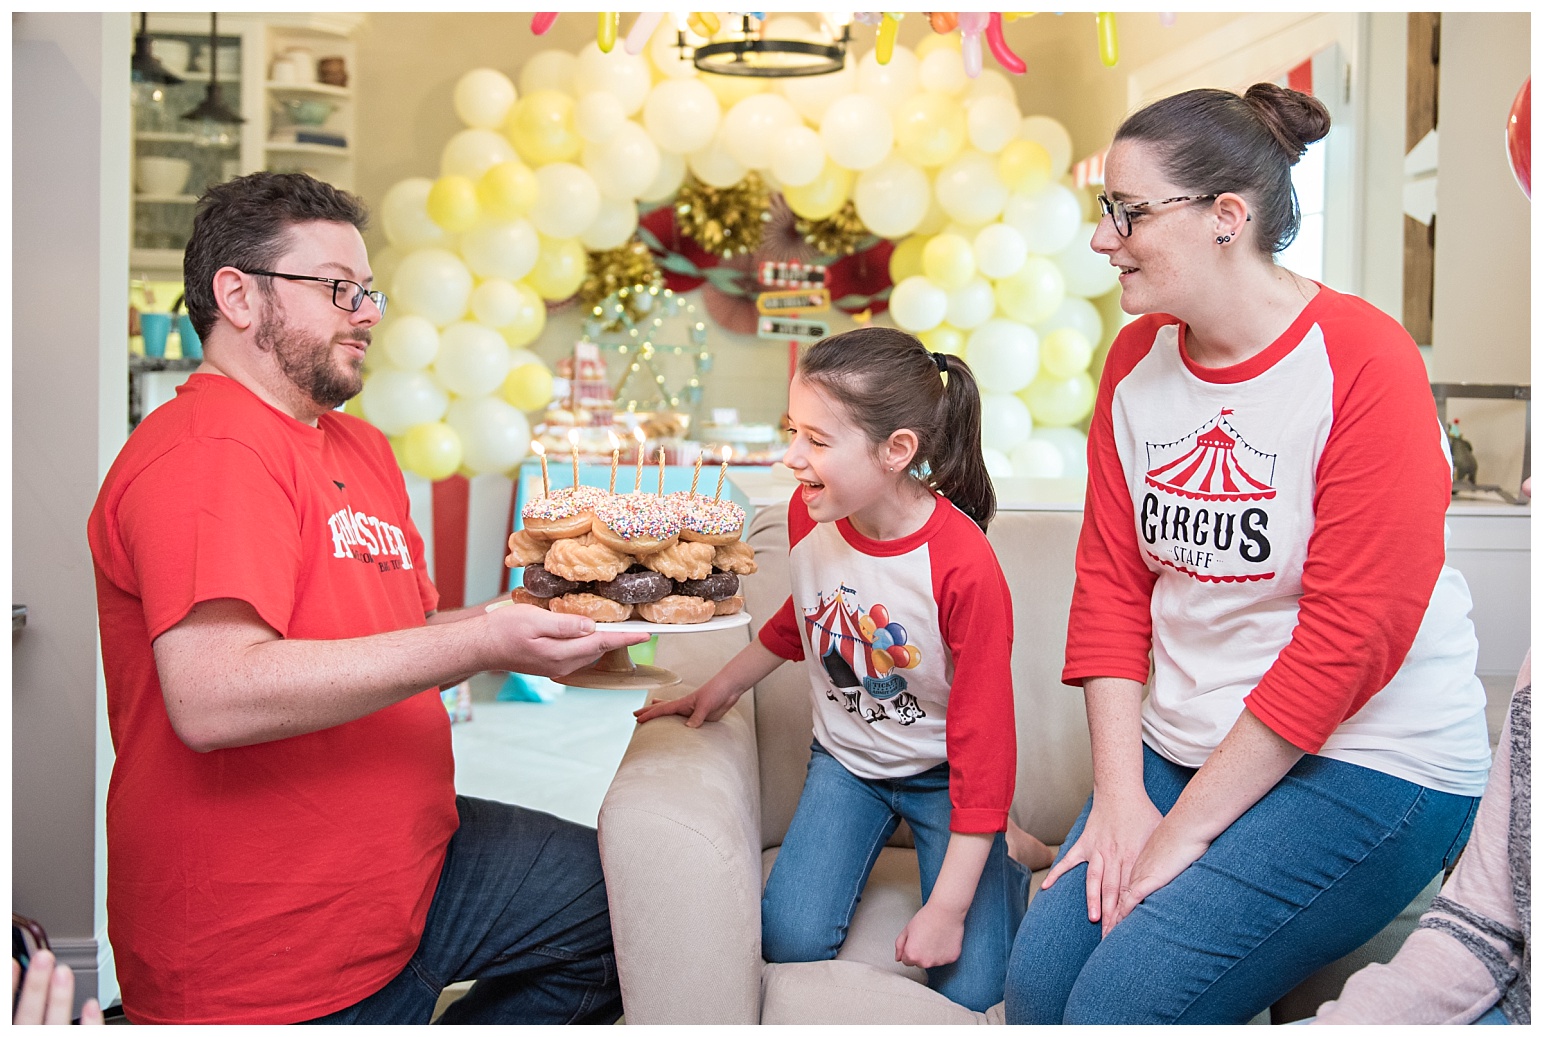
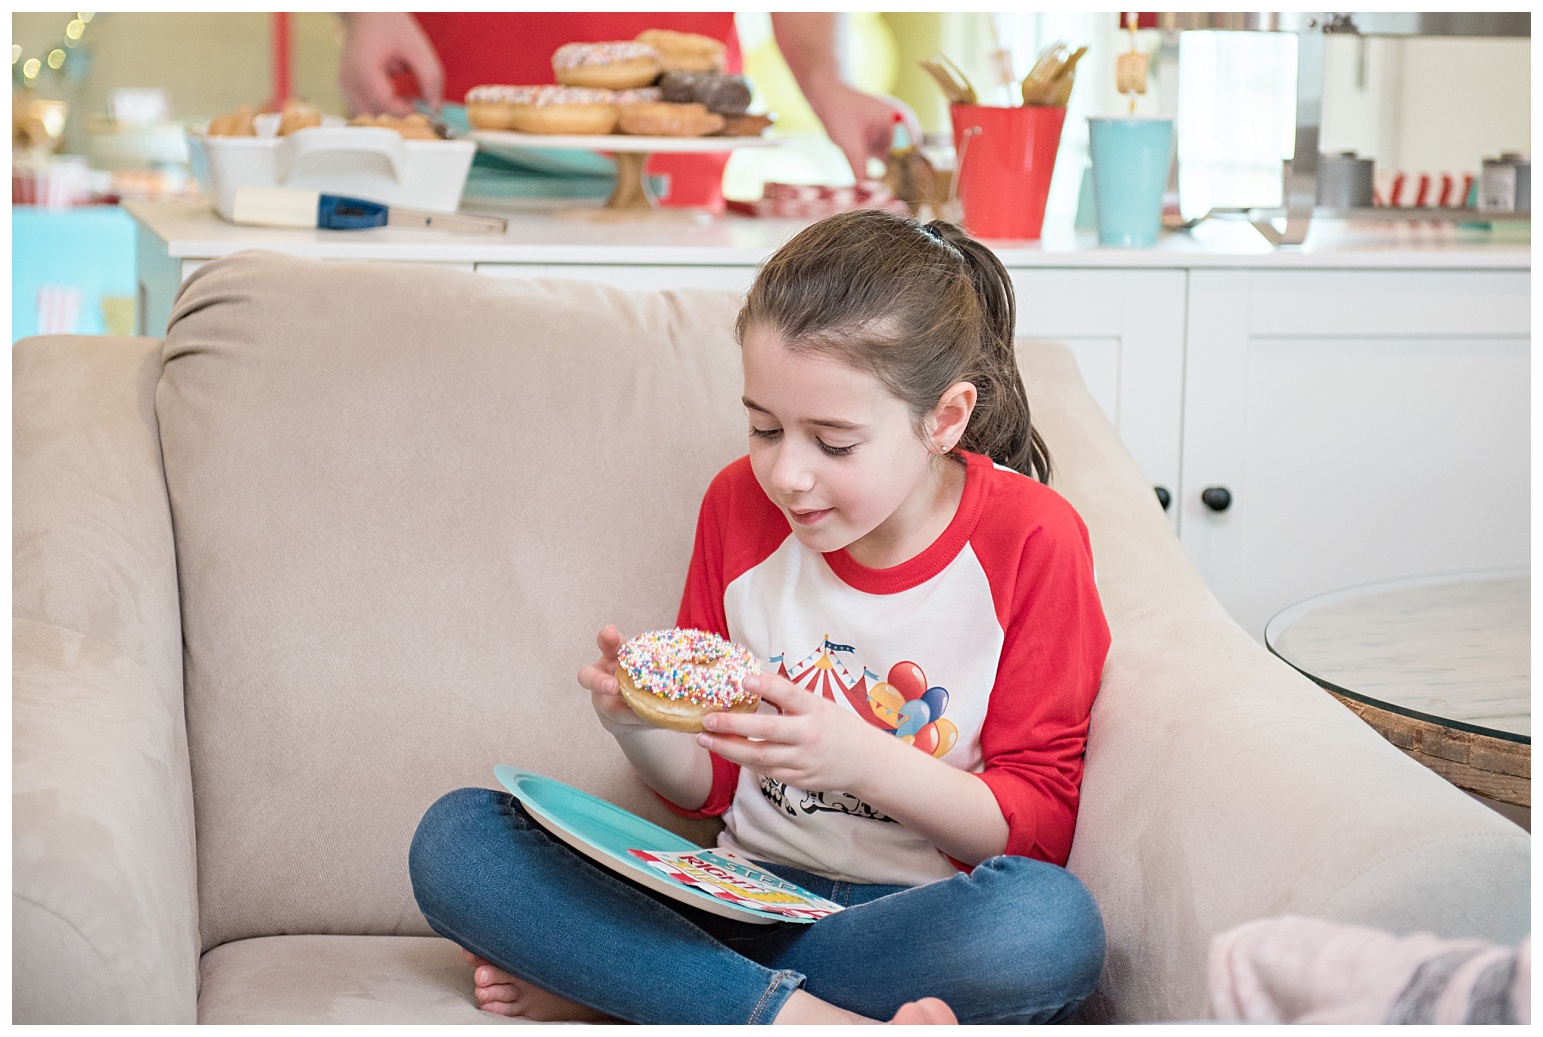
After the games were done we went back upstairs for presents and “cake” (donuts).

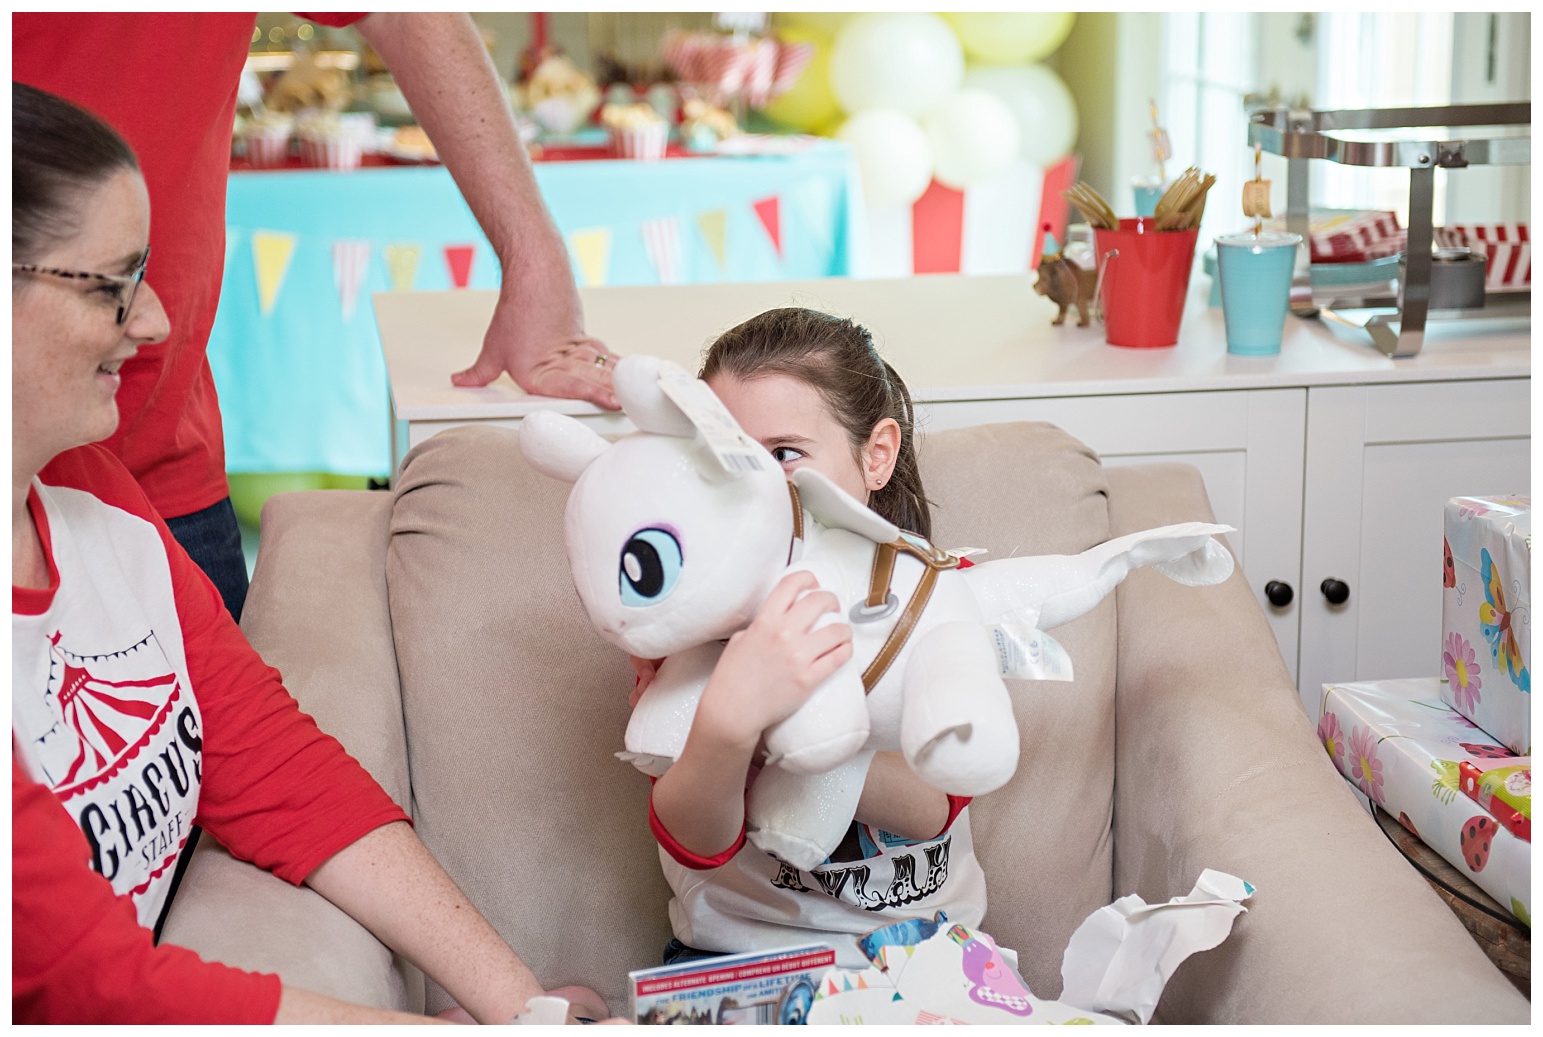
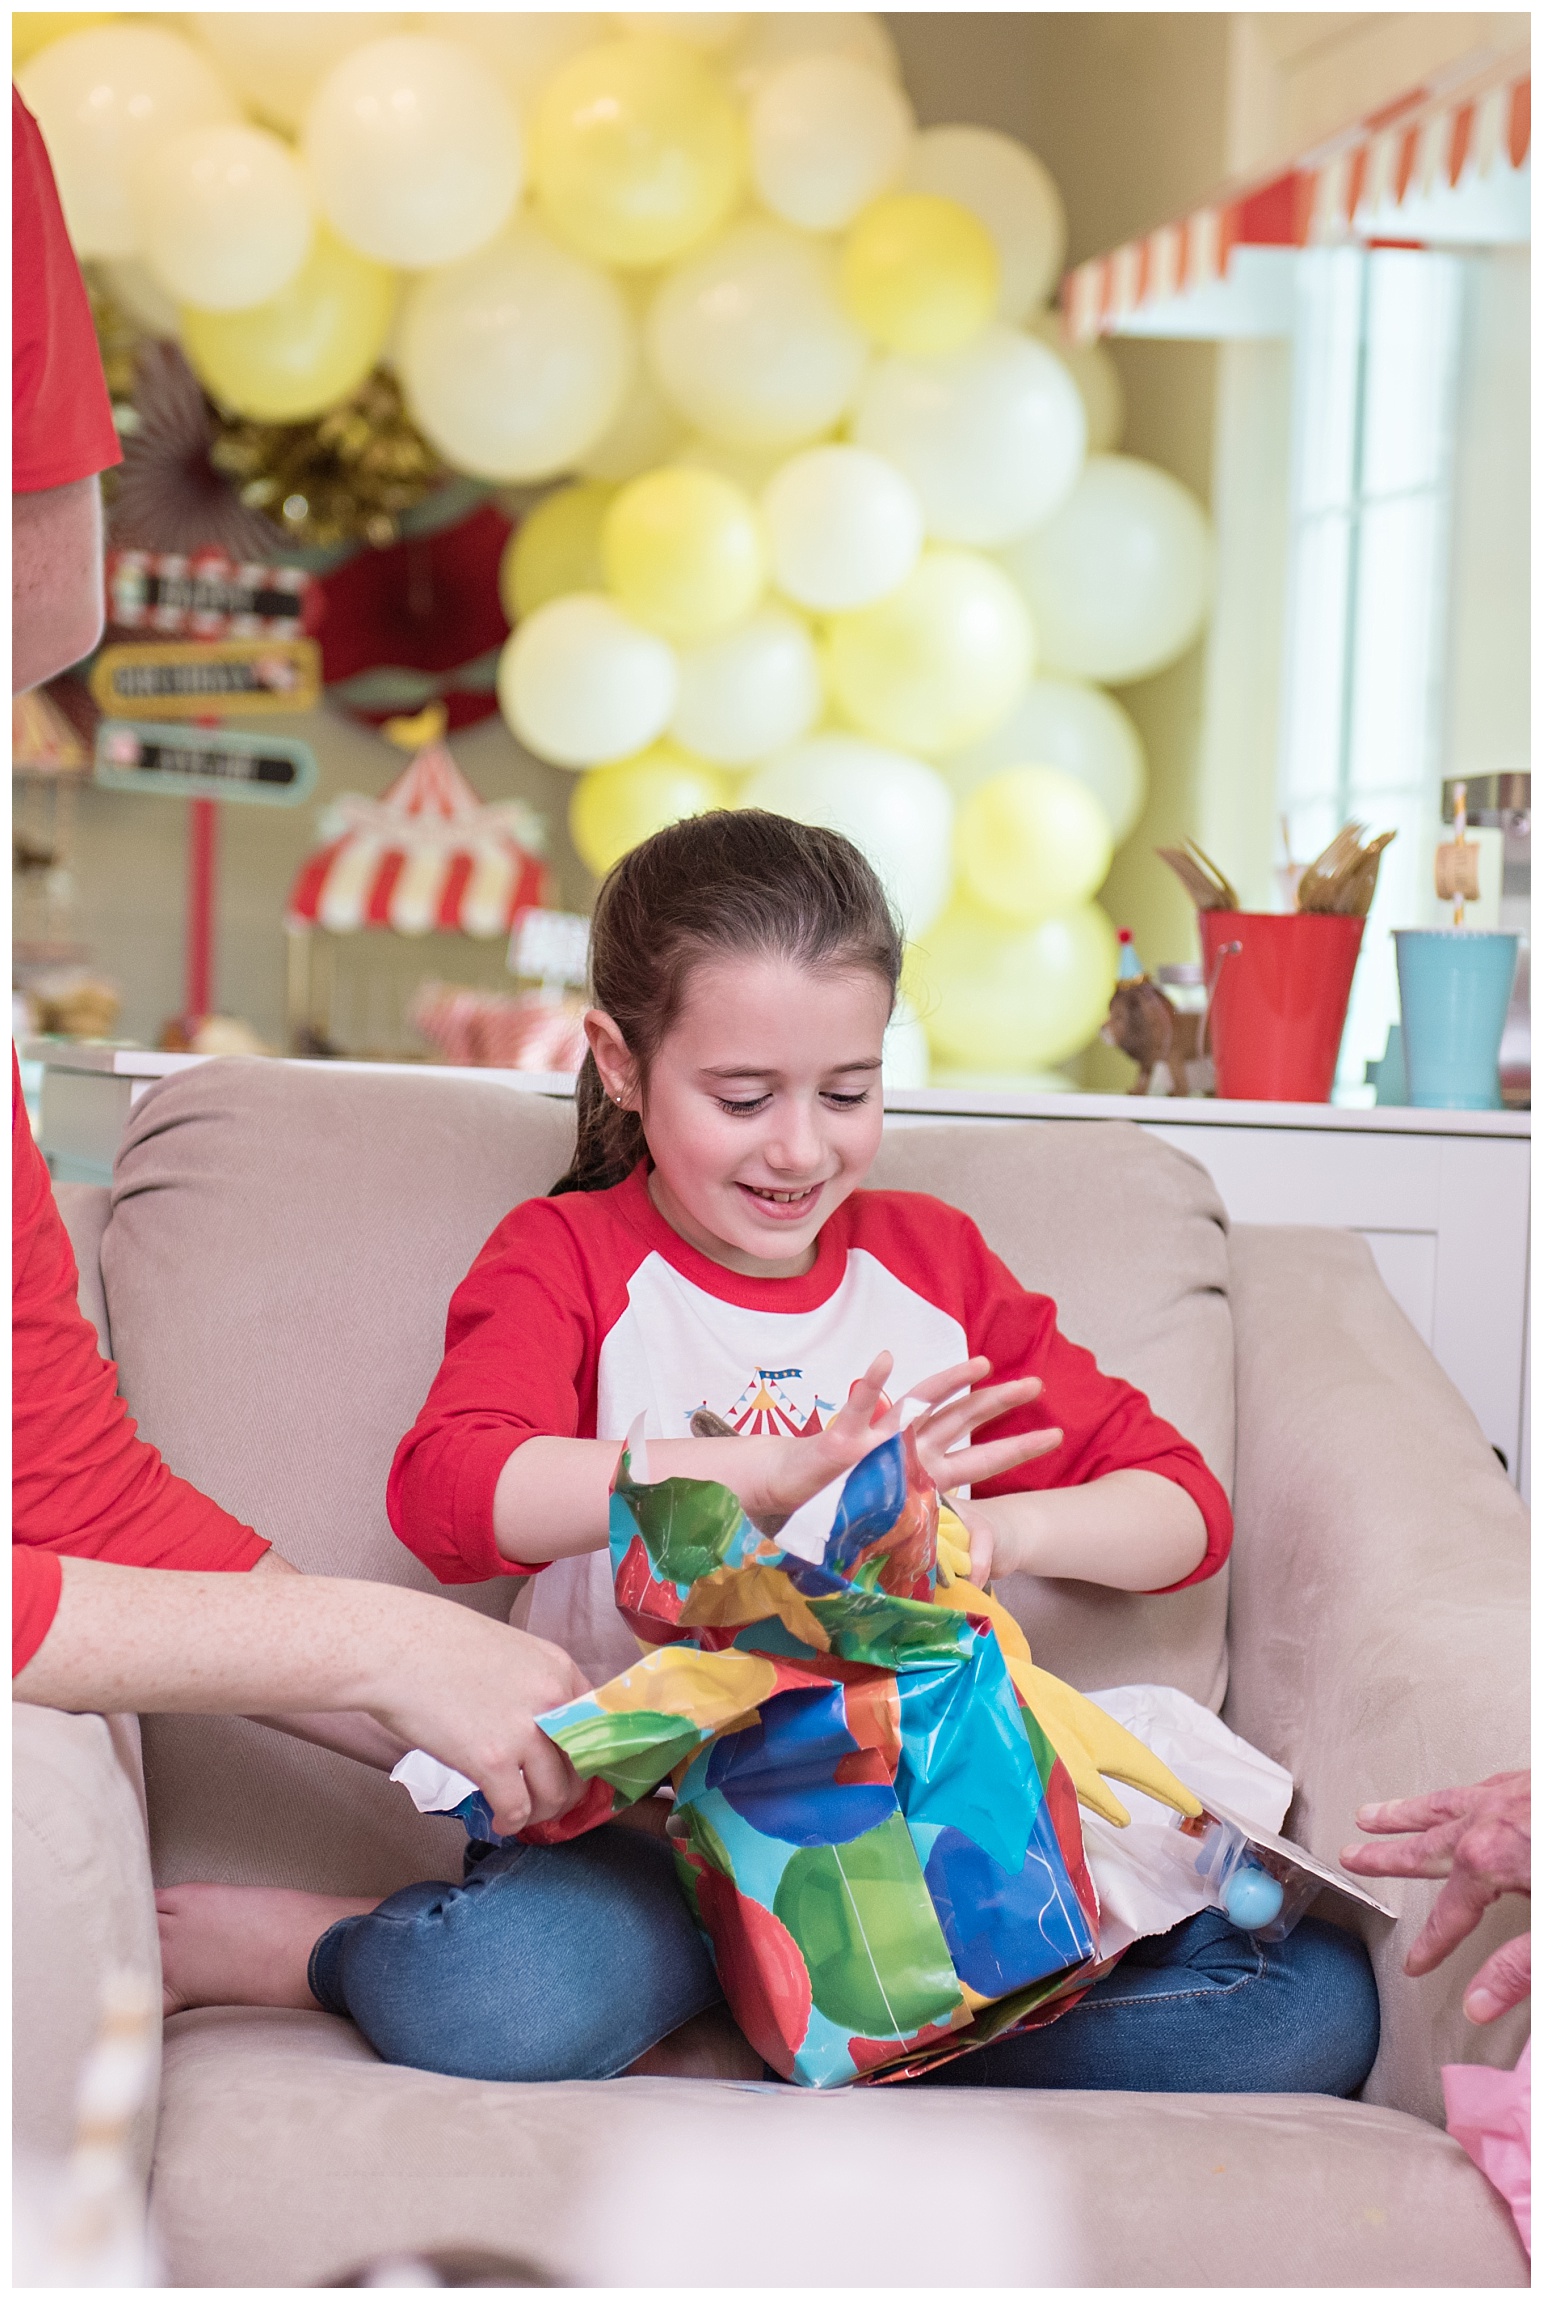
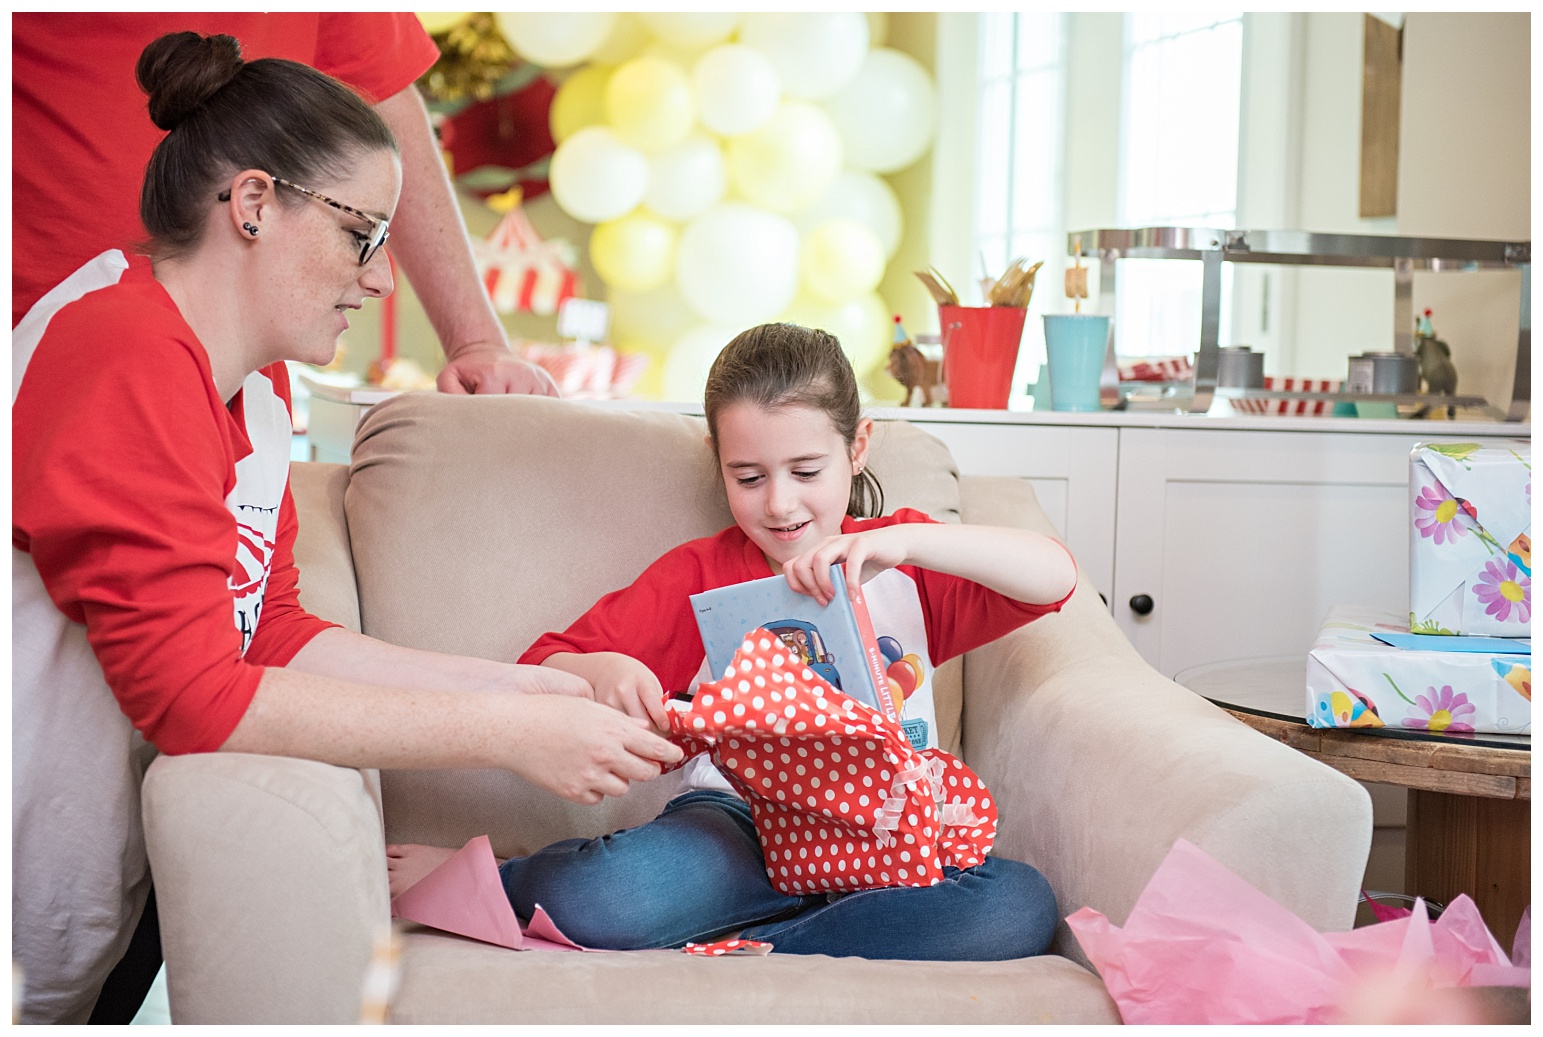
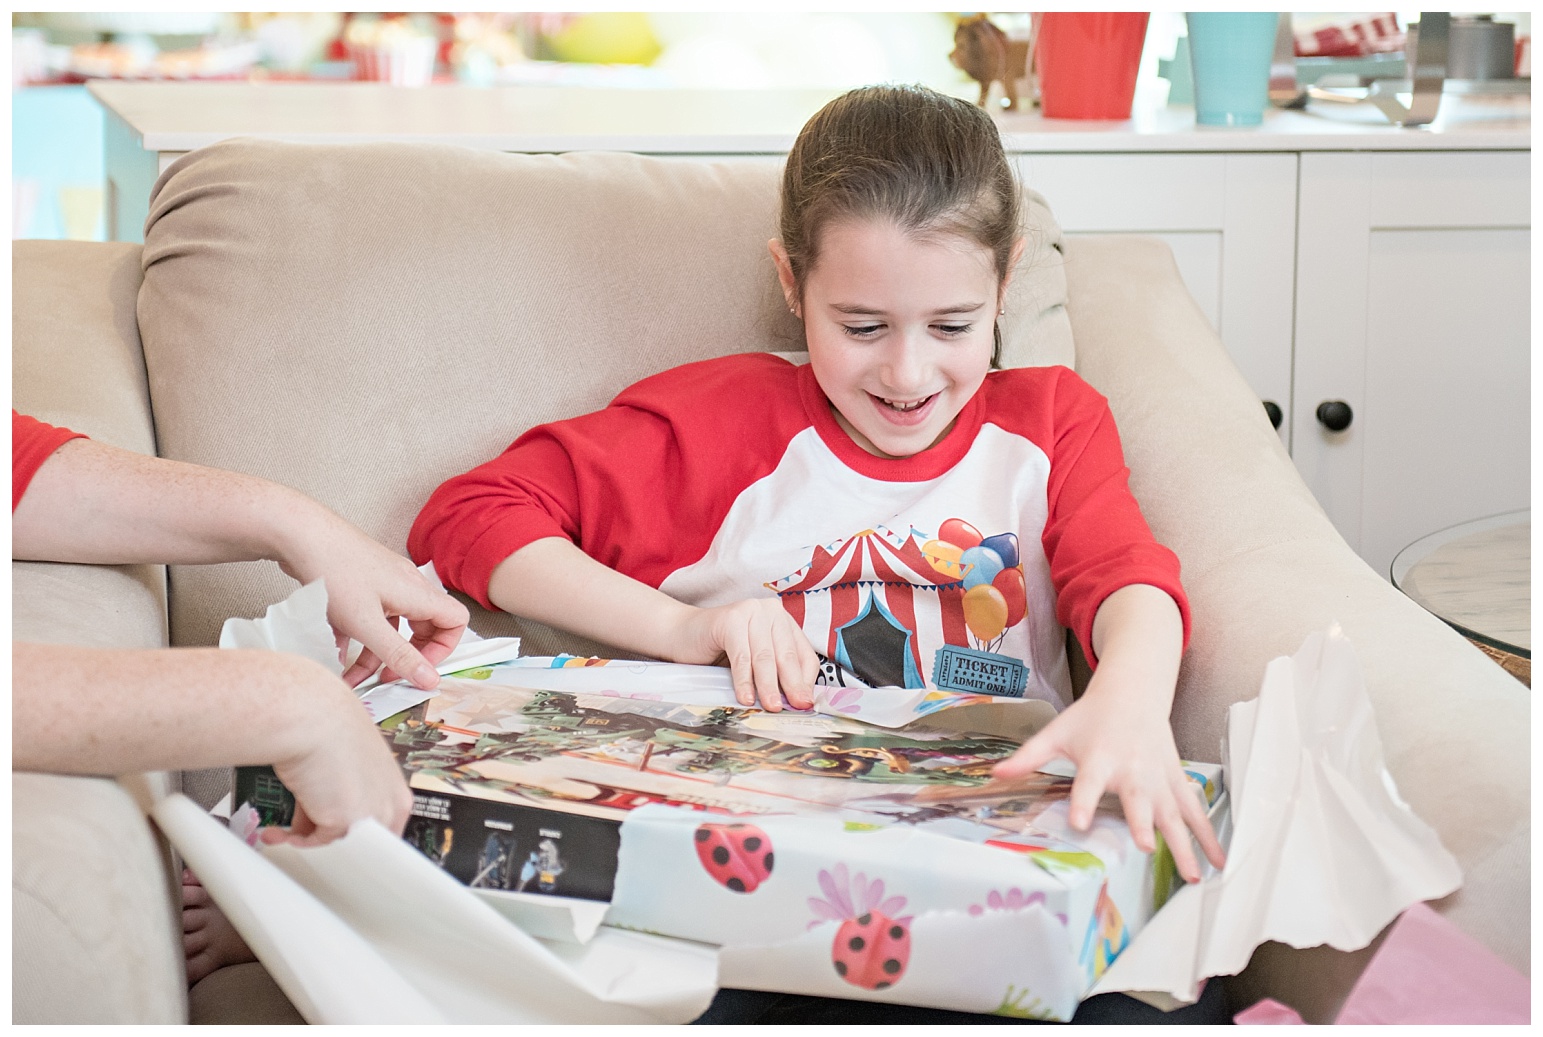
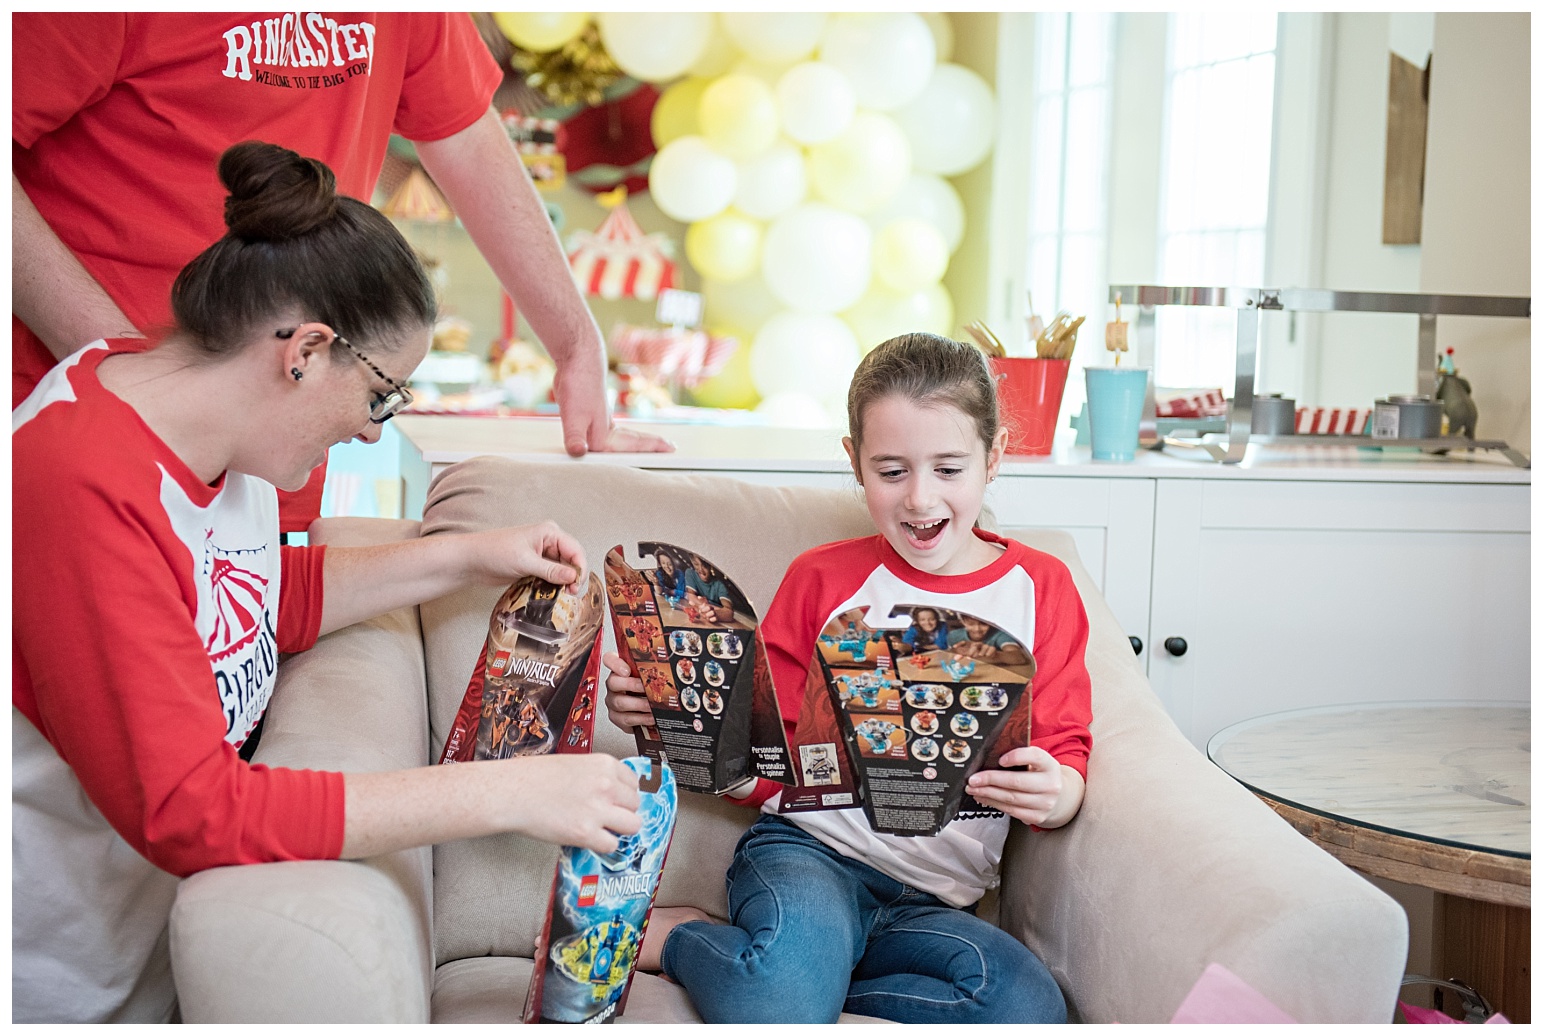
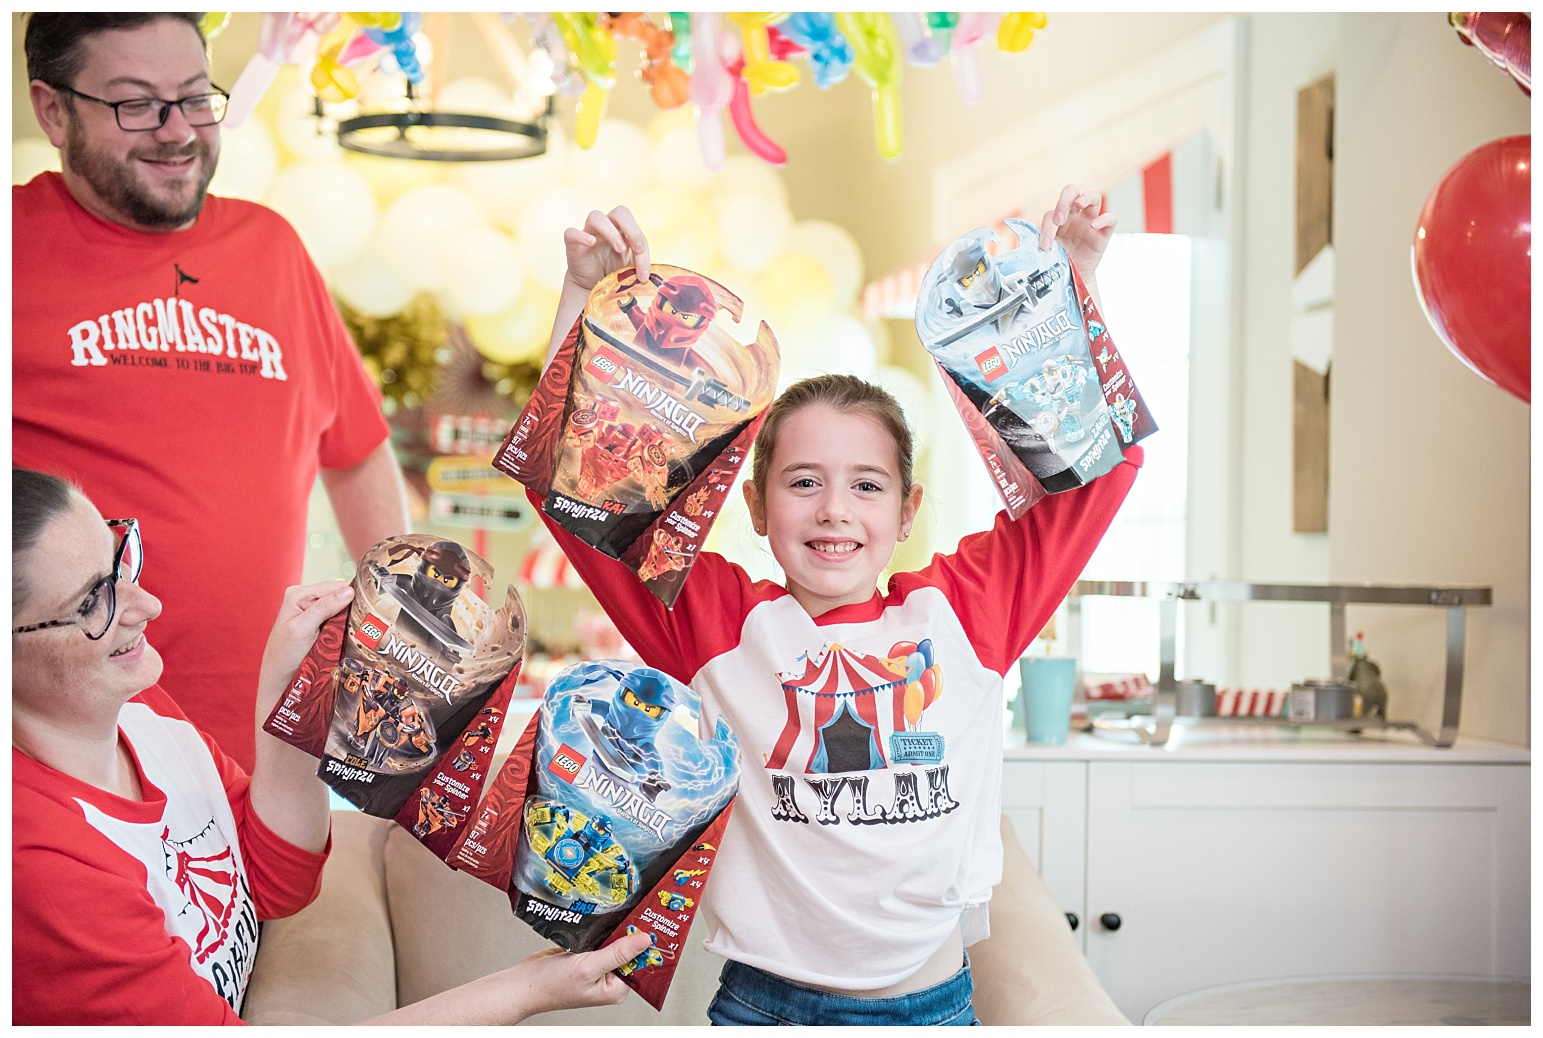
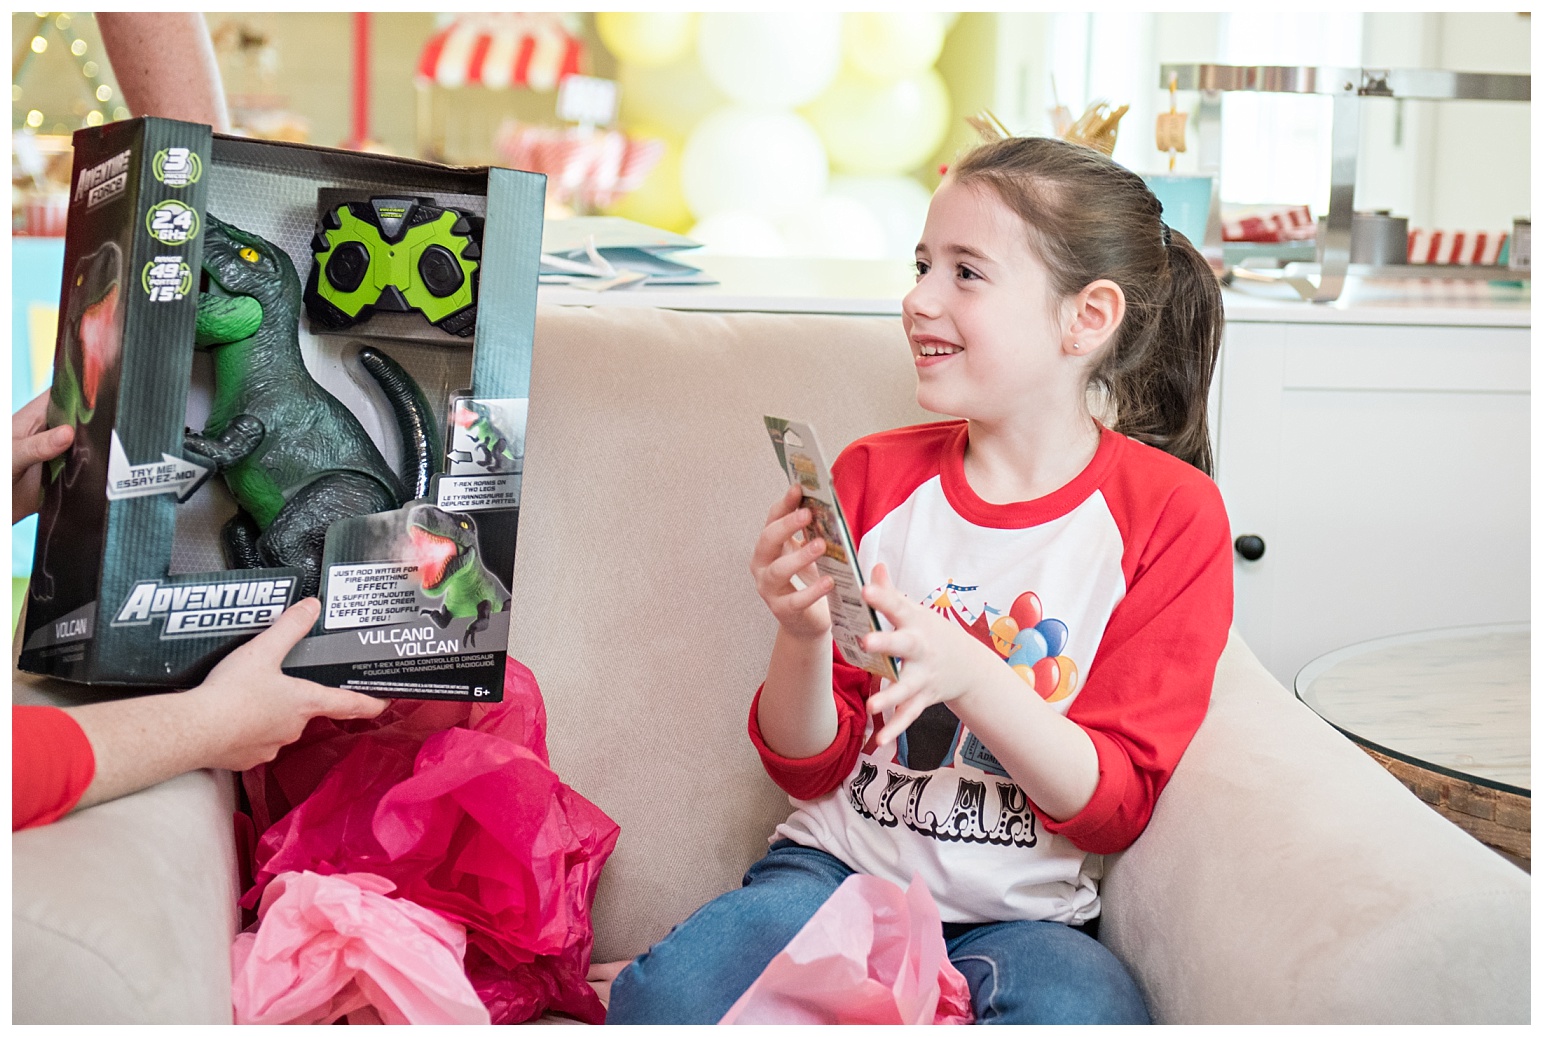
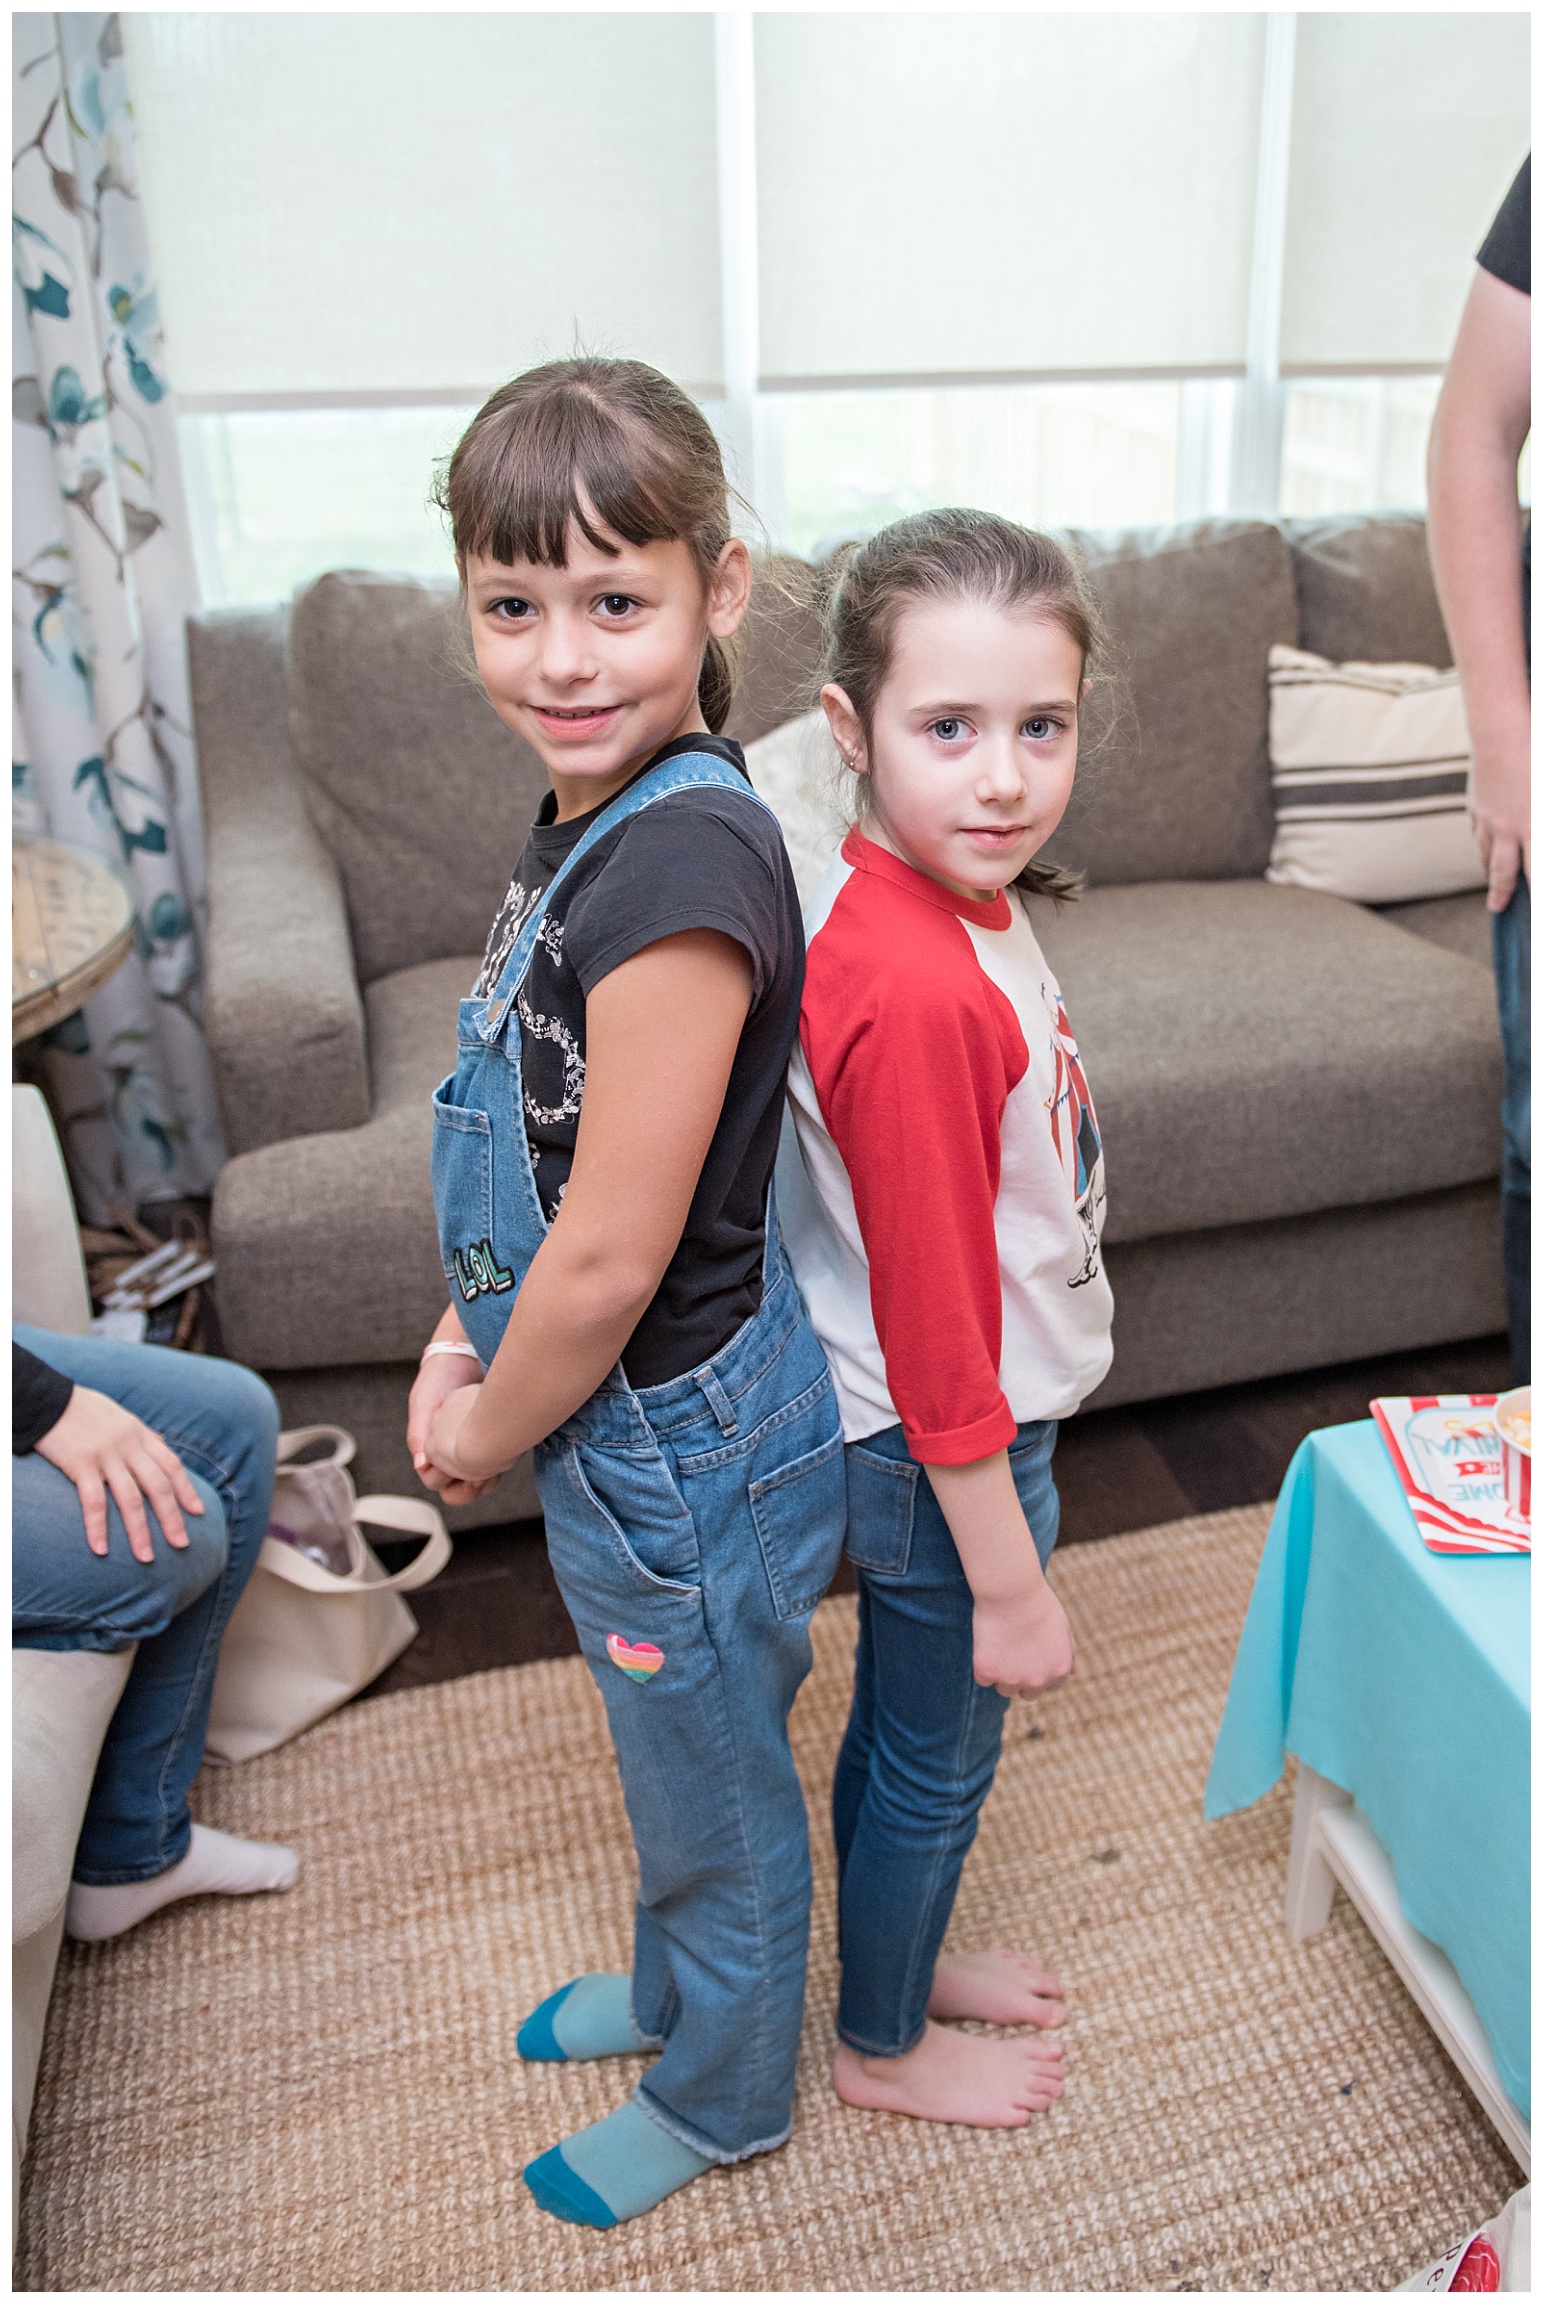
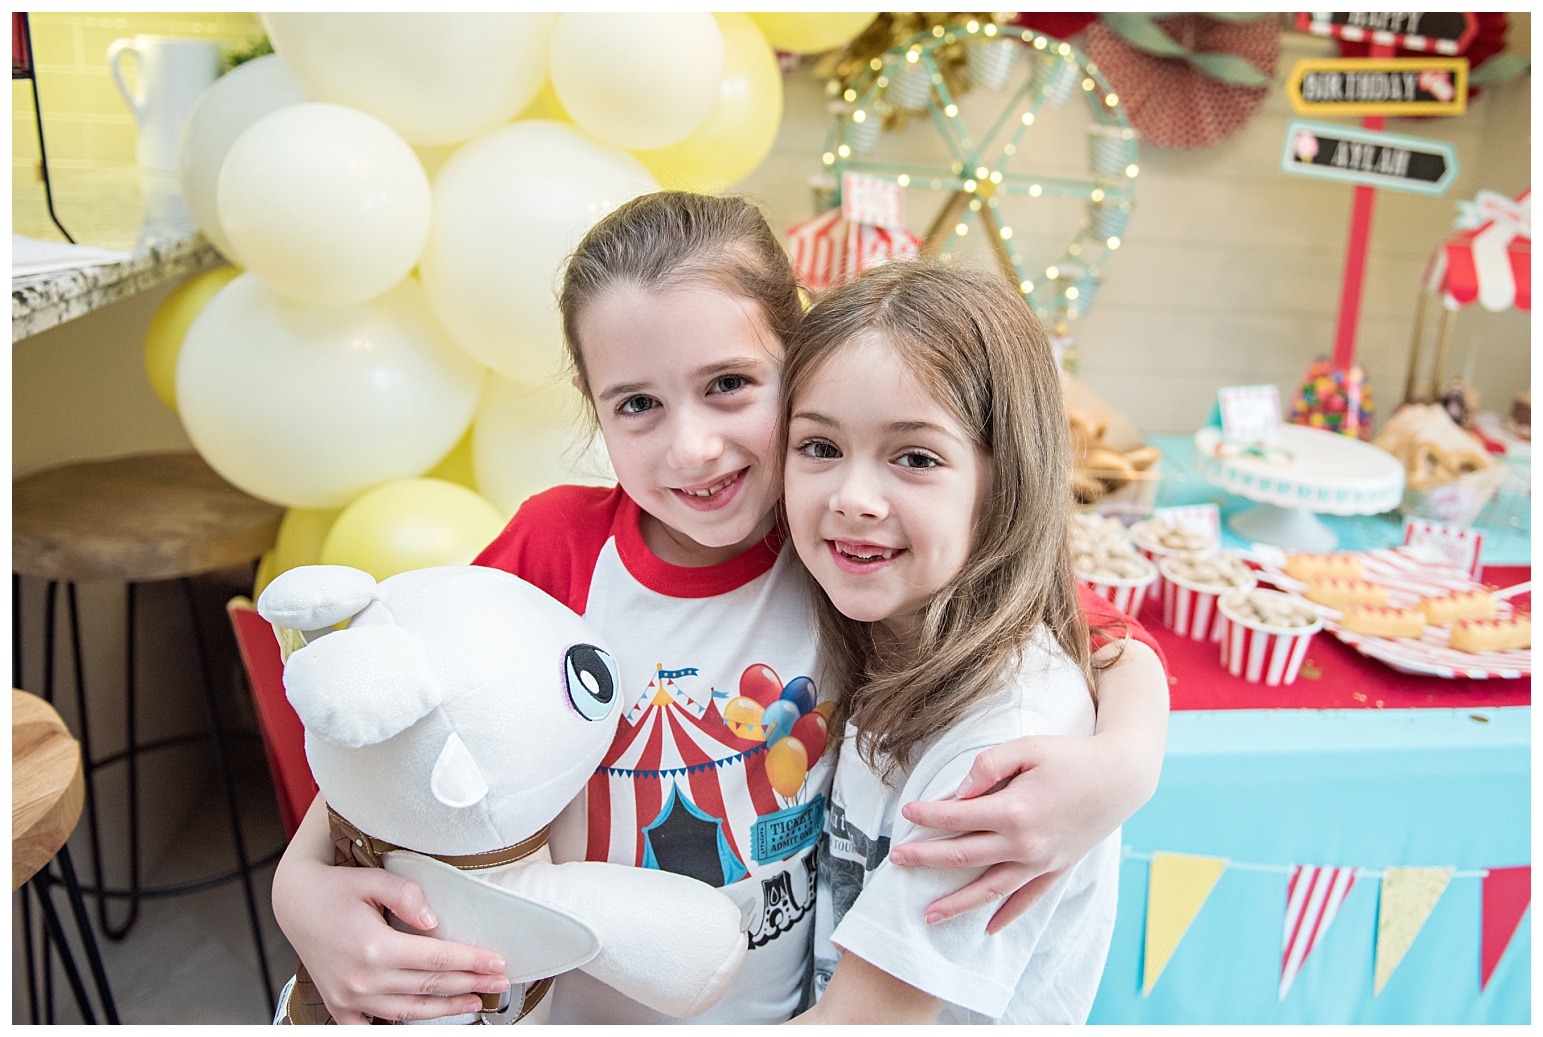
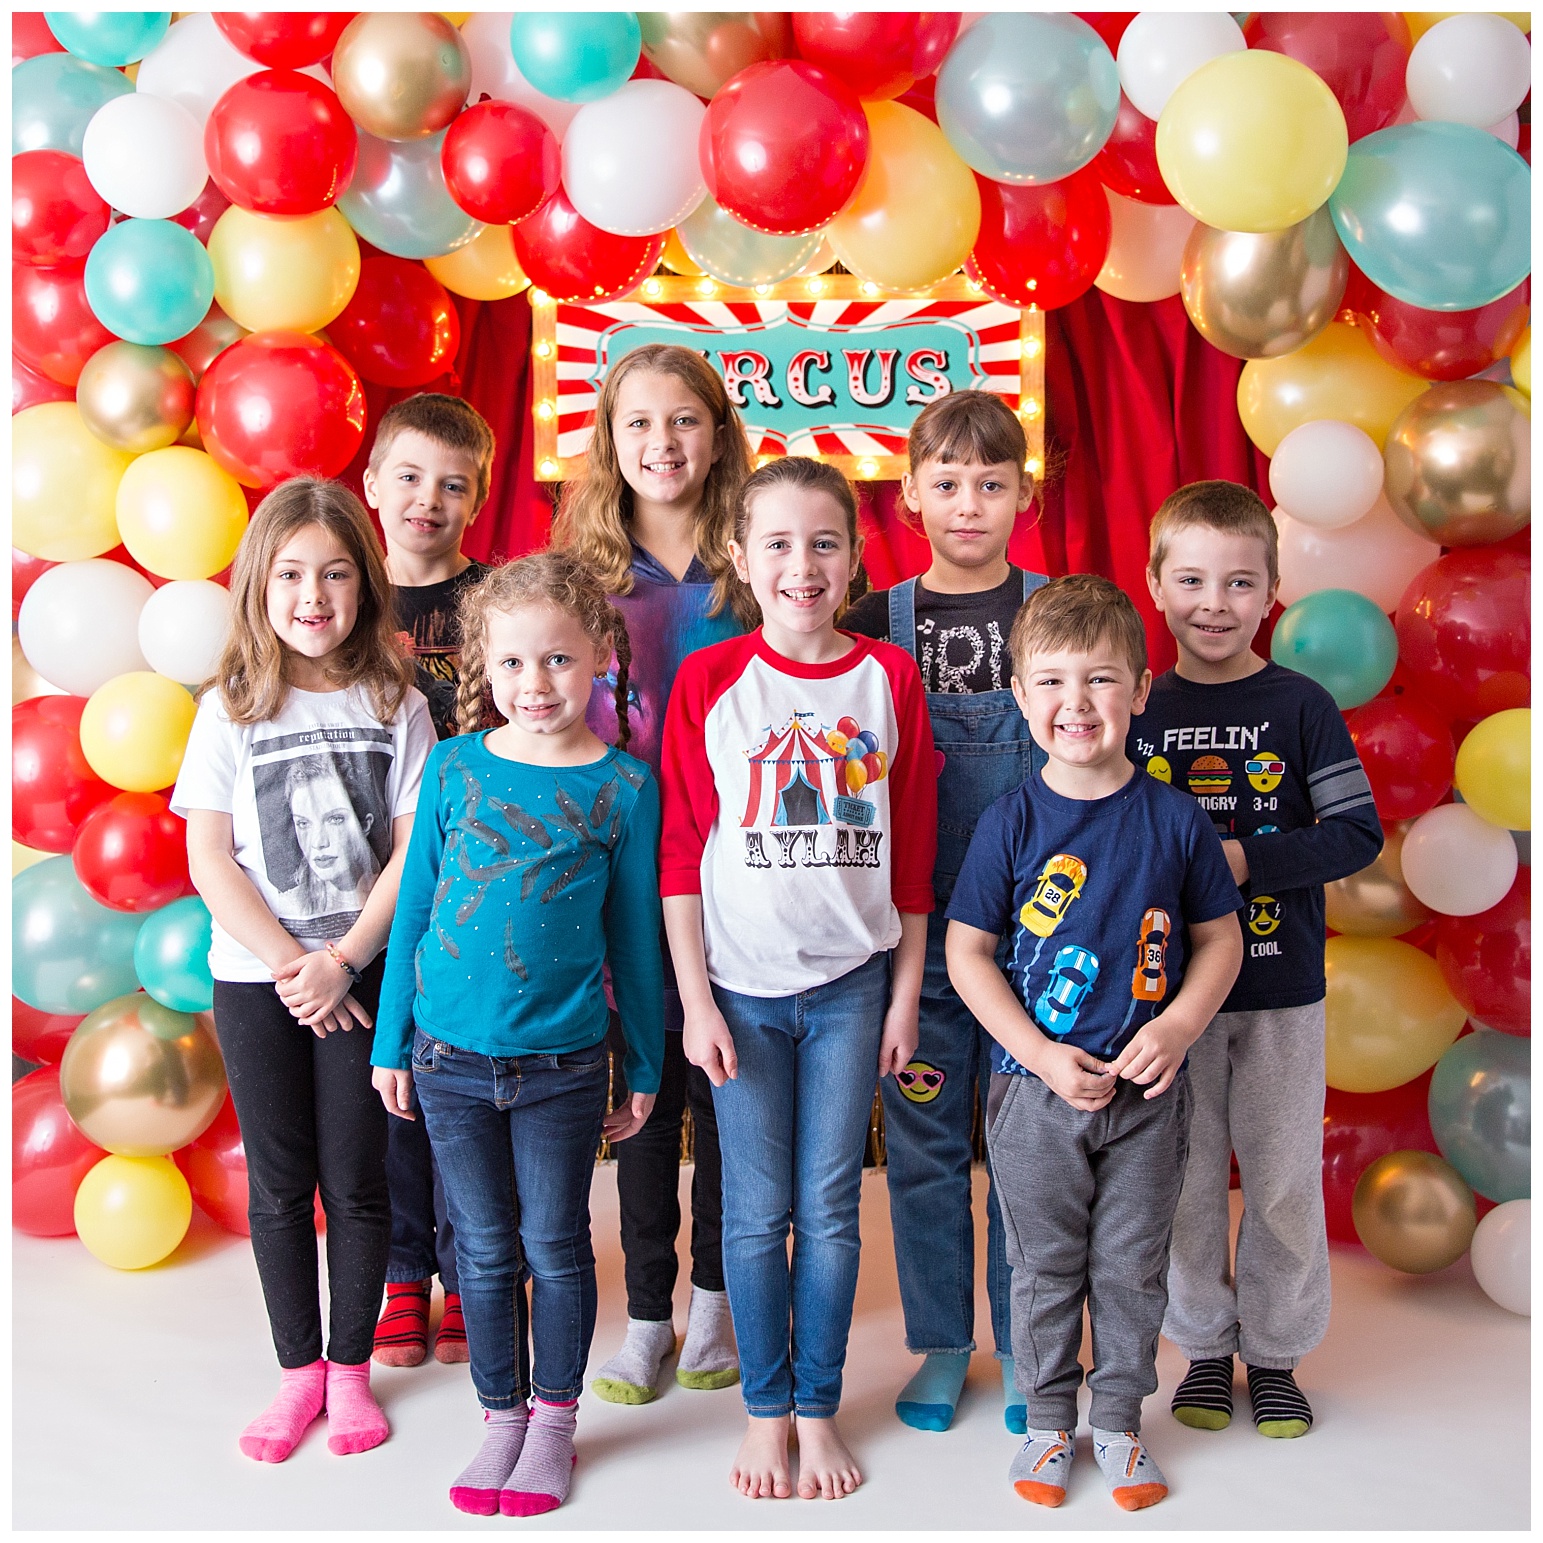
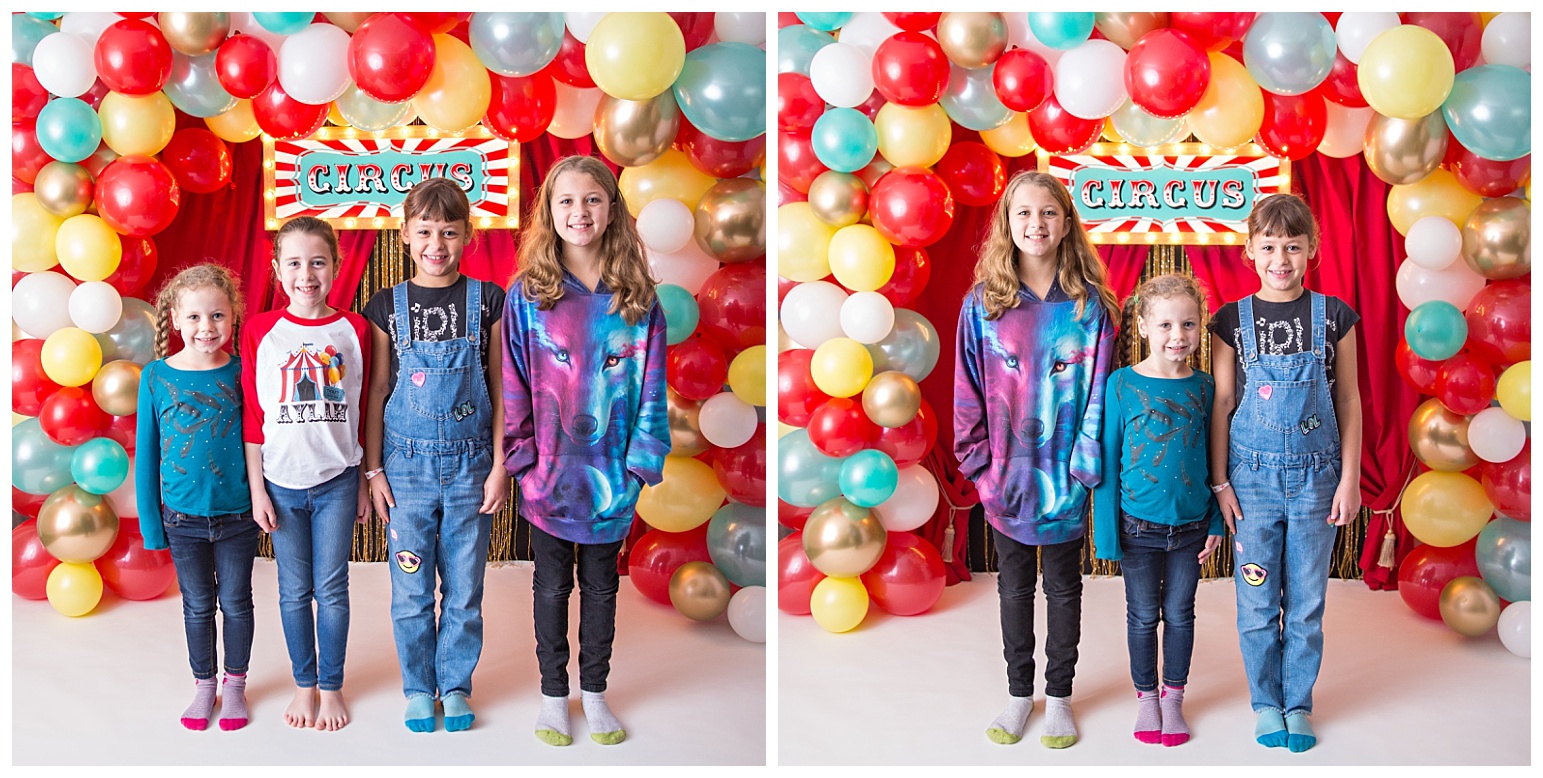
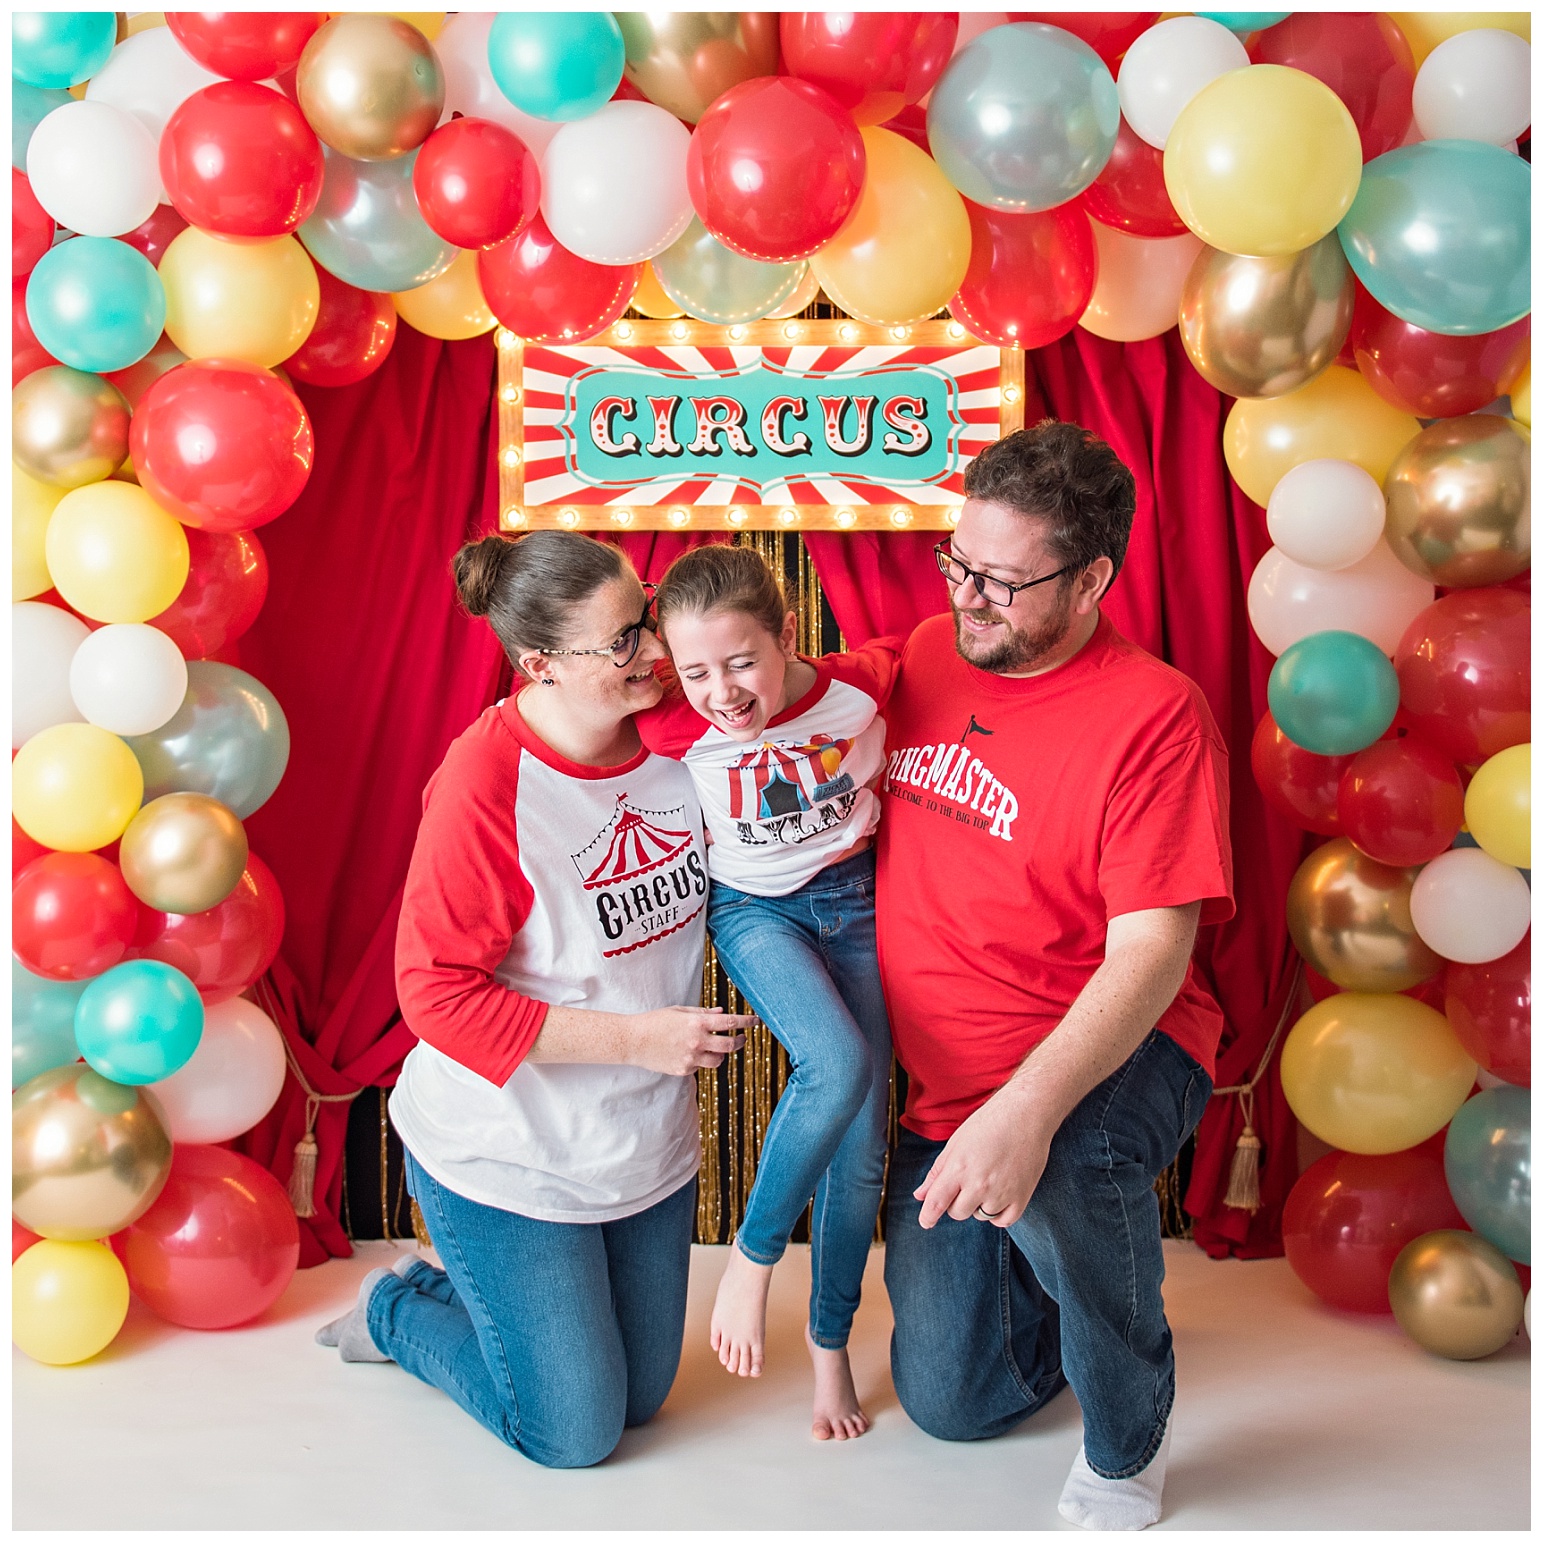
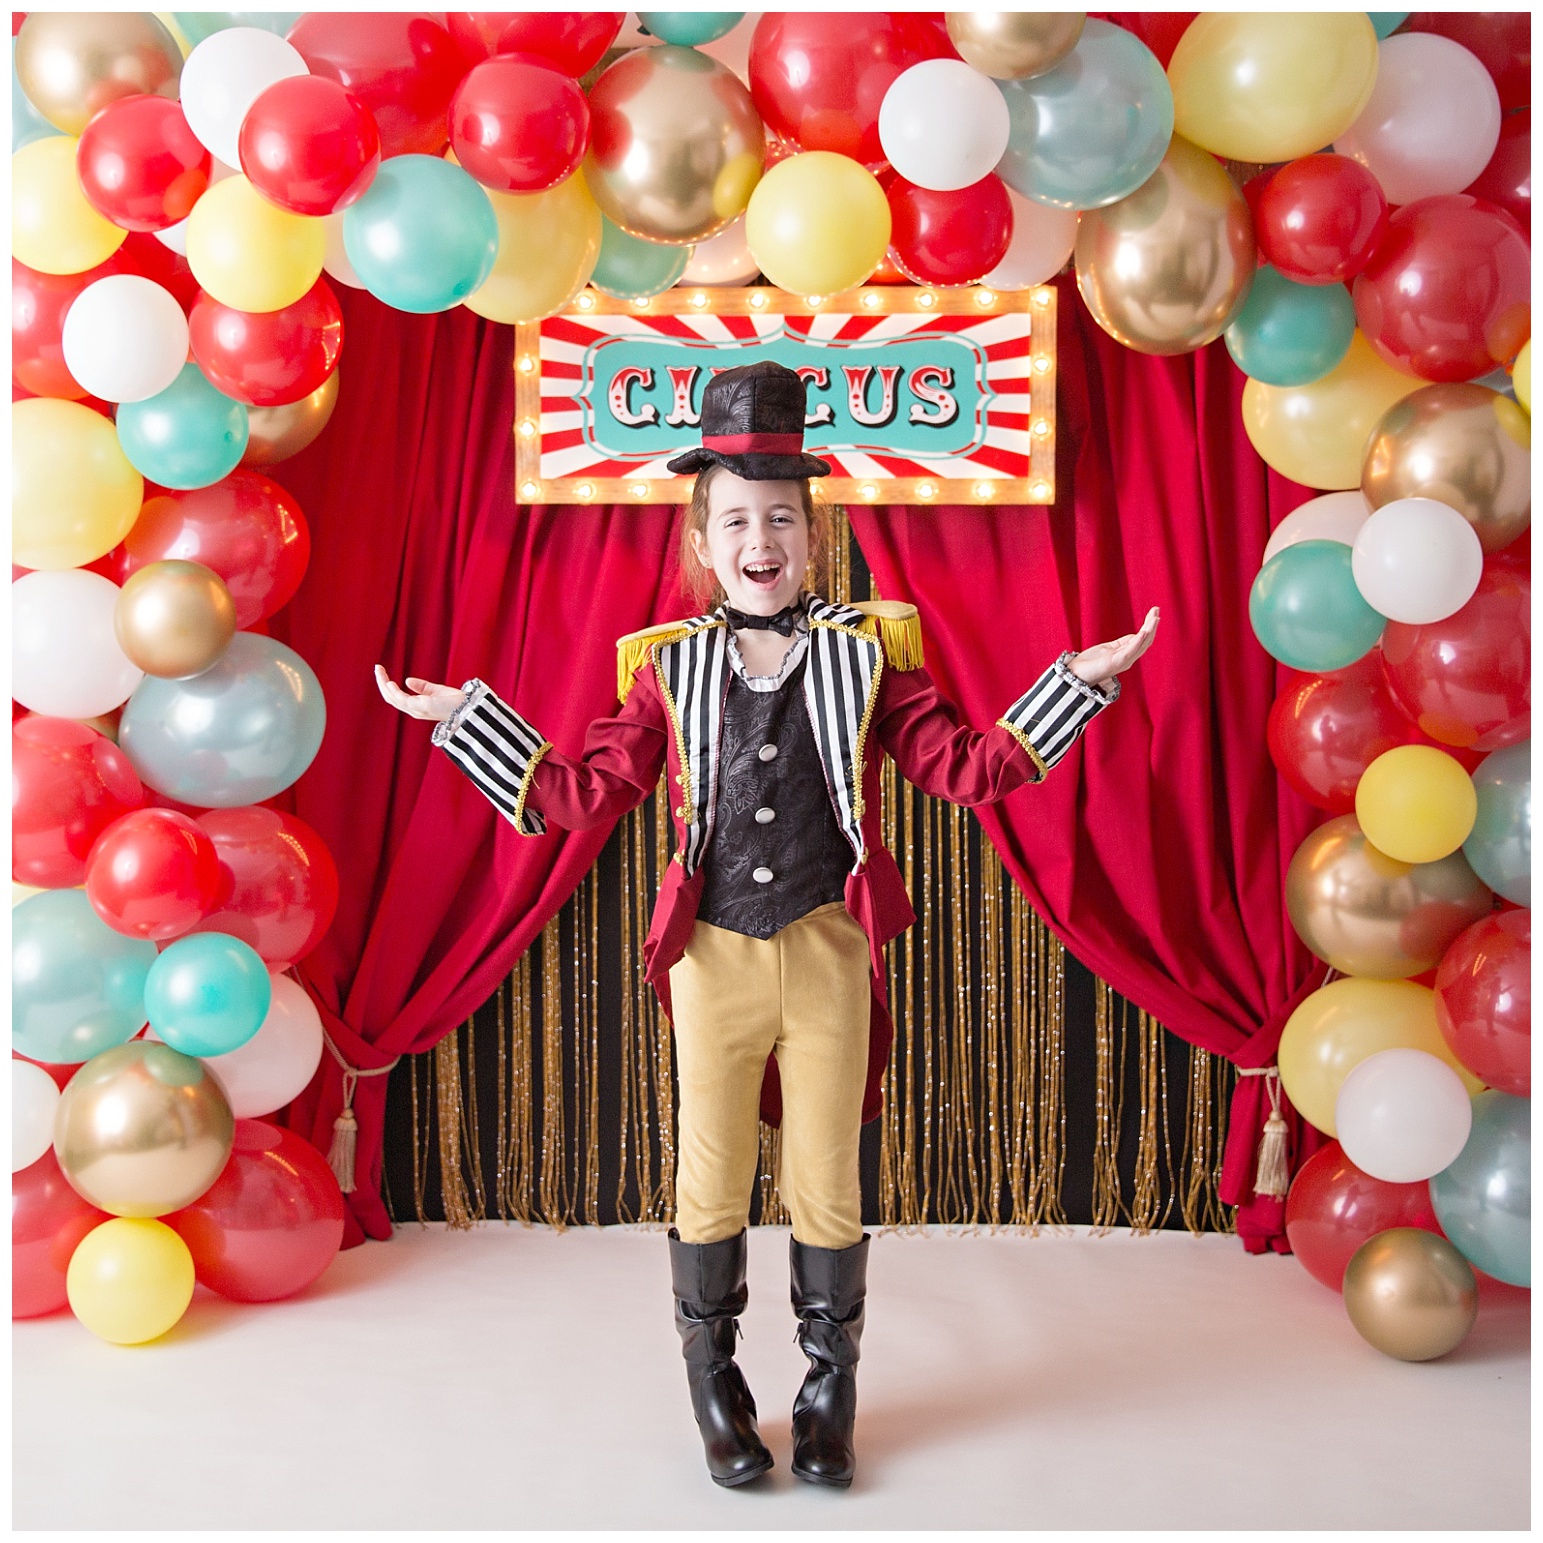
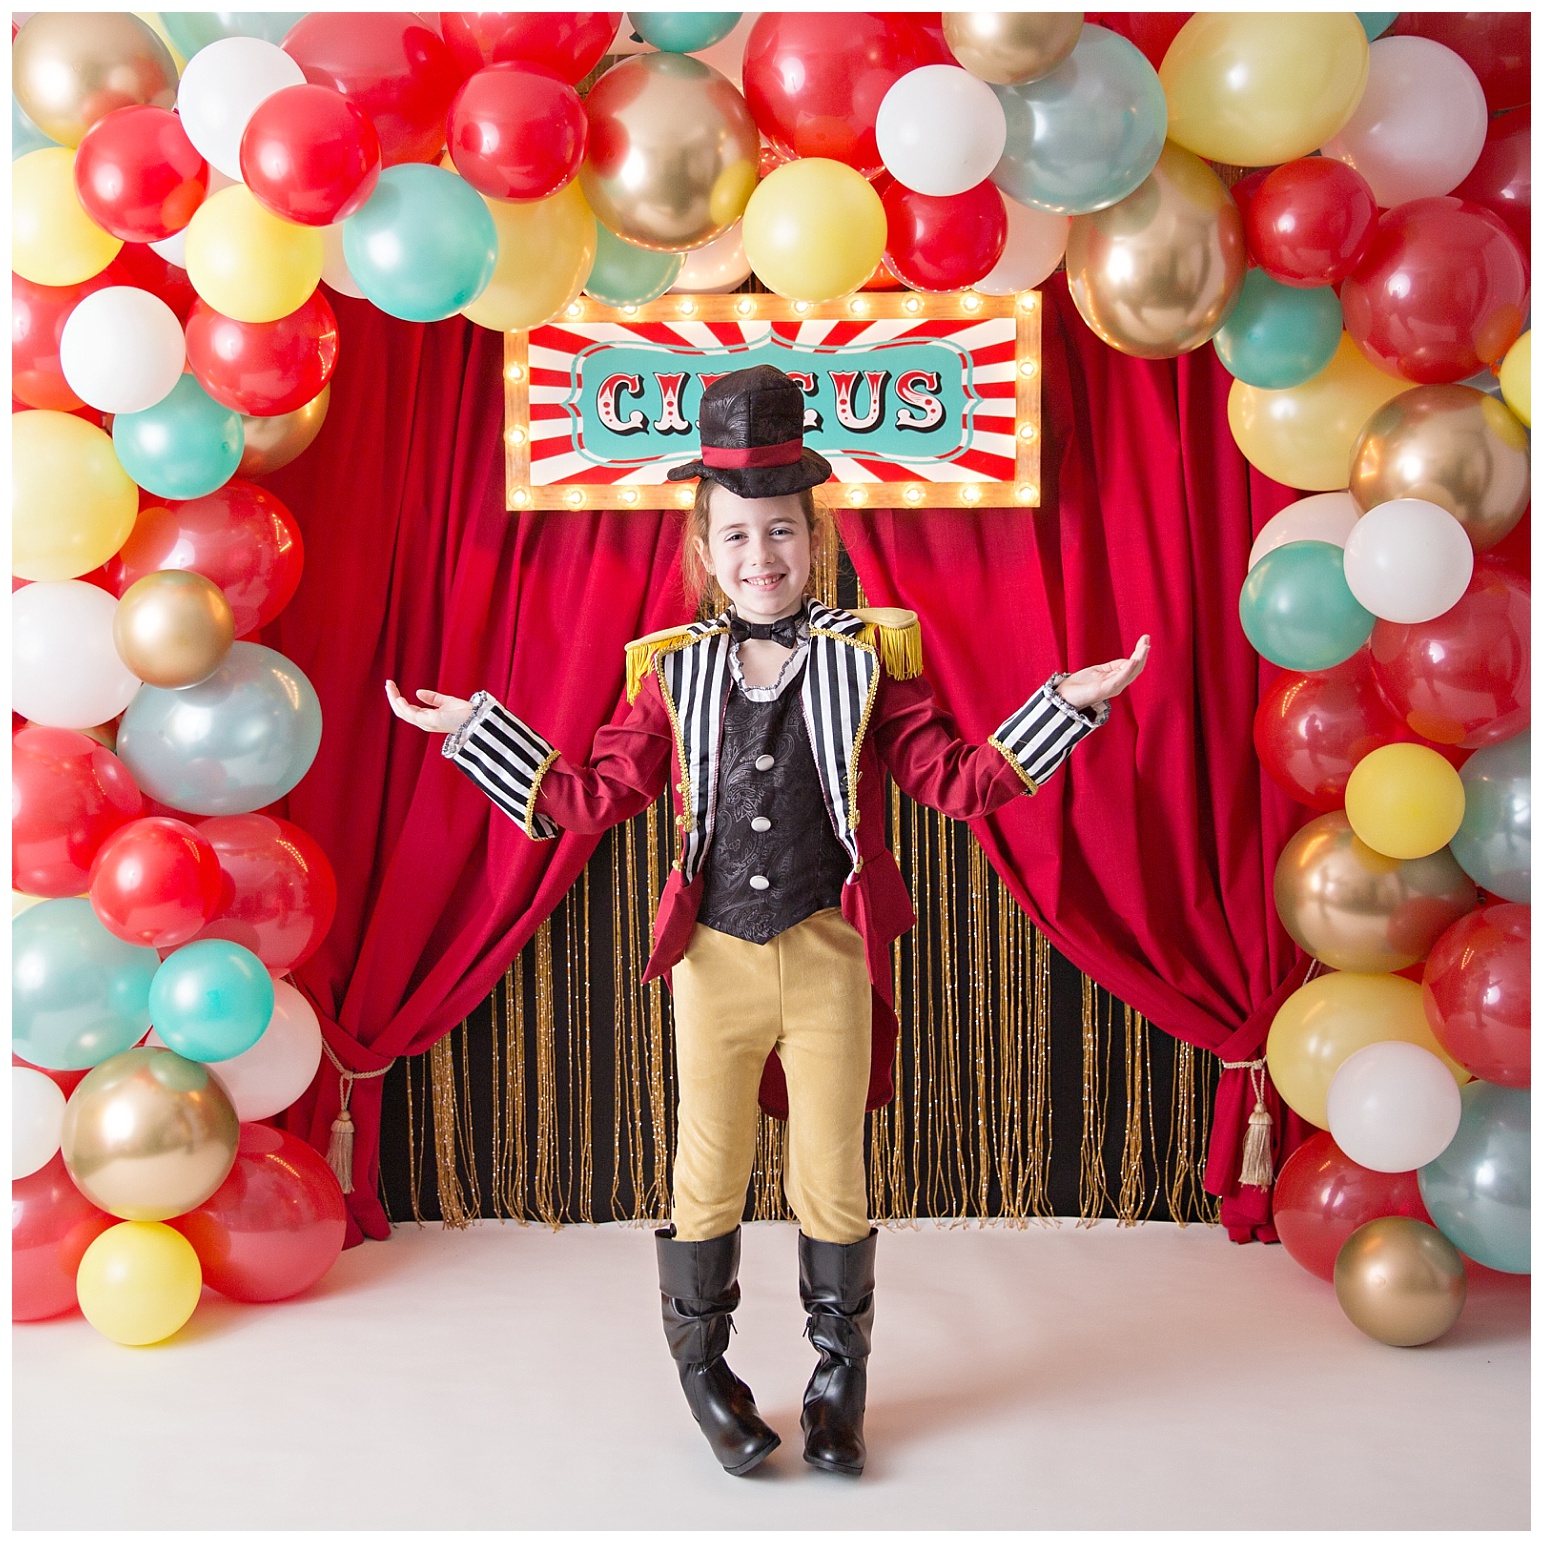
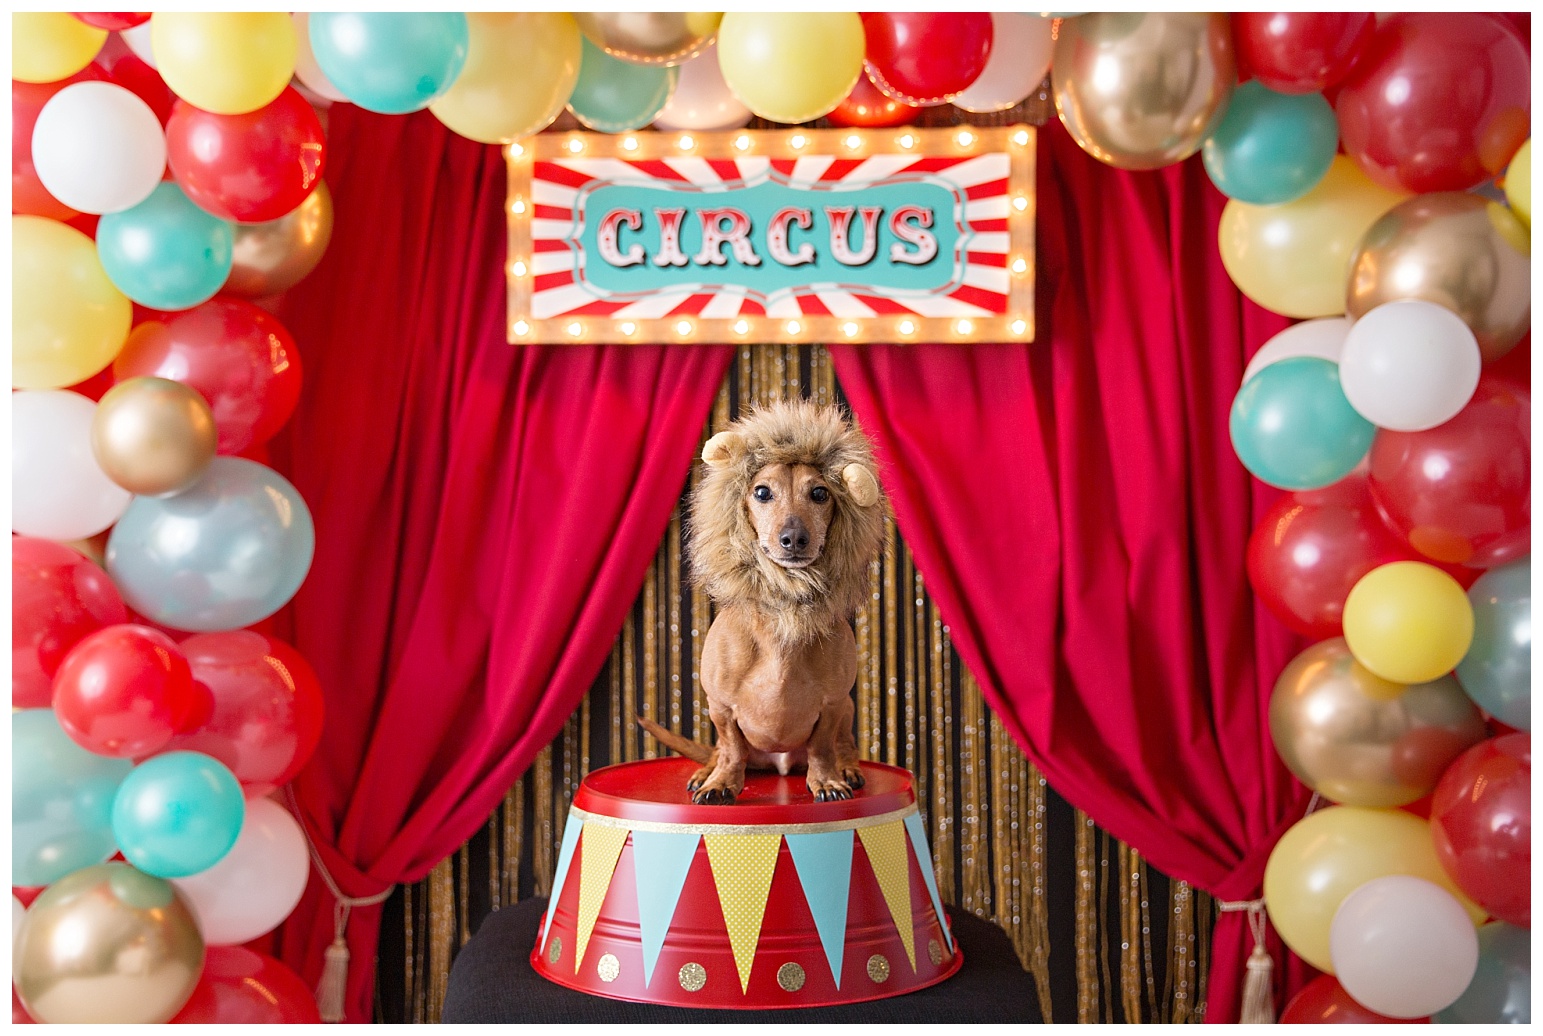
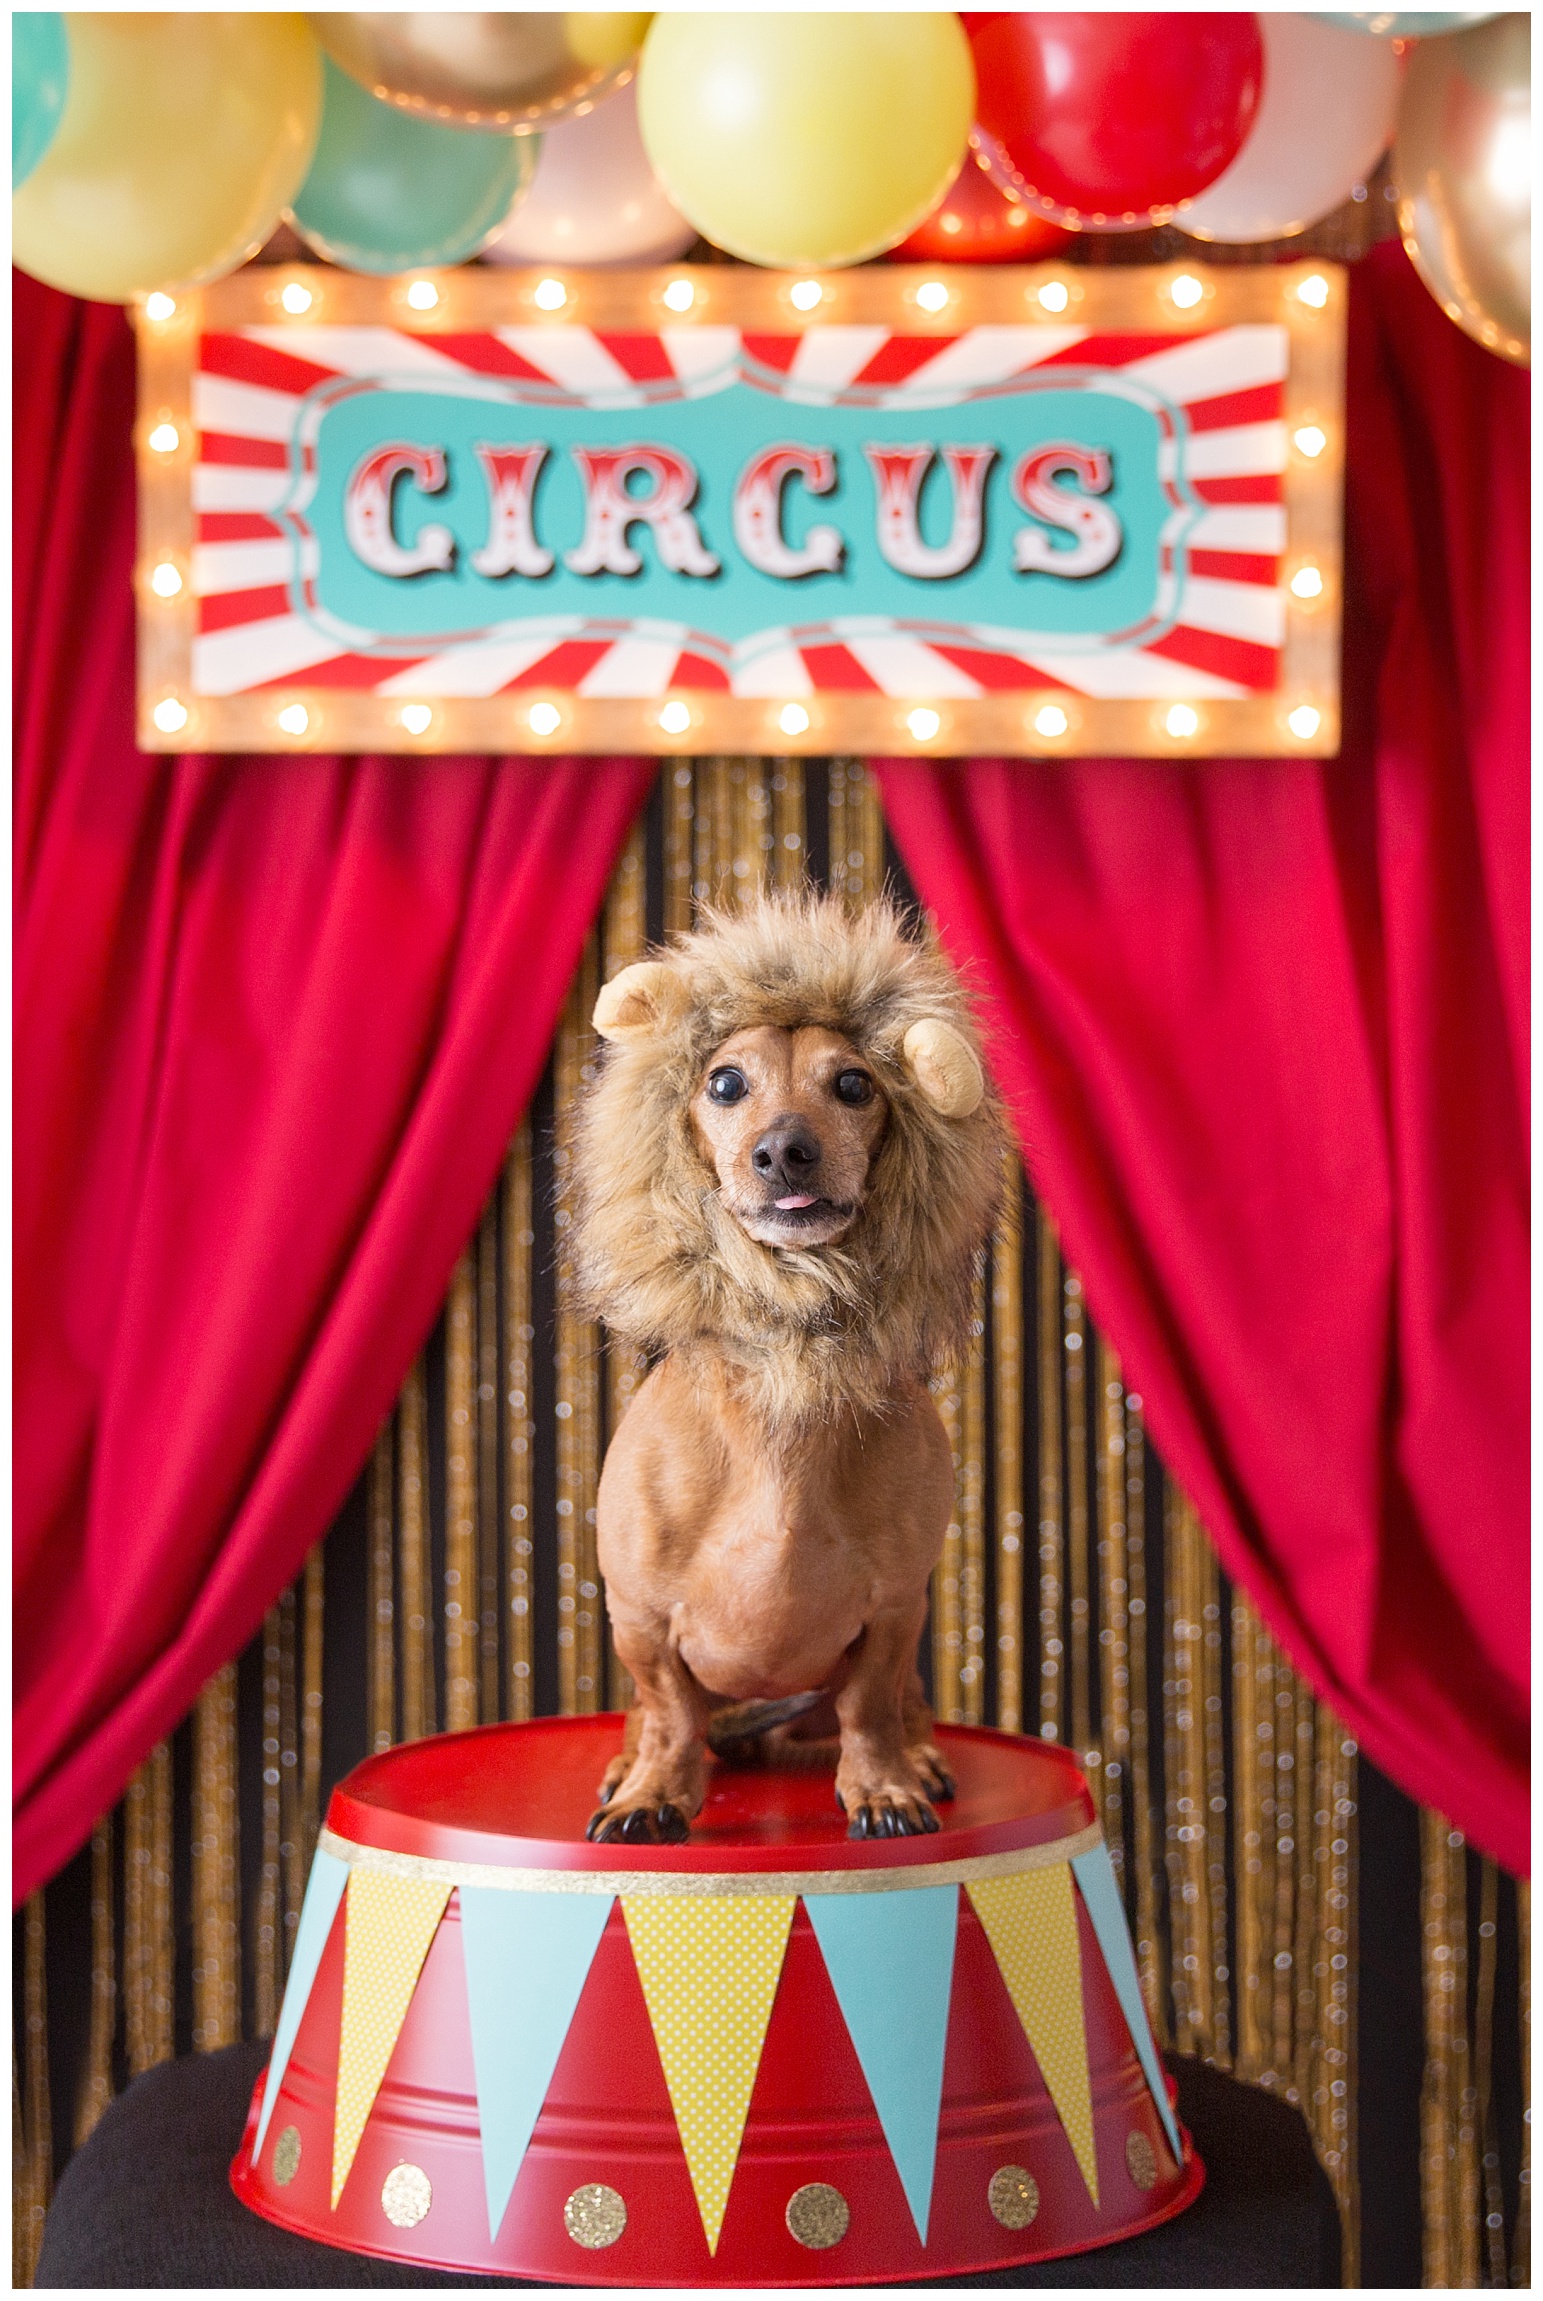
Oh and of course I can’t forget about the biggest Aylah party tradition … the PHOTO SHOOT!! We do this every year and we include these photos of Aylah and her friends in the thank you cards that we send out.
This year’s circus setup was so colourful and fun!
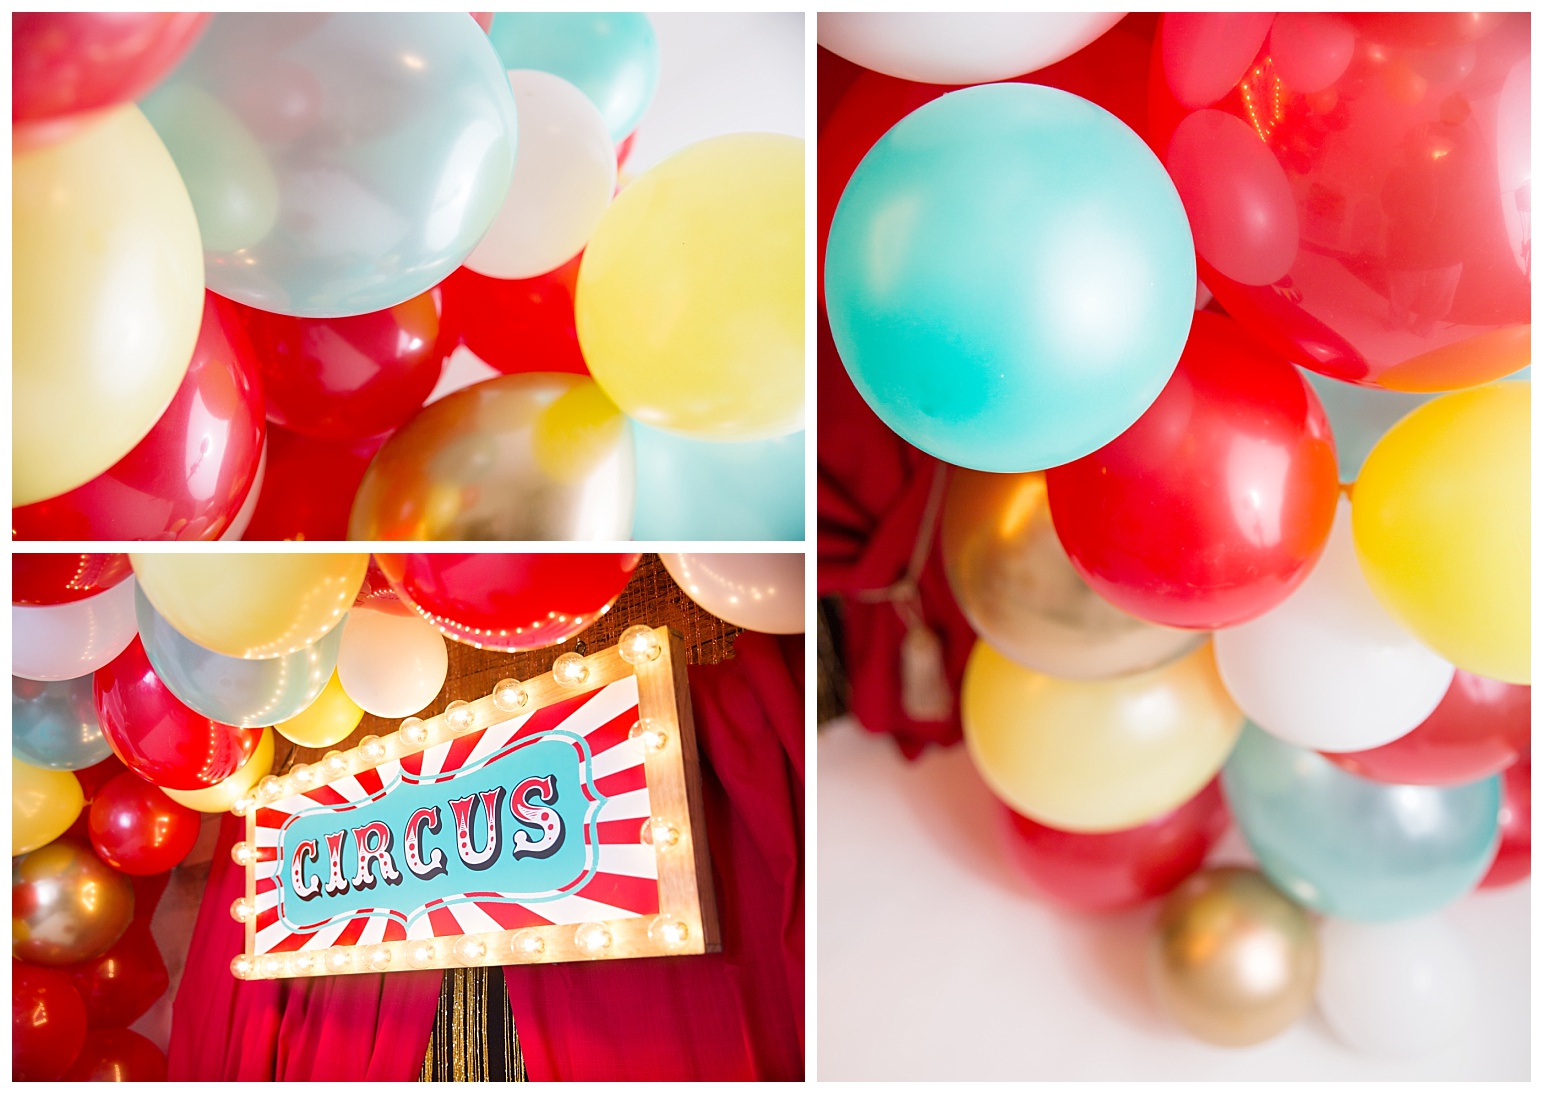
This balloon arch was also done with the Qualatex balloons from Bargain Balloons.
The colours used were: Chrome Gold, Ruby Red, Lemon Chiffon, White and Caribbean Blue
The marquee sign was handmade by me a couple of years ago (I used it for my trade show booth, I just swapped out the print).
The sparkly gold curtain is from Amazon.

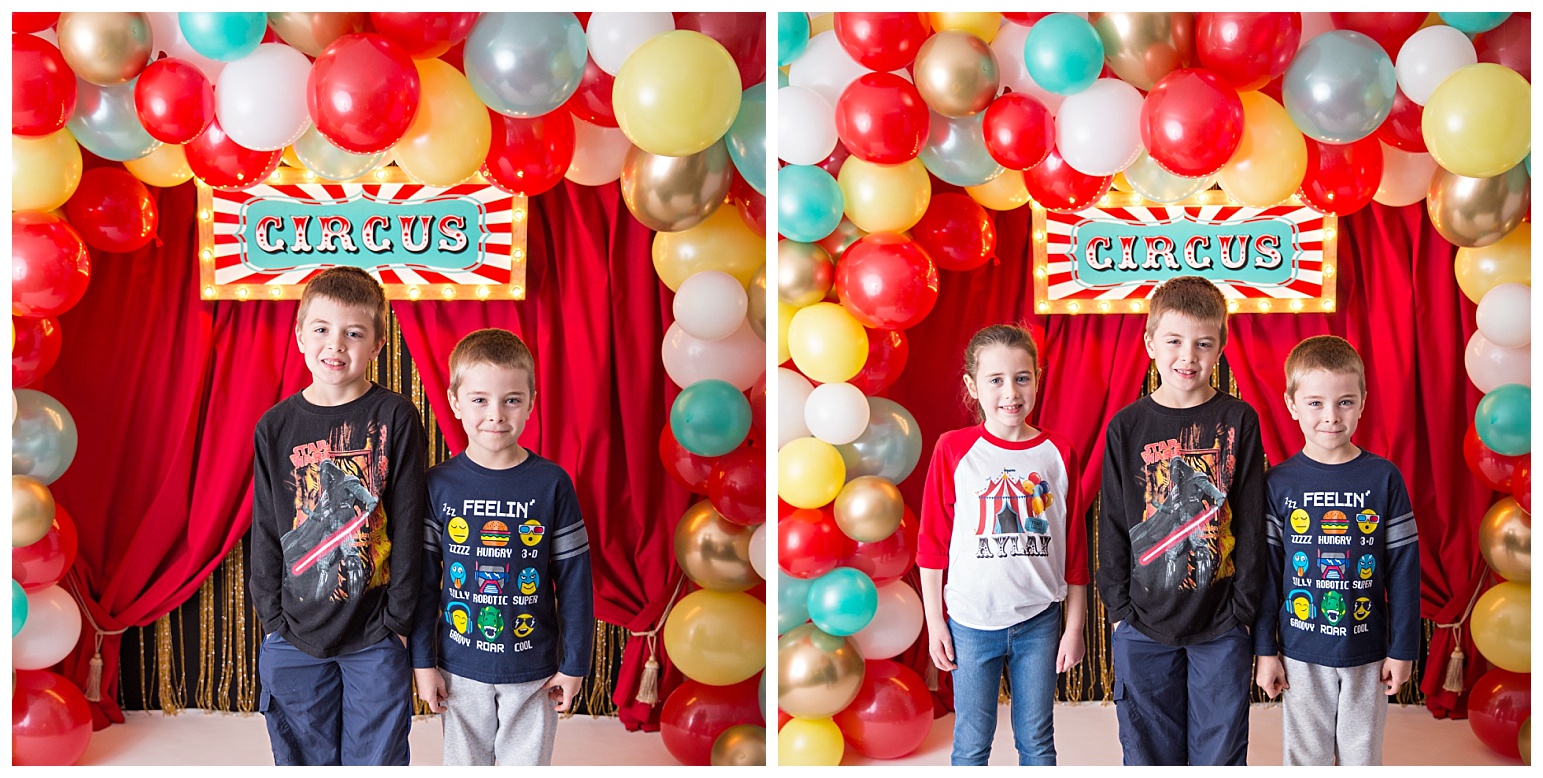
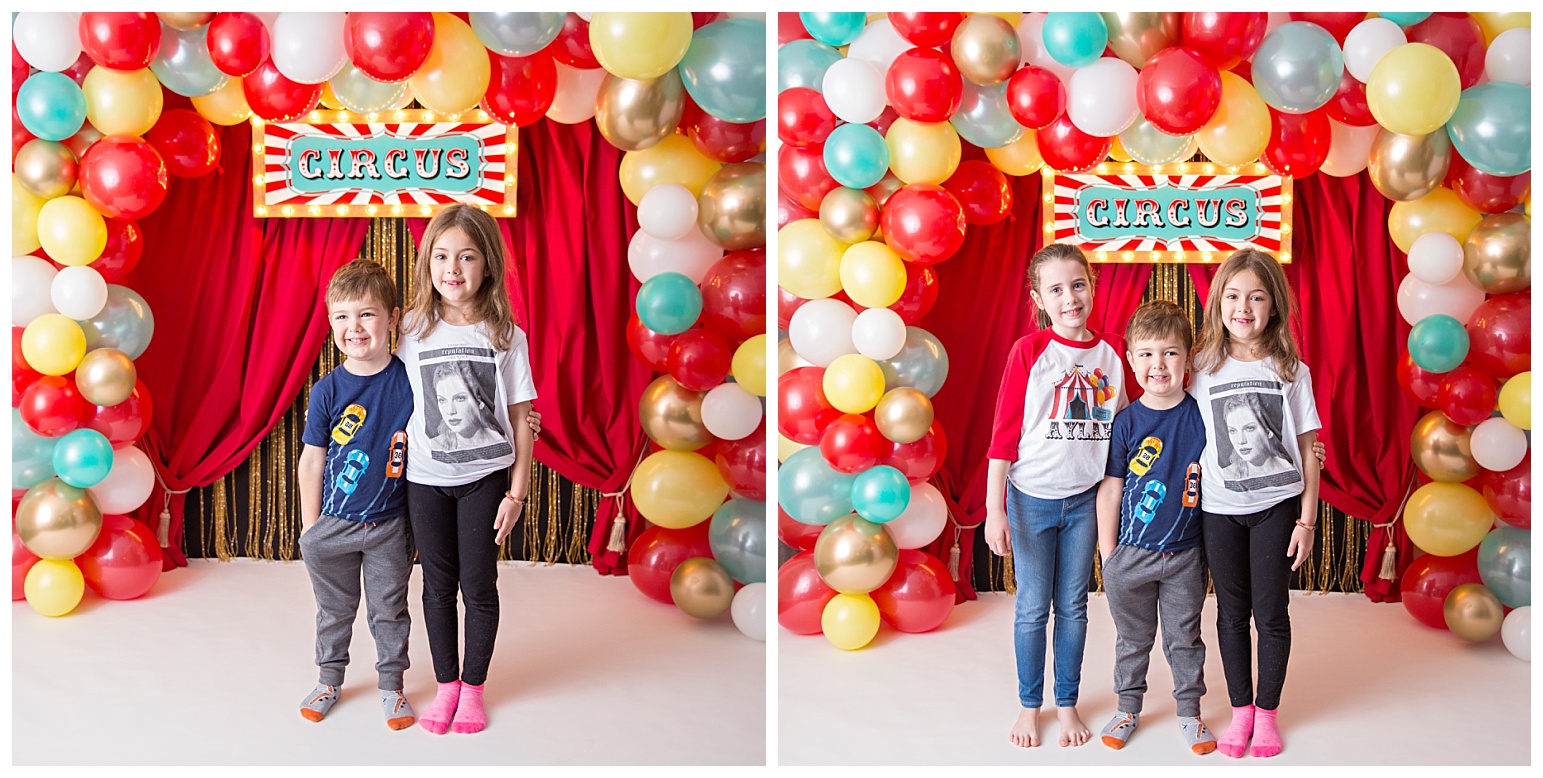

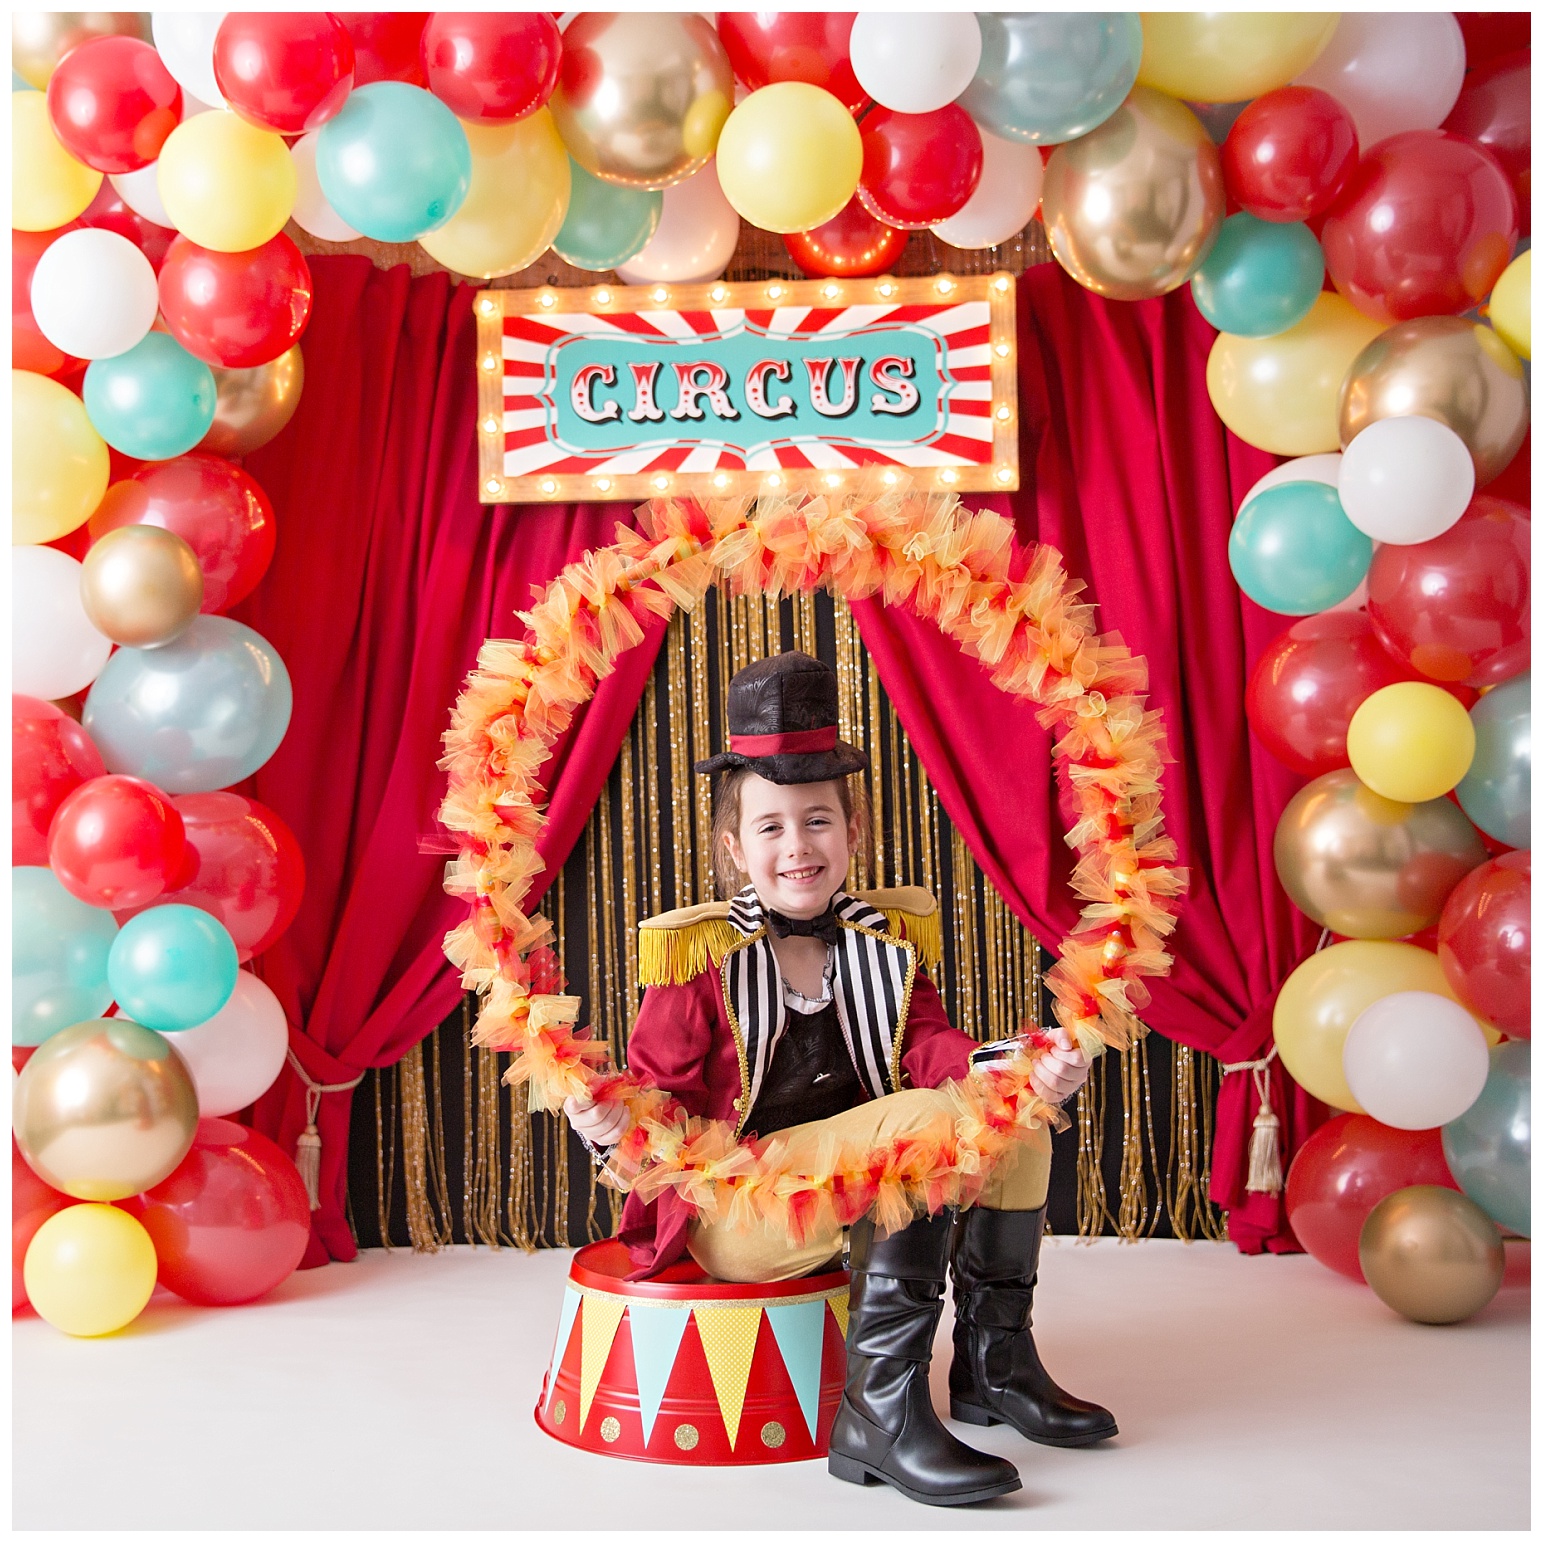
Mosby’s lion pedestal is just a beverage bucket that I spray painted red and added paper detail to (the same bucket in a different colour was used for the Hook-A-Duck game).
His ring of fire was made with a hoola hoop and strips of tulle tied around it. This took forever to make, but how adorable is it?!?
Aylah’s ring master costume is from HalloweenCostumes.ca and she is wearing a size medium (she is approx 48 inches tall).
Mosby’s lion mane is from Amazon … I have no words. It’s just perfection!

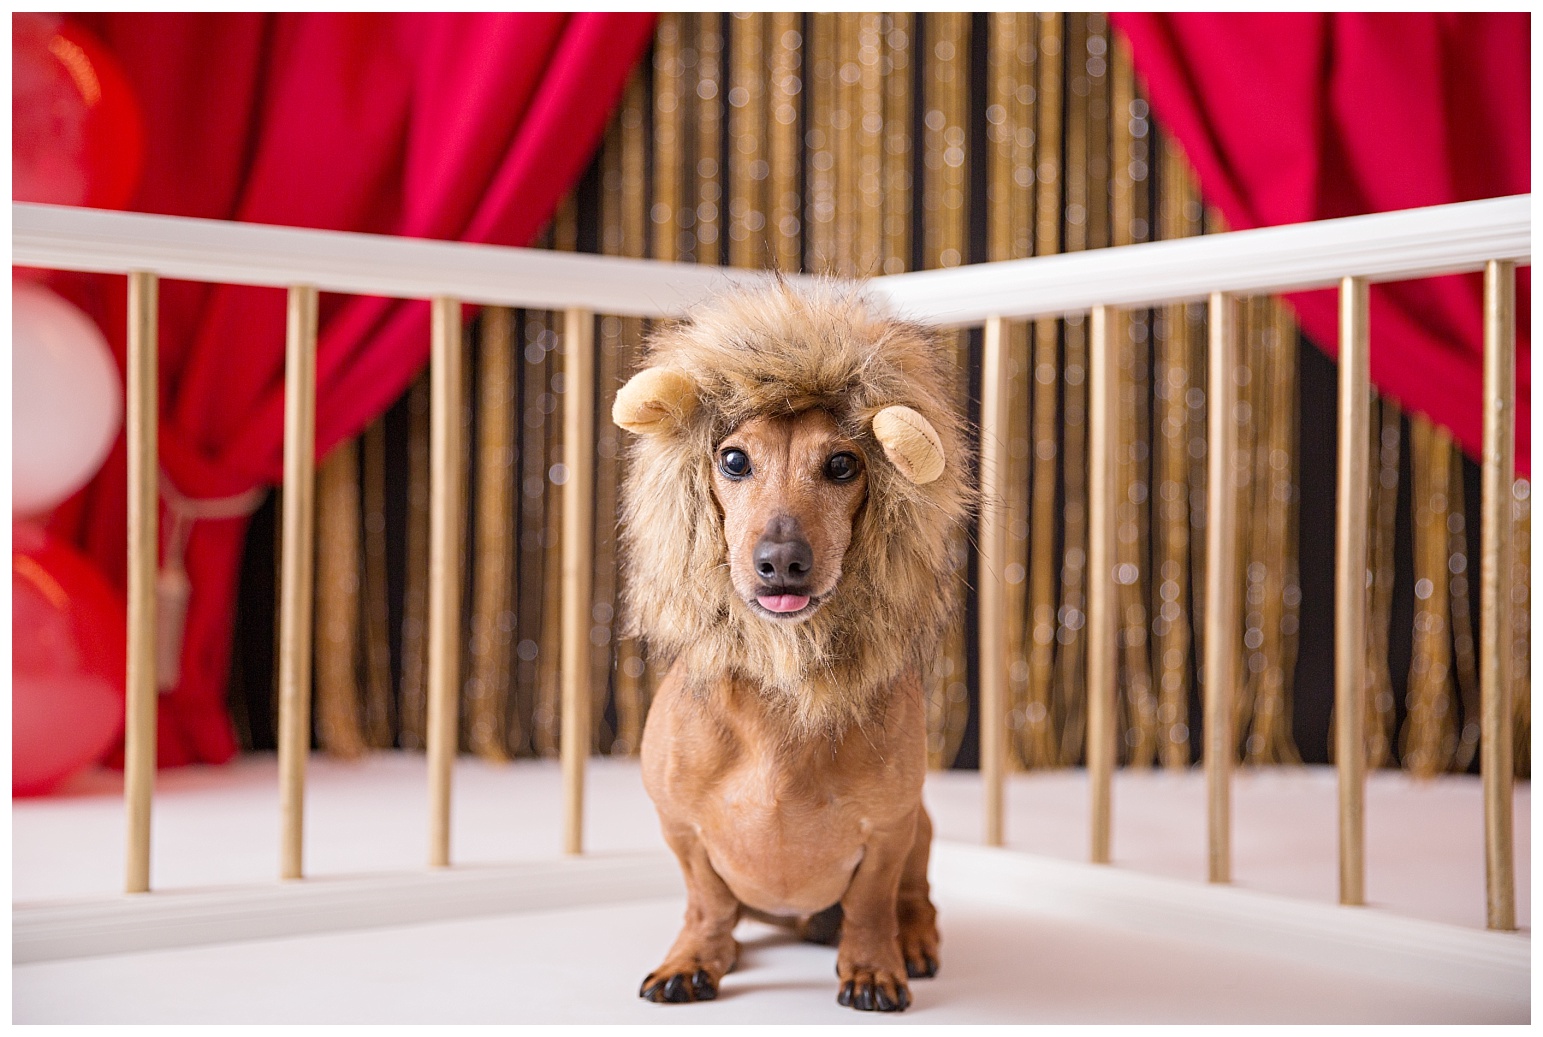
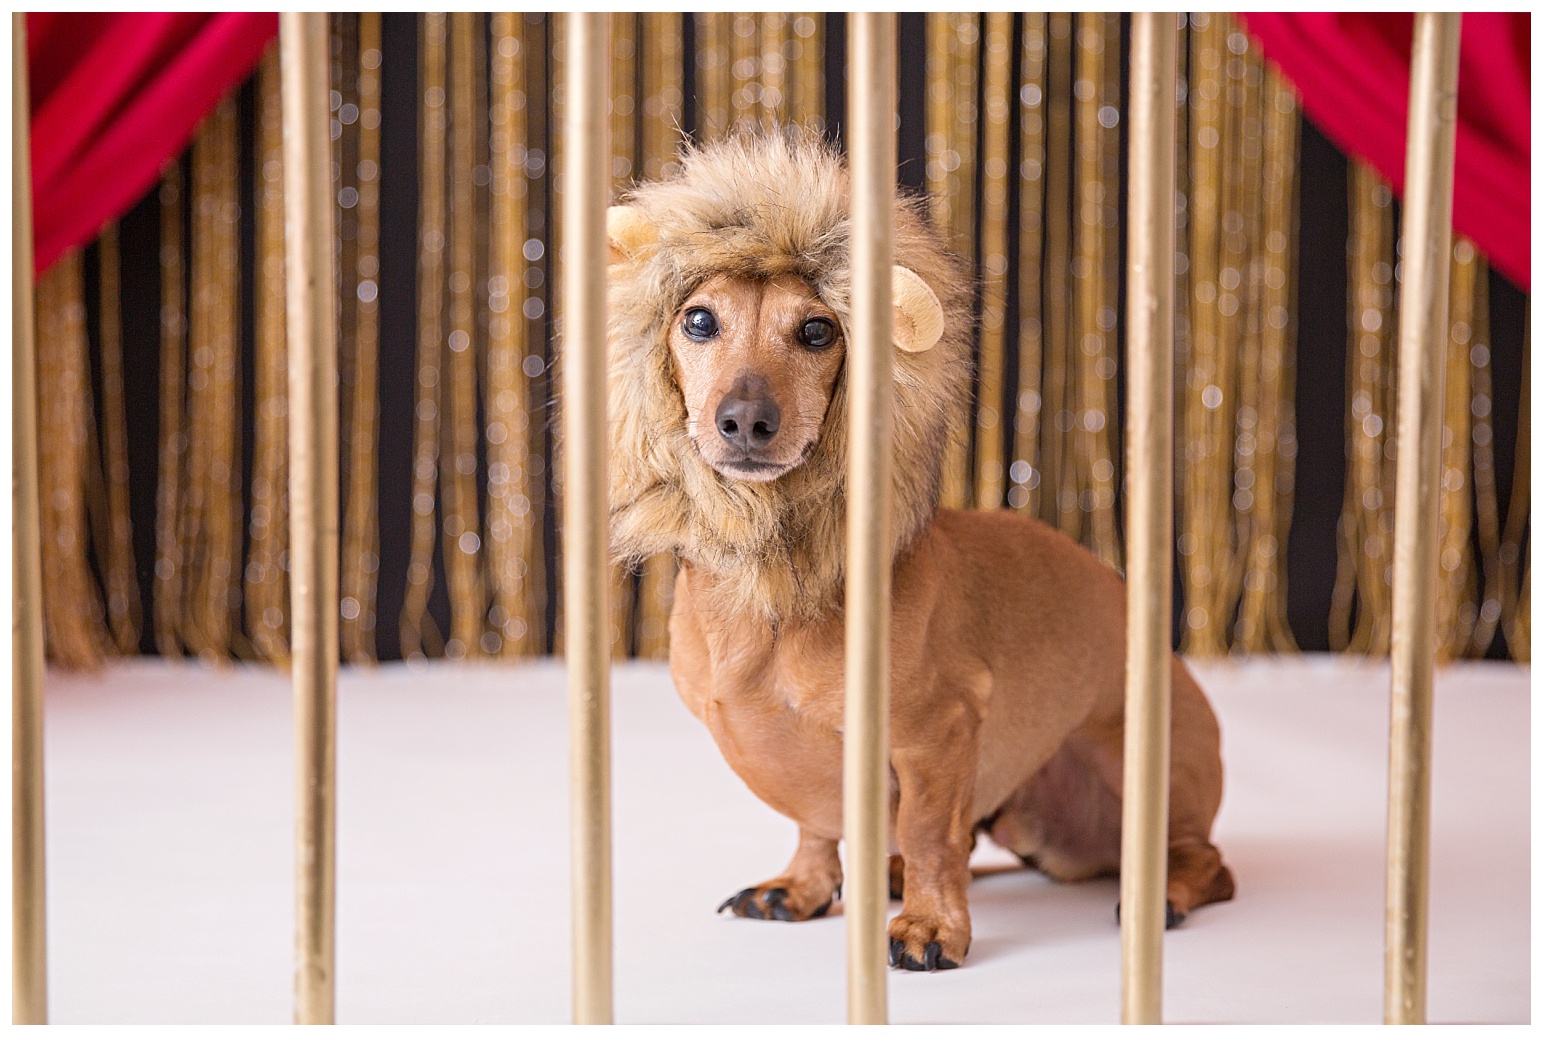
Obviously these crazy parties that I throw are a labour of love for my daughter and a creative outlet for me. That being said, I do have quite a bit of help on the day of the party for which I am extremely grateful! Huge shout out to my mom for tons of food prep and cleanup. And a big thank you to my coworker Shawn for taking some great candids for me during the party!
Well I guess that does it for this year. Now I’m onto planning the next one (yes I already know the theme, and yes planning is already well under way, lol).
xoxo,
Melissa
ITEMS FOR SALE
Included: DIGITAL PACK
– water bottle labels (4 styles)
– thank-you tags
– blank straw ticket (you can write your own names on)
– “Warning, It’s a Circus in There” sign
– game signs (yellow bulb detail not included as that was added on after printing)
– food labels
– “Step Right Up” sign
– “Ticket Booth” sign
Please note that you must first purchase the clipart from the original seller at the following link and show me proof of purchase before you can purchase these files from me. Original Clipart Link
Full digital pack for $50
Leave a Reply Cancel reply
© Moments by Melissa Miller
© Moments by Melissa Miller
Find ME ON
By chance is anything for sell?
How long were the tulle strips?
Hi! I’m starting to plan my almost 6 yr old twin boys birthday and I decided a circus theme would be so fun! I came across your website and I absolutely LOVE all your ideas!
Hi Melissa, I purchased the original clip art link, how do I send you proof of purchase?
Thank you.
Hello!
Please email me directly at melissamiller@live.com
xoxo,
Melissa
As a fellow party planner. Kudos on a job well done. Great post!
Where did you find the matching pennants?
[…] Imagem: moments by melissa […]
Hi, so cute. What did you use to rebag the prizes?
Wow, this is amazing and such an inspiration! I’m planning my son’s birthday now and this is the theme!
This is incredible. I used to enjoy creating parties for my children years ago. This one of yours is just beyond my wildest dreams !! How long did it take you to prepare all of this ? Congratulations !!
Thanks so much! 🙂 I usually start planning and sourcing the party supplied in January, so it takes about 10 months off and on lol.
Hi I love this so much! How did the ticket work? They were given tickets after they won?
I tried to make it much like a real carnival. Each kid started with a bunch of (red) tickets and they could choose to play whatever game they wanted. Playing the games would earn them (yellow) tickets which they could then use to redeem prizes. 🙂
Hi Melissa,
I absolutely love this theme and everything you did! Amazing!
I have a question regarding the games…how many time did you let the kids play each game and did they win every time? I’m trying to figure out the tickets and the prizes!
Thank you,
Jessica
How many feet or rolls of crepe paper did you use? I would like to recreate for a 3-year old party.
Thank you for sharing, the party were amazing!
Hi! What kind of bags did you use to hold the prizes? Thanks so much!
Love this , it is truly amazing . I’m definitely going to try the tent ceiling . Did you conceal the ends in anyway ? Have you done this in a different room ? My living room connects with the kitchen and the tv room . Not really a way of separating it .
Can you please give more info on the tickets? They played with red tickets and won yellow tickets.. but how many did they win at each game?
You done a beautiful job!!
Do you mind sharing where the white tables for the games are from? Did you buy or rent them?
Hey Krystal,
They are just lack tables from Ikea. 🙂
xoxo,
Melissa