hamilton photographer - full service studio
about
blog
Find me ON
already a client?
login here
galleries
info
contact
hamilton photographer - full service studio
Find me ON
already a client?
login here
about
blog
galleries
info
contact
hamilton photographer - full service studio
Find me ON
already a client?
login here
about
blog
galleries
info
contact
the blog
Happy Minecraft Birthday
February 18, 2021
Well, I think I’ve beat the record for tardiness on Aylah’s birthday party post. This event was 2.5 months ago, we’ve been in lockdown for most of it, I have no excuses, yet here we are. Nevertheless, let’s get into it…
In early November we were at a 10 person gathering limit here in Ontario so we had to make some last minute adjustments to our party plans. Truth be told, it’s a completely different party. The theme I had planned was not going work without having all of the kids here at the same time, so I put it all in storage and switched gears starting with a whole new theme only FOUR weeks before the party (I usually plan for a full year).
We decided to stretch the party out over the course of an entire day (10am to 8pm) and only have one family here at a time during a designated time slot, thus not mixing any households. This also allowed us to stay within the 10 person gathering limit. I also adjusted the entire food menu to be single serving or pre-packaged so that there would be no touching of other people’s food throughout the course of the day.
Now onto the last minute theme. I needed to find something that was going to be “easy” to source materials for, since ordering anything online would be cutting it too close. My daughter loves Minecraft (as does my husband) and I figured how hard could it be to just make everything cube shaped and call it a day, lol. But ya’ll know I never do anything halfway, so the ideas quickly escalated.
I also must mention that the ONLY way I was able to pull this off with only four weeks was with a massive amount of help from a few dedicated individuals. Honourable mentions go out to my mom, my husband and my good friend Melissa … couldn’t have done it without you guys!!
I will try to source everything the best I can, but of course I always welcome questions, so feel free to comment below and I’ll try to get back to you in a reasonable amount of time.
Now onto THE PARTY!!!
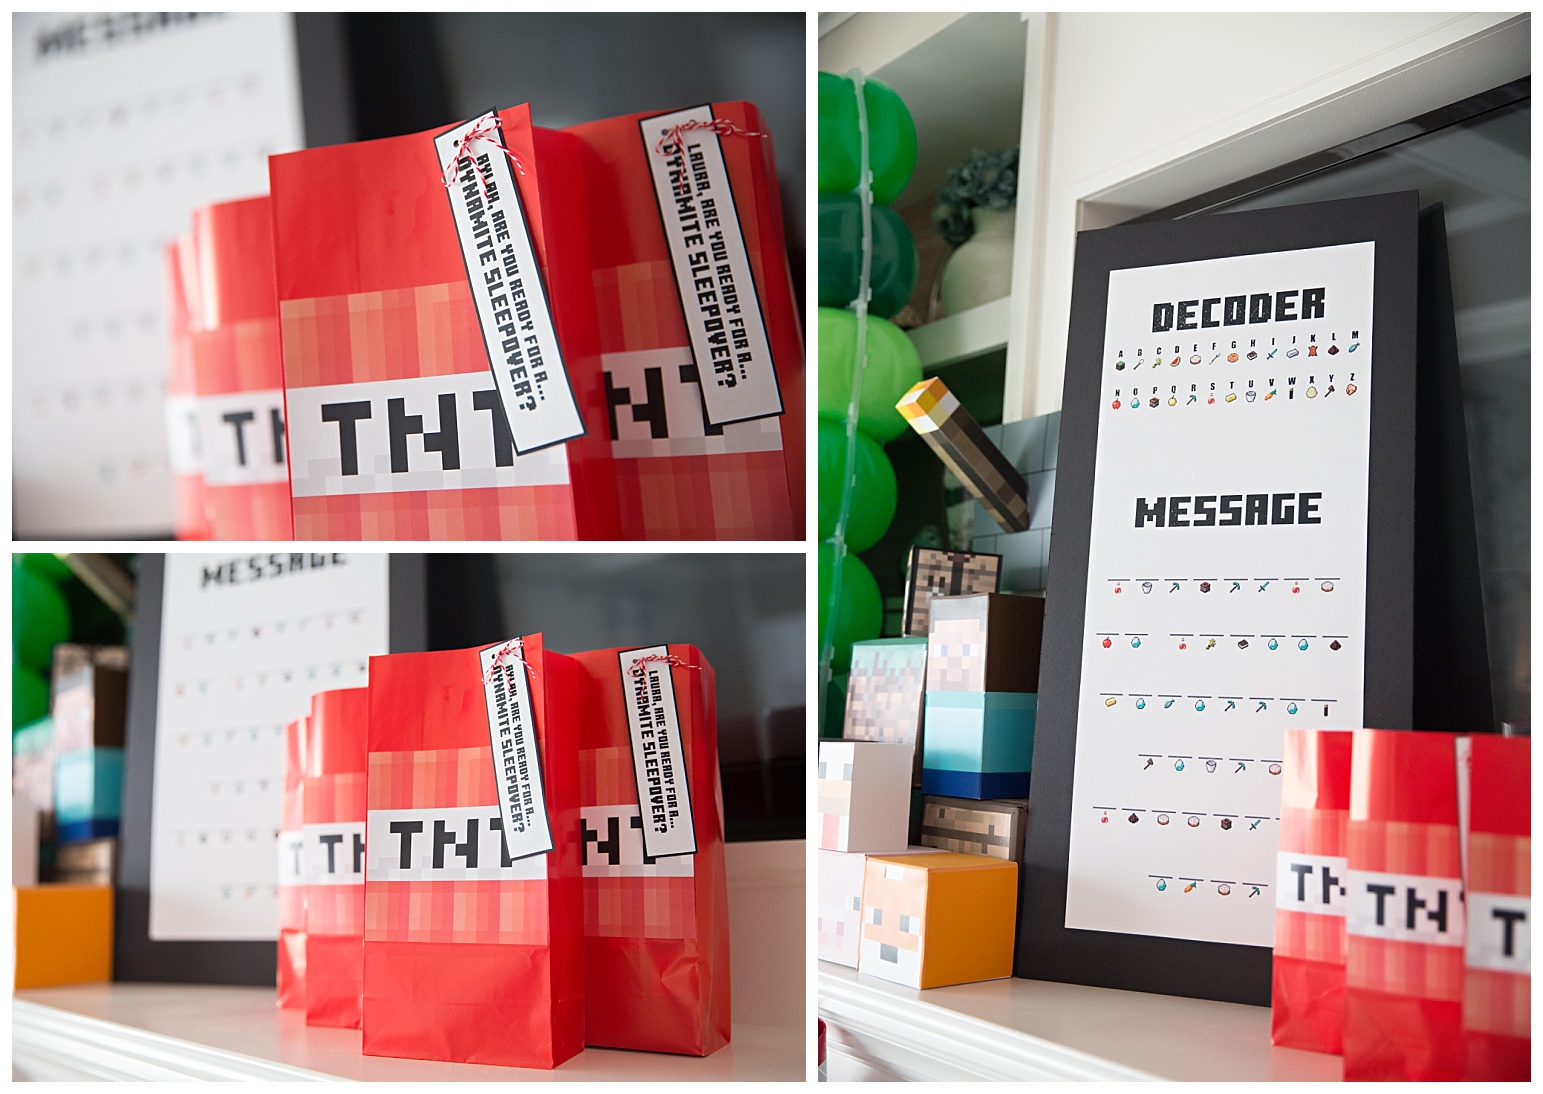
Let’s start off with the invites…
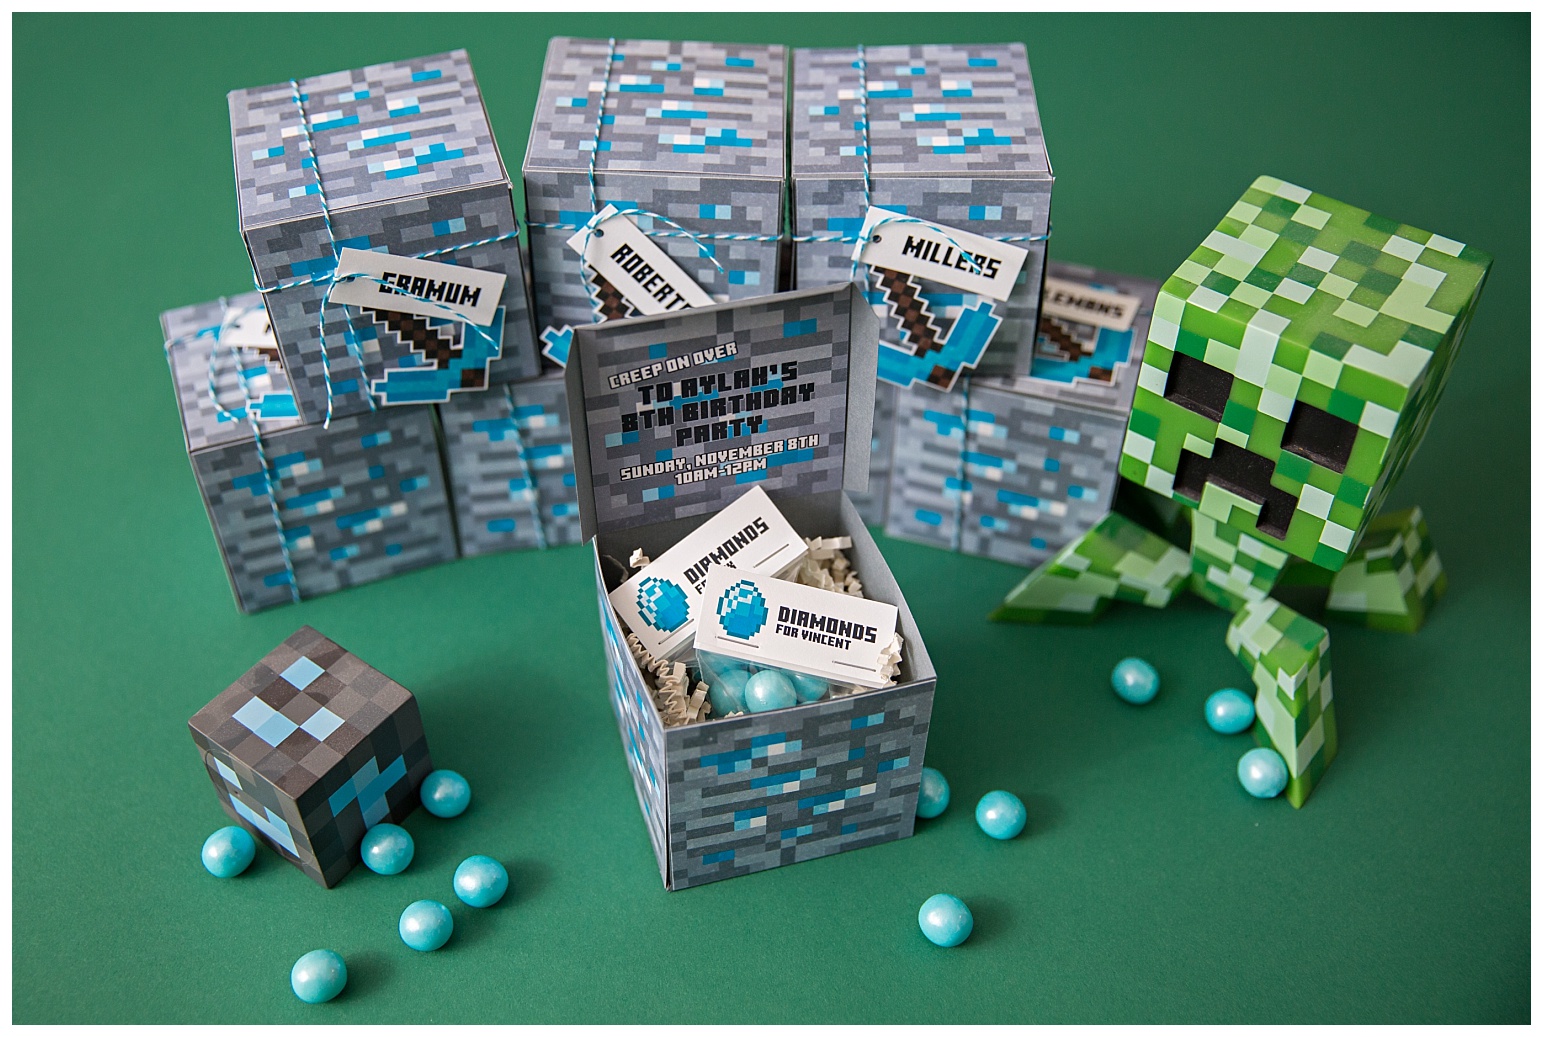
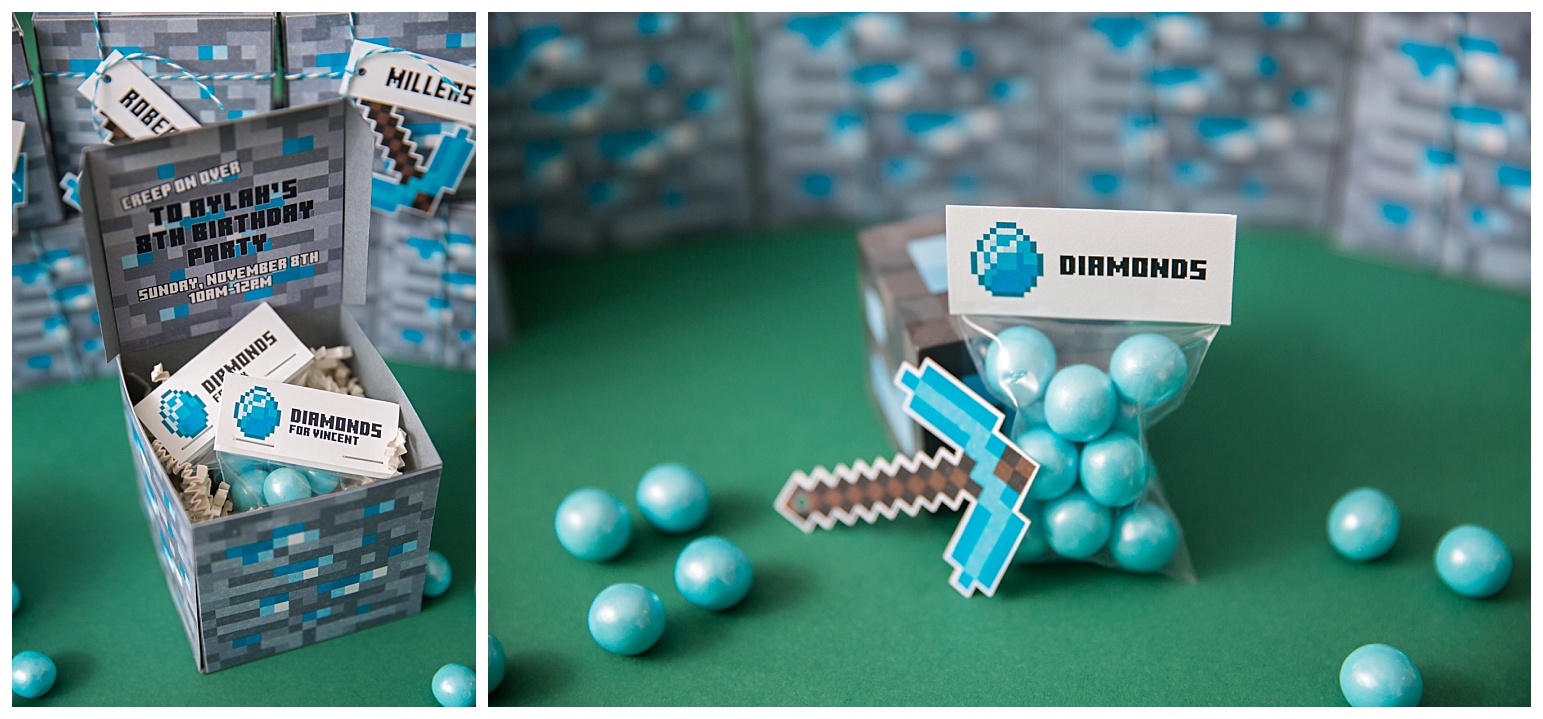
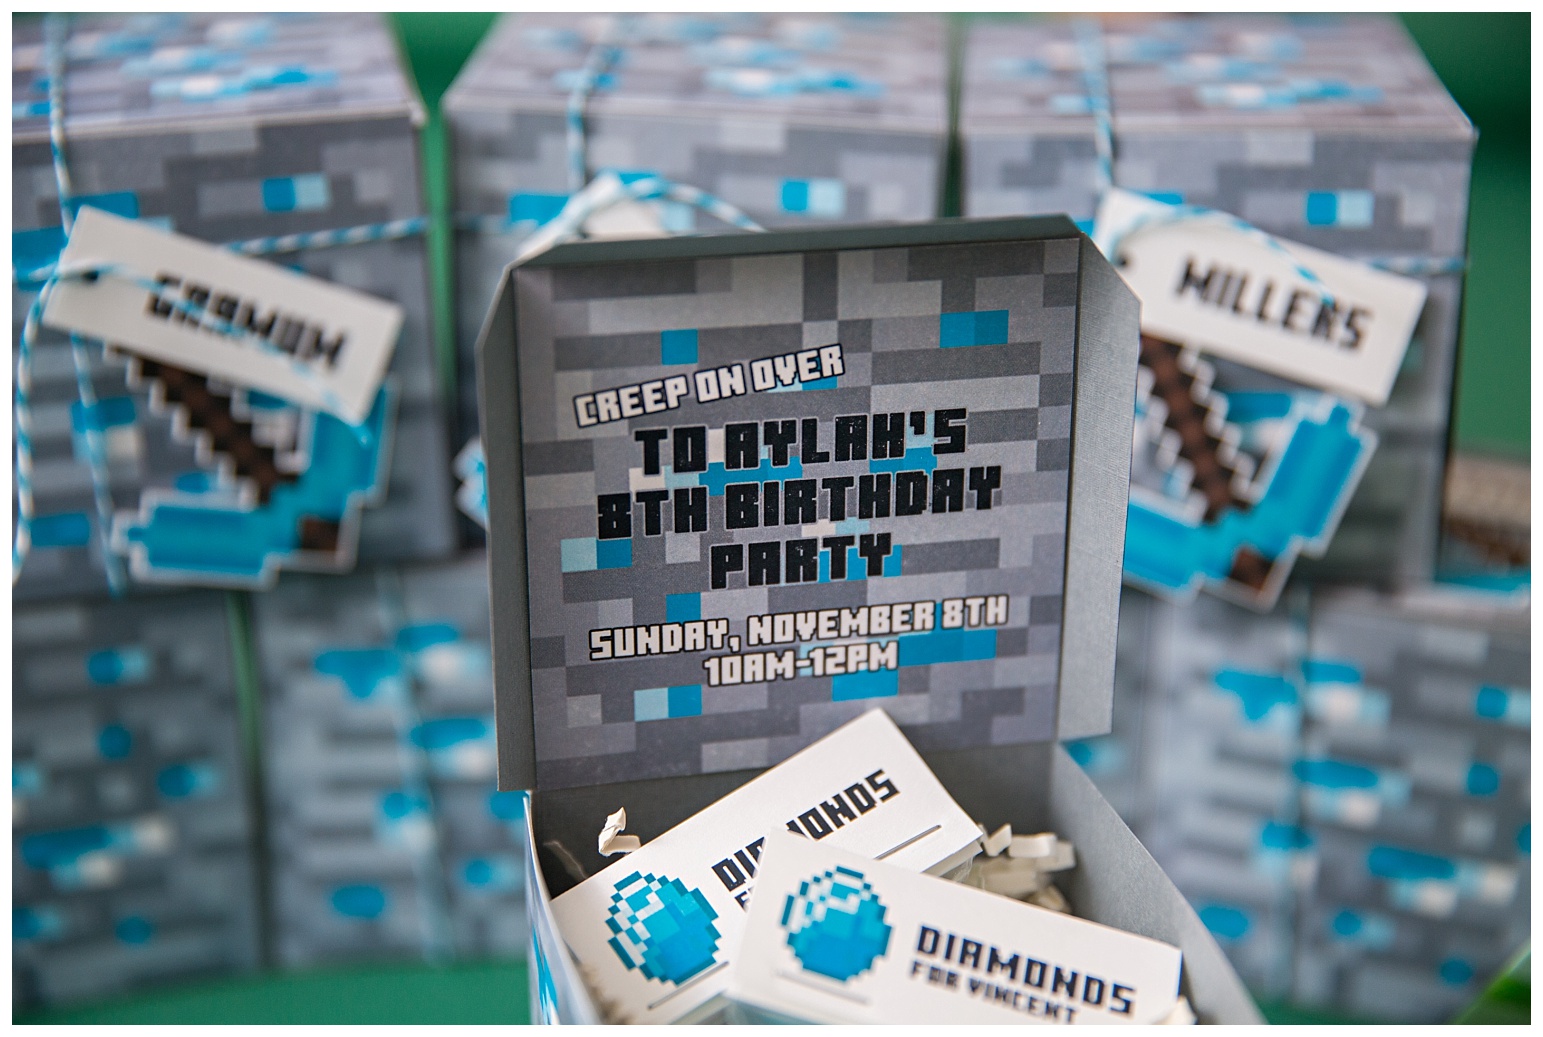
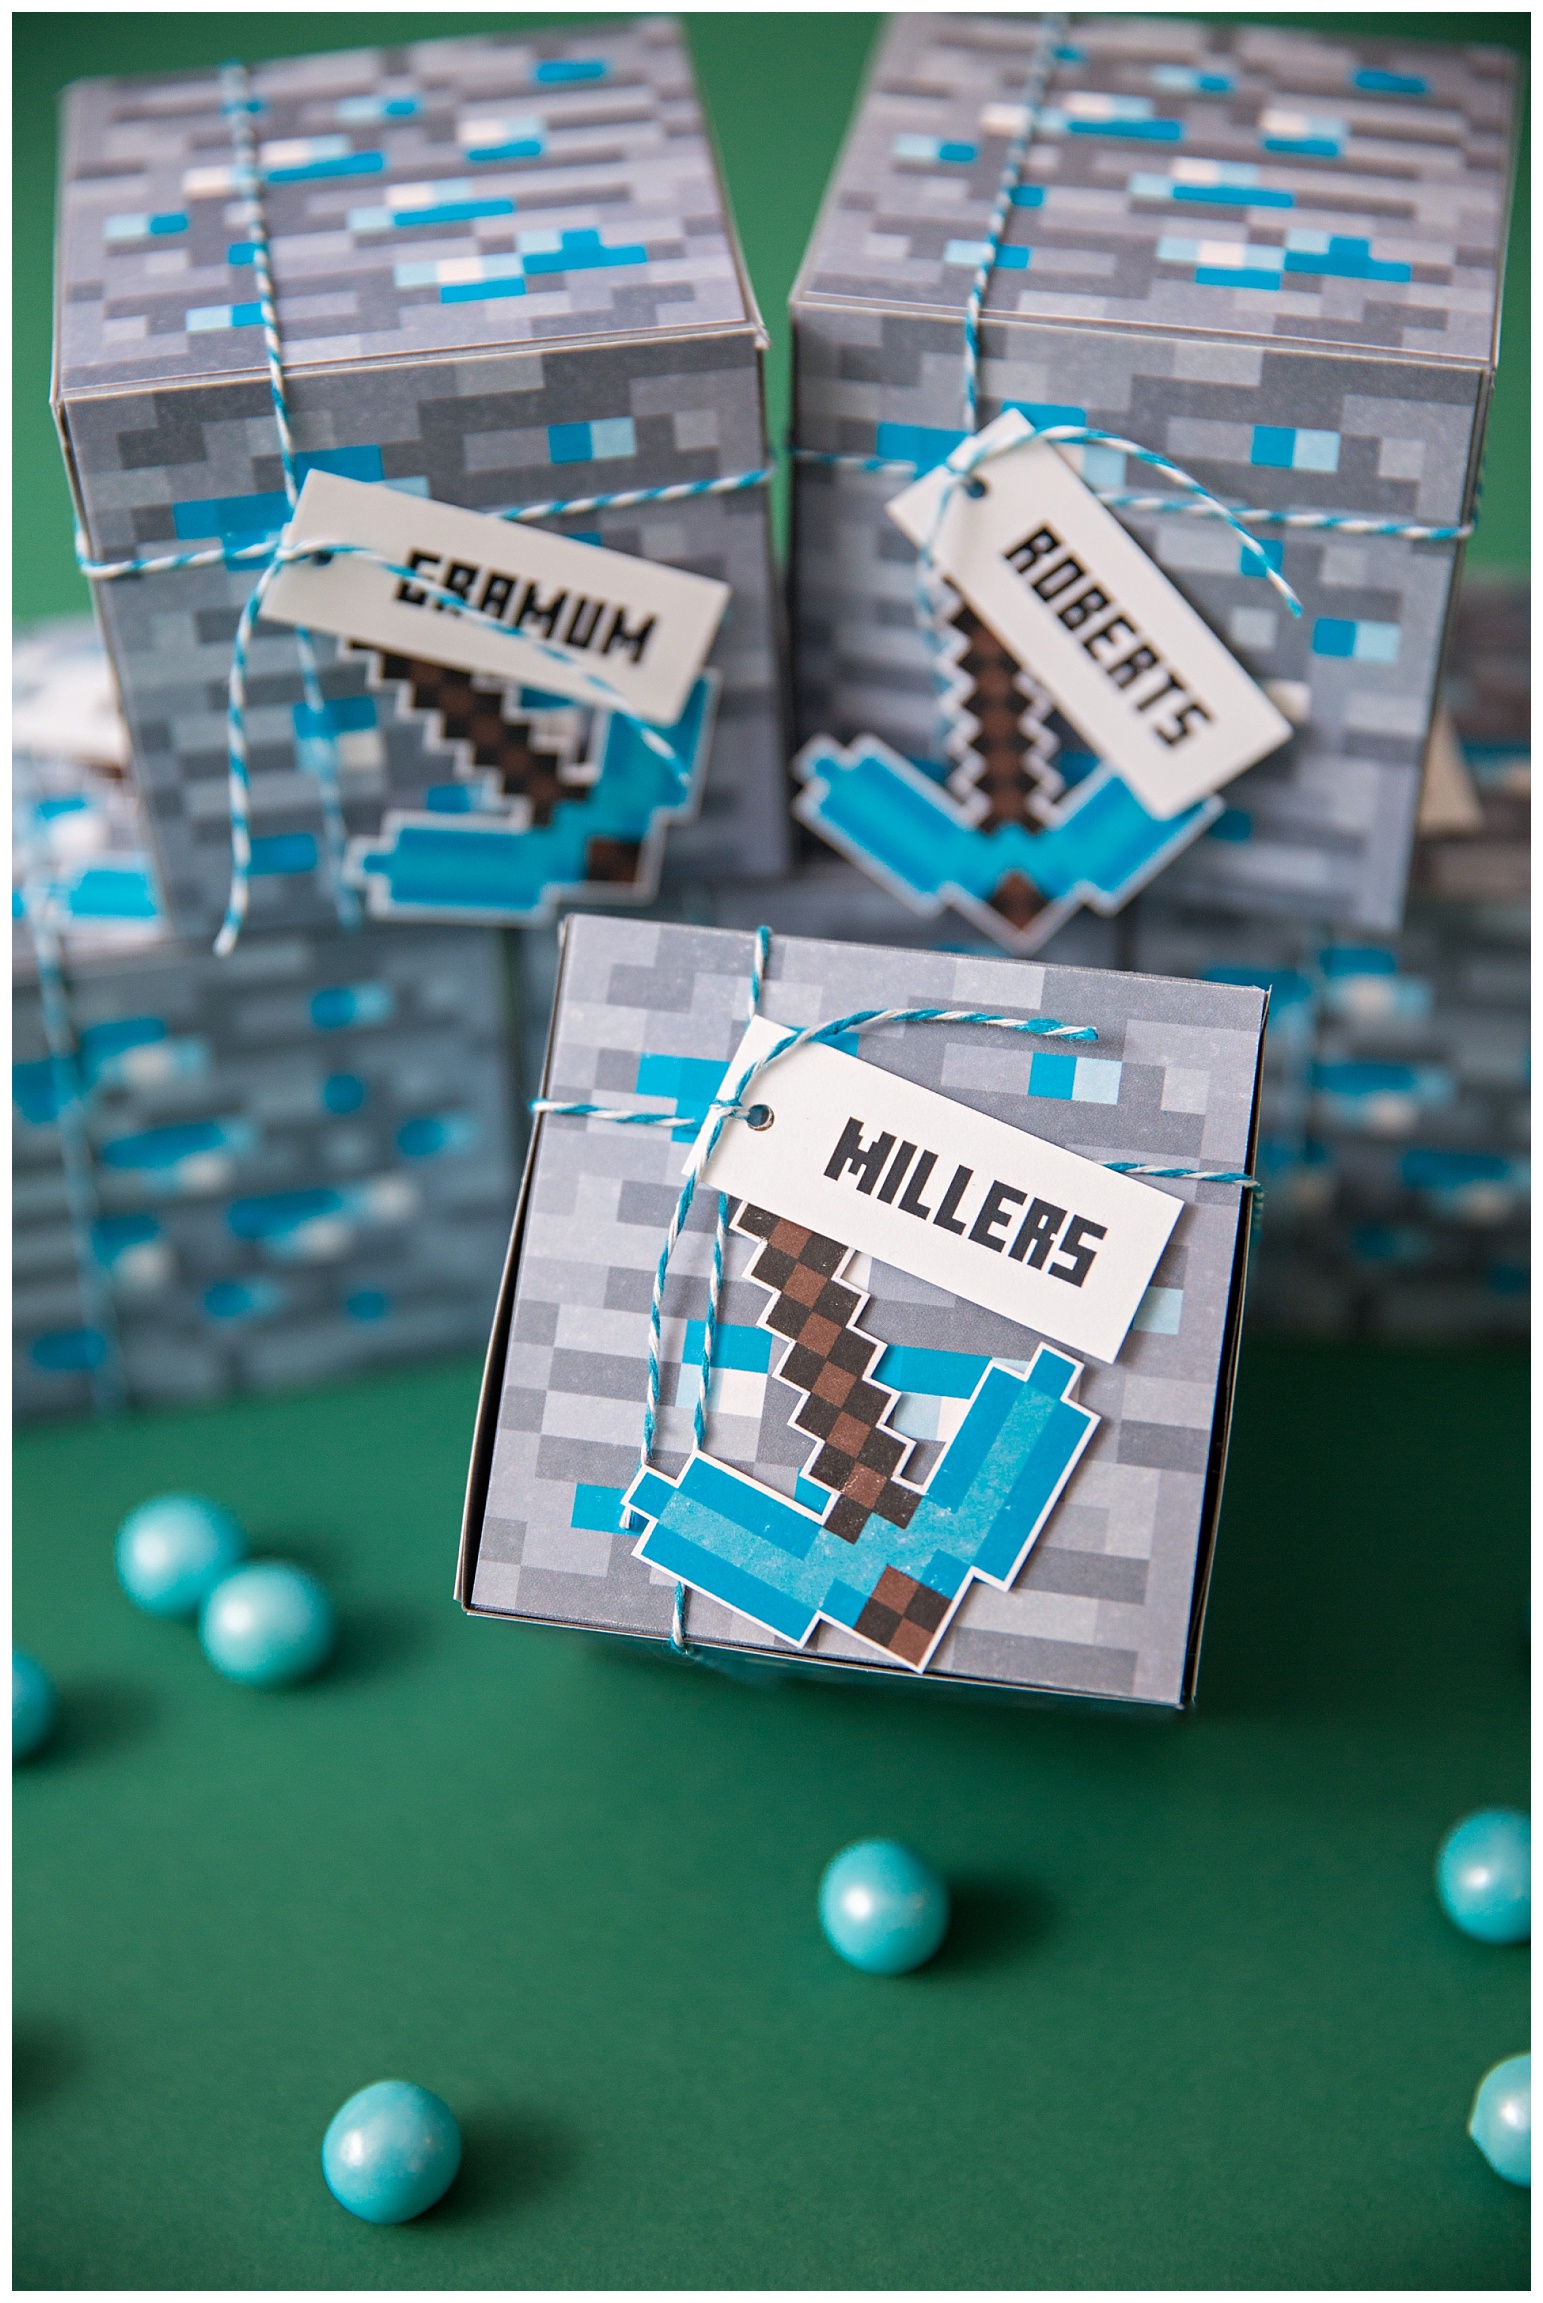
I got the idea from this pin, but I made these boxes myself from scratch with cardstock. All of the graphics were just found through google image searches. The tiny baggies are from Dollarama and the gourmet gumball “diamonds” are from Bulk Barn.
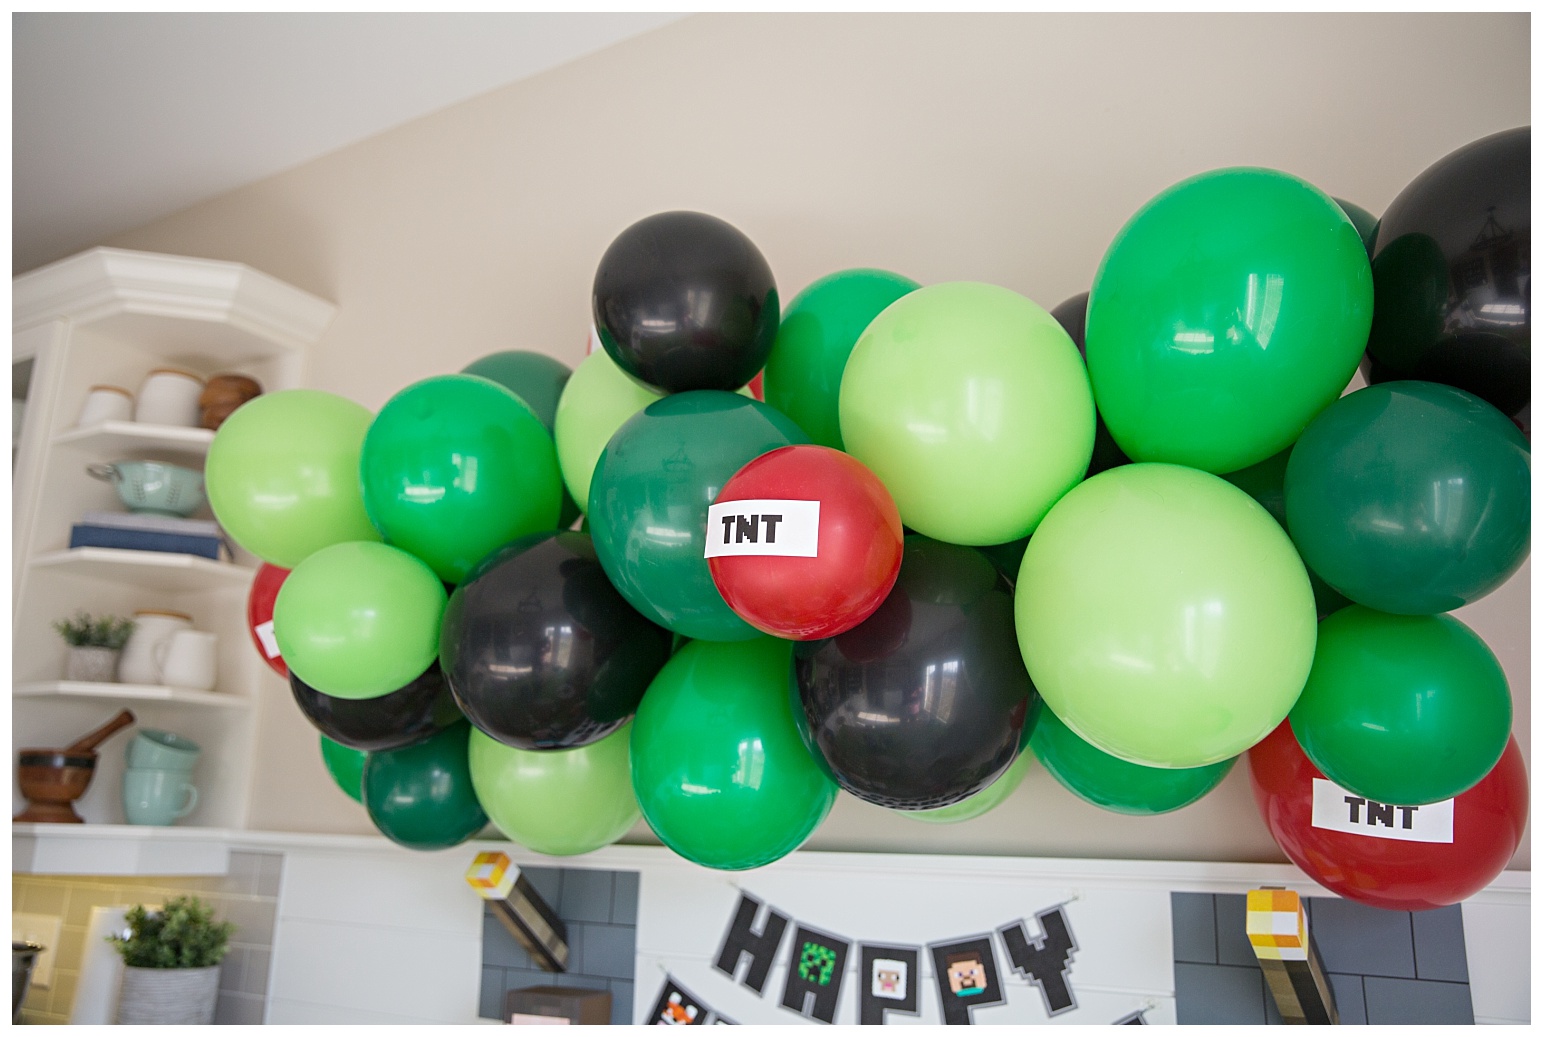
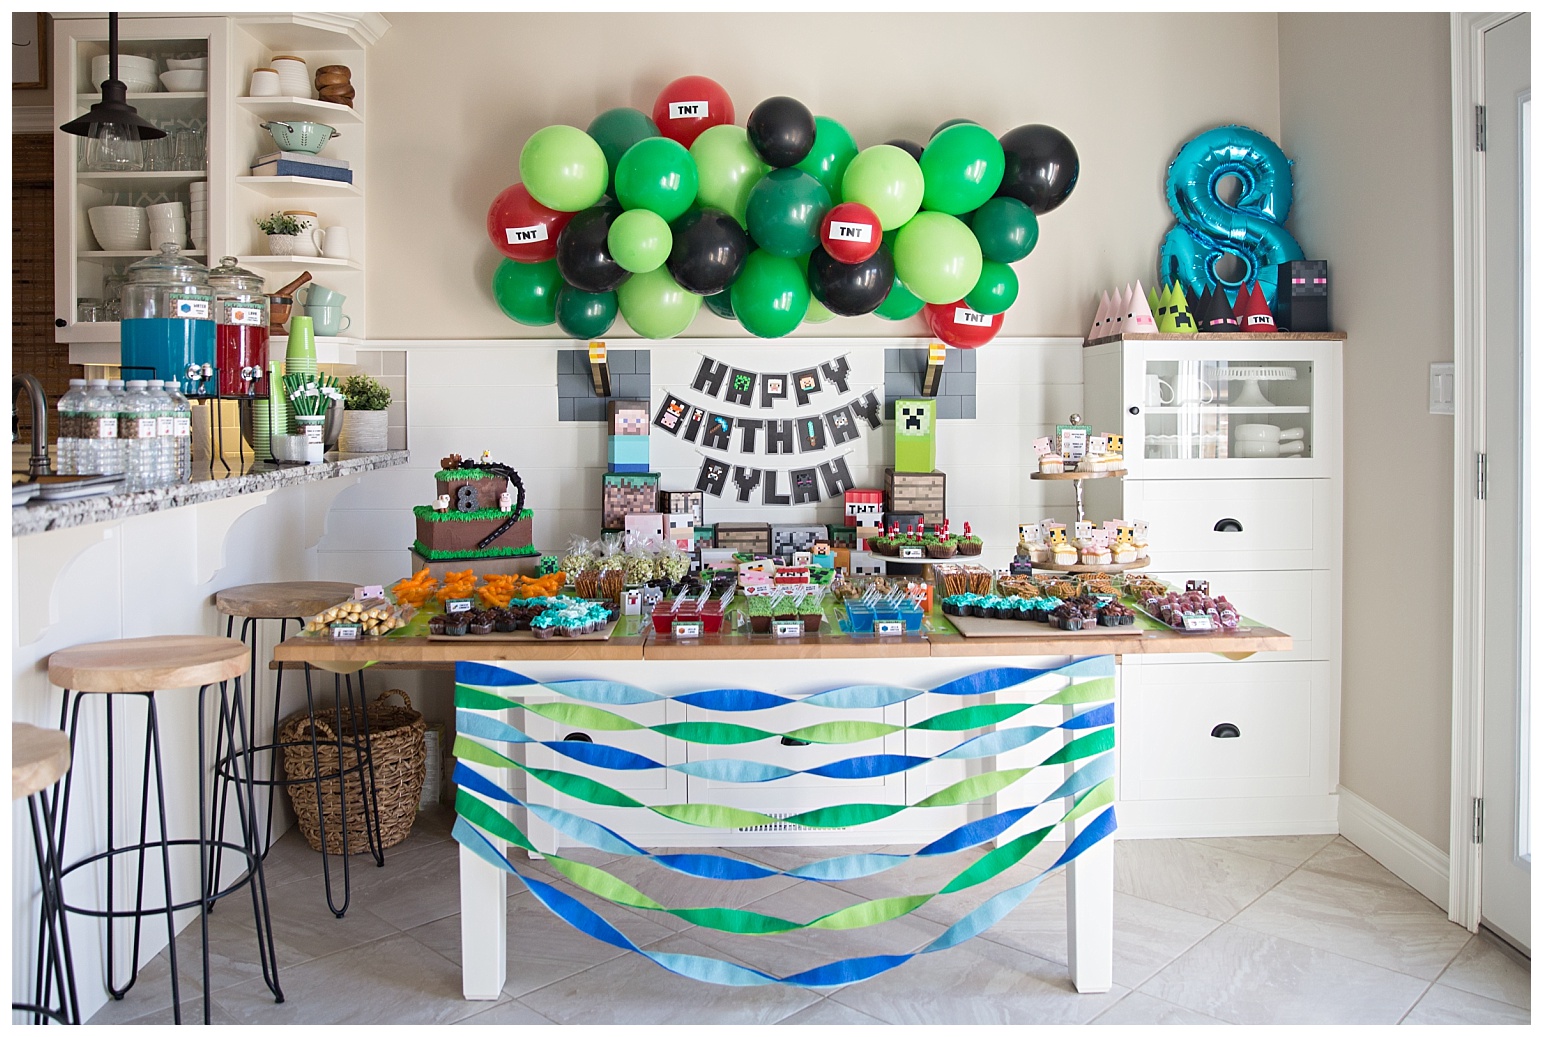
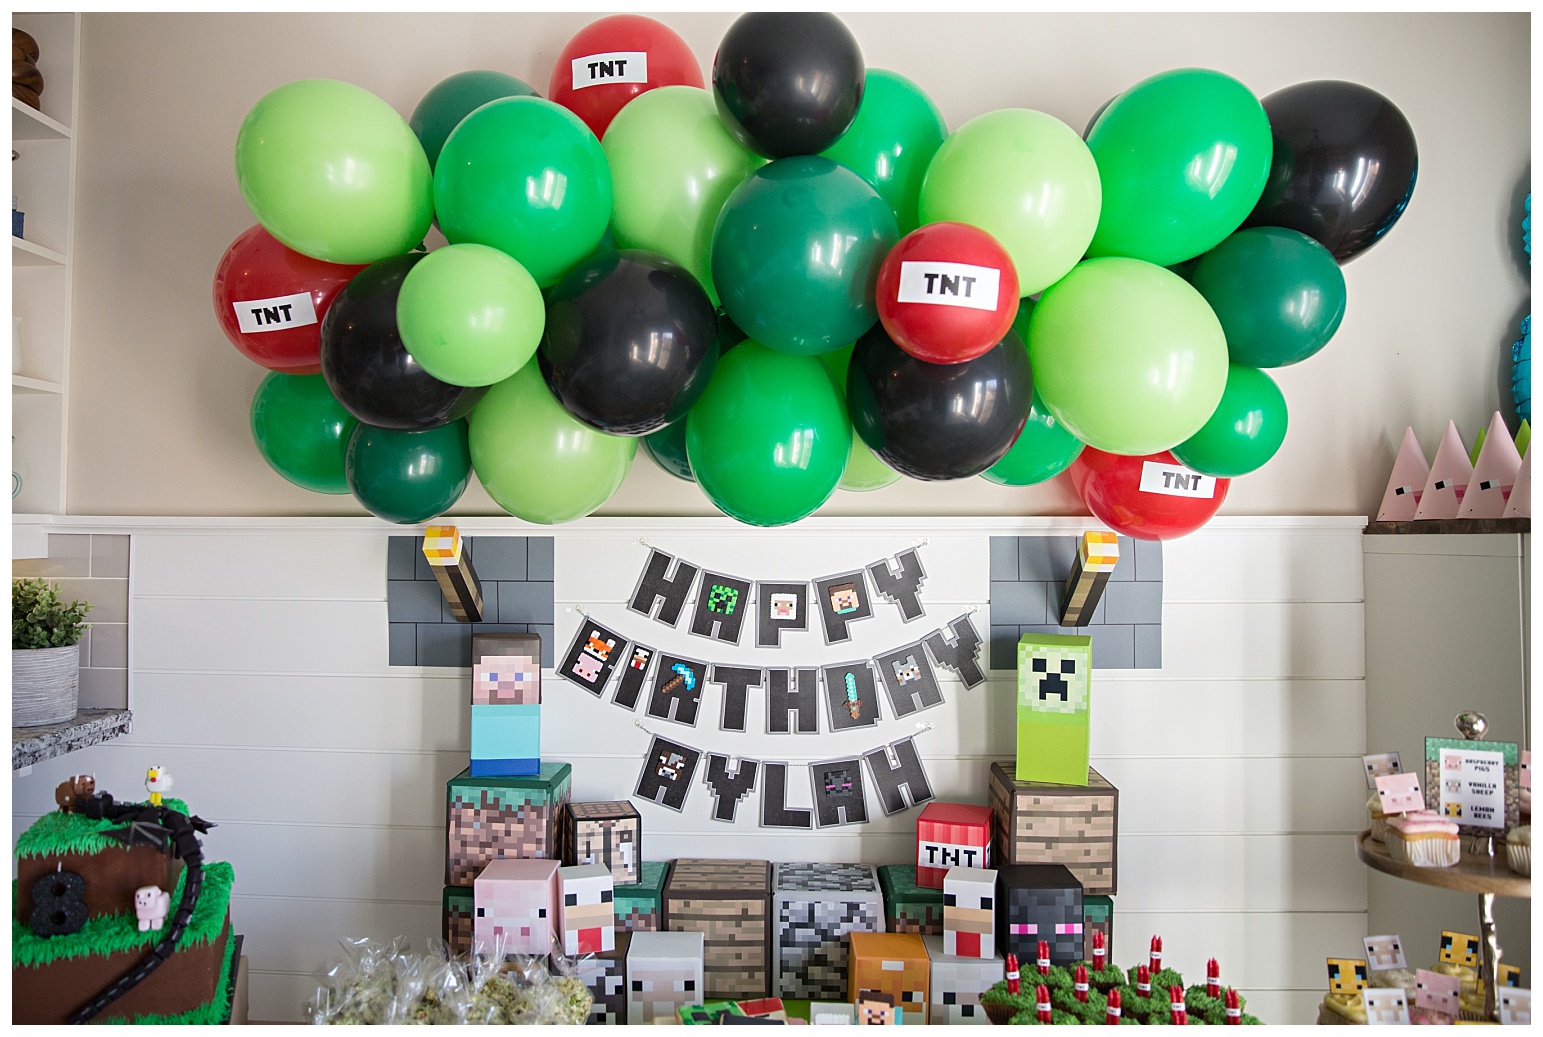
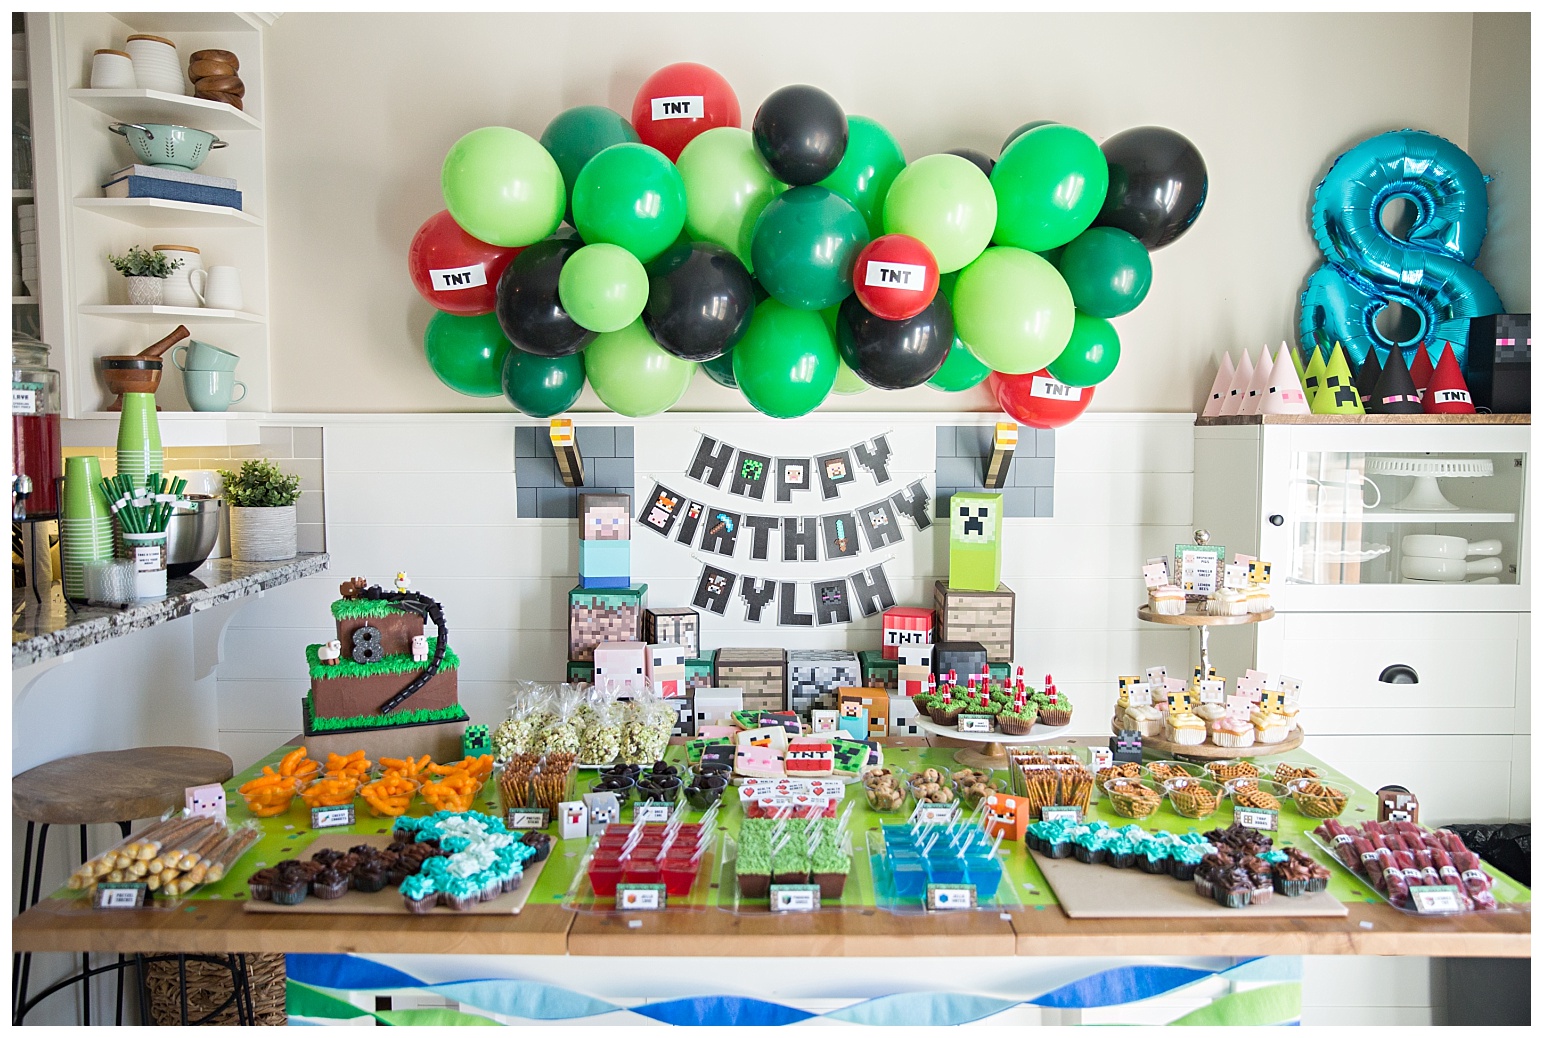
I got this balloon garland idea from this pin. I love doing balloon garlands because they make a big statement and are really inexpensive to do. If you are new to balloon garlands be sure to watch some tutorials on YouTube before you get started.
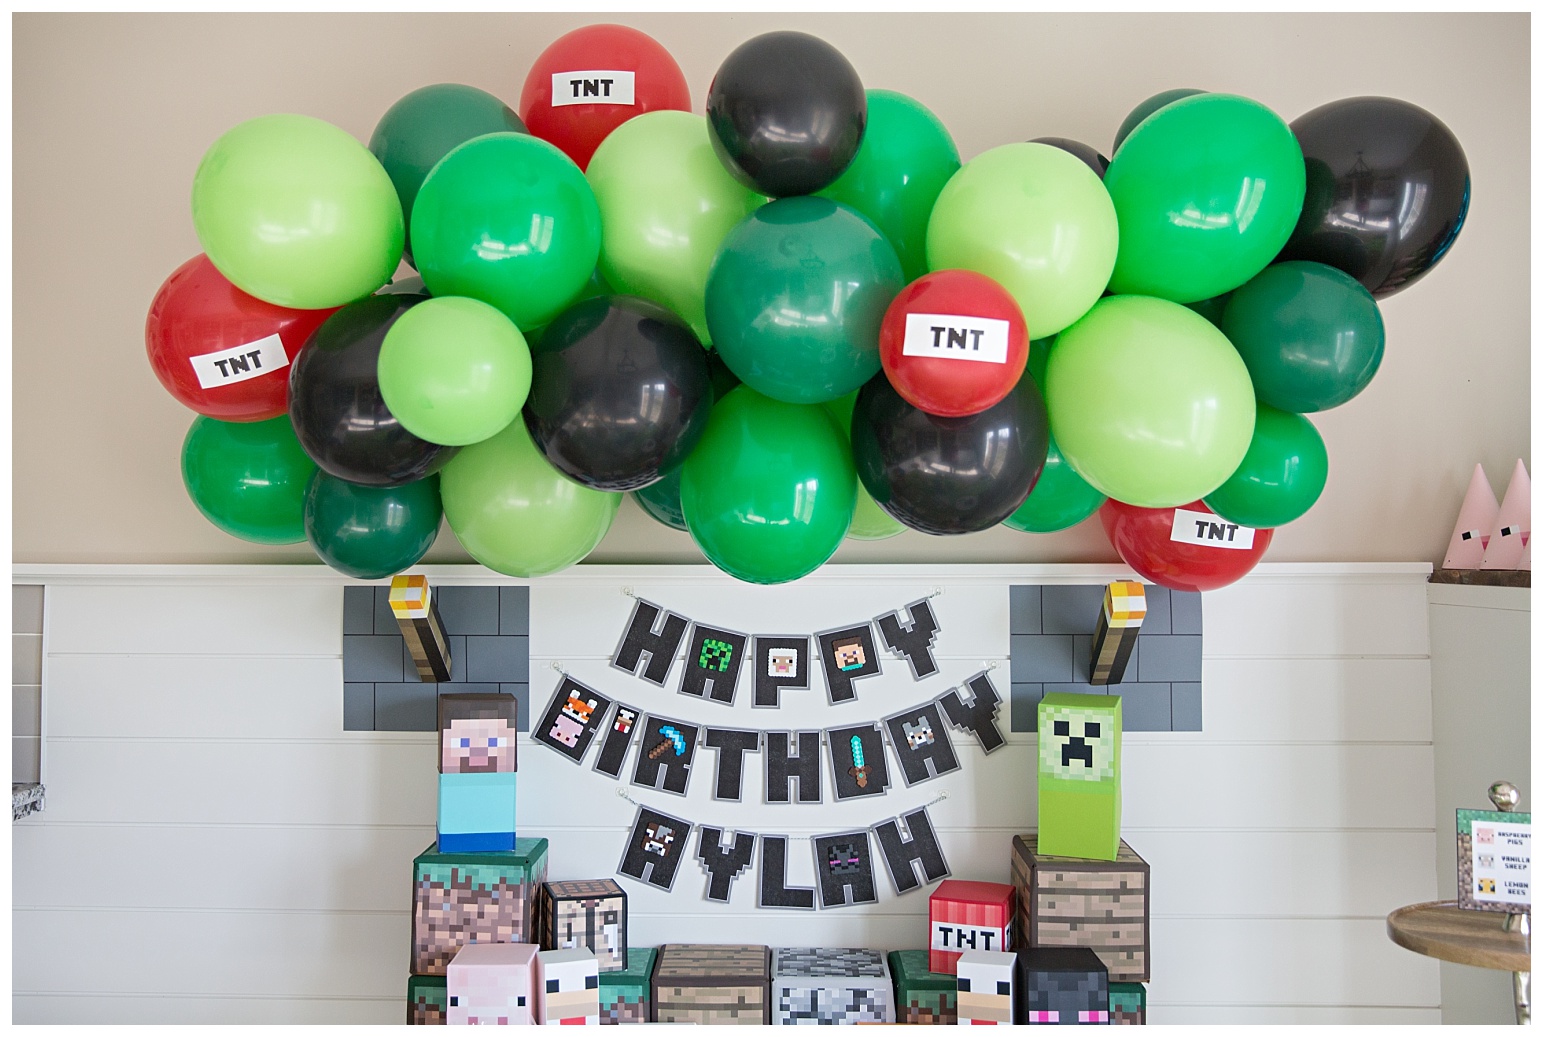
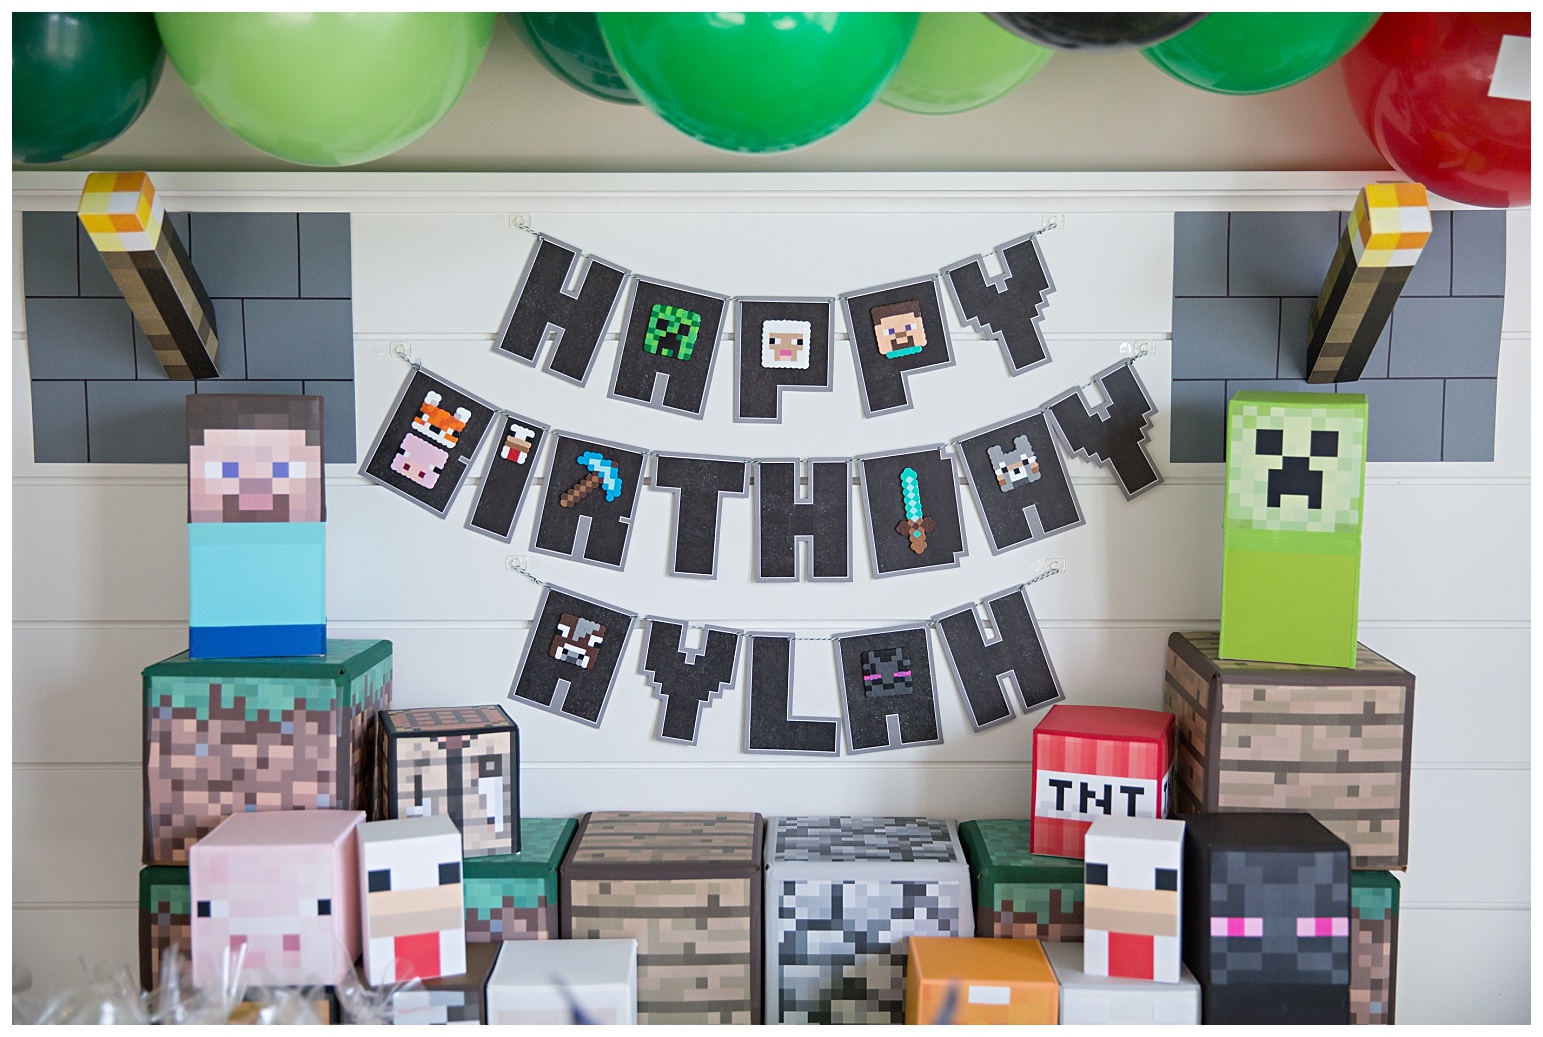
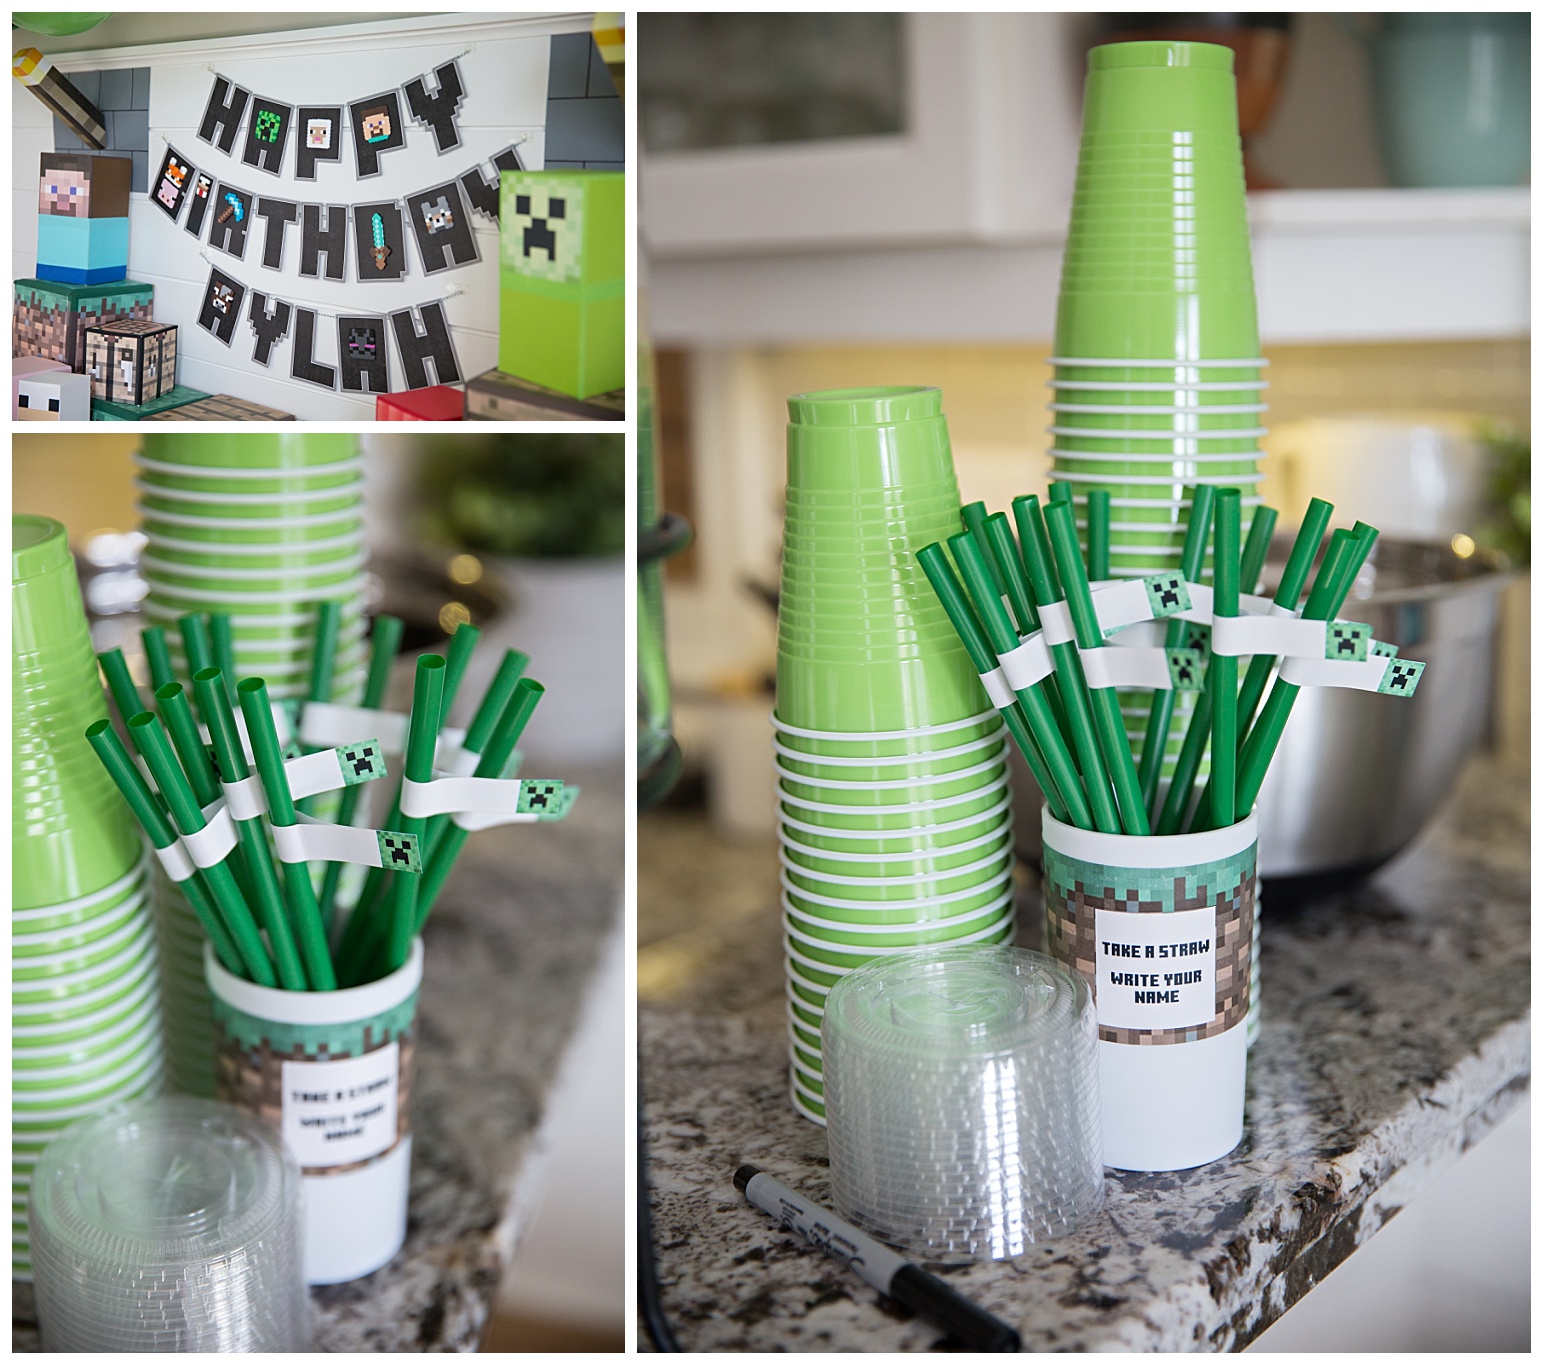
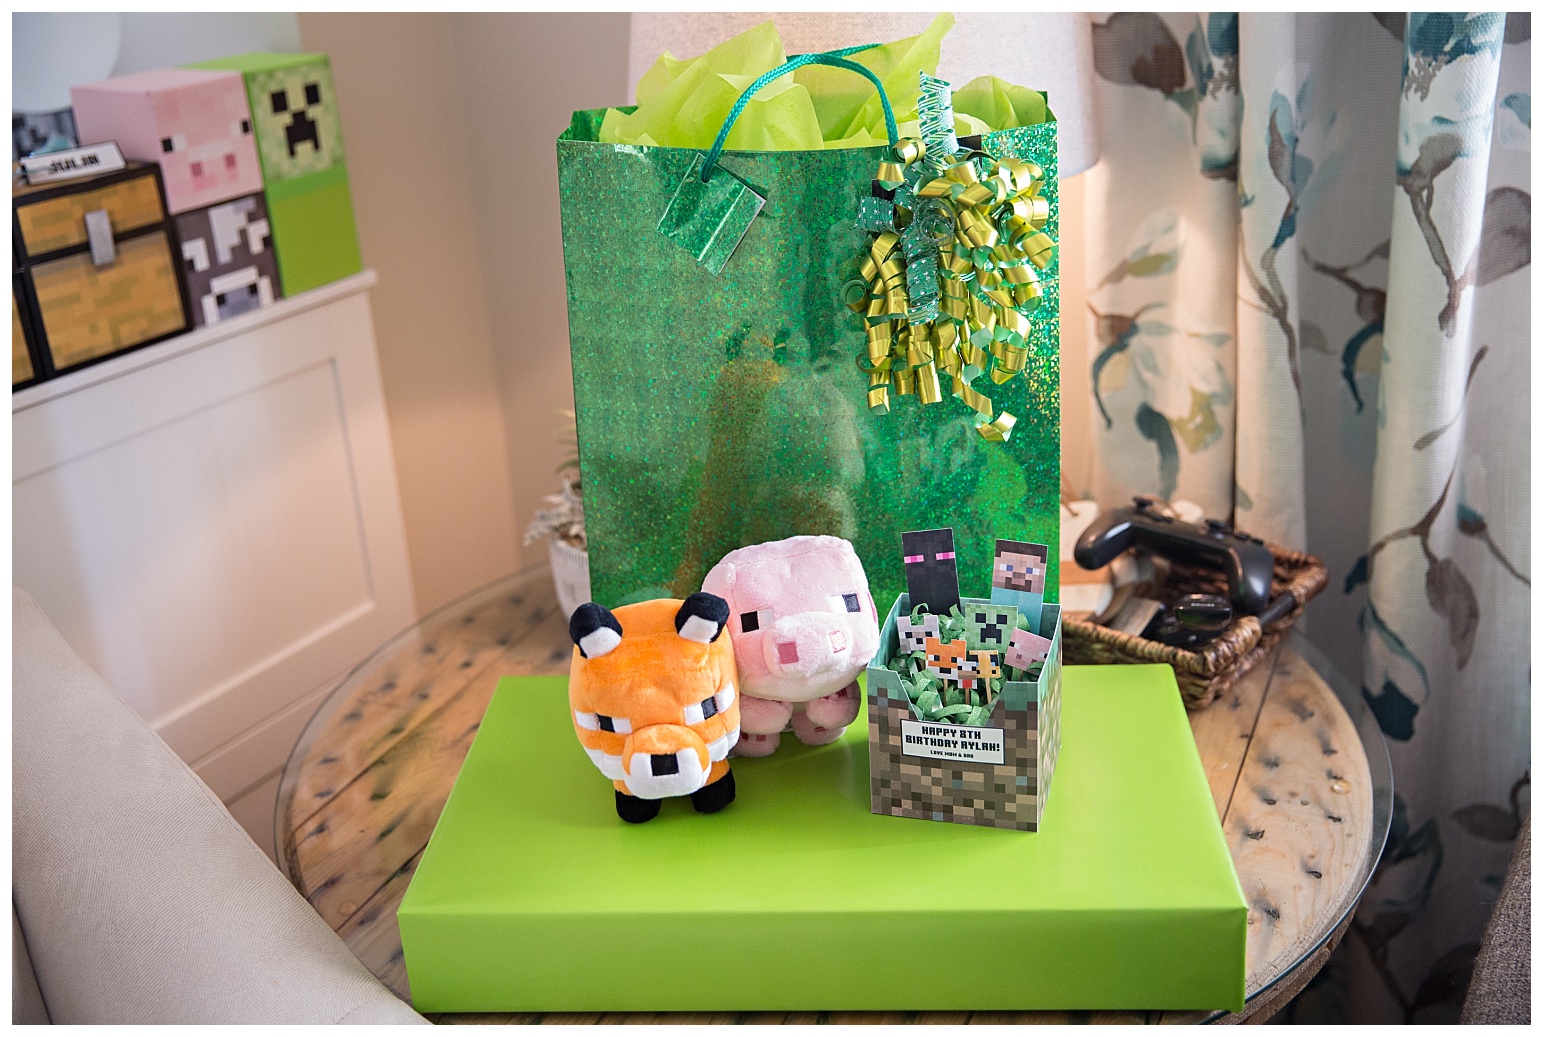
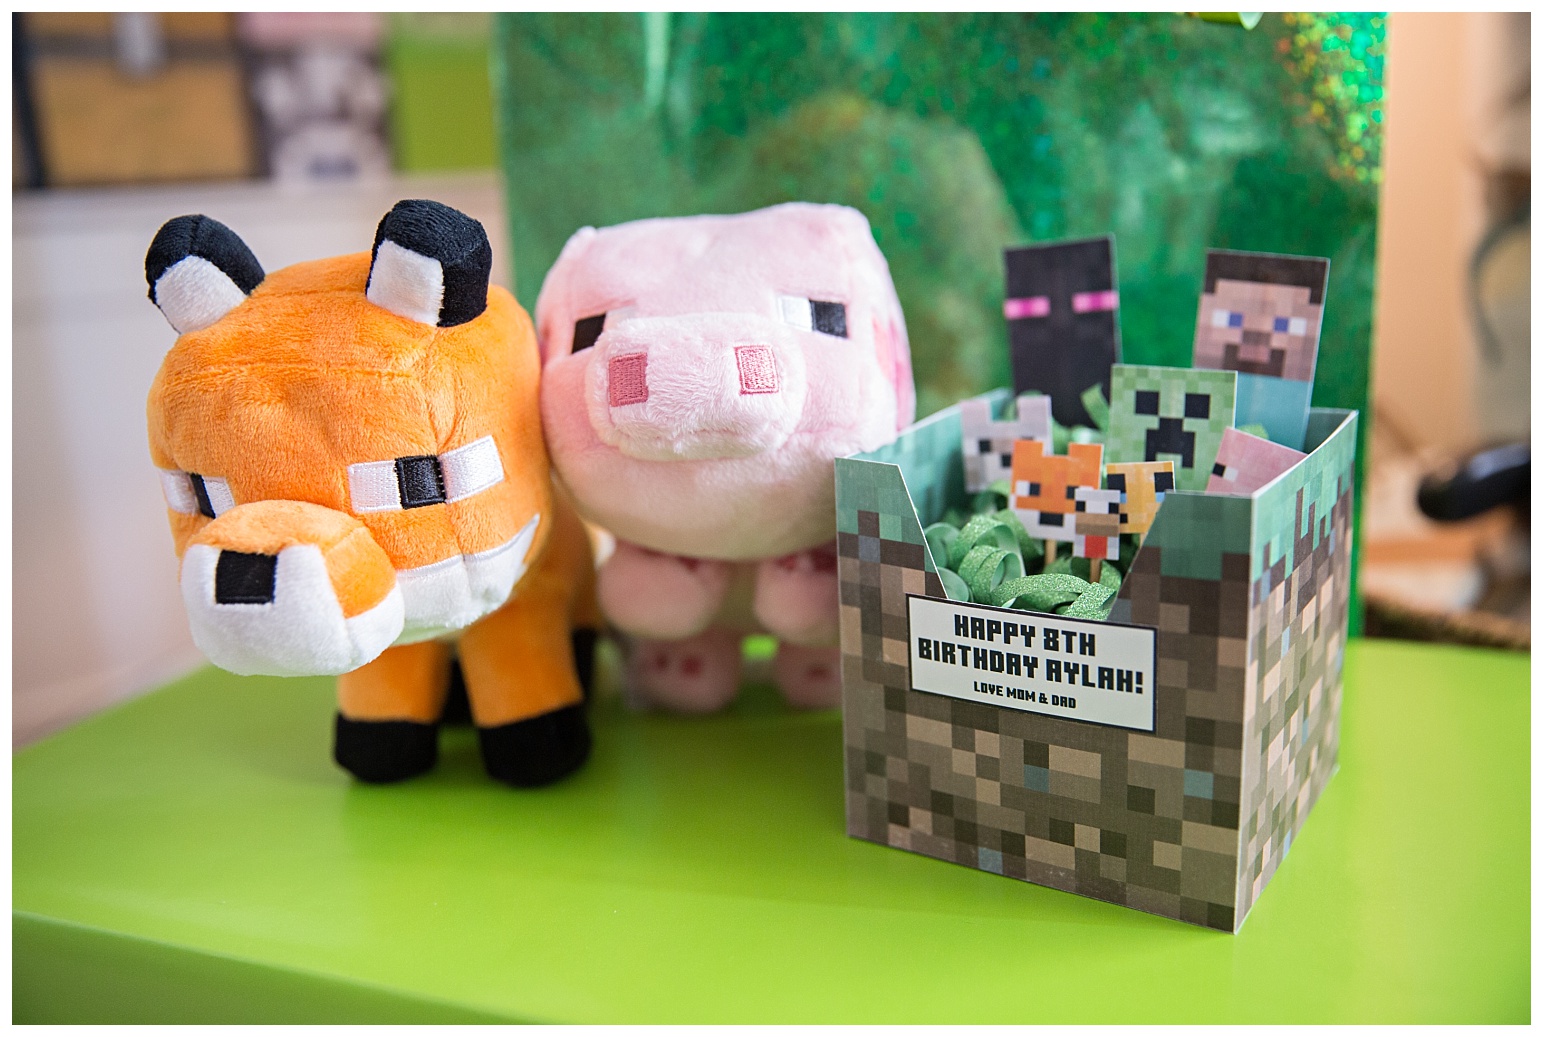
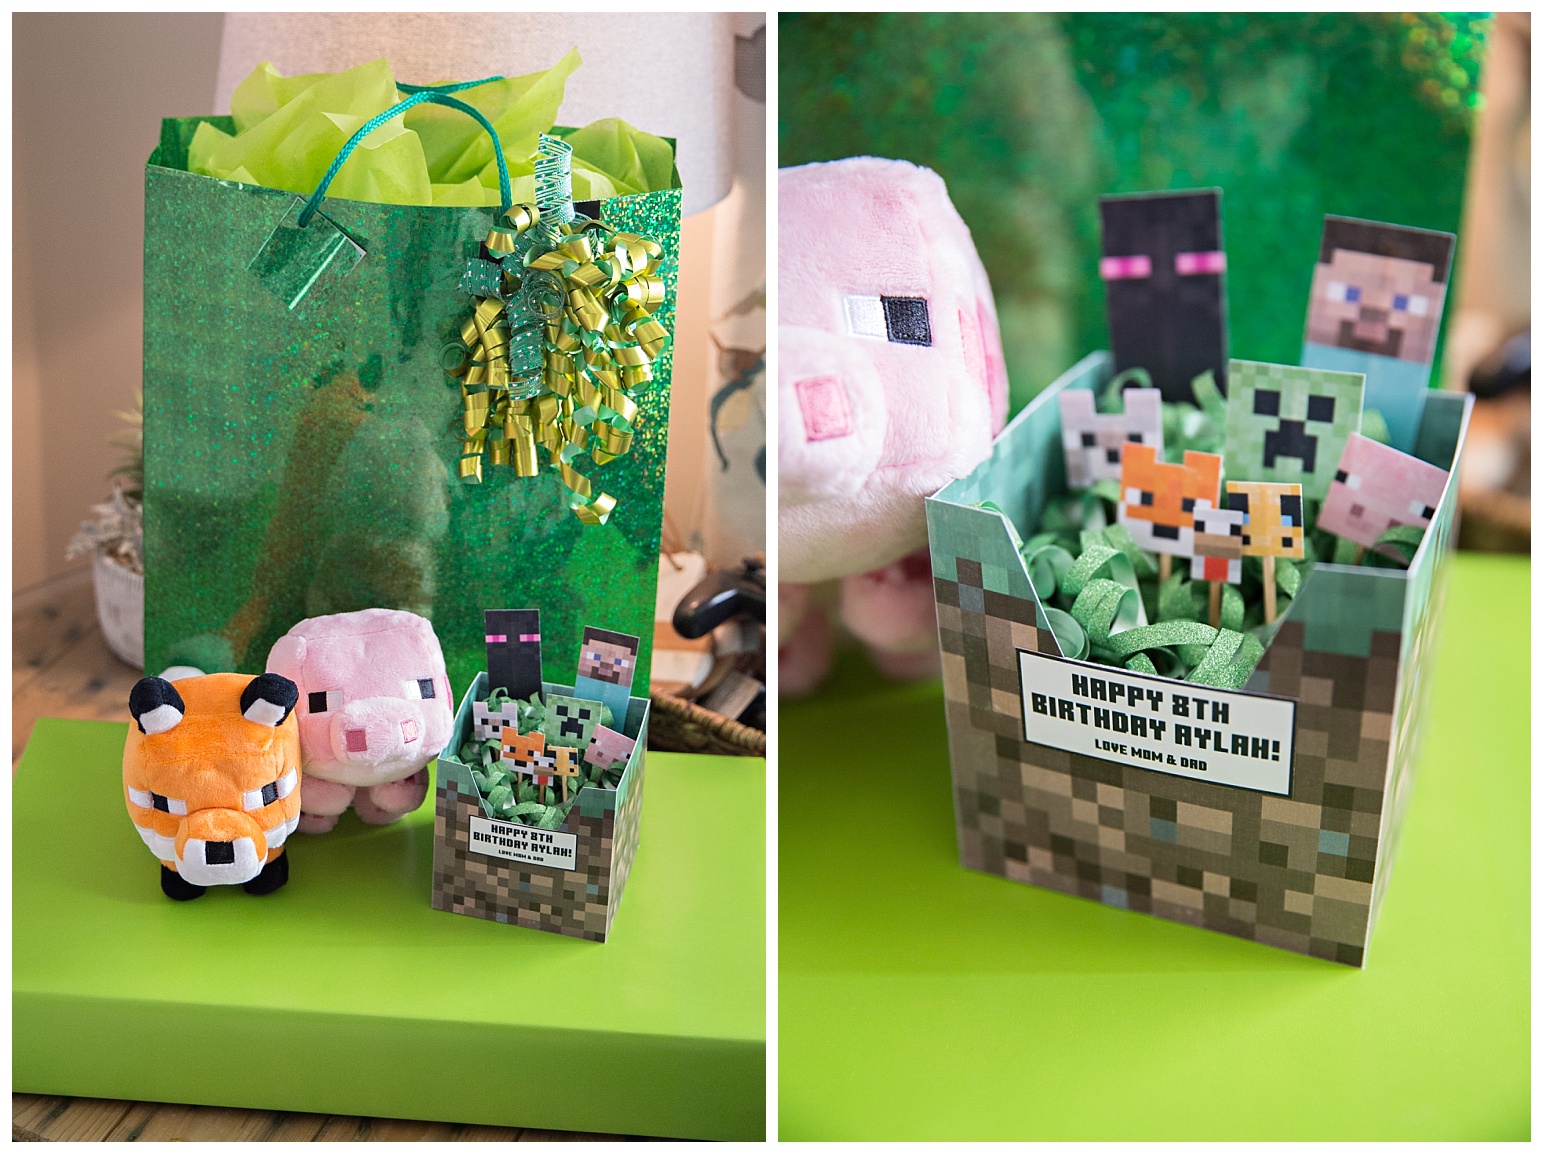
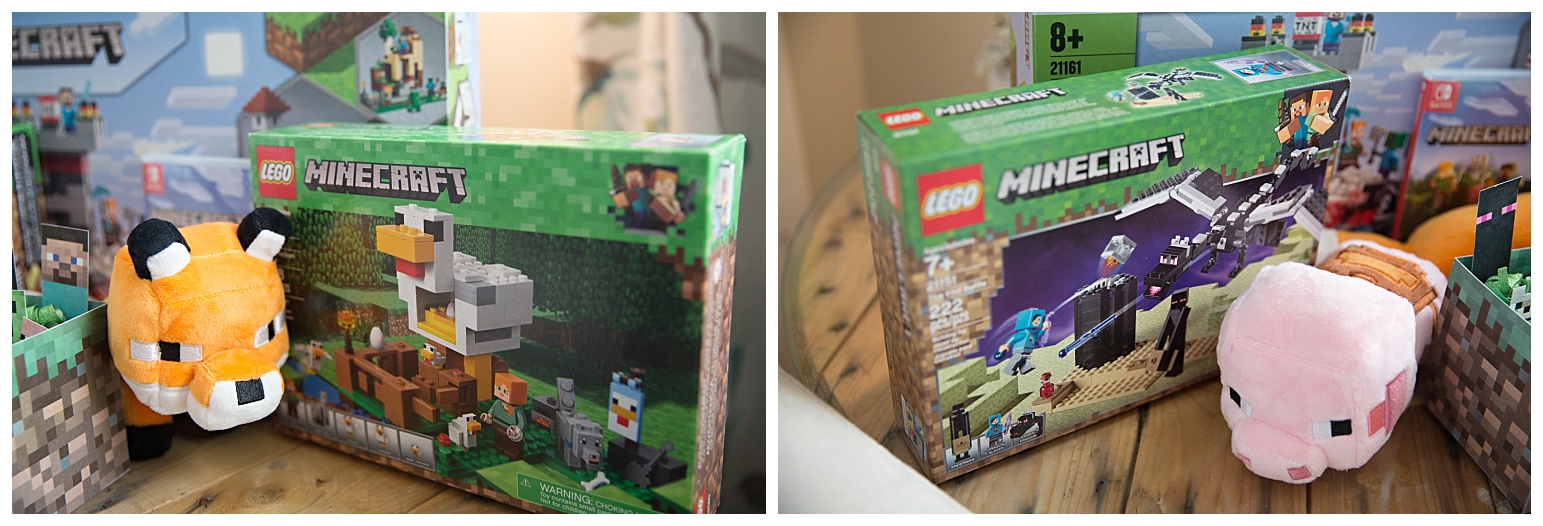
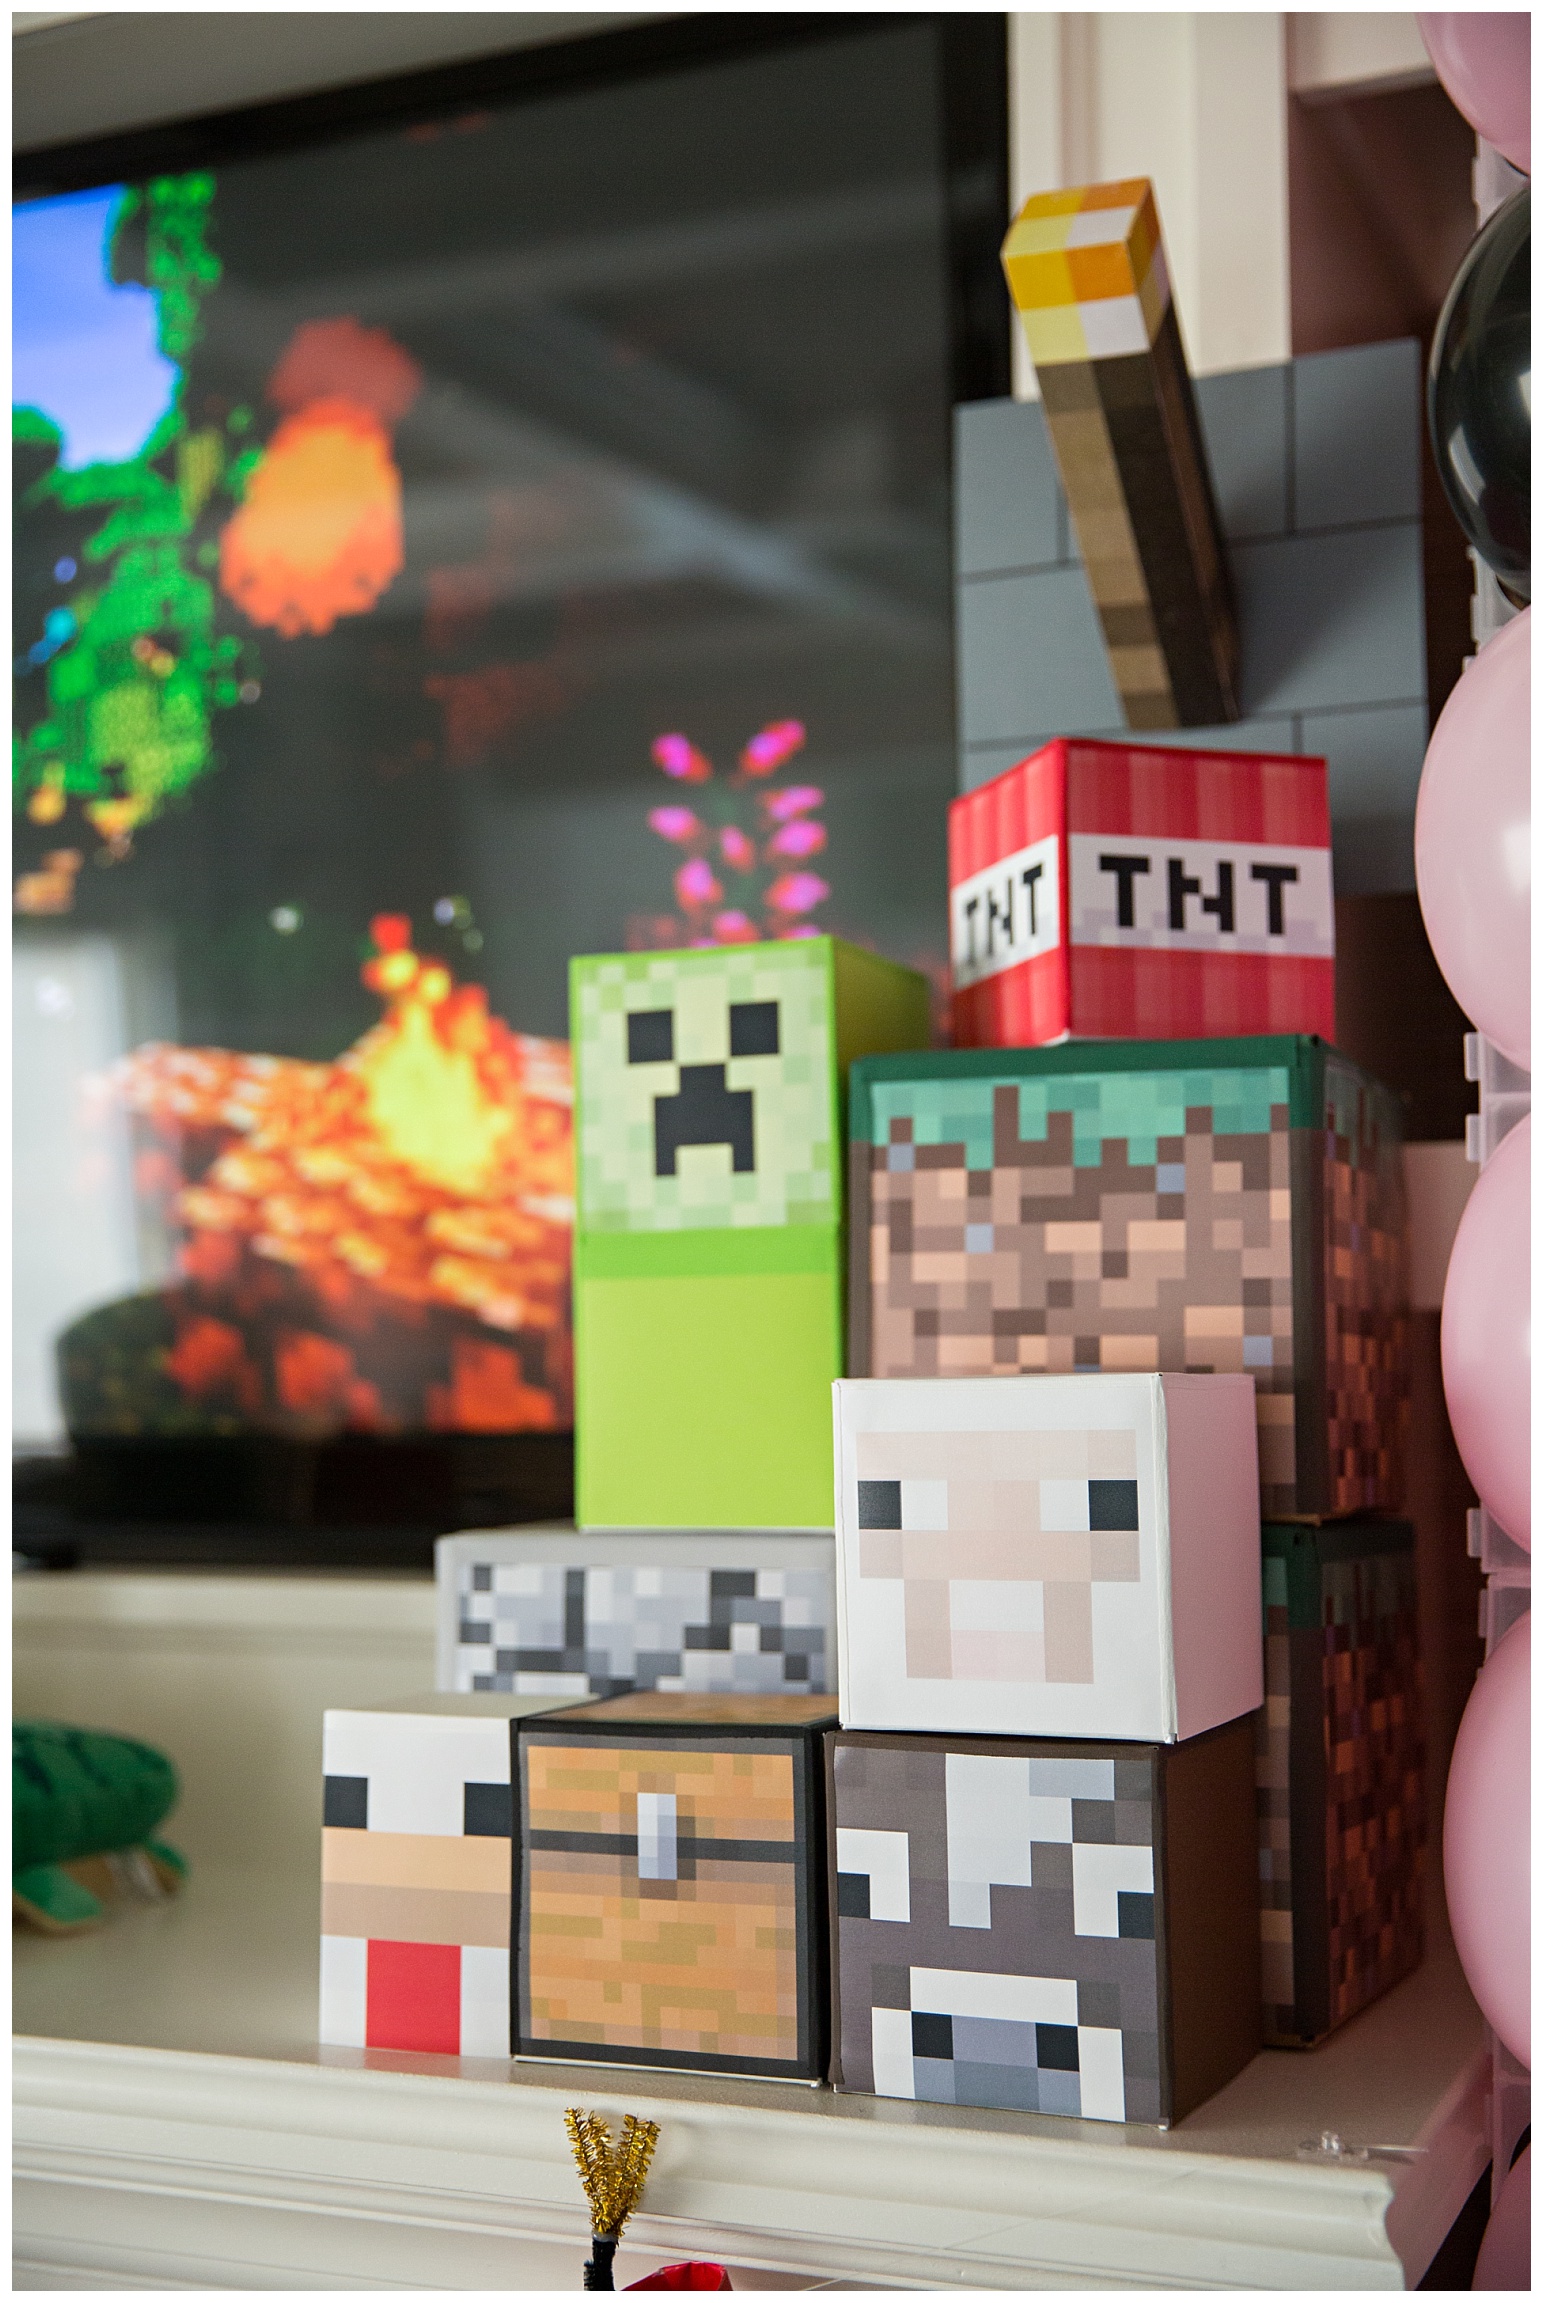
These box characters were a labour of love buy they really completed the decor so the effort was definitely worth it! The larger cubes are 6×6 inches from Uline (link here) and the smaller cubes are 4×4 inches from Staples (link here). The graphics were curated from google image searches.
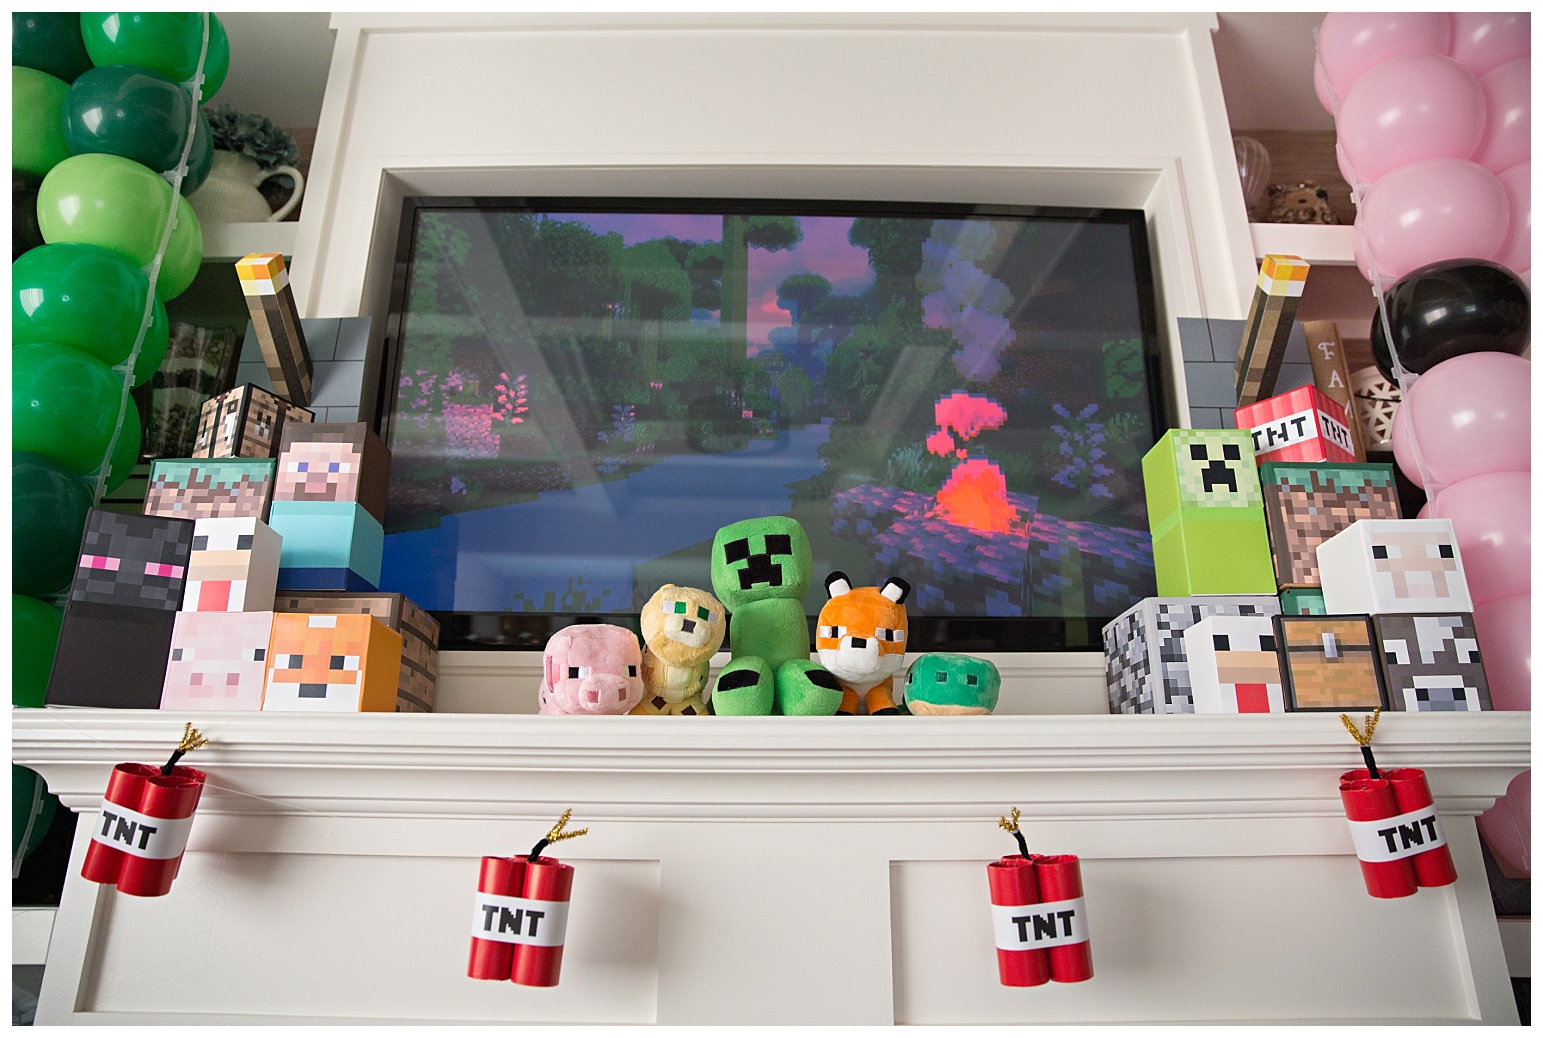
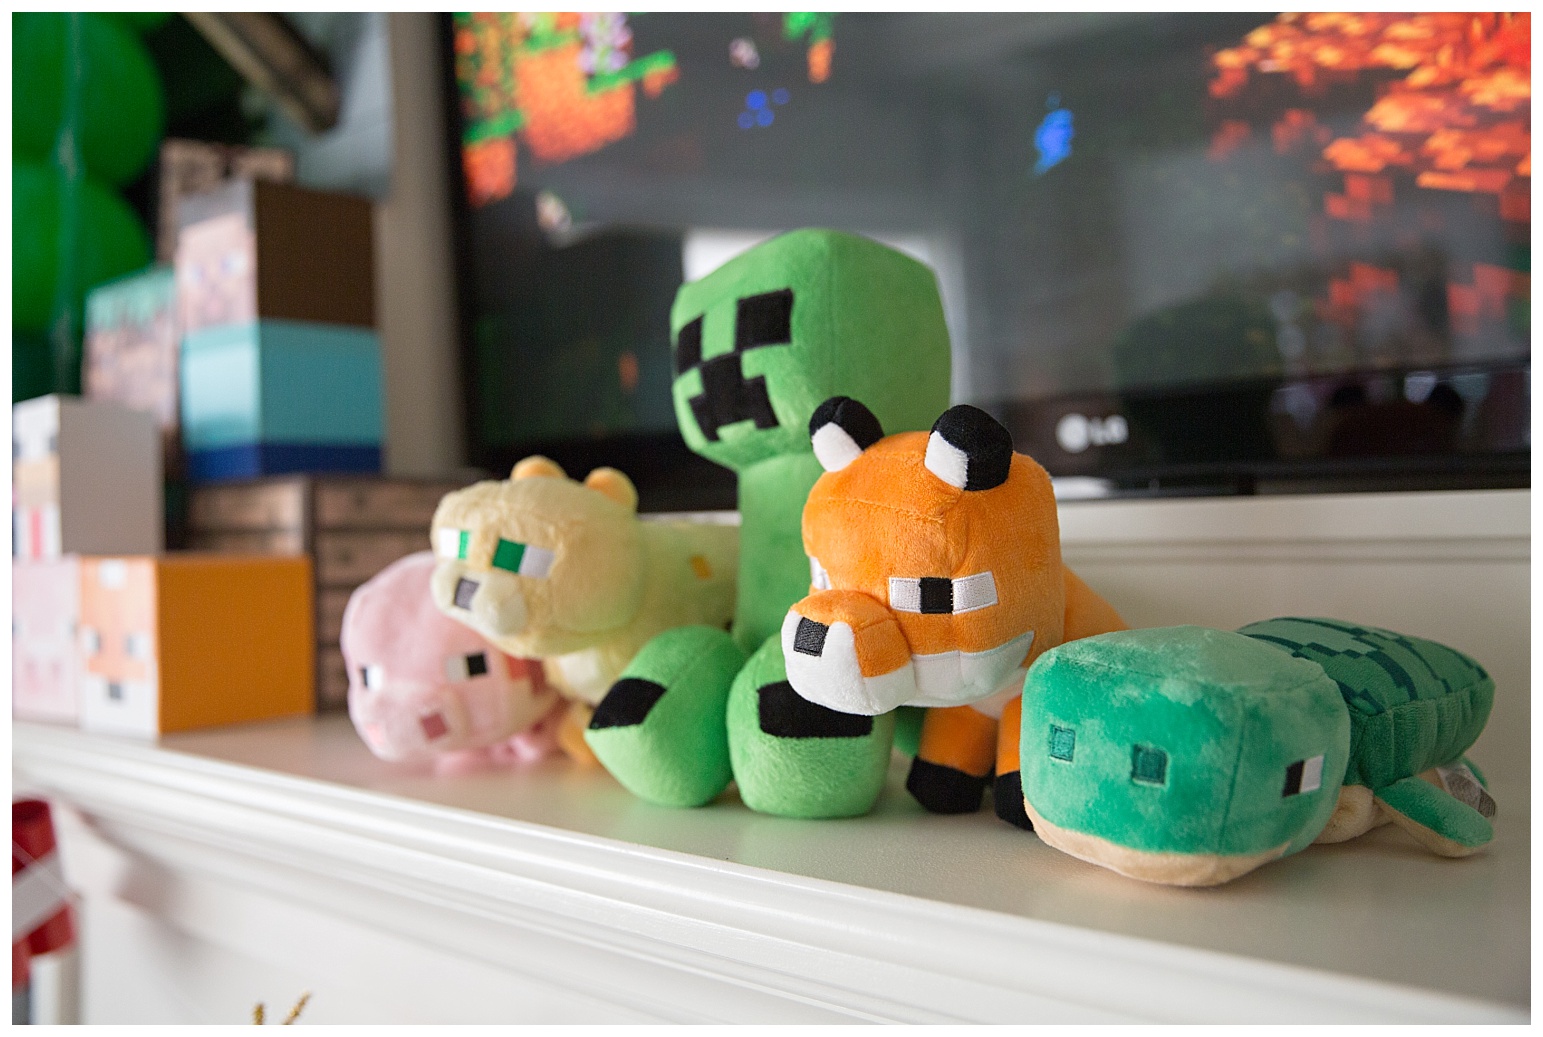
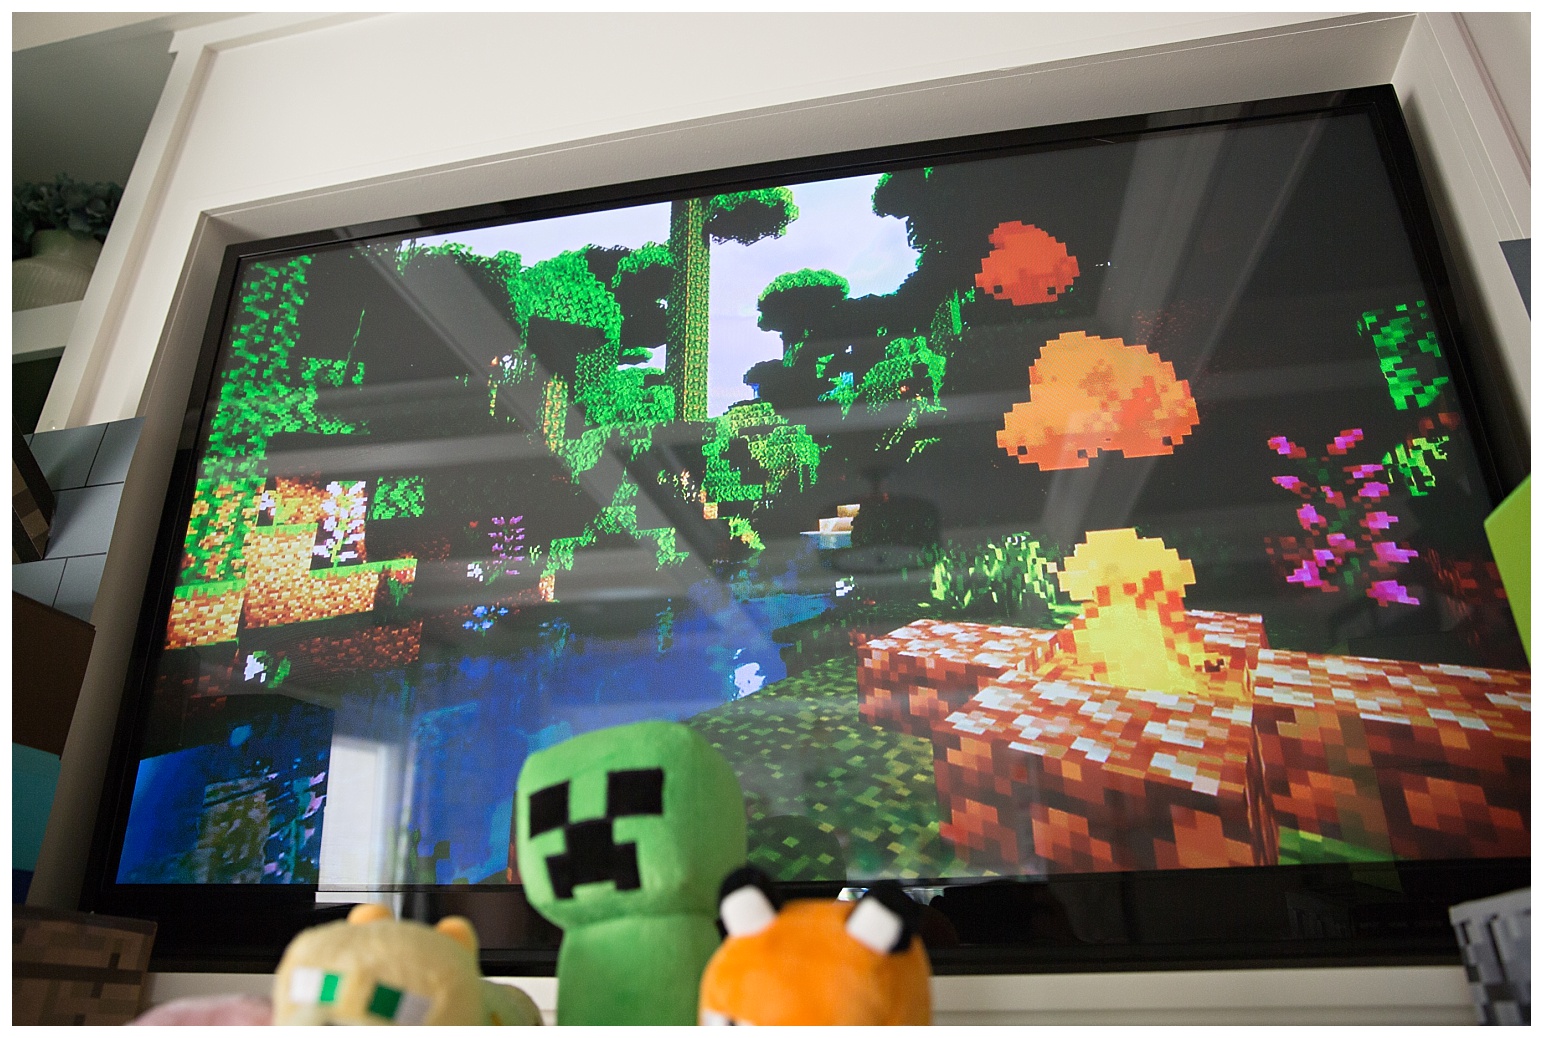
I also need to just take a minute and talk about this display on our tv. This picture definitely does not do it justice, but this is actually a Minecraft inspired screensaver that I found on YouTube. It’s 10 hours long, so it ran for the entire duration of our full day party which was perfect. It cycles through daylight at a one minute to one hour ratio so you go through 24 hours (day to night and back again) in the span of 24 minutes. The weather also changes periodically which was really cool. You can find it here.
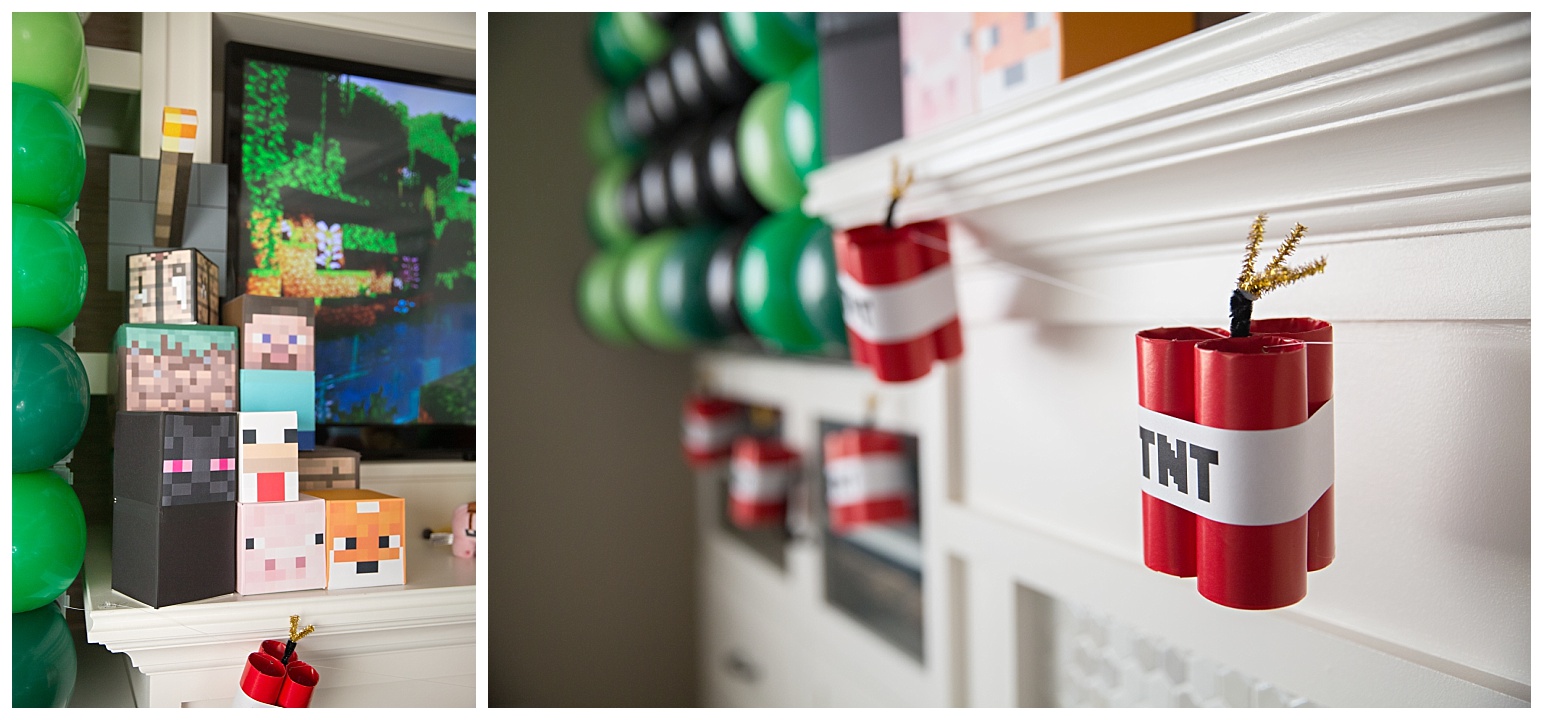
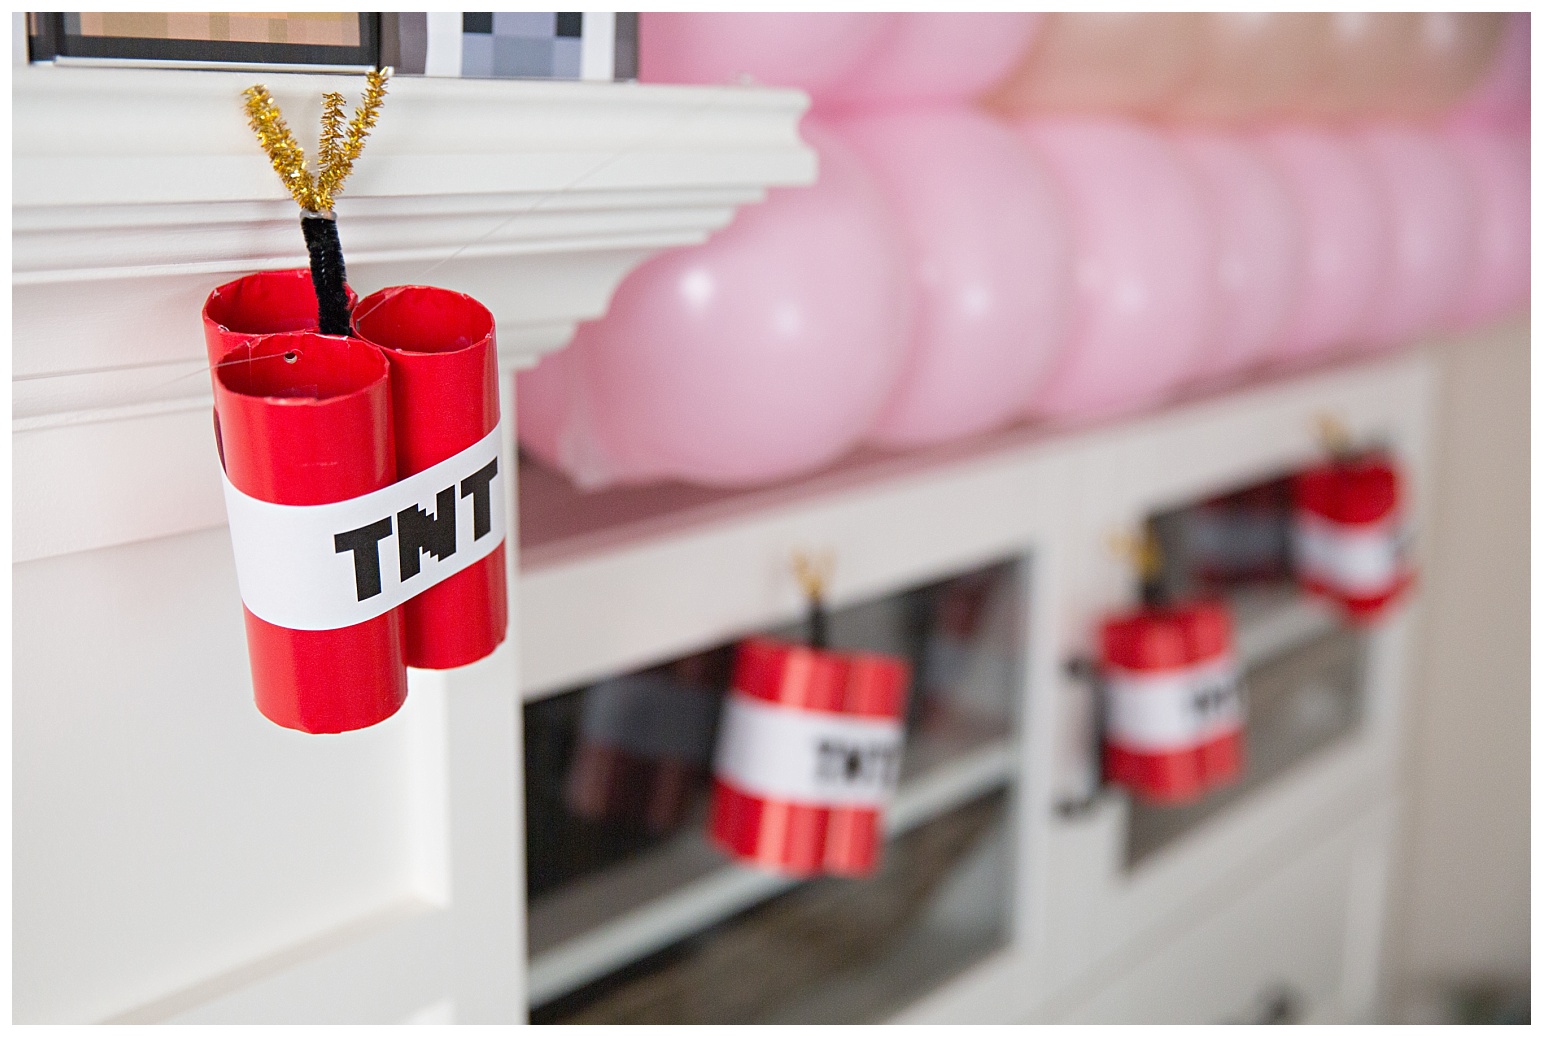
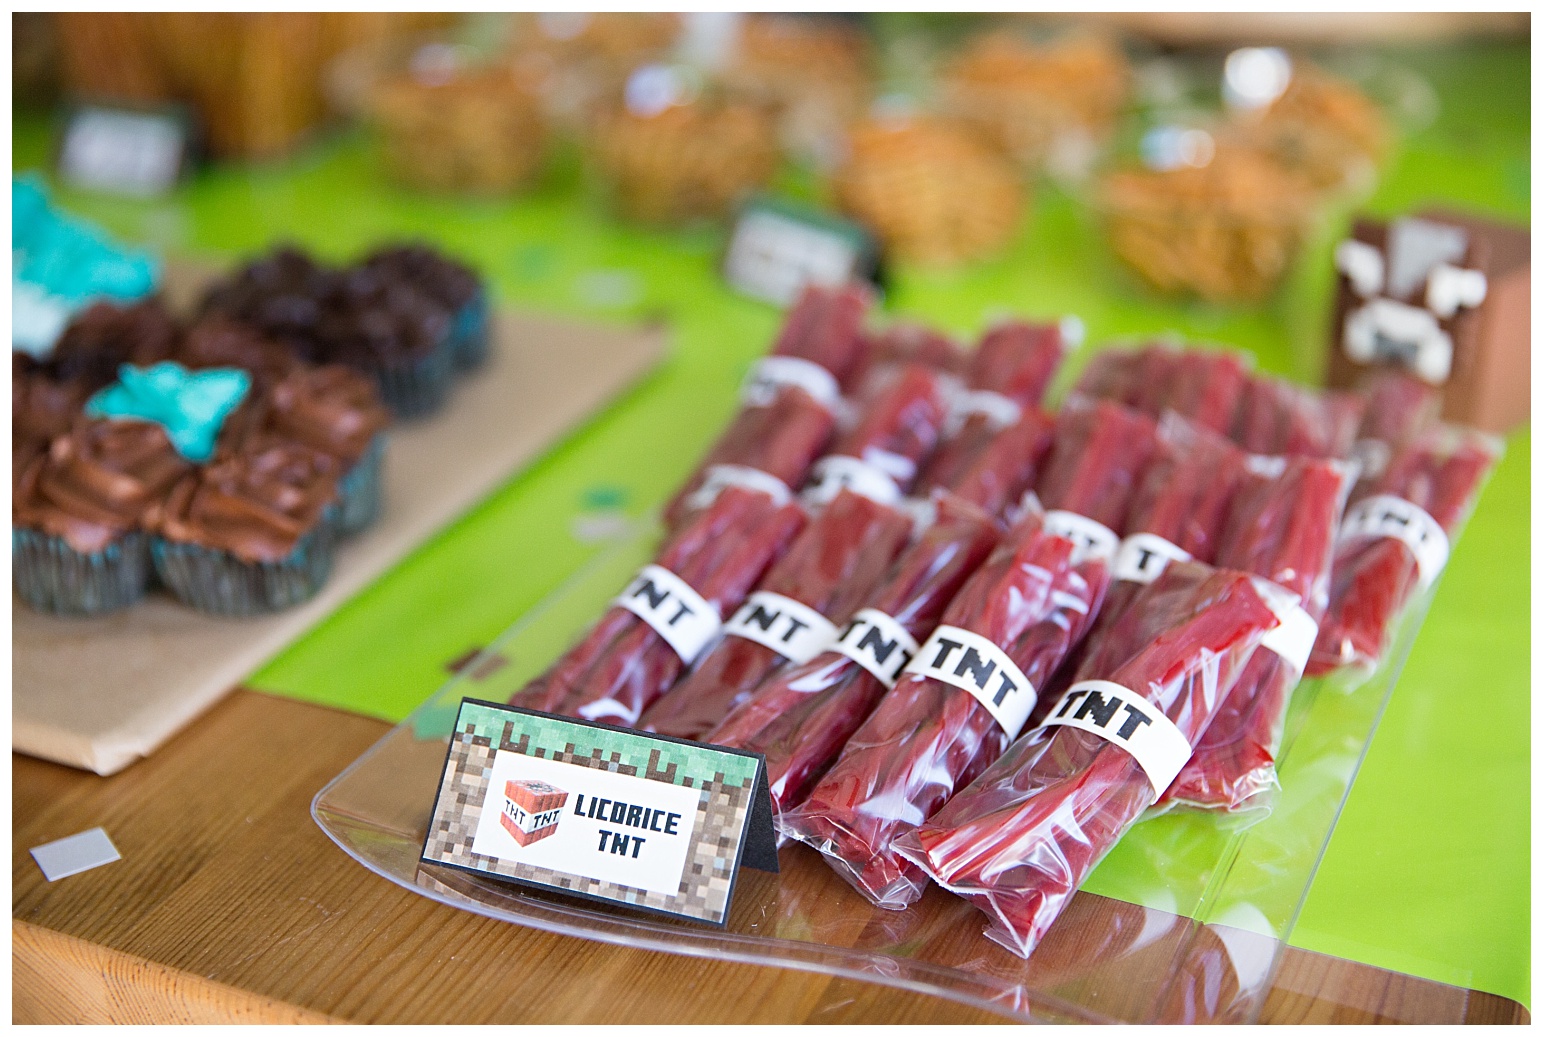
These cute TNT bundles are made of, you guessed it, toilet paper rolls. I just wrapped them in red wrapping paper and stuck some pipe cleaners out the top. They are hung from fishing wire.
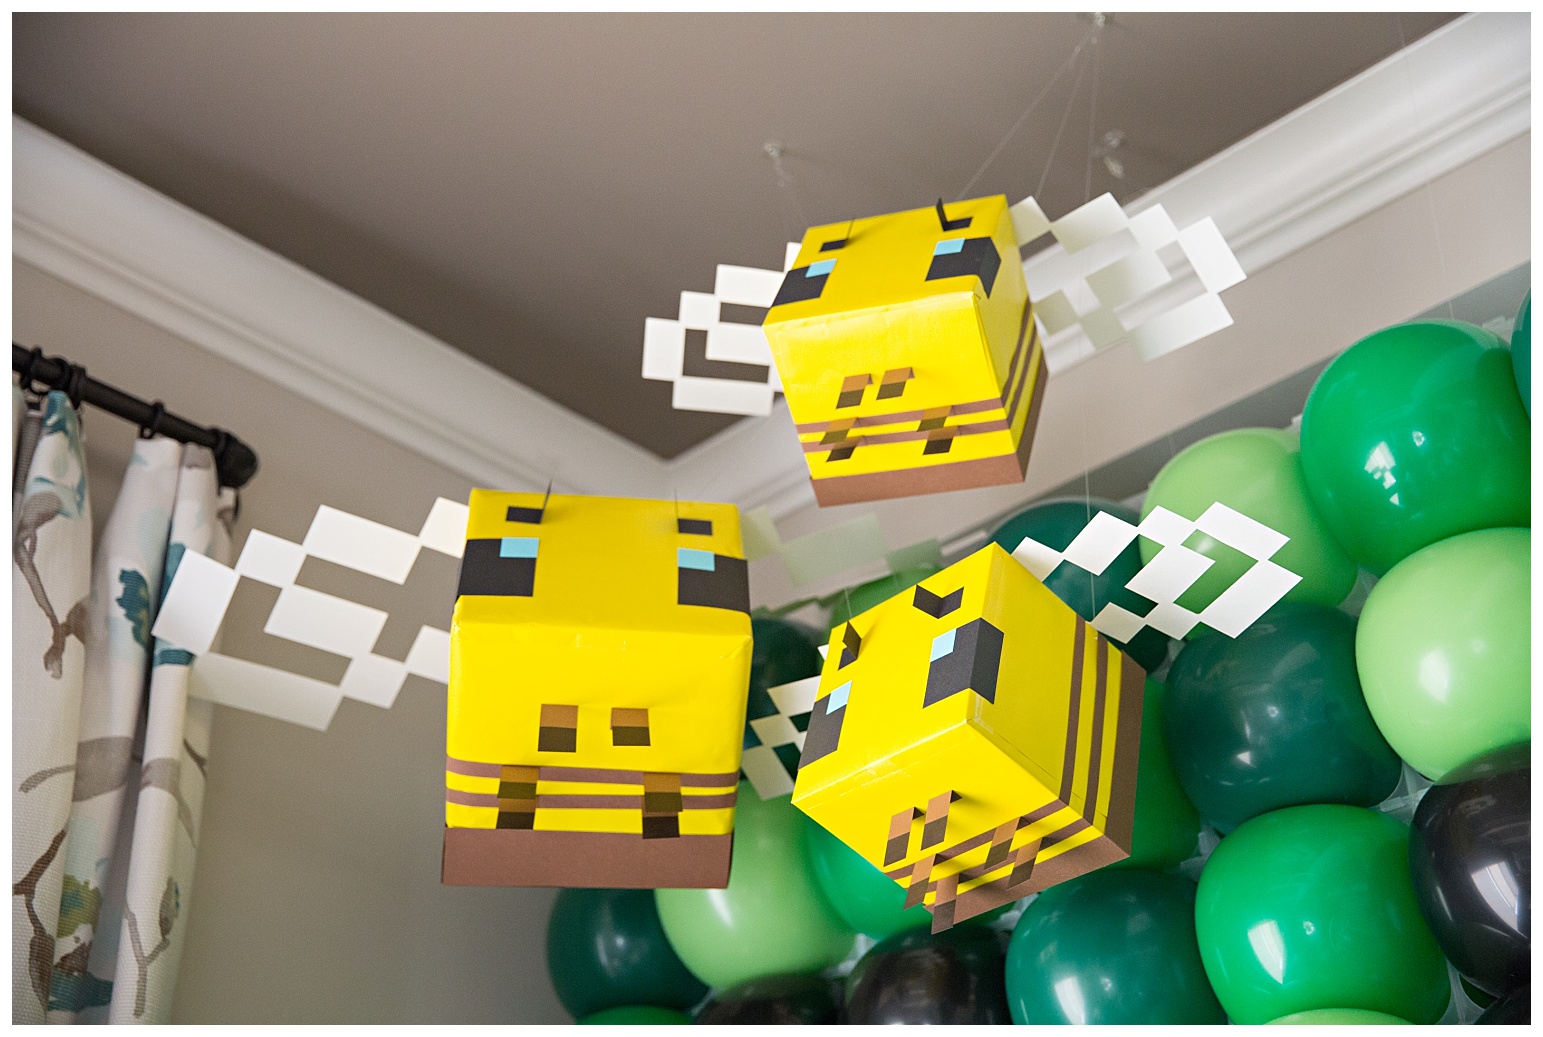
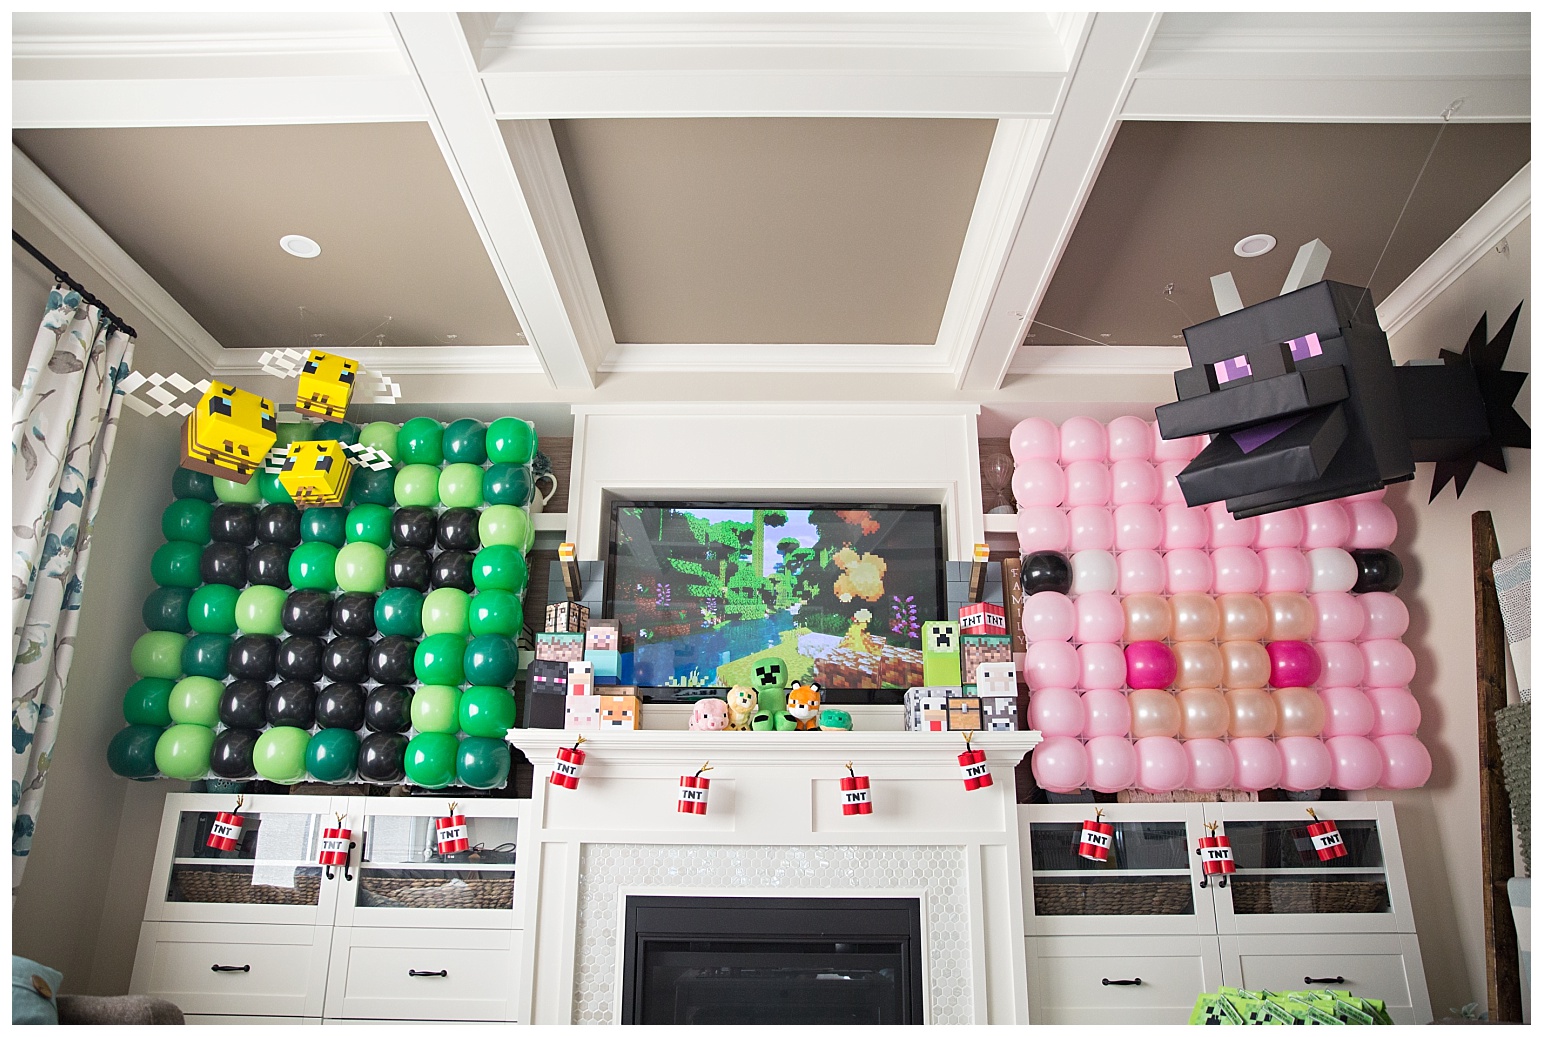
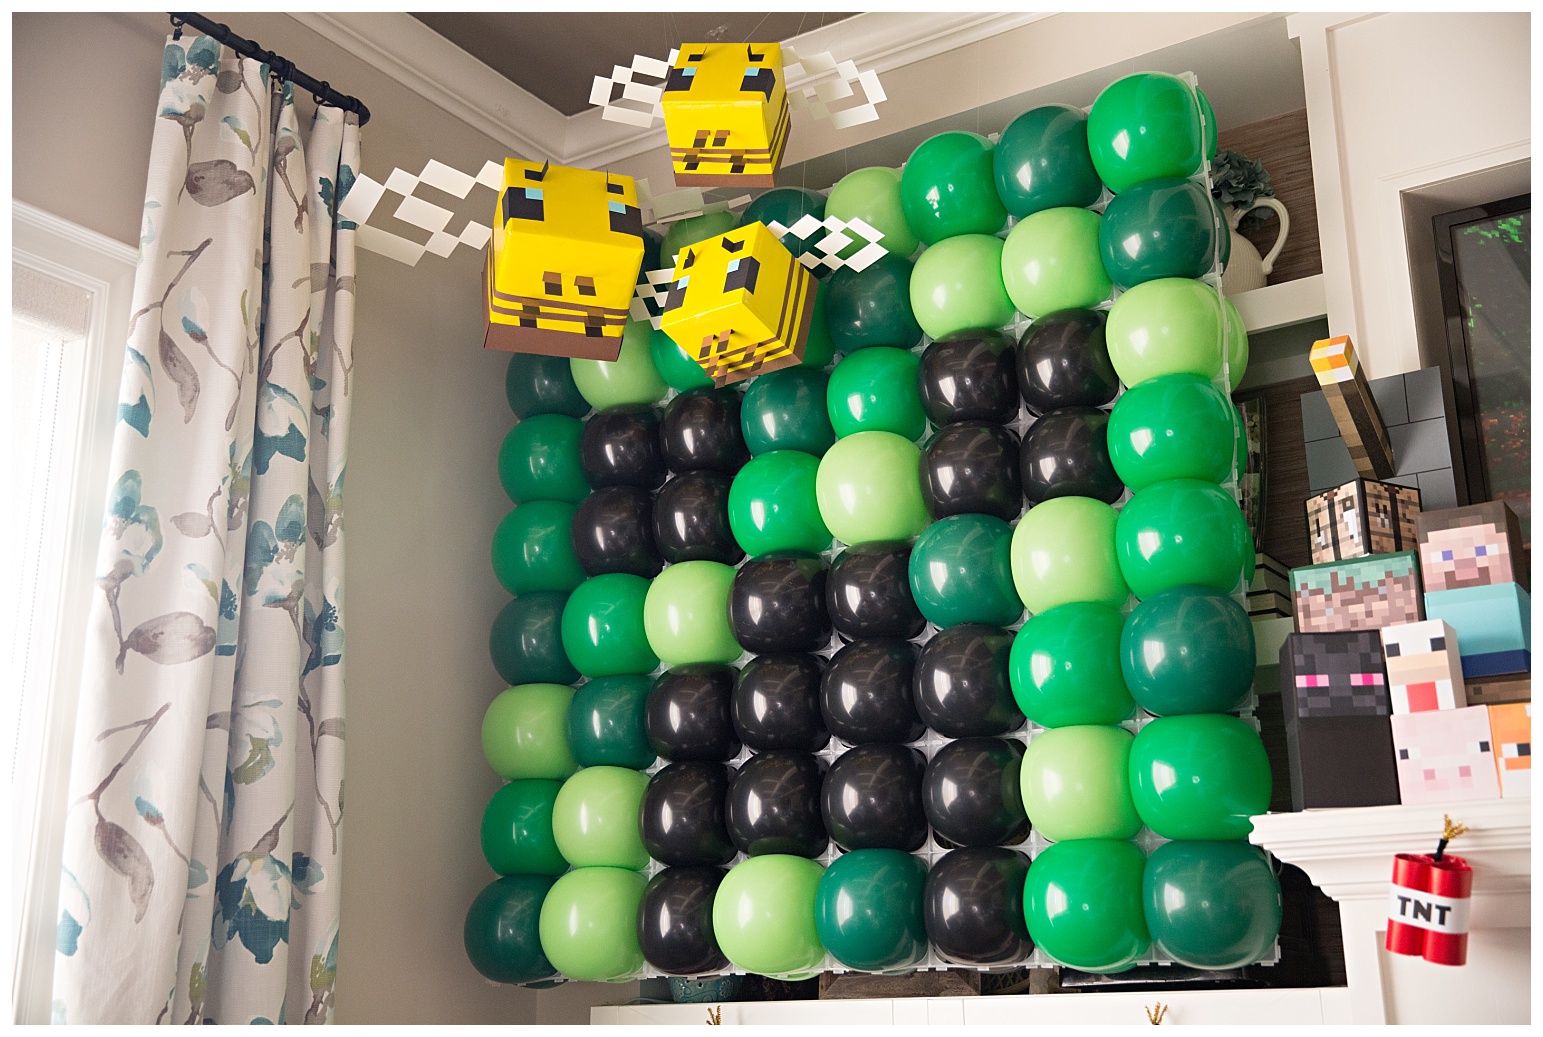
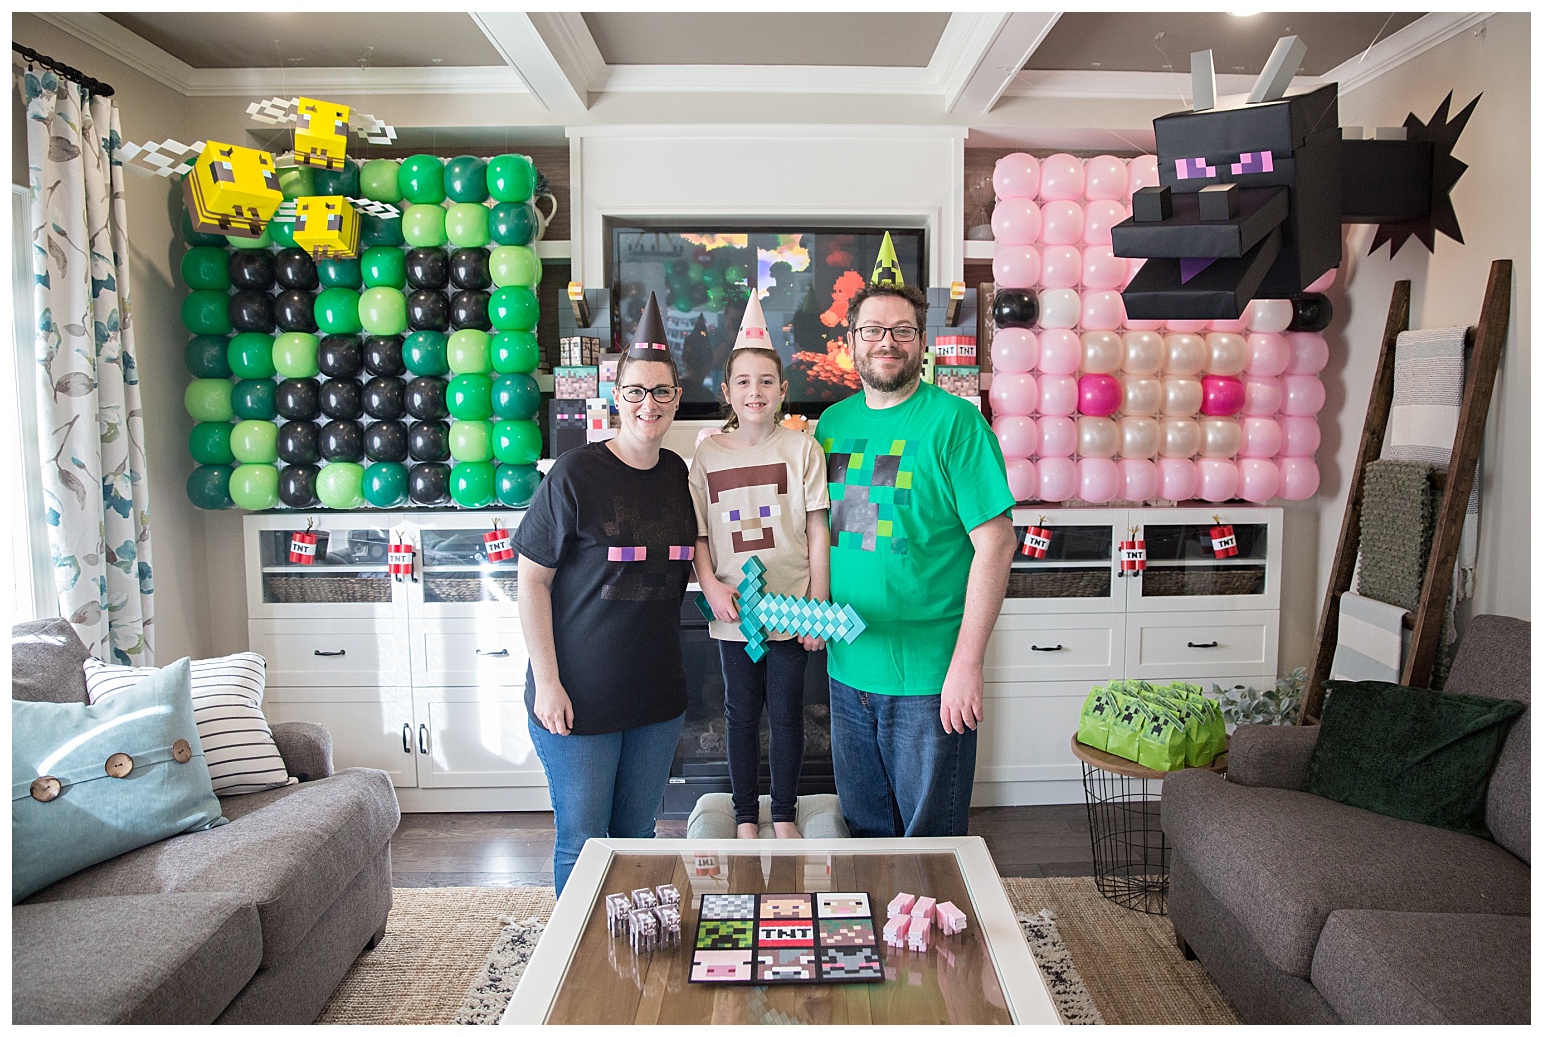
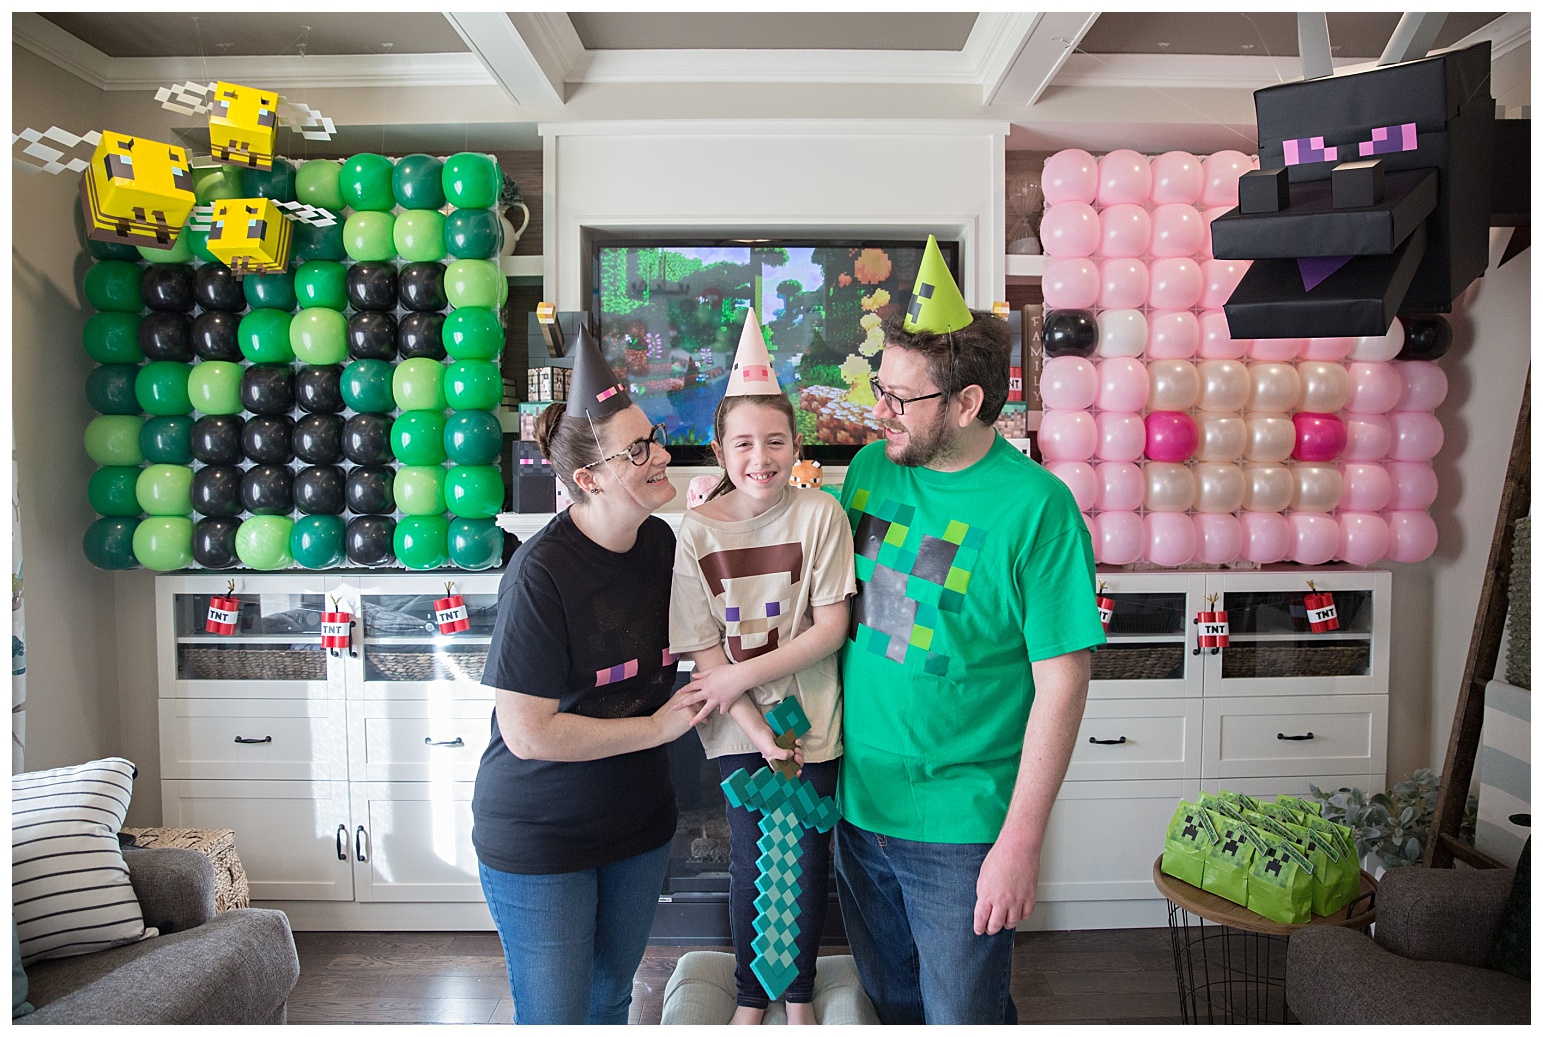
Now we move onto the larger decor items. Honestly I don’t think the Minecraft bees get enough exposure in the Minecraft merch world. How CUTE are these guys?!?!? These are just boxes that I decorated with wrapping paper and cardstock. The wings are made from really heavy watercolour paper so that they would be nice and rigid. I did still have to reinforce them with skewers though (glued to the top so they wouldn’t be visible). Hung from the ceiling with fishing line and command hooks.
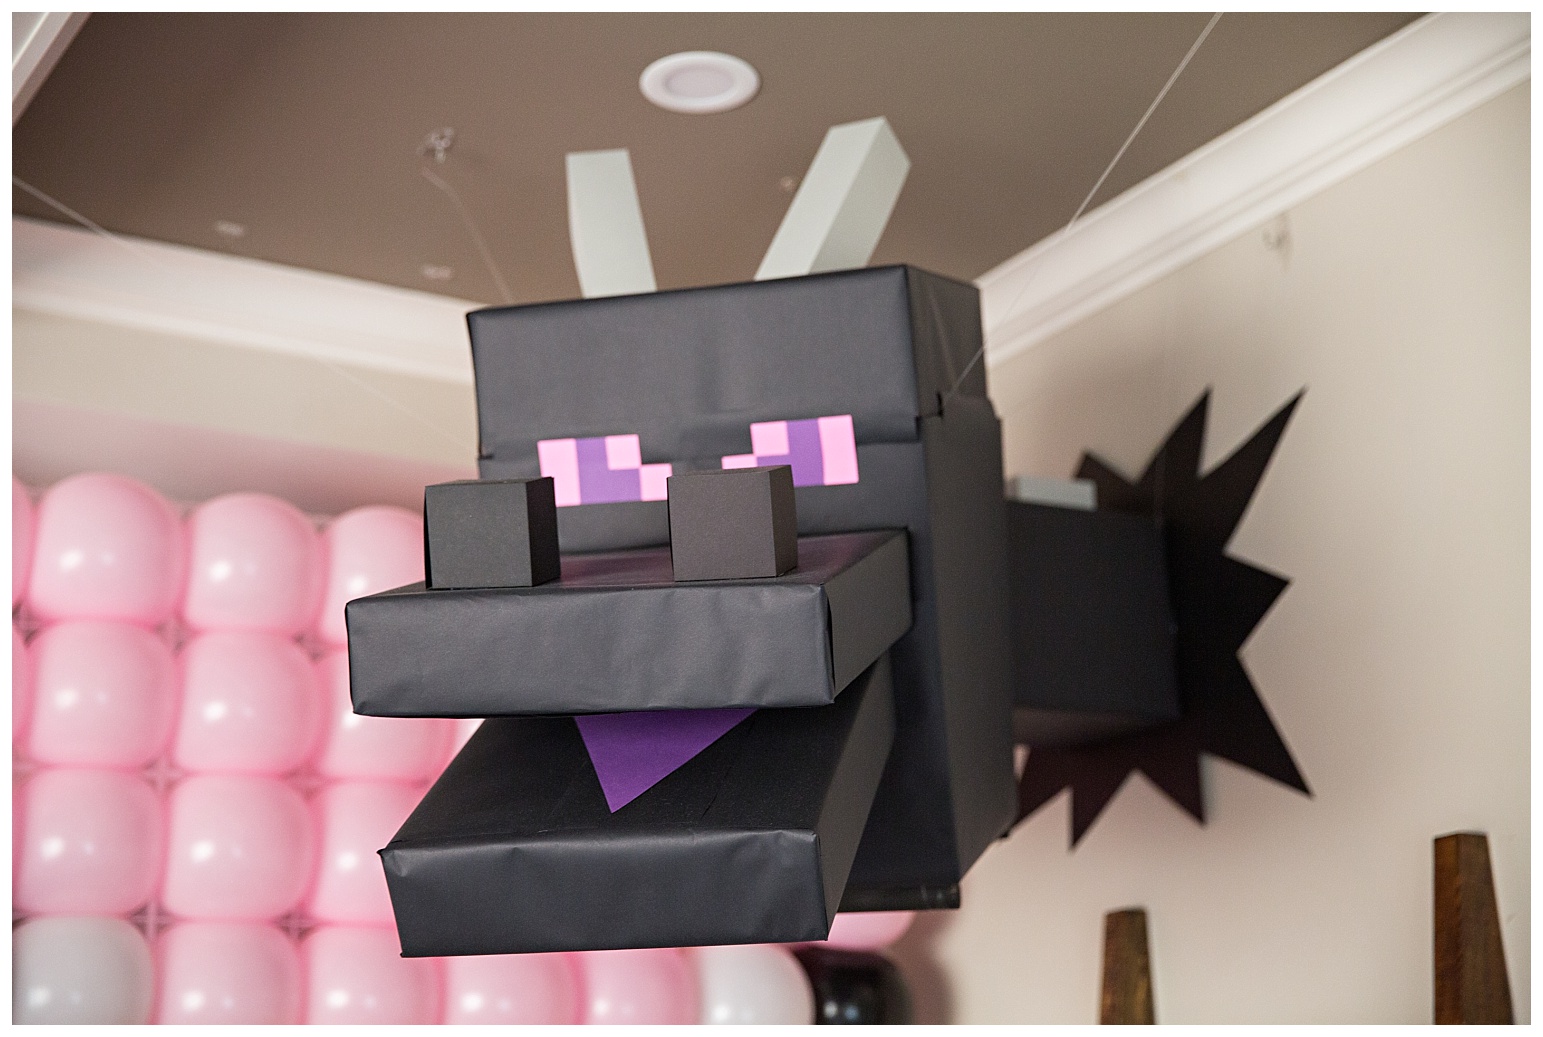
This guy looked SO amazing in our living room. It’s hard to get a feel for the scale of him from this picture, but he’s BIG! My daughter loves dragons in general so I couldn’t throw her a Minecraft party without including a really epic ender dragon. I can’t go into the details of how he was made or I’d be here all day, but it involved some structural engineering, a LOT of duct tape, wooden support dowels, multiple command hooks and a hope and a prayer that it didn’t fall down in the night while we were sleeping, lol.
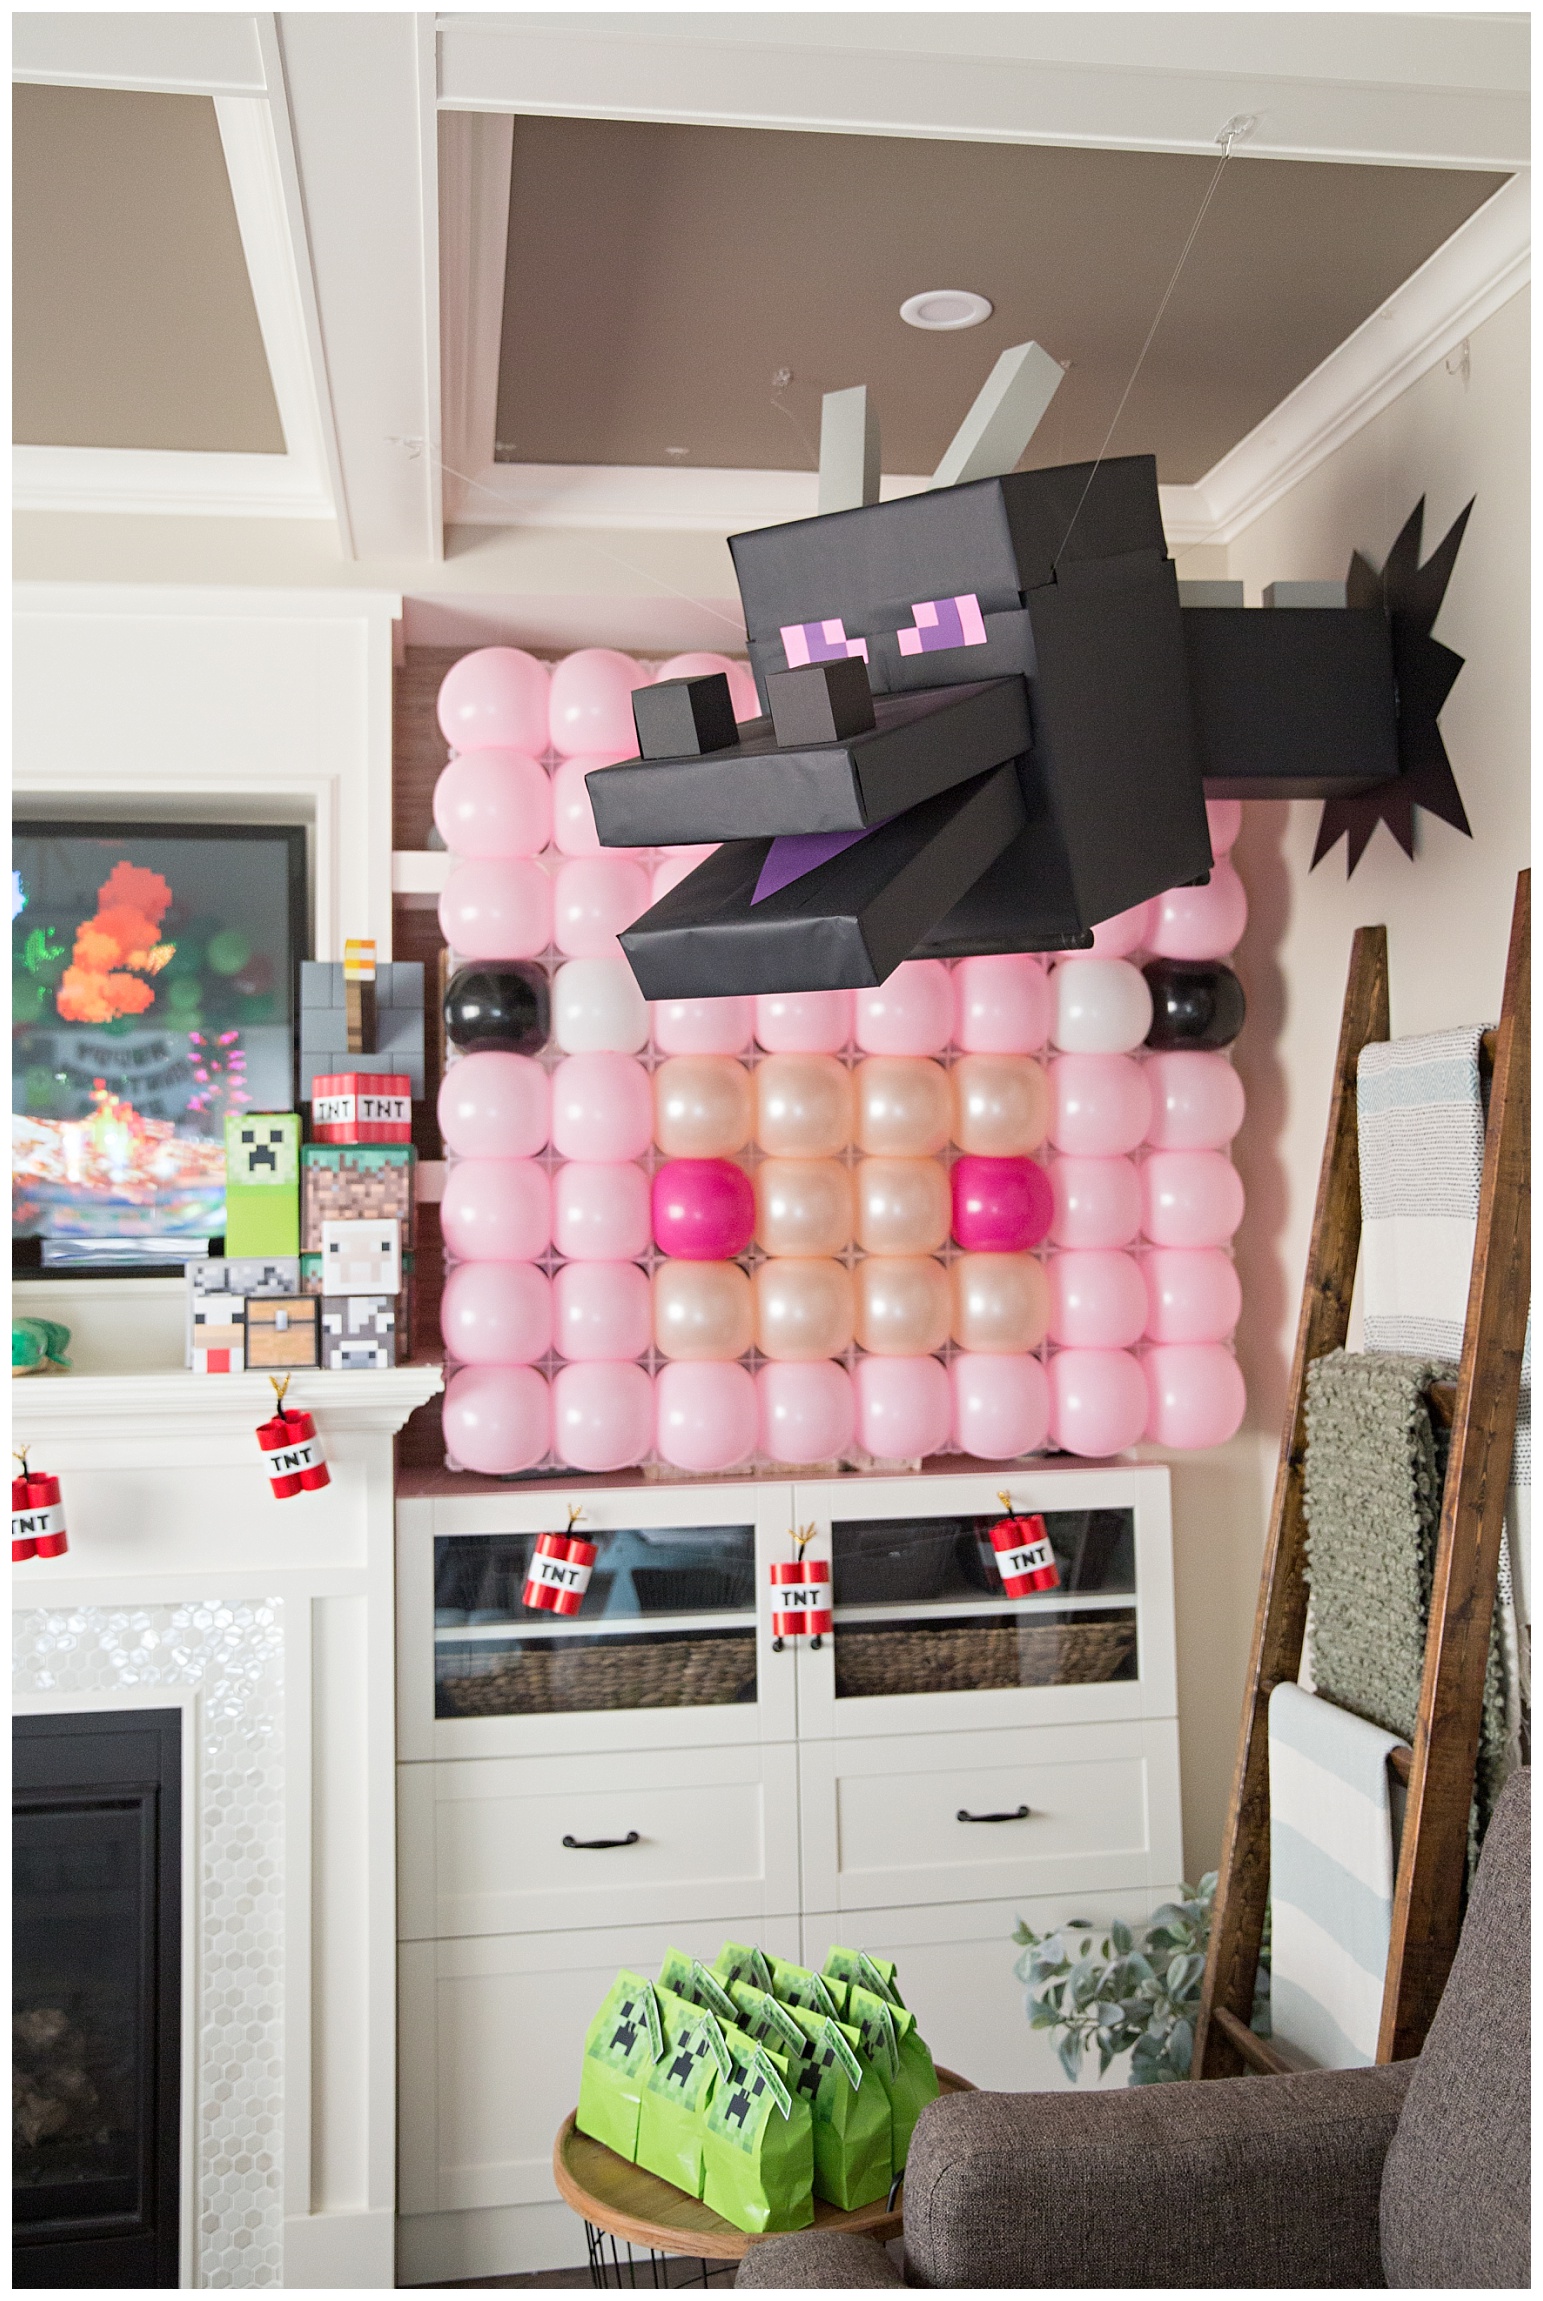
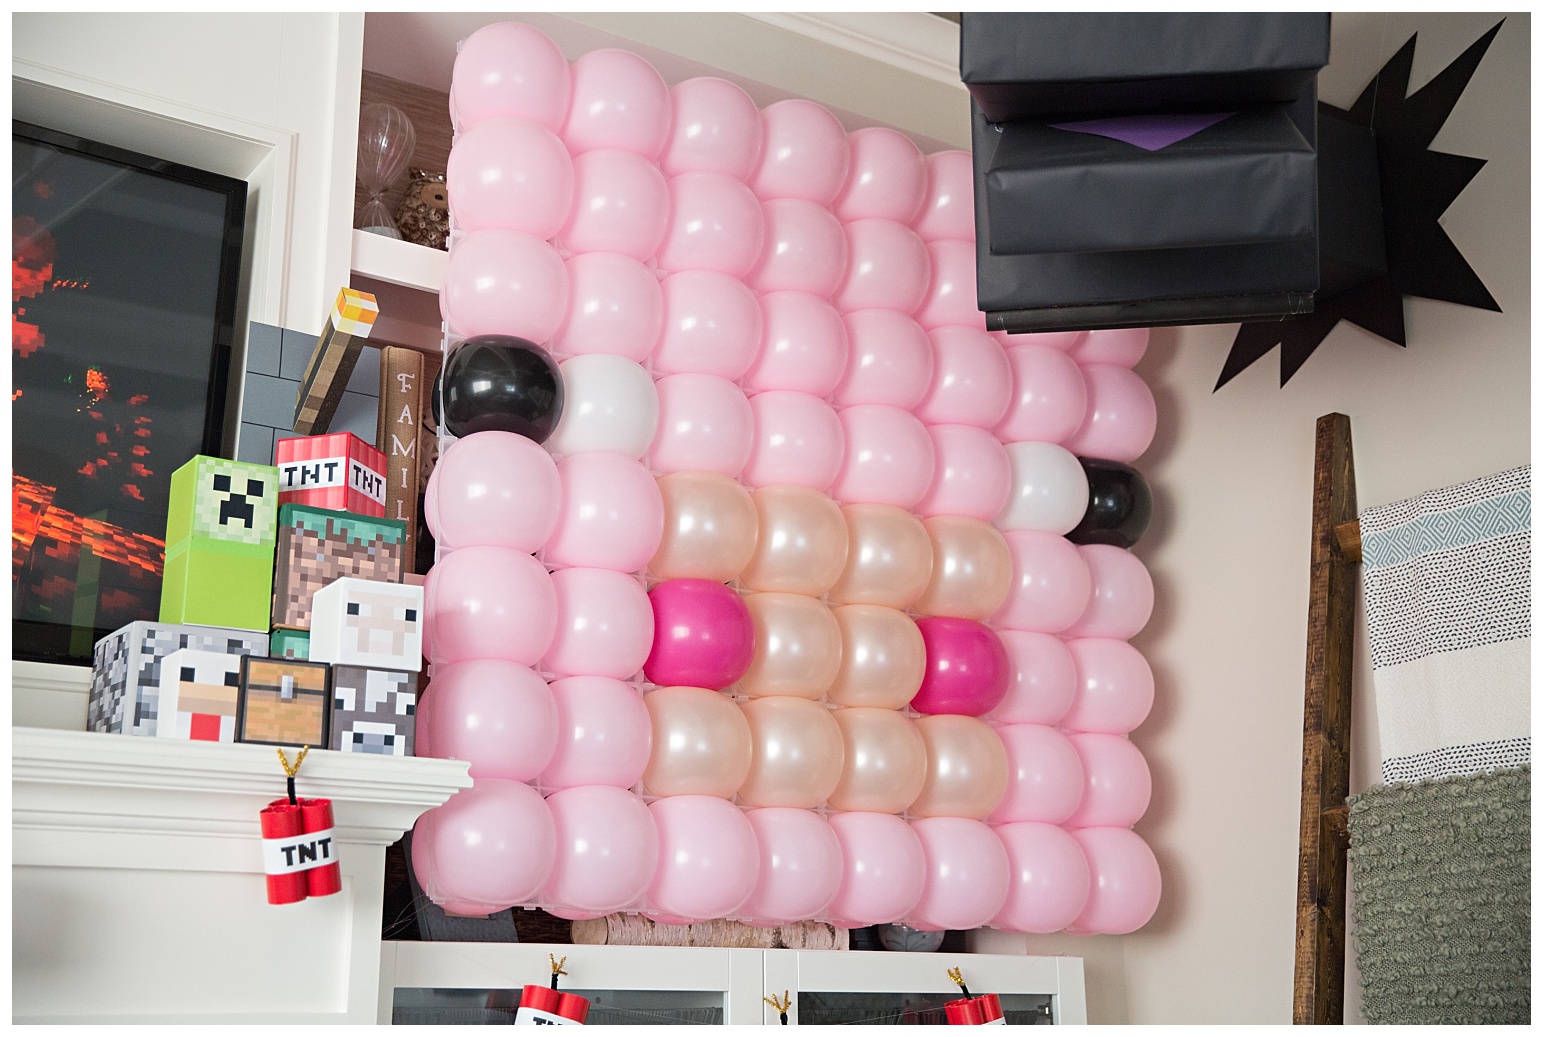
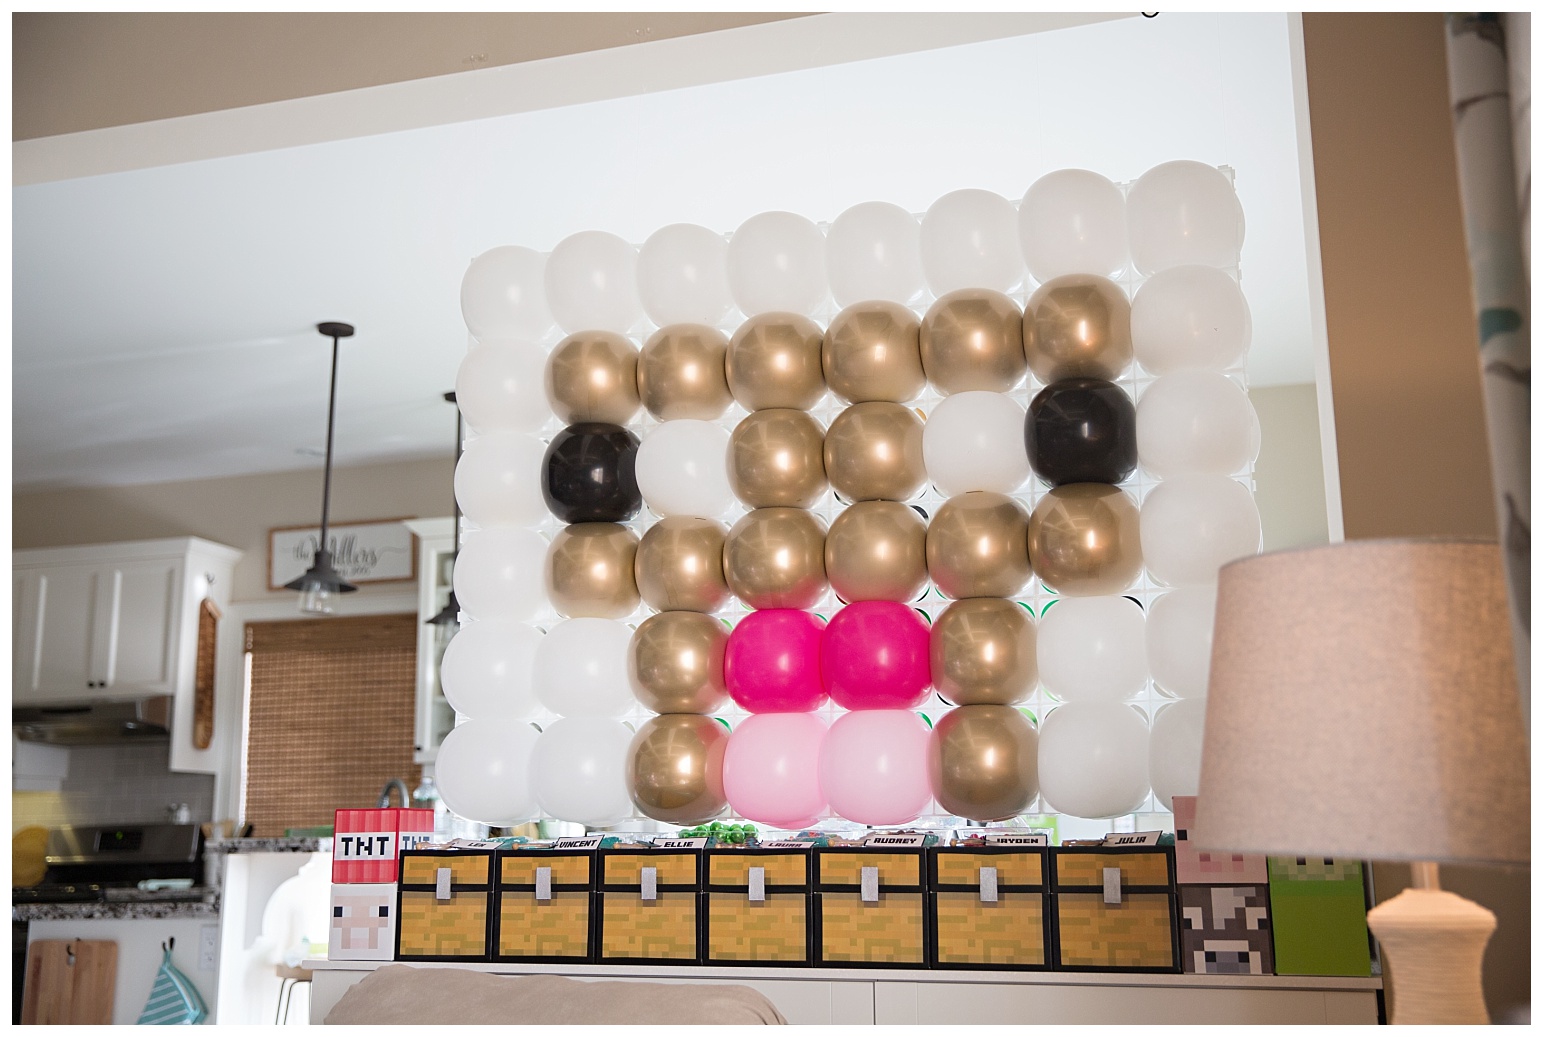
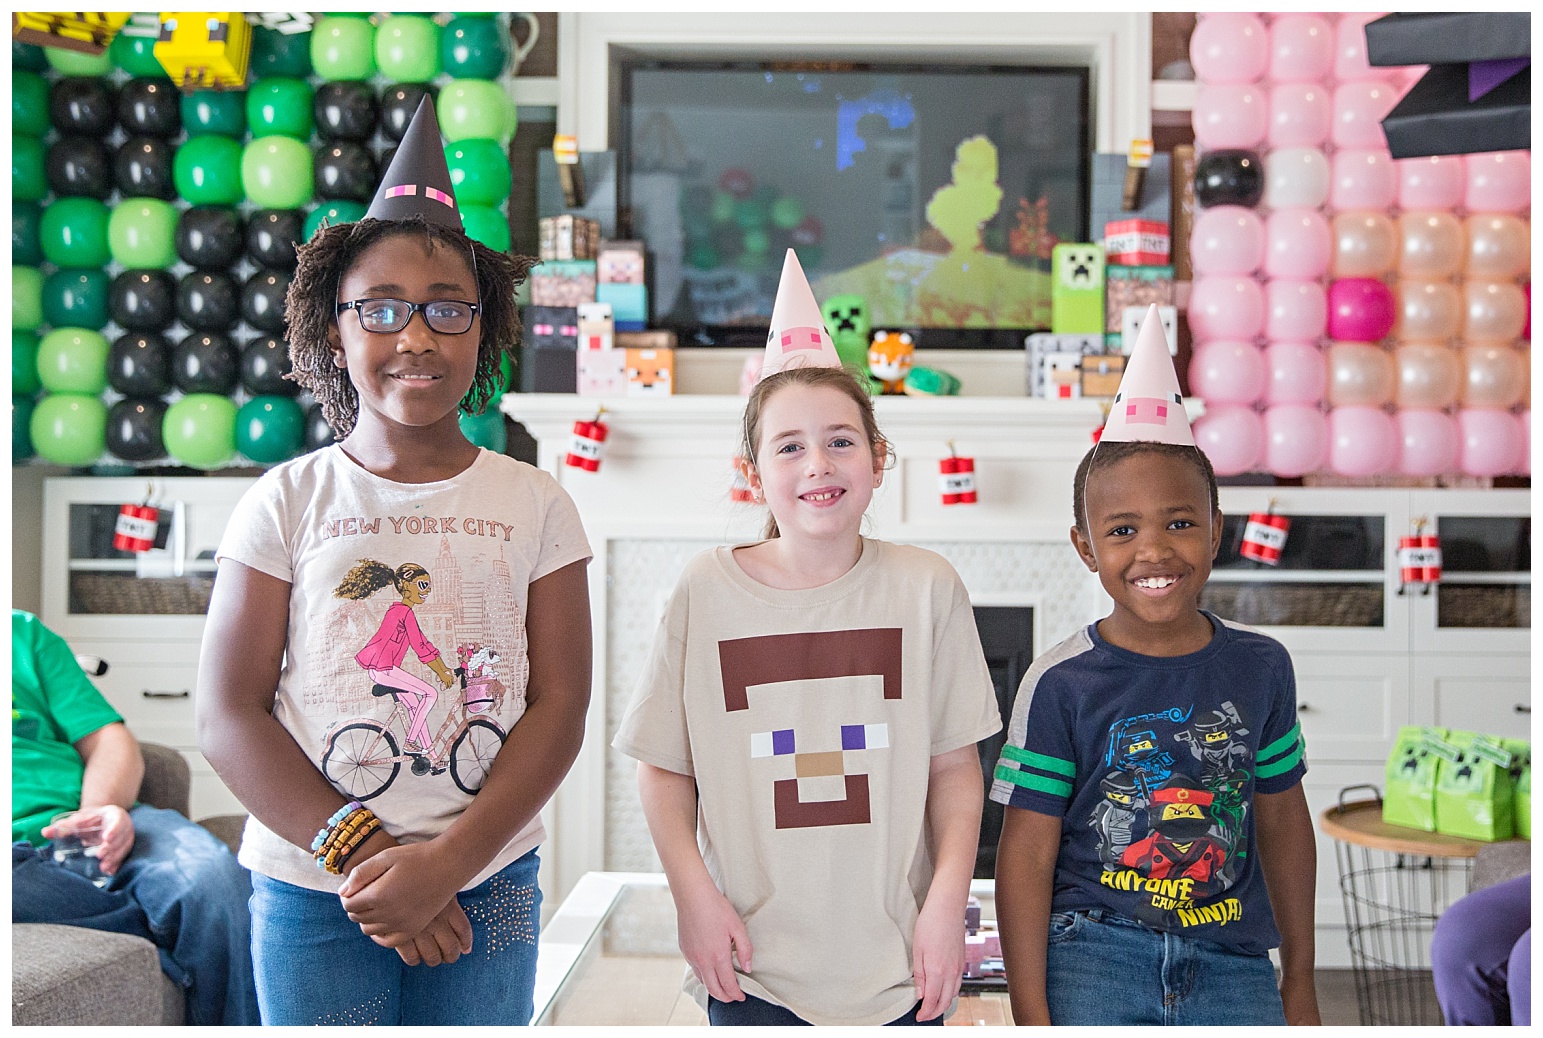
I saw these things called Balloon Gridz online and it worked out perfectly for the pixelated art style of Minecraft. I did a pig on one side of the living room and a creeper on the other. The Gridz themselves were a bit of an investment, but the balloons were cheap and I can reuse the Gridz at all parties going forward so it was a win win in my books. I purchased 3 boxes (15 grid pieces in each) to complete the full setup for this party (including the sheep you’ll see further down).
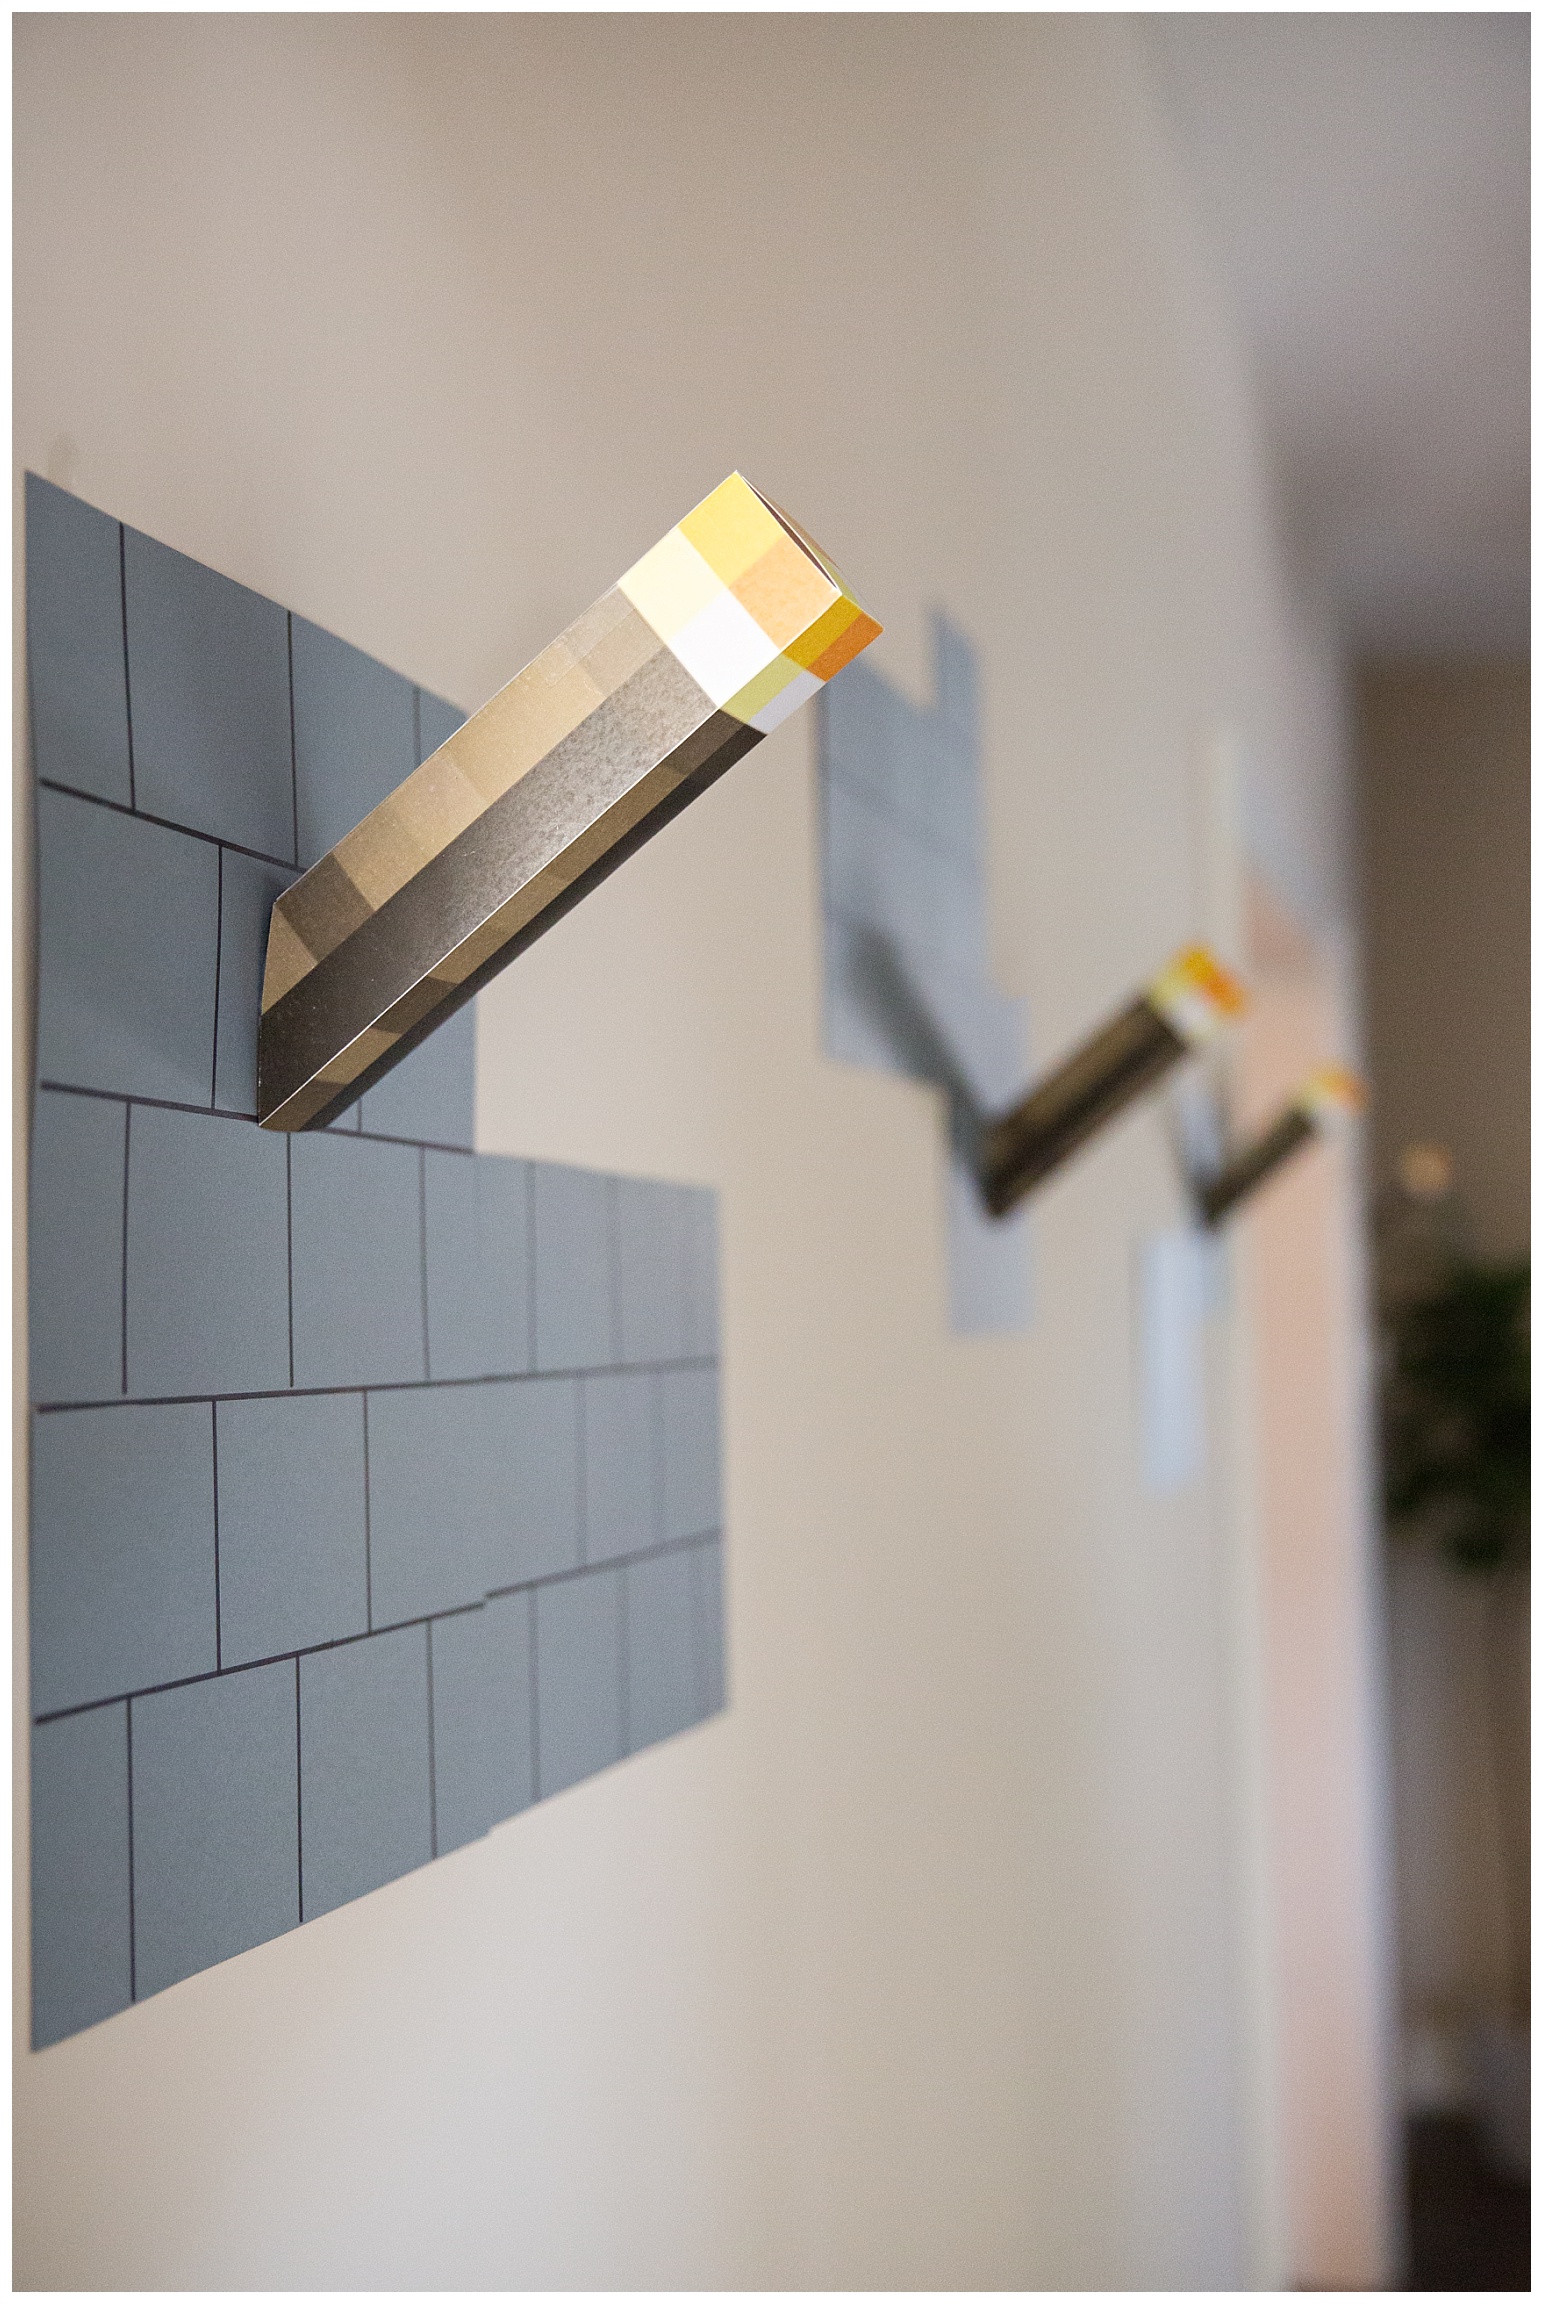
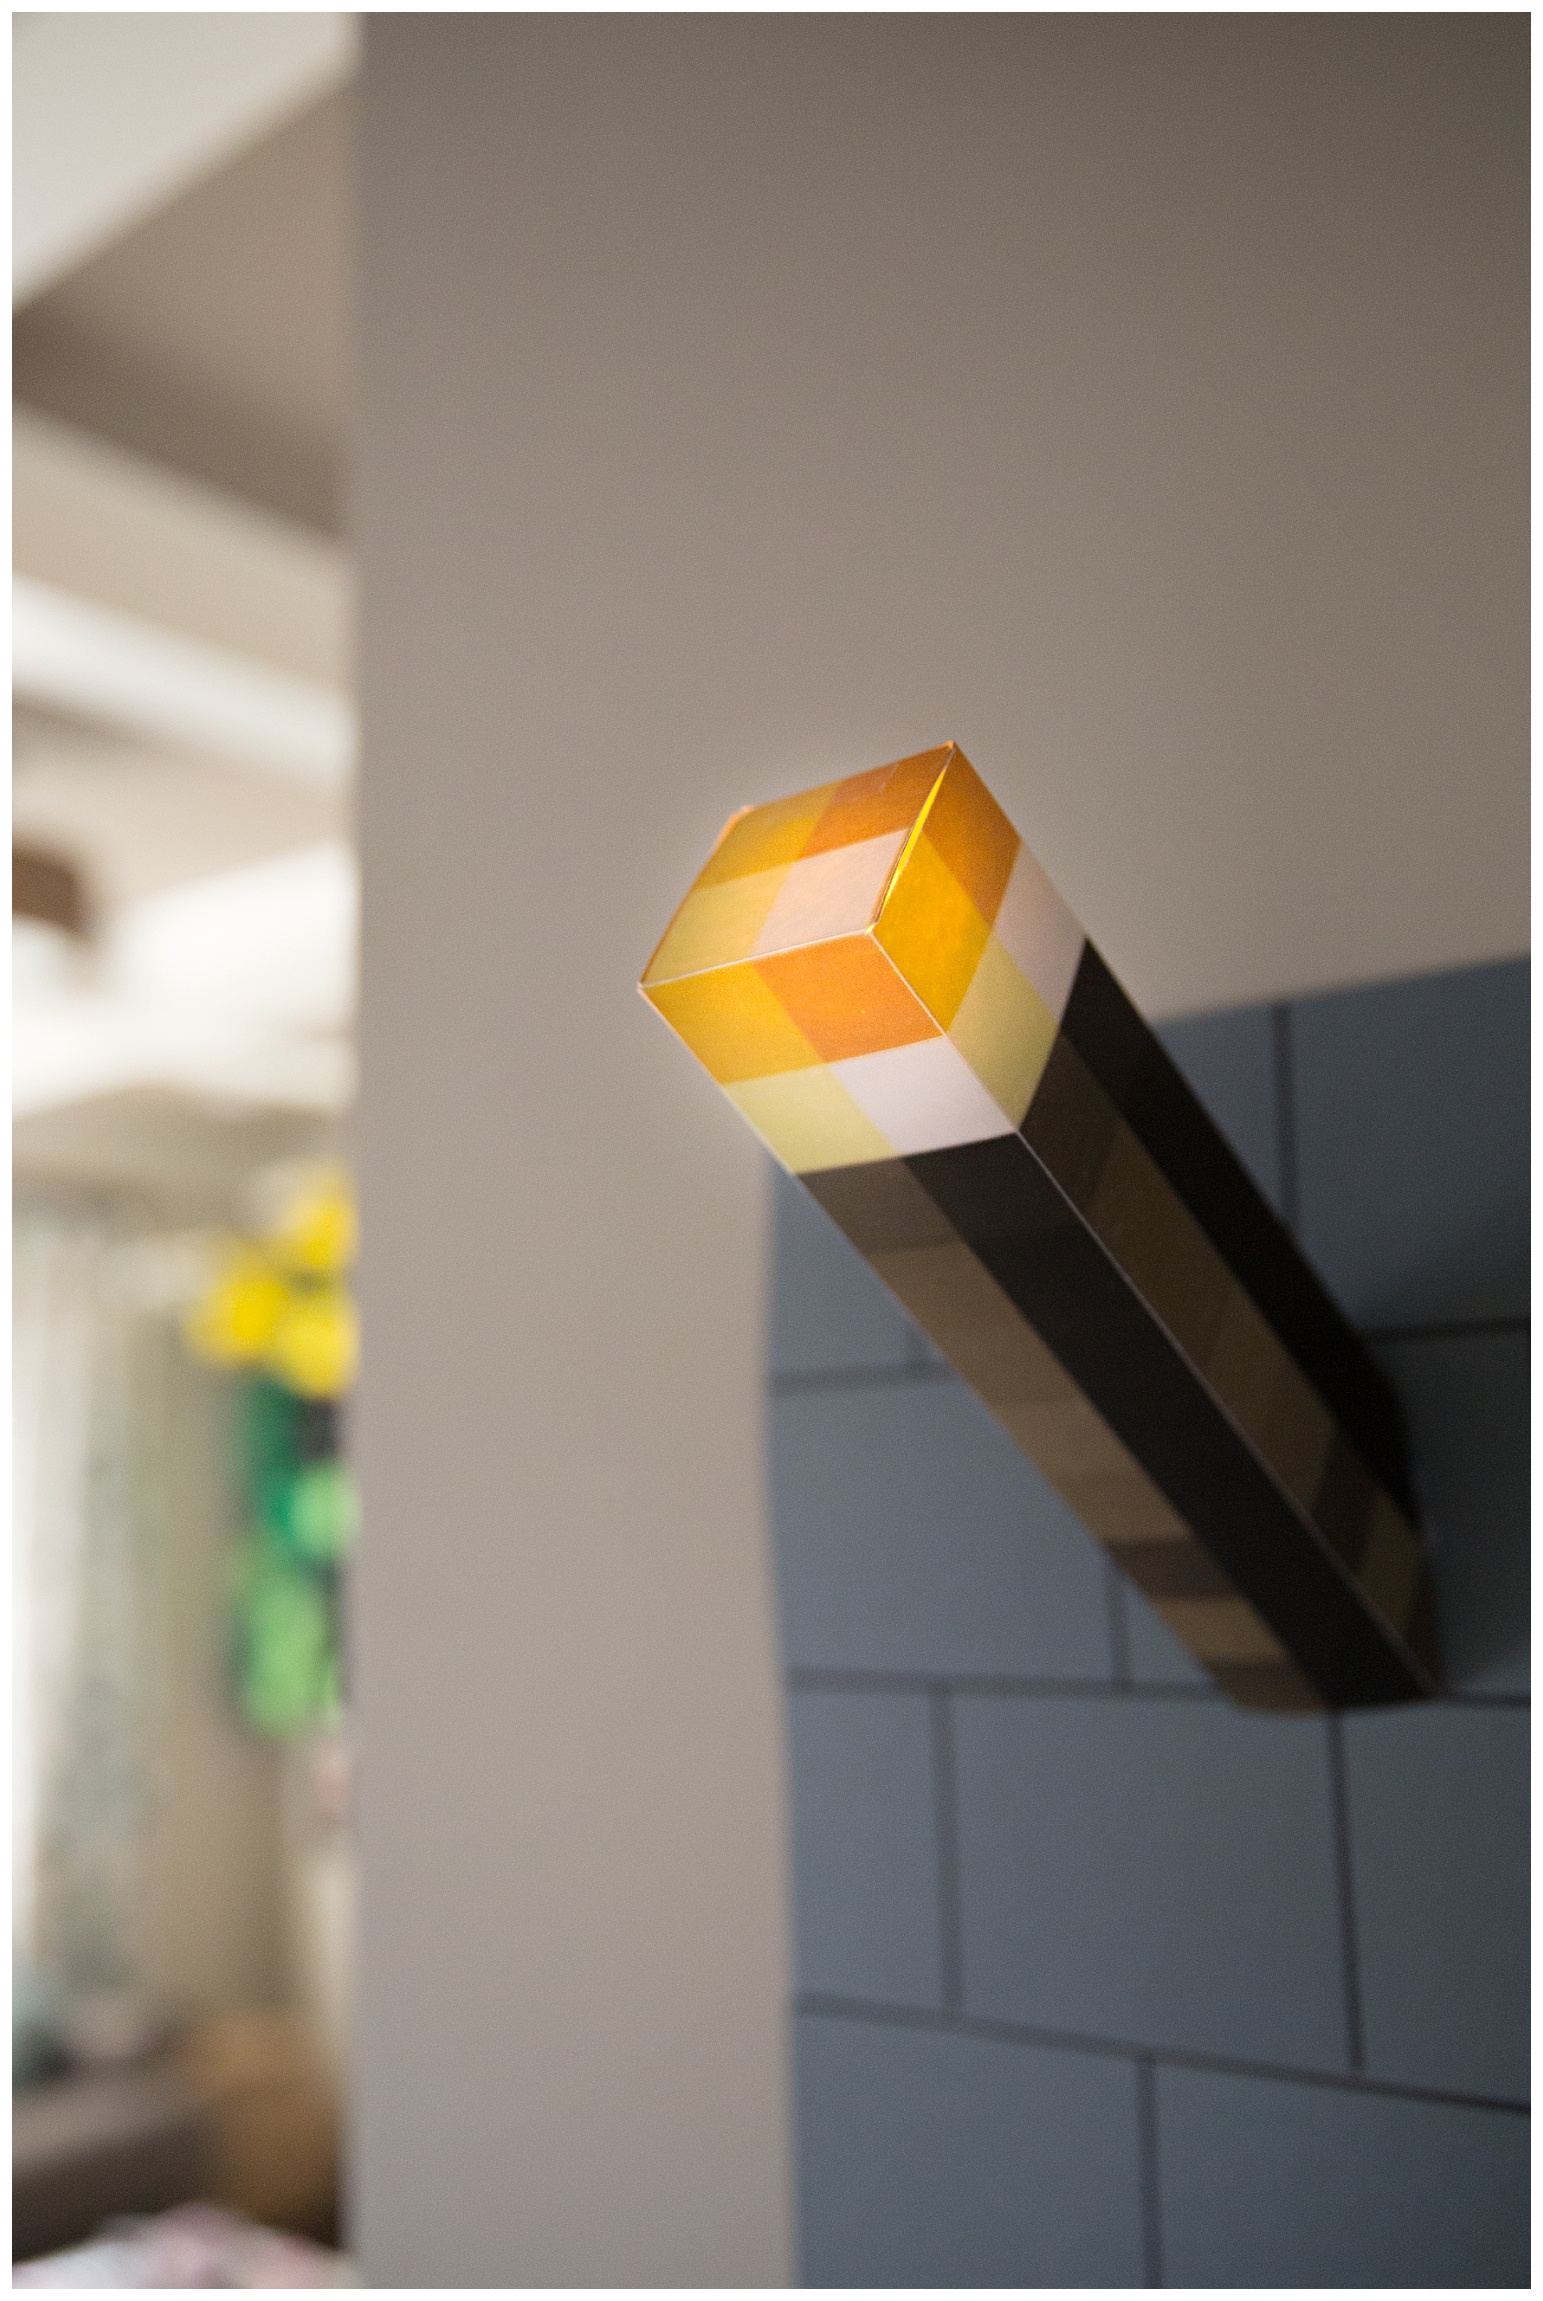
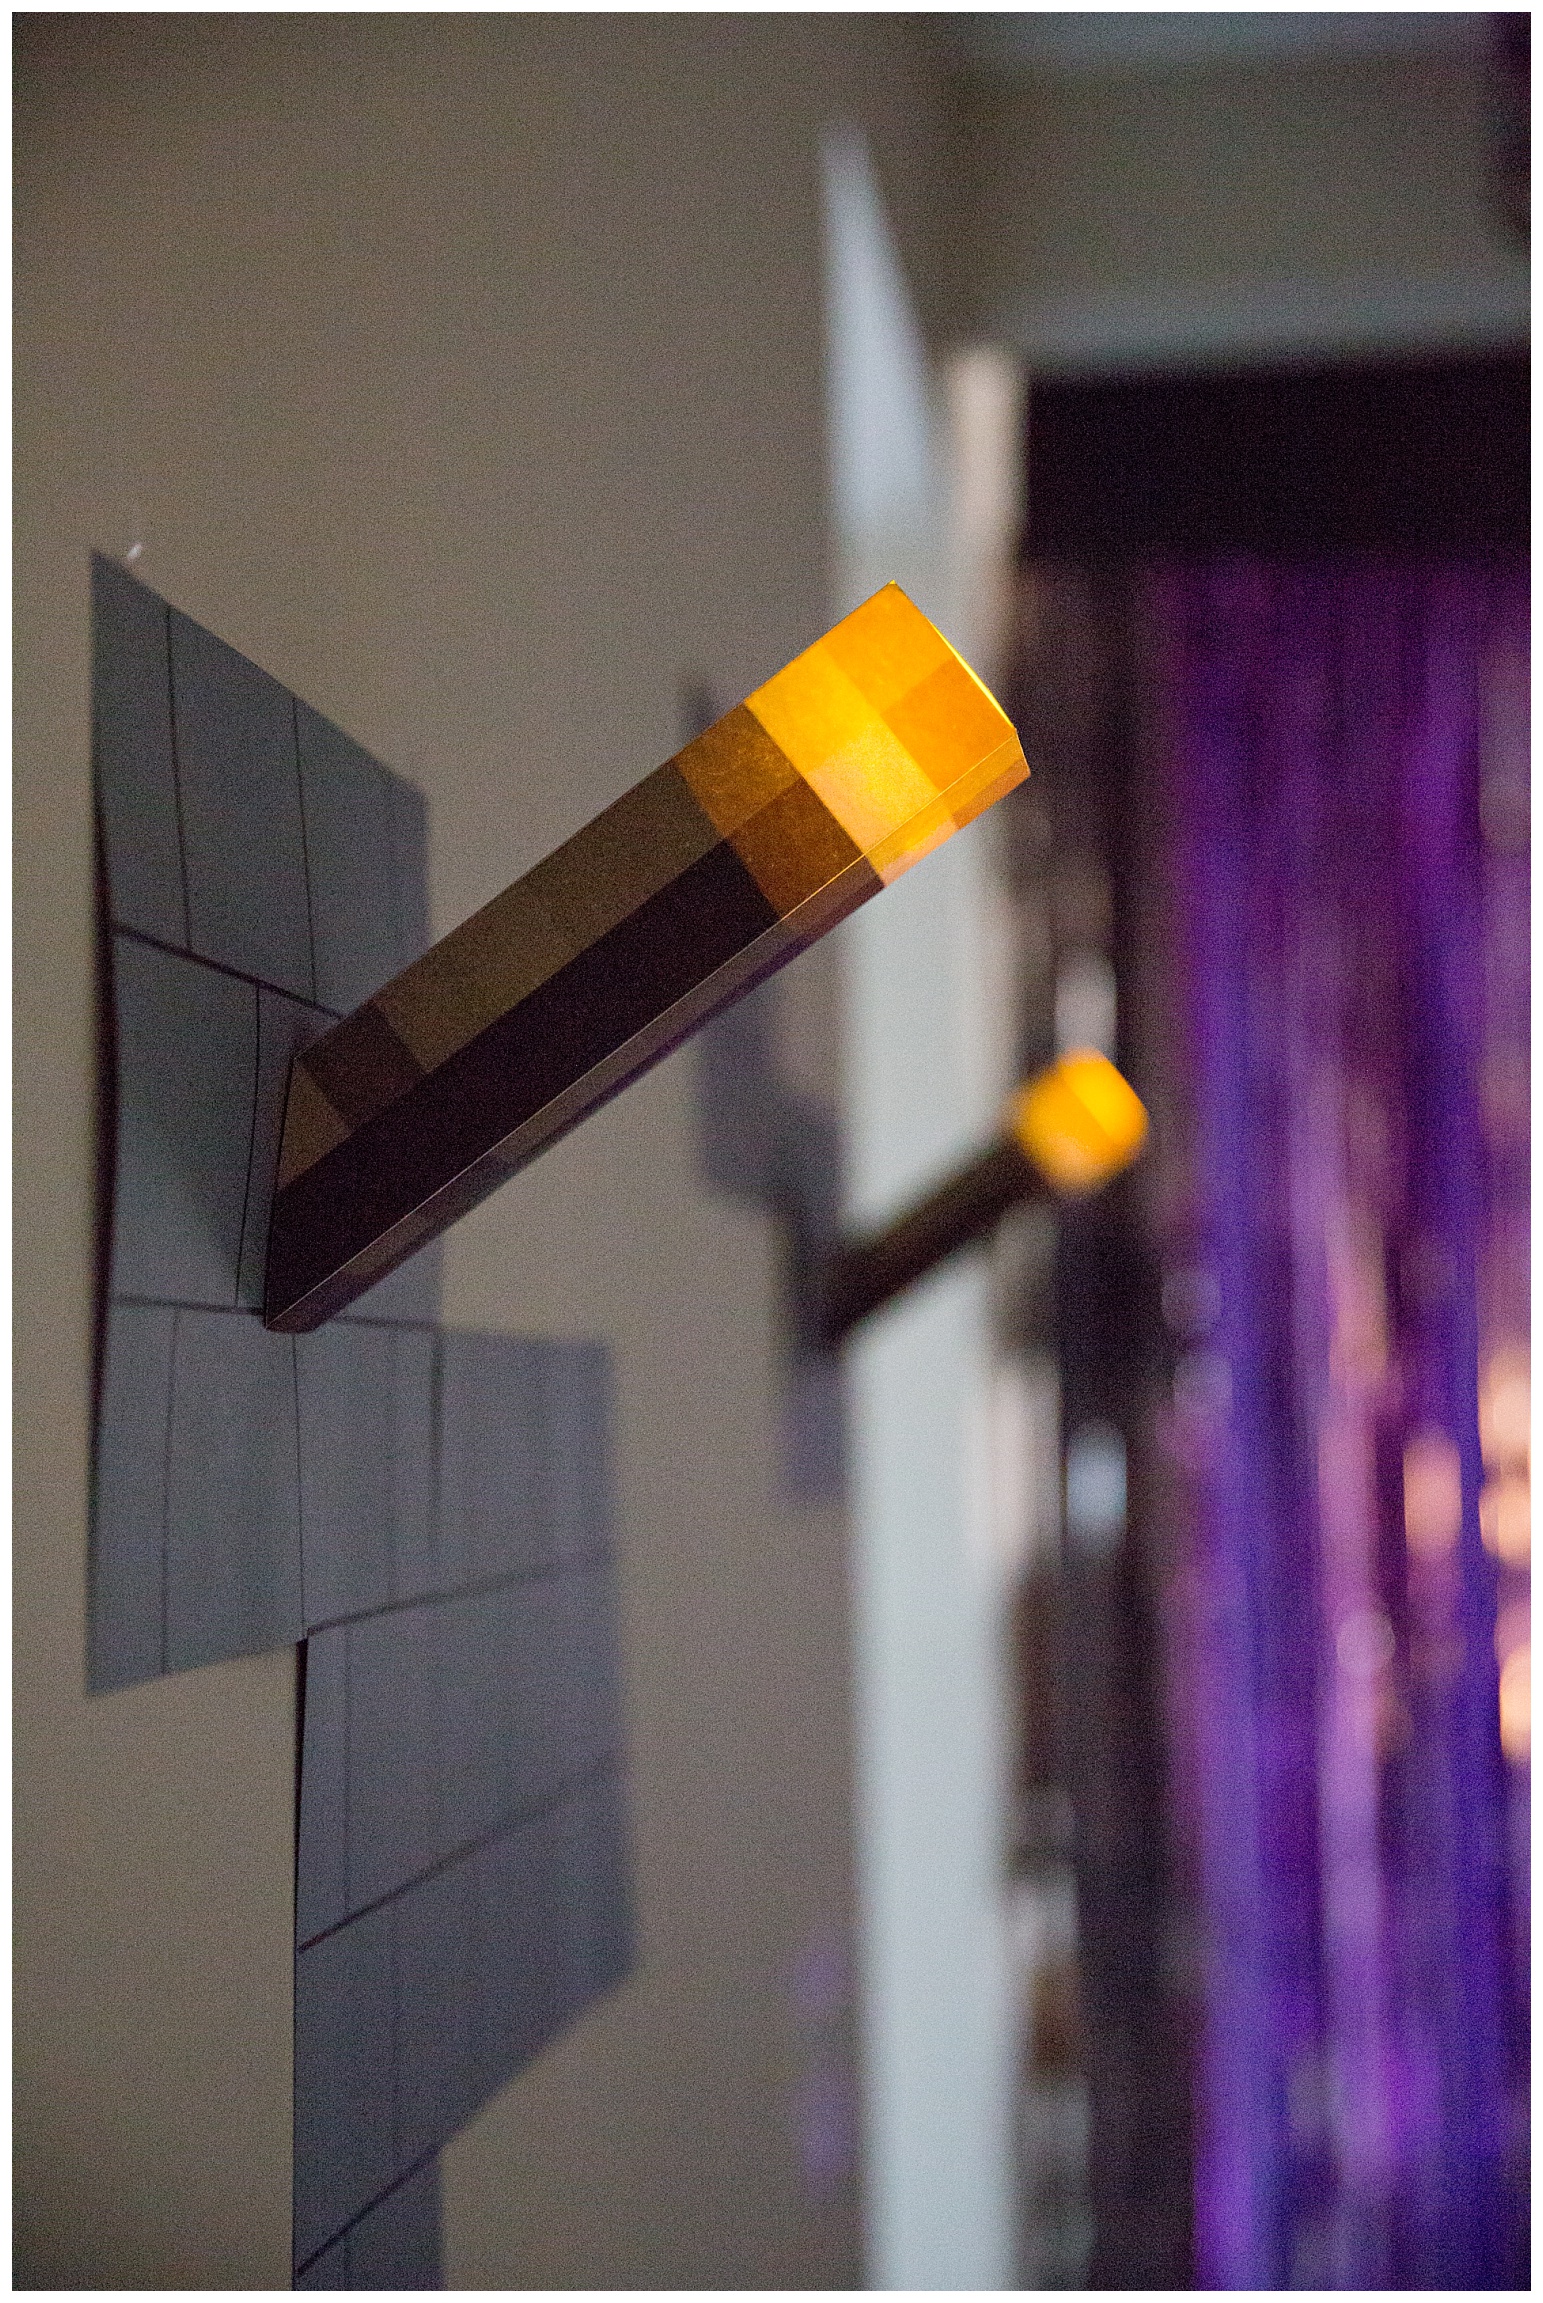
These paper torches were one of my favourite touches! They actually LIT UP!! Here’s how I did it…
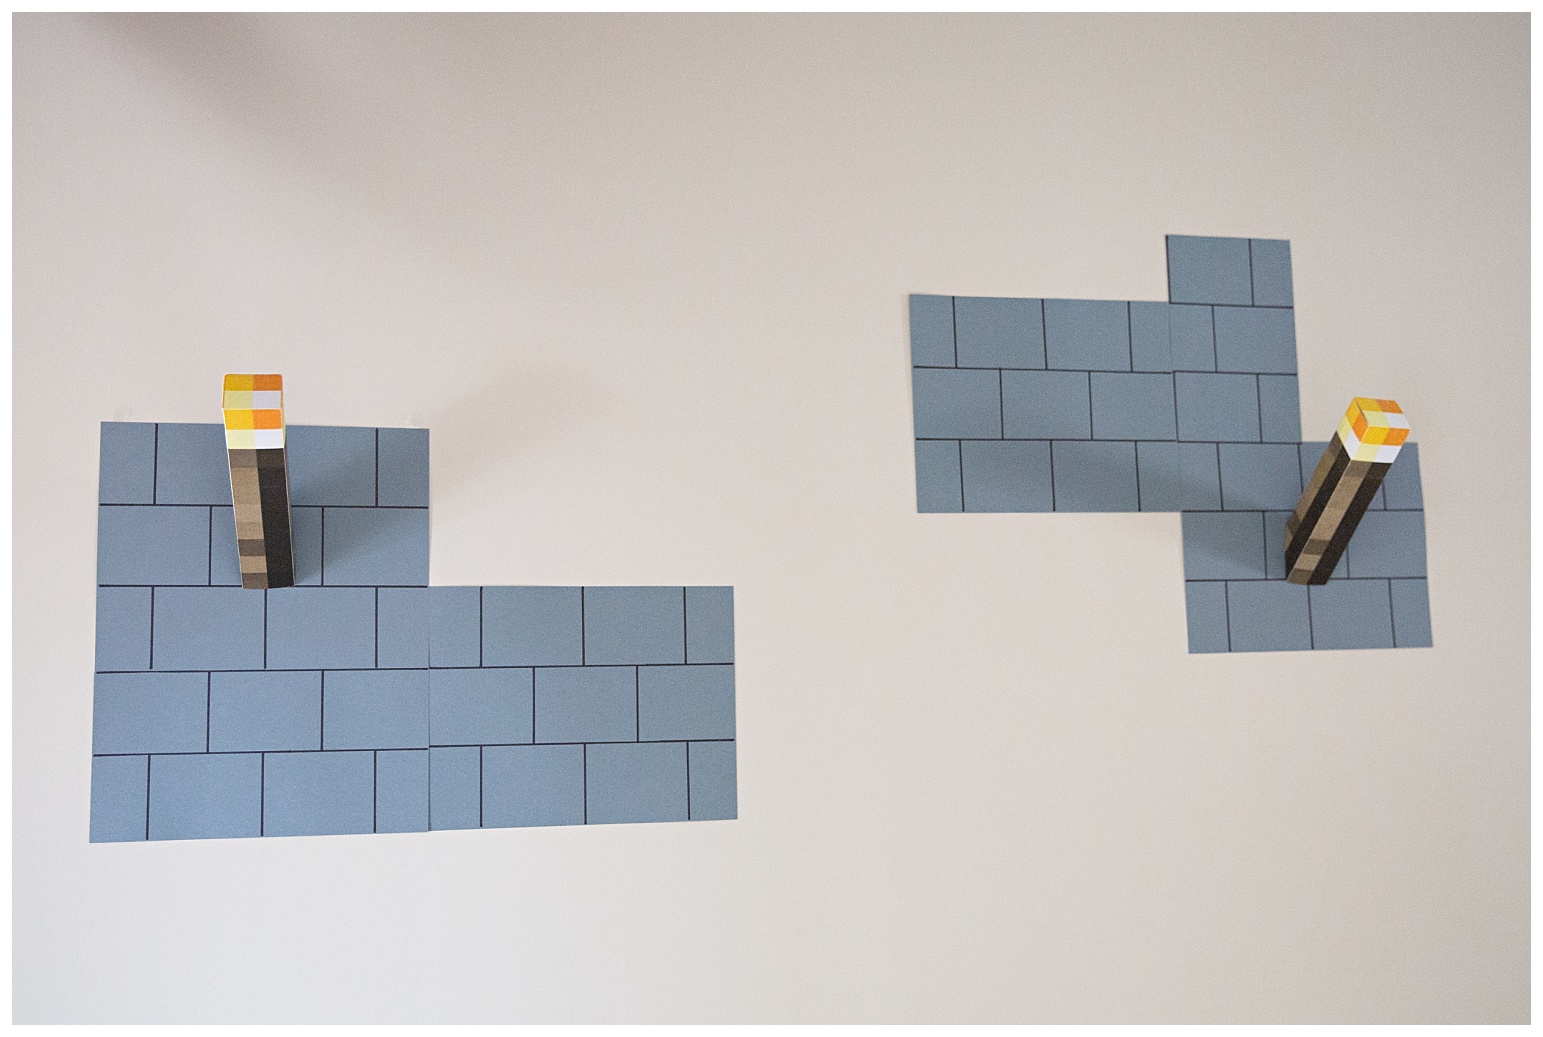
I cut a toilet paper roll on an angle and hot glued it to some cardstock. The brick pattern is just drawn on with Sharpie and the whole thing is attached to the wall with command strips. I got the pattern for the torches here. I did cut mine a bit different than the pattern. I angled the bottoms so that they would sit flush against the wall when placed on the toilet roll.
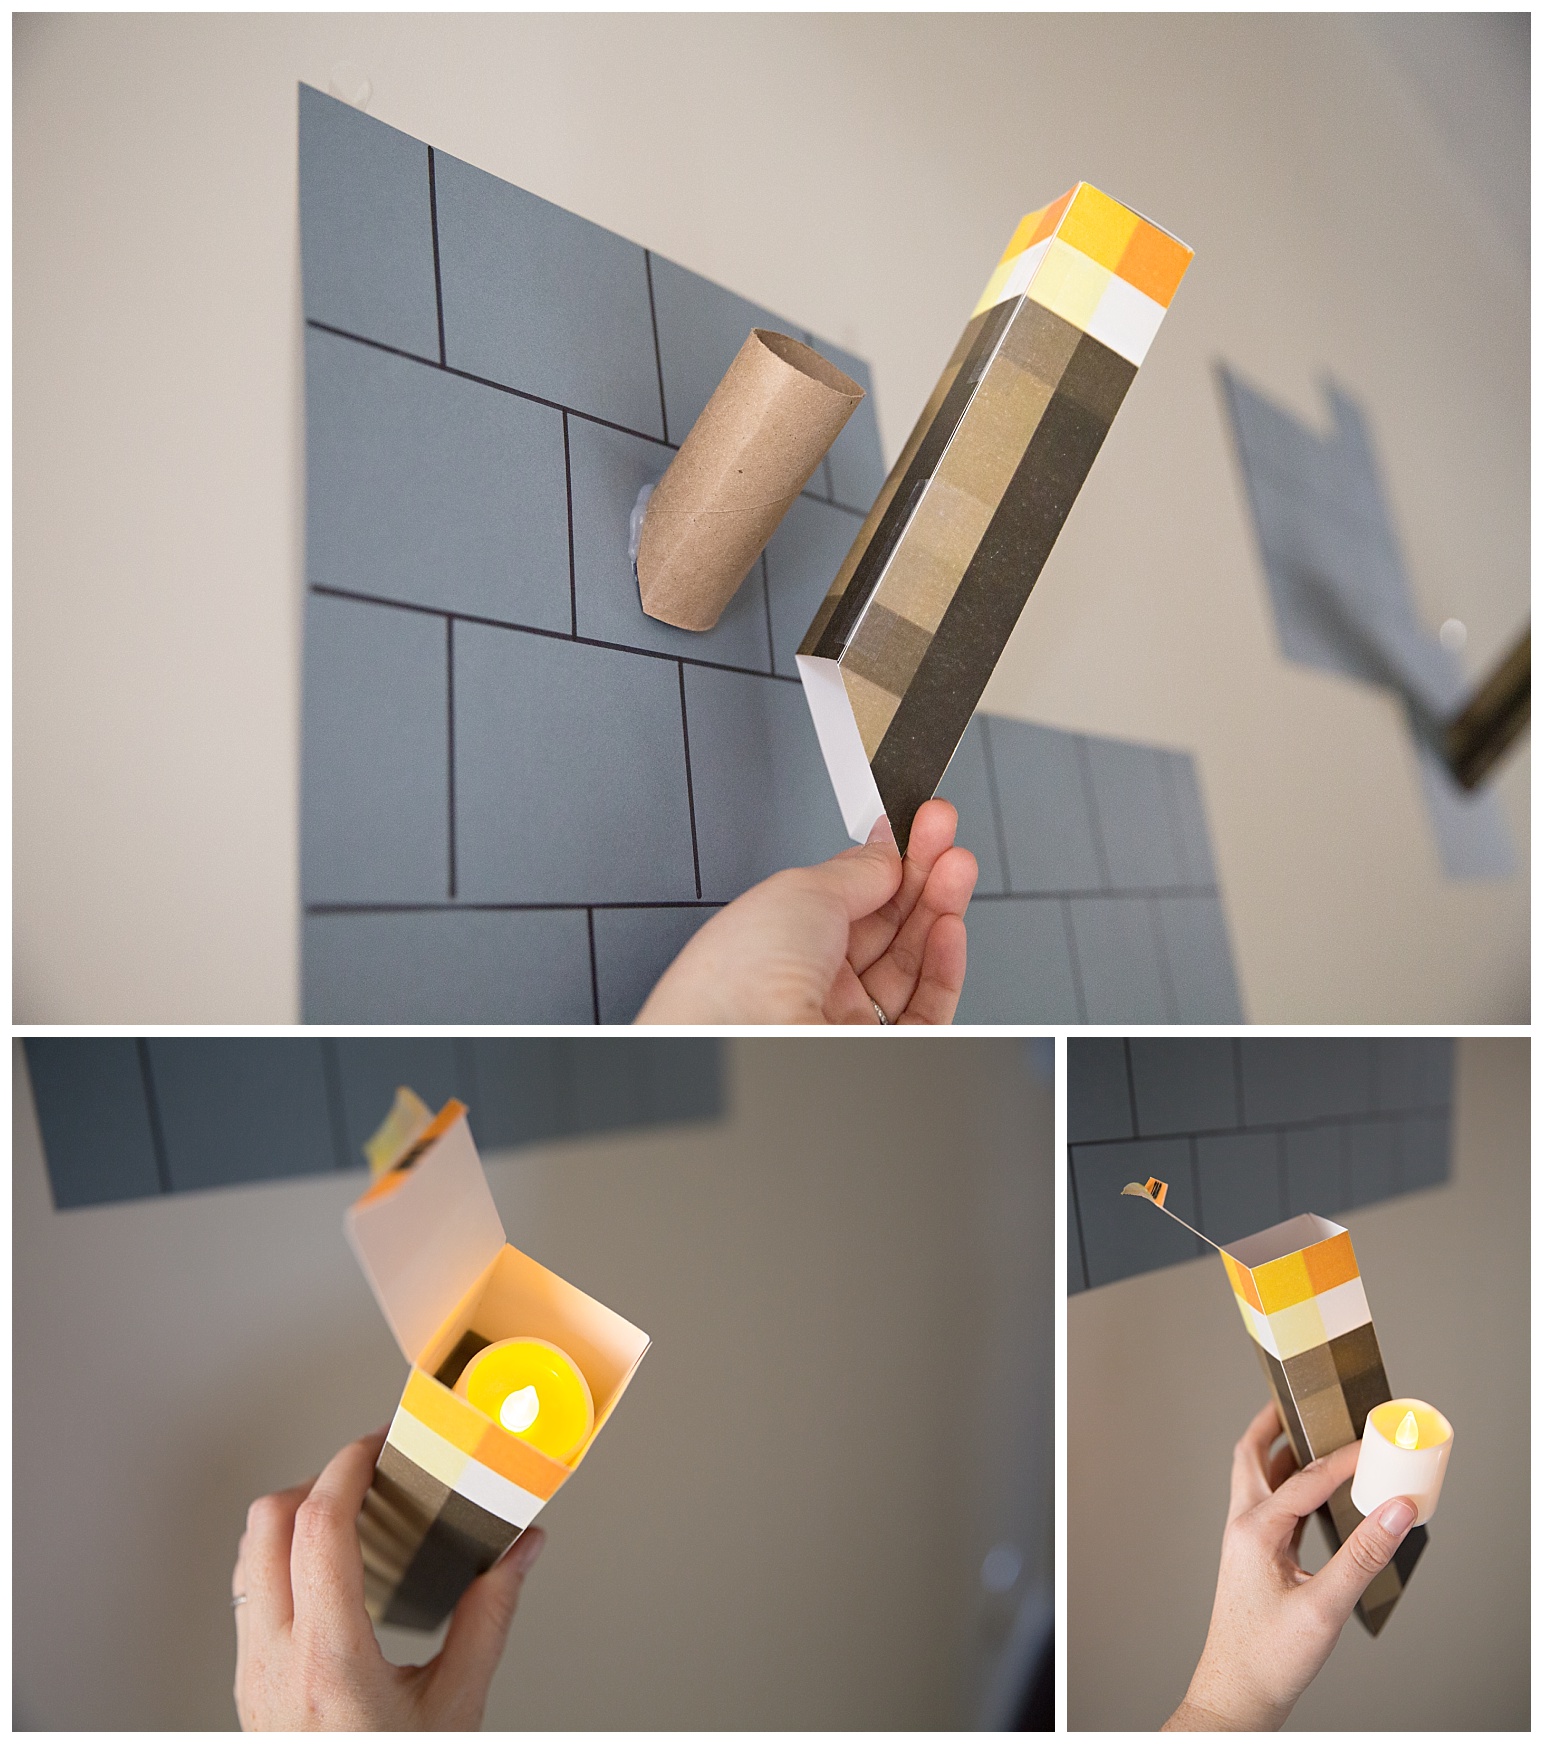
The battery opperated tea lights are just from Dollarama. They are sitting on a folded piece of cardstock that is snuggly fit partway down the torch. These lights were on for a full 12 hours and were still going strong when I turned them off after the party.
These pictures do not do the torches justice. The candles flickered like a real flame so the effect was AMAZING going down our main hallway.
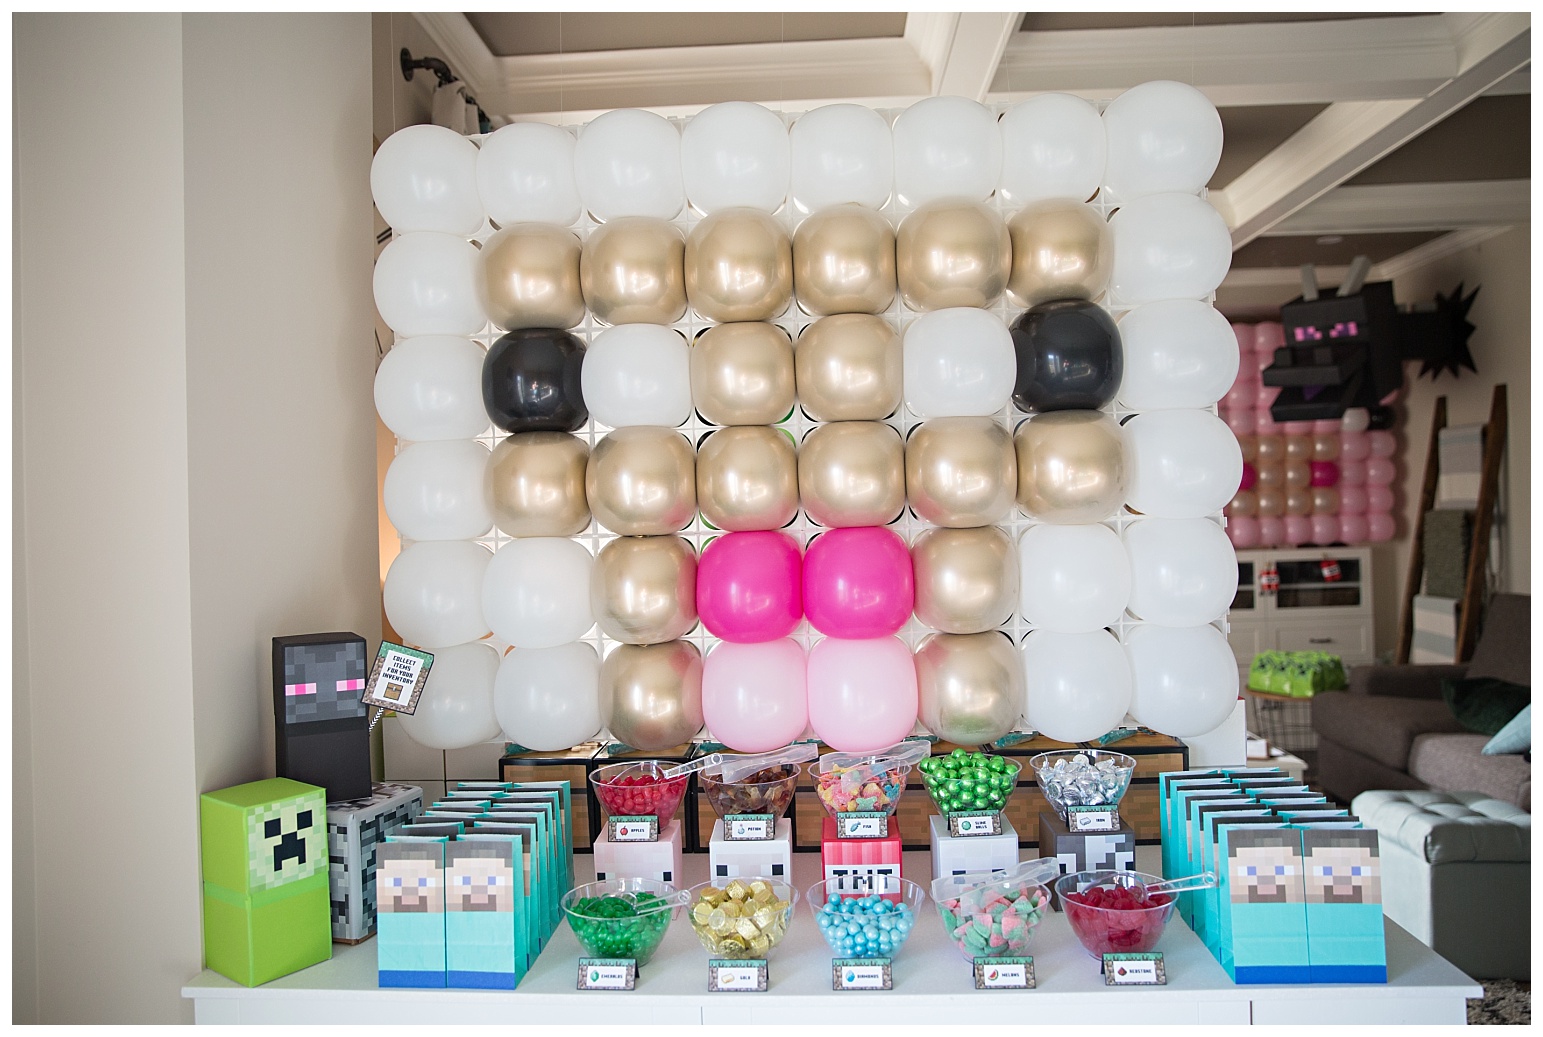
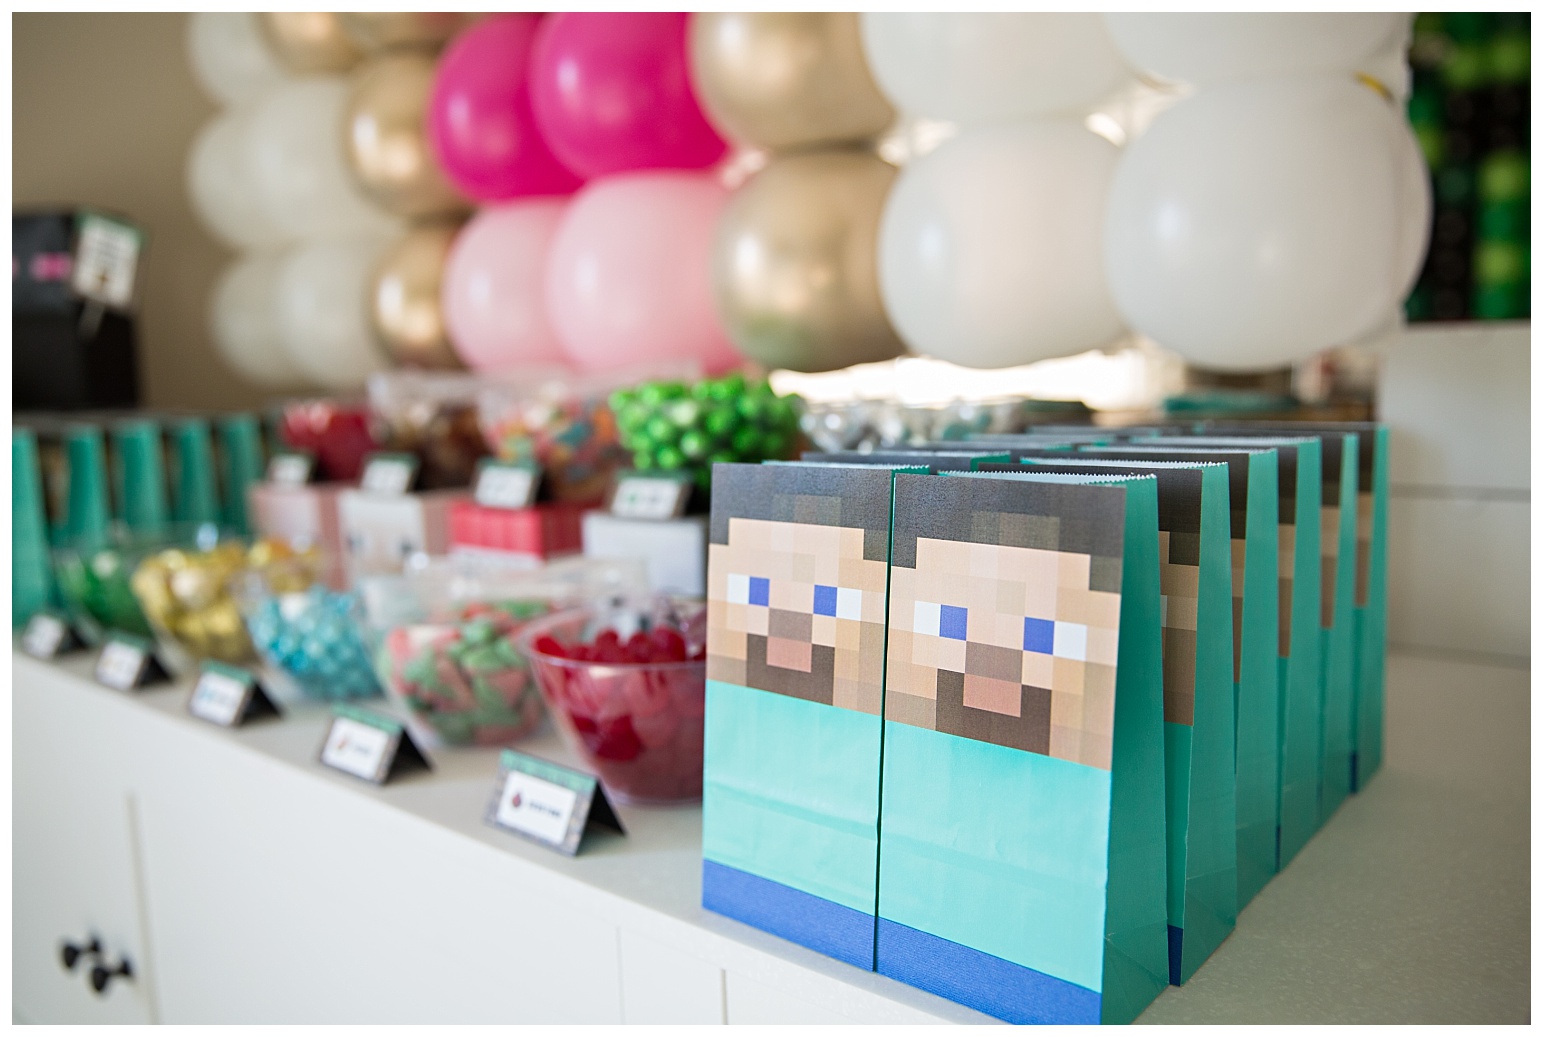
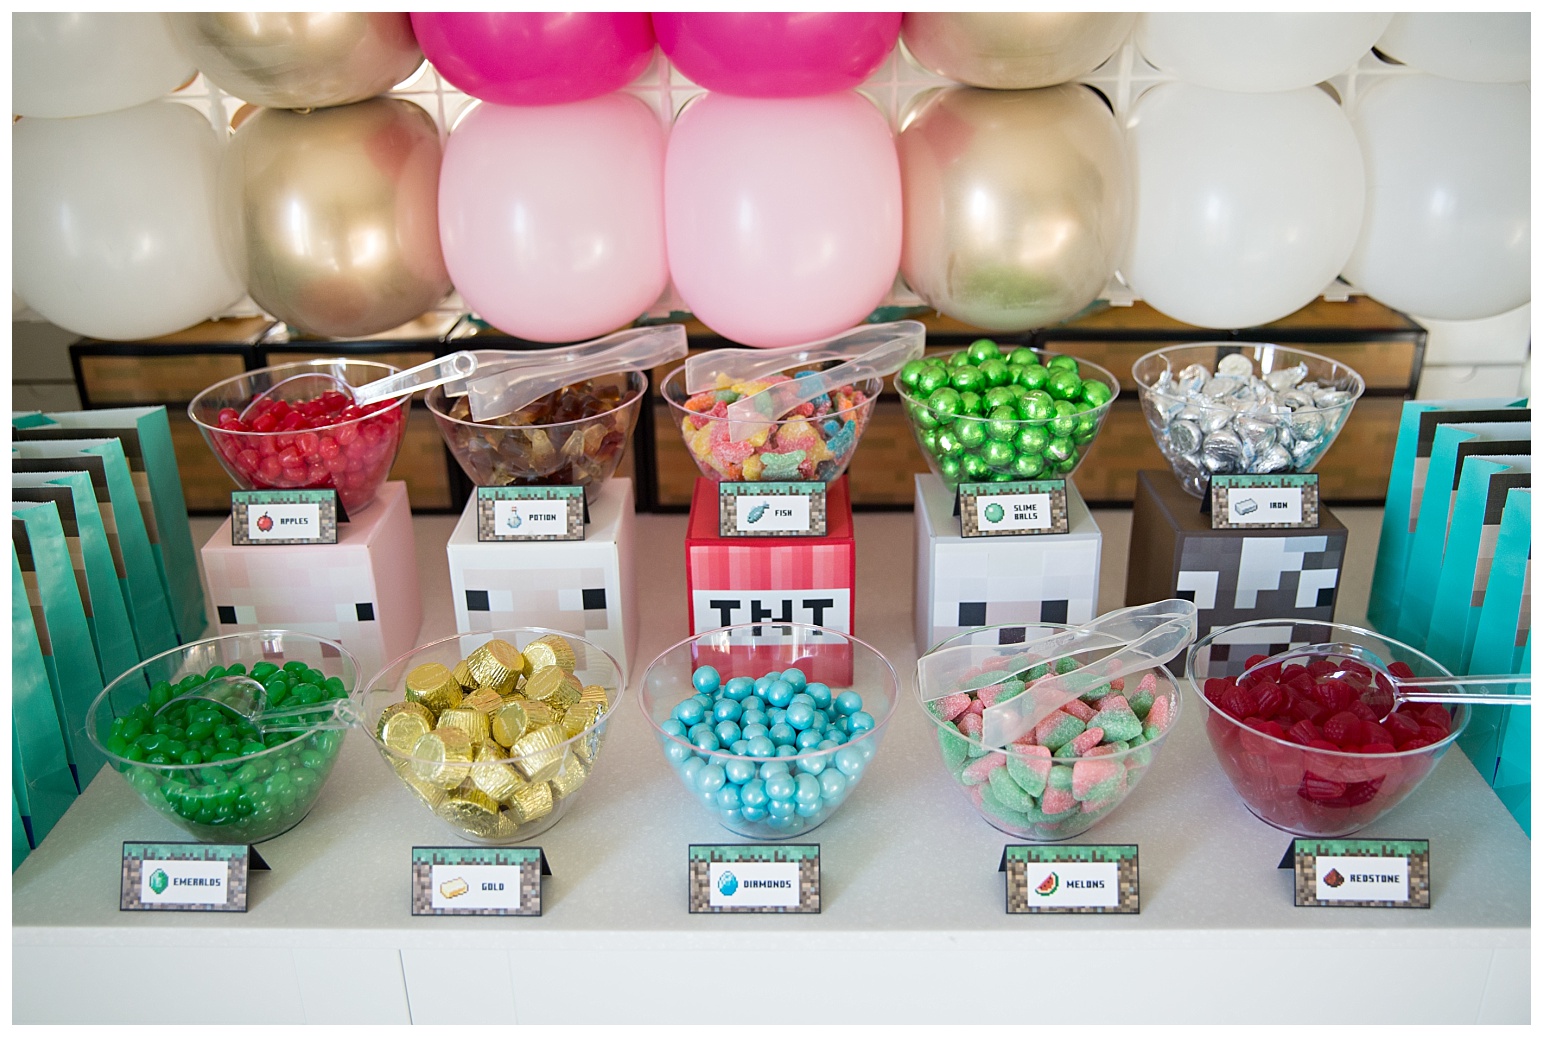
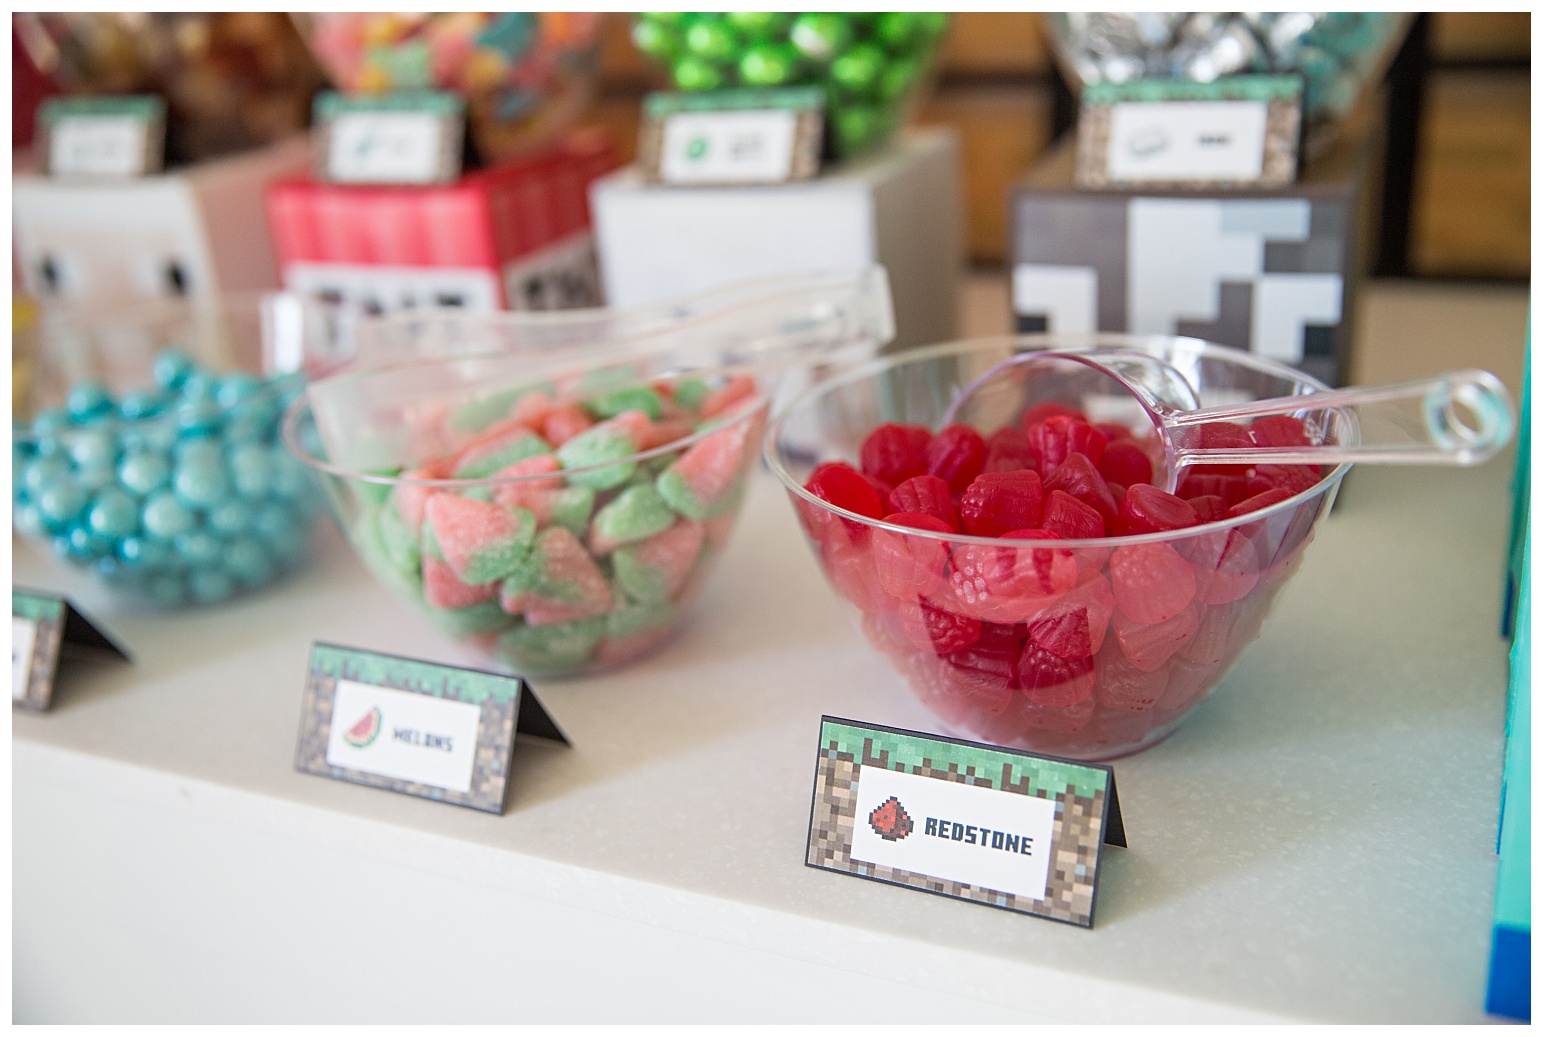
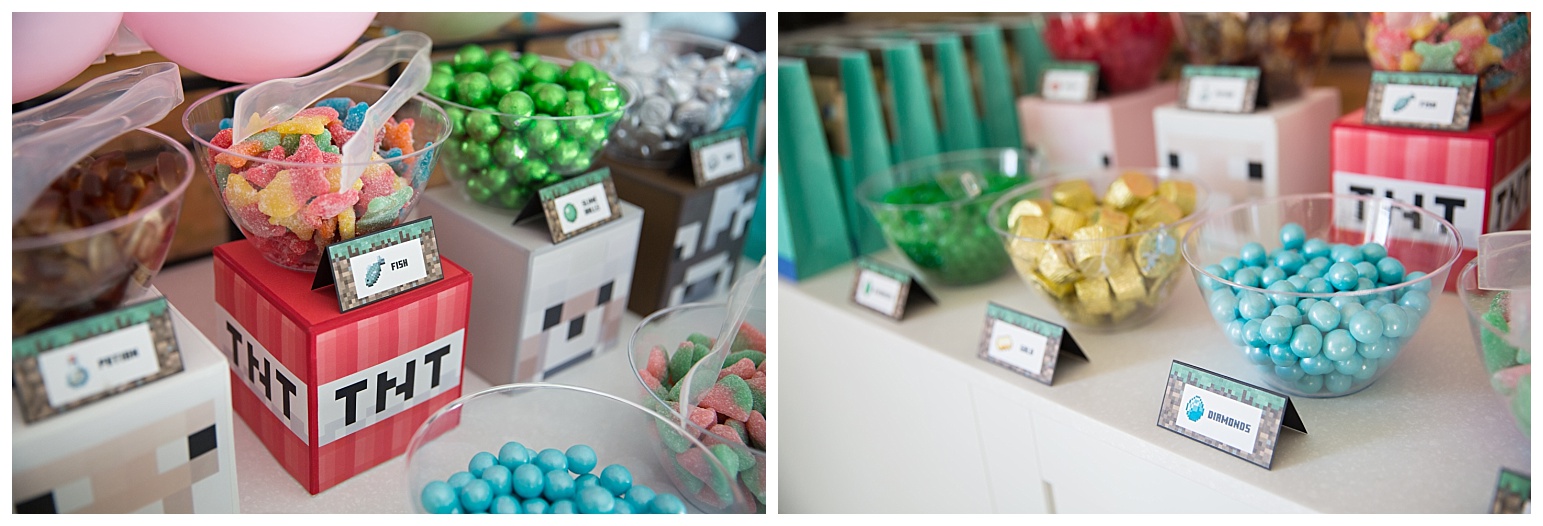
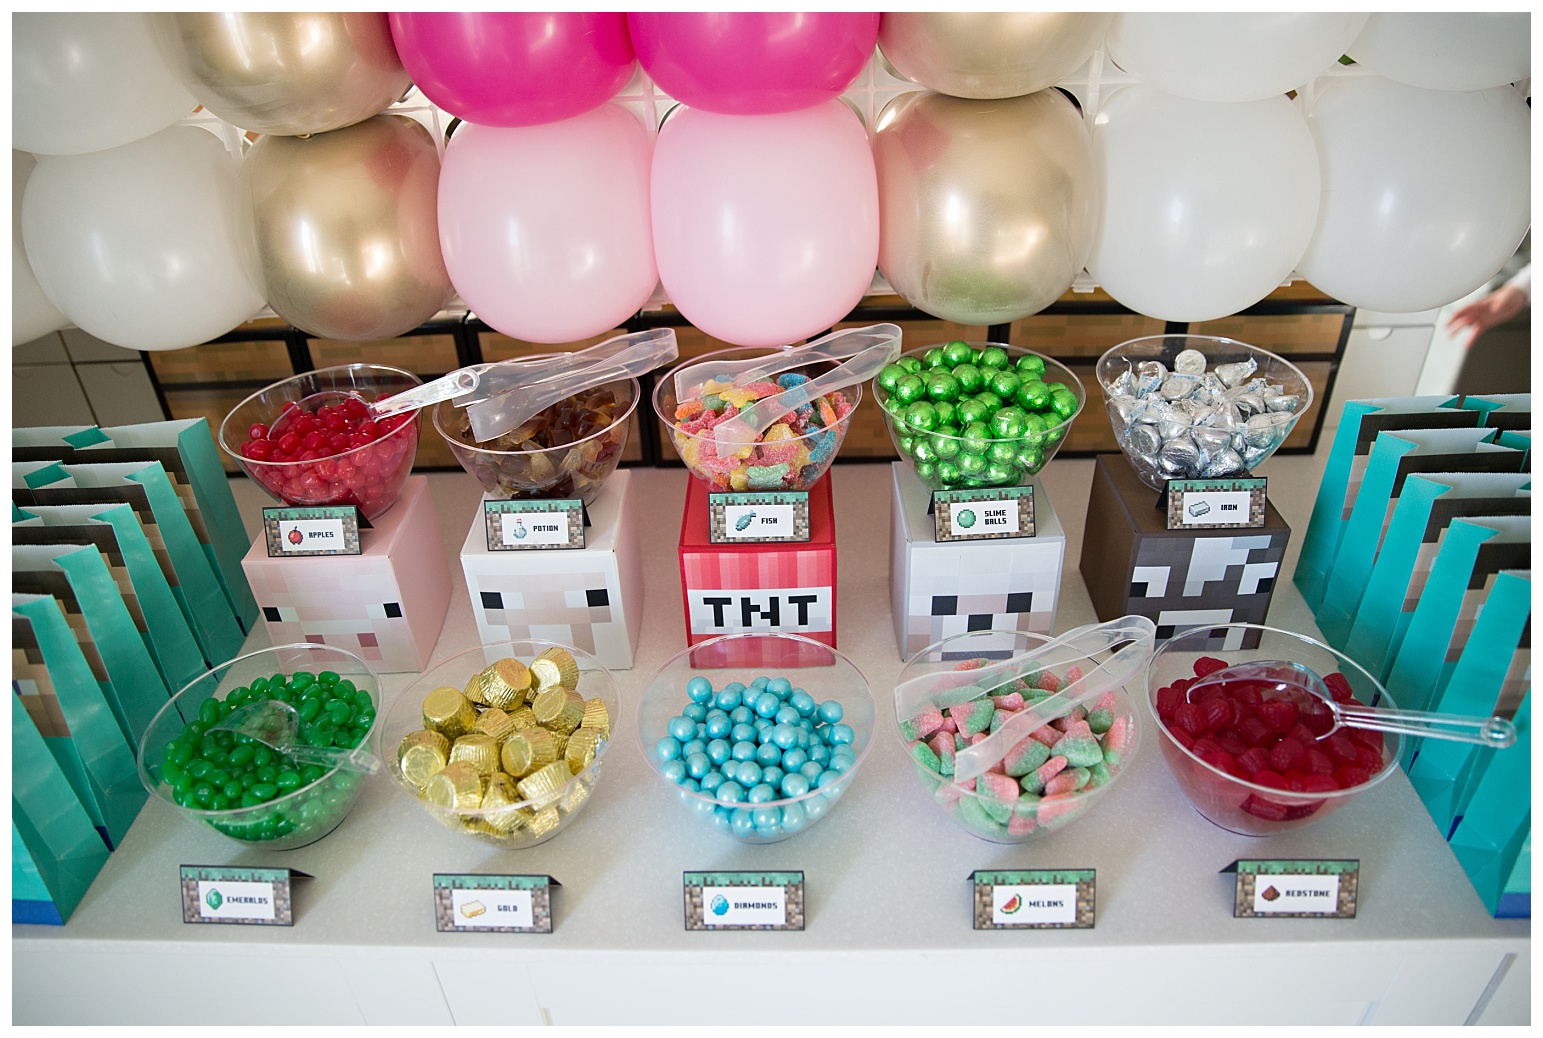
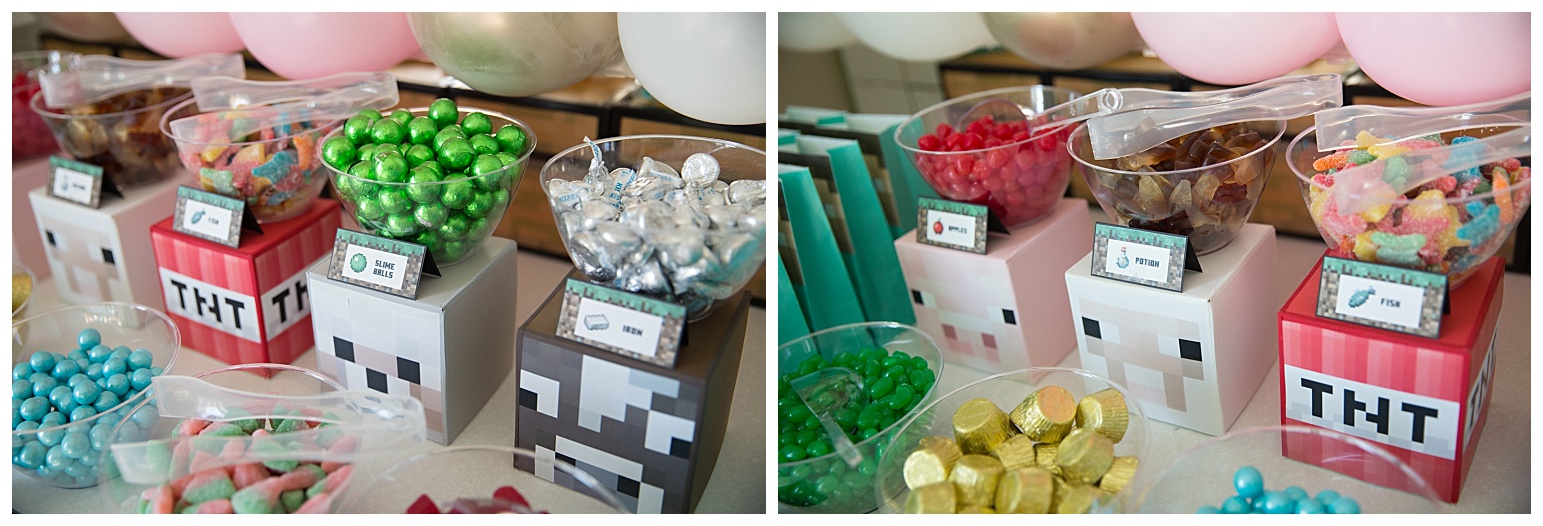
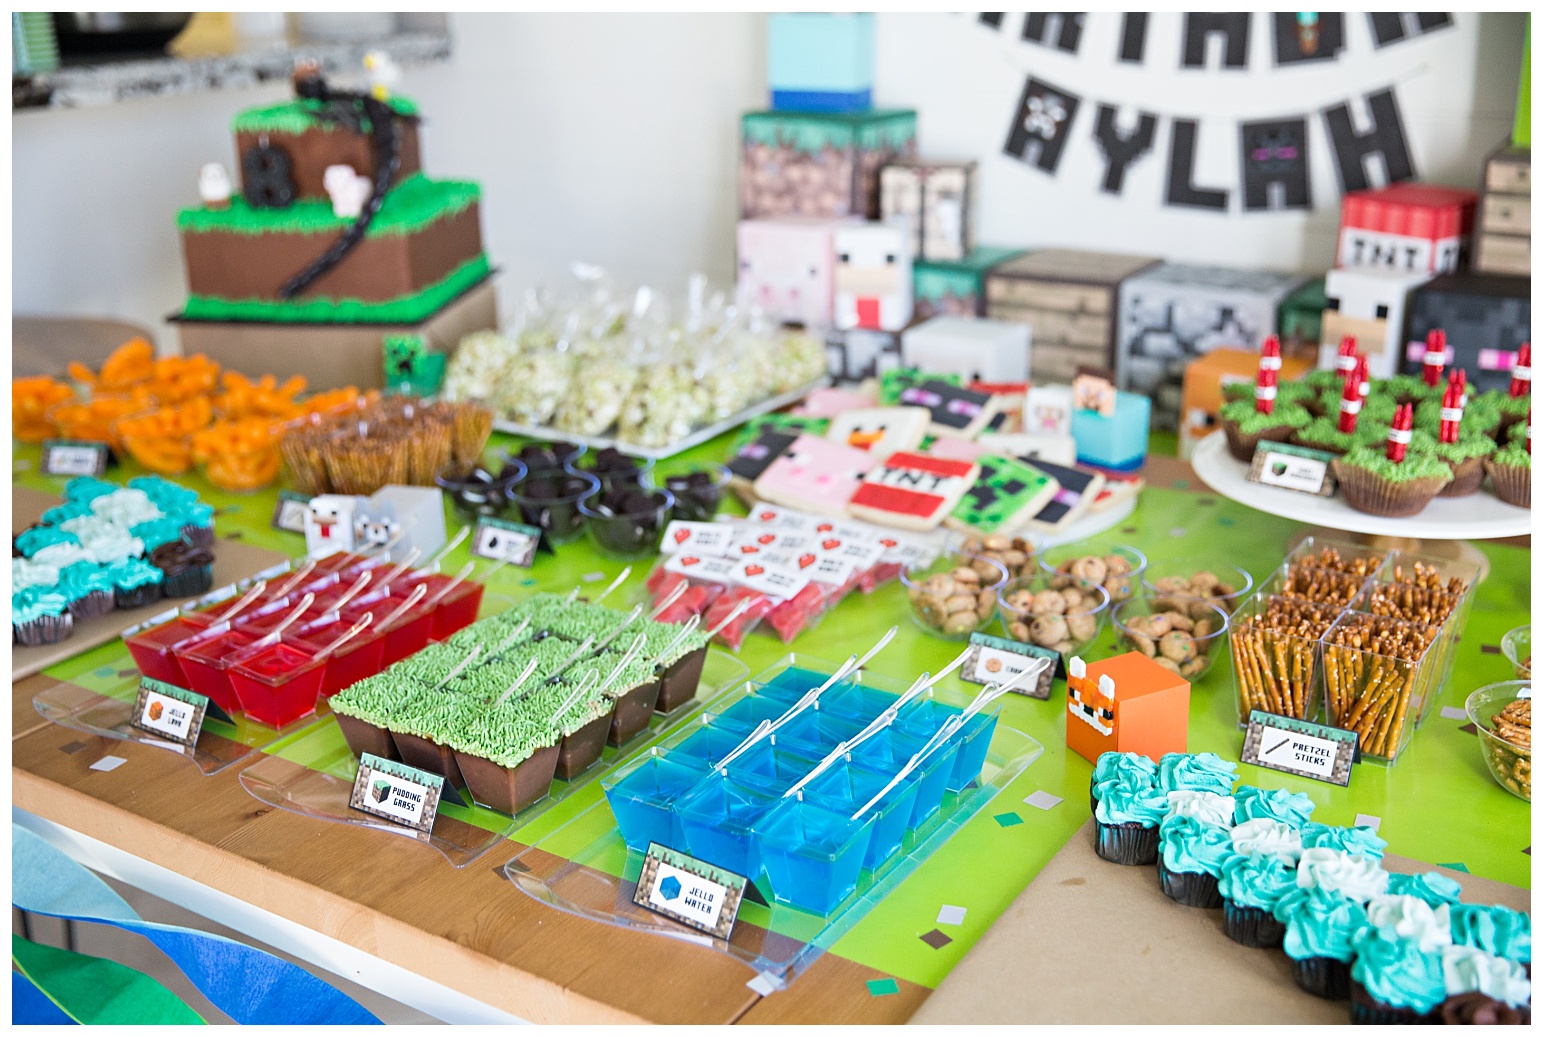
What’s a party without a candy bar, amiright?
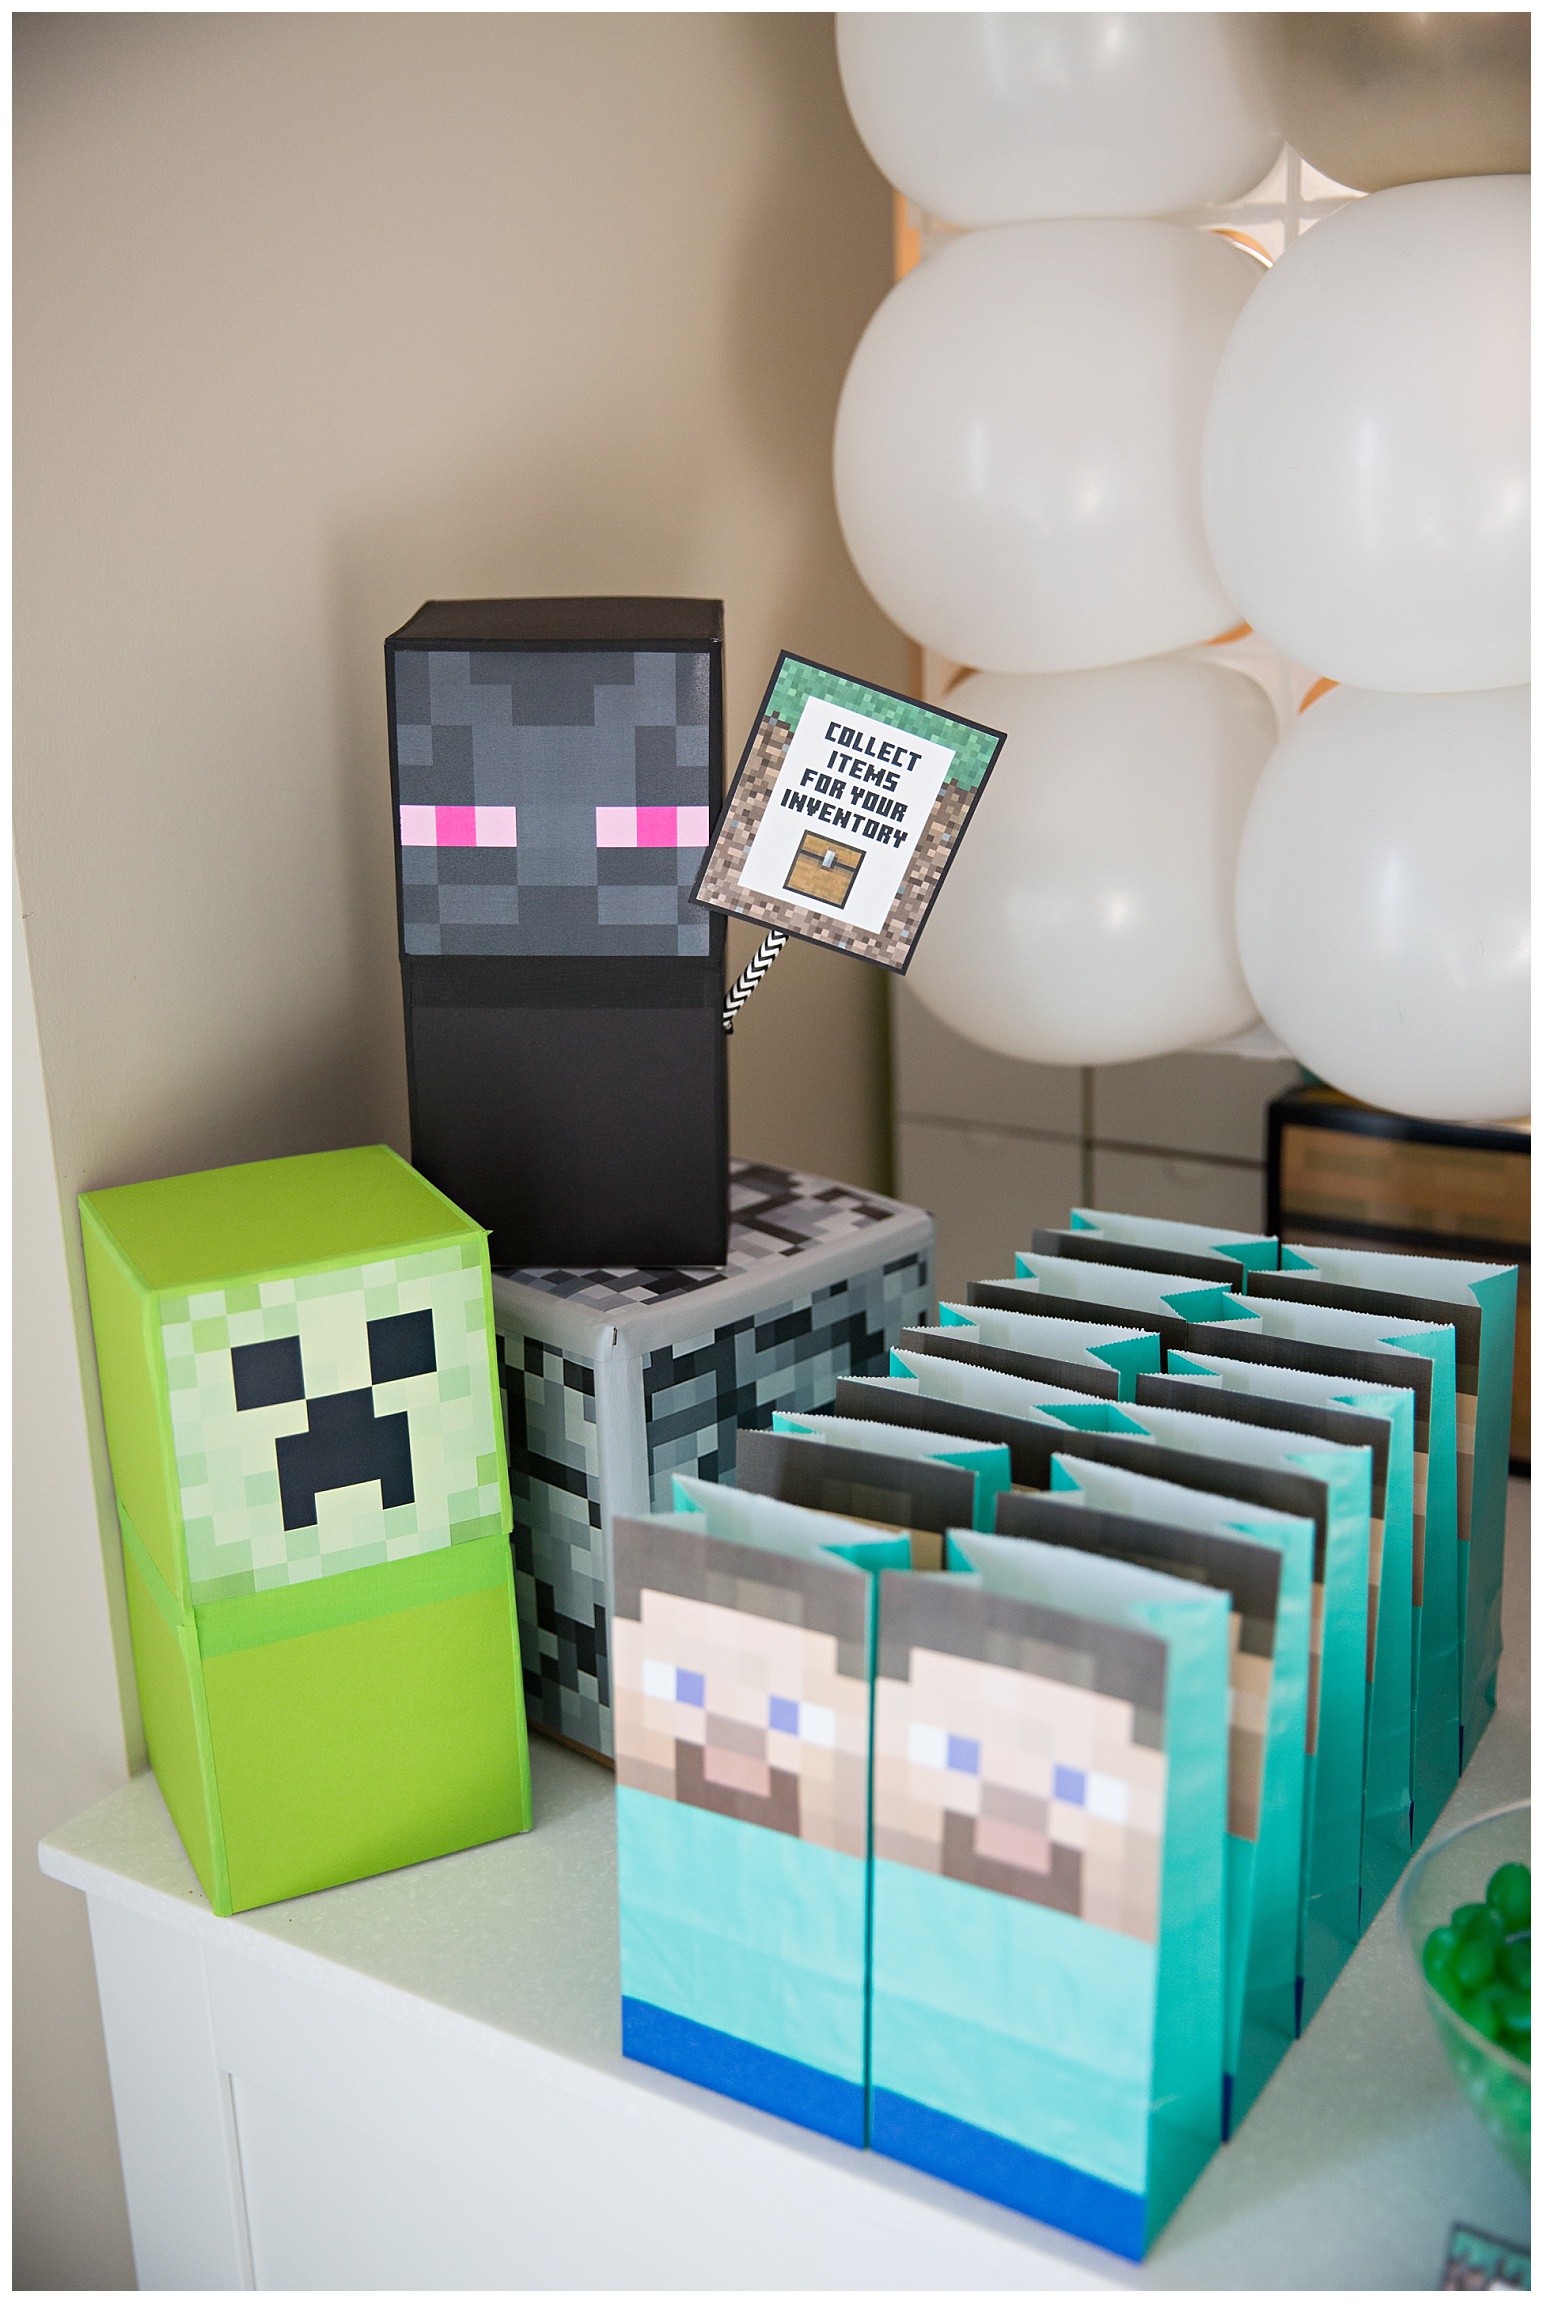
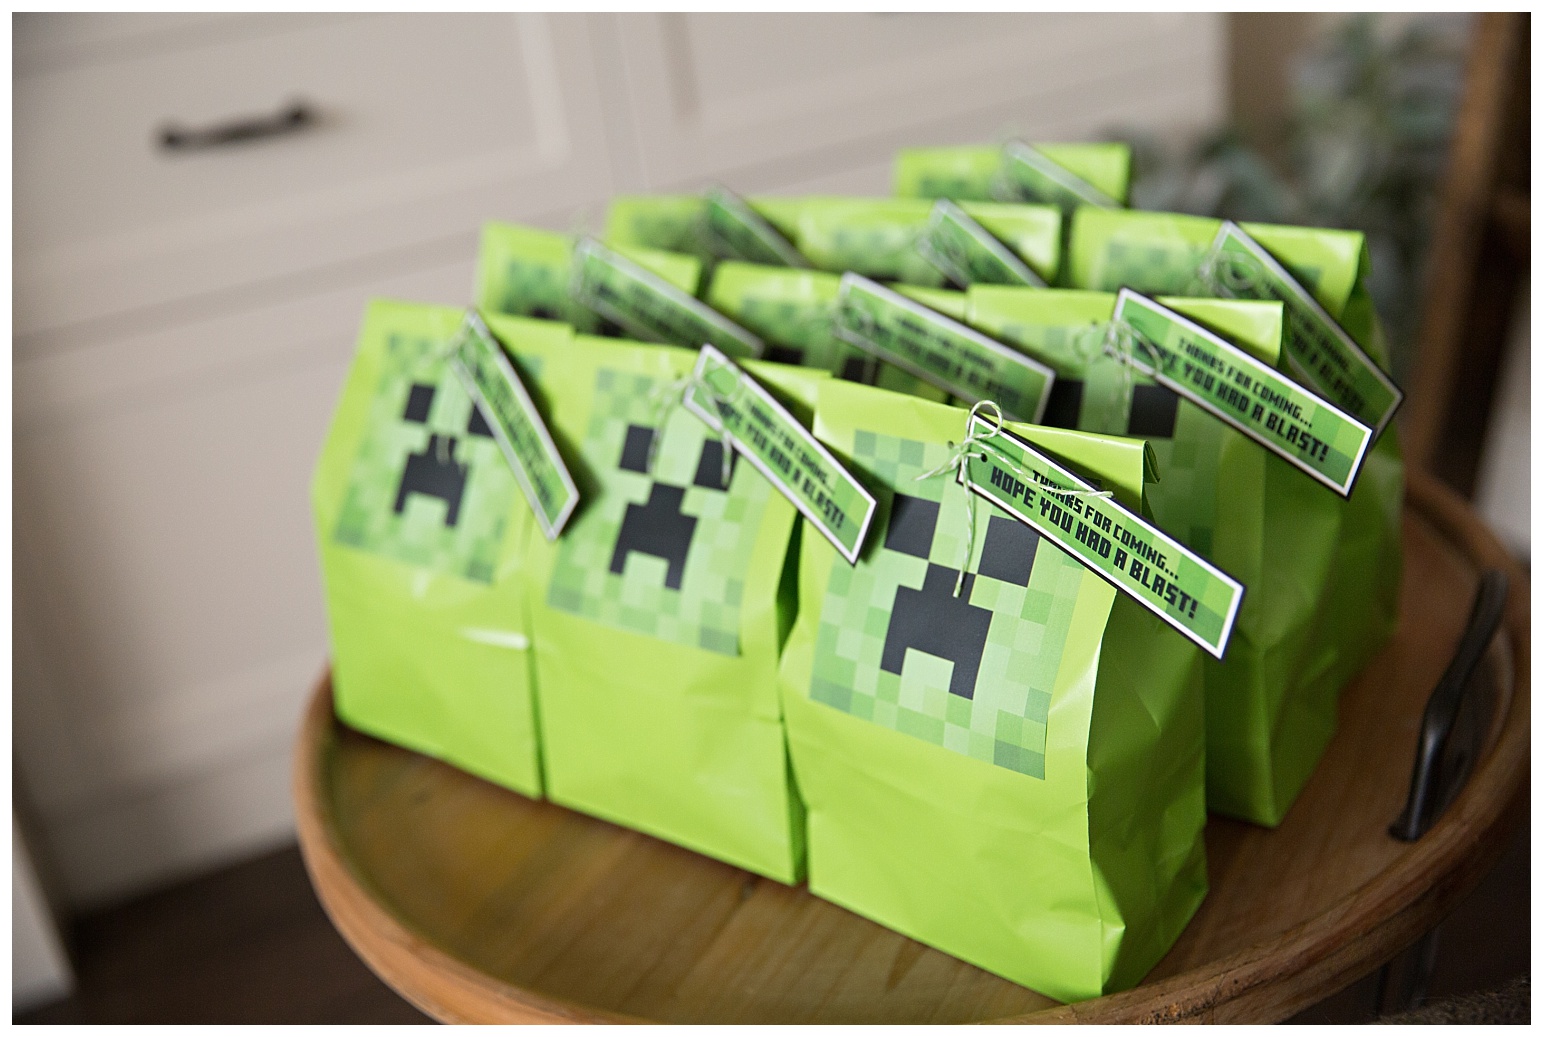
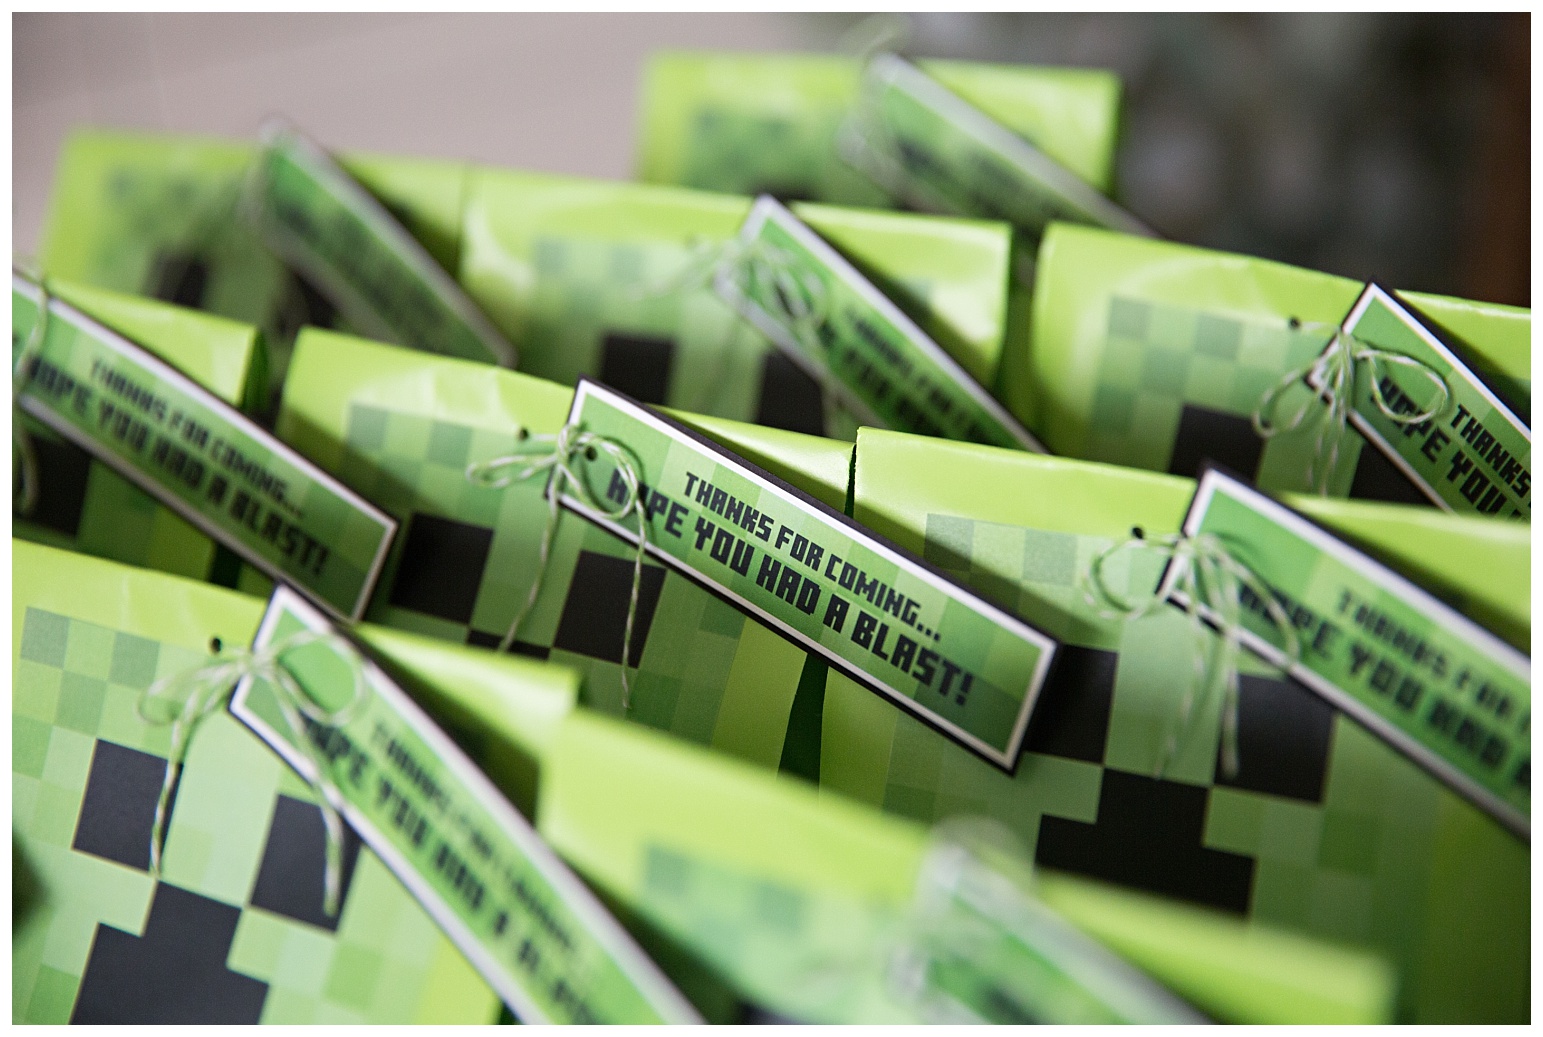
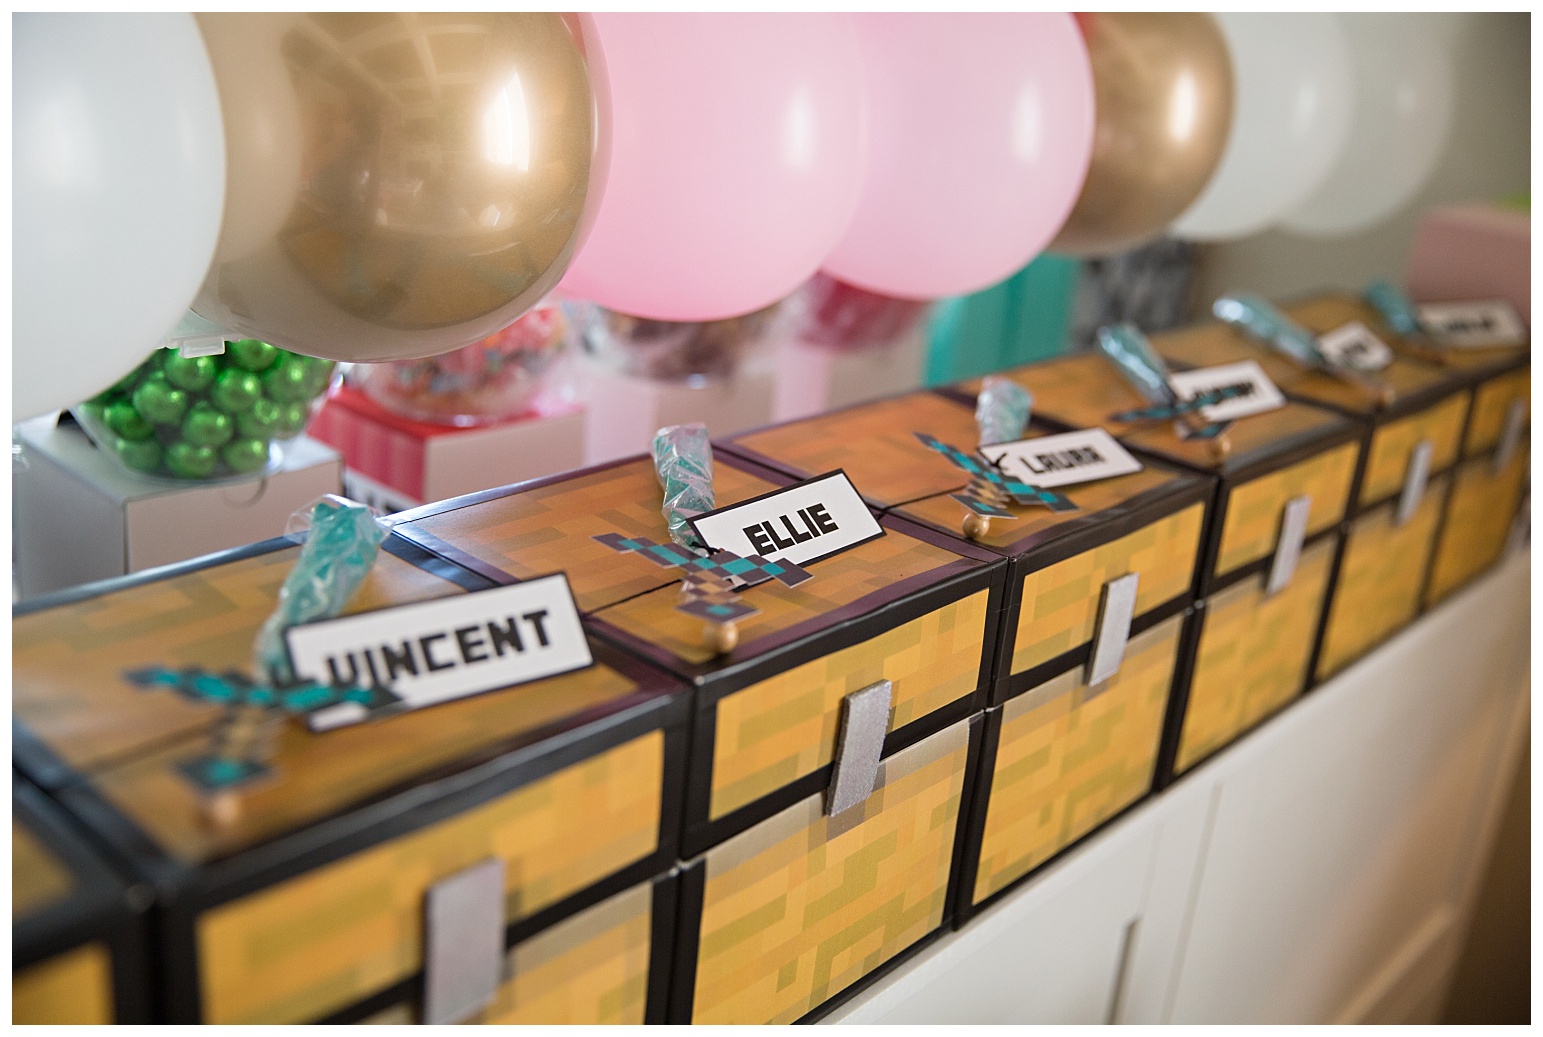
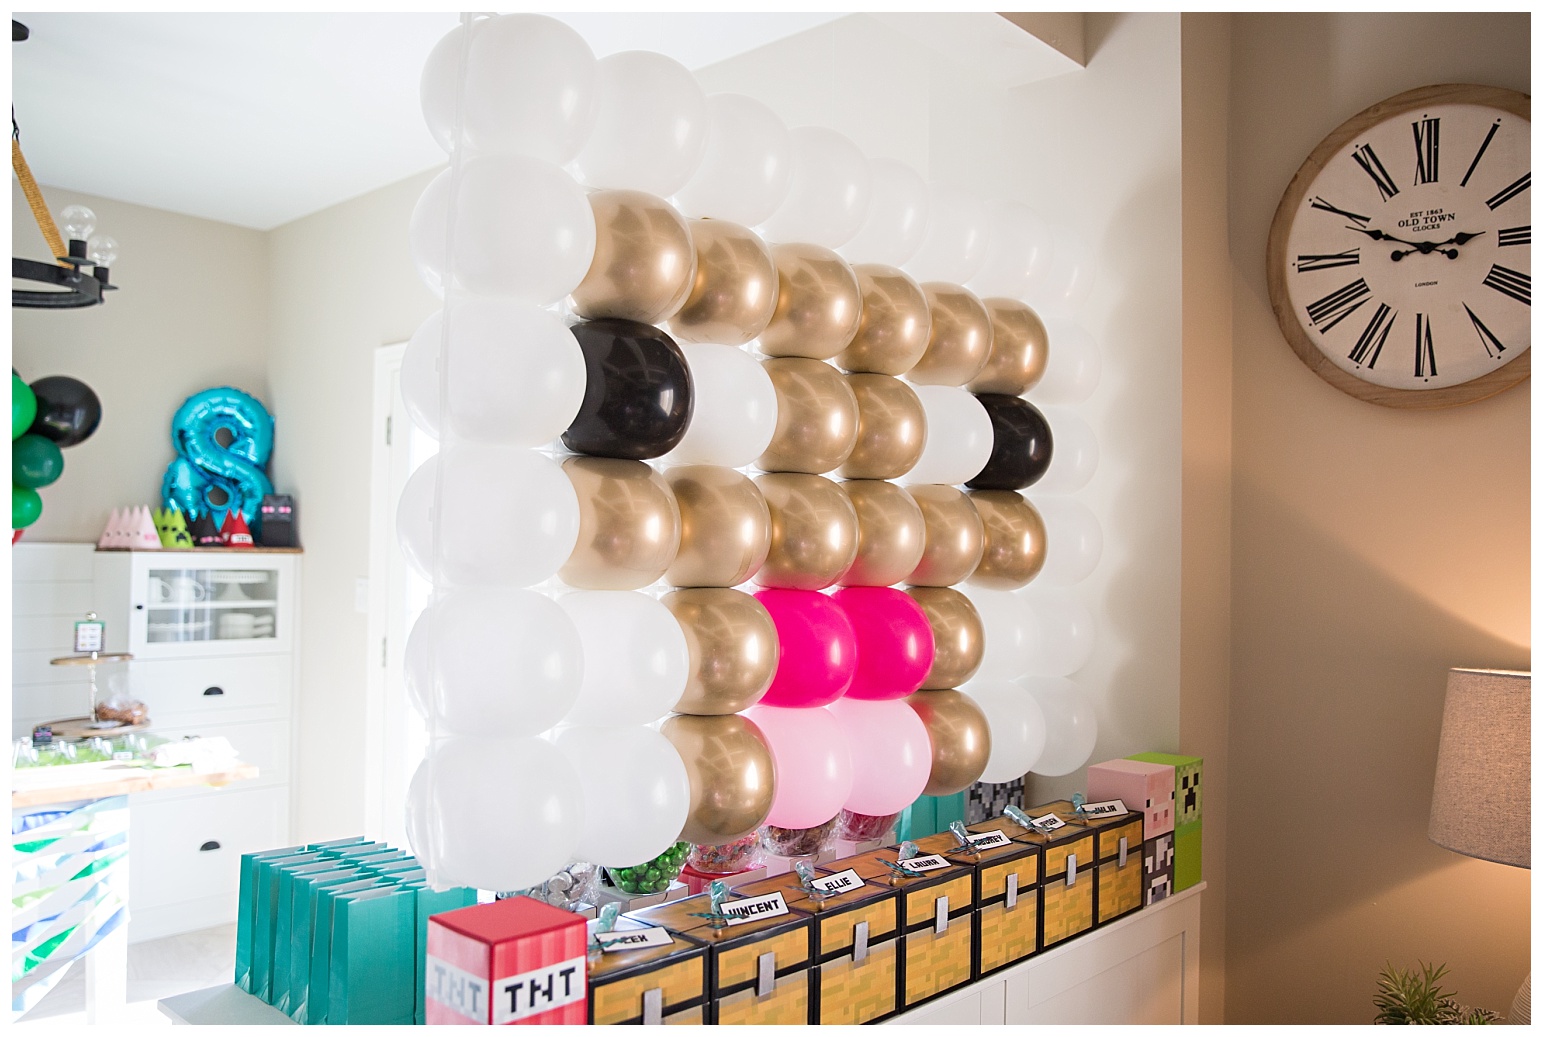
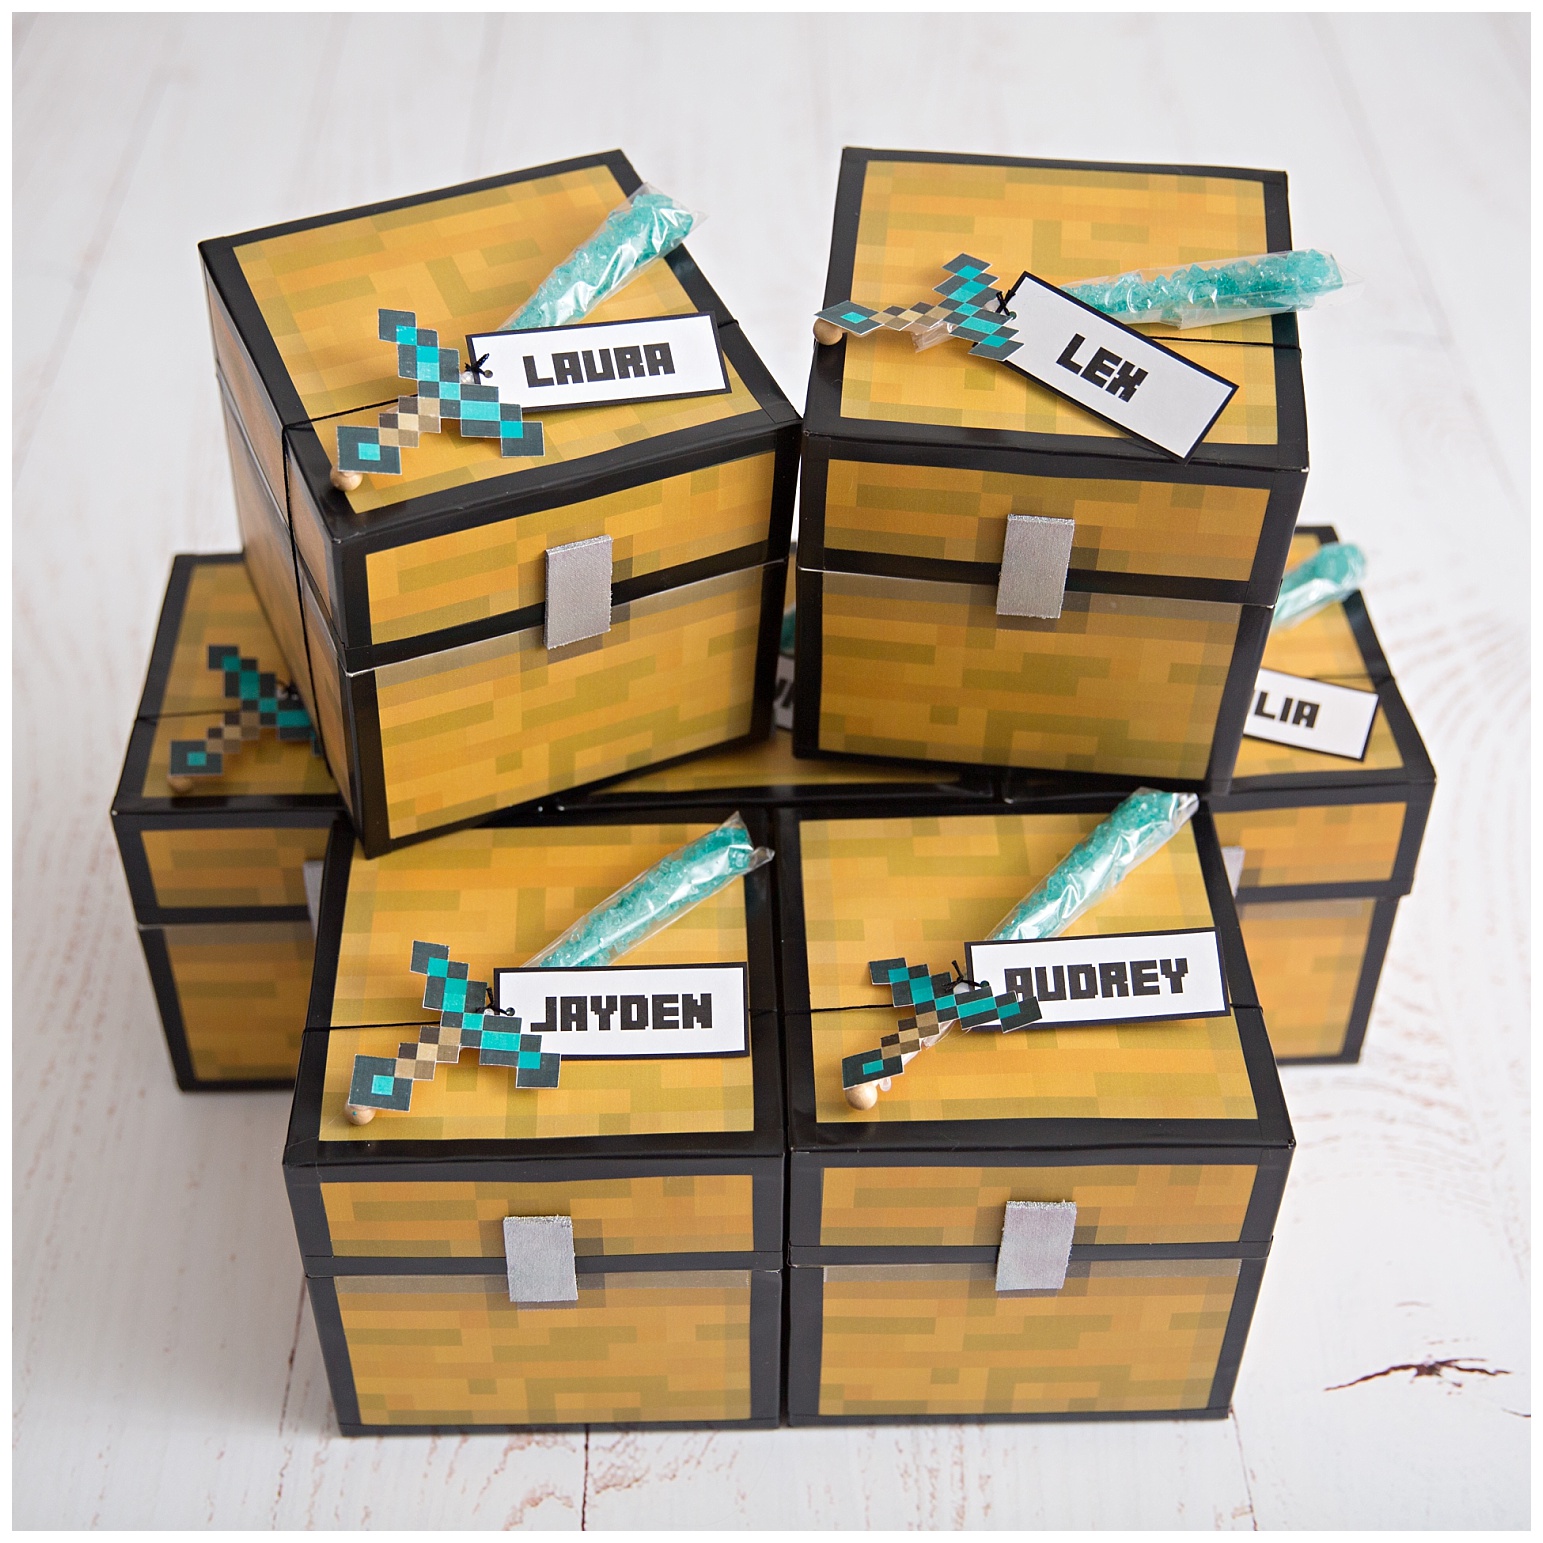
Now we move onto the party favours for the kids. I’m kind of notorious for doing awesome party favours so I invested a lot of my (limited) time on these bad boys.
I will itemize all of the contents including my sources with each picture as I go.
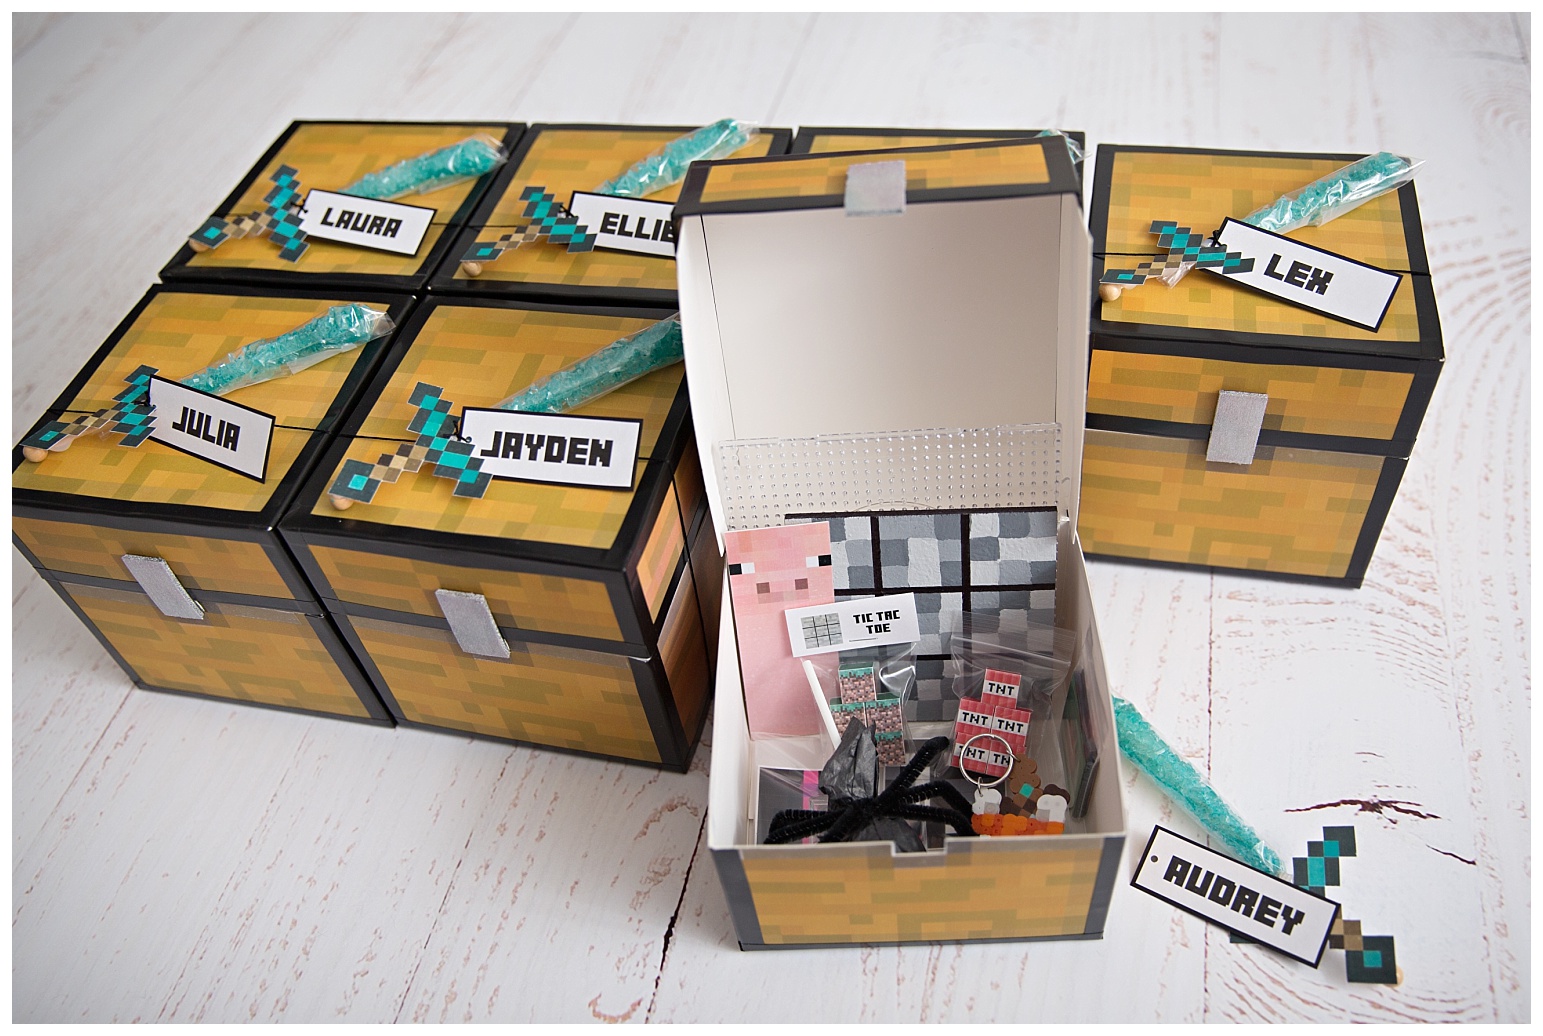
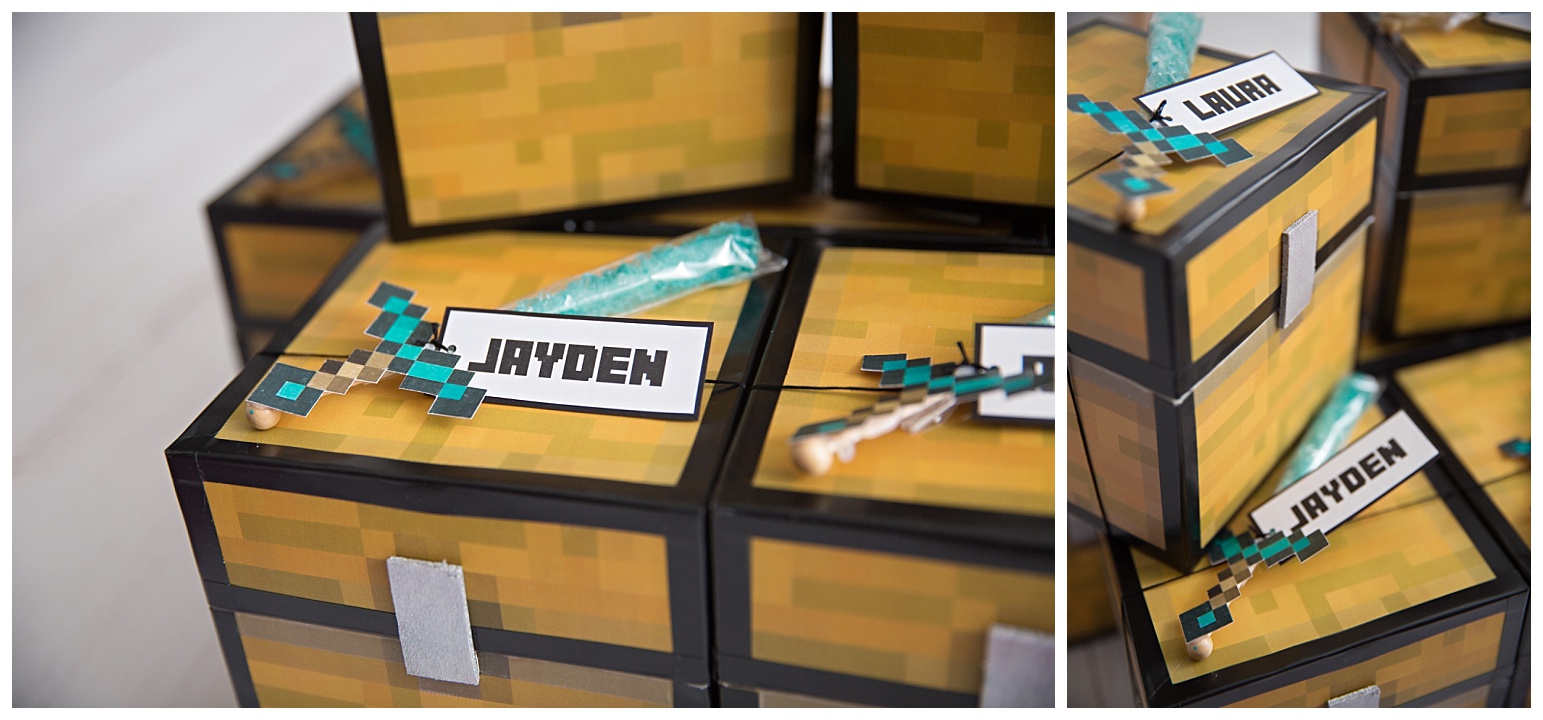
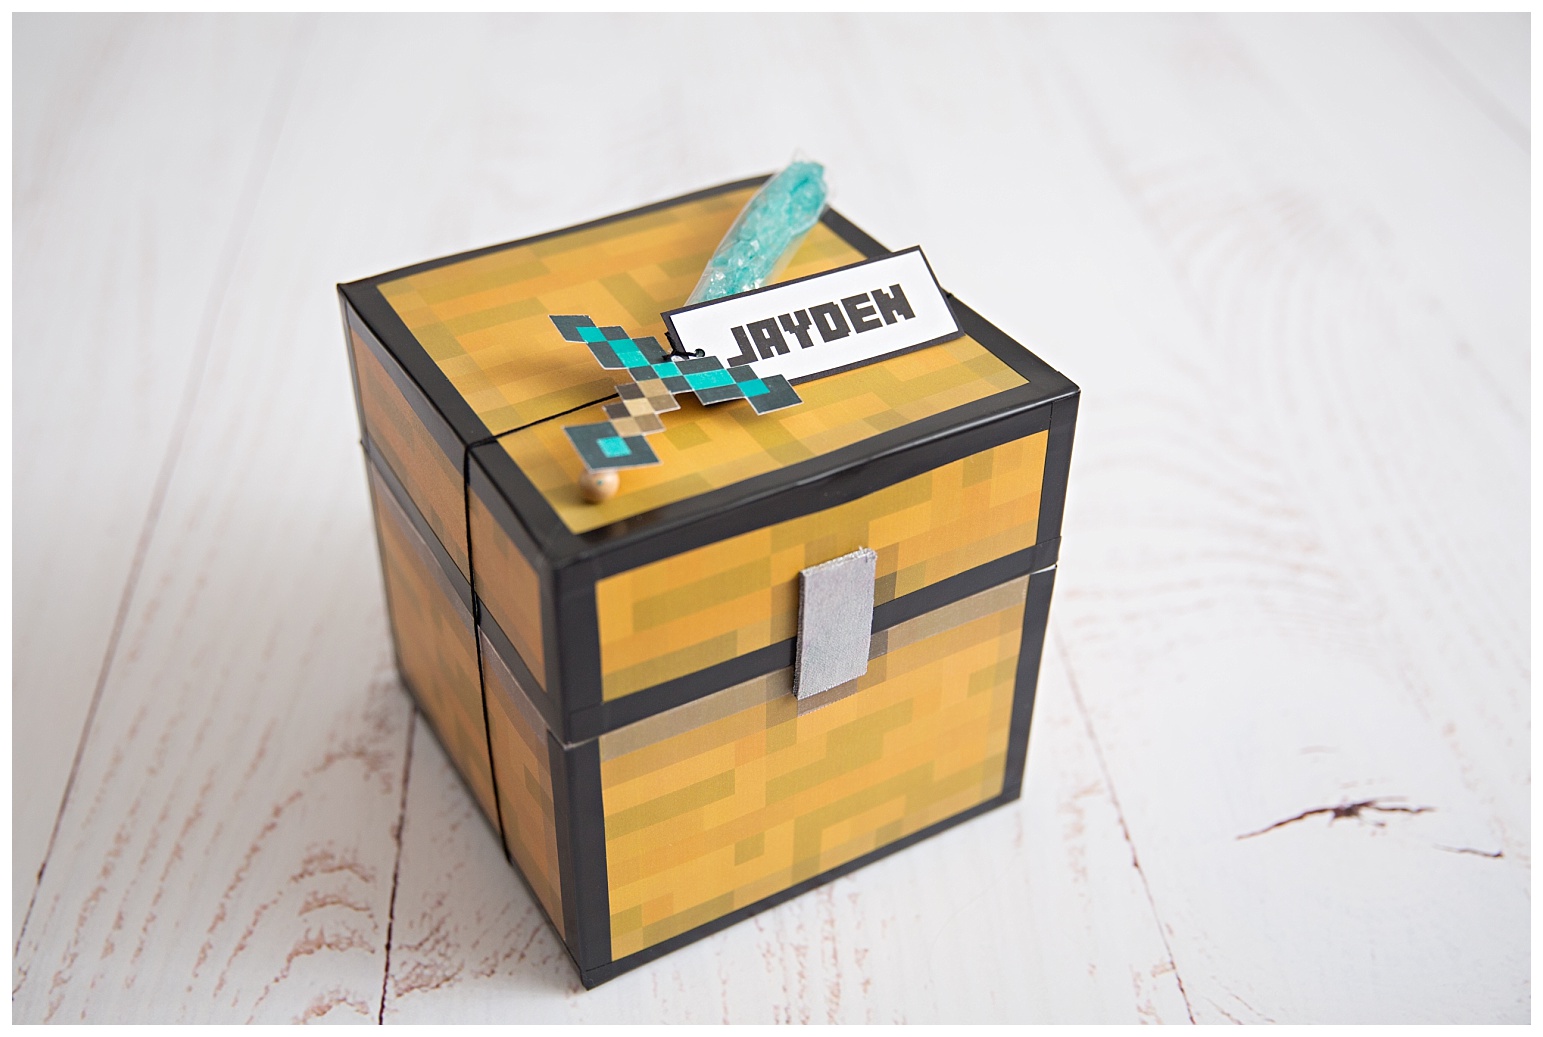
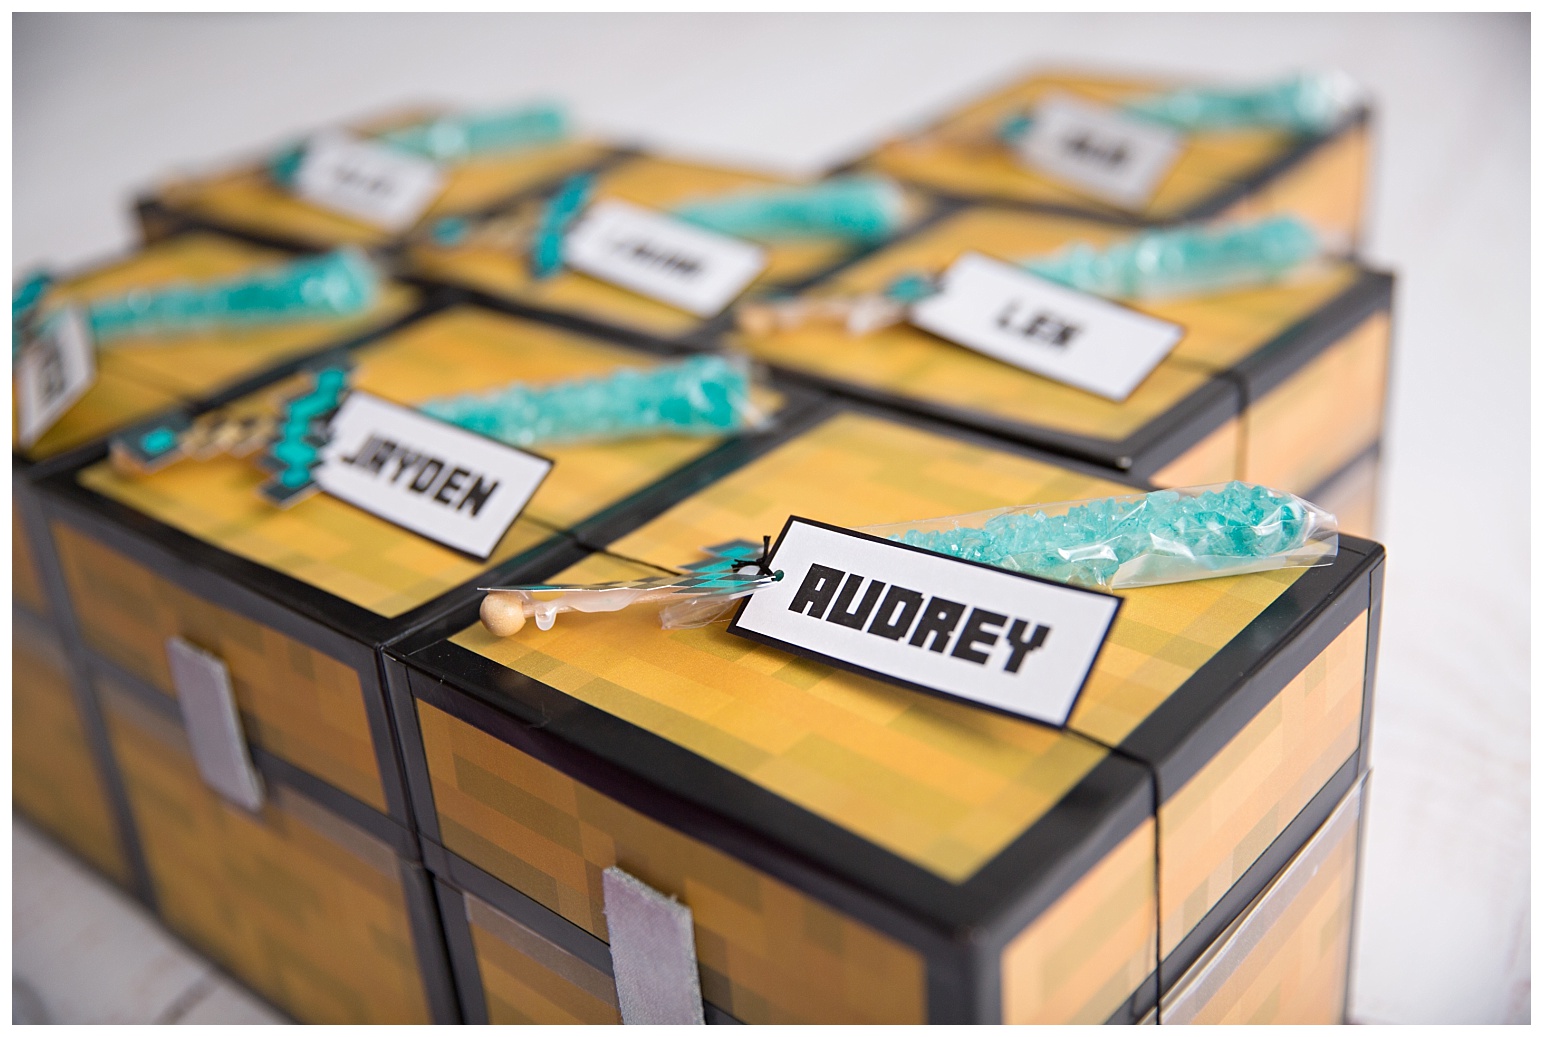
The boxes themselves were these ones from Amazon. I cut them so that they would open like a chest and not like a gift box. I printed off each side image and glued them on, then I covered all of the edges with electrical tape to give it a solid completed look with no visible seams. The 3 dimensional latch on the front is a piece of mouse pad cut into rectangles and painted silver.
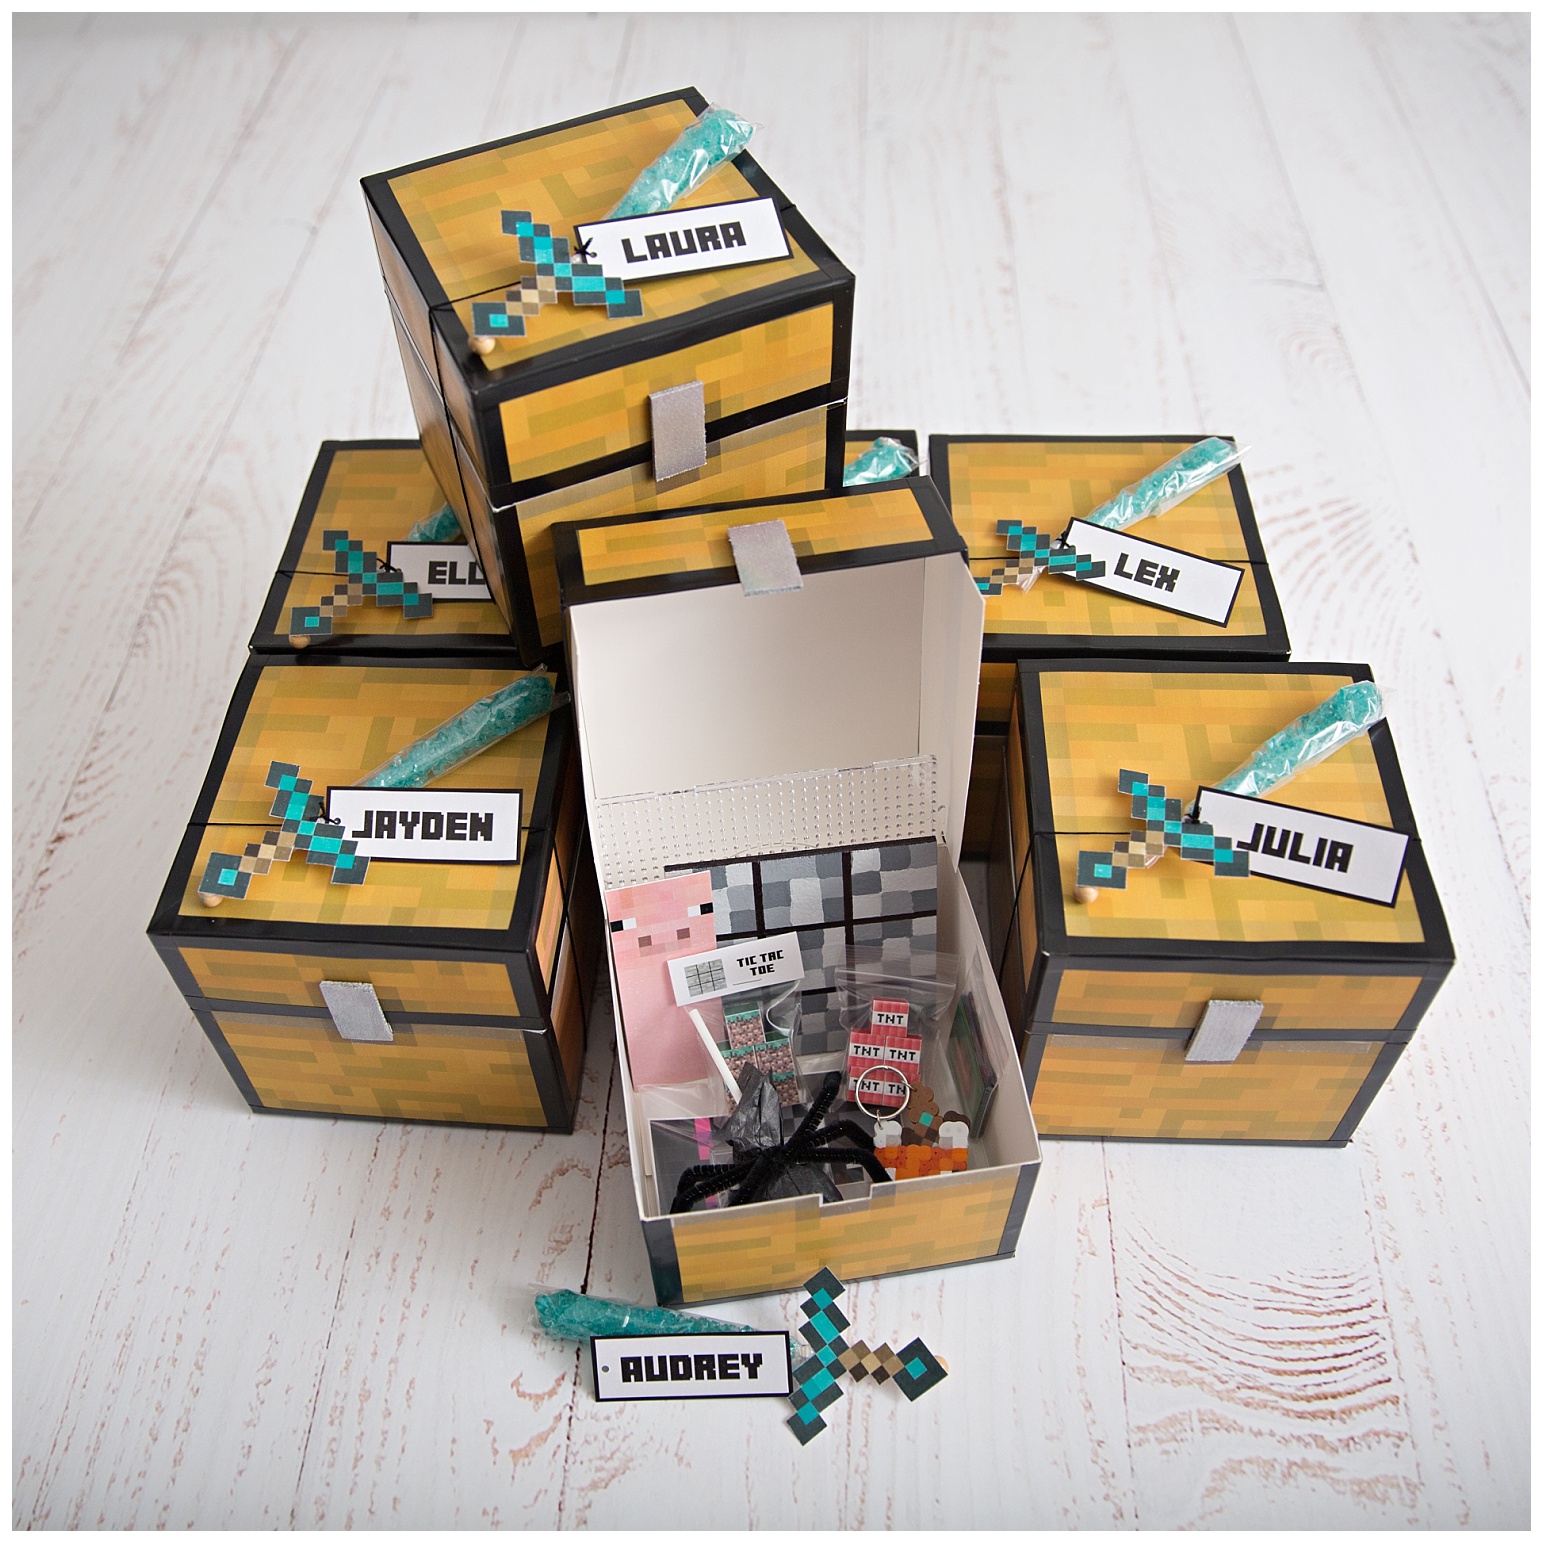
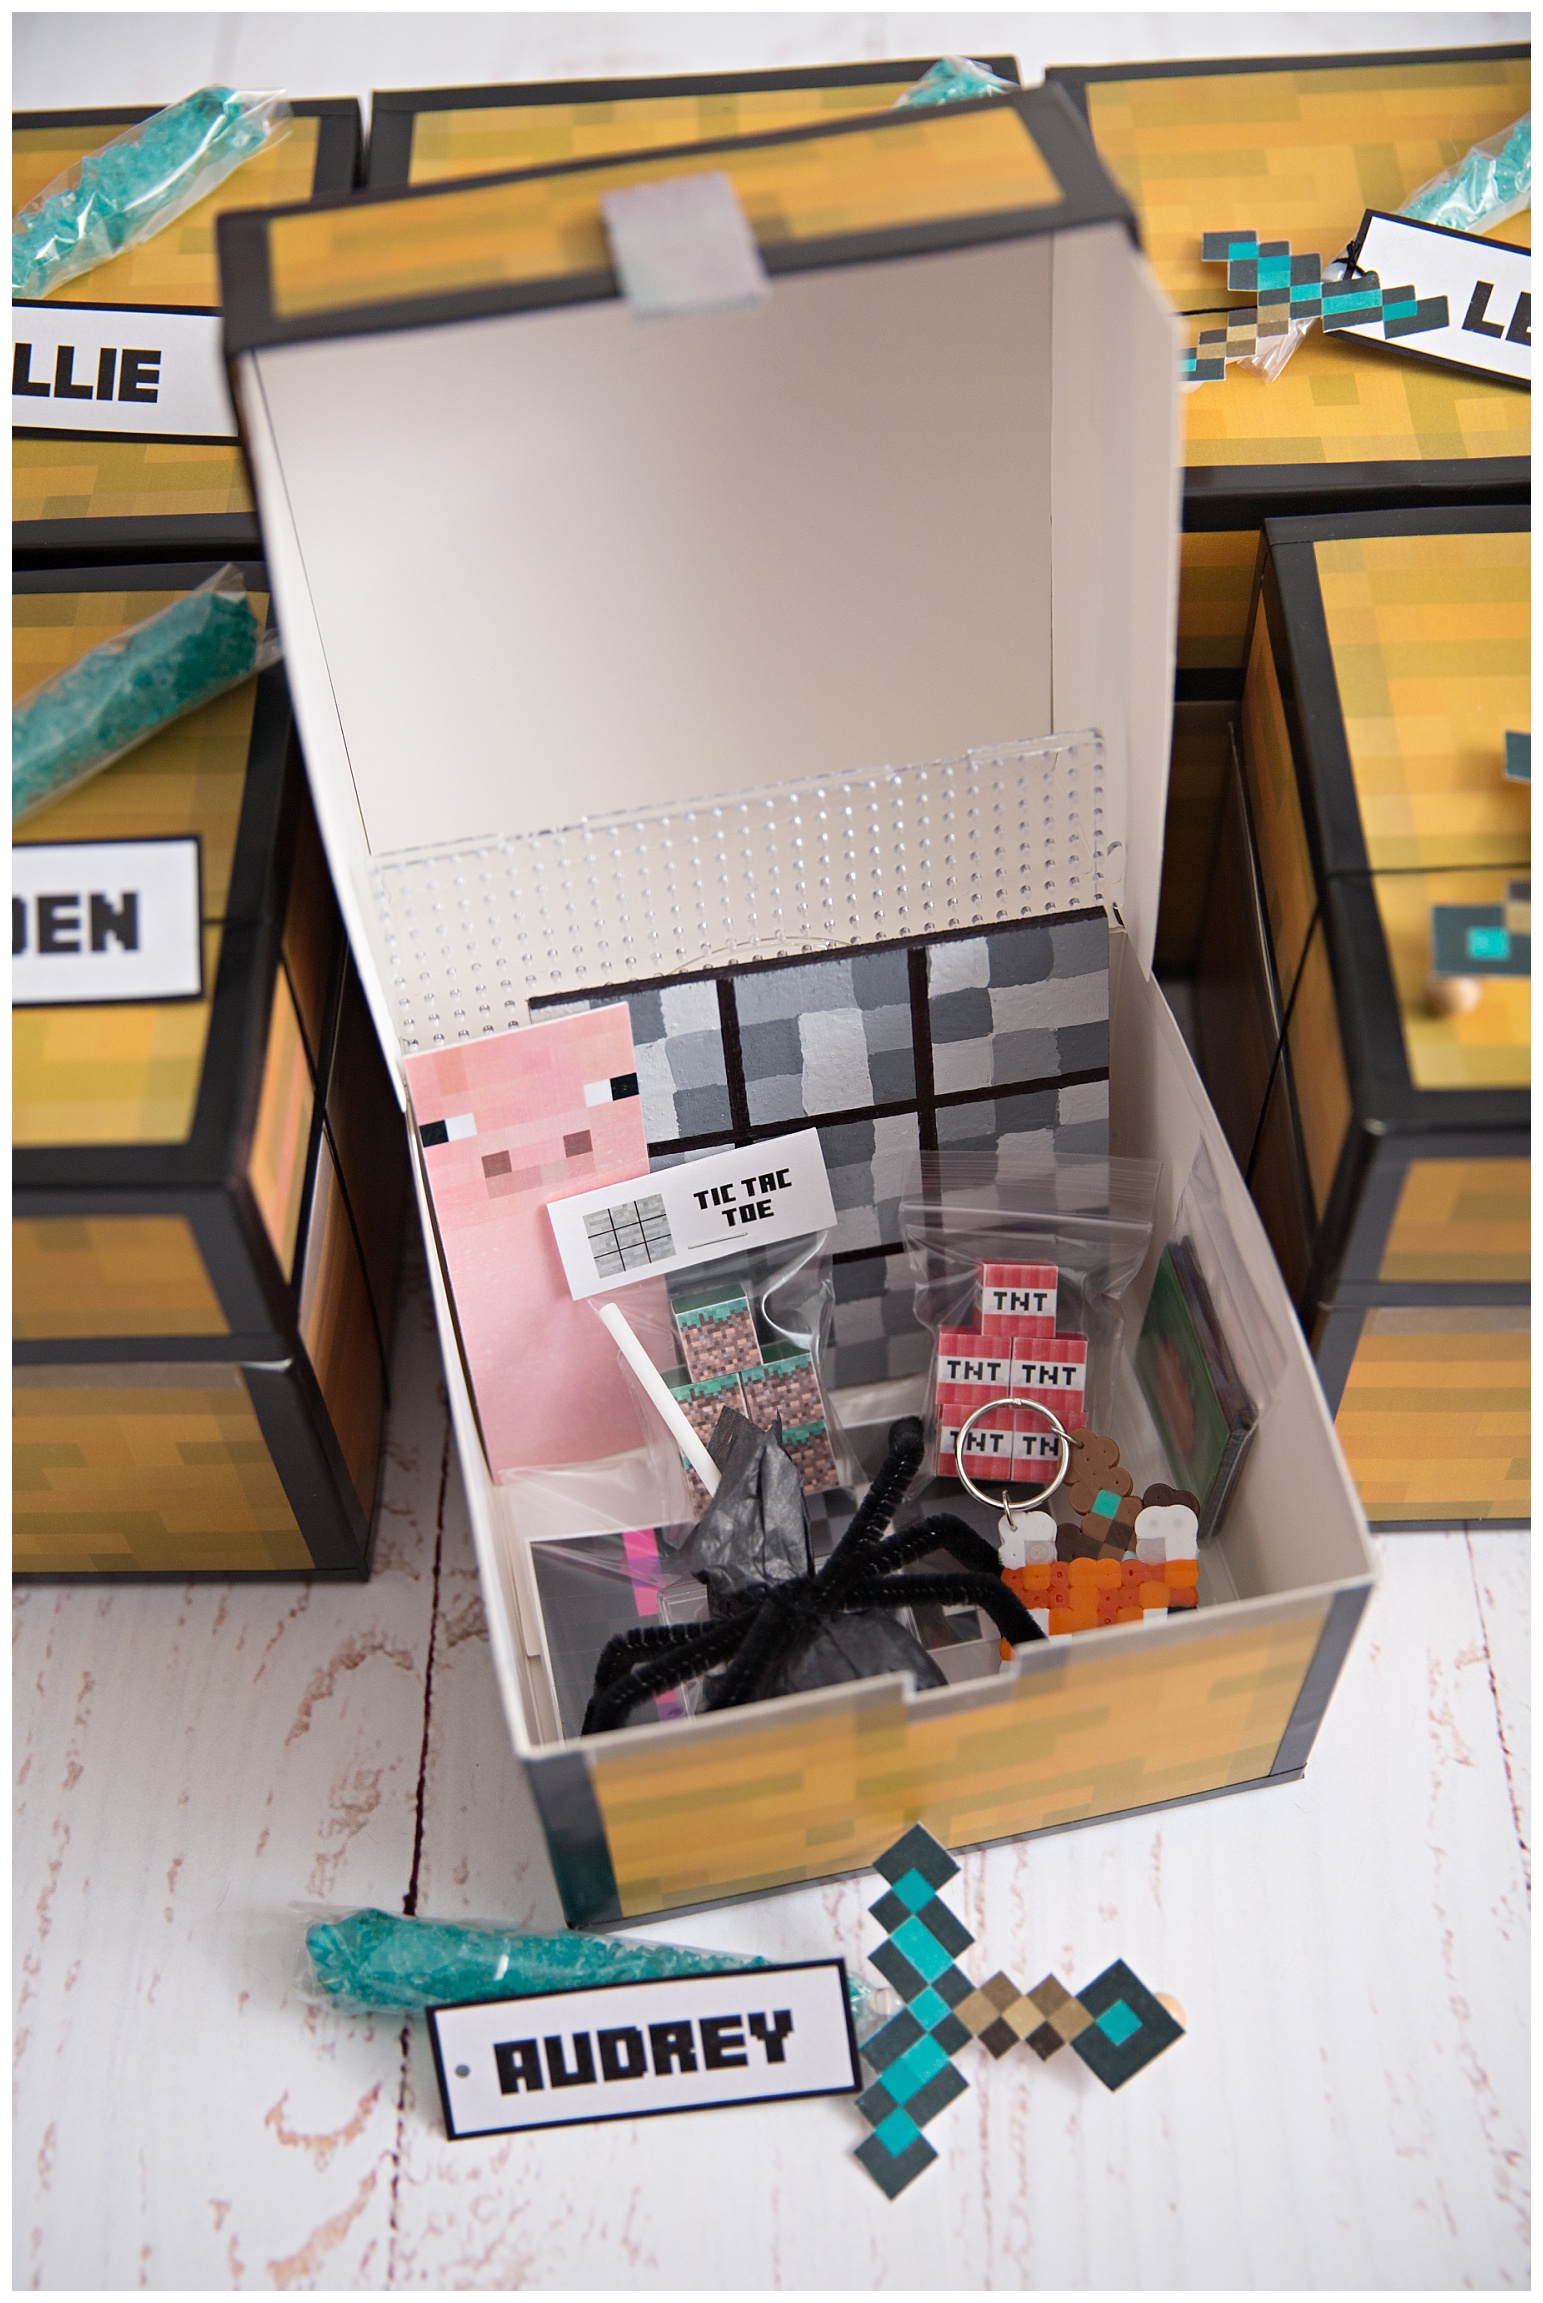
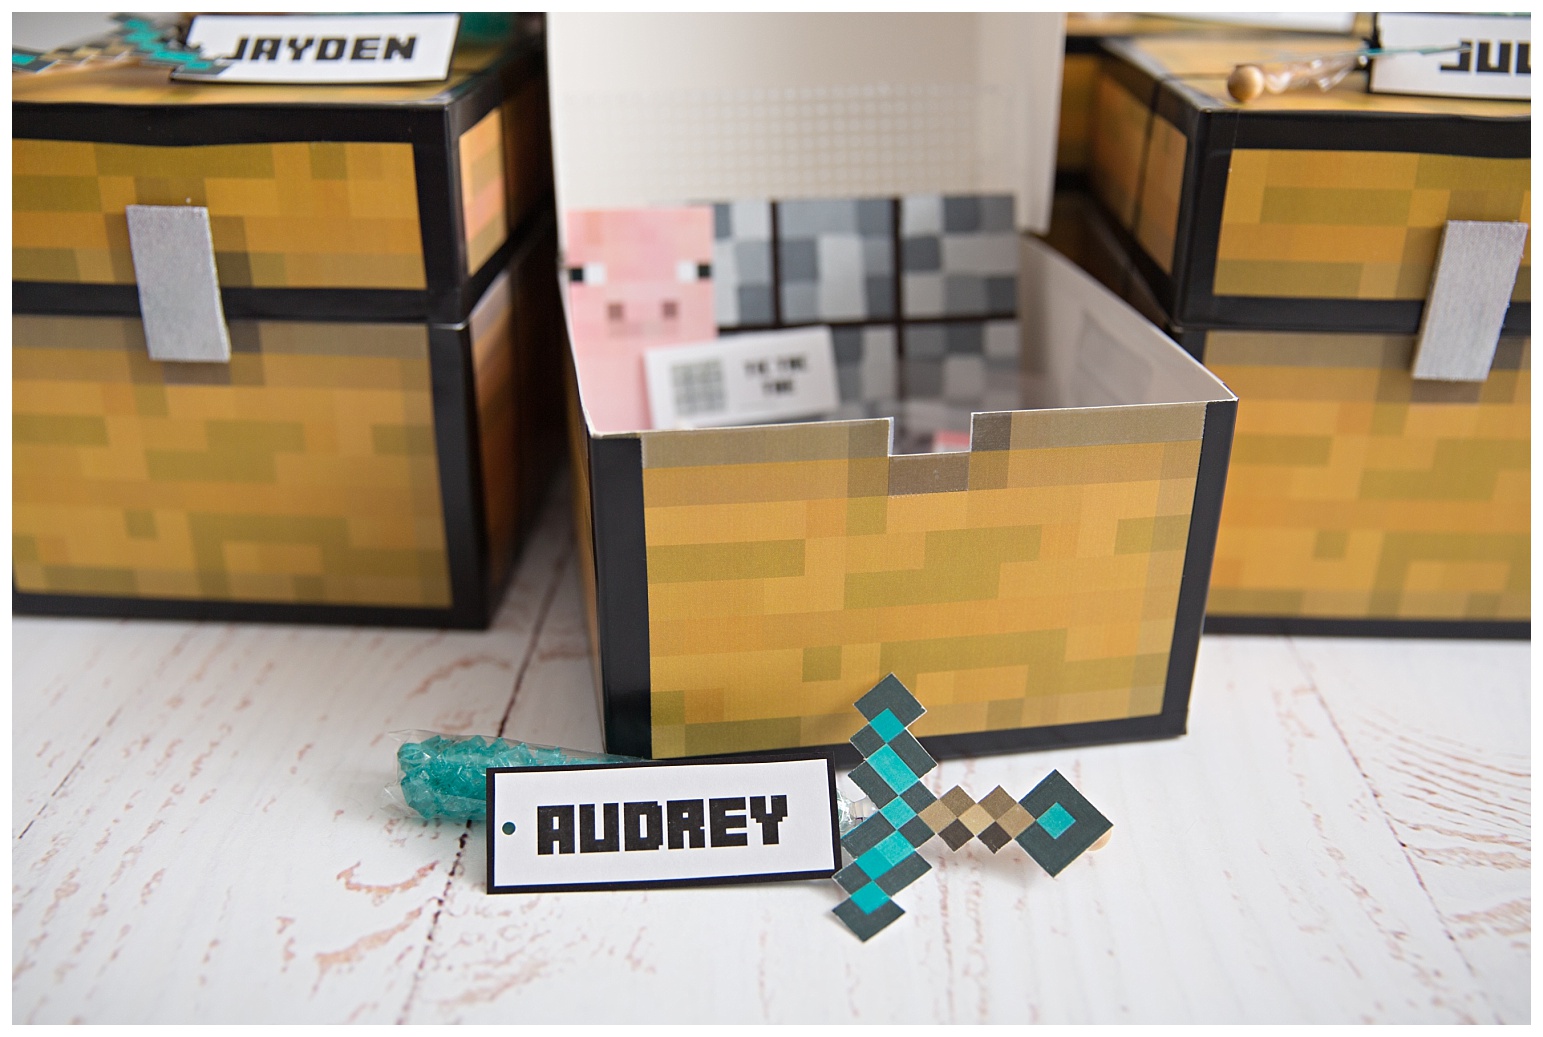
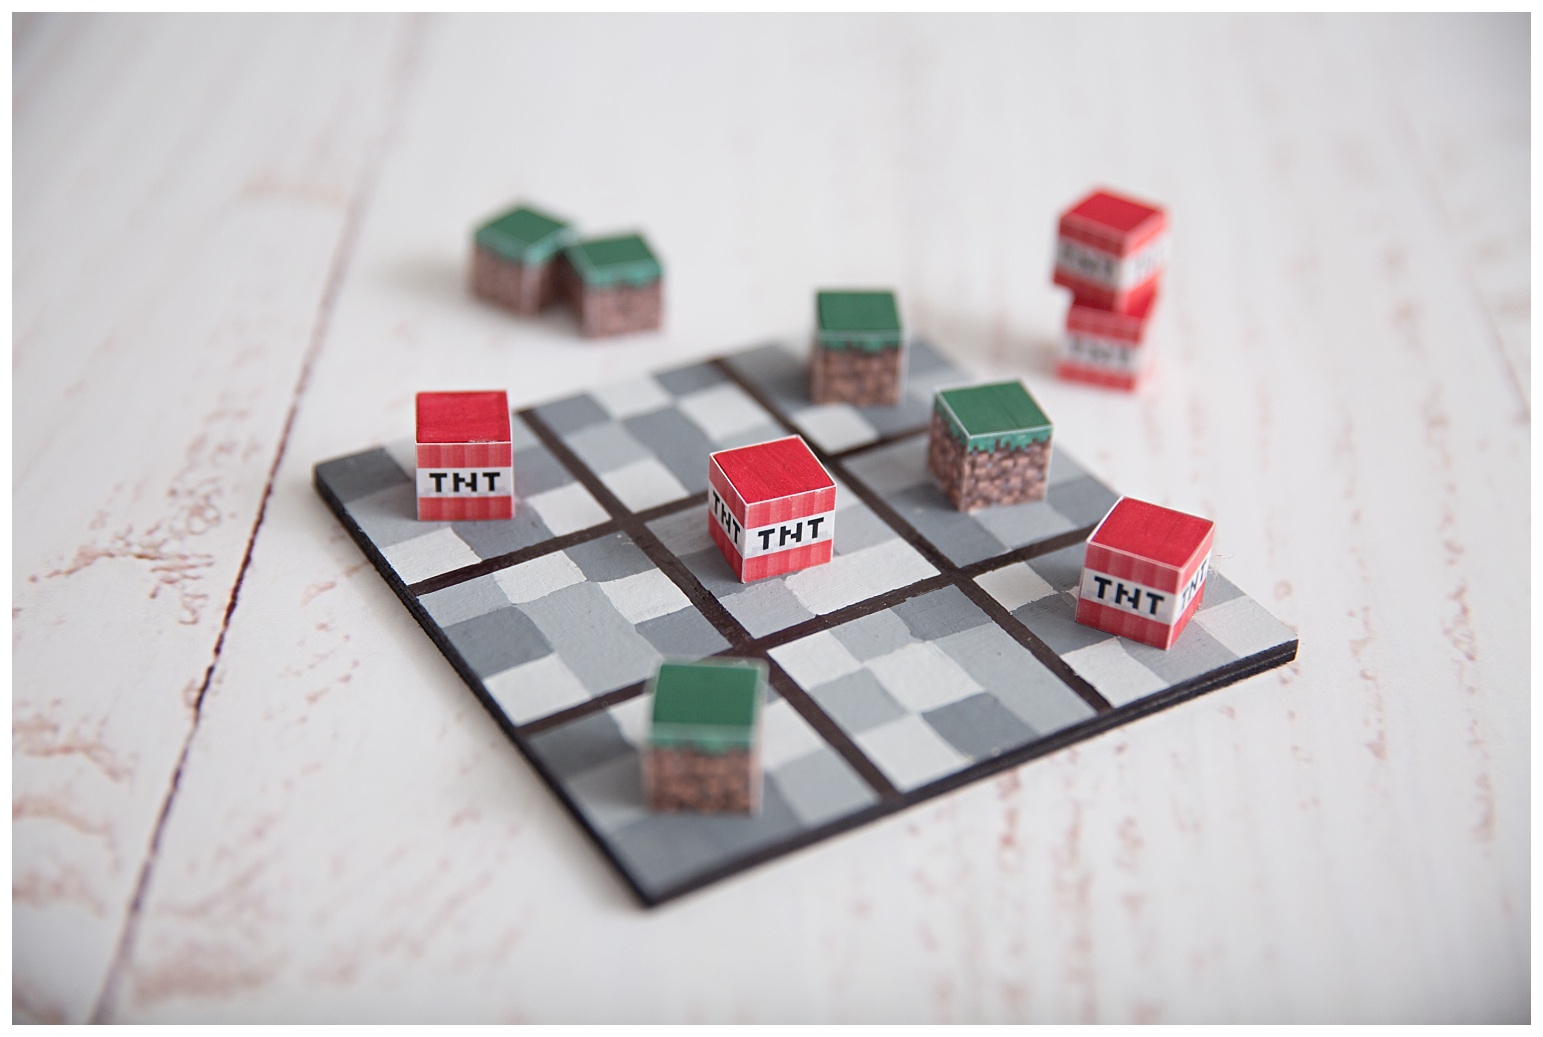
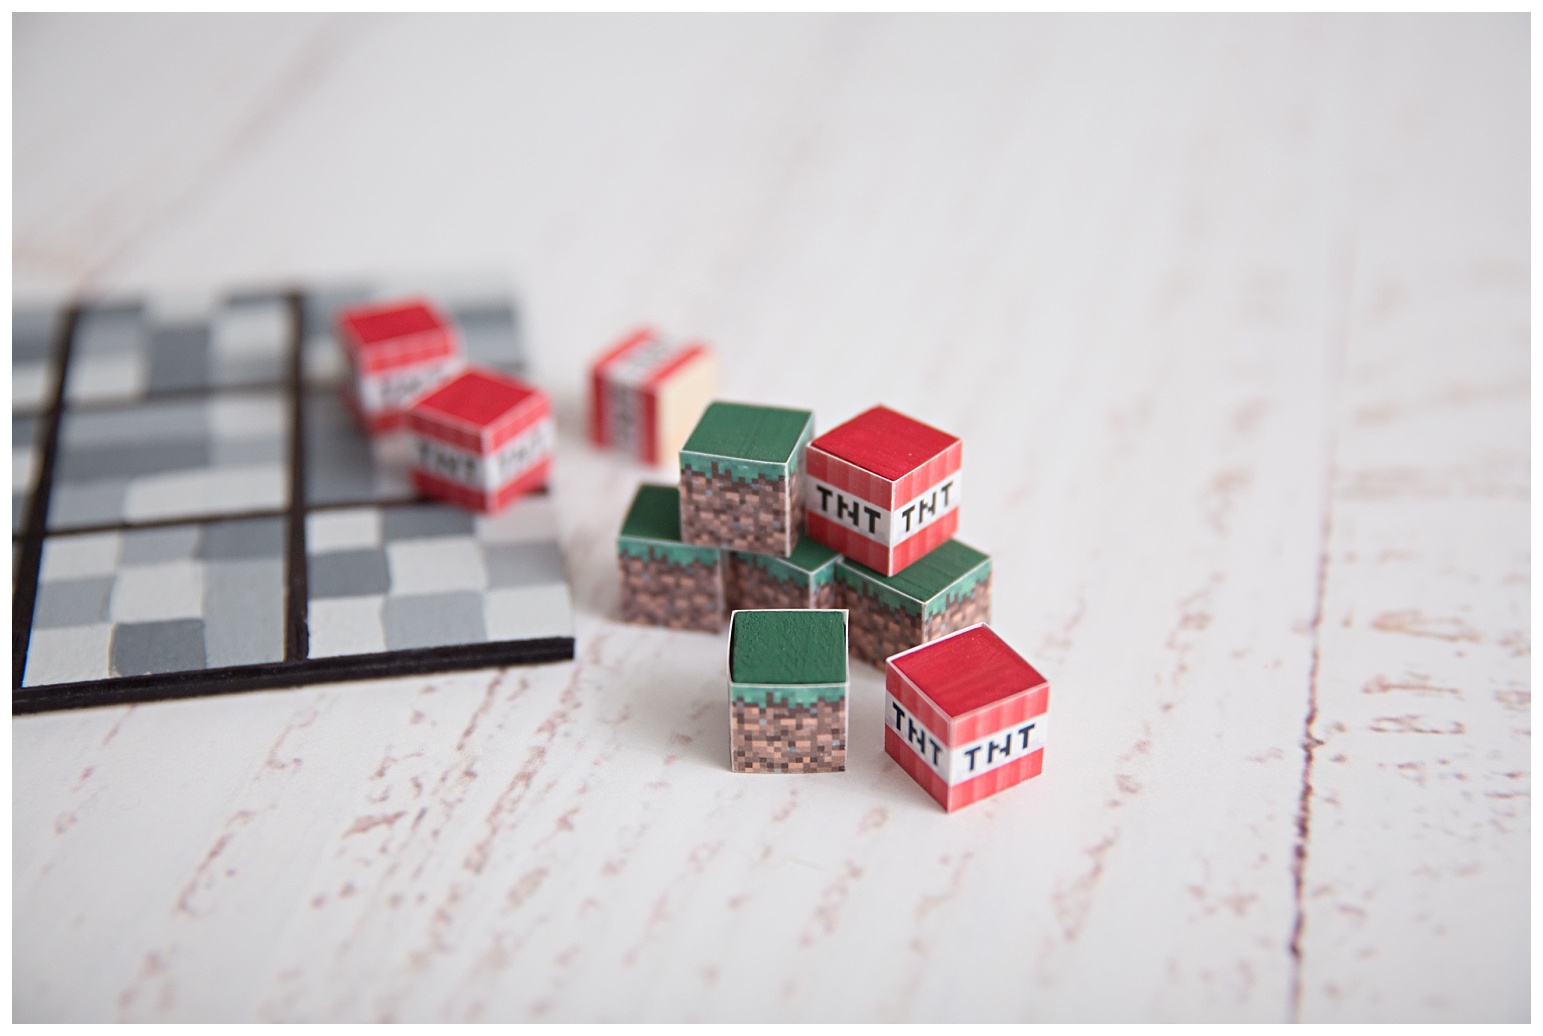
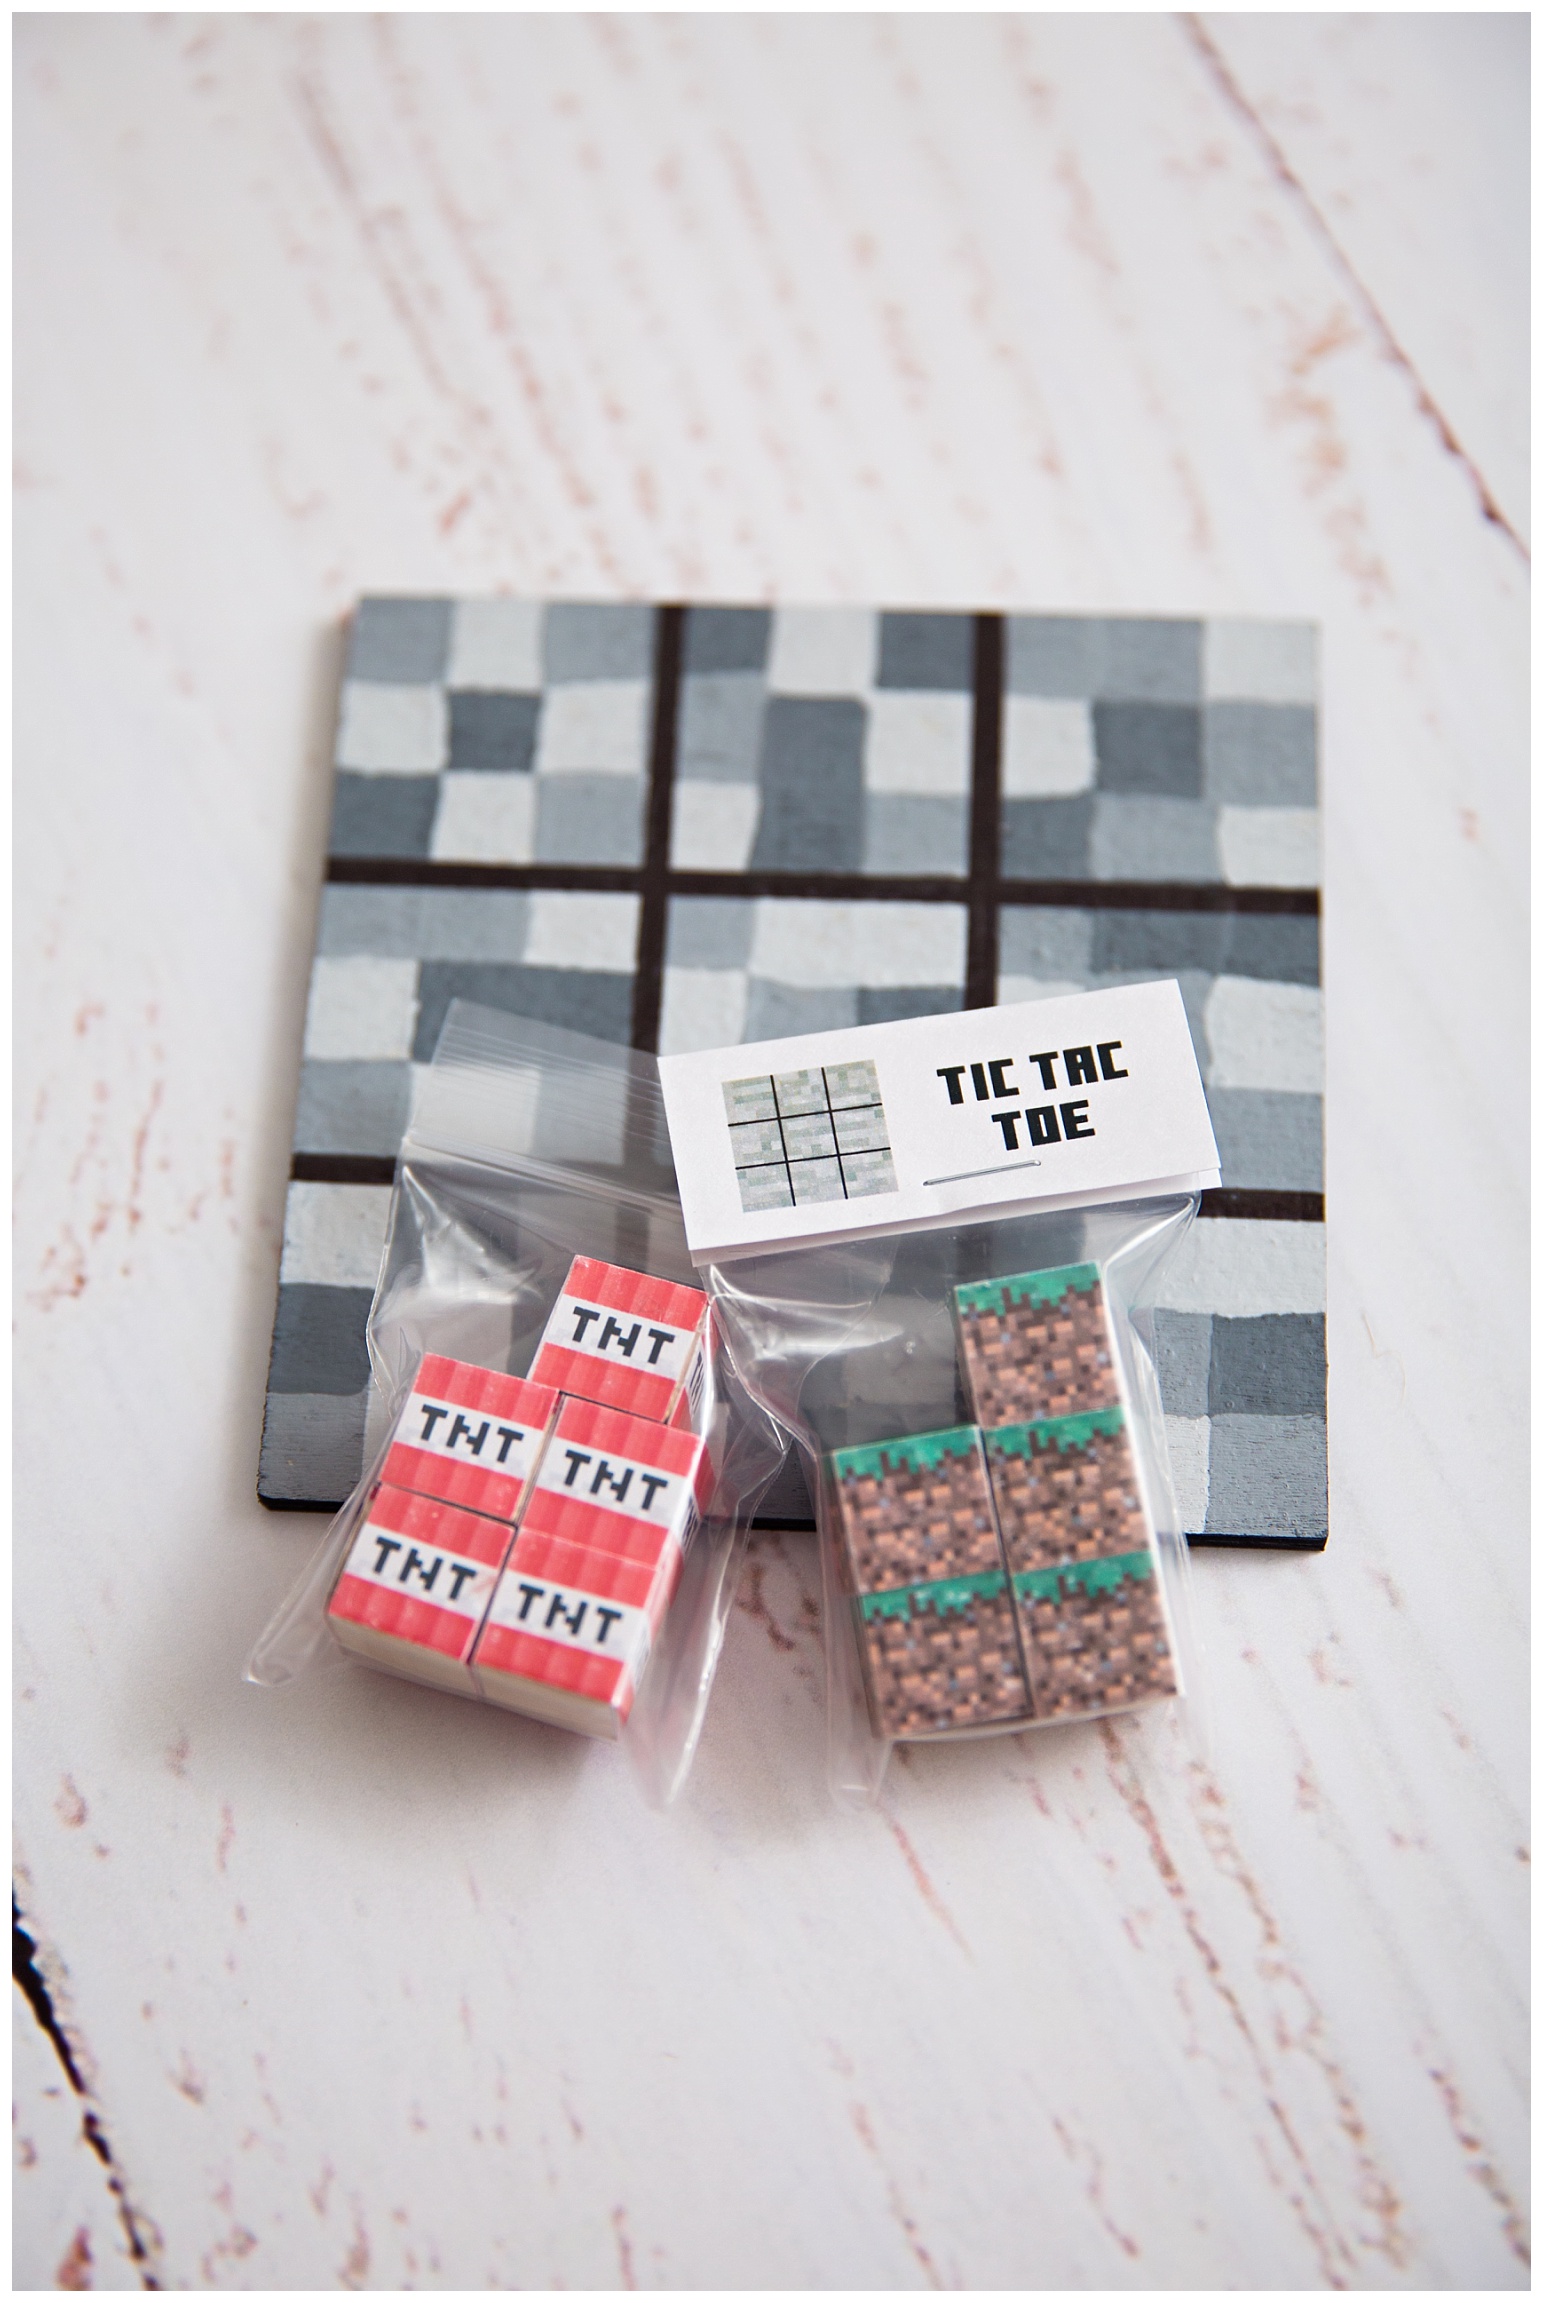
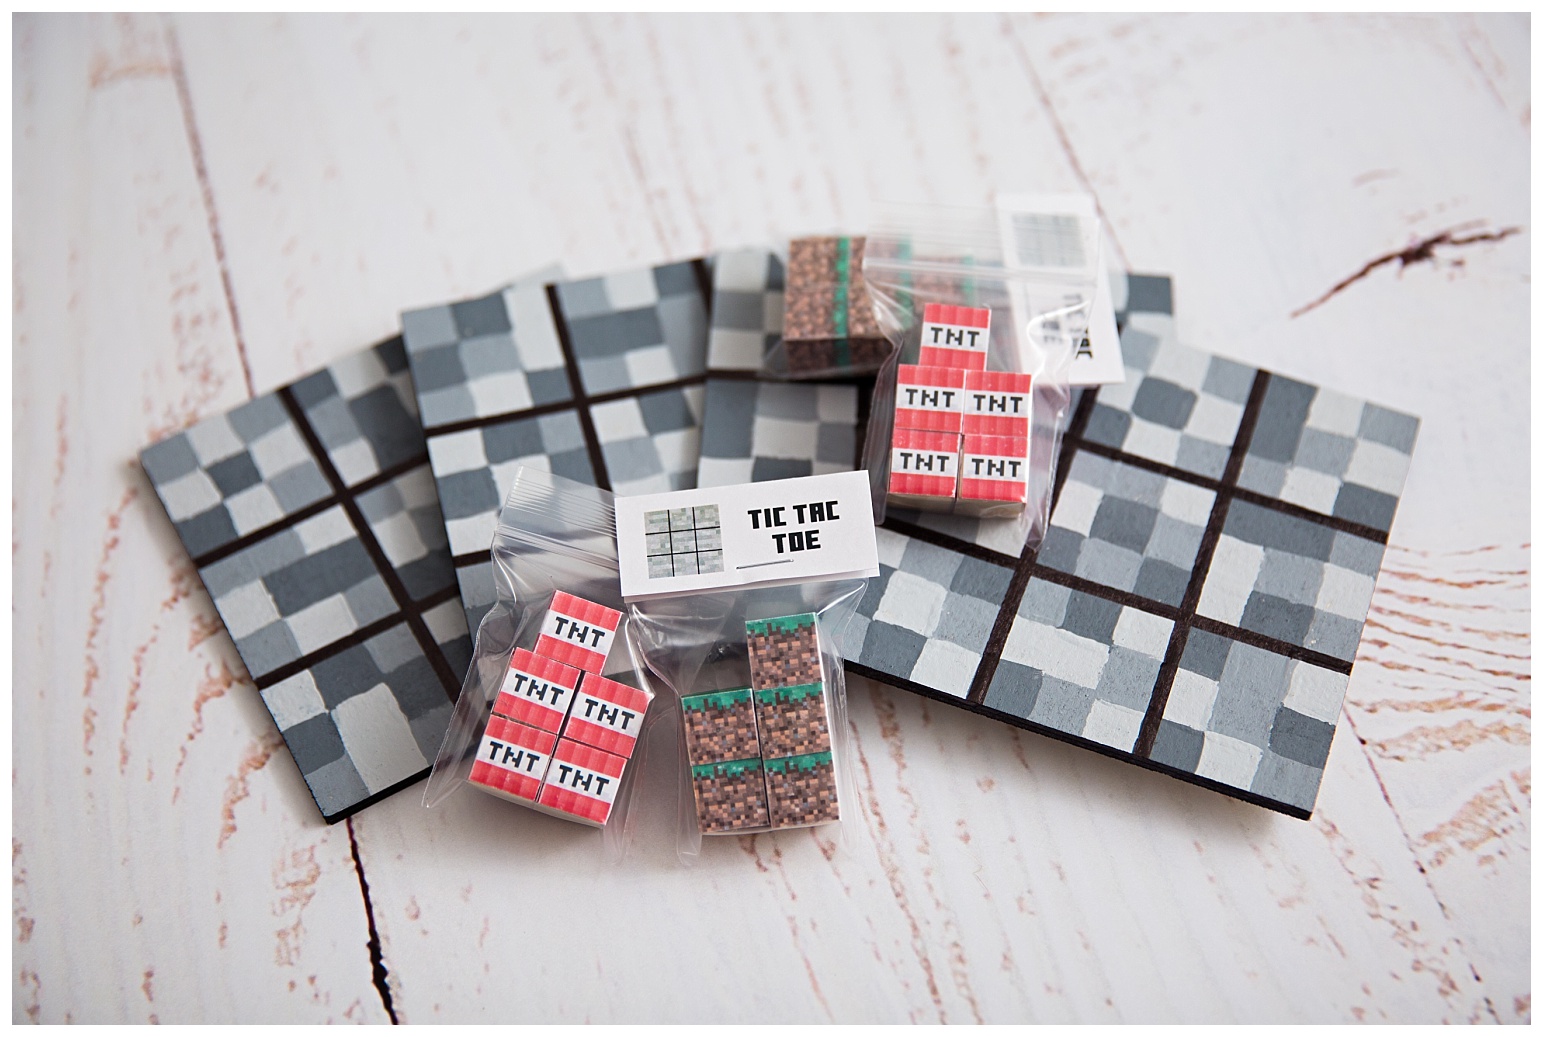
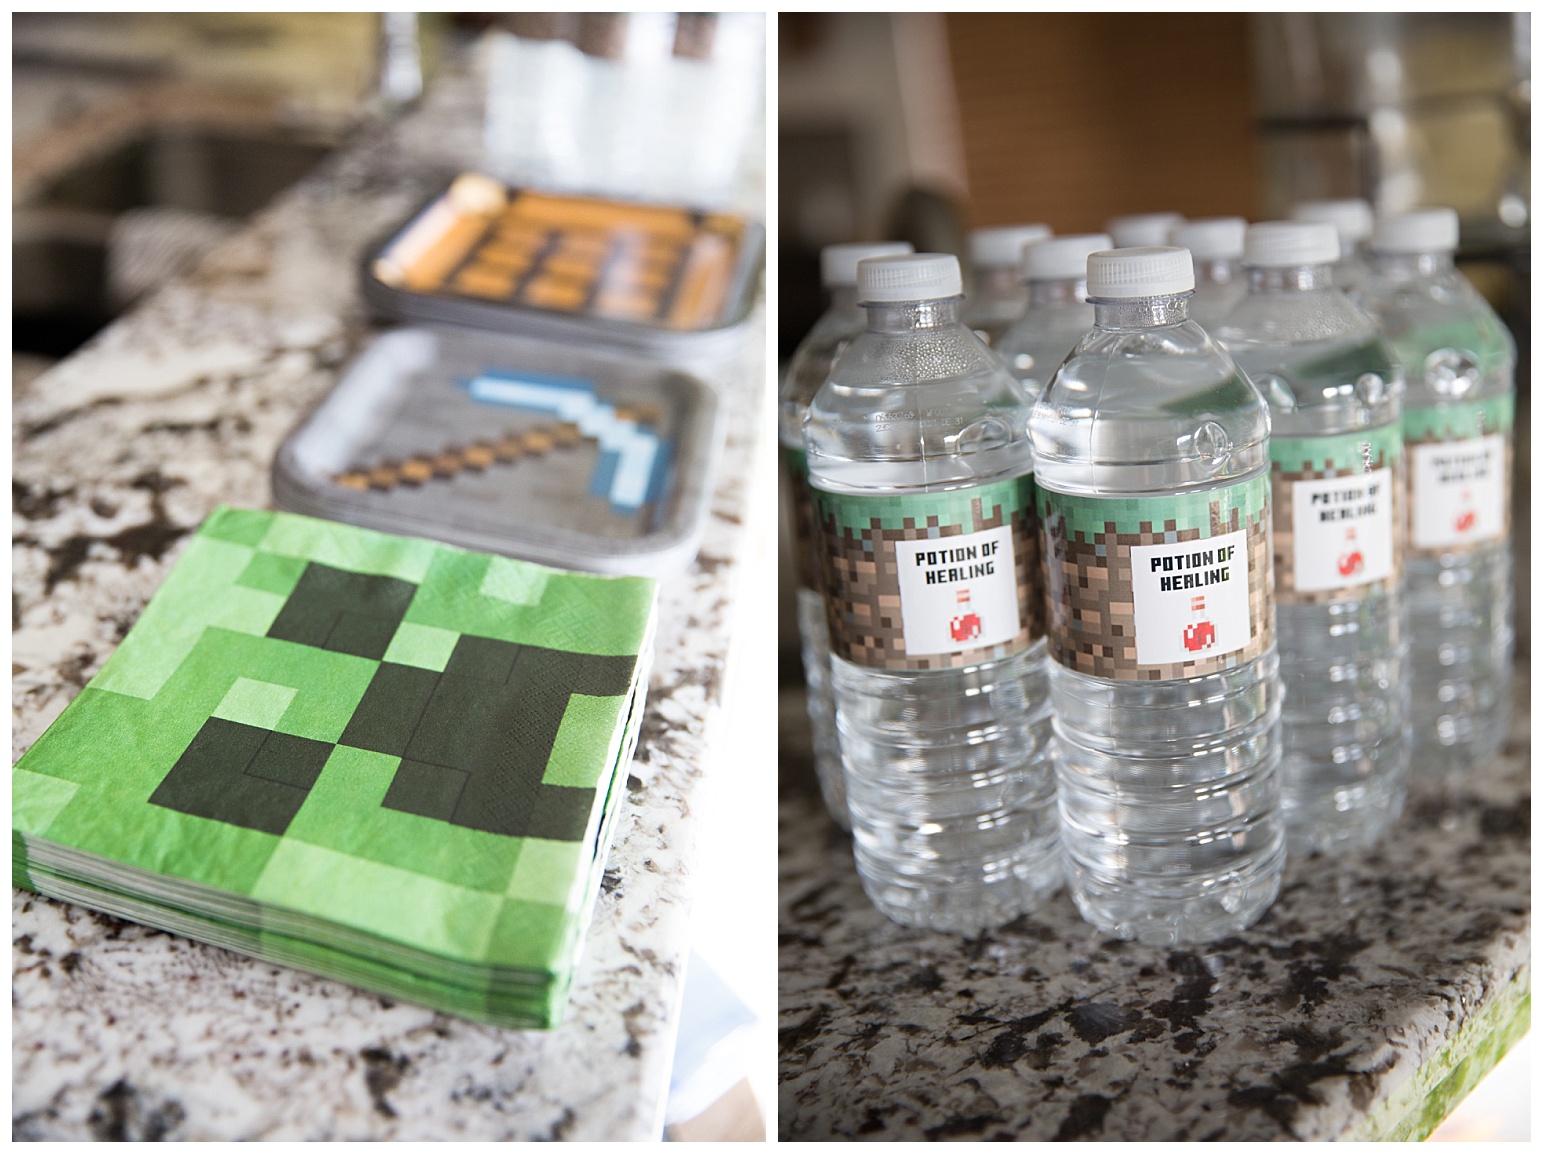
The supplies for these tic tac toe boards all came from the dollar store. The board is a thin piece of wood (they came in packs of 6) that I just painted with craft paint using a square shaped sponge brush. The game pieces are small wooden cubes also from the dollar store that I just painted the tops of and wrapped with printed paper.
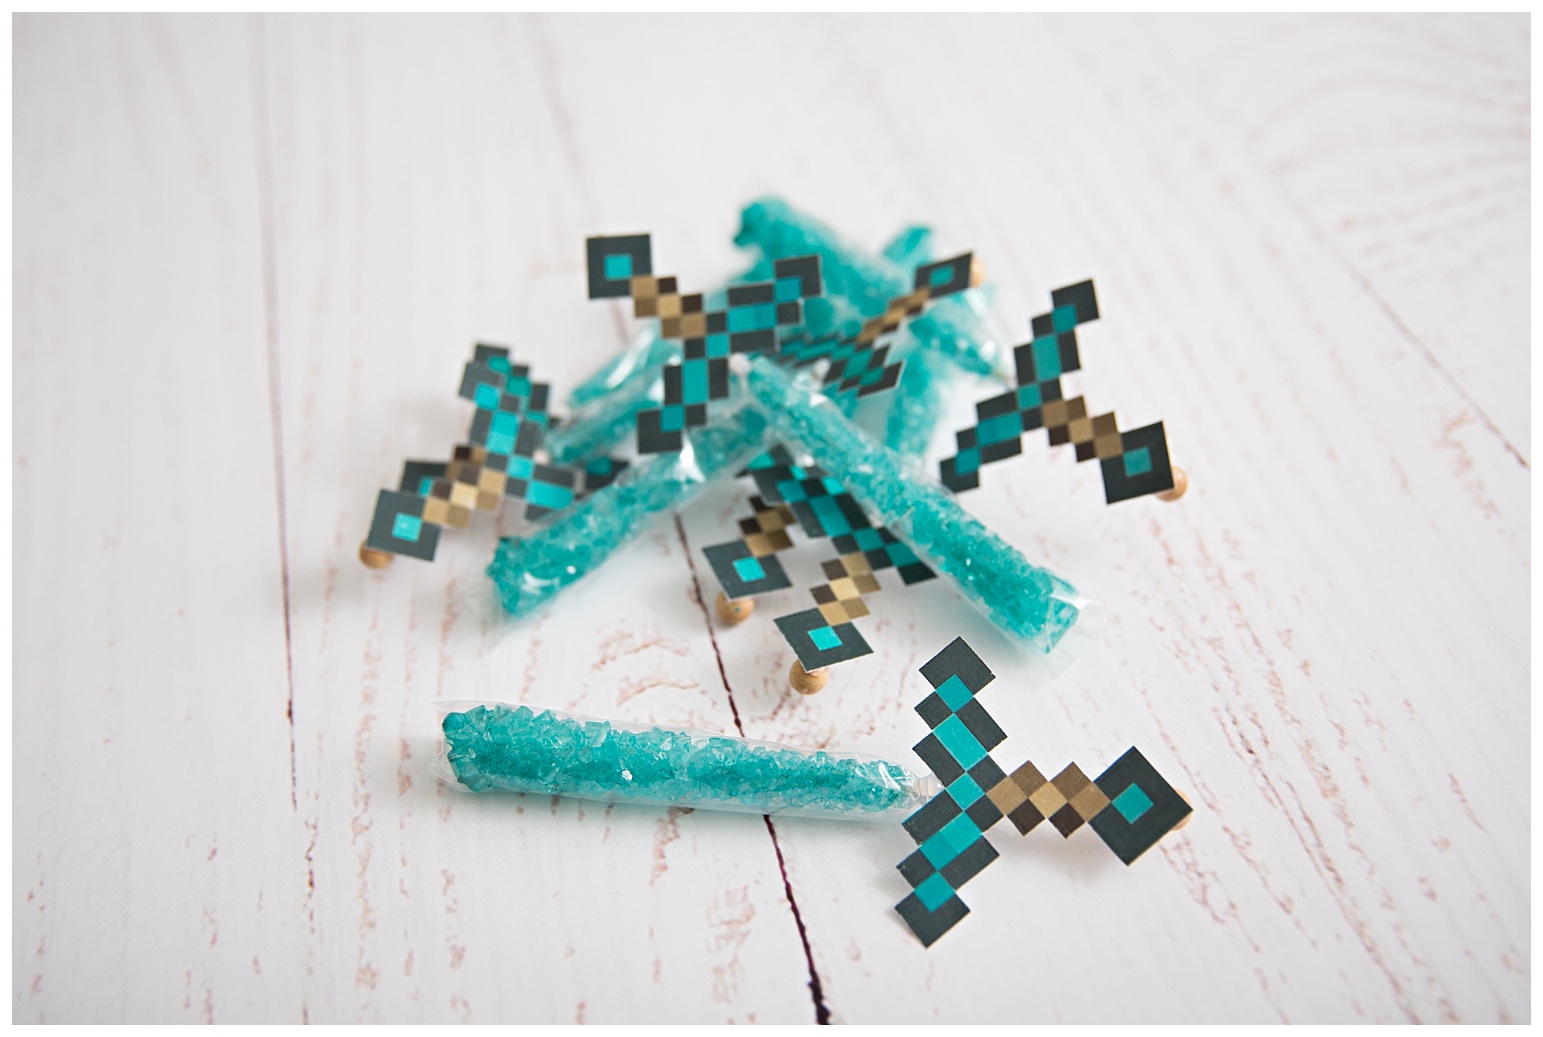
These rock candy sticks are from Party City and I just used hot glue to stick the sword handles onto the wooden sticks.
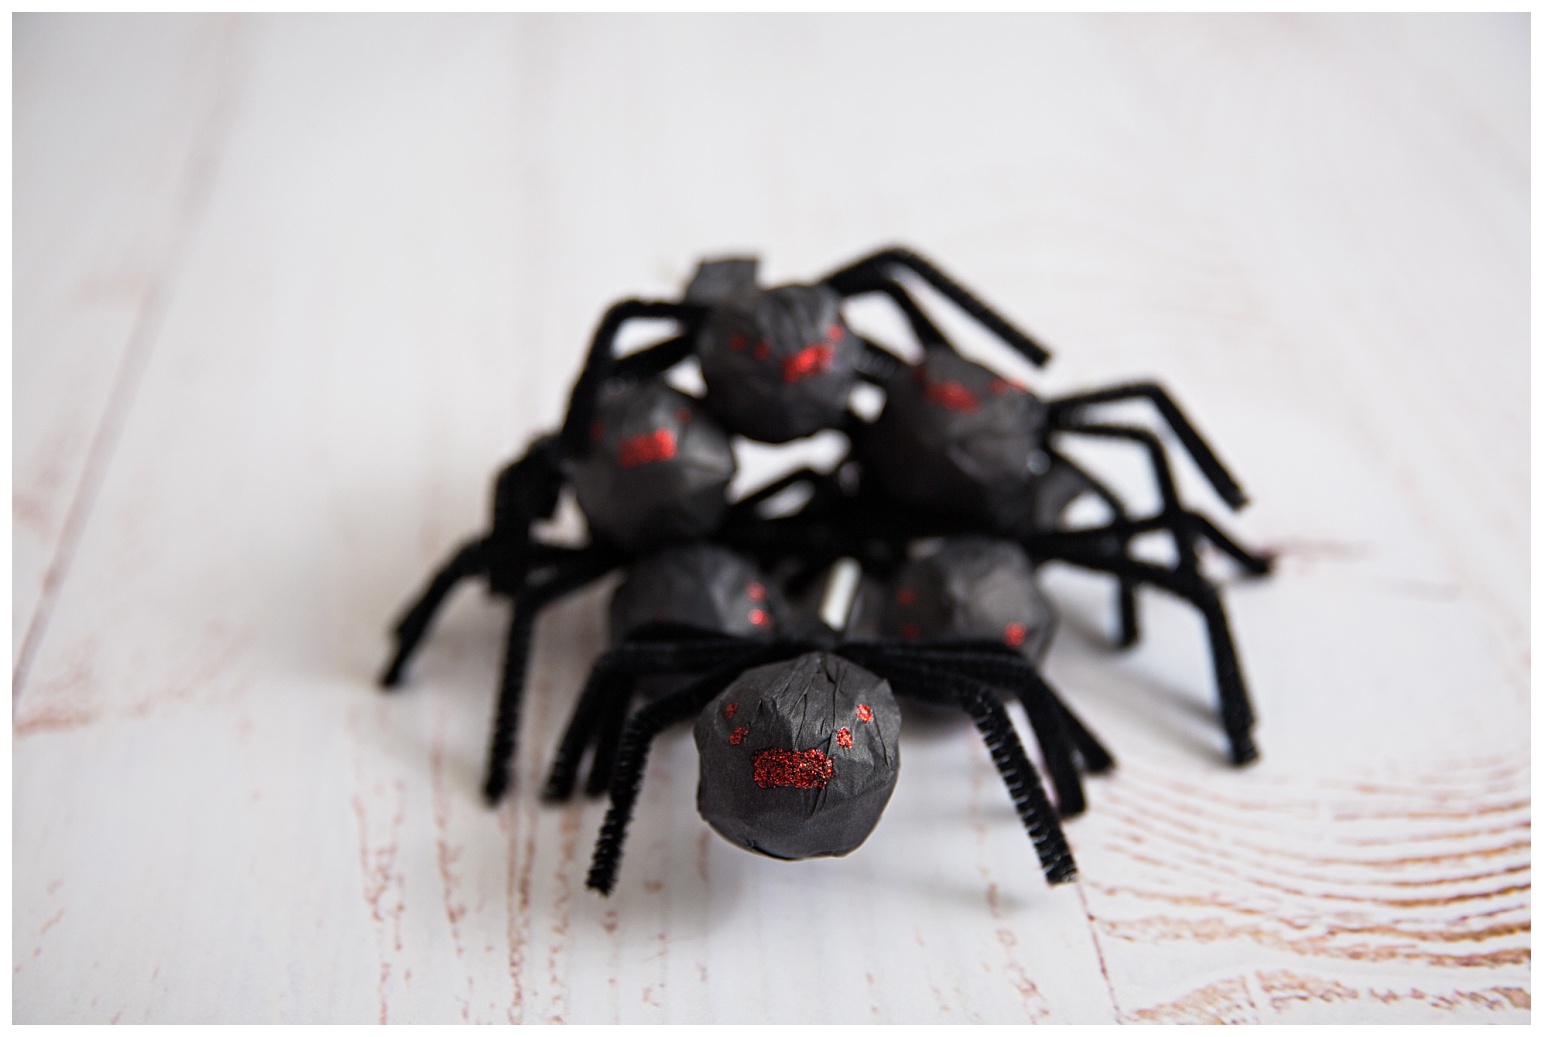
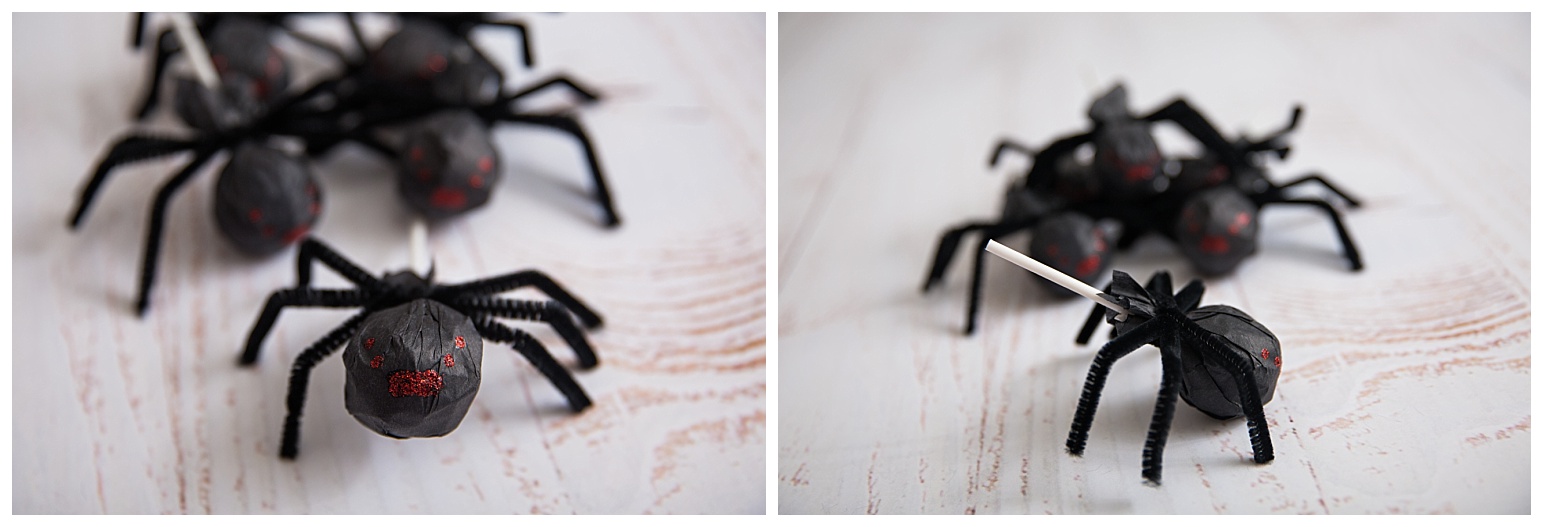
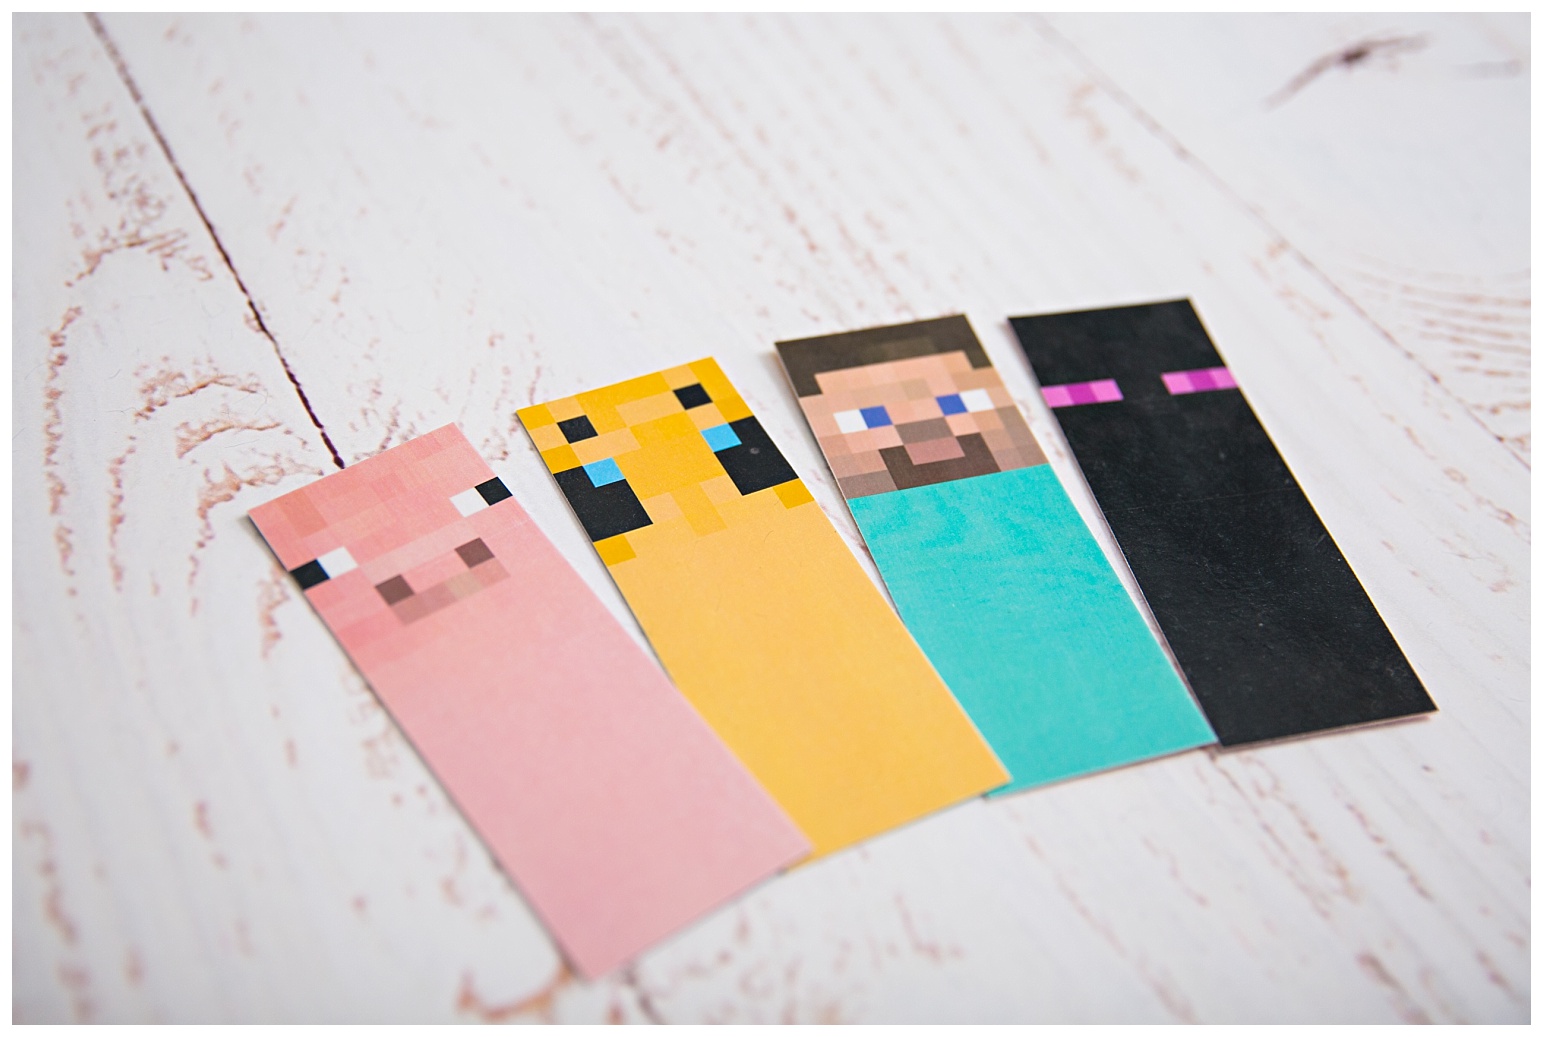
These cave spiders are tootsie pops wrapped with black tissue paper. Pipe cleaner legs. Red glitter glue for the eyes.
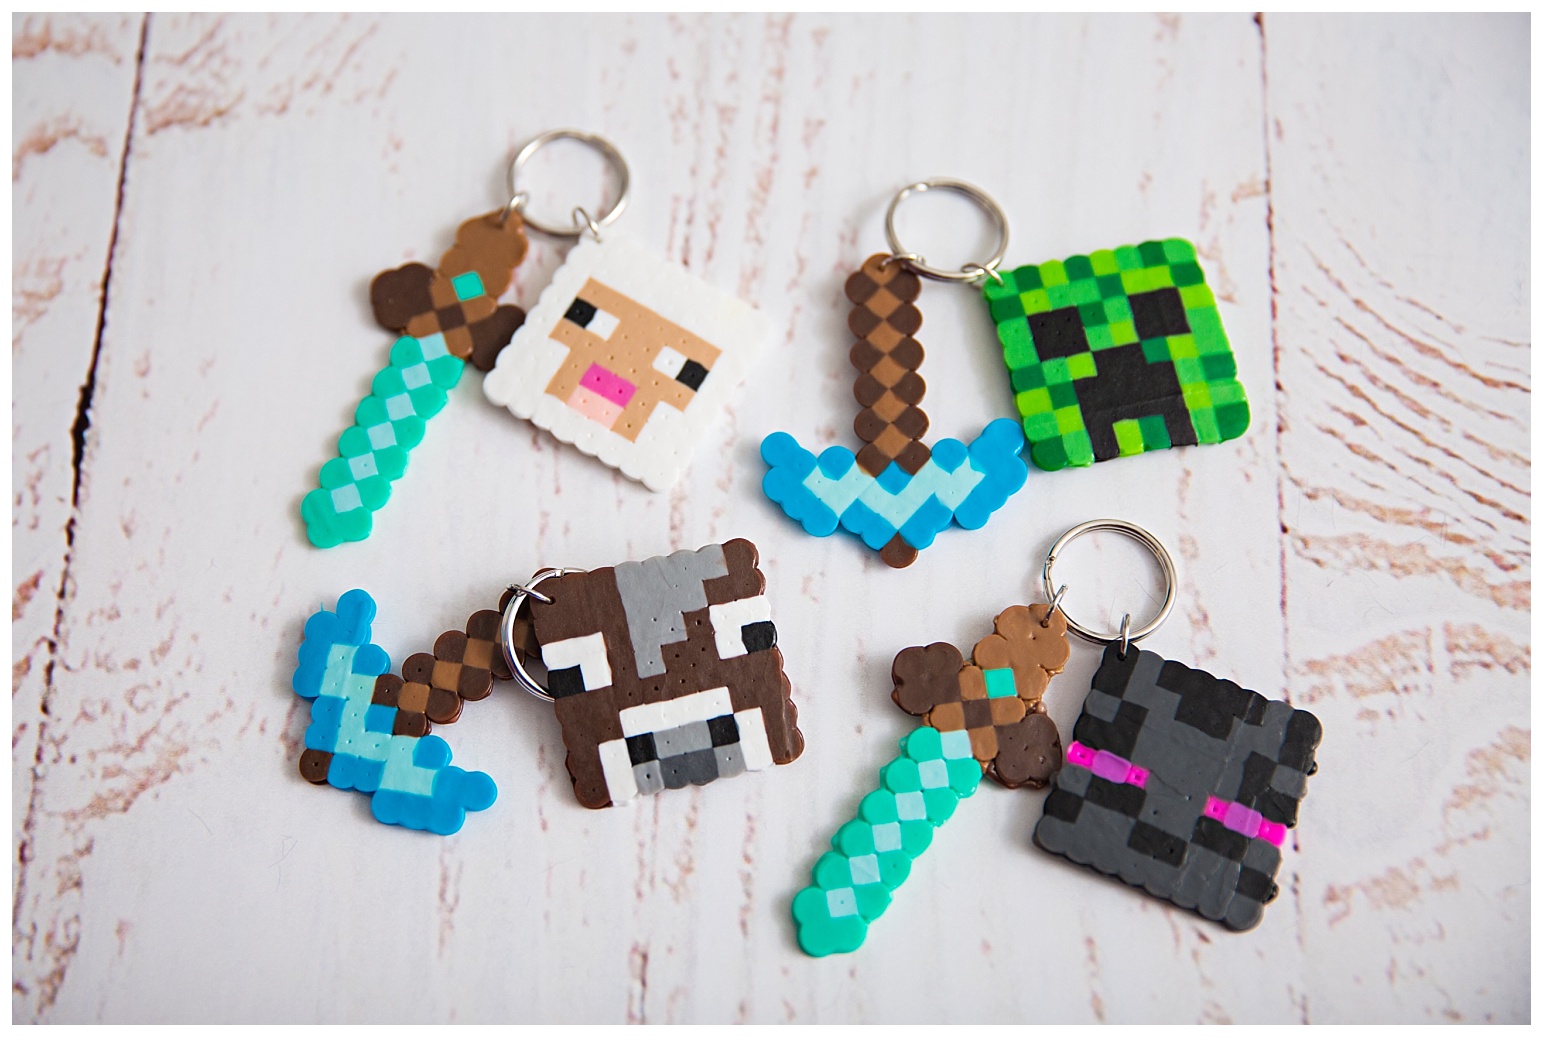
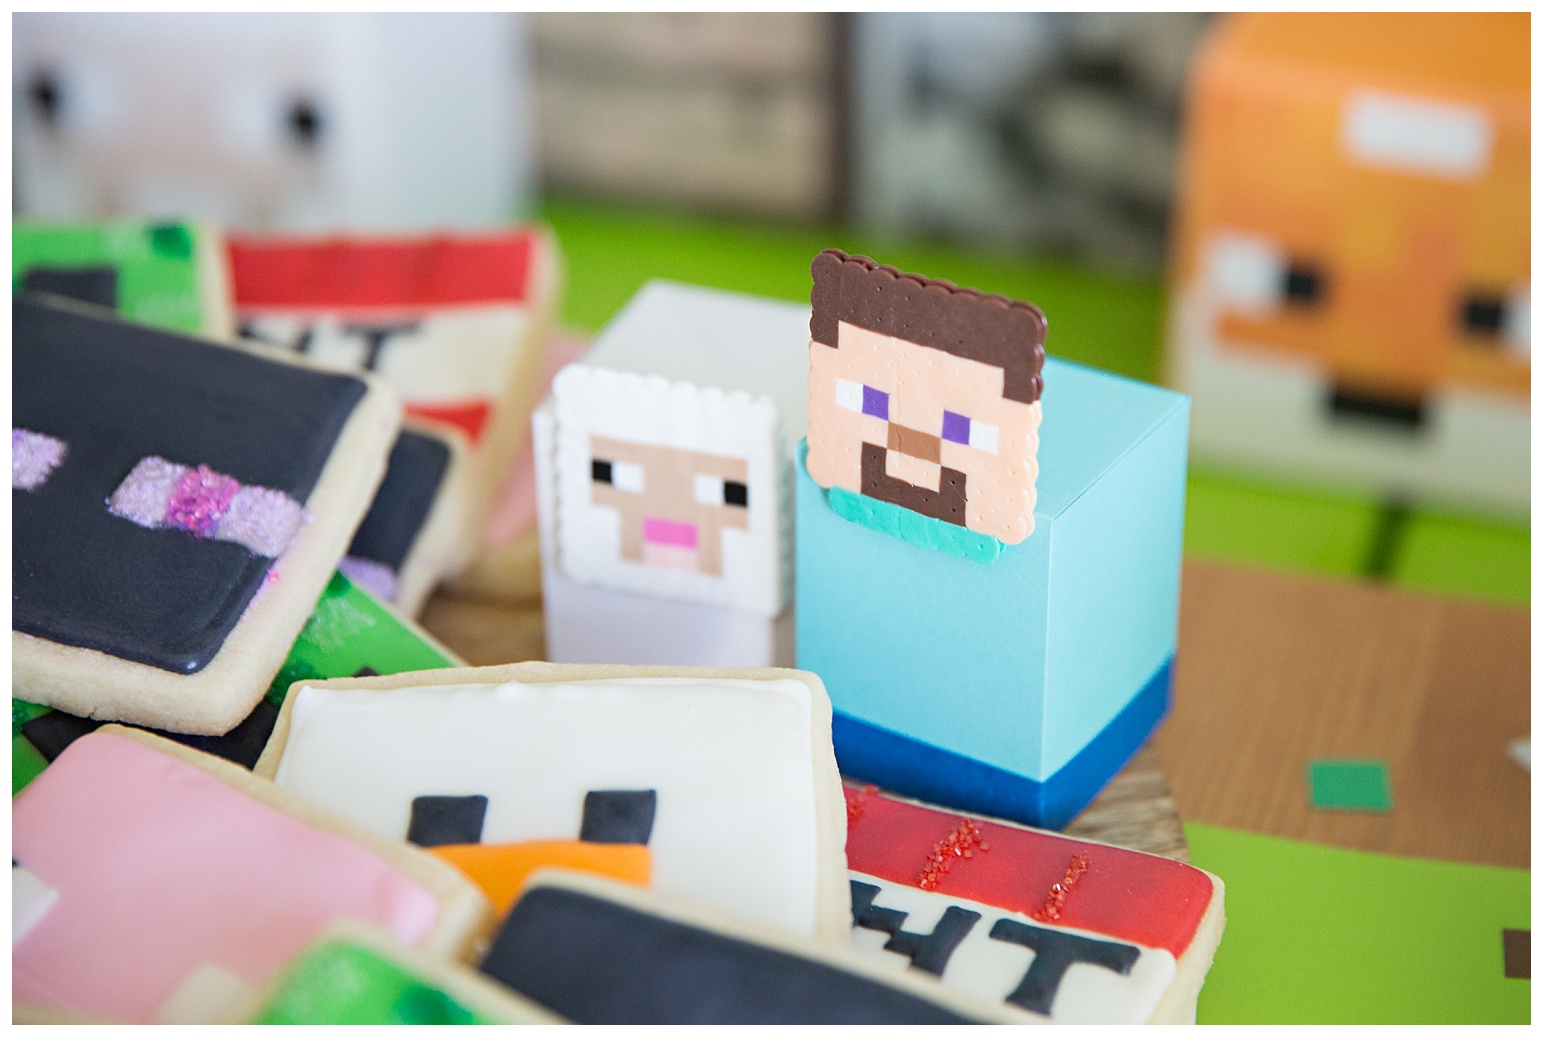
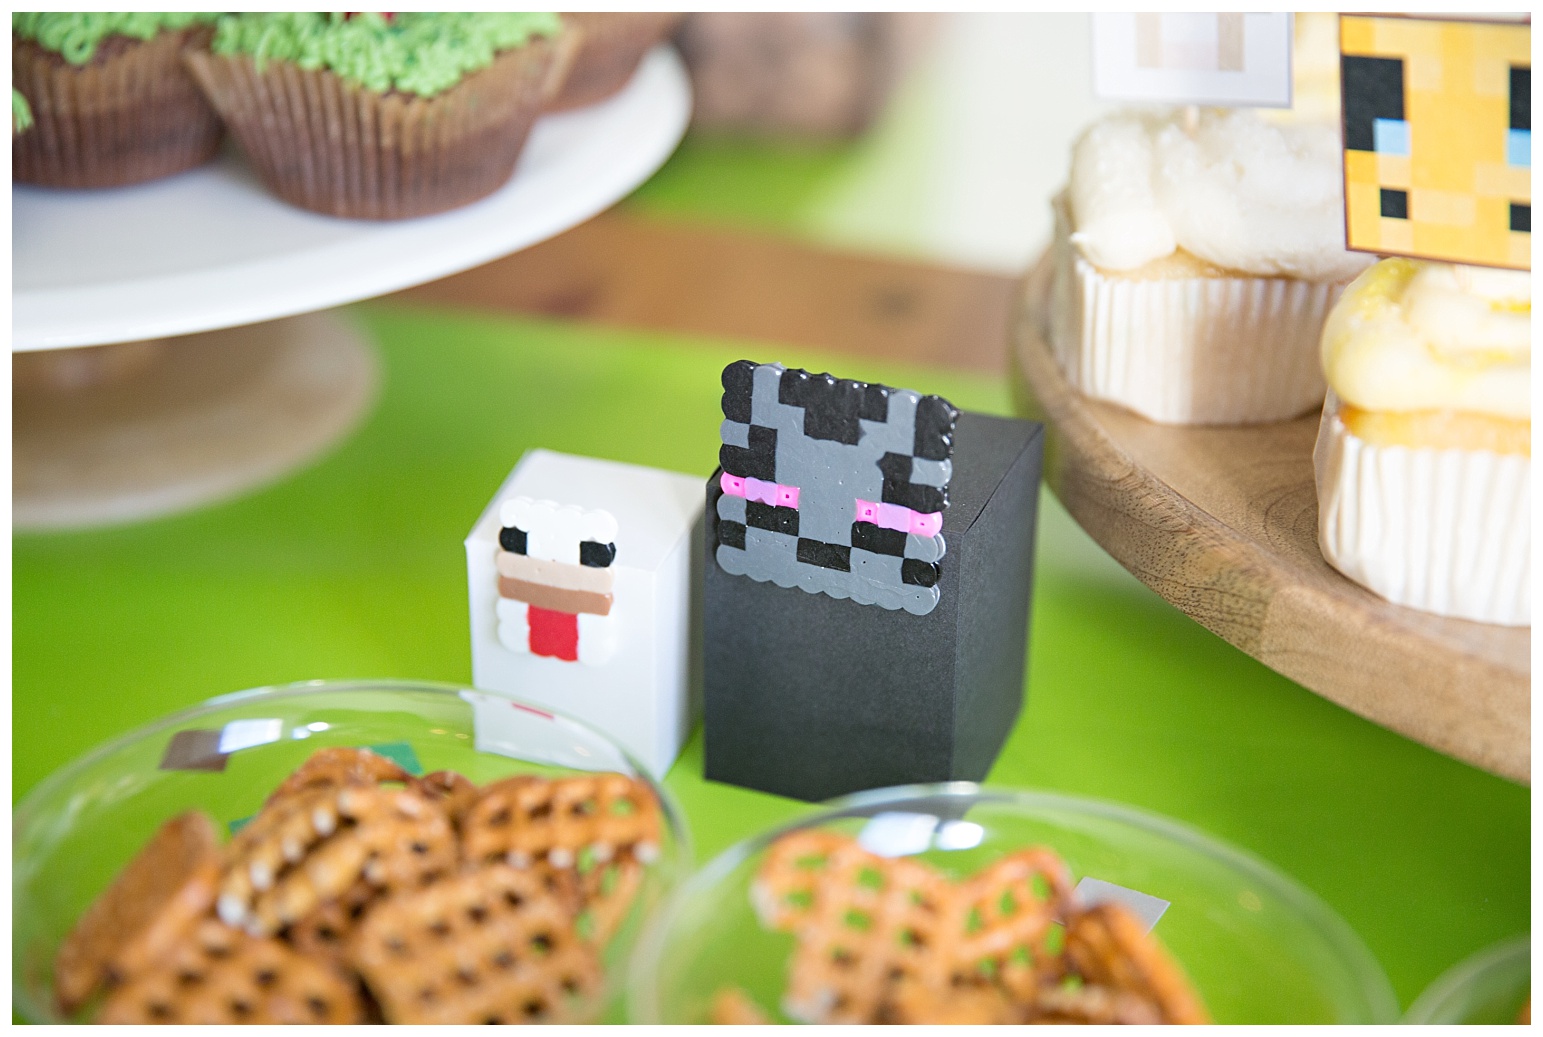
We made each kid a keychain set using perler beads. This was by far the most fun project of them all.
We had so much fun making these that we decided to include a little DIY kit in each box so Aylah’s friends could each make their own at home as well.
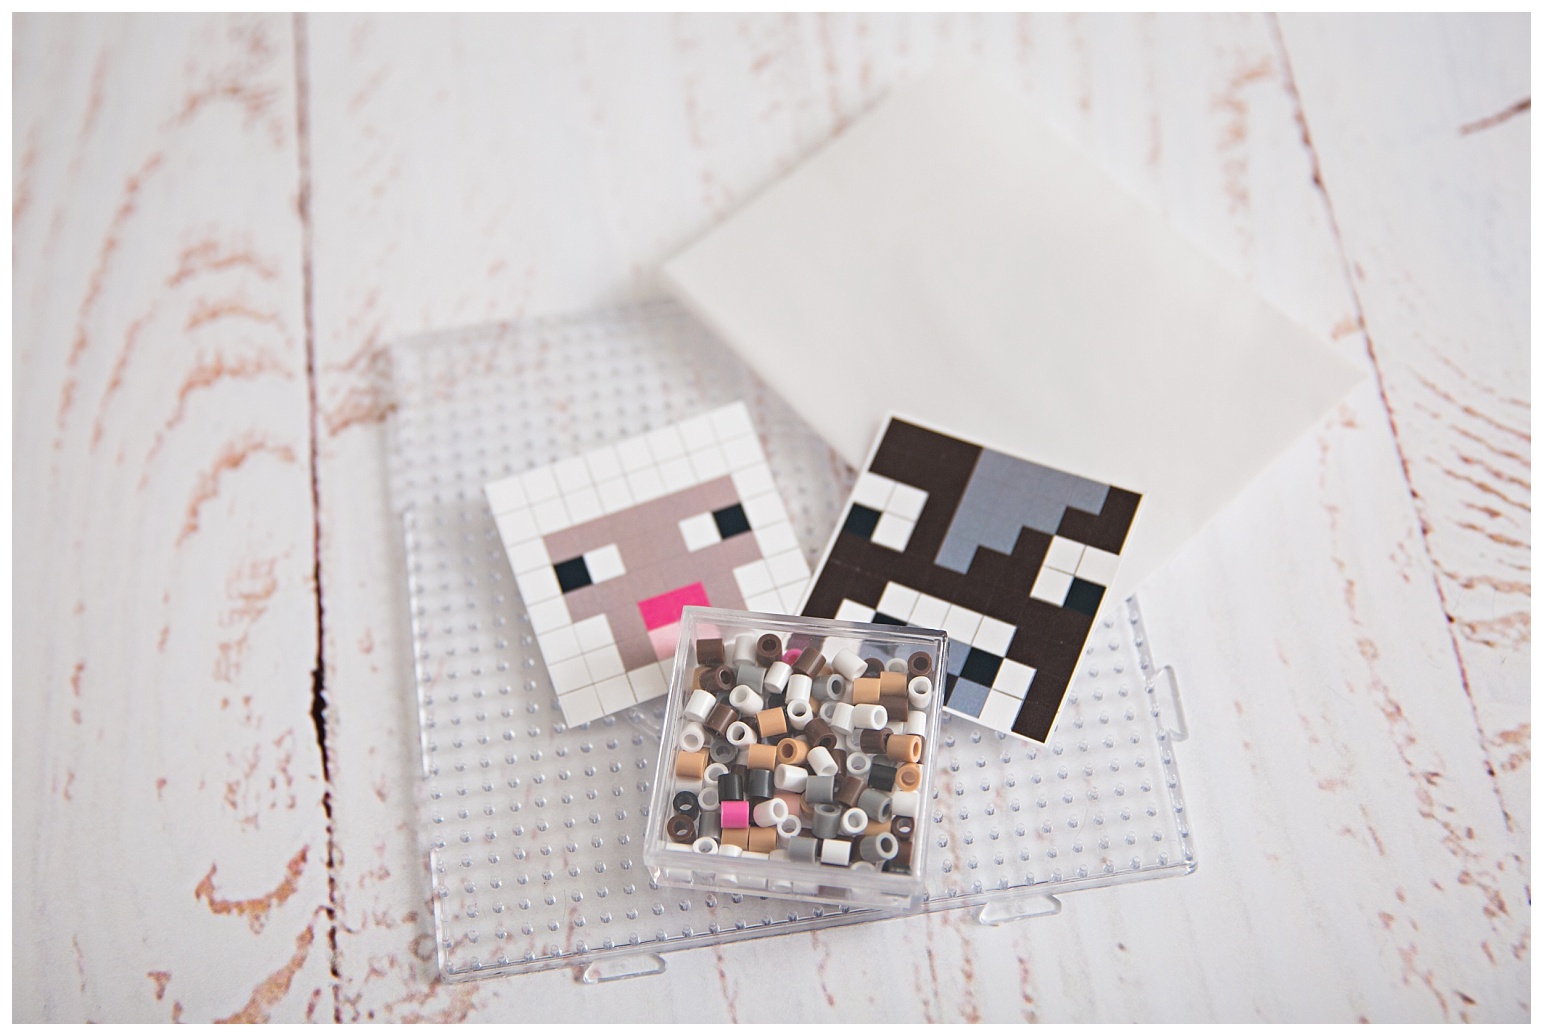
I created the reference pictures in Photoshop. The small clear boxes are from Dollarama. The clear perler boards (which came with the parchment paper) were from Amazon.
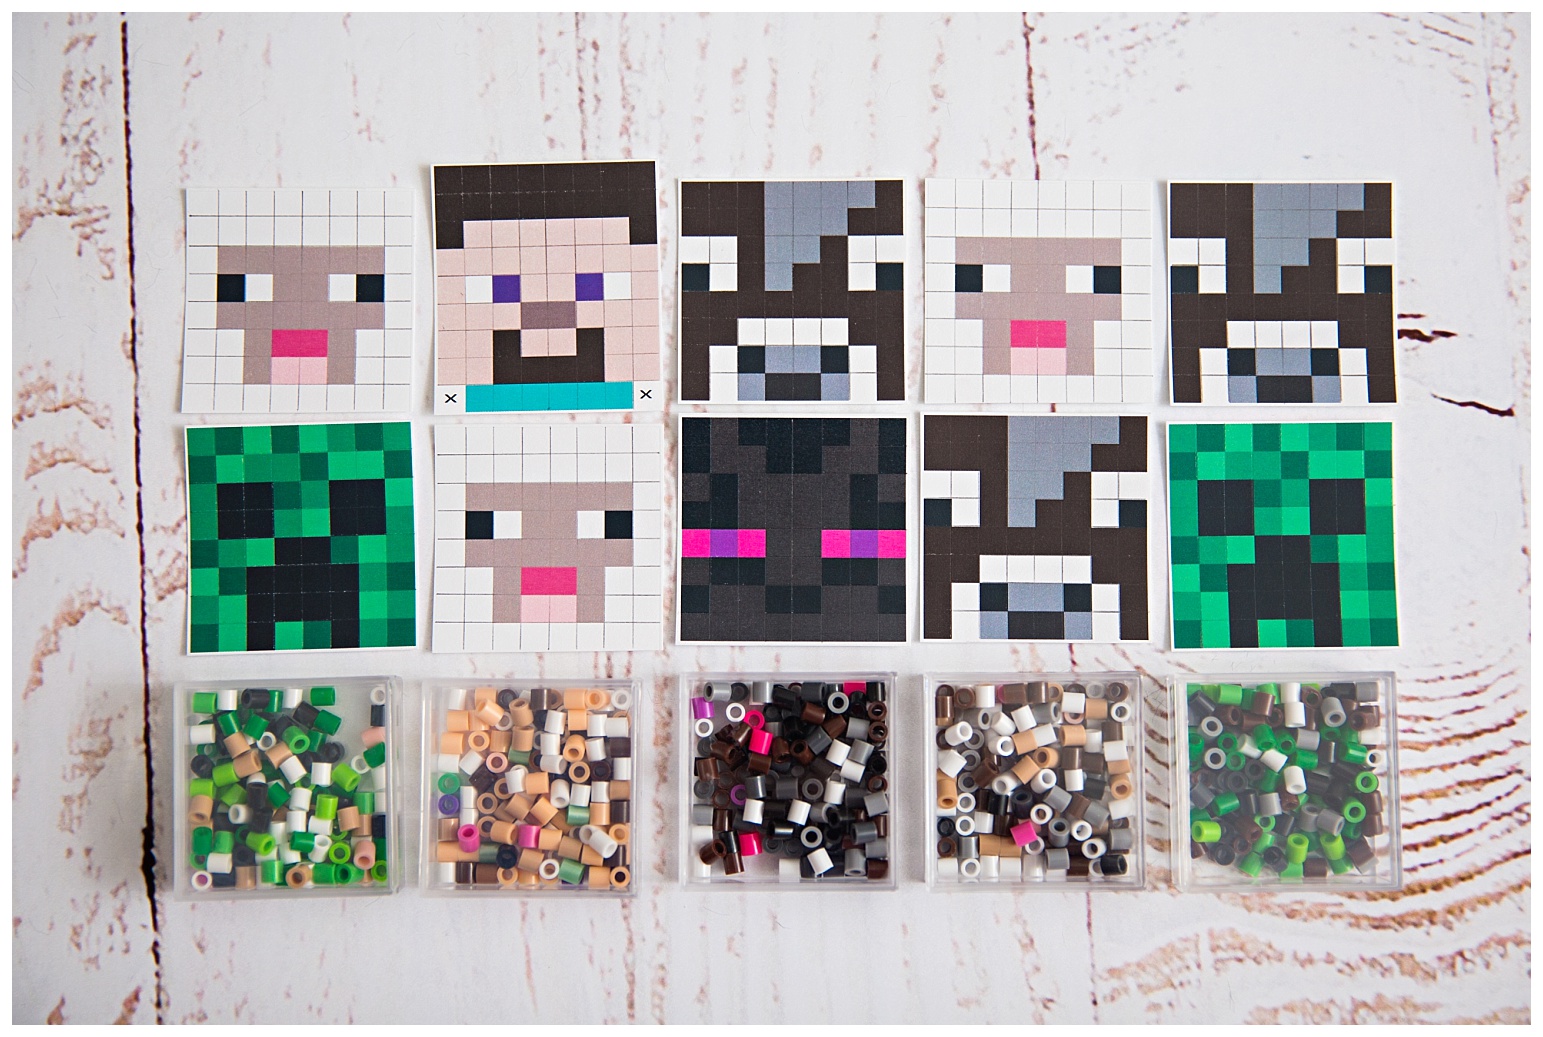
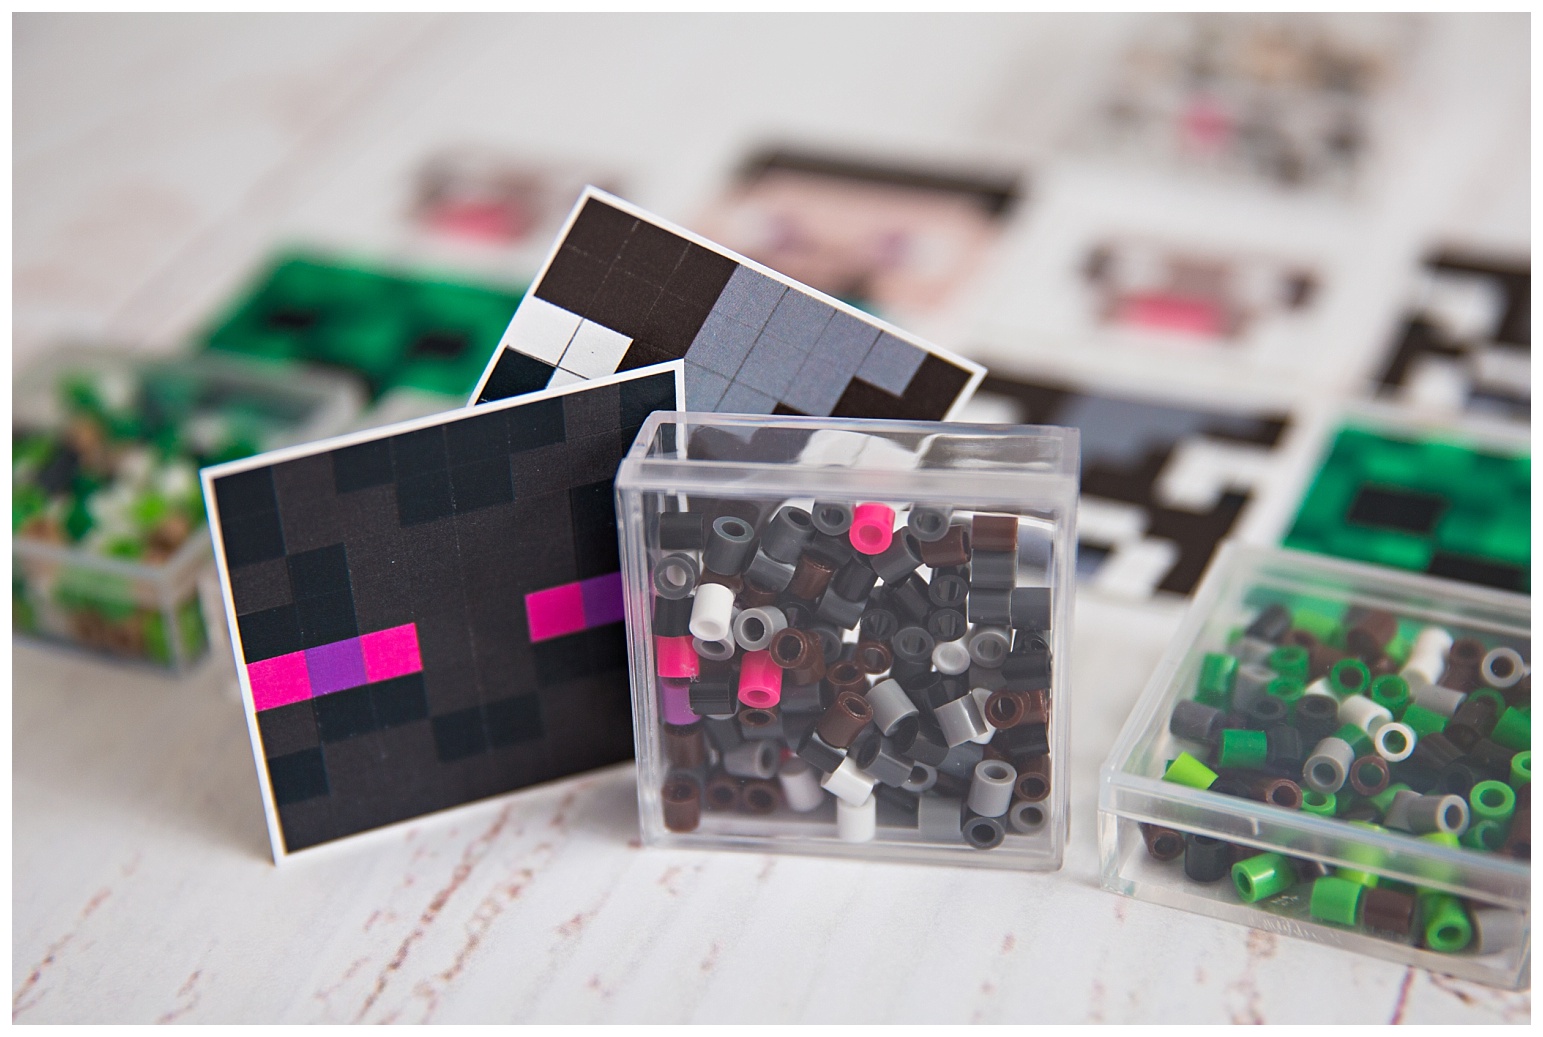
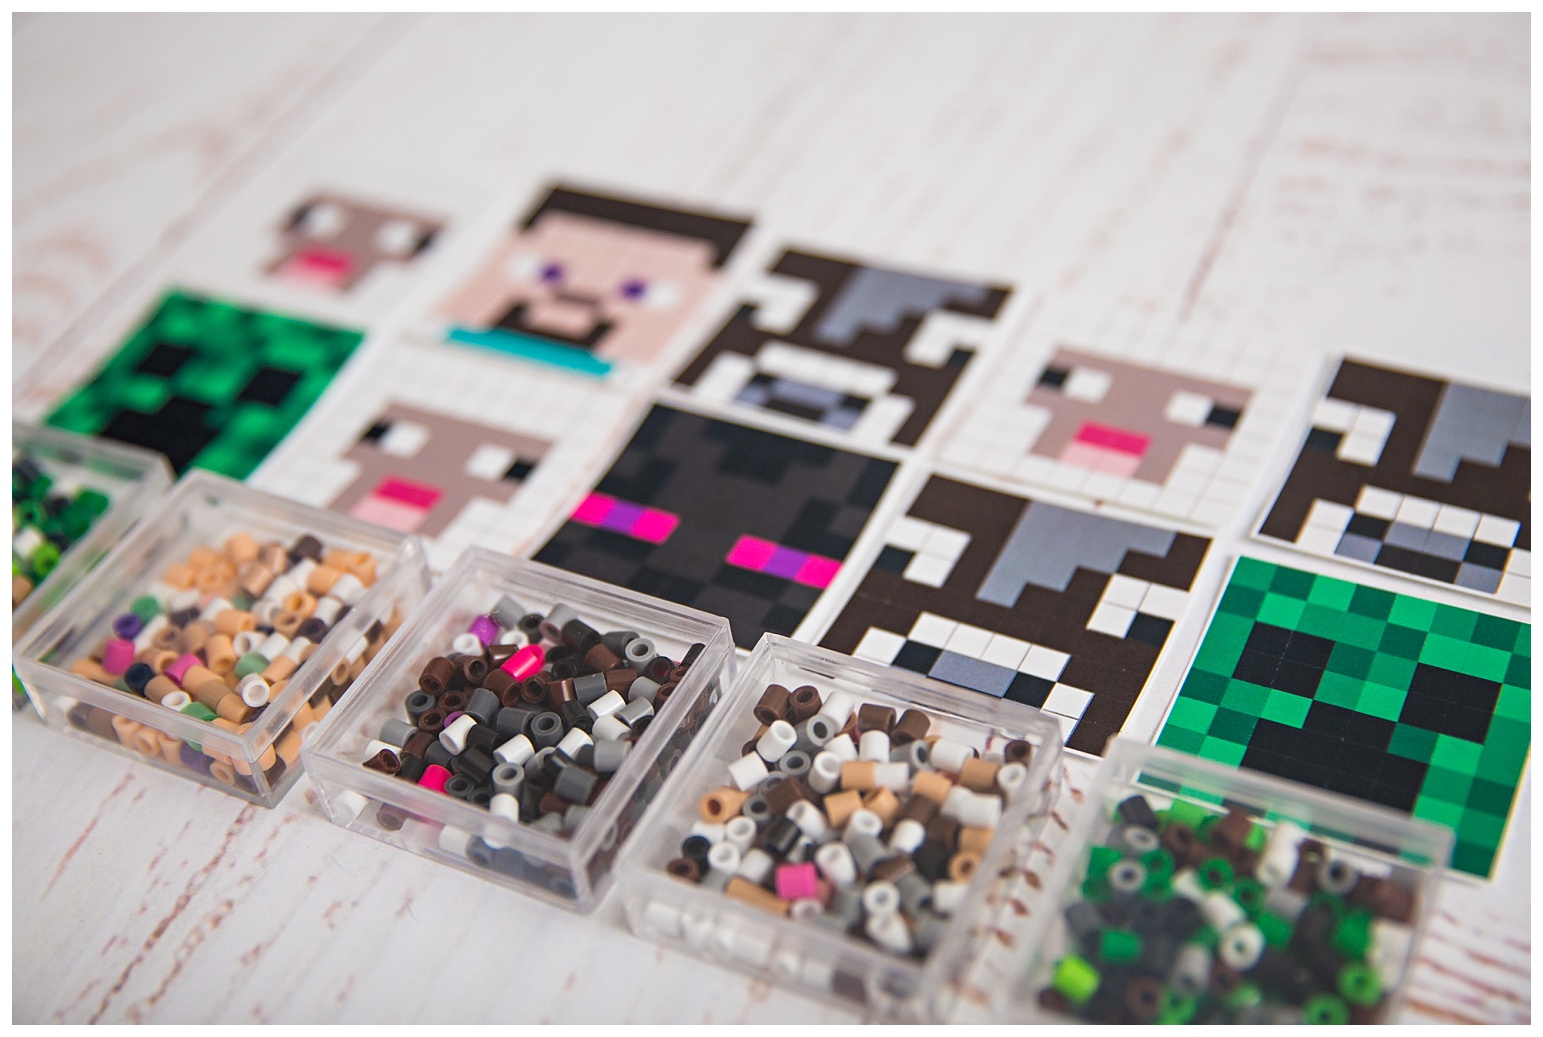
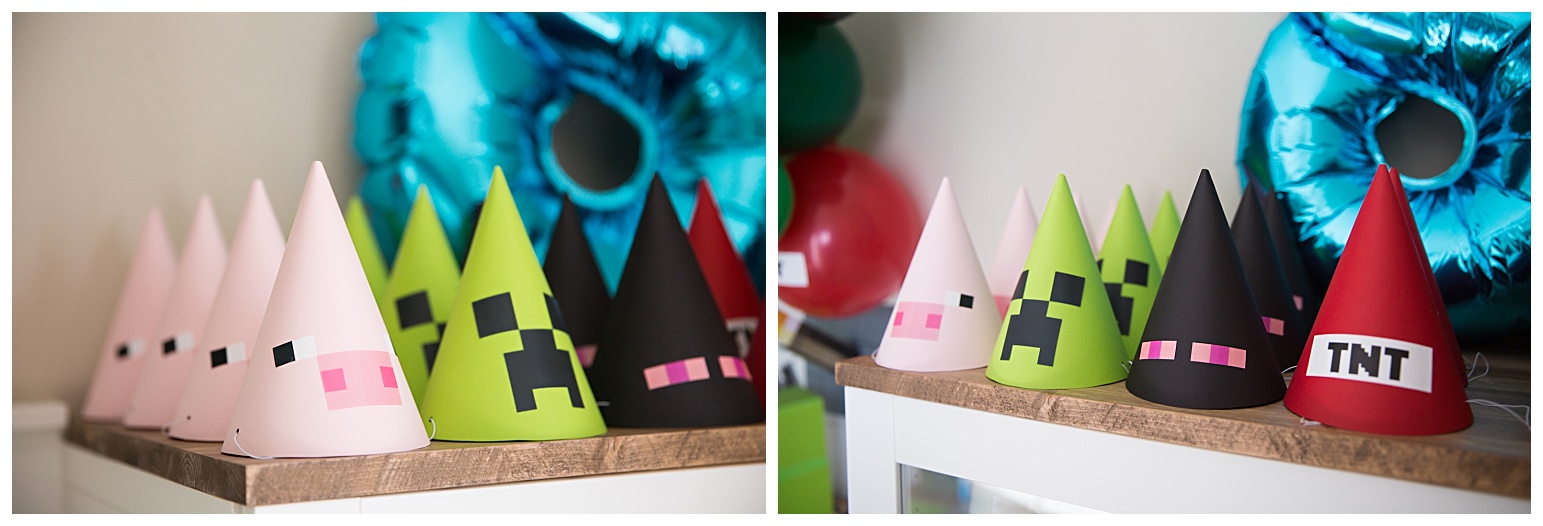
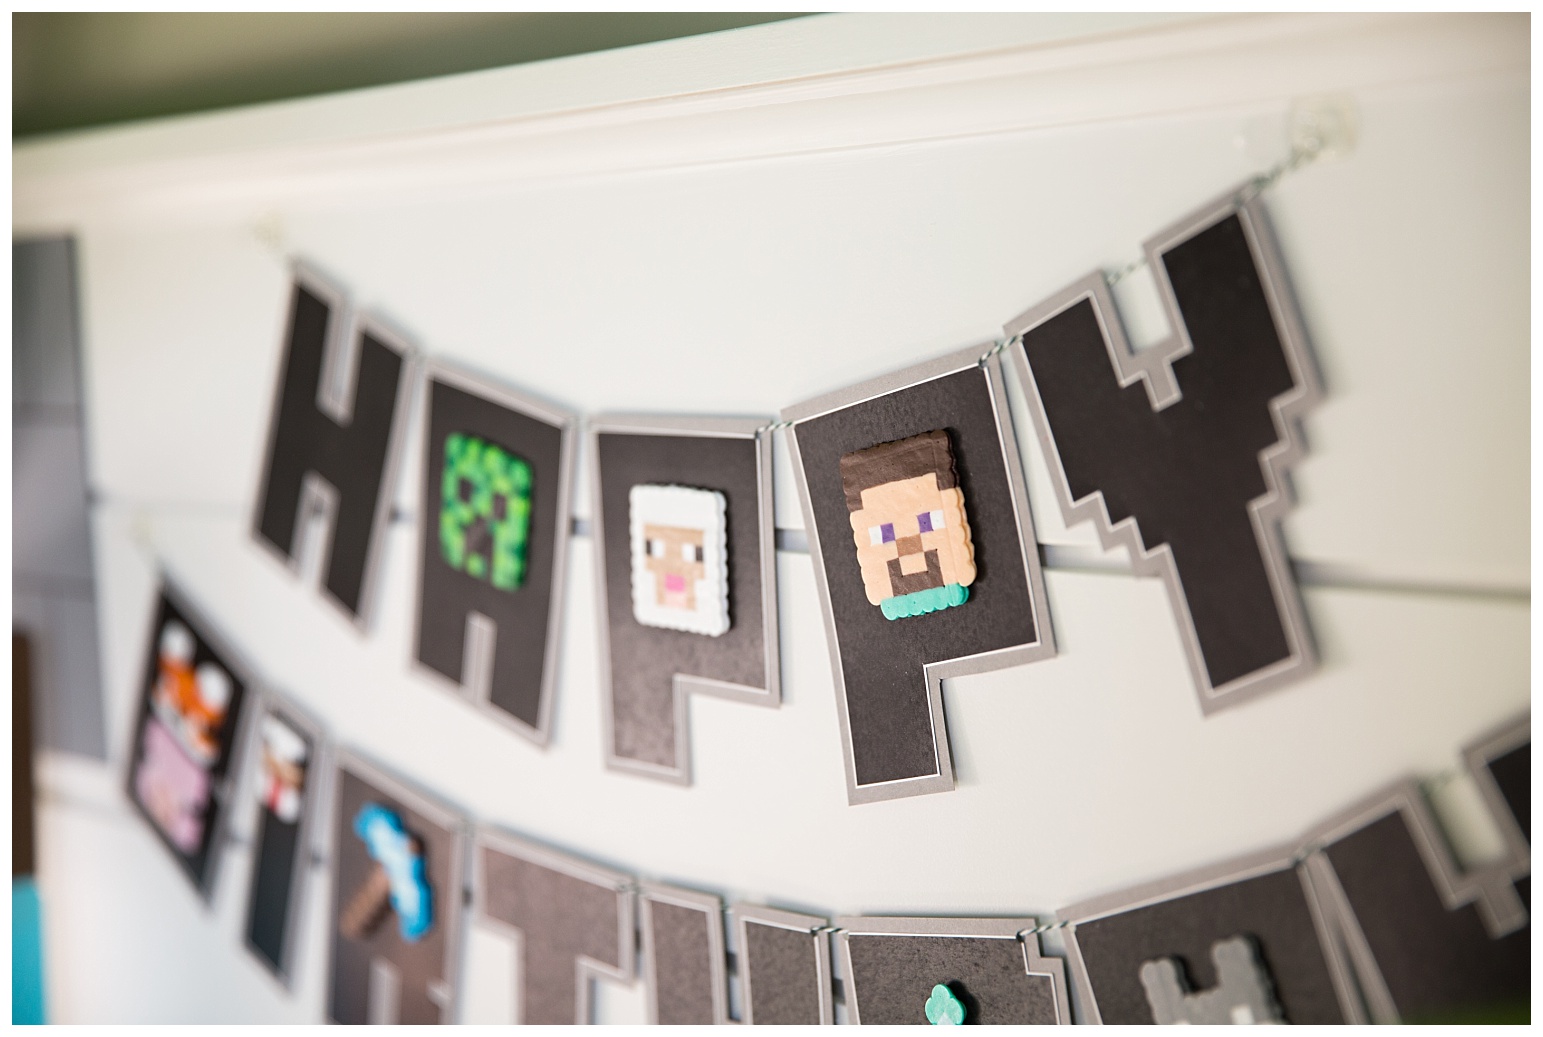
This is the font the I downloaded to create all of the typography.
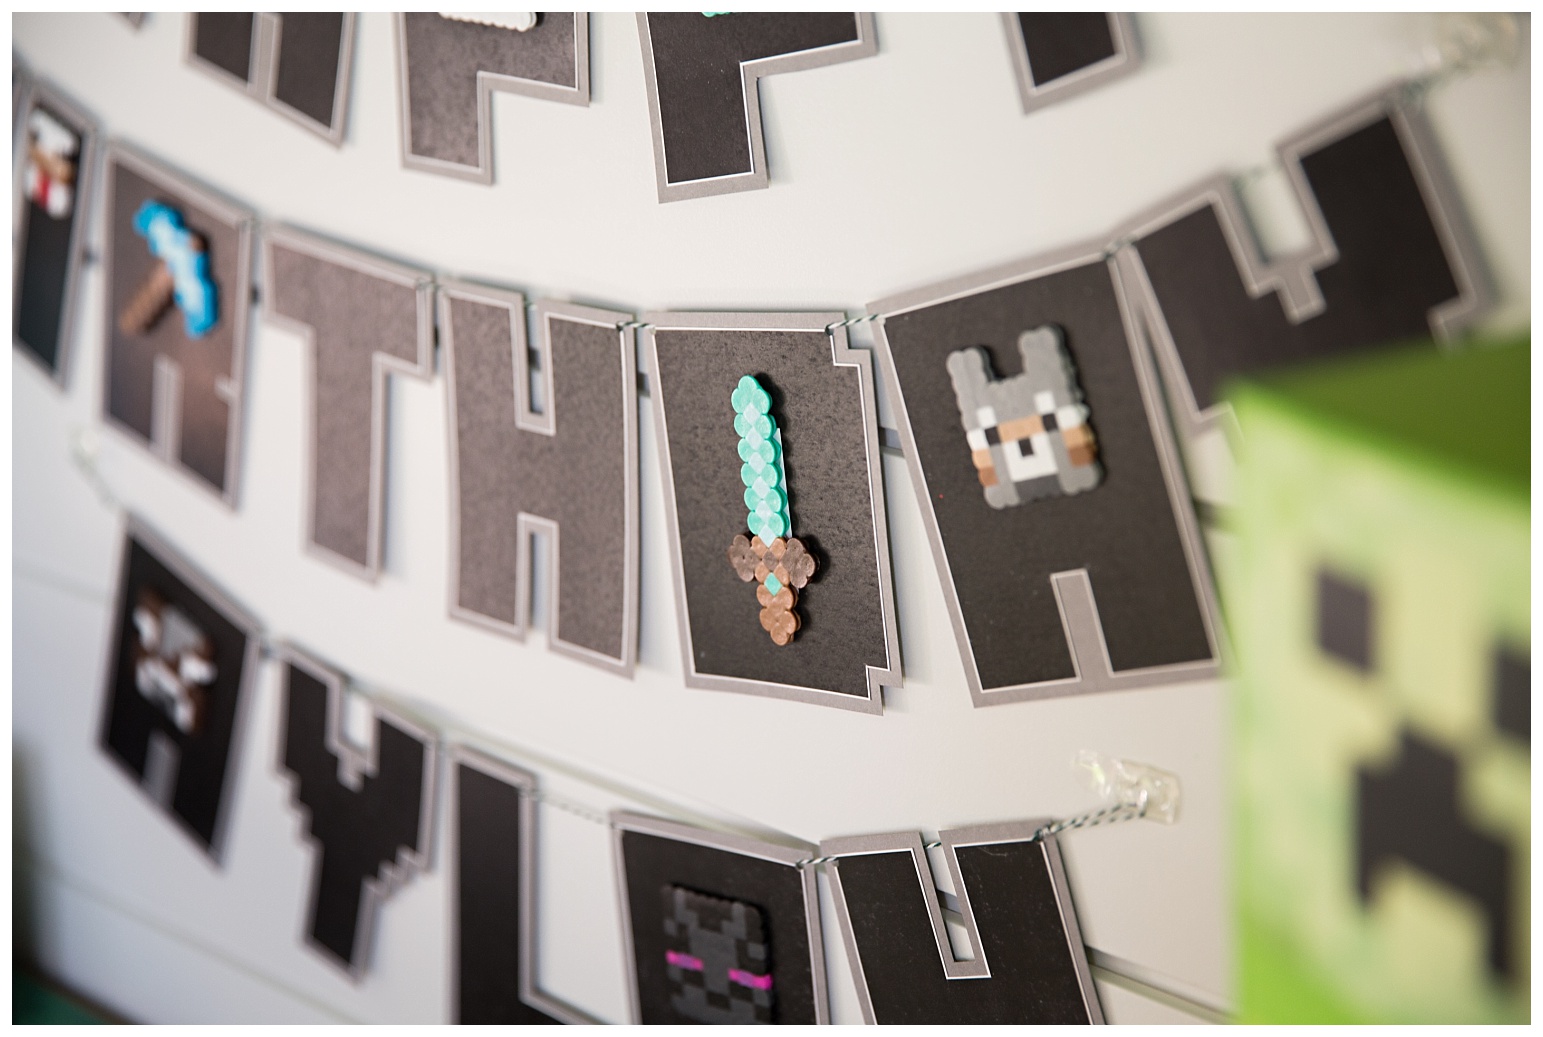
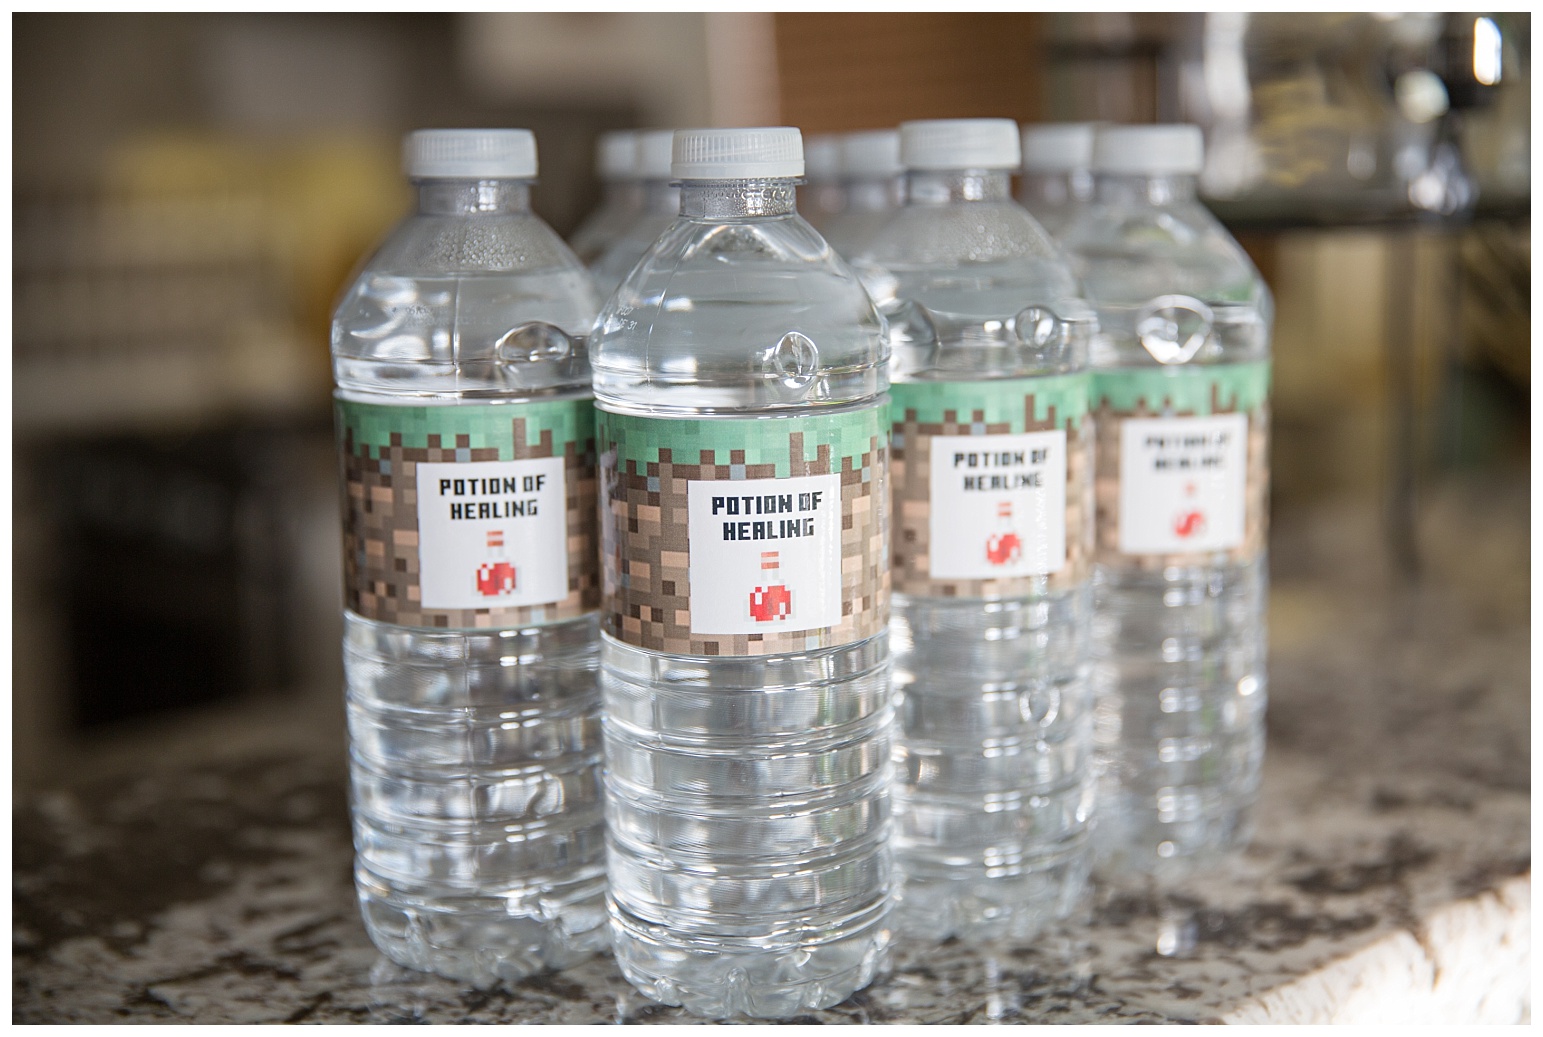
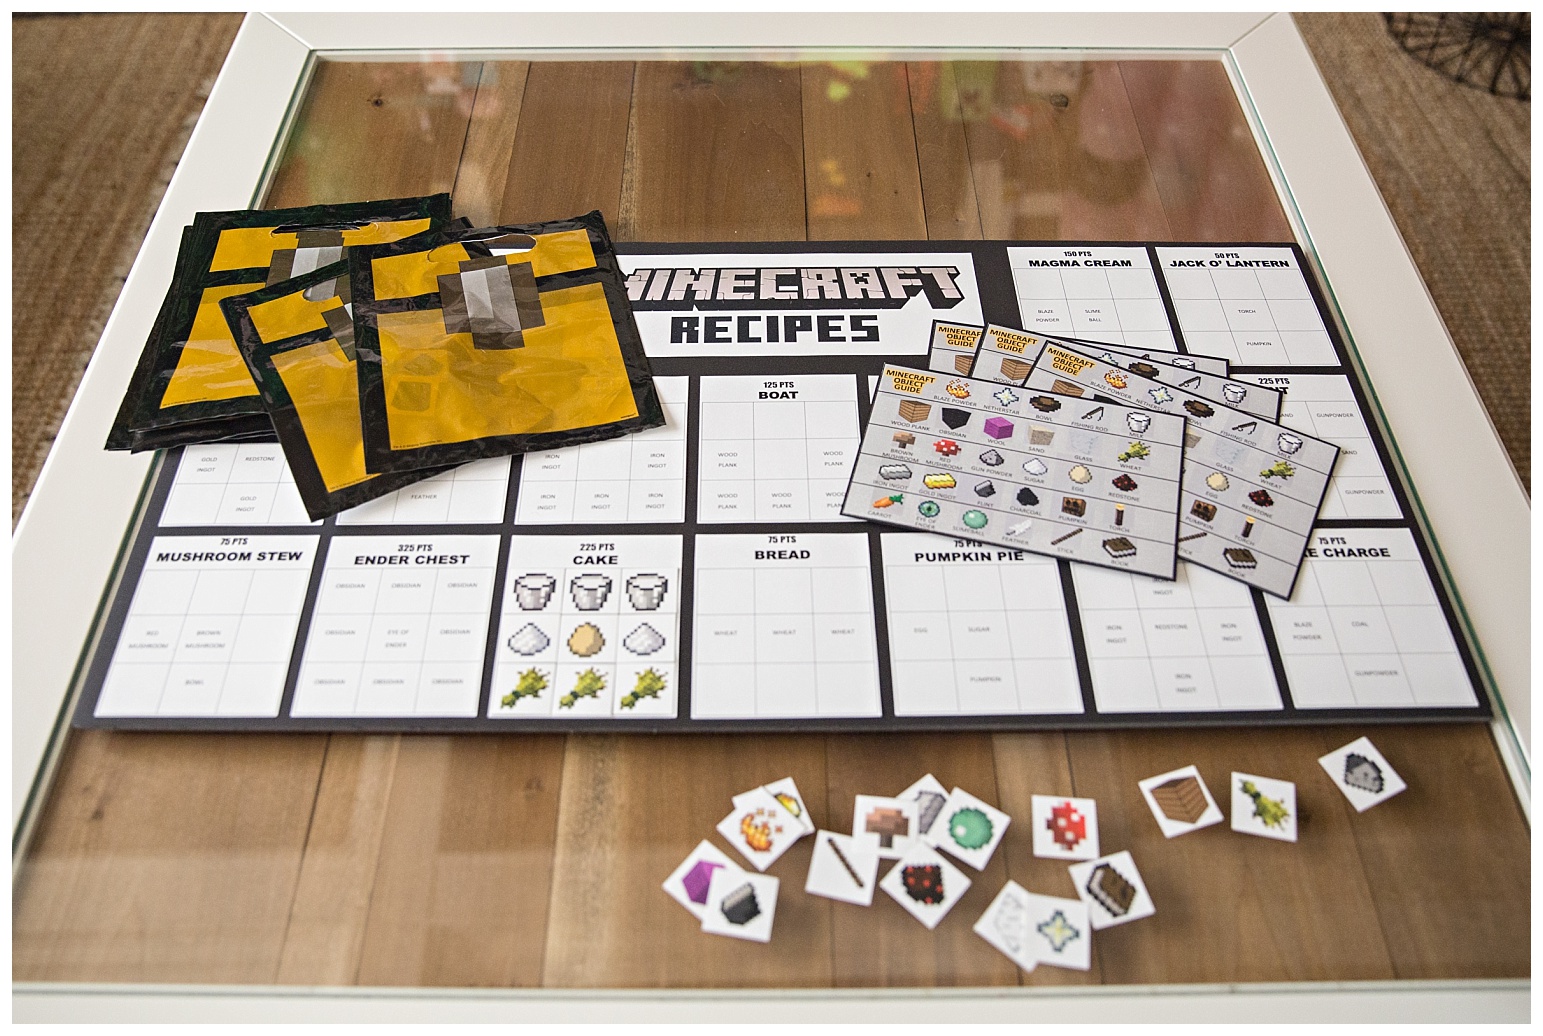
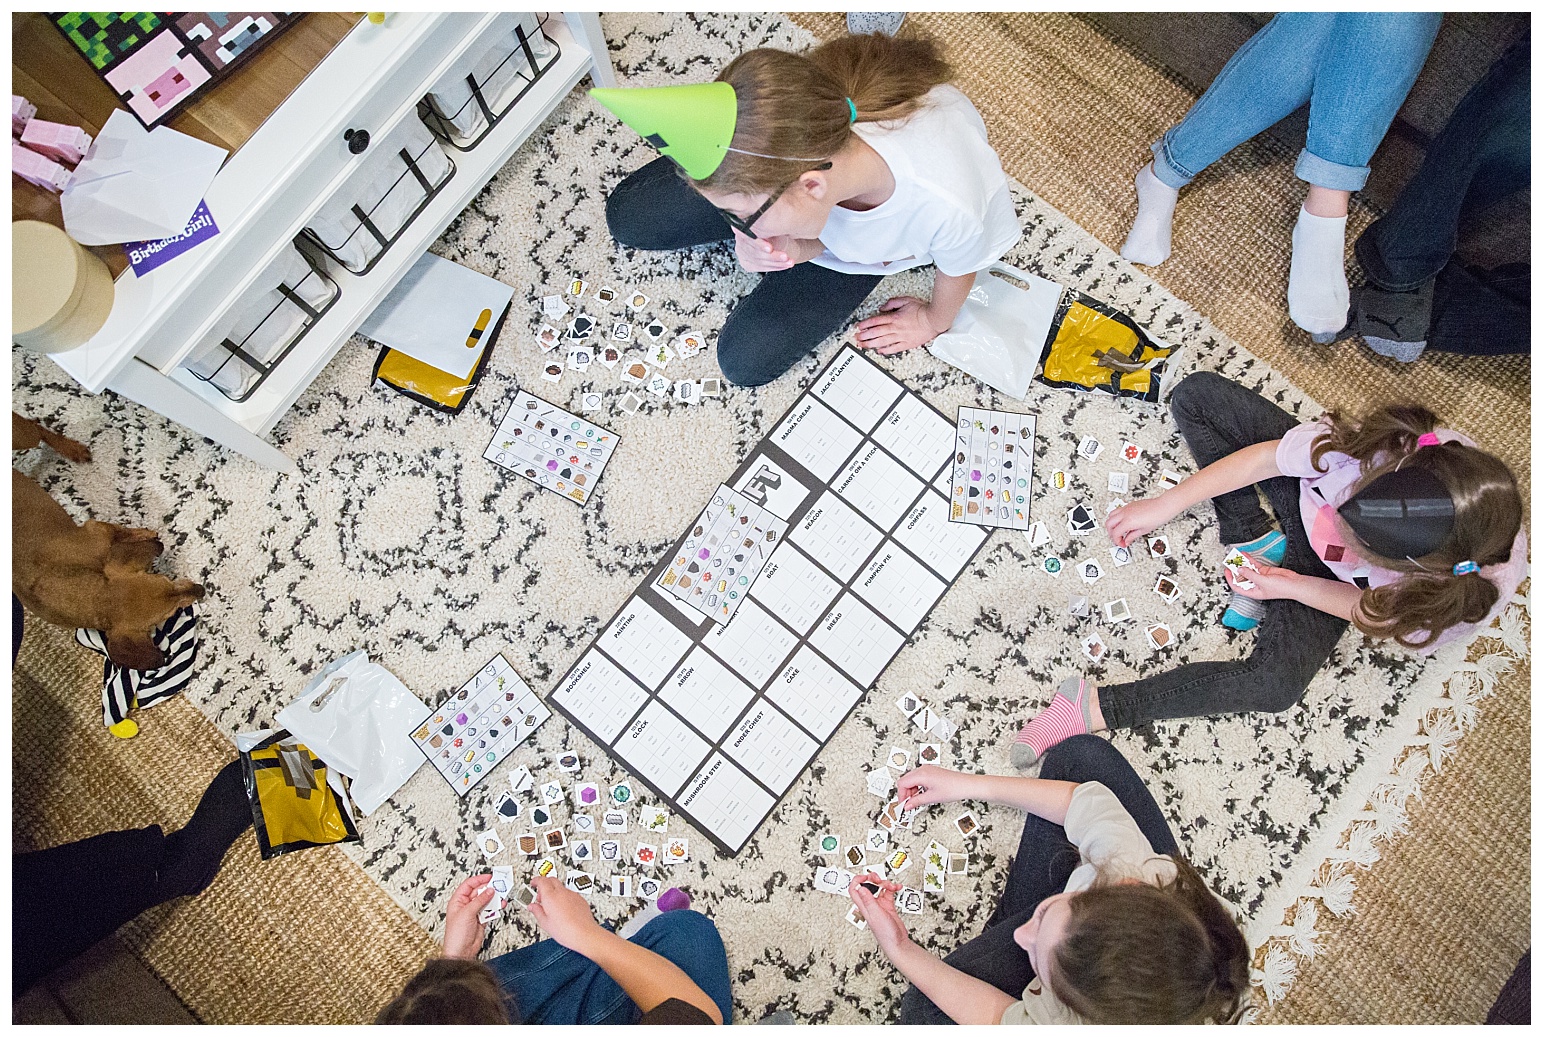
Coming up with activities for this party was very challenging. I needed to think of something that would work for only 3-4 kids (since that was the max here at one time) … and it had to be something that could be replayed with each group and still be fun for Aylah to play over and over again.
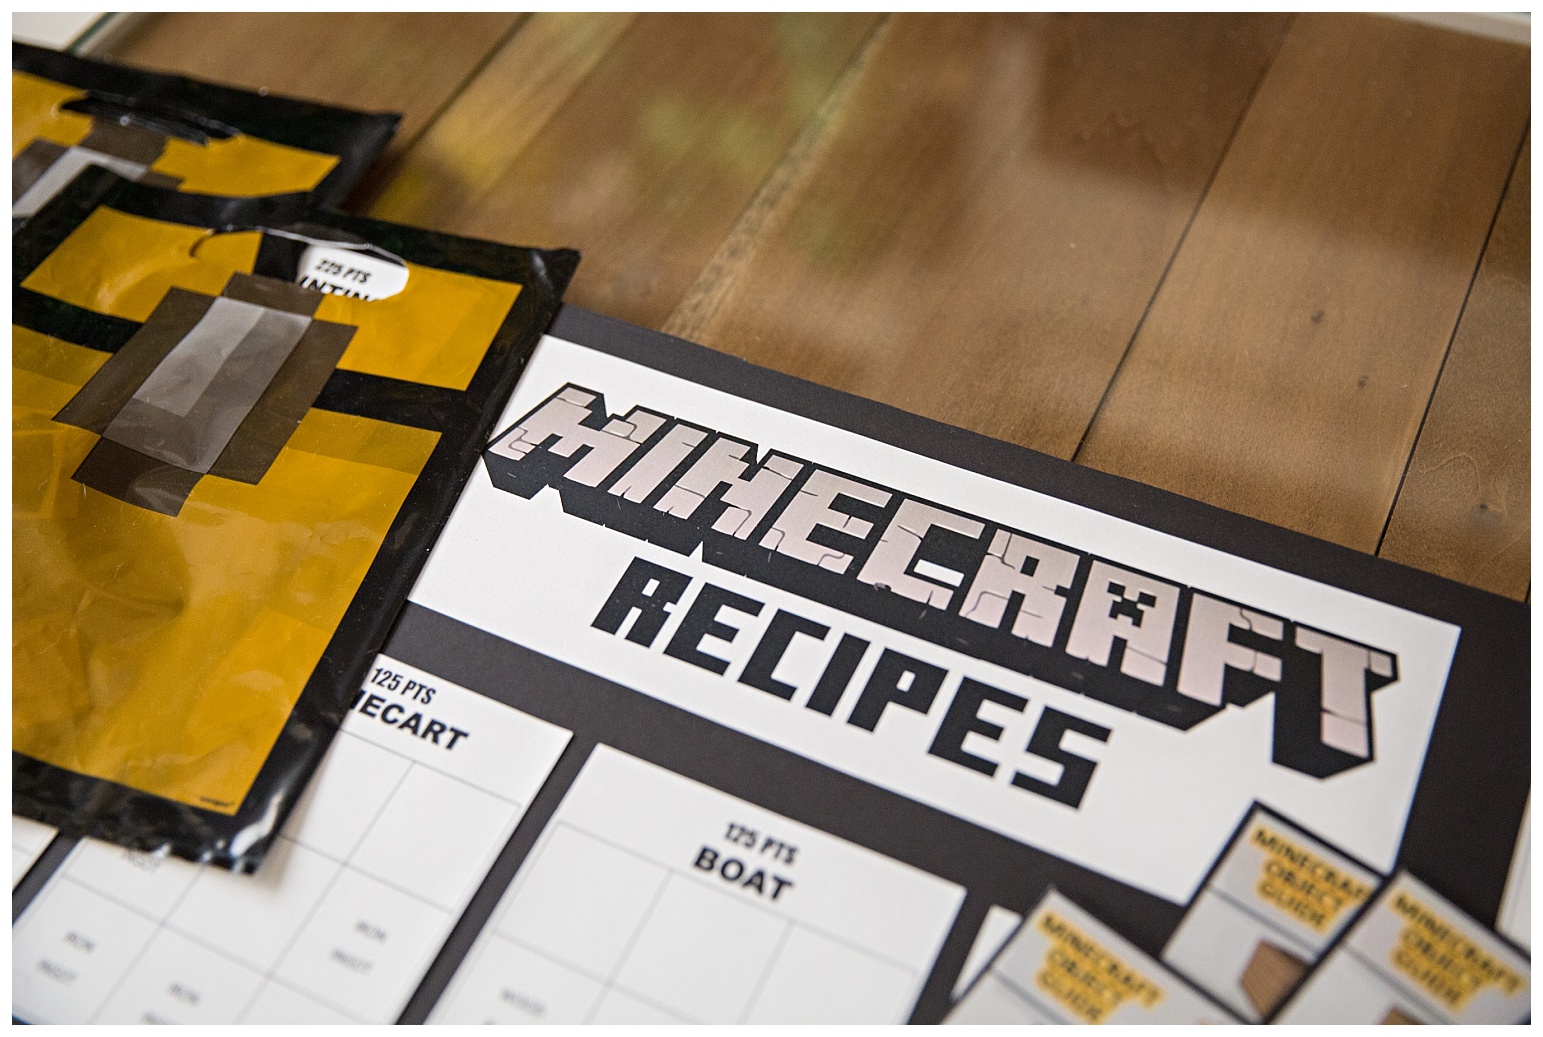
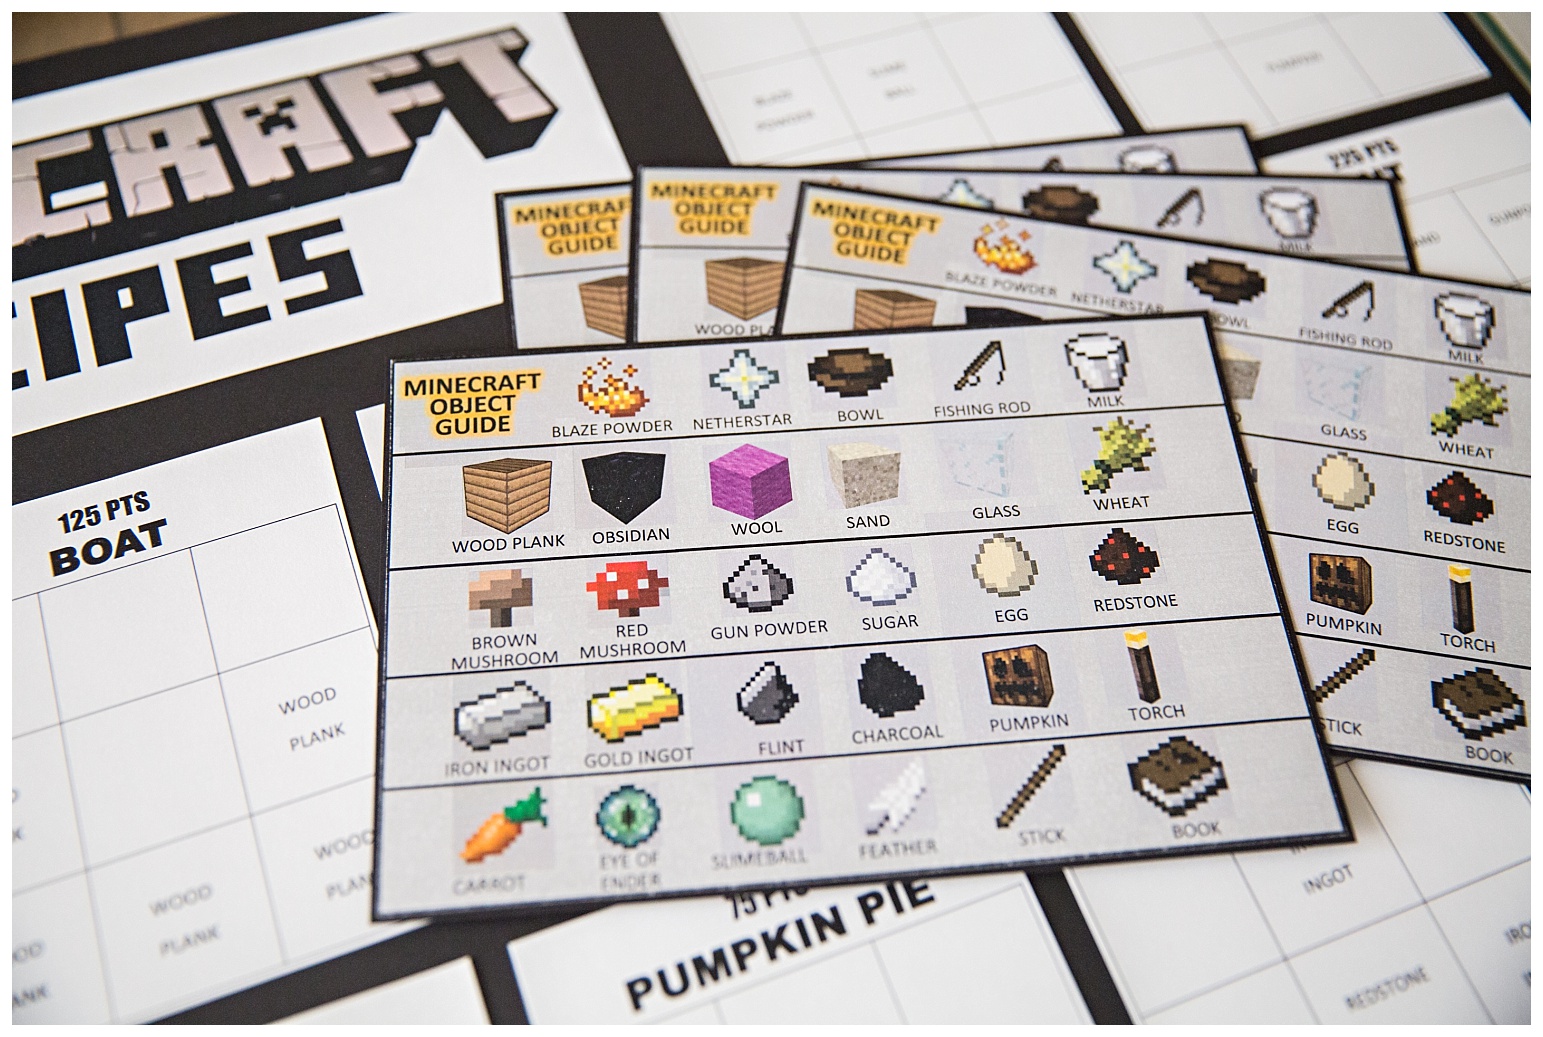
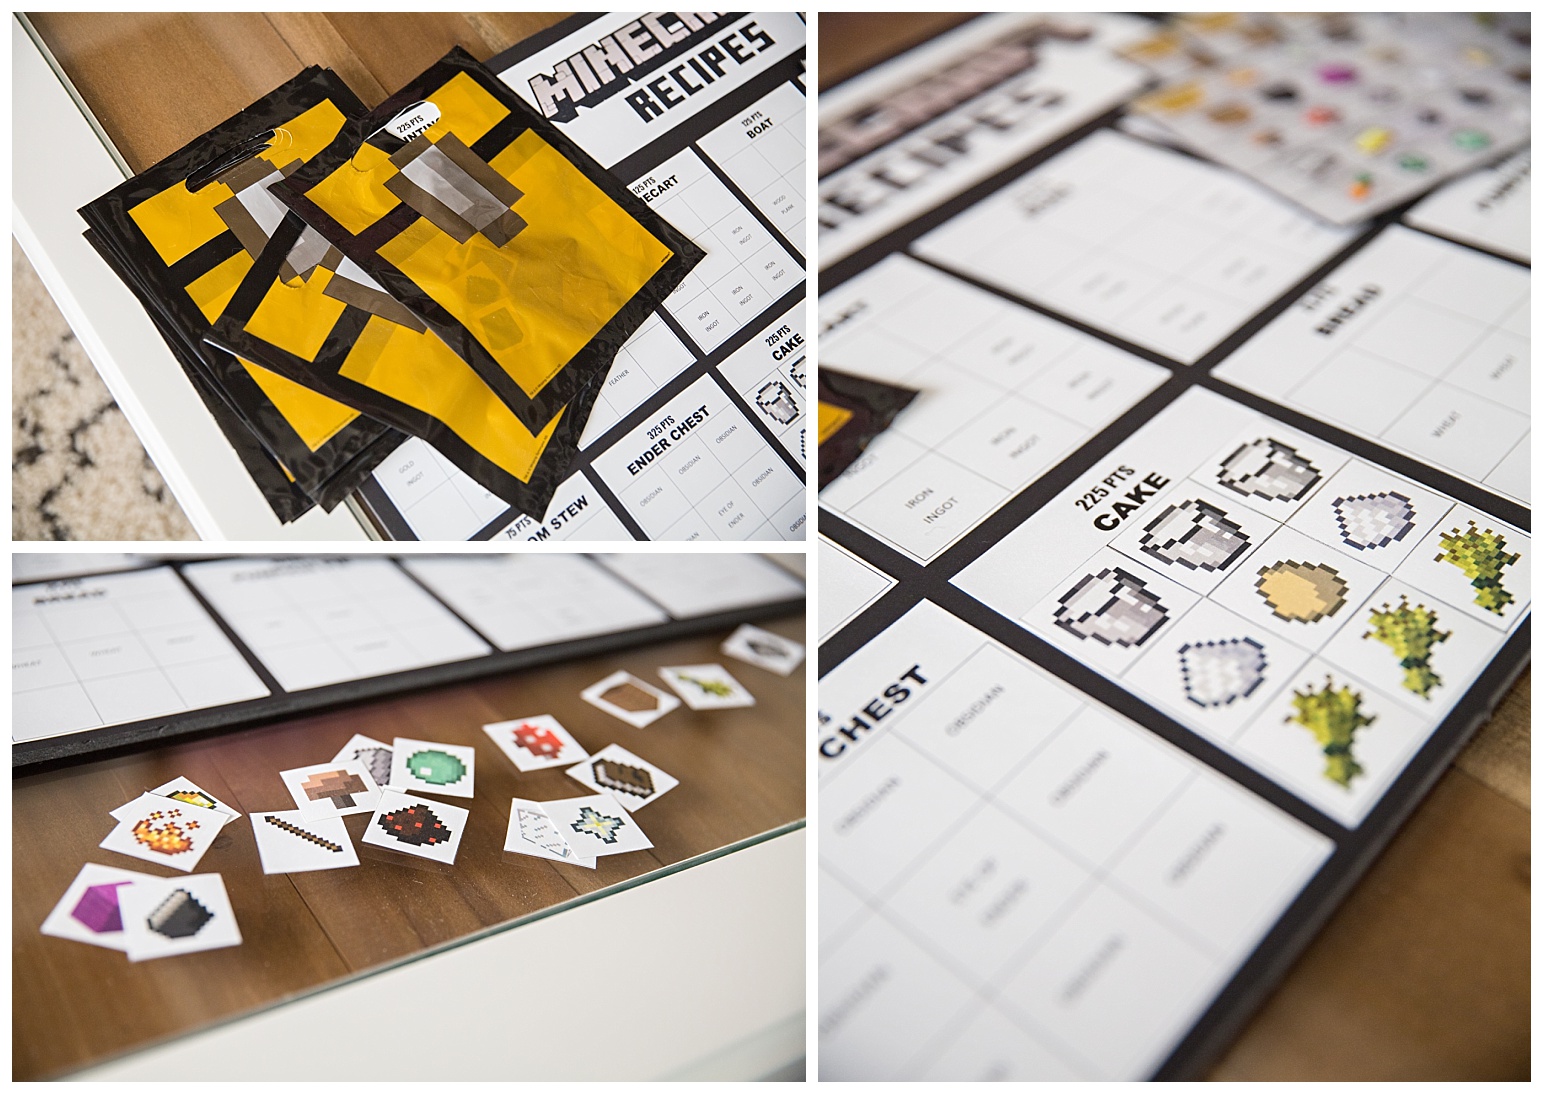
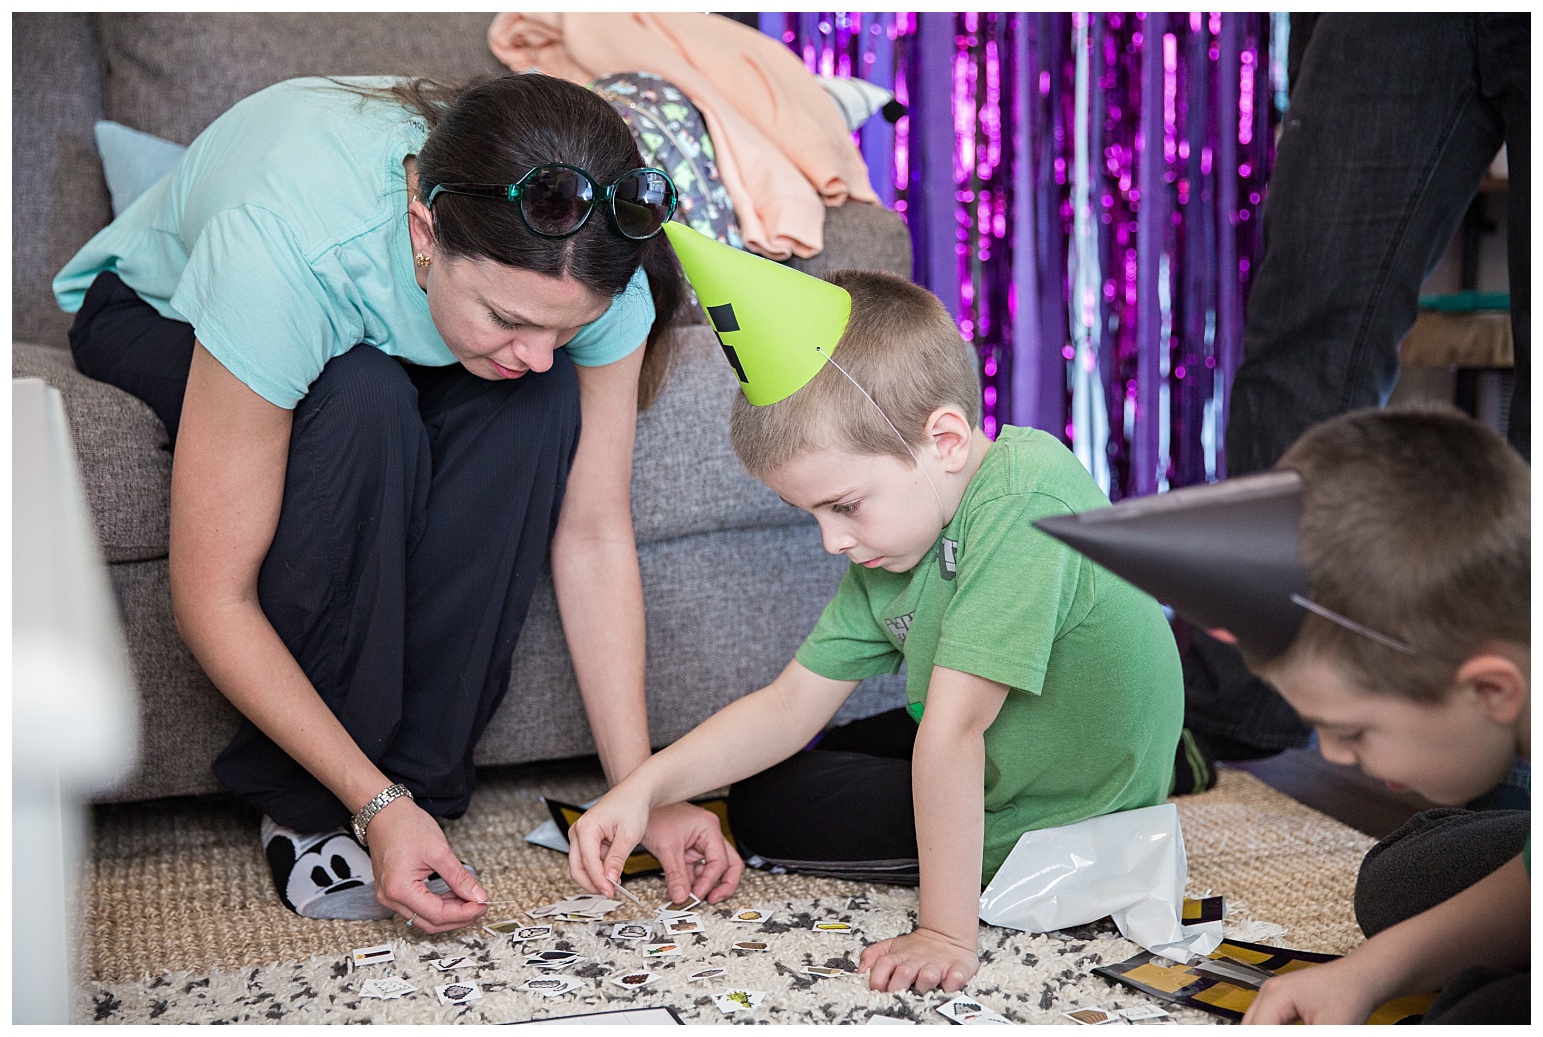
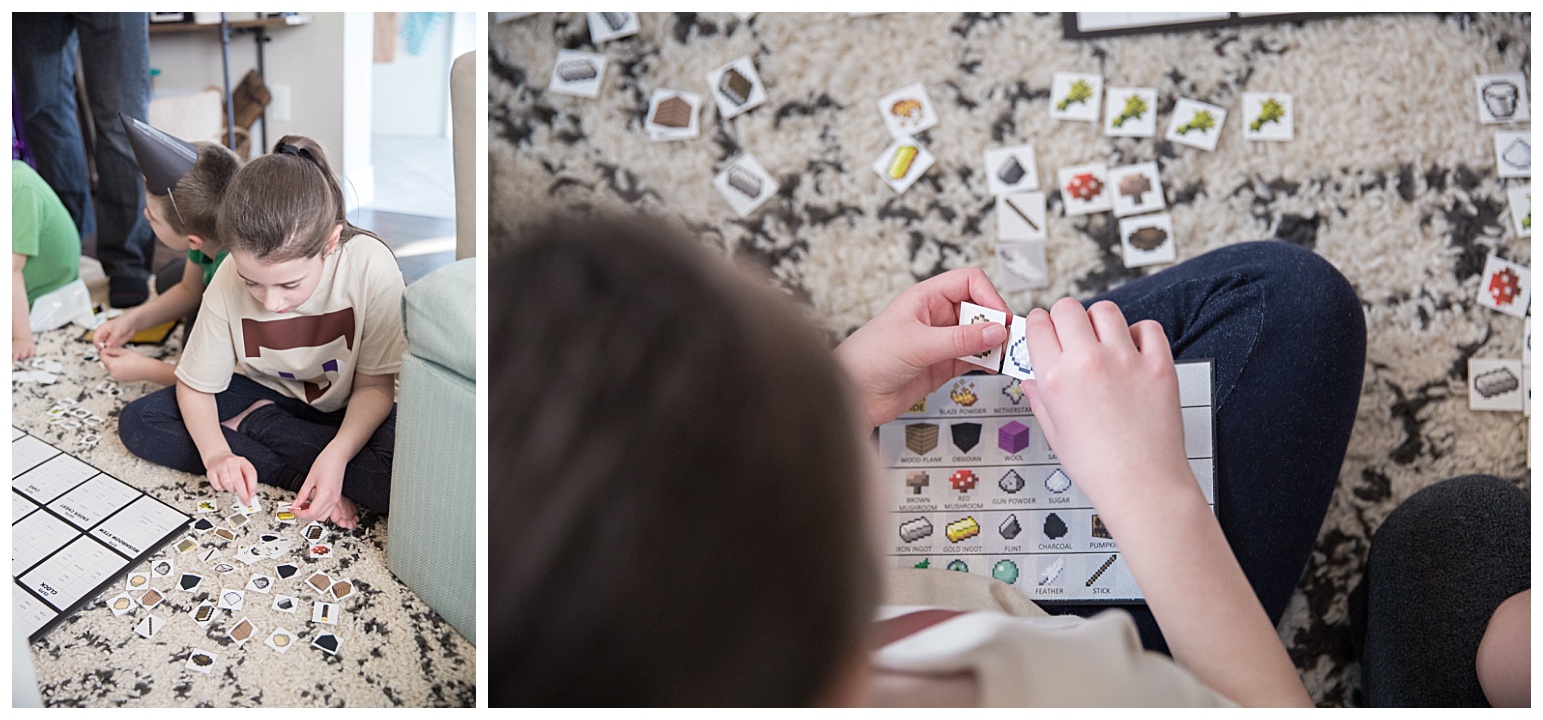
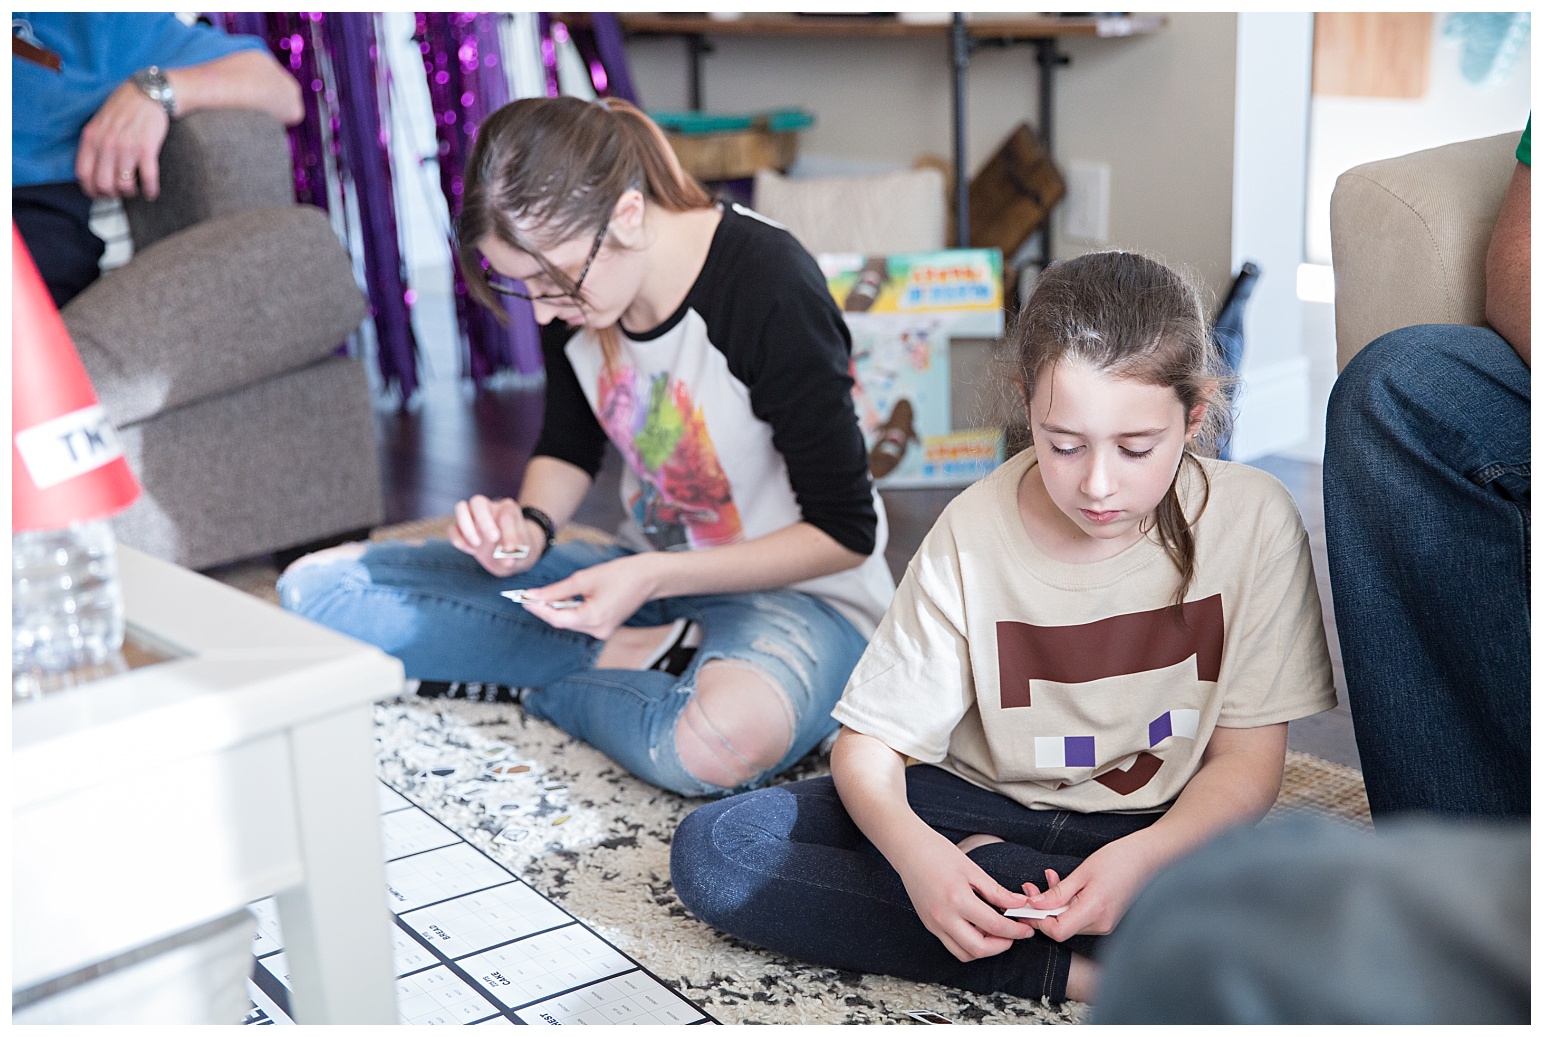
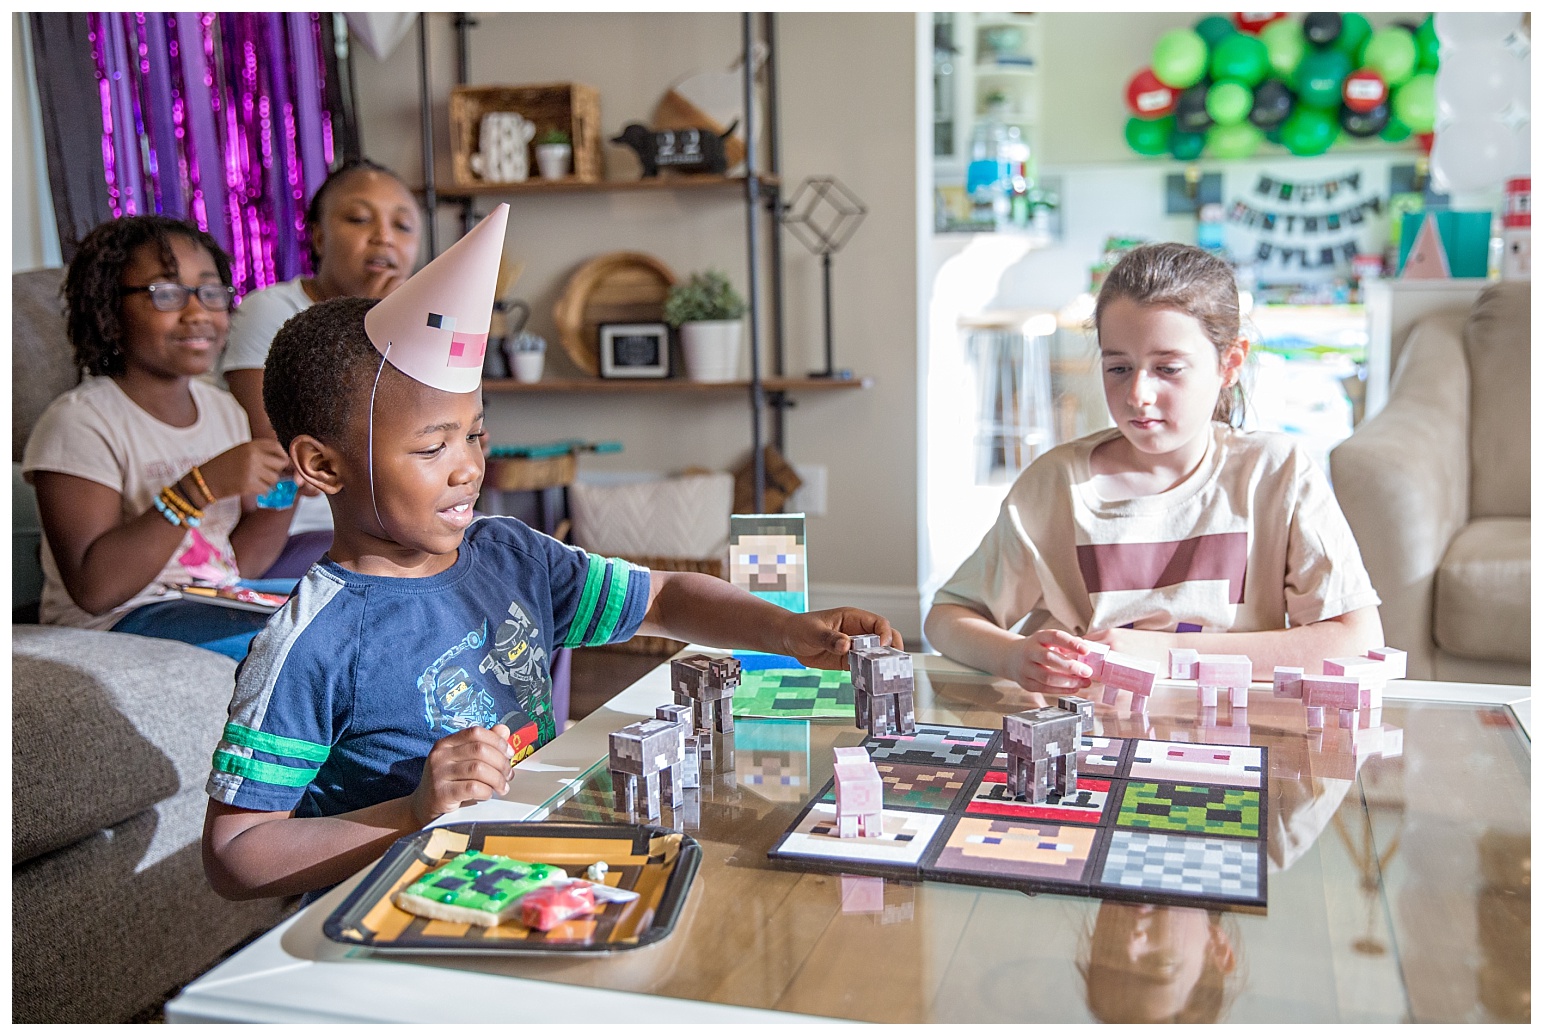
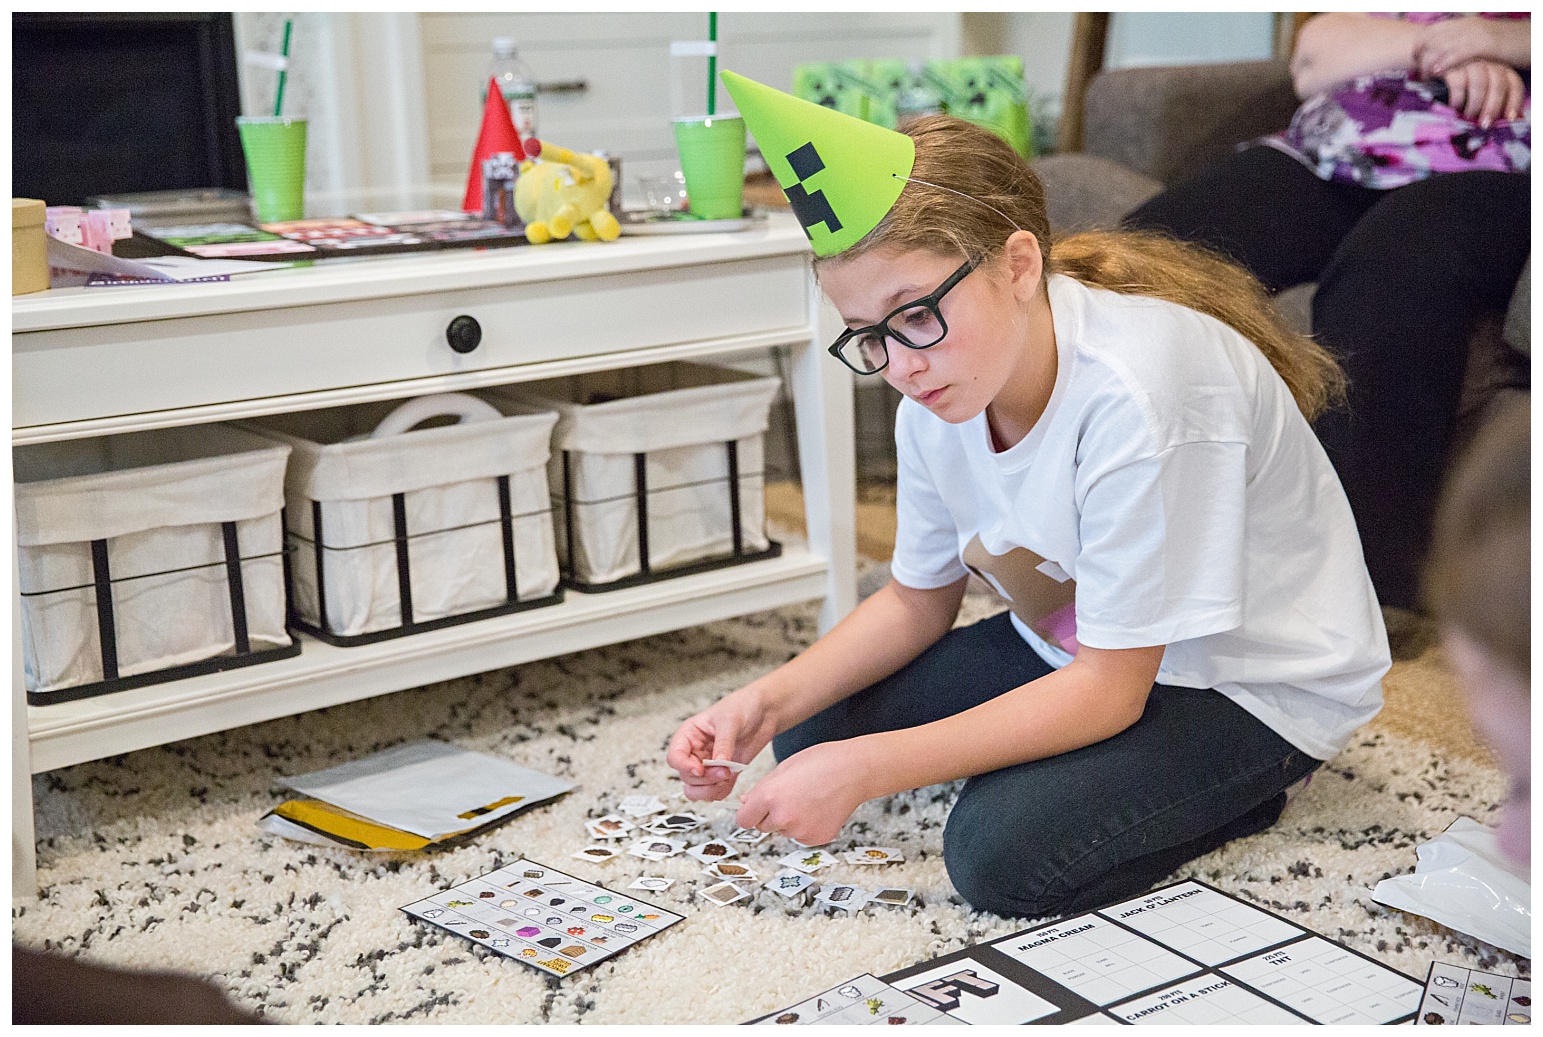
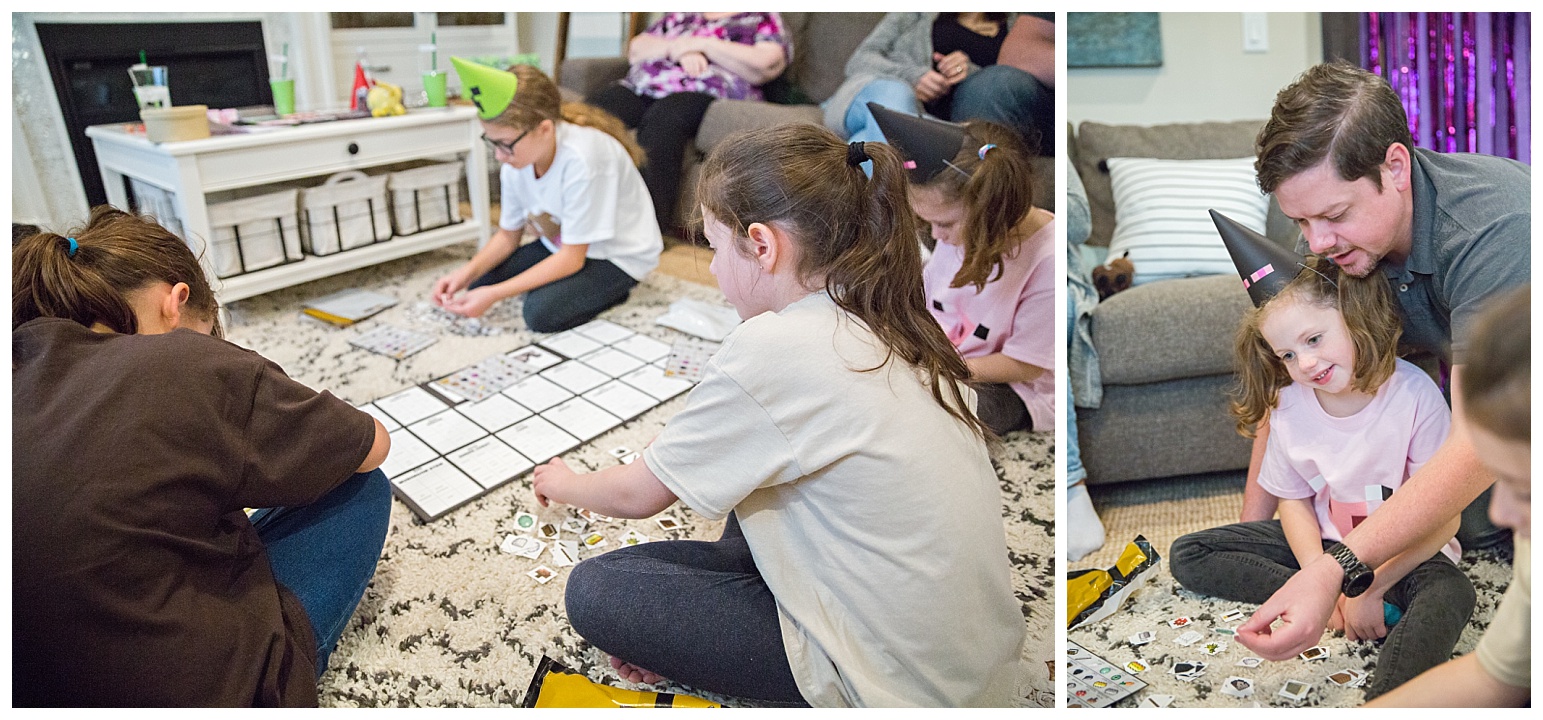
I found this printable game online that was fantastic. We changed the rules and gameplay so that it would make more sense for our small groups, but I still used all of the lovely printables that were included in this set. The kids at the party ranged in age from 6 to 11 which was the perfect age range. They really enjoyed it! And the parents jumped in and got involved as well which was super fun for everyone.
In a nutshell, the goal is to use your icons to make as many recipes as you can. The recipes each have a point value. You can only use an icon for one recipe so figuring out what has the most value was important. Highest score wins. So there’s math, and checking a legend, and using logic problem solving. Great game for elementary school aged kids!
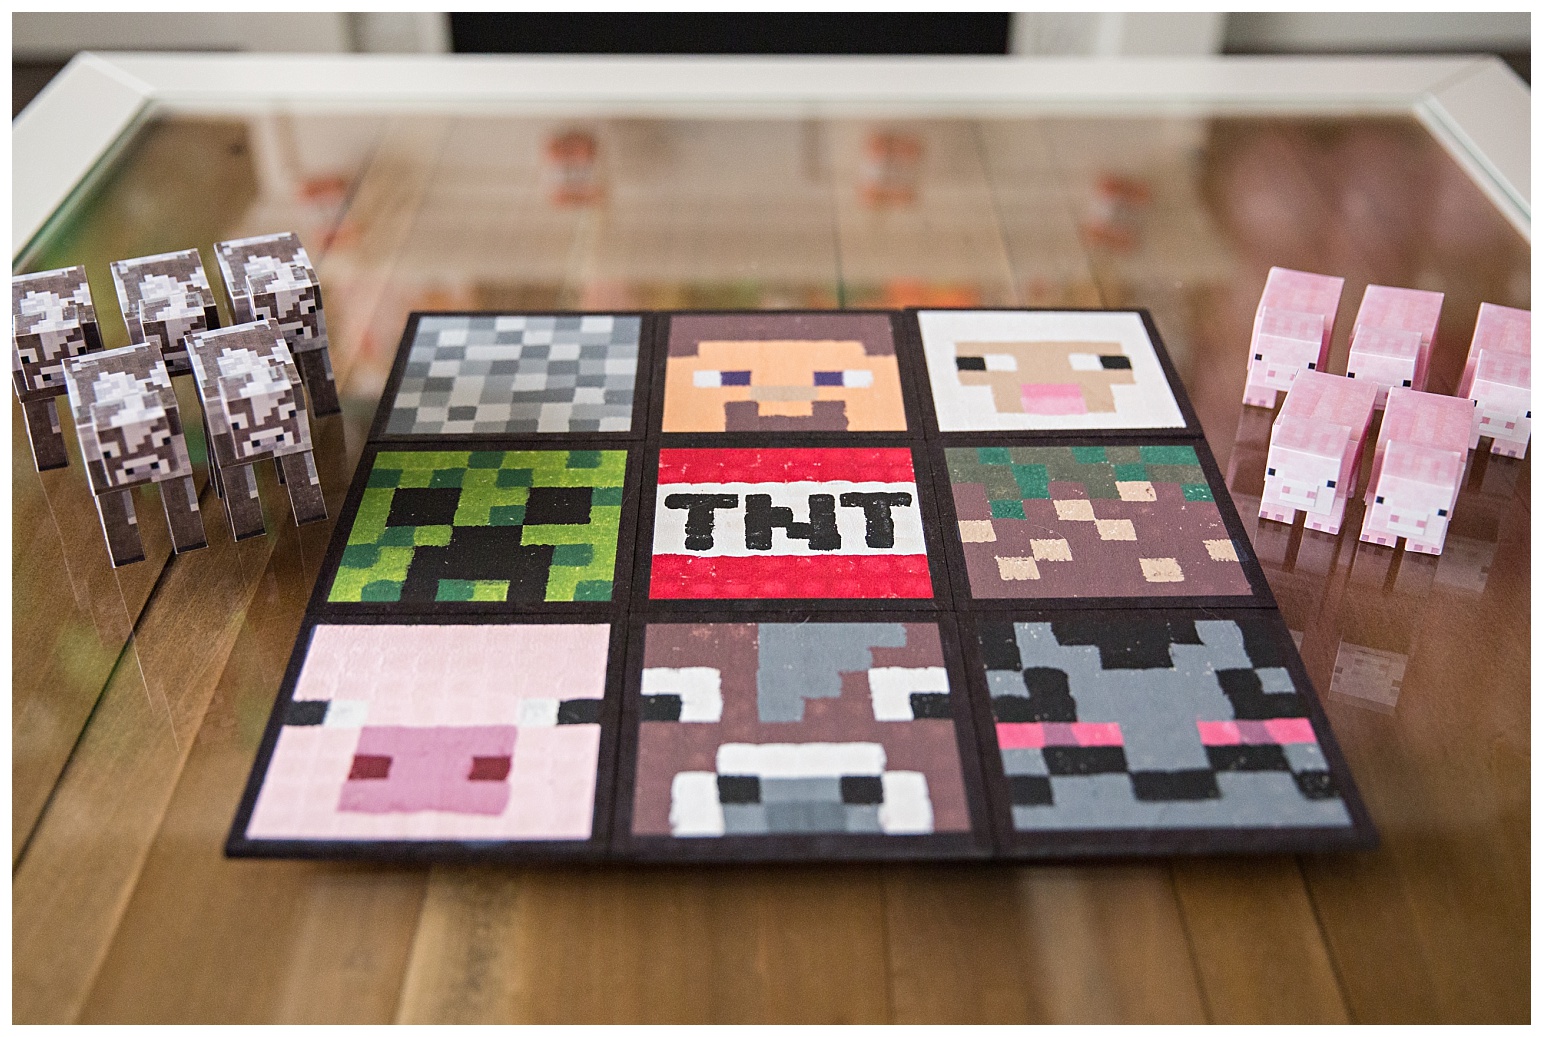
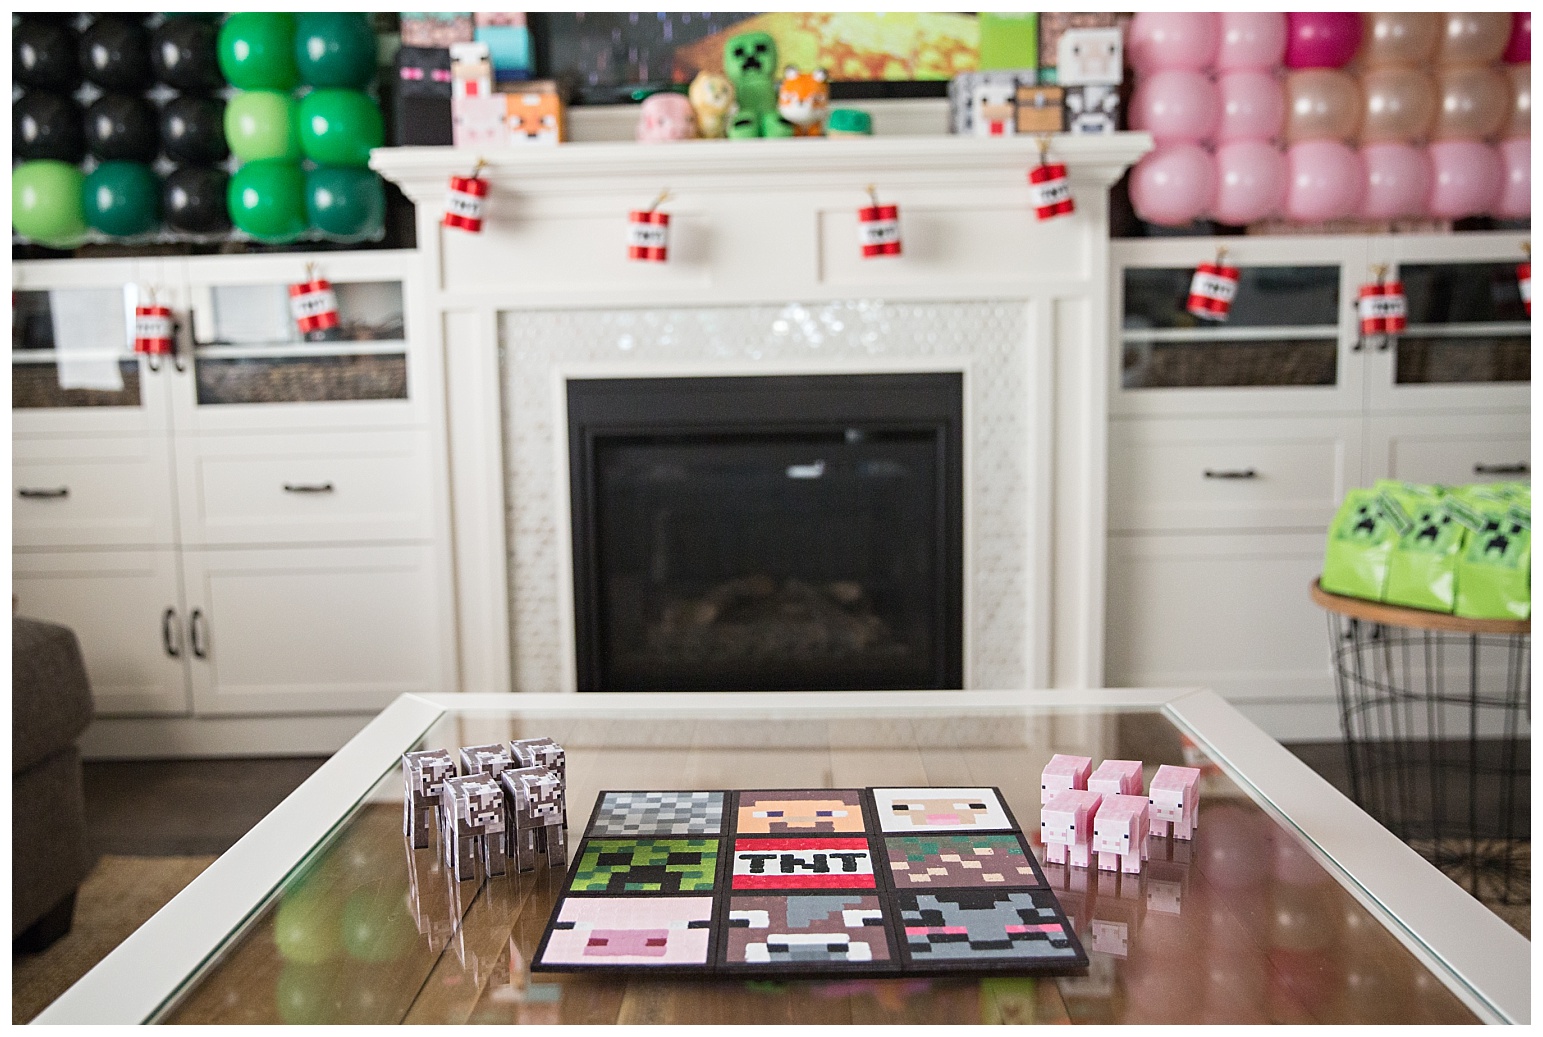
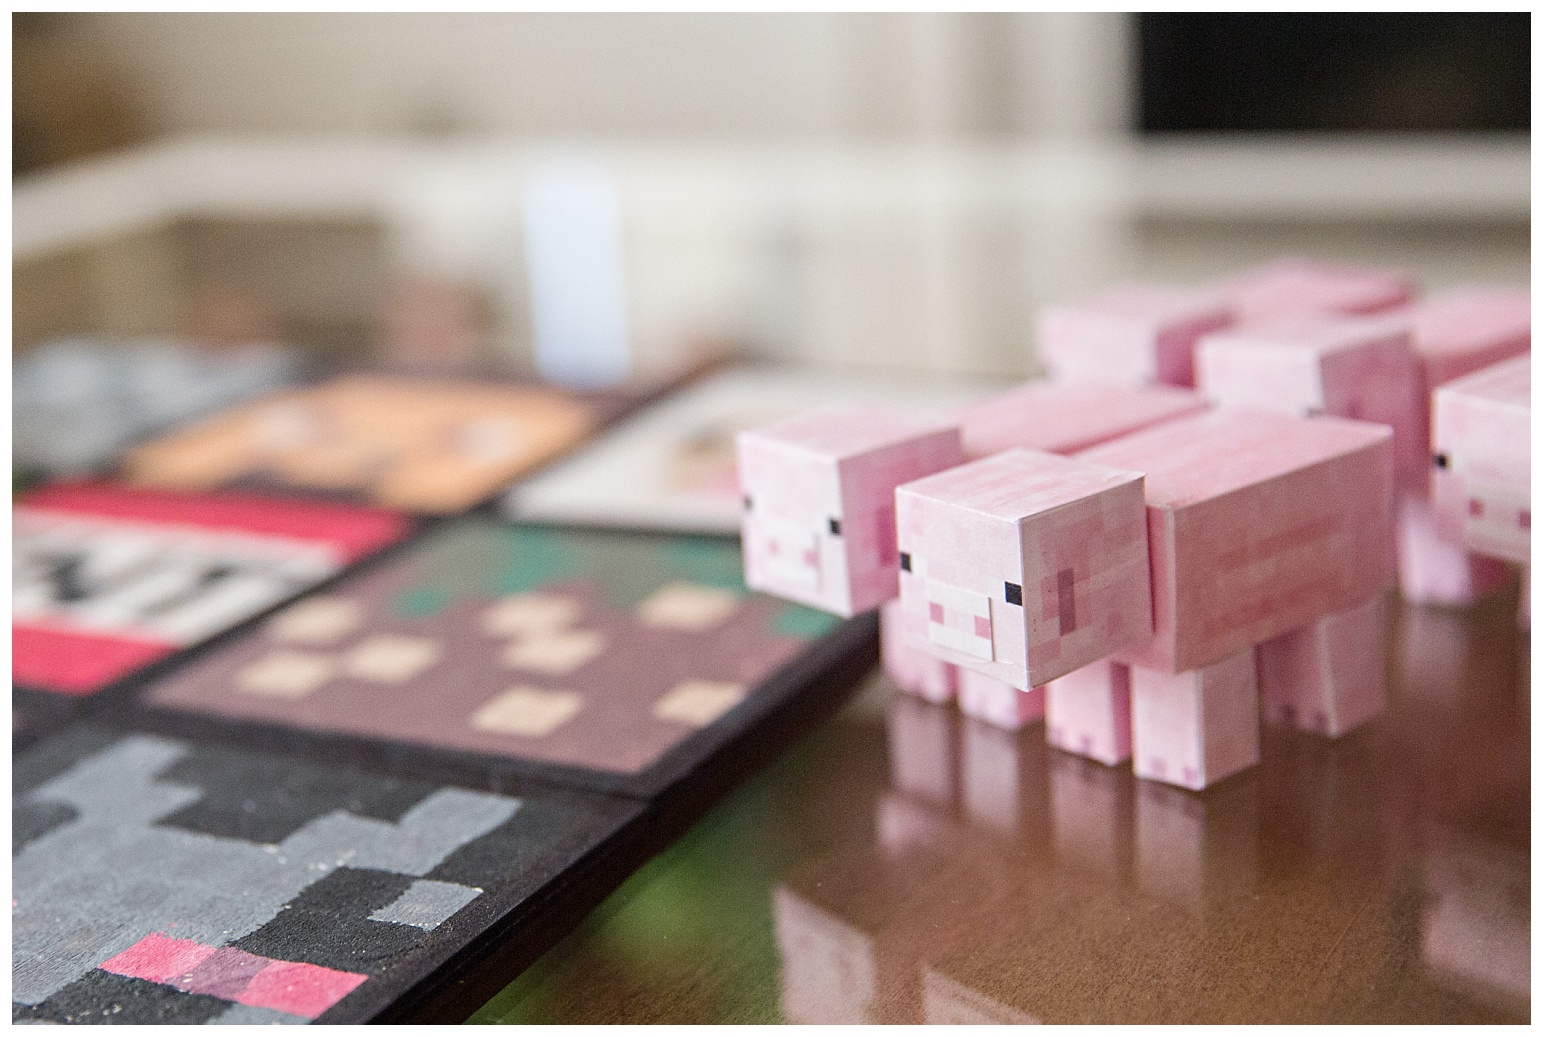
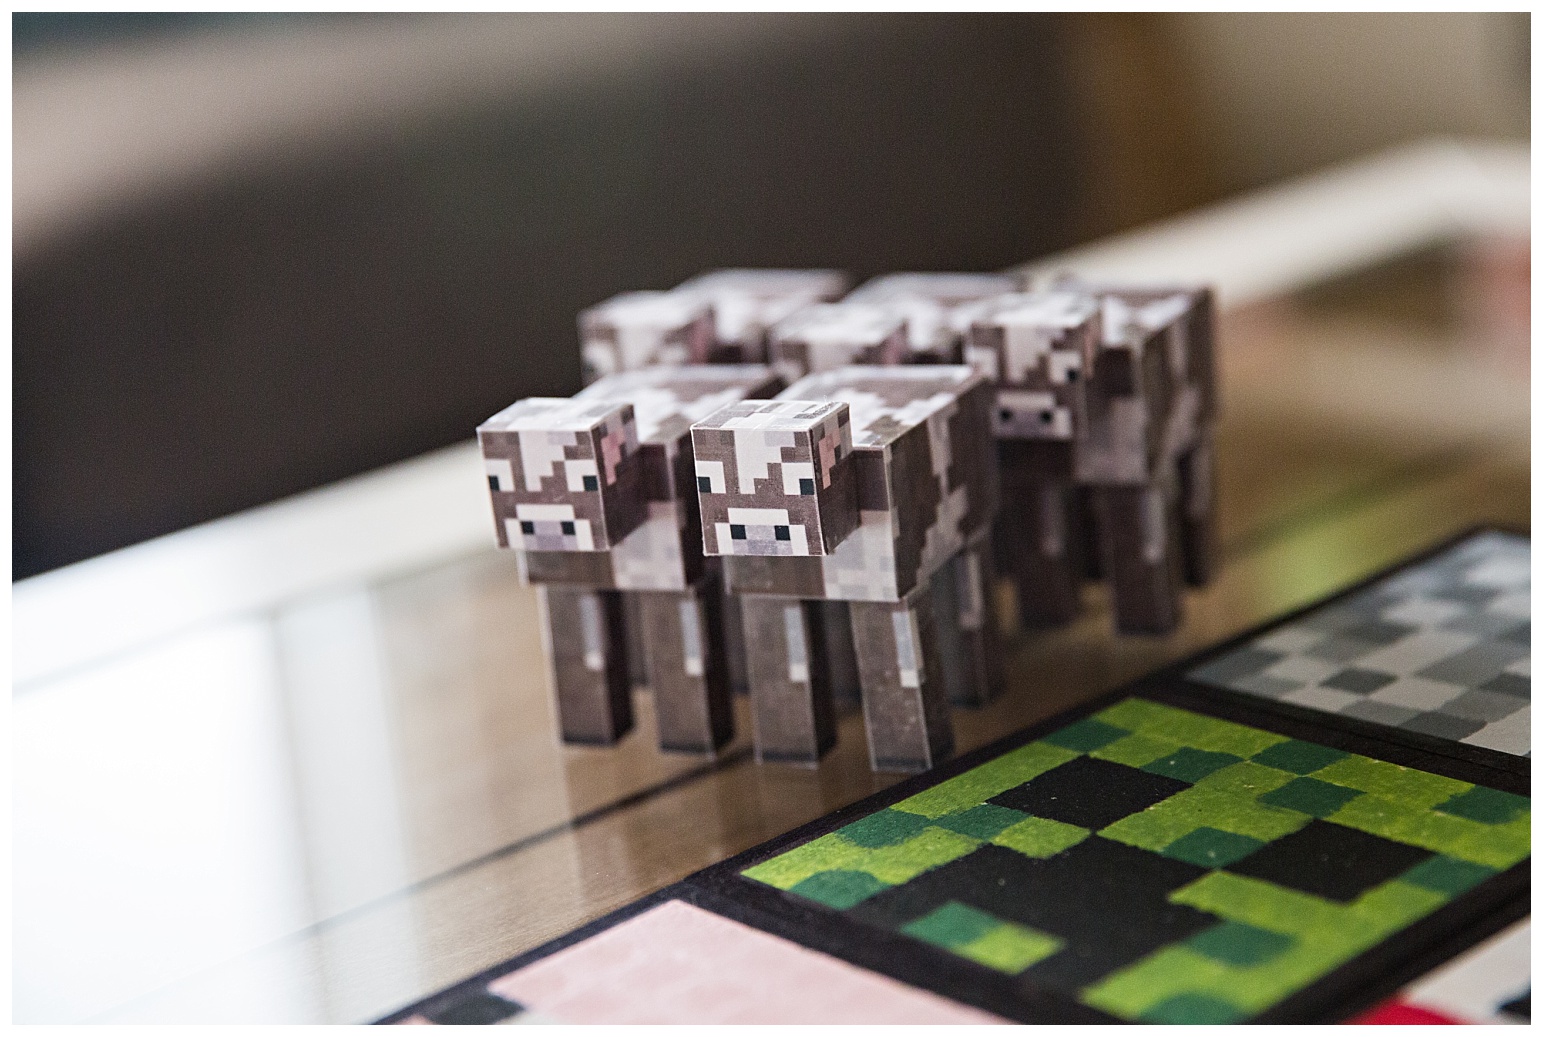
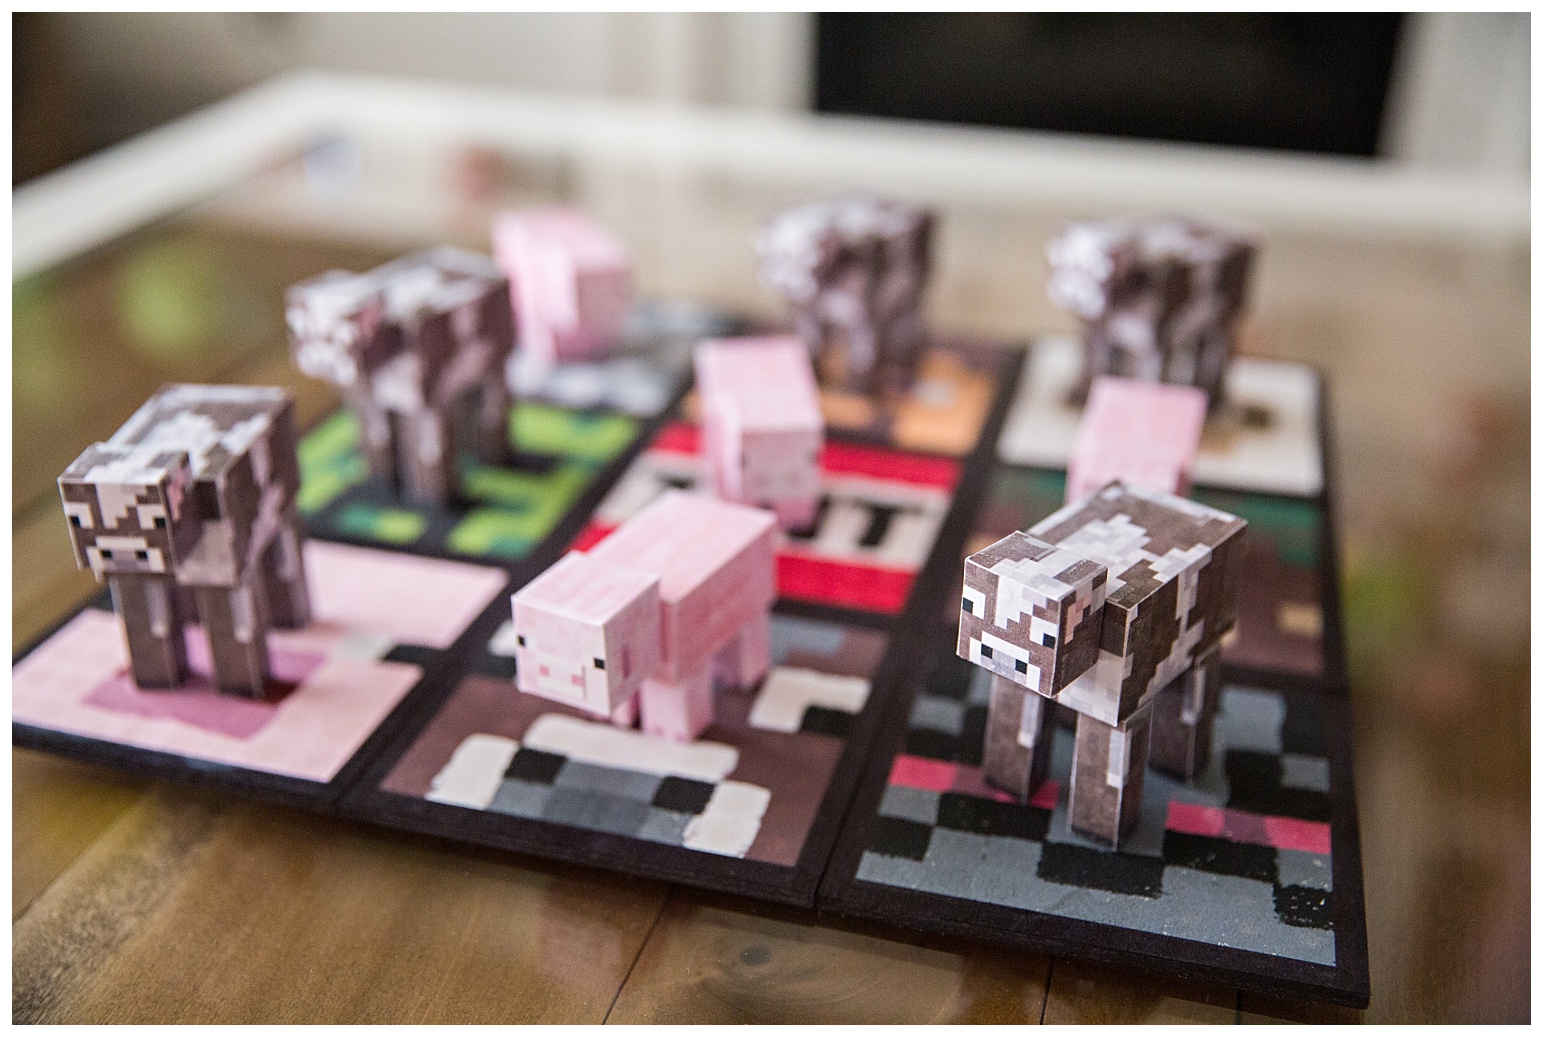
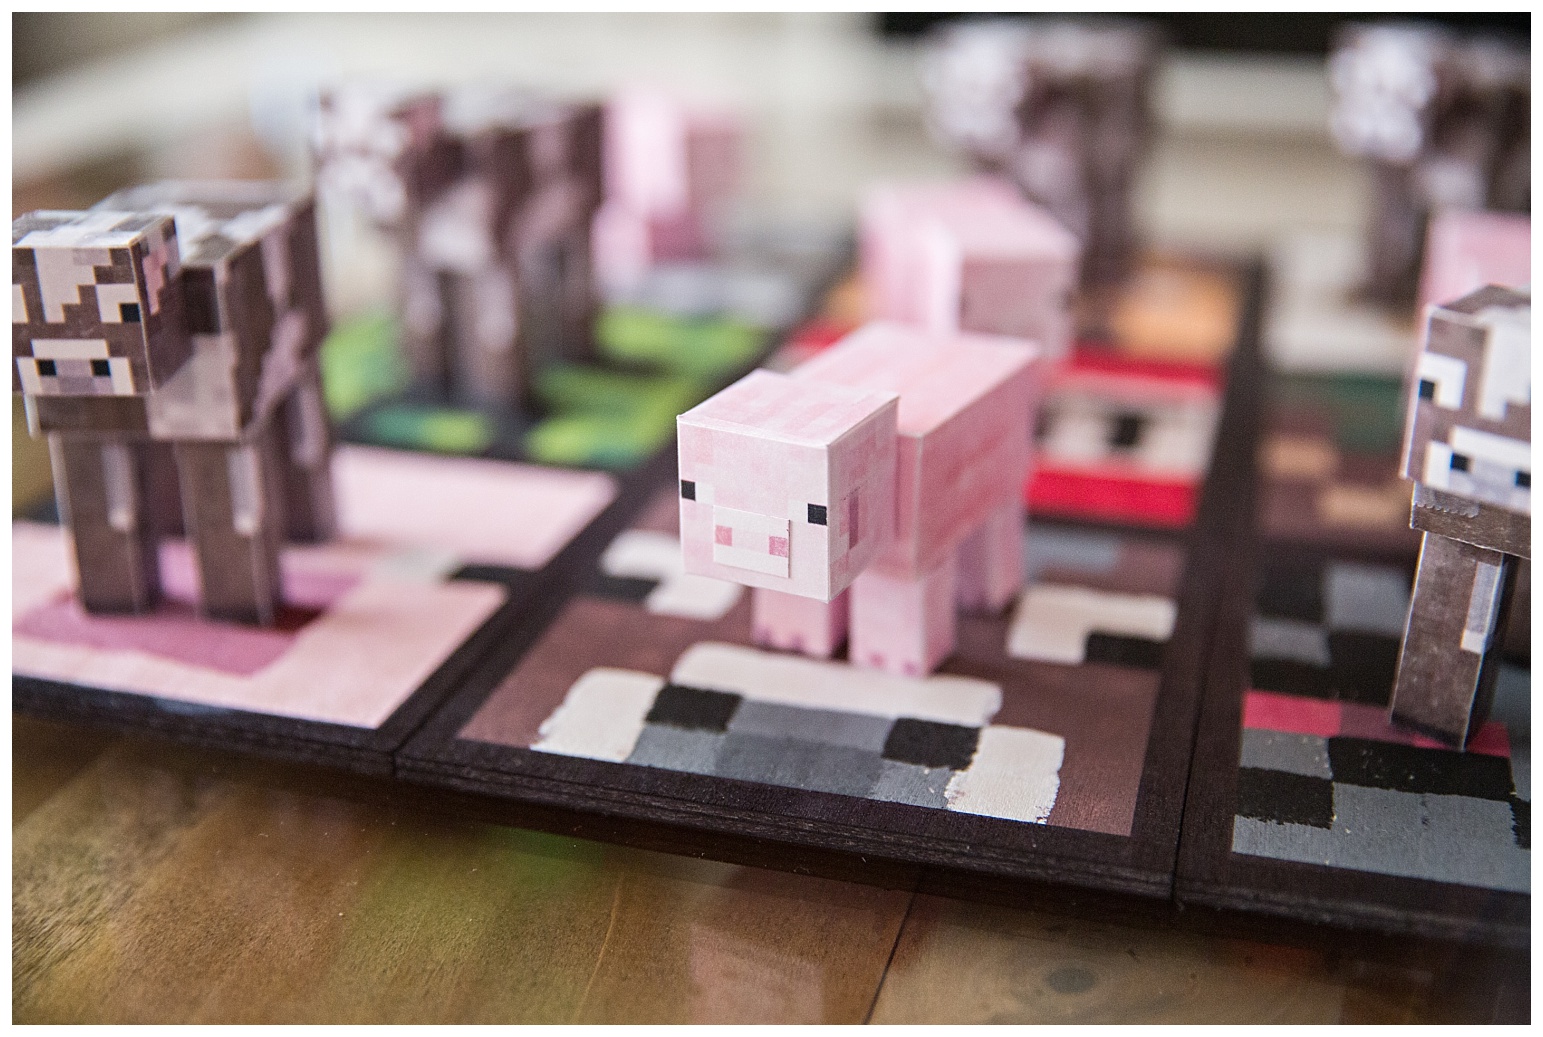
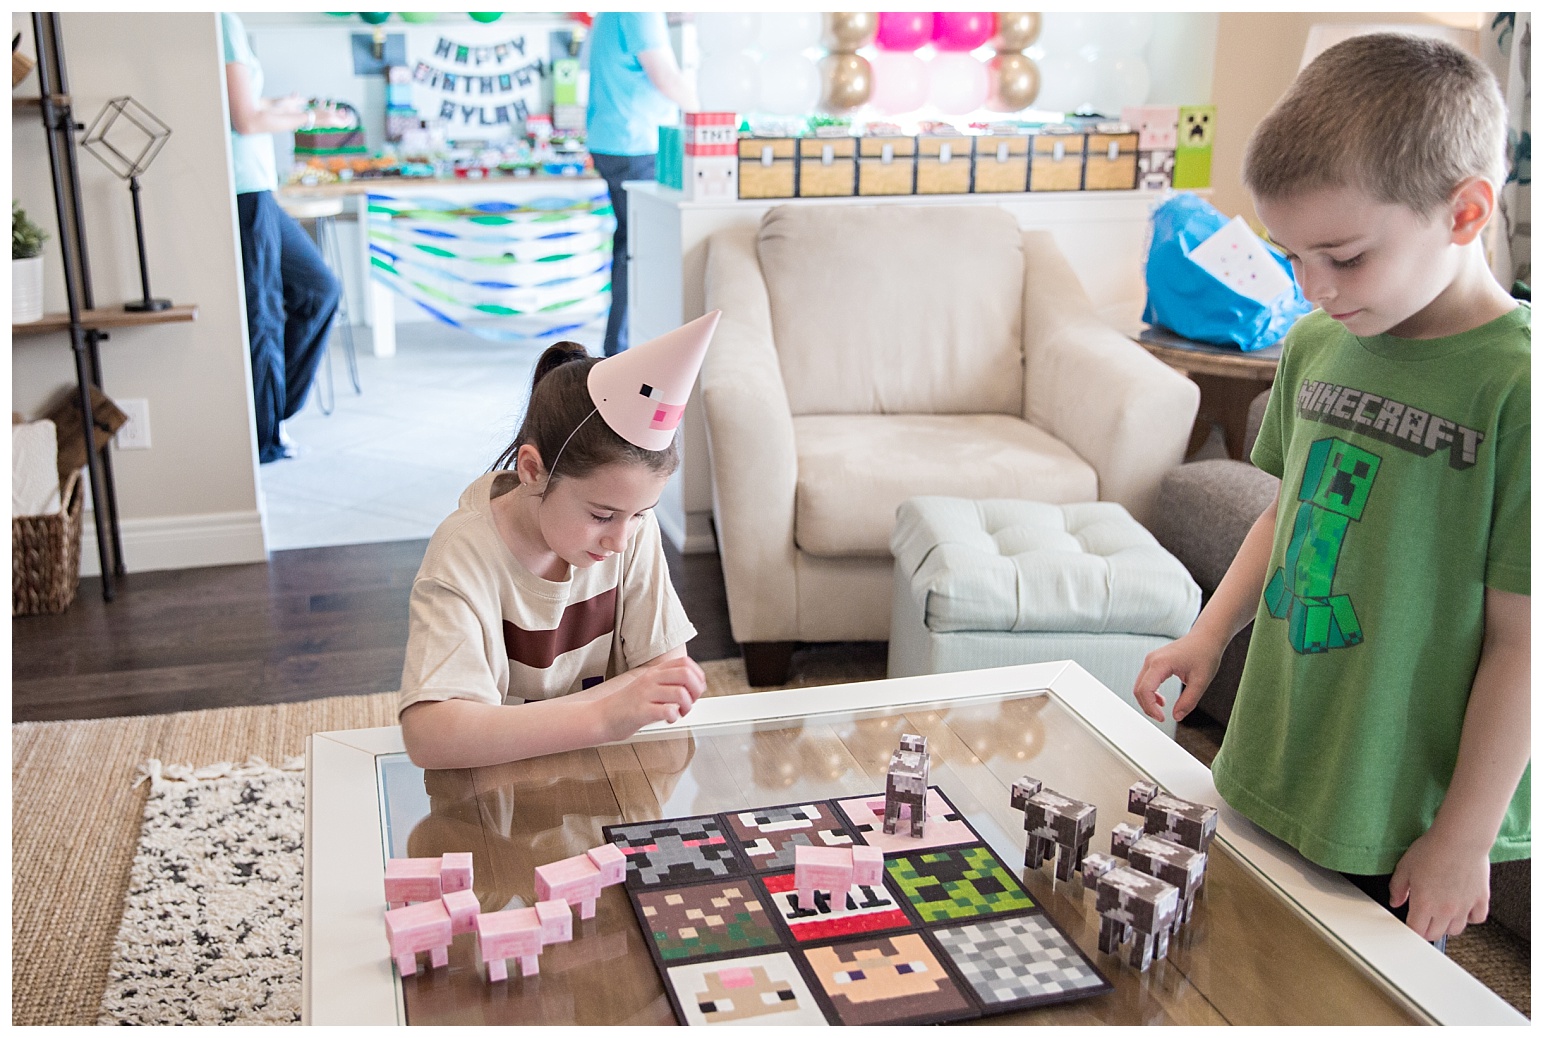
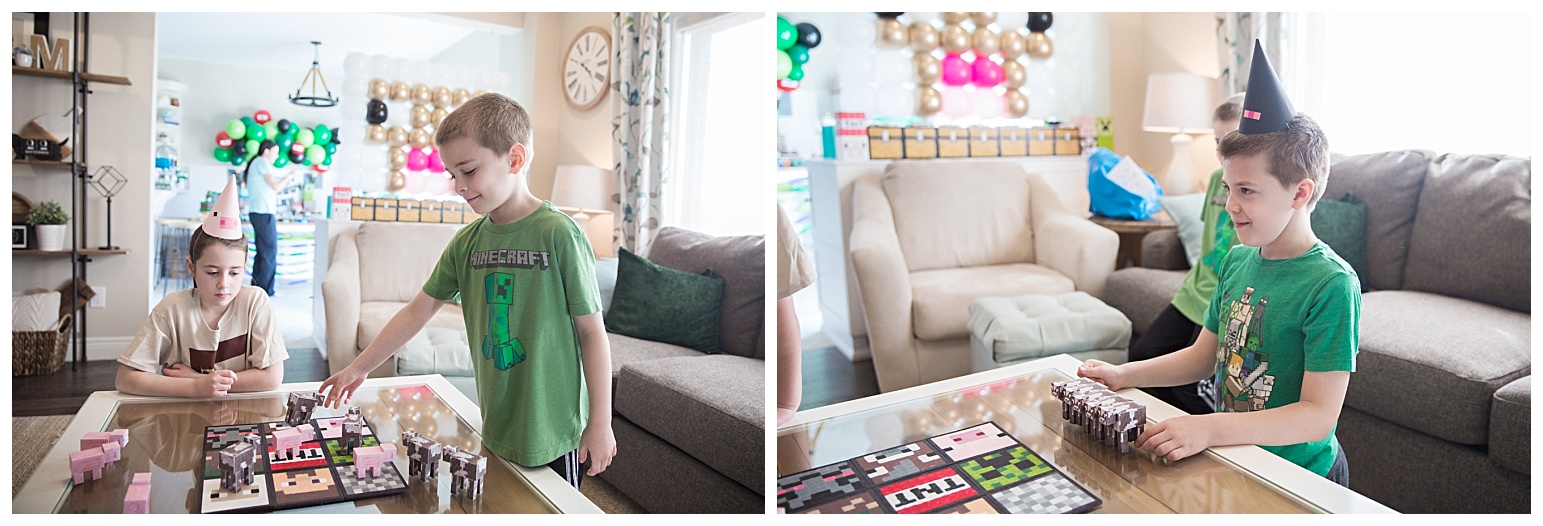
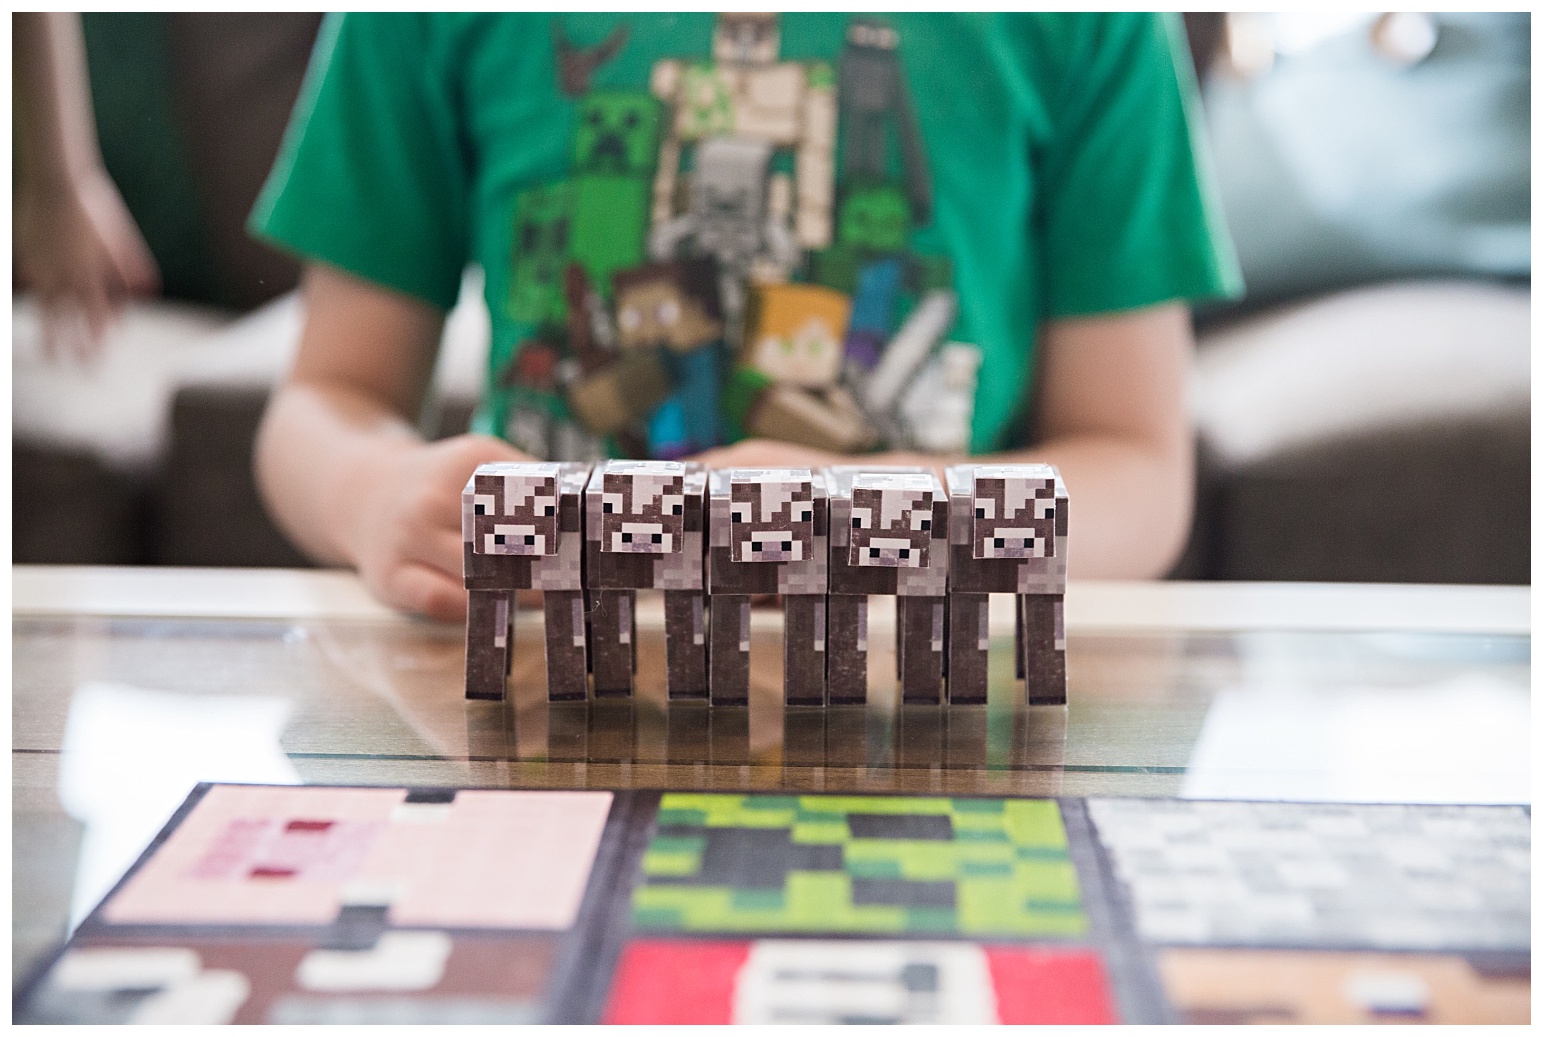
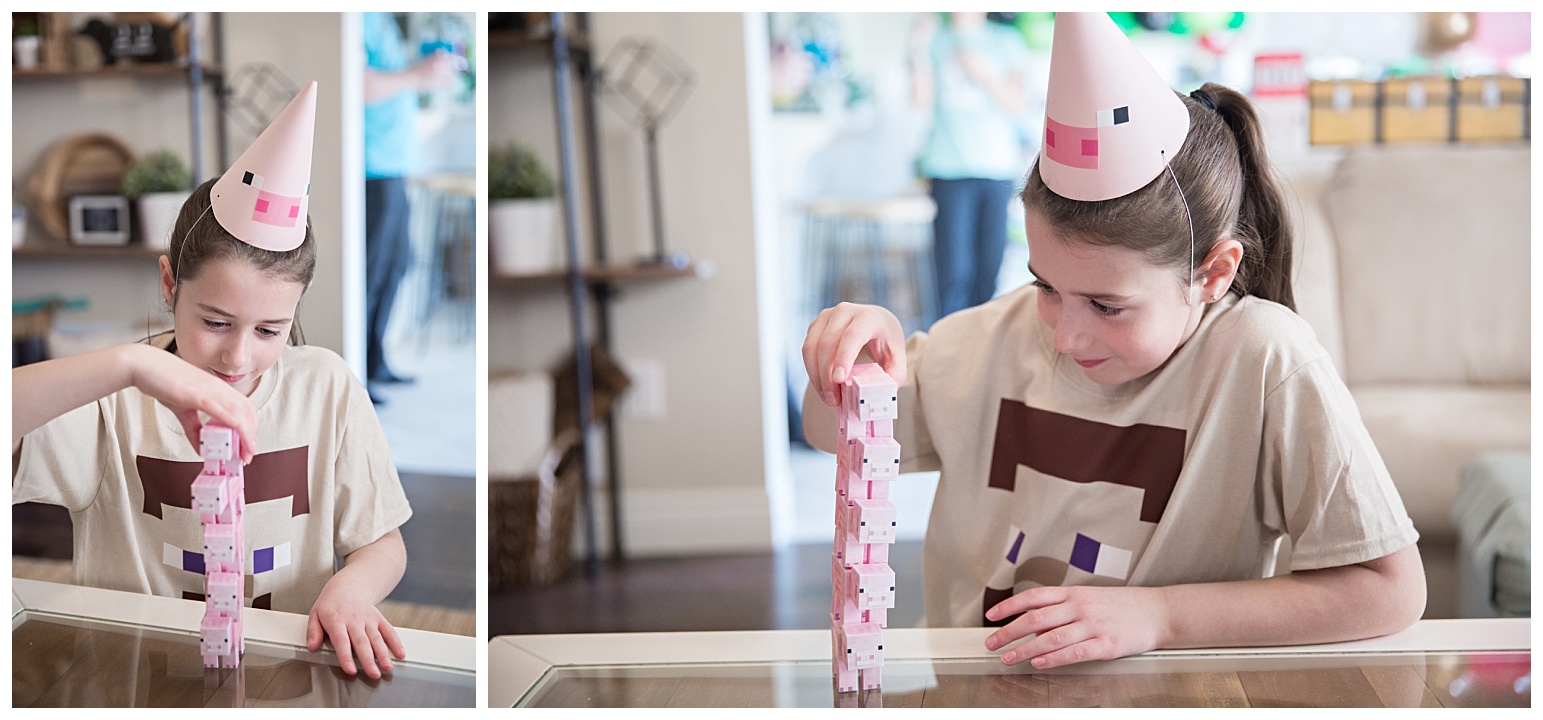
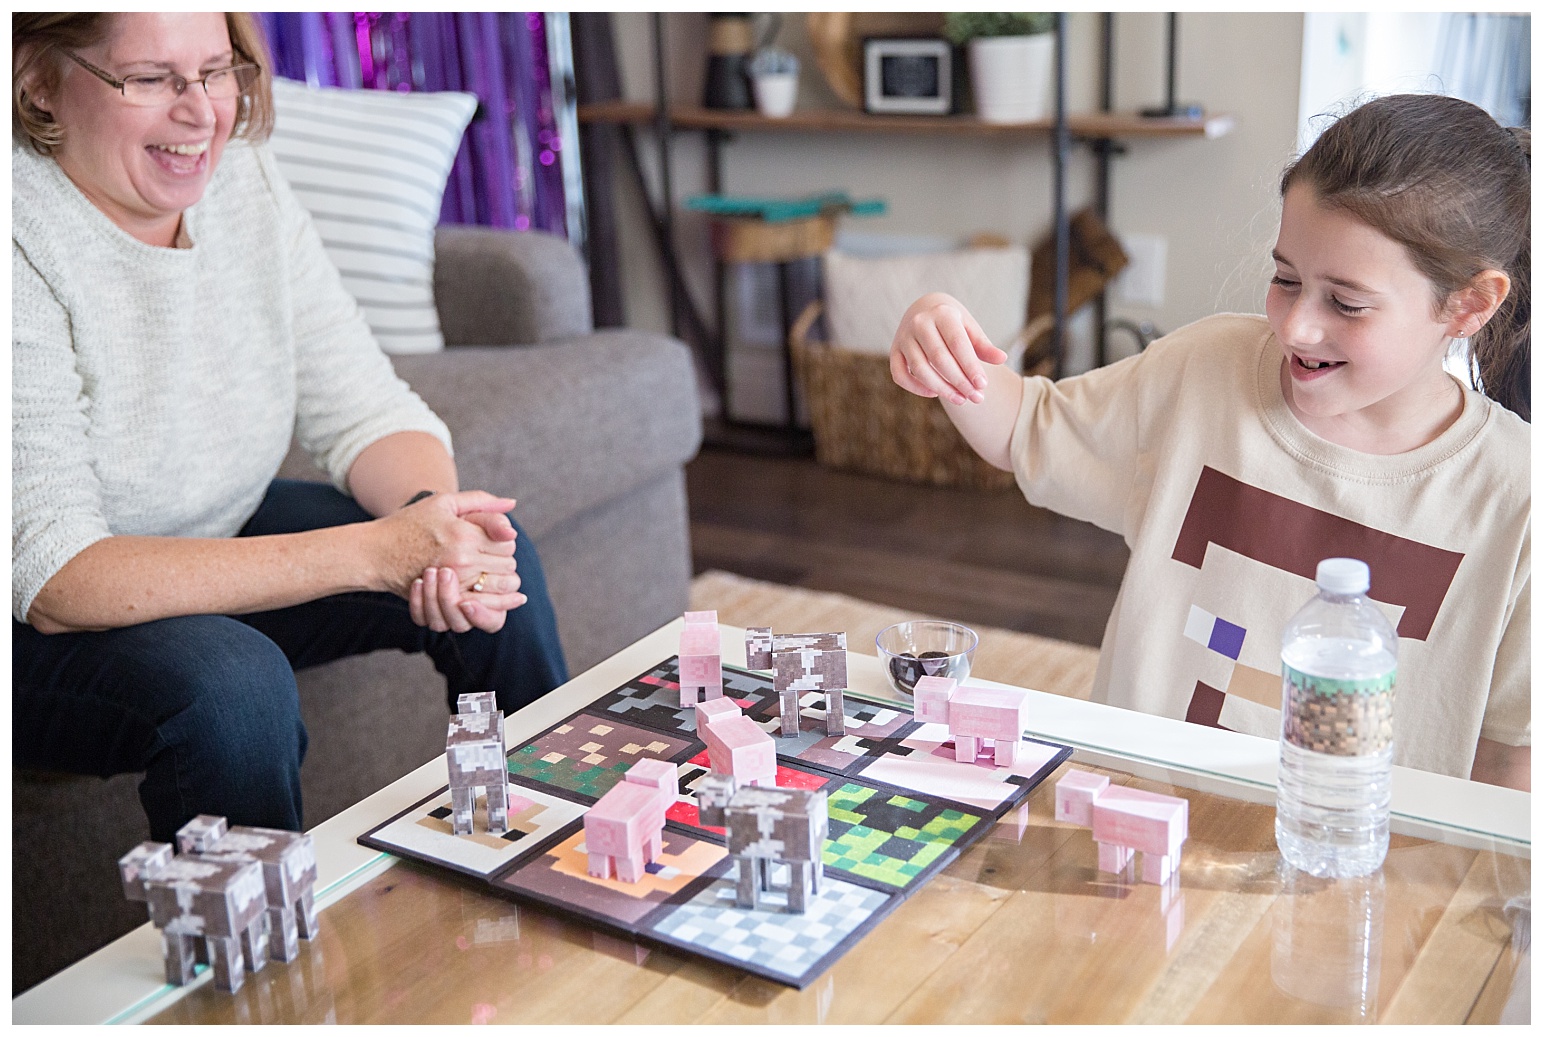
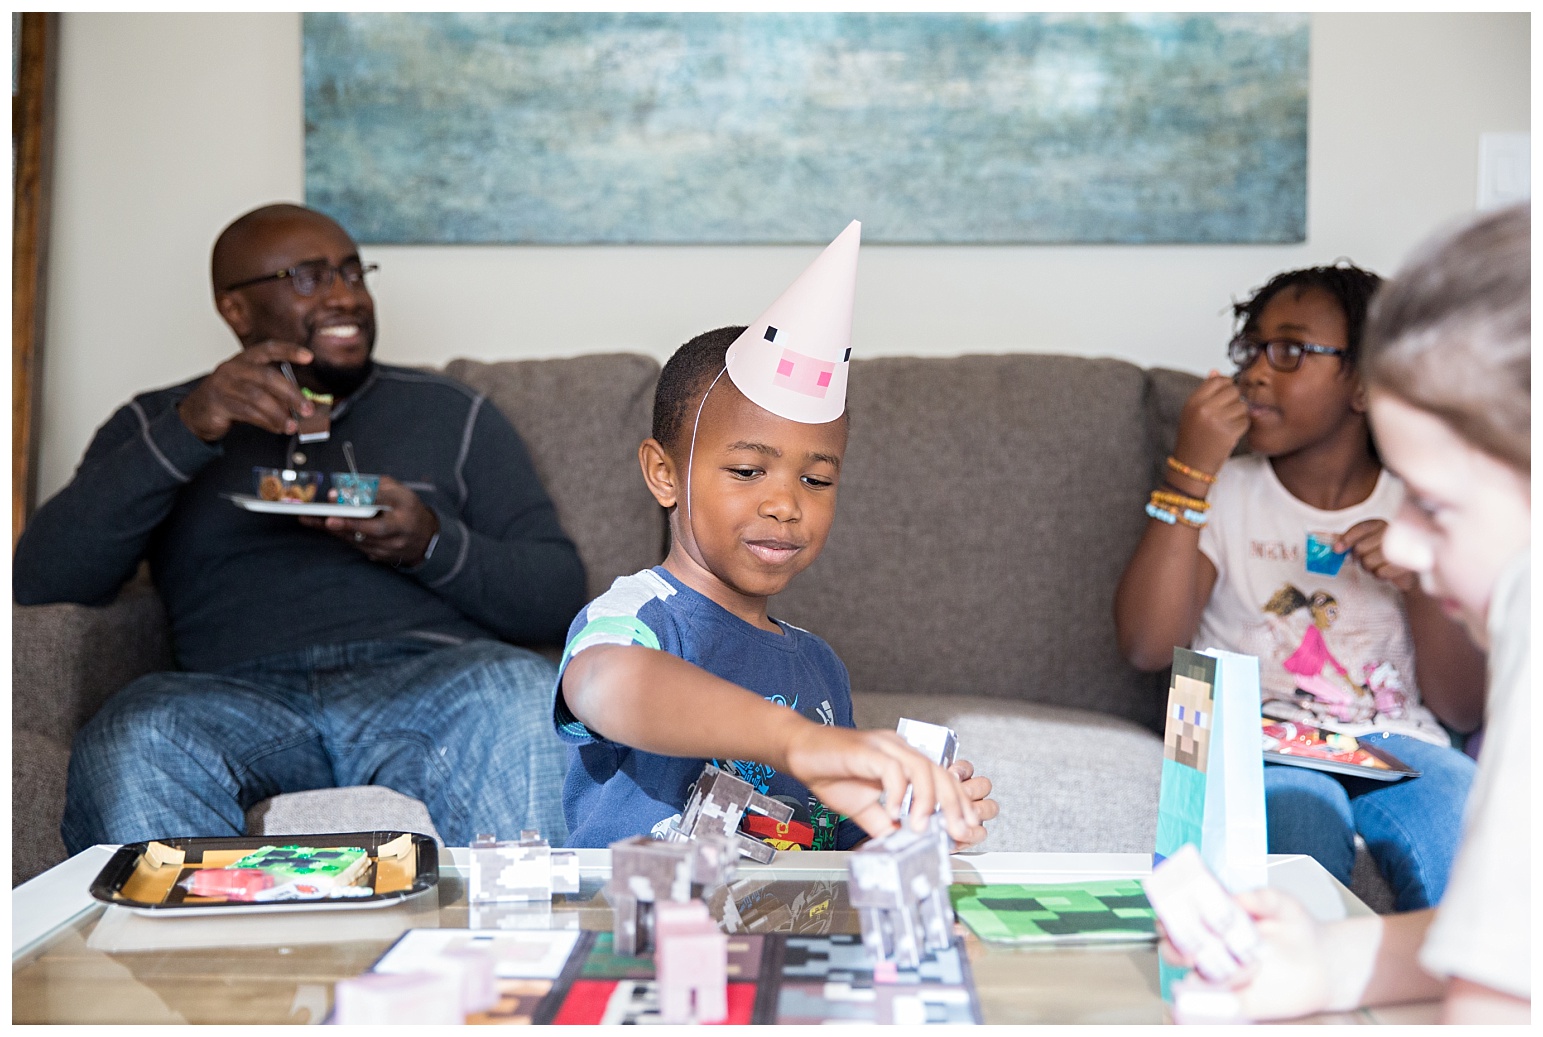
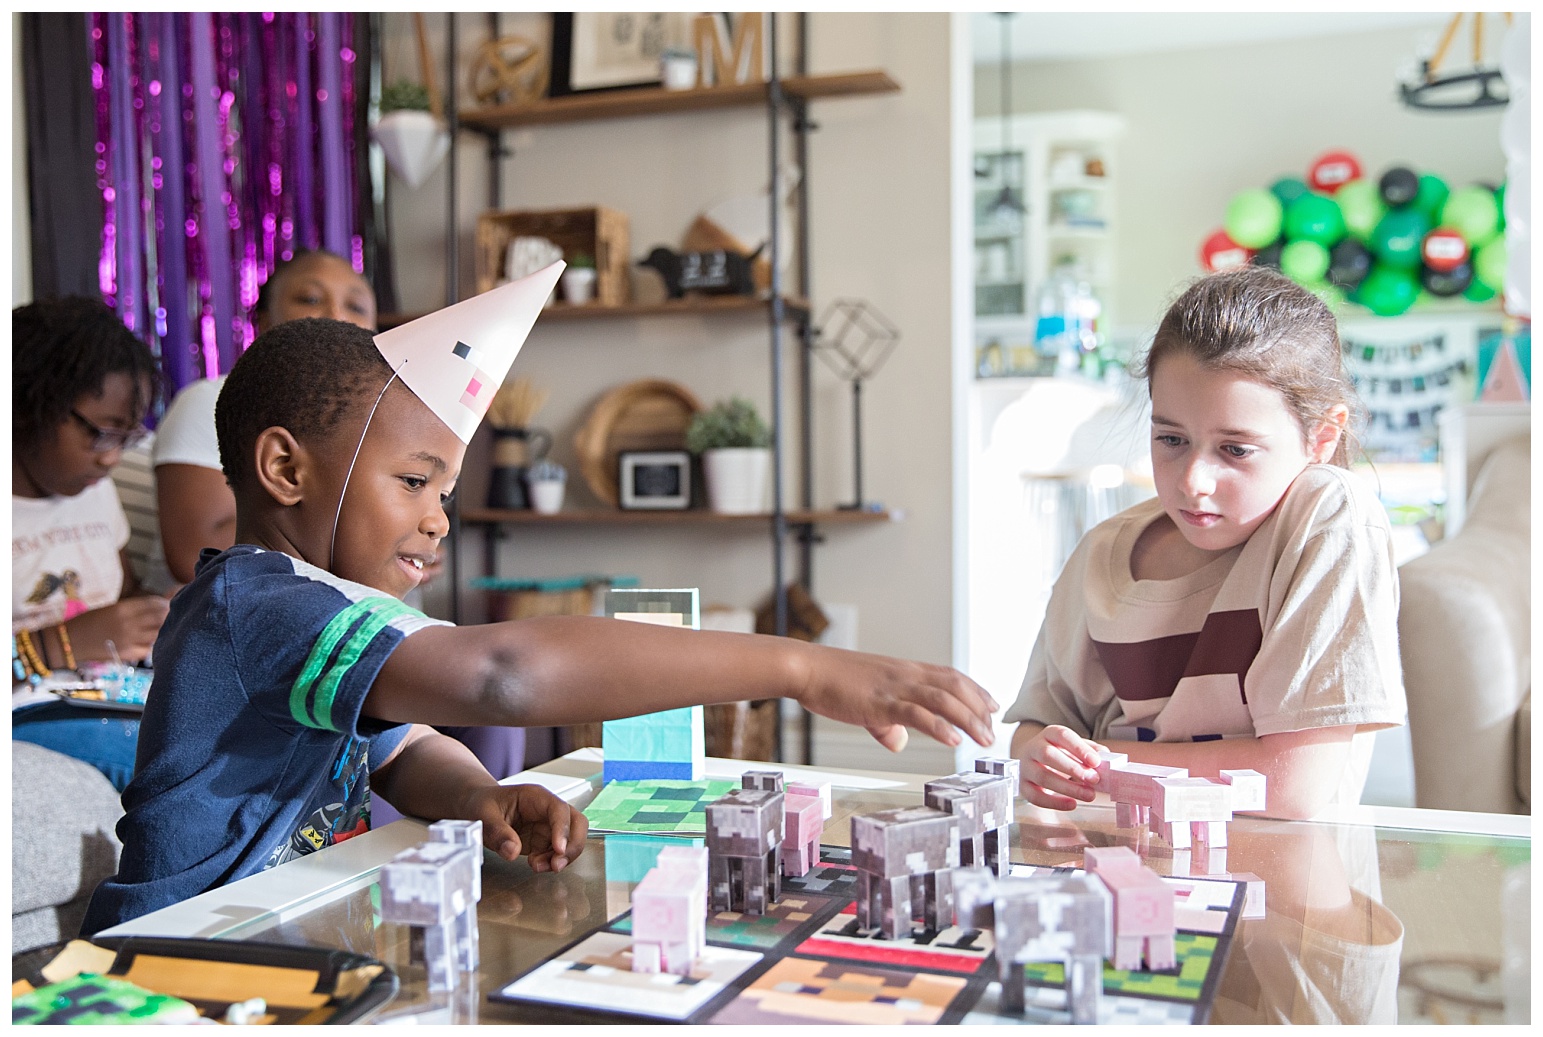
The second little activity I had planned was a larger scale tic tac toe board to play off of the mini ones in the favour boxes. Here are the printables I used to make the pigs and cows. The animal parts were attached to each other with a hot glue gun which worked pretty well, but wasn’t perfect. We did have a couple of decapitations and dismemberments during the party … which provided lots of laughs.
The board is made from the same square wooden pieces from the dollar store that I used for the mini boards (just used 9 of them stuck together from the back).
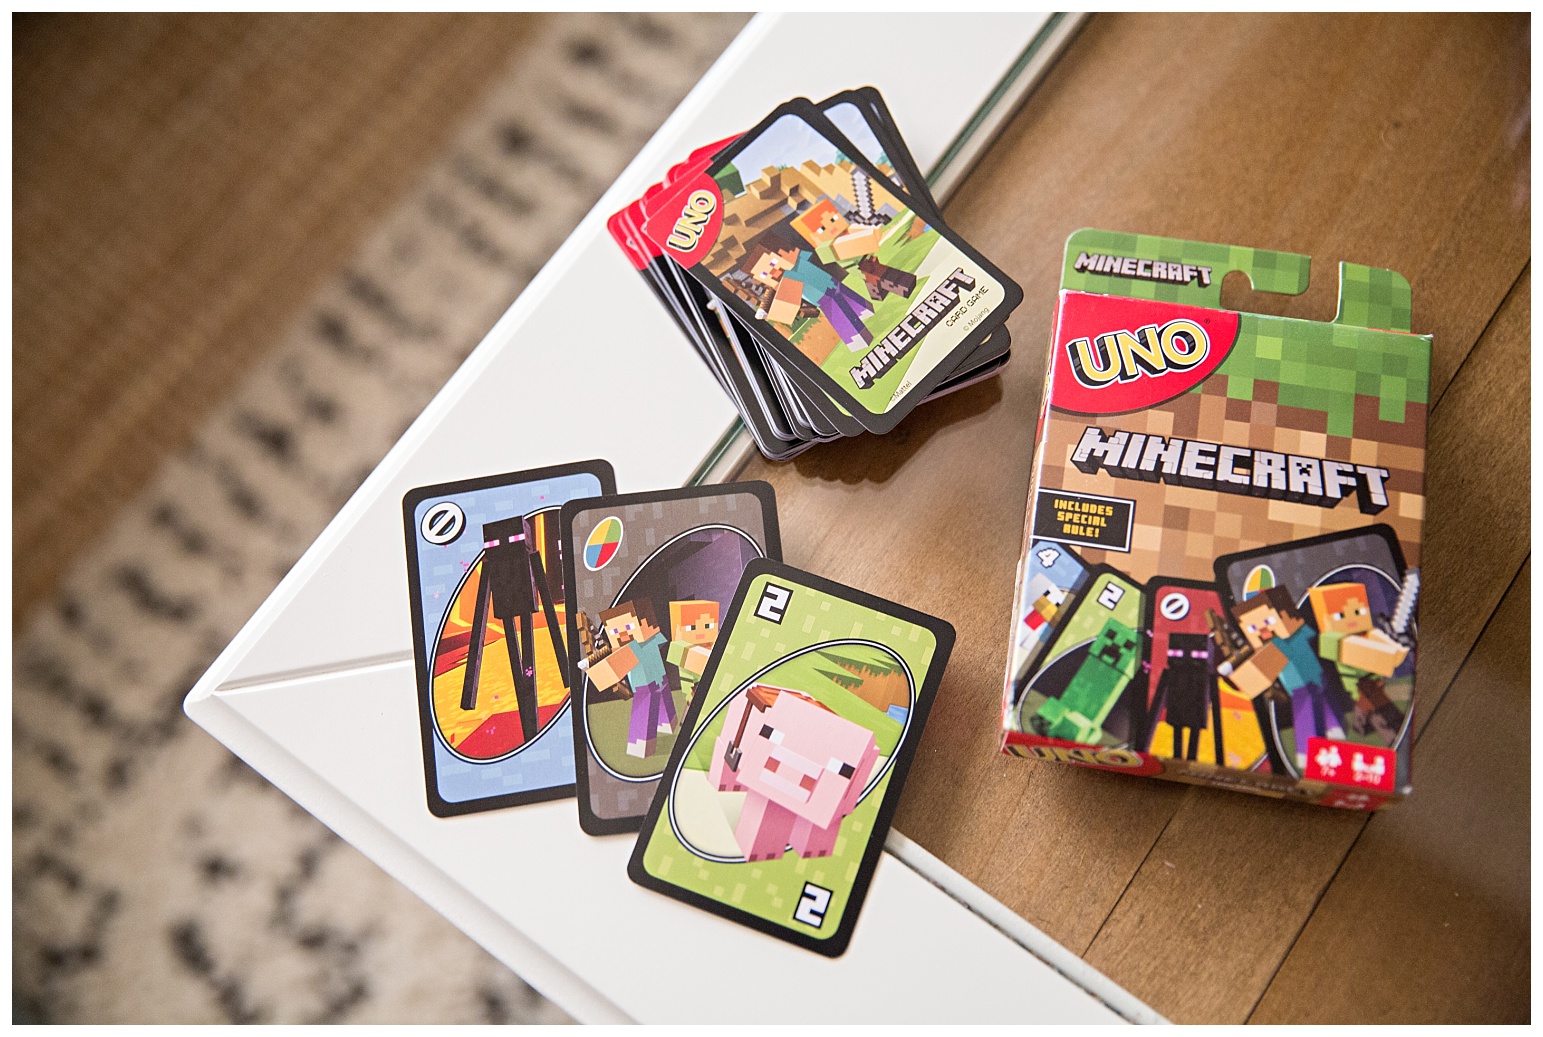
I also found this Minecraft UNO deck on Amazon to be another activity for the kids, but it wasn’t even opened. The other games were so much fun that it wasn’t needed.
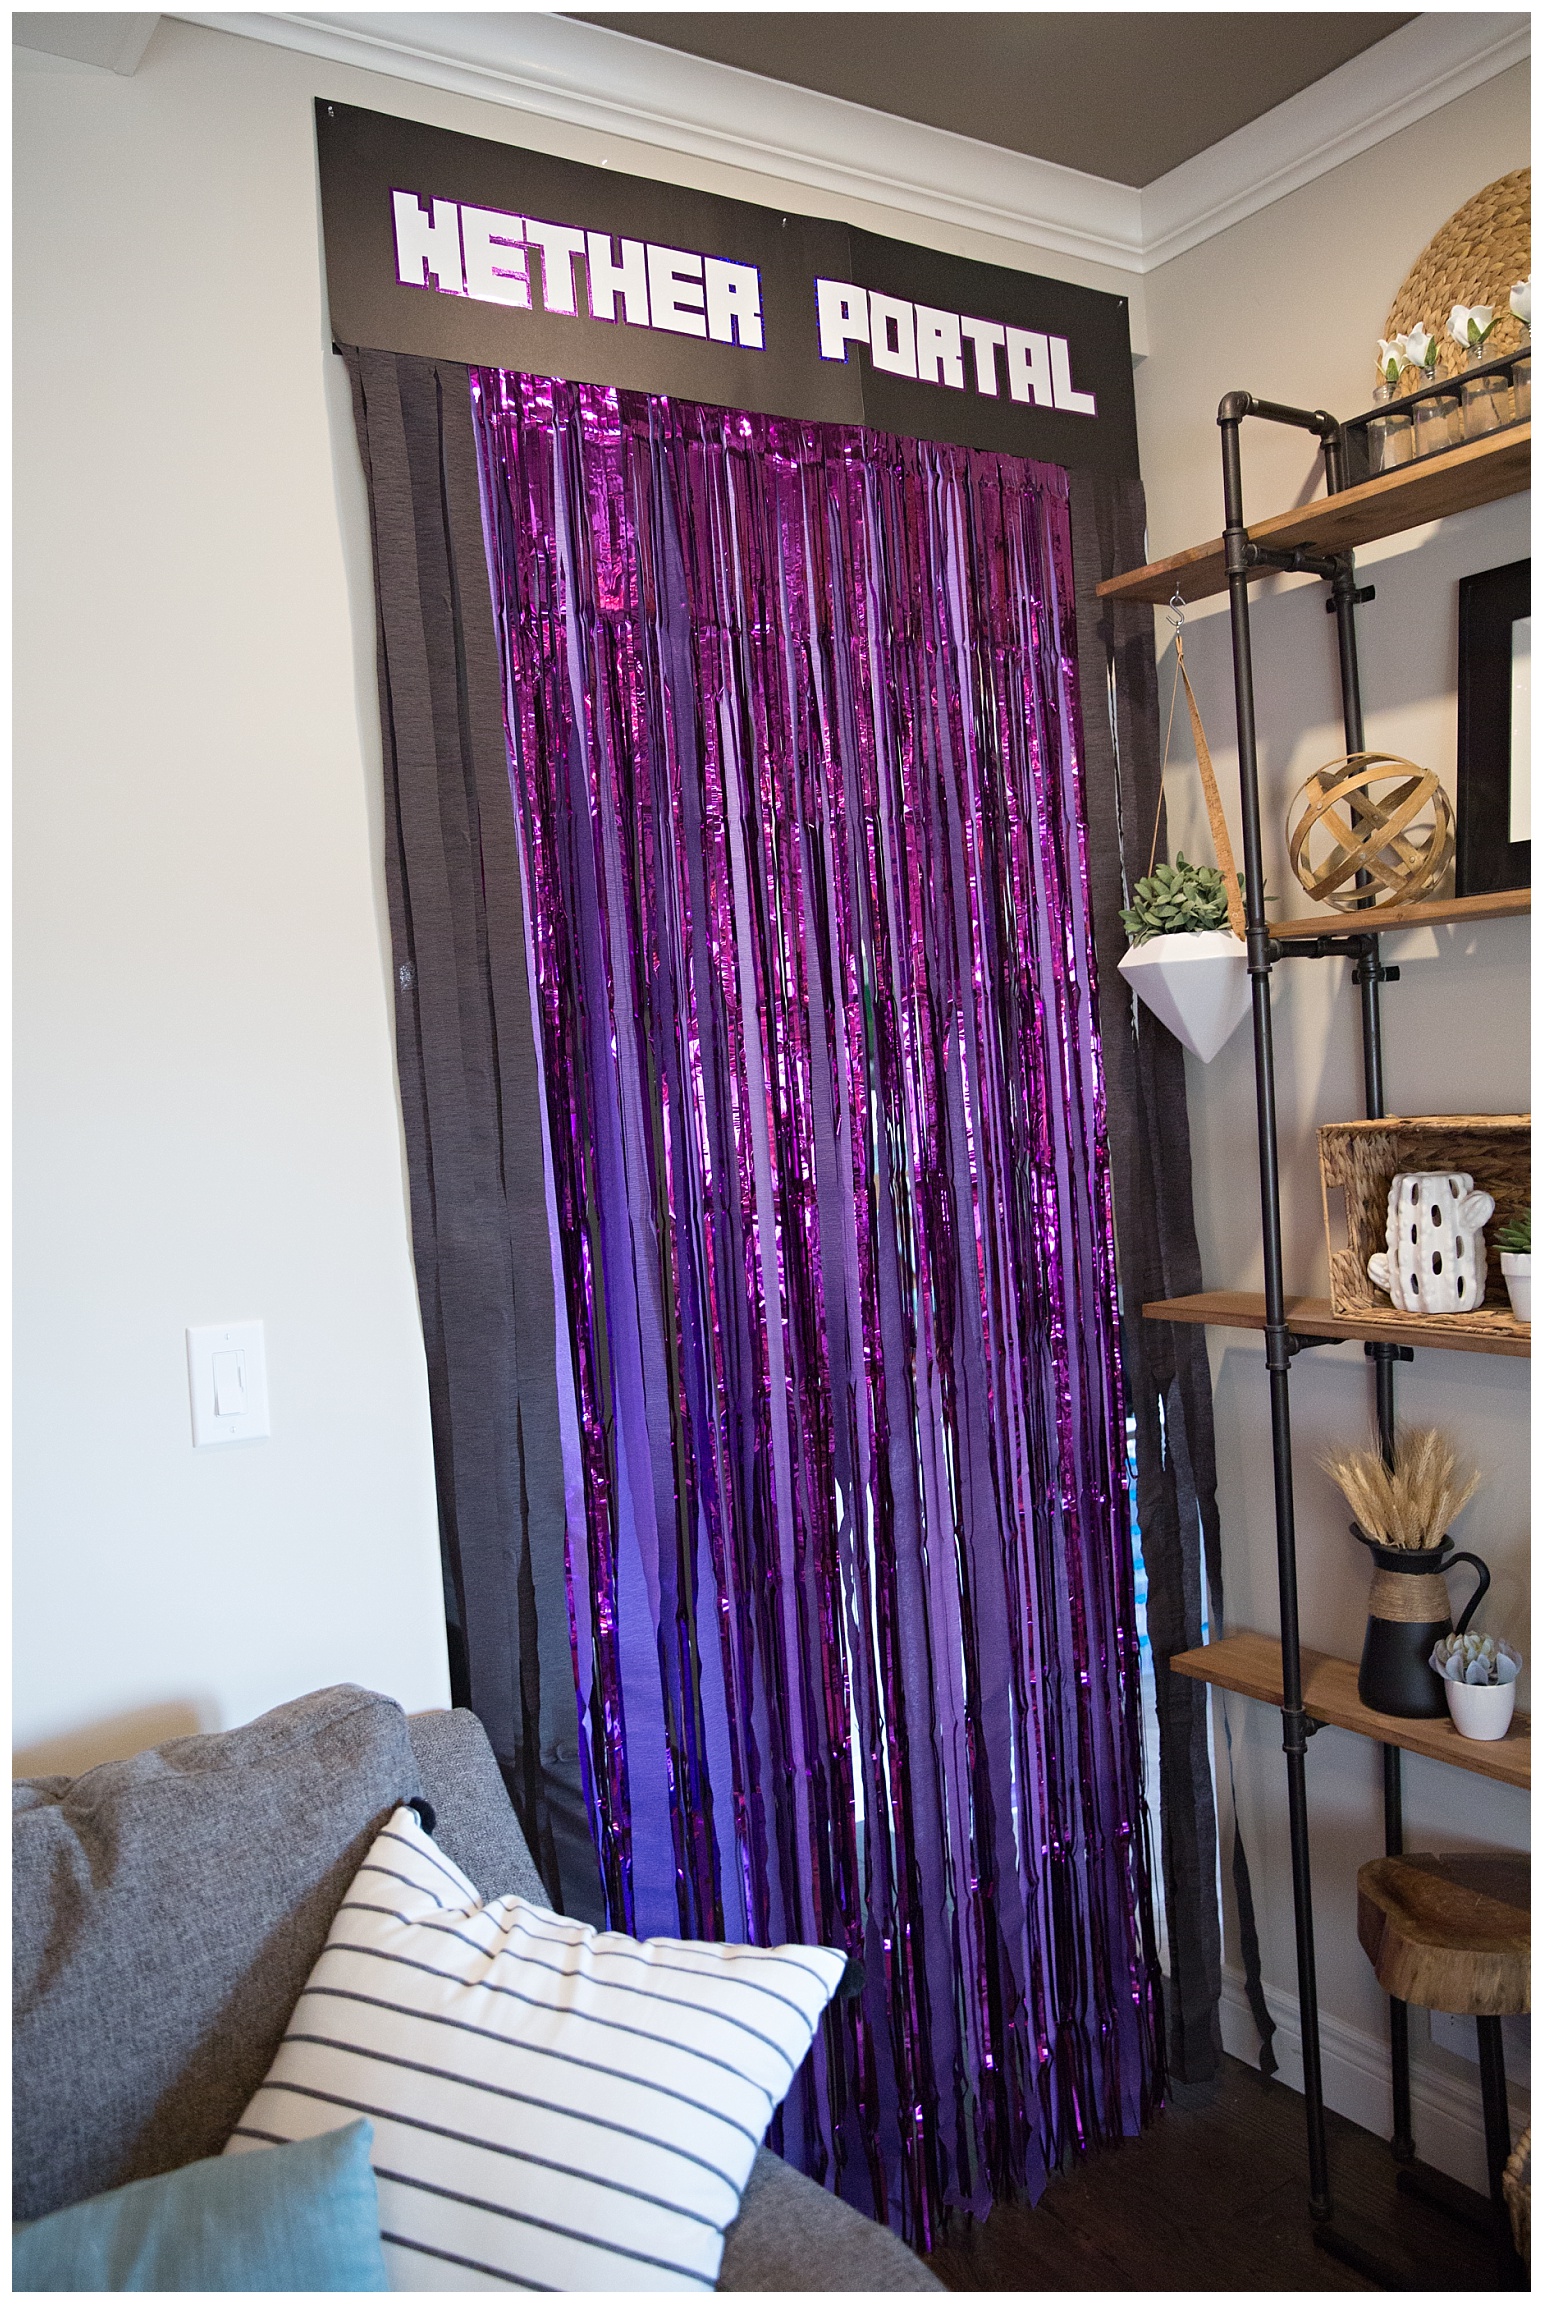
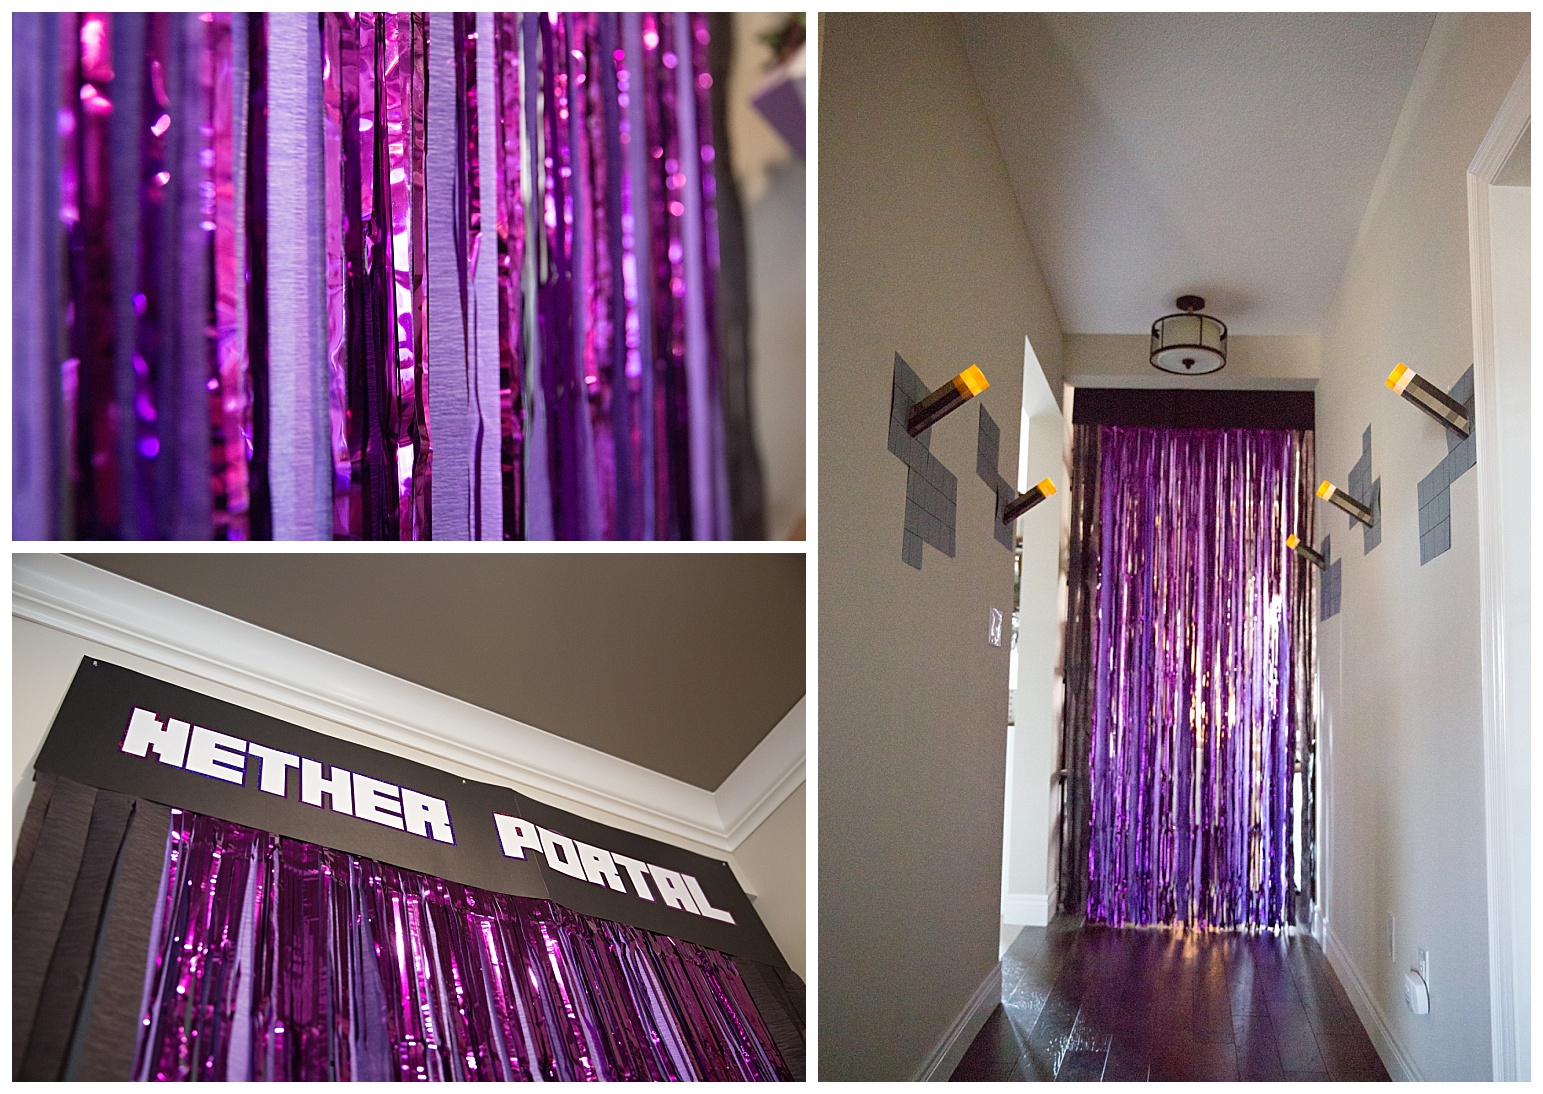
I used these fringe curtains along with purple and black streamers to make this nether portal over the doorway to our living room. Huge impact, minimal investment, and the kids (and dog) loved running through it.
Since Aylah had to sacrifice having all of her friends here at the same time, I planned a little surprise for her to make this birthday party extra special. The last group to come to the party was her 3 cousins whom she is VERY close with. I put them in the last time slot because we had them stay for dinner (just ordered pizza) and I coordinated for there to be a surprise sleepover. They never suspected a thing because the party was on a Sunday so they actually also got to miss school the next day. I believe Aylah’s words were “best birthday ever”, lol.
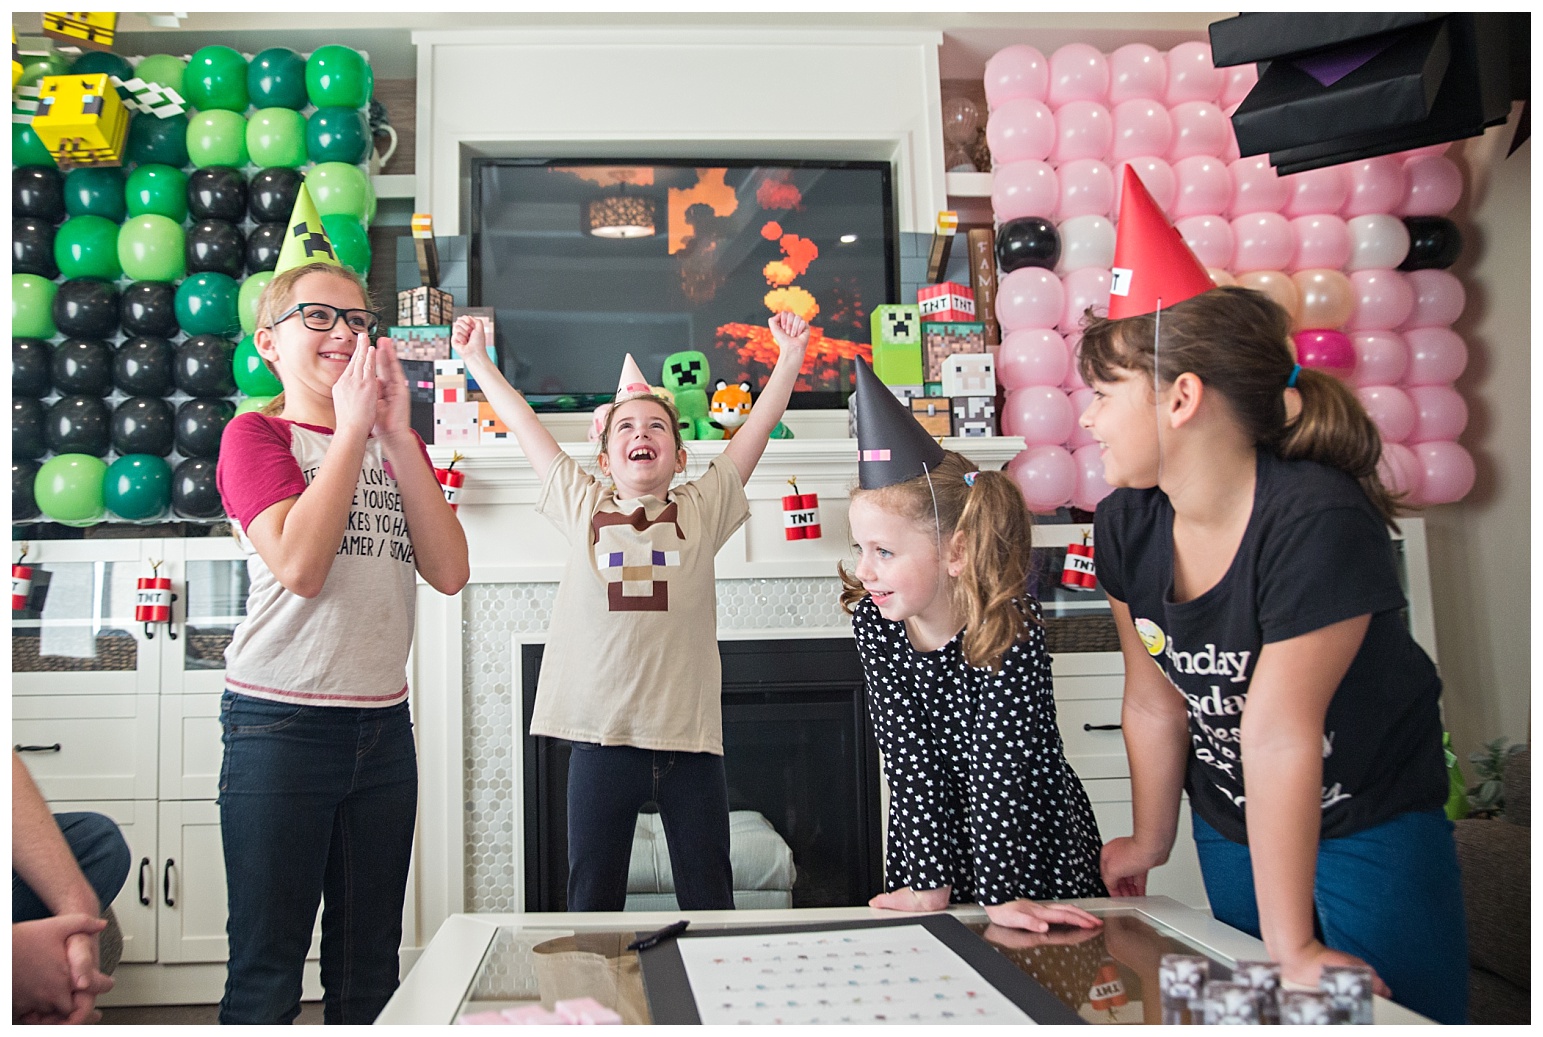
To reveal this surprise plan to them I created a hidden message with a decoder. Watching them slowly figure it out was priceless!
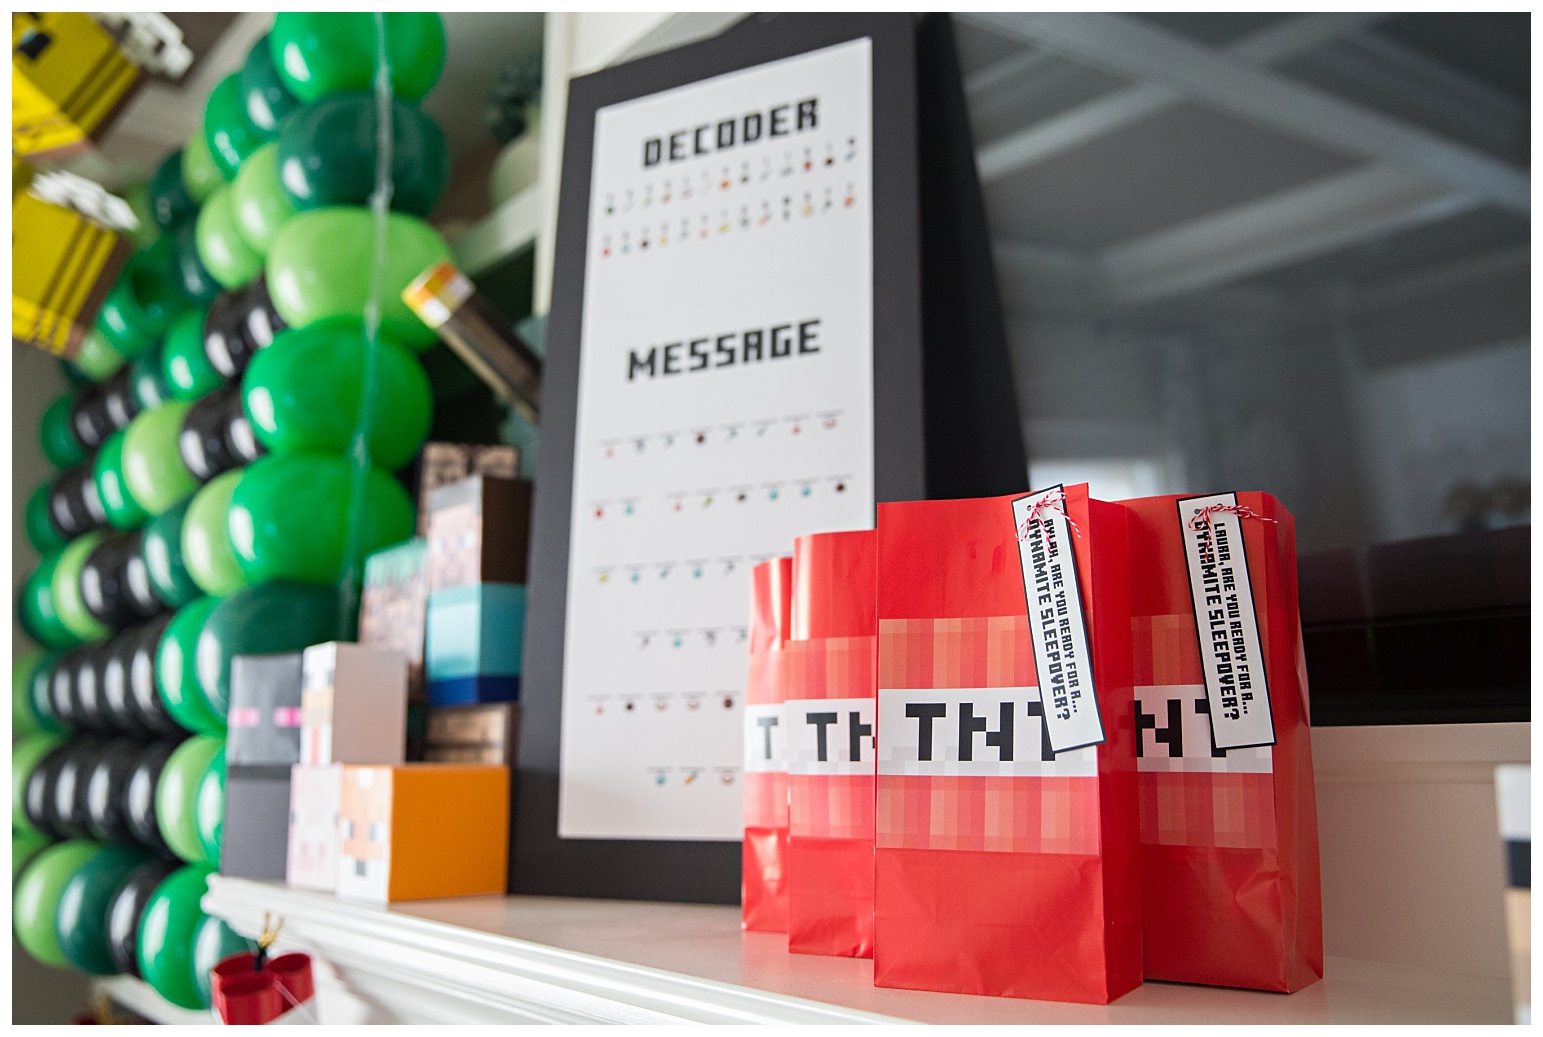
The message read: “Surprise! No school tomorrow. You’re sleeping over!”
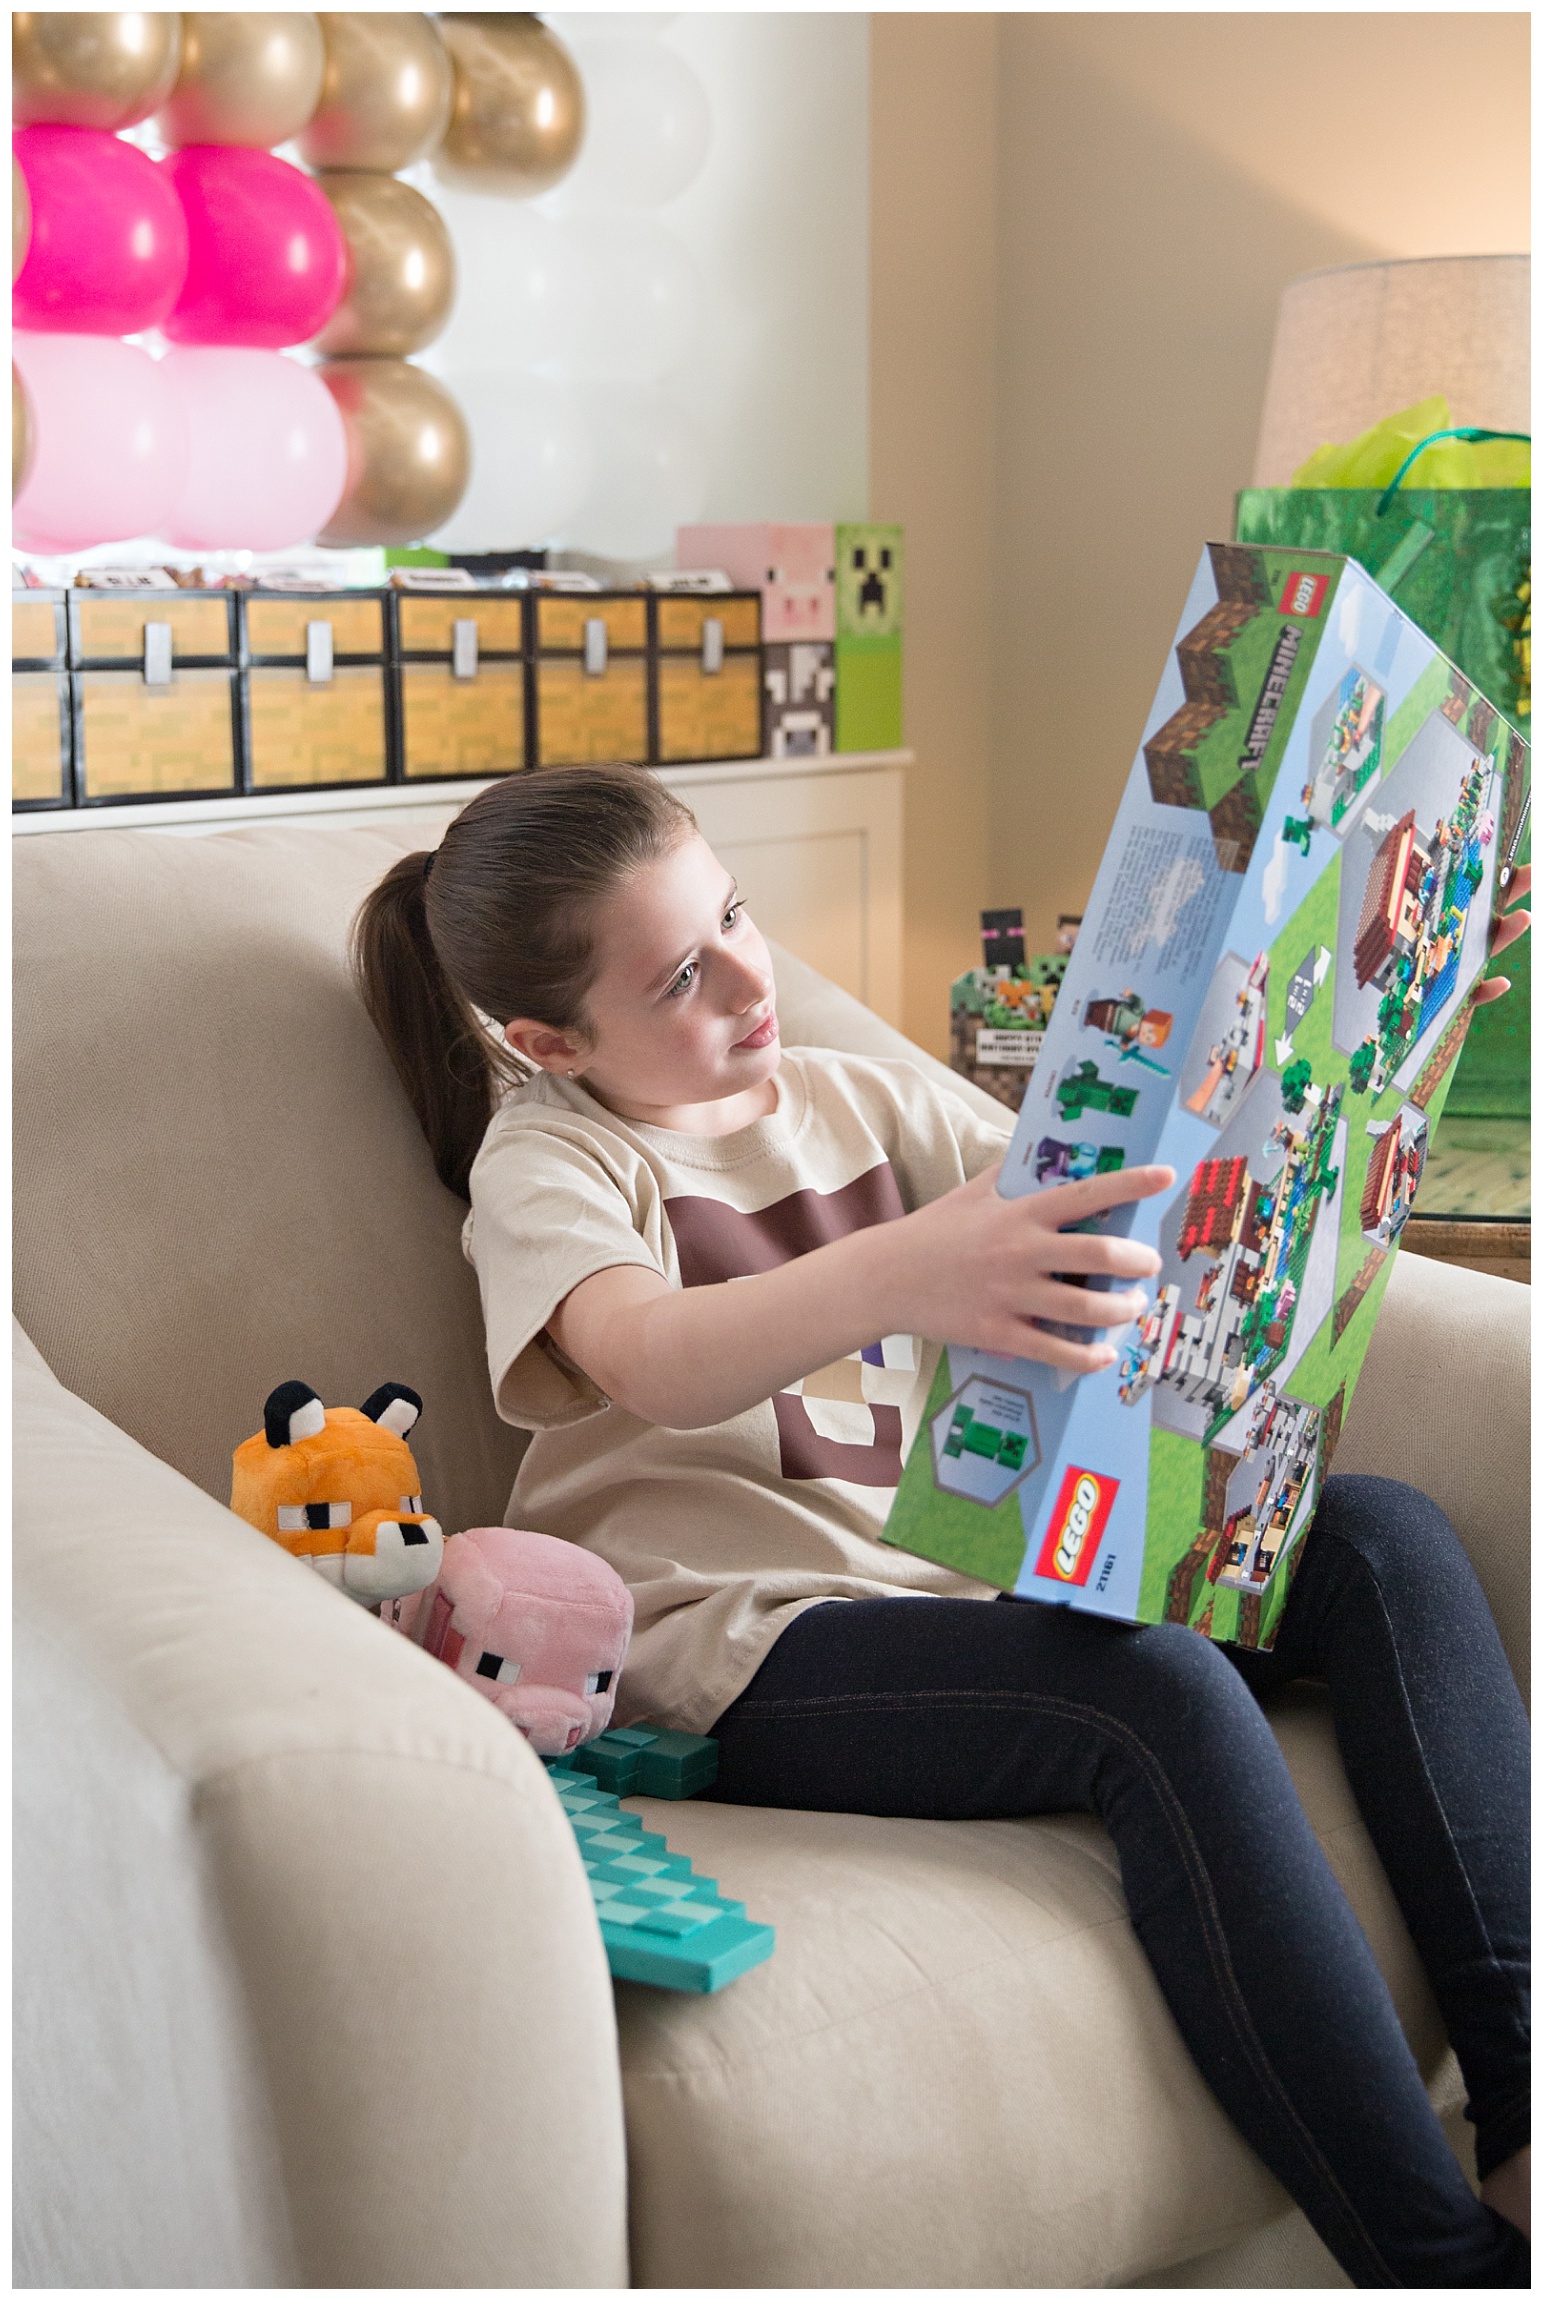
I also put together these fun little sleepover kits which included for each of the girls: a toothbrush, a travel toothpaste, candy and chocolate treats for their late night movie, and custom Minecraft tees to wear to bed (more on those in a bit).
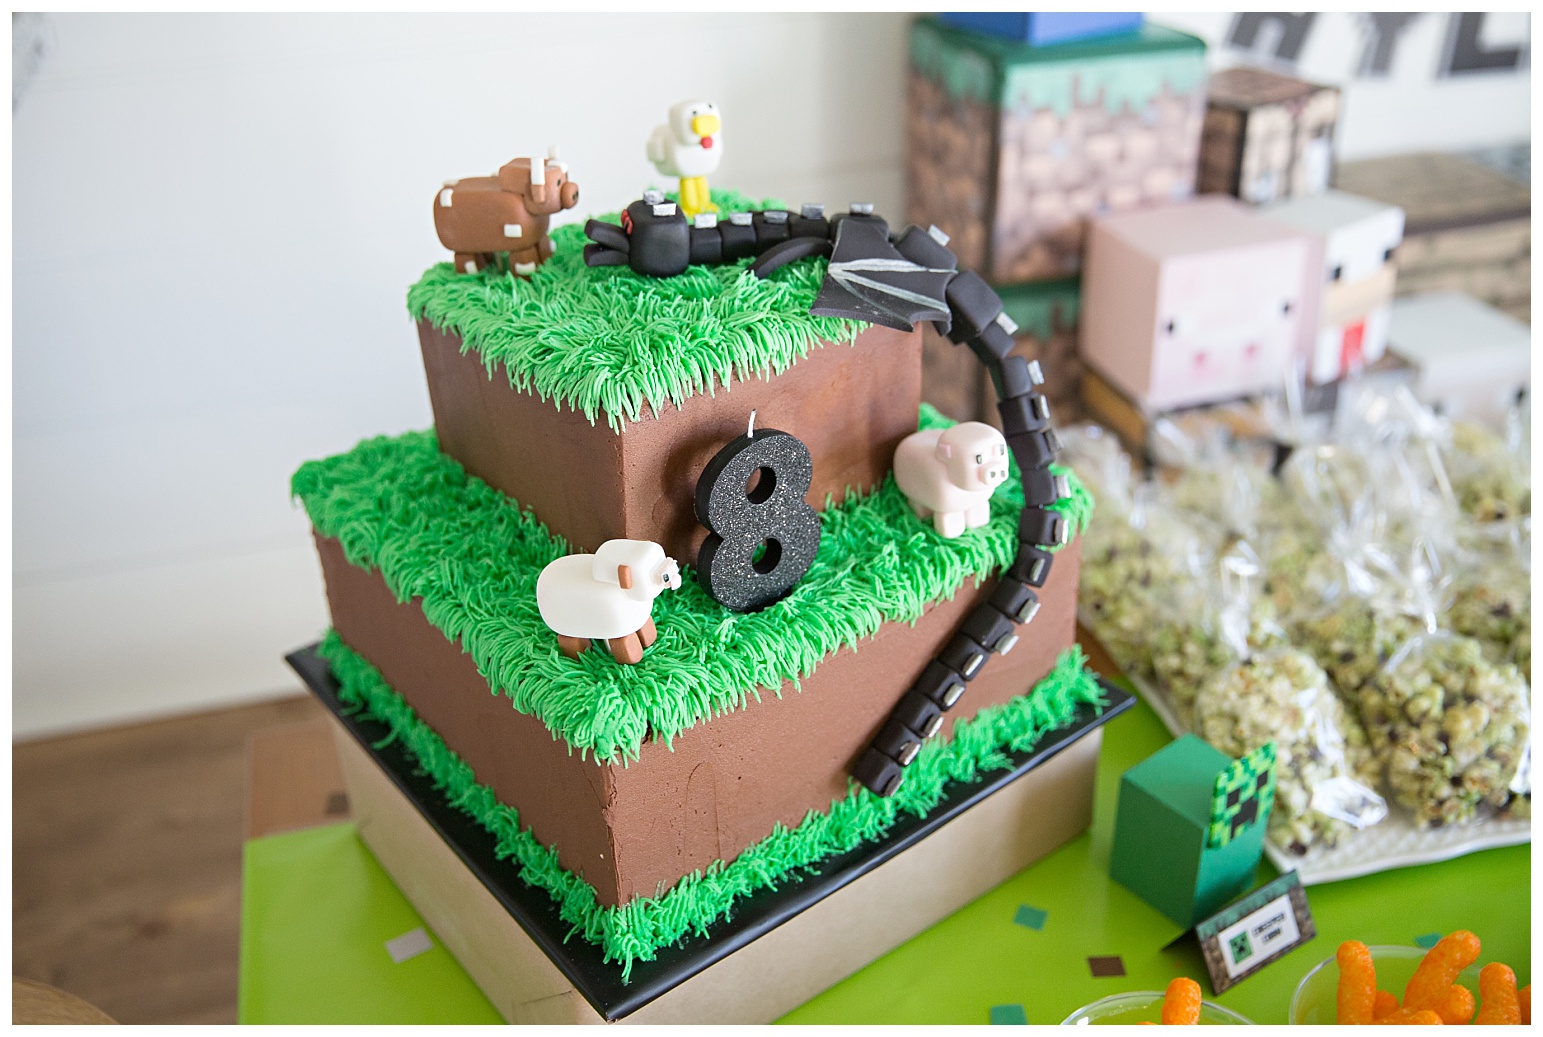
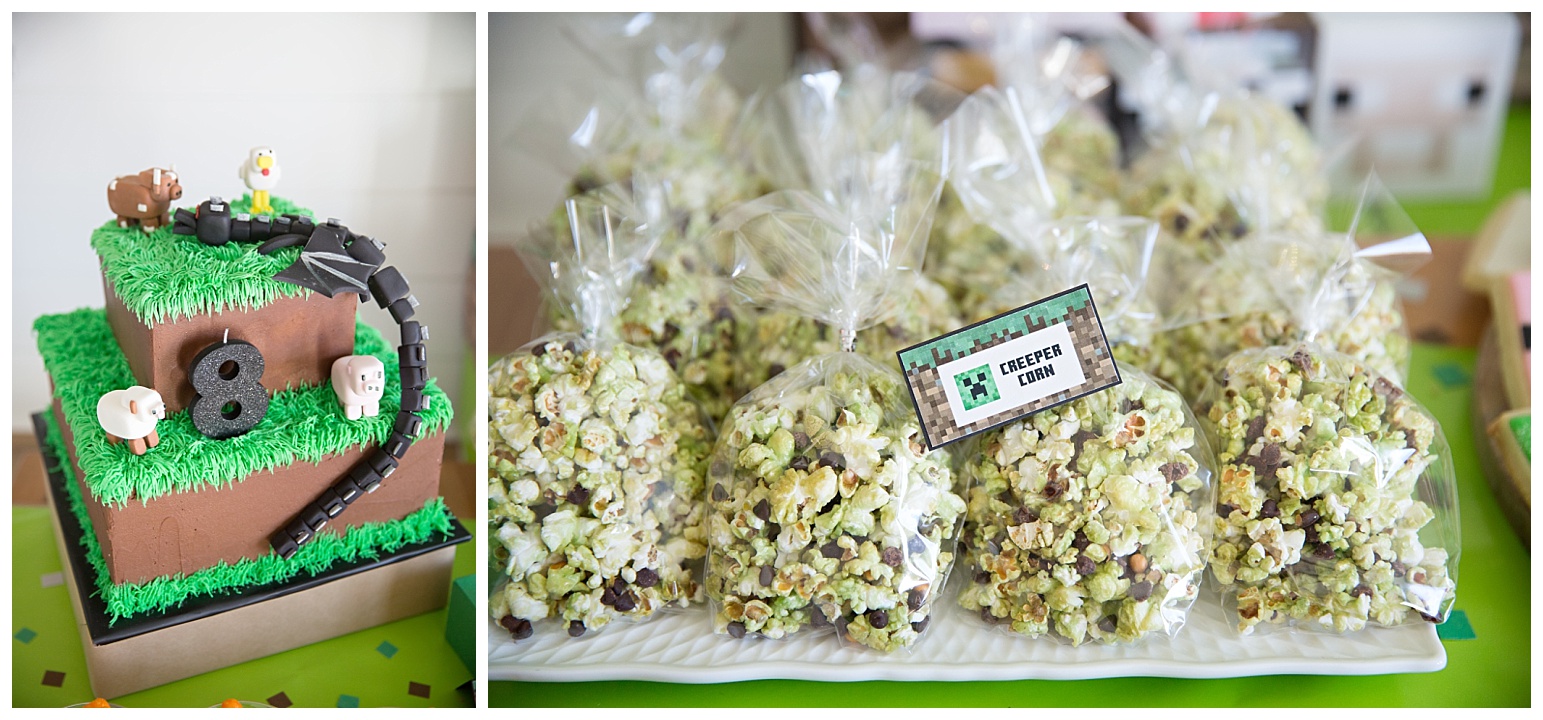
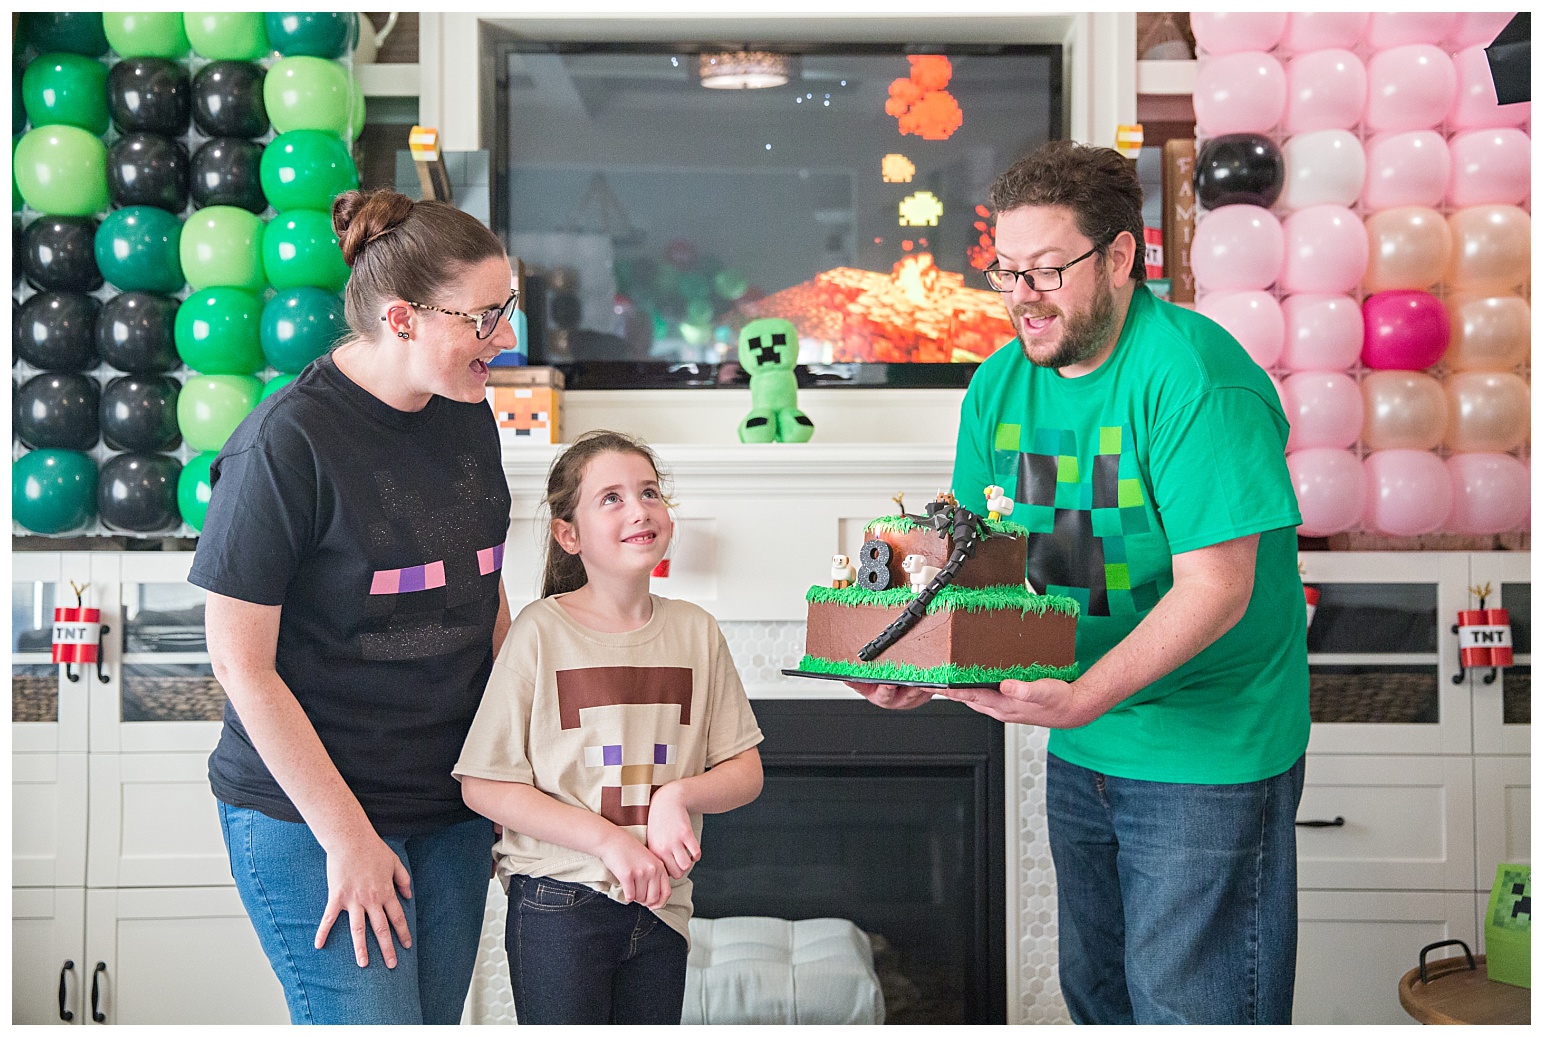
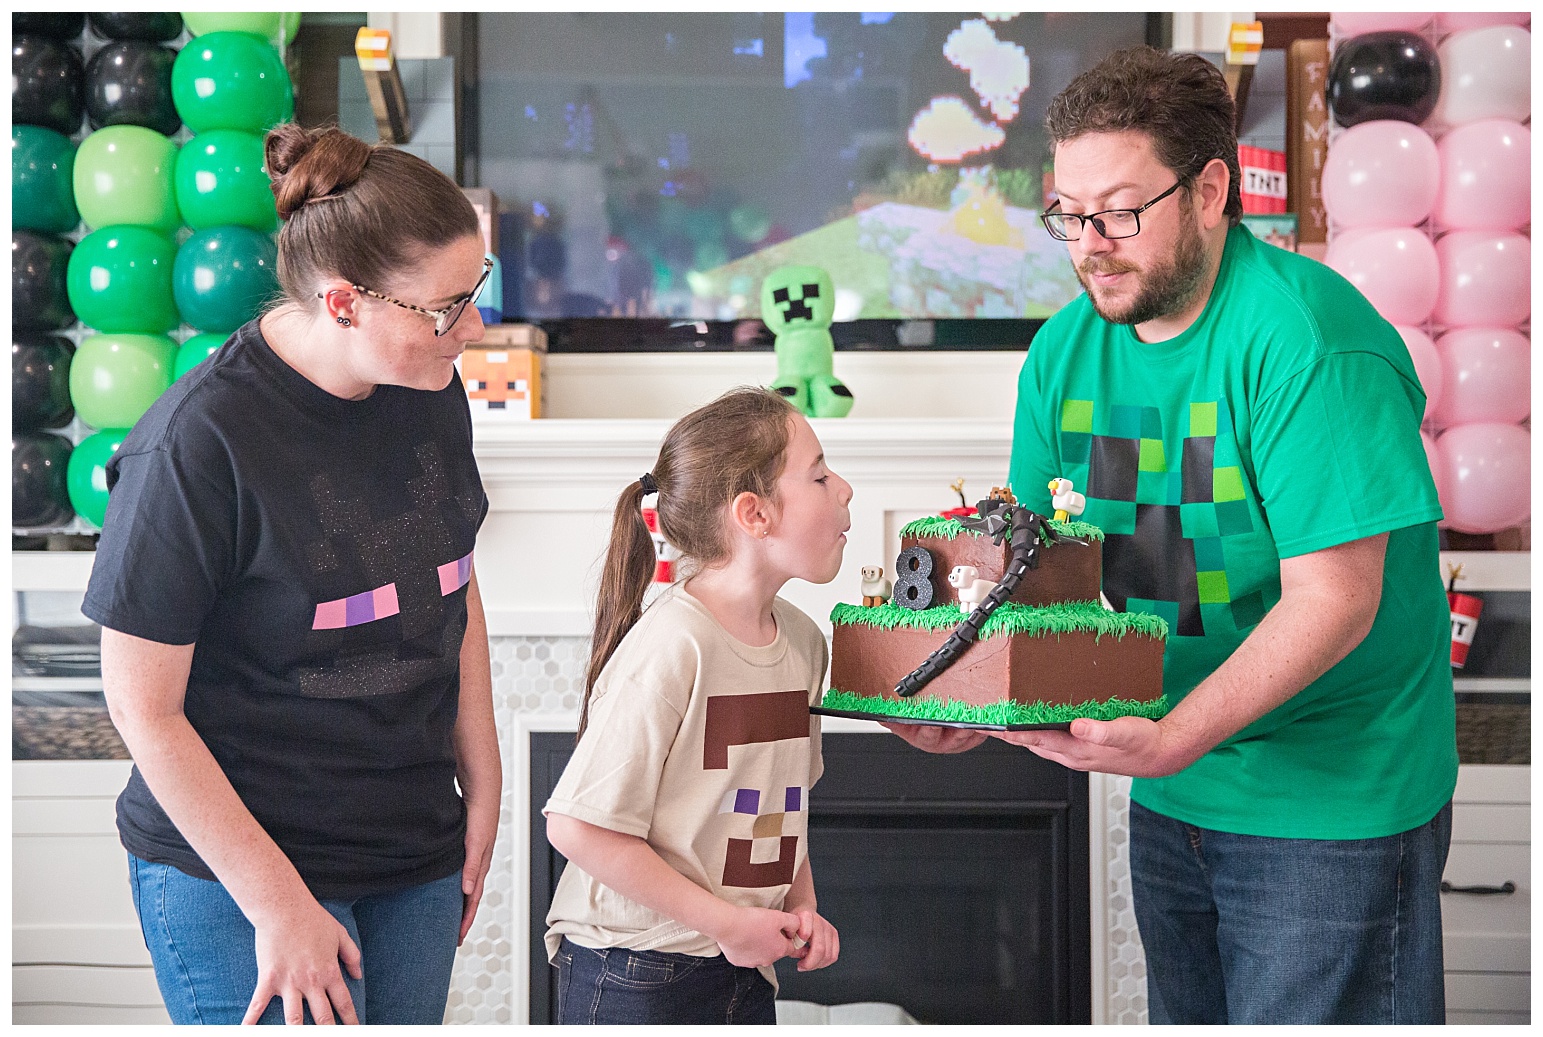
This stunning cake is from the supremely talented The Cake Joss.
I found this strange recipe for mint chocolate popcorn that I thought would be perfect for “creeper corn”. It turned out better than I expected. I’m a sucker for salty mixed with sweet!
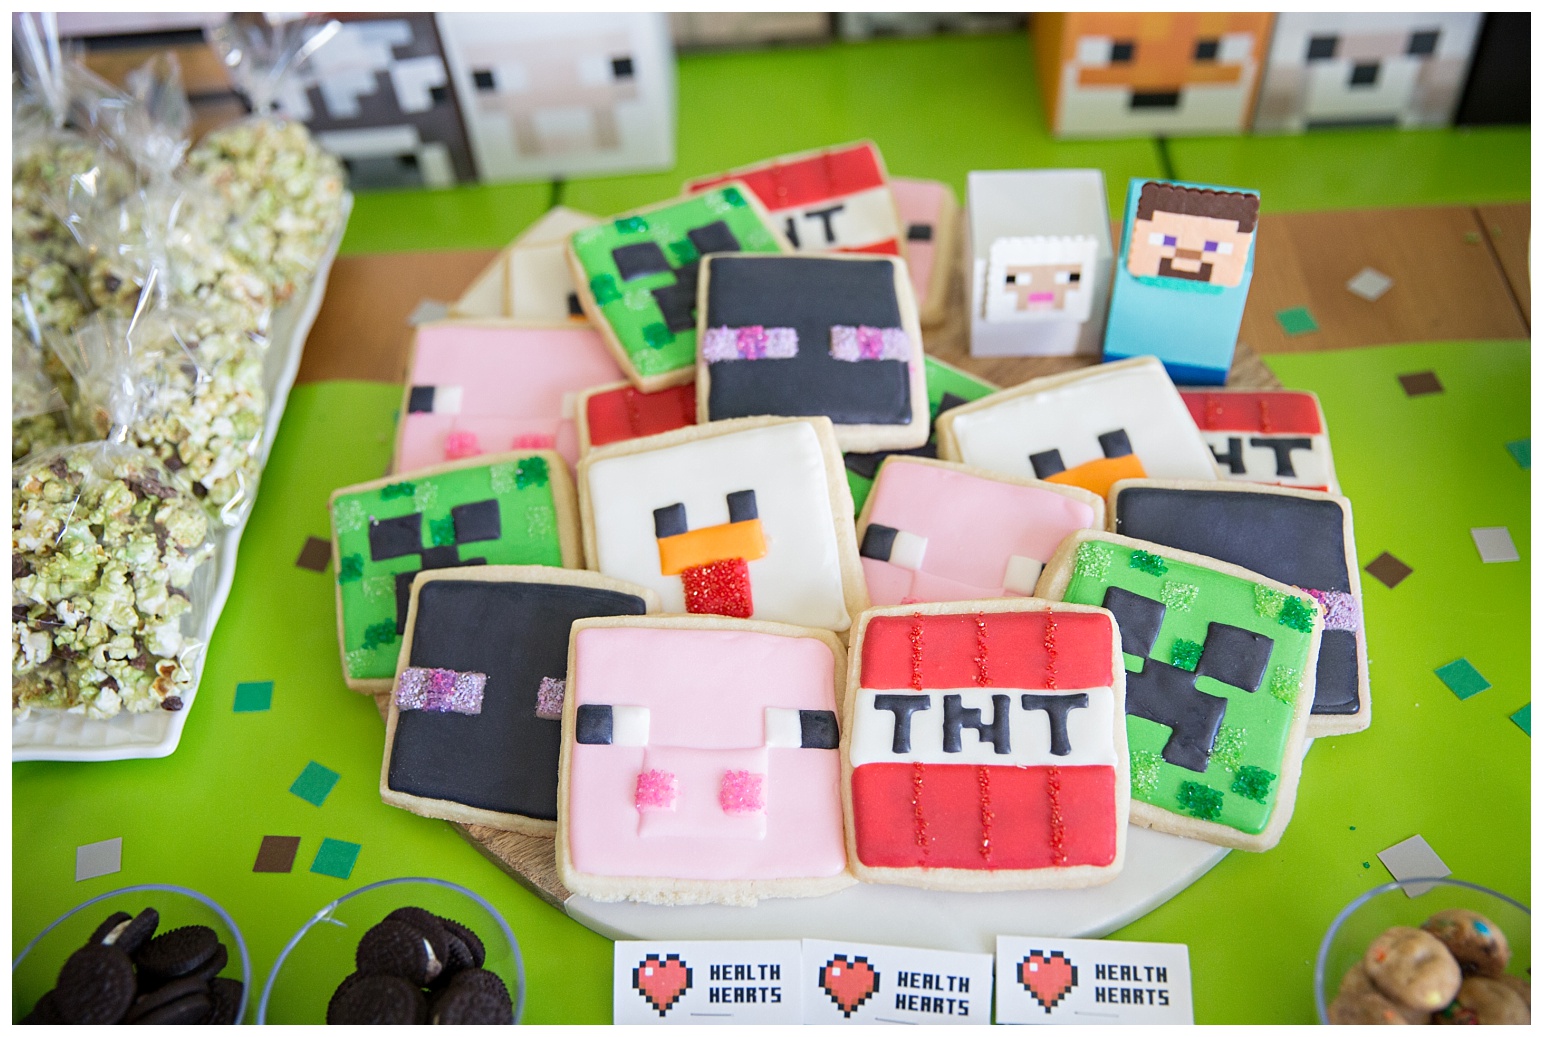
My infamous sugar cookies are always a requirement at all group gatherings.
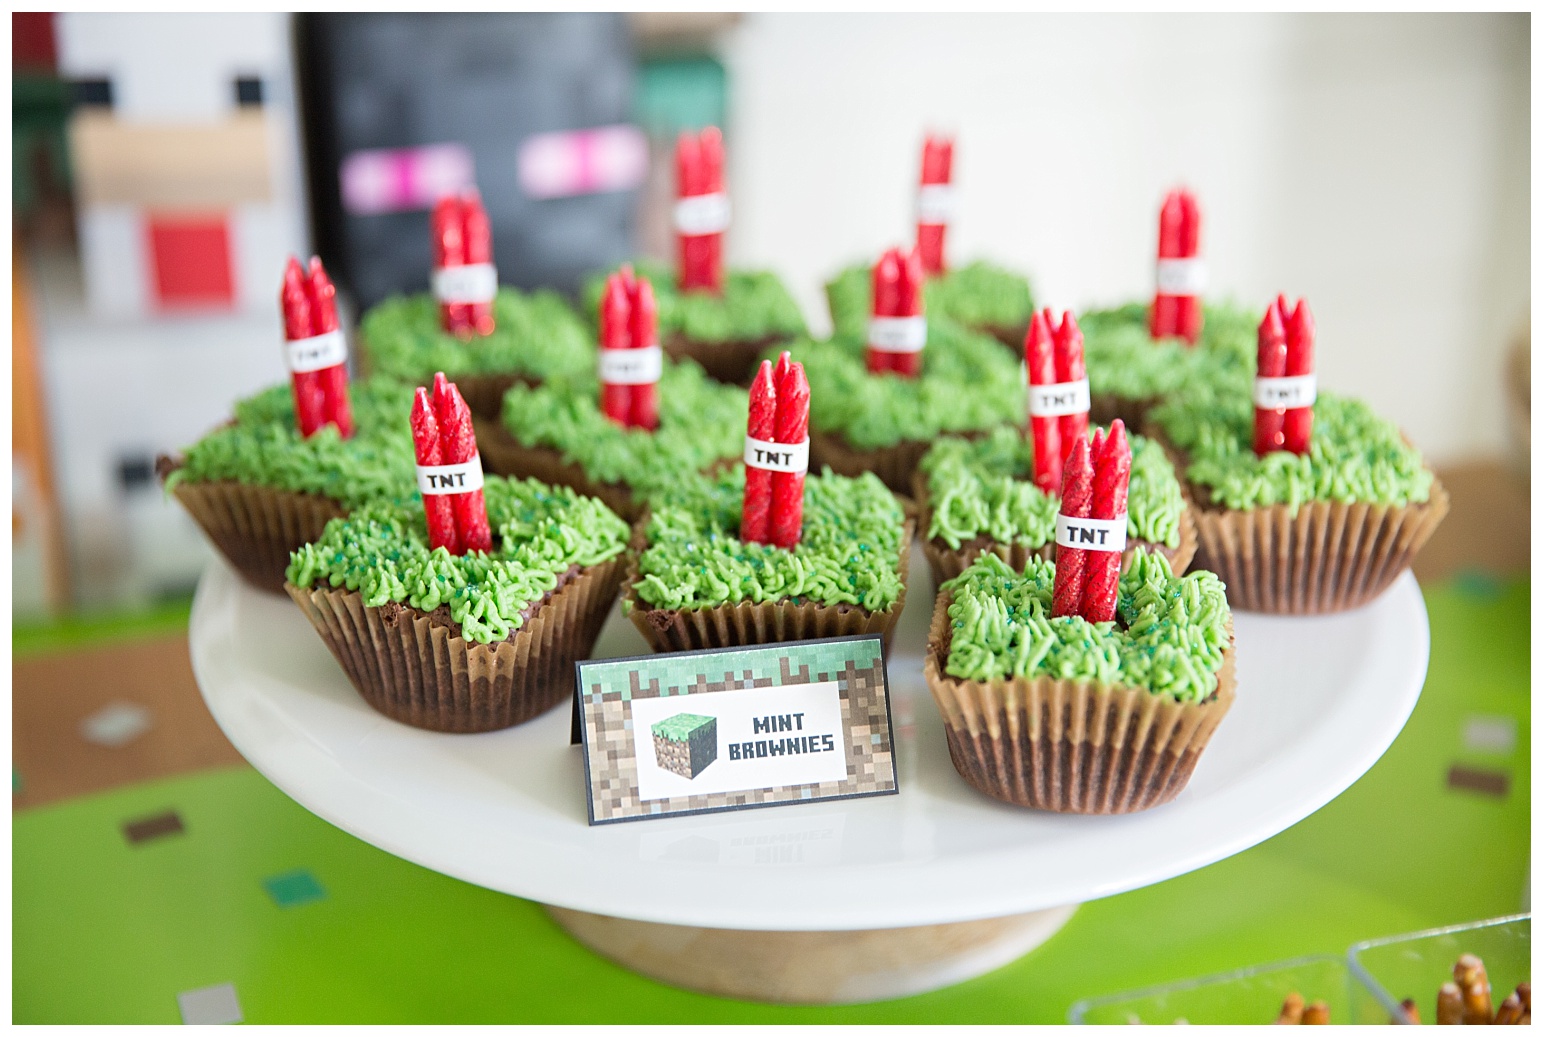
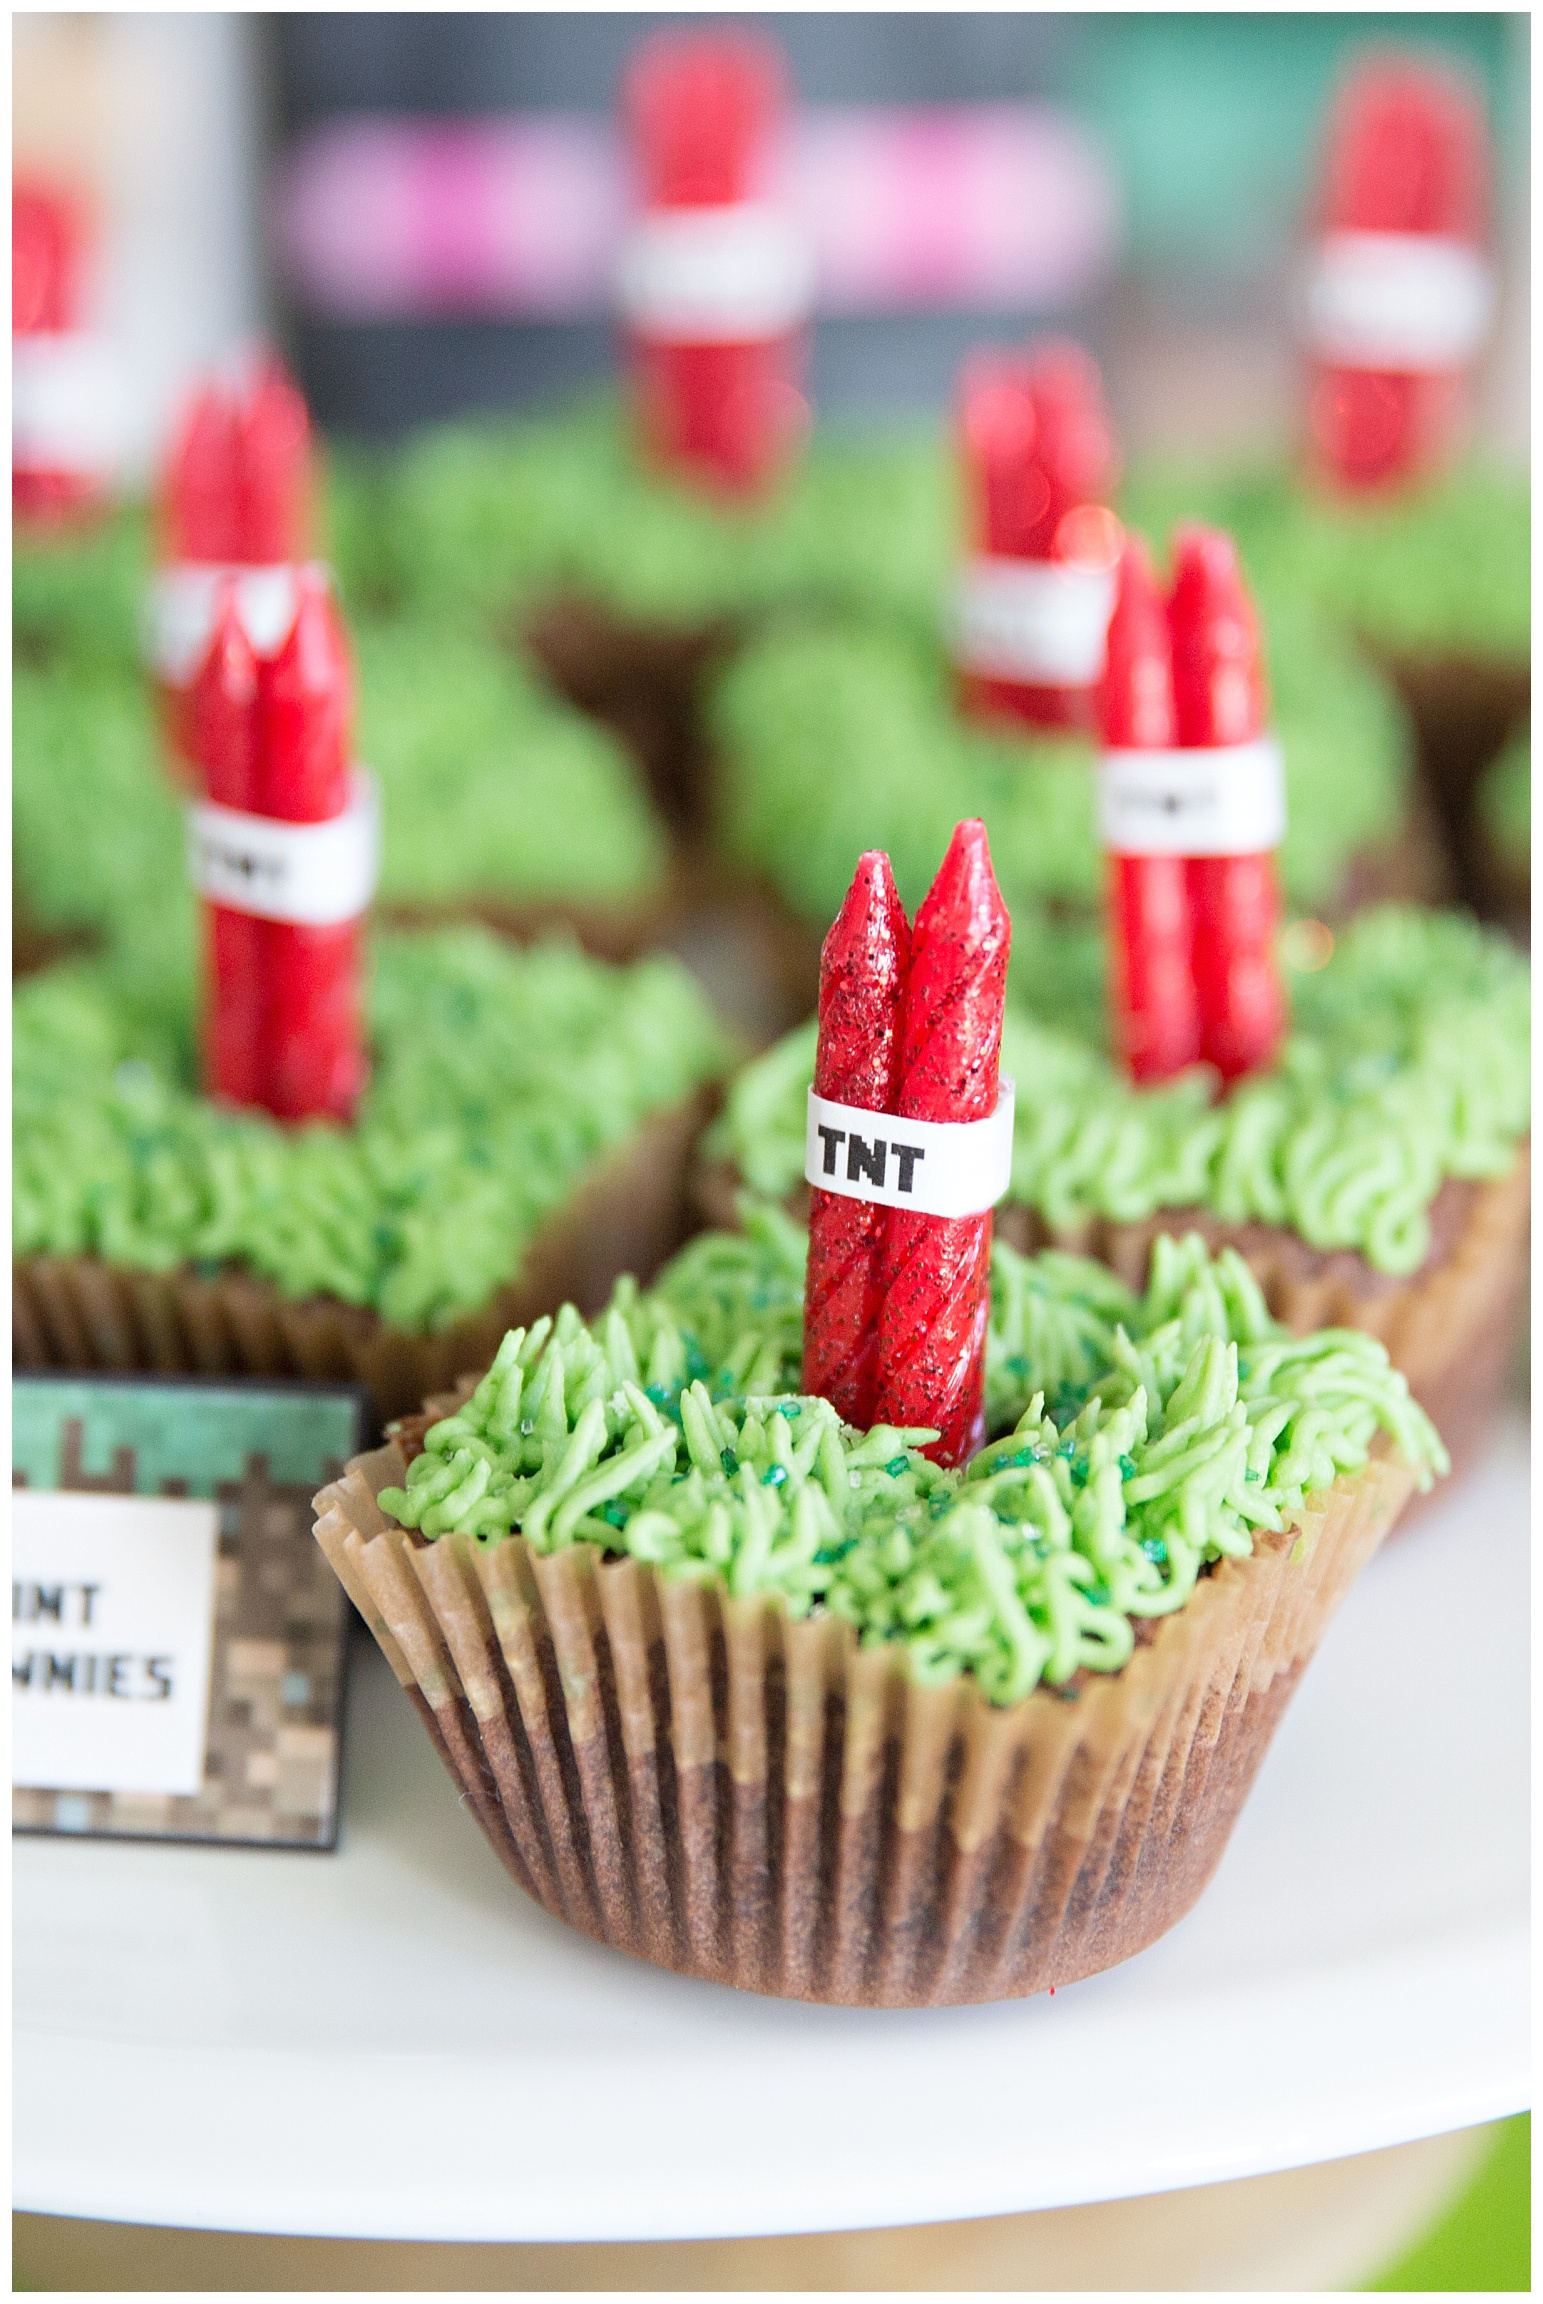
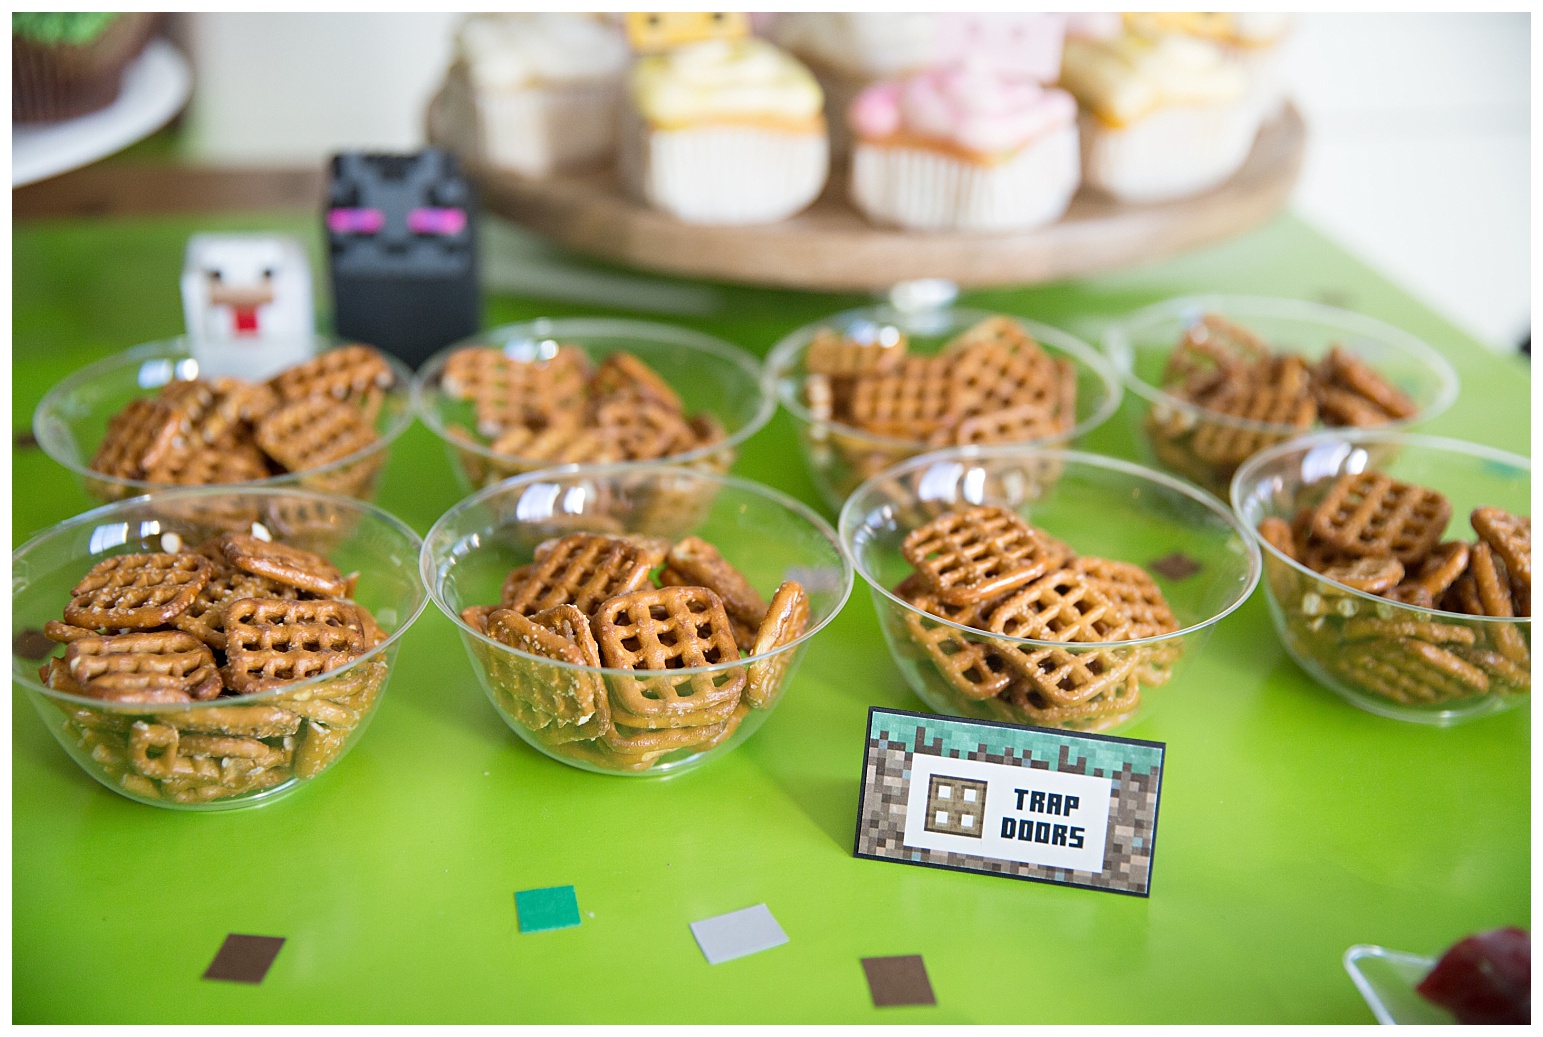
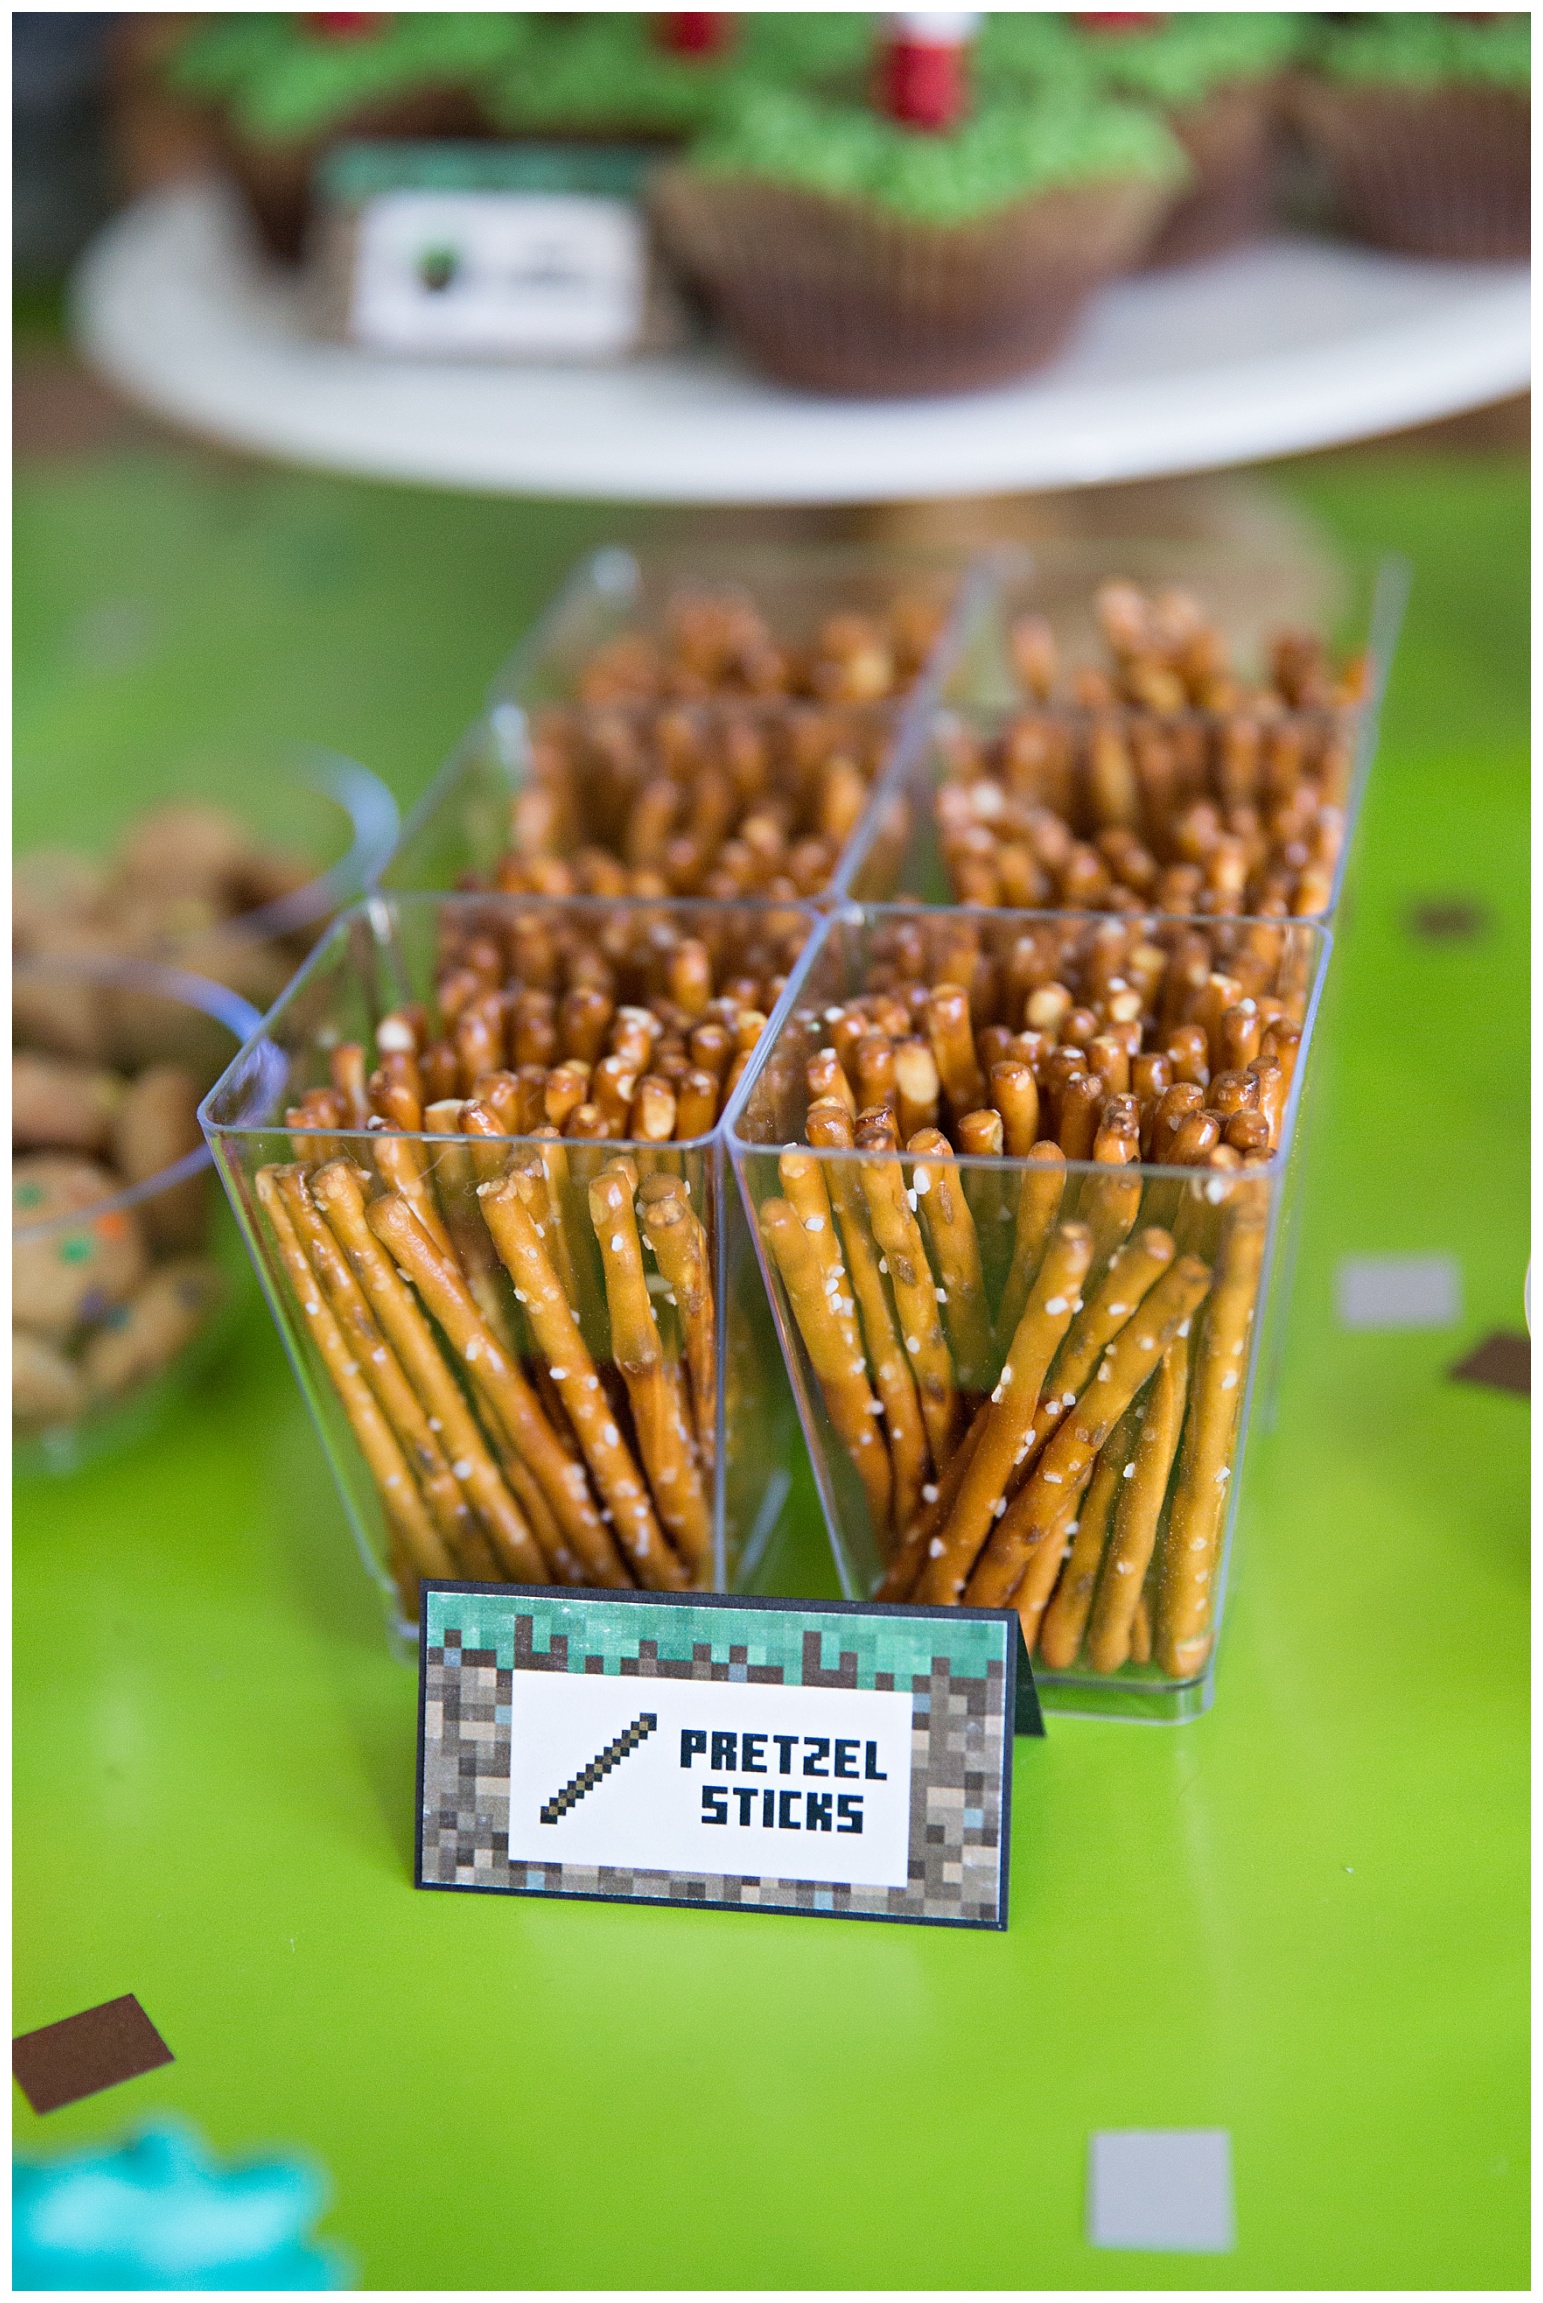
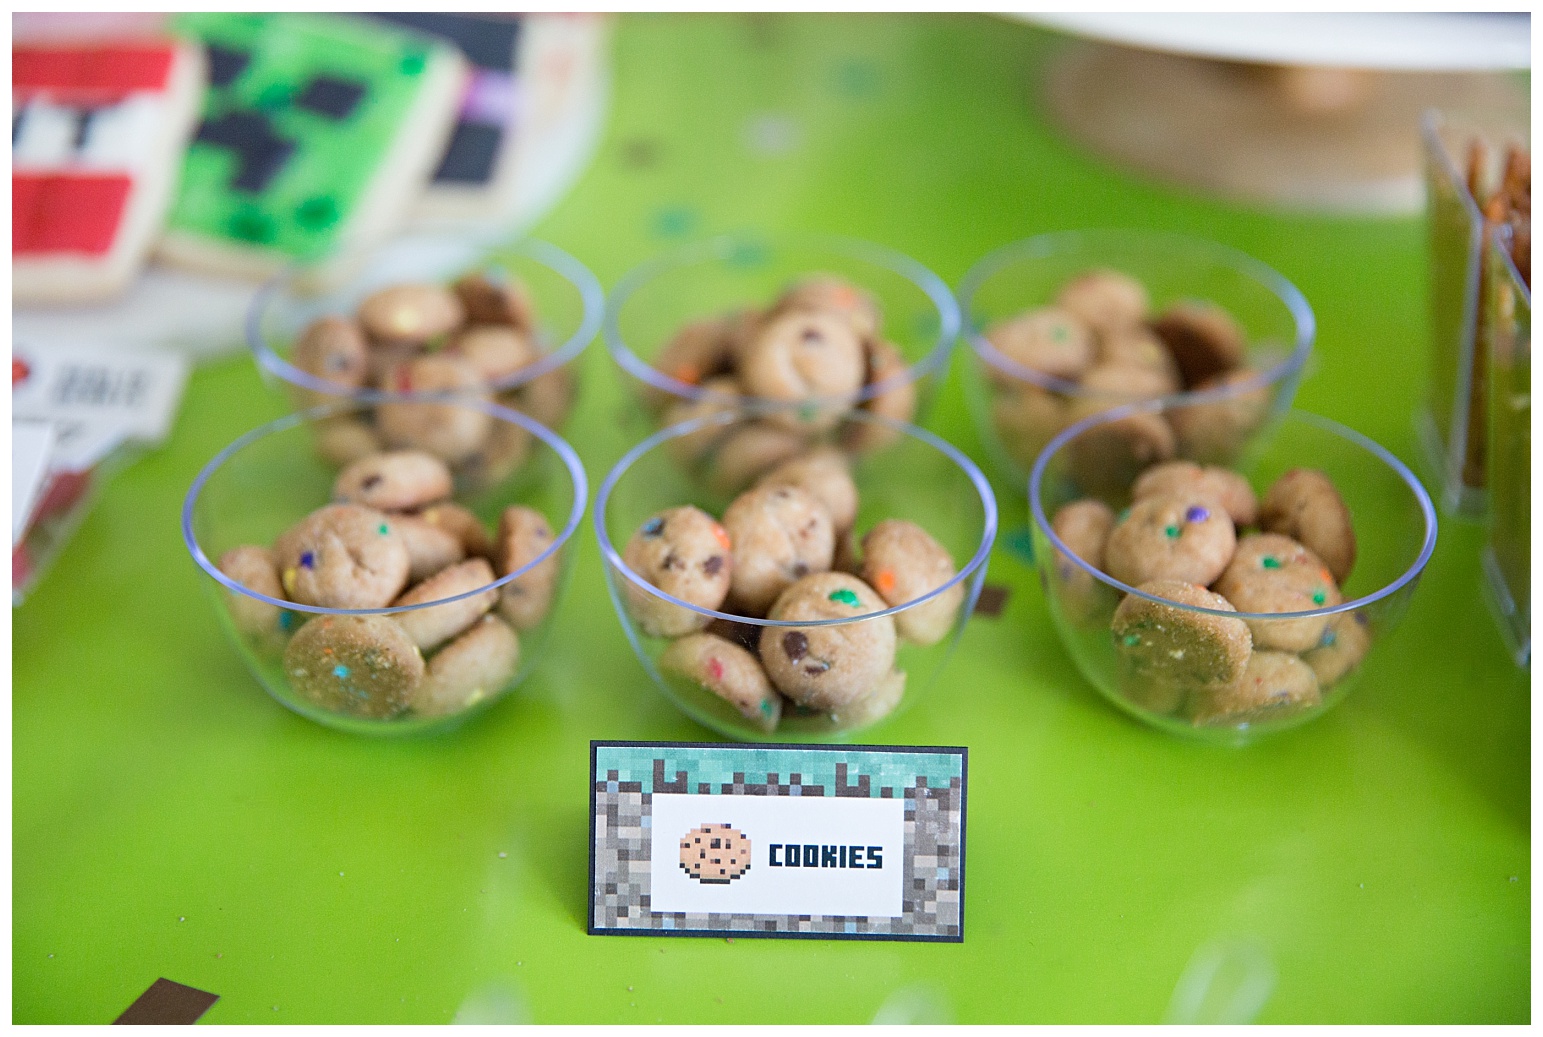
I found this square cupcake tin which worked perfectly to make these square brownies as well as square cupcakes. I just used regular round cupcake liners and pushed them into the square compartments (especially in the corners).
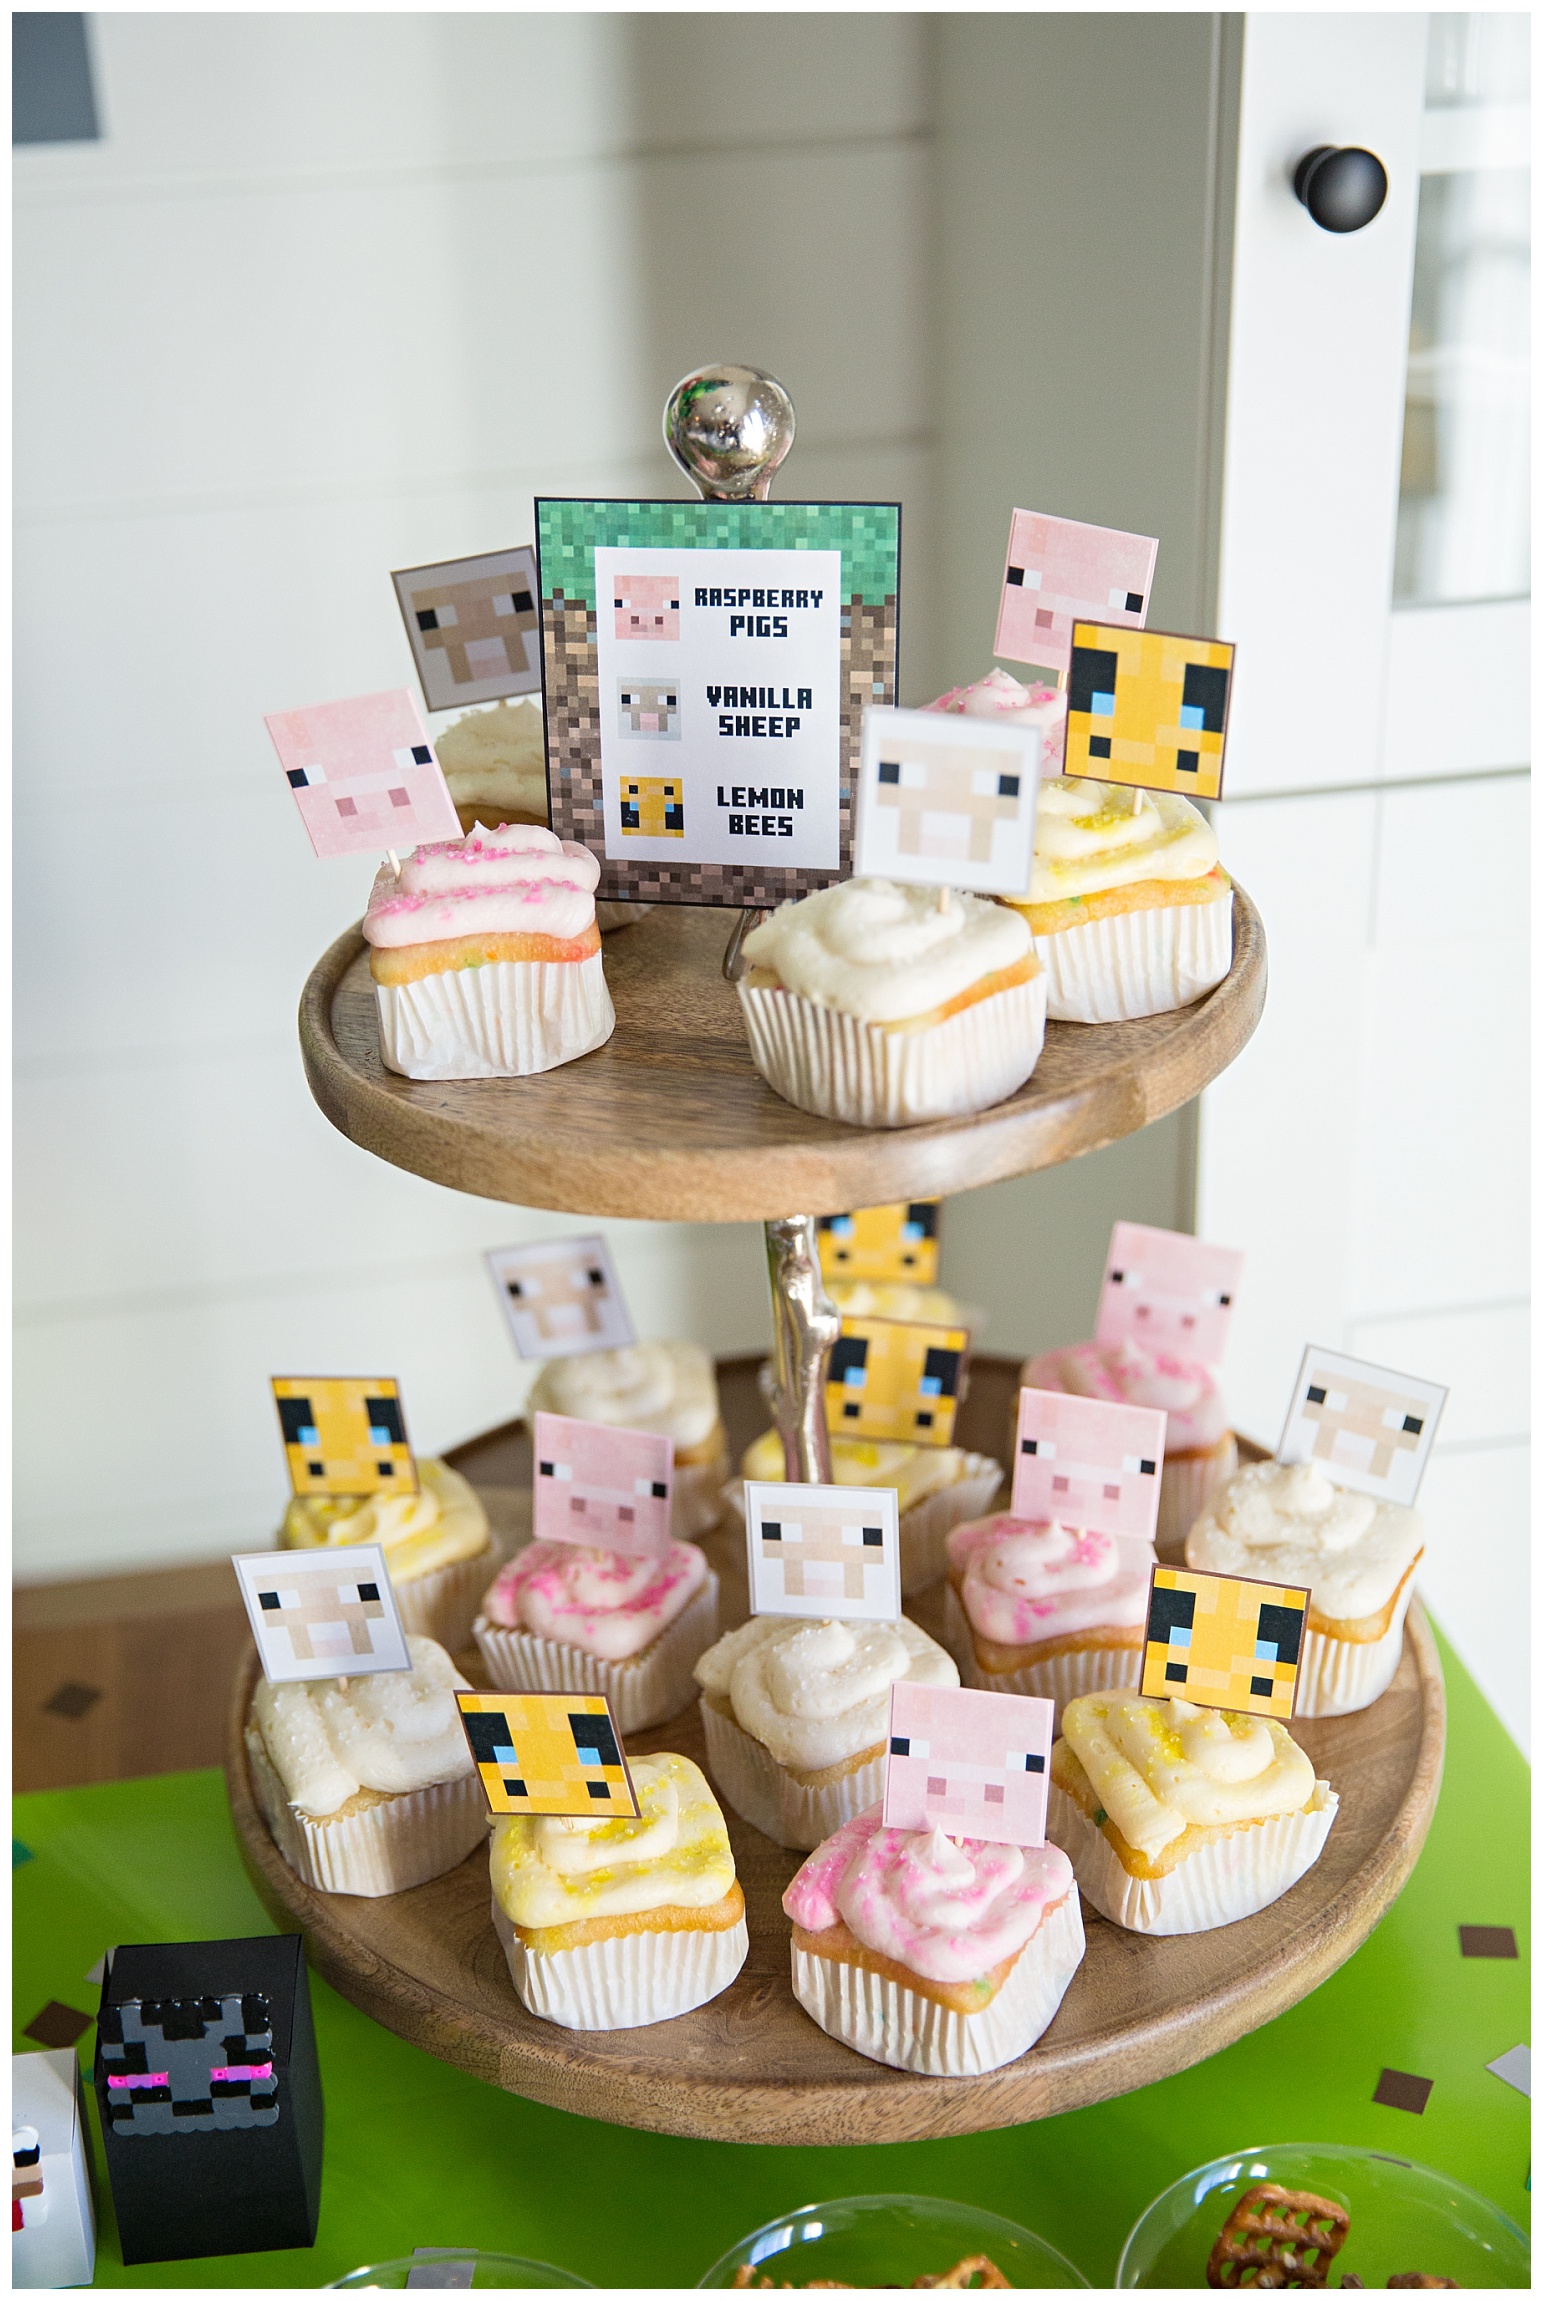
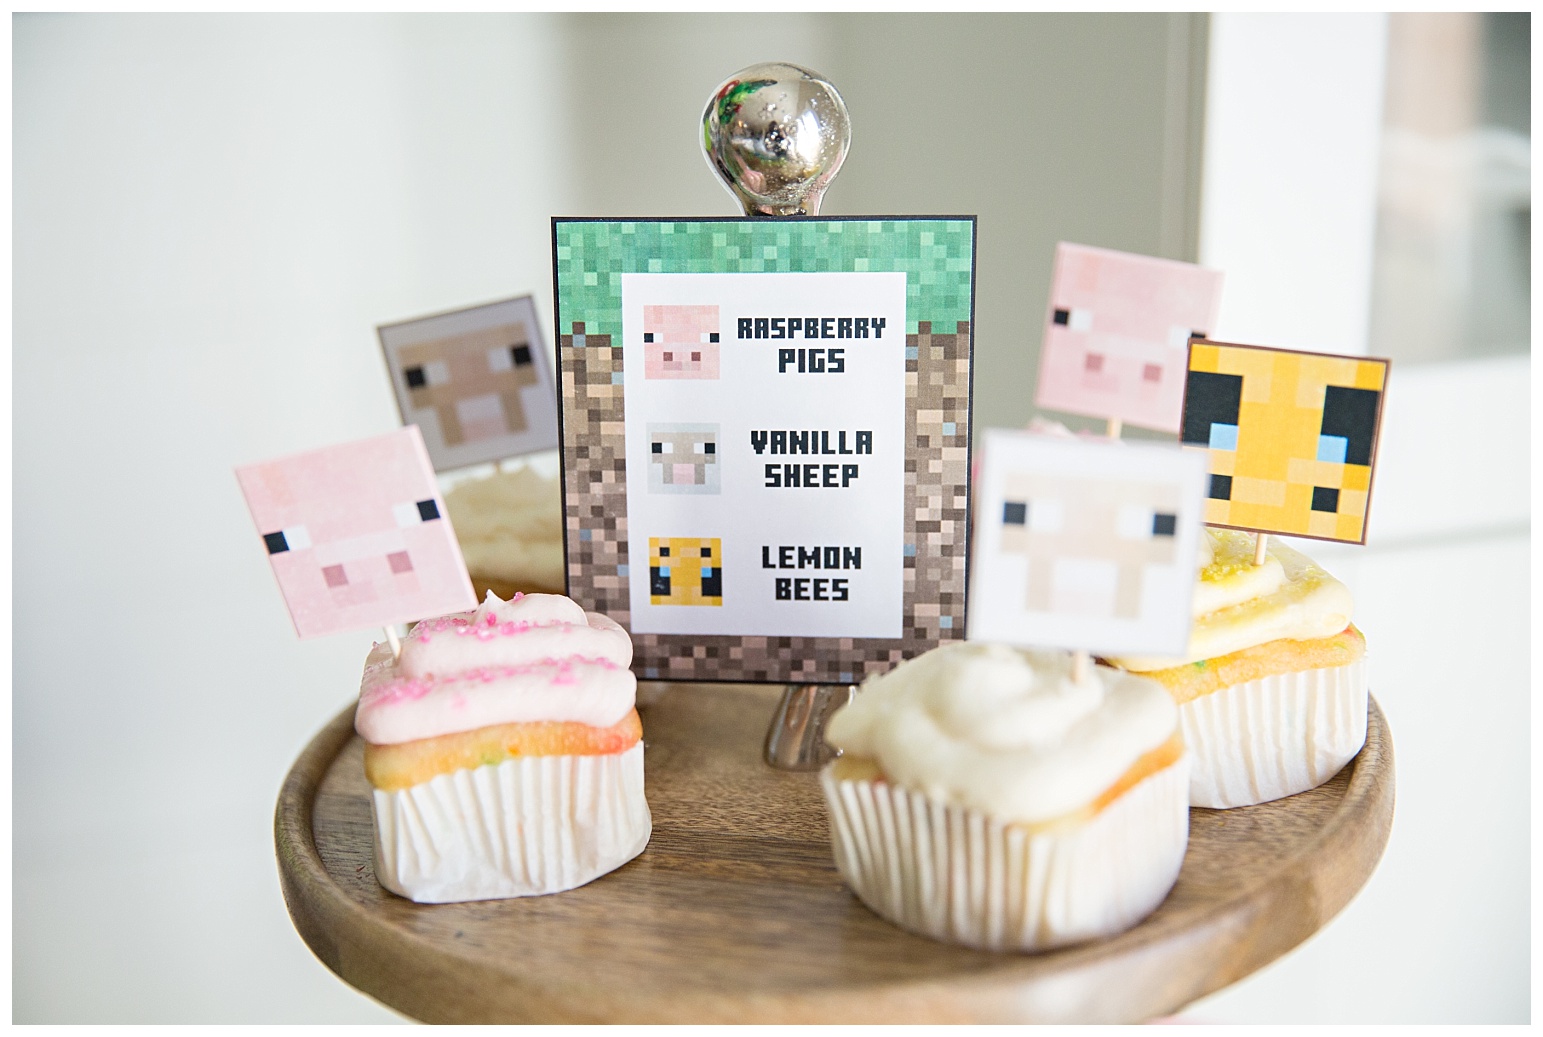
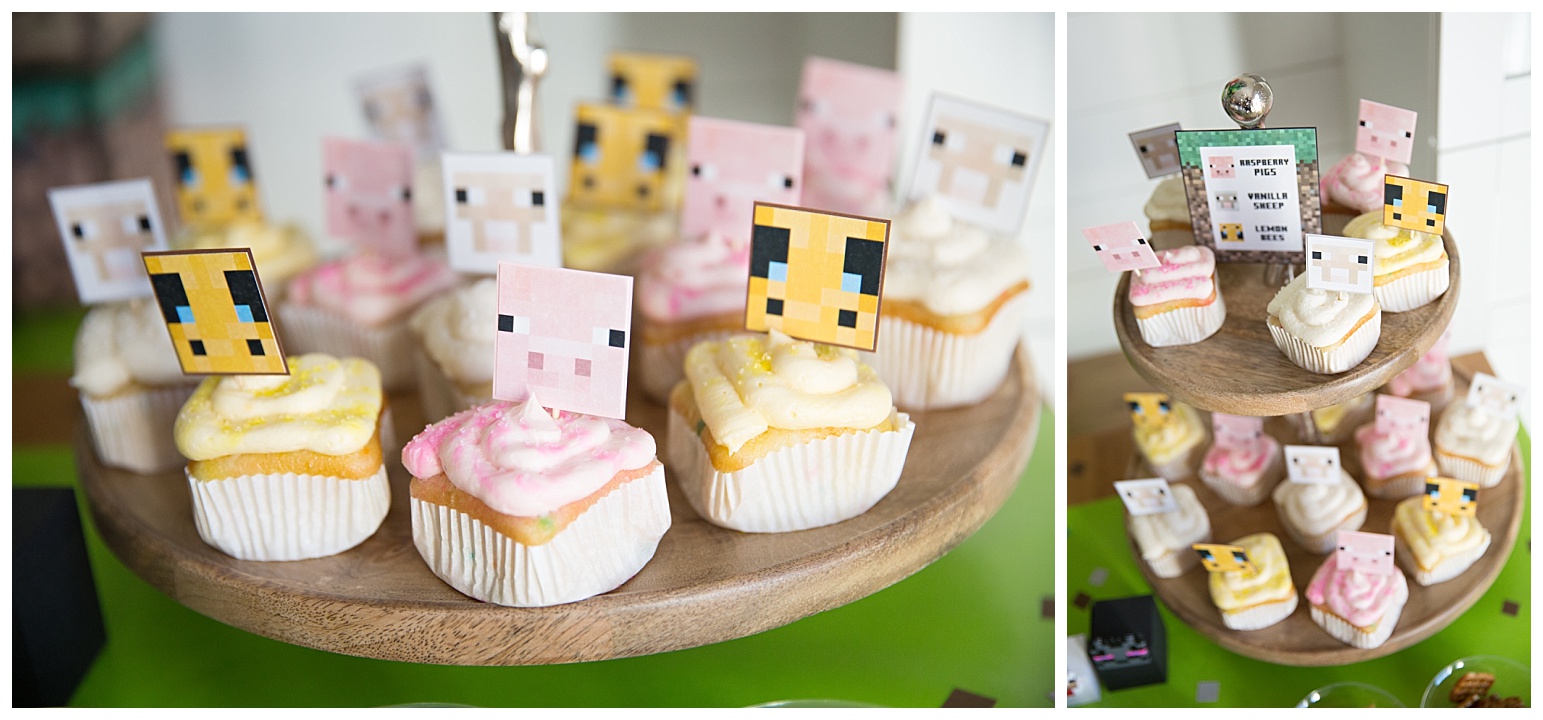
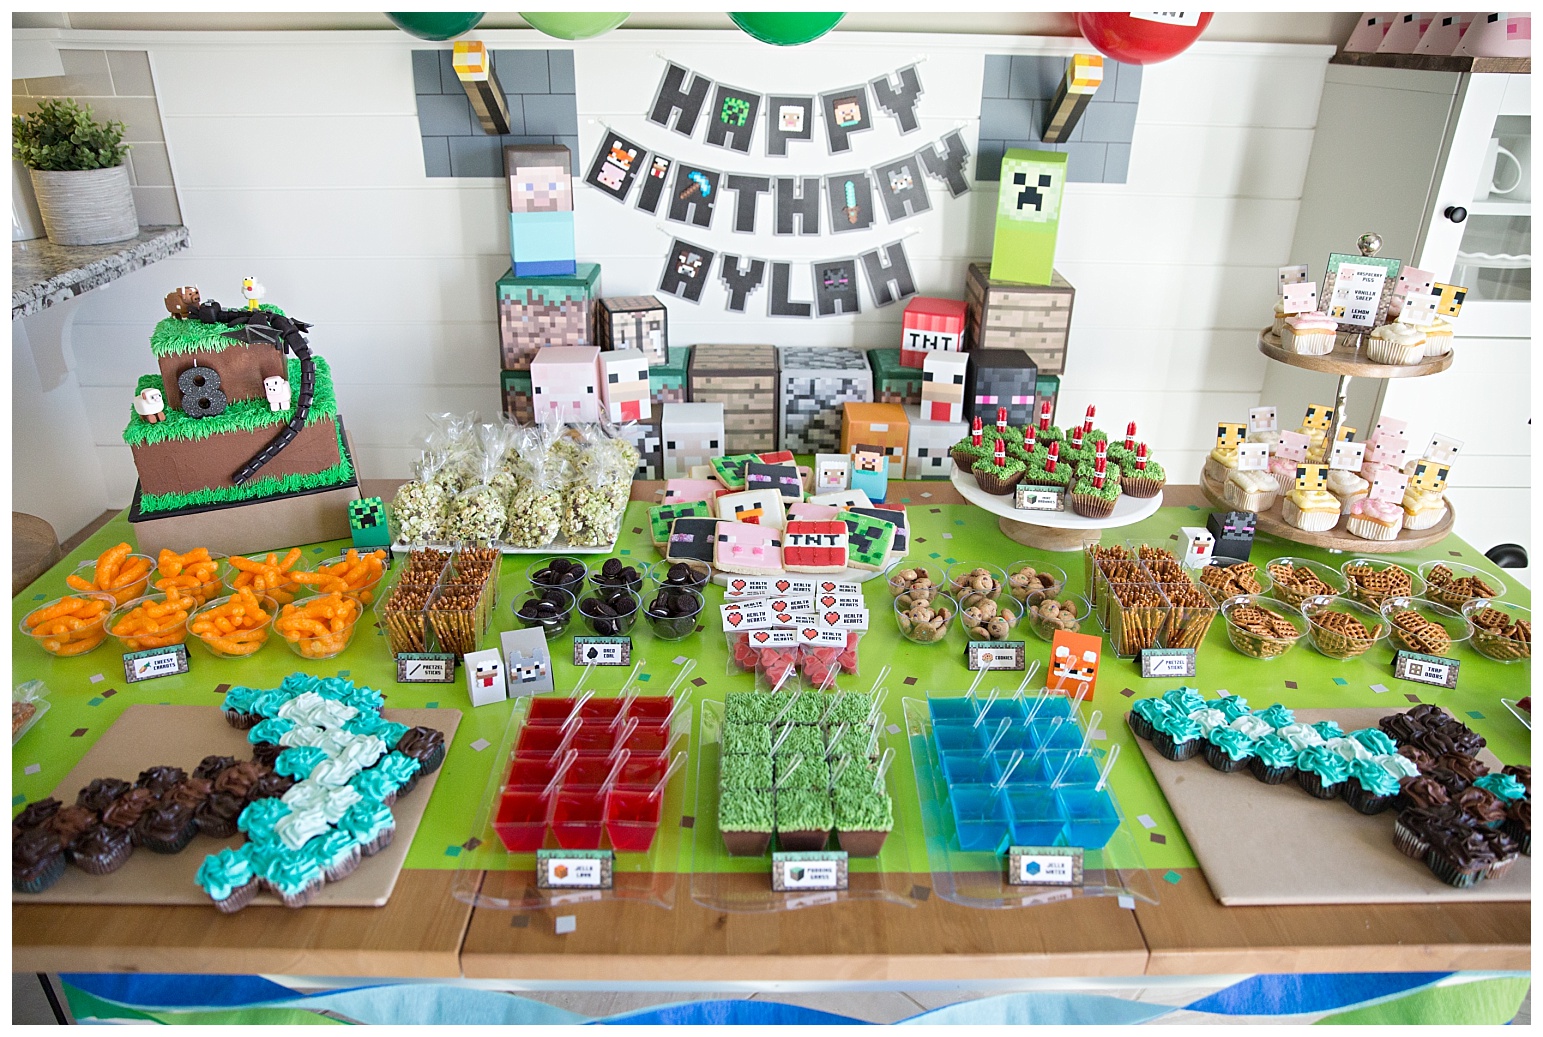
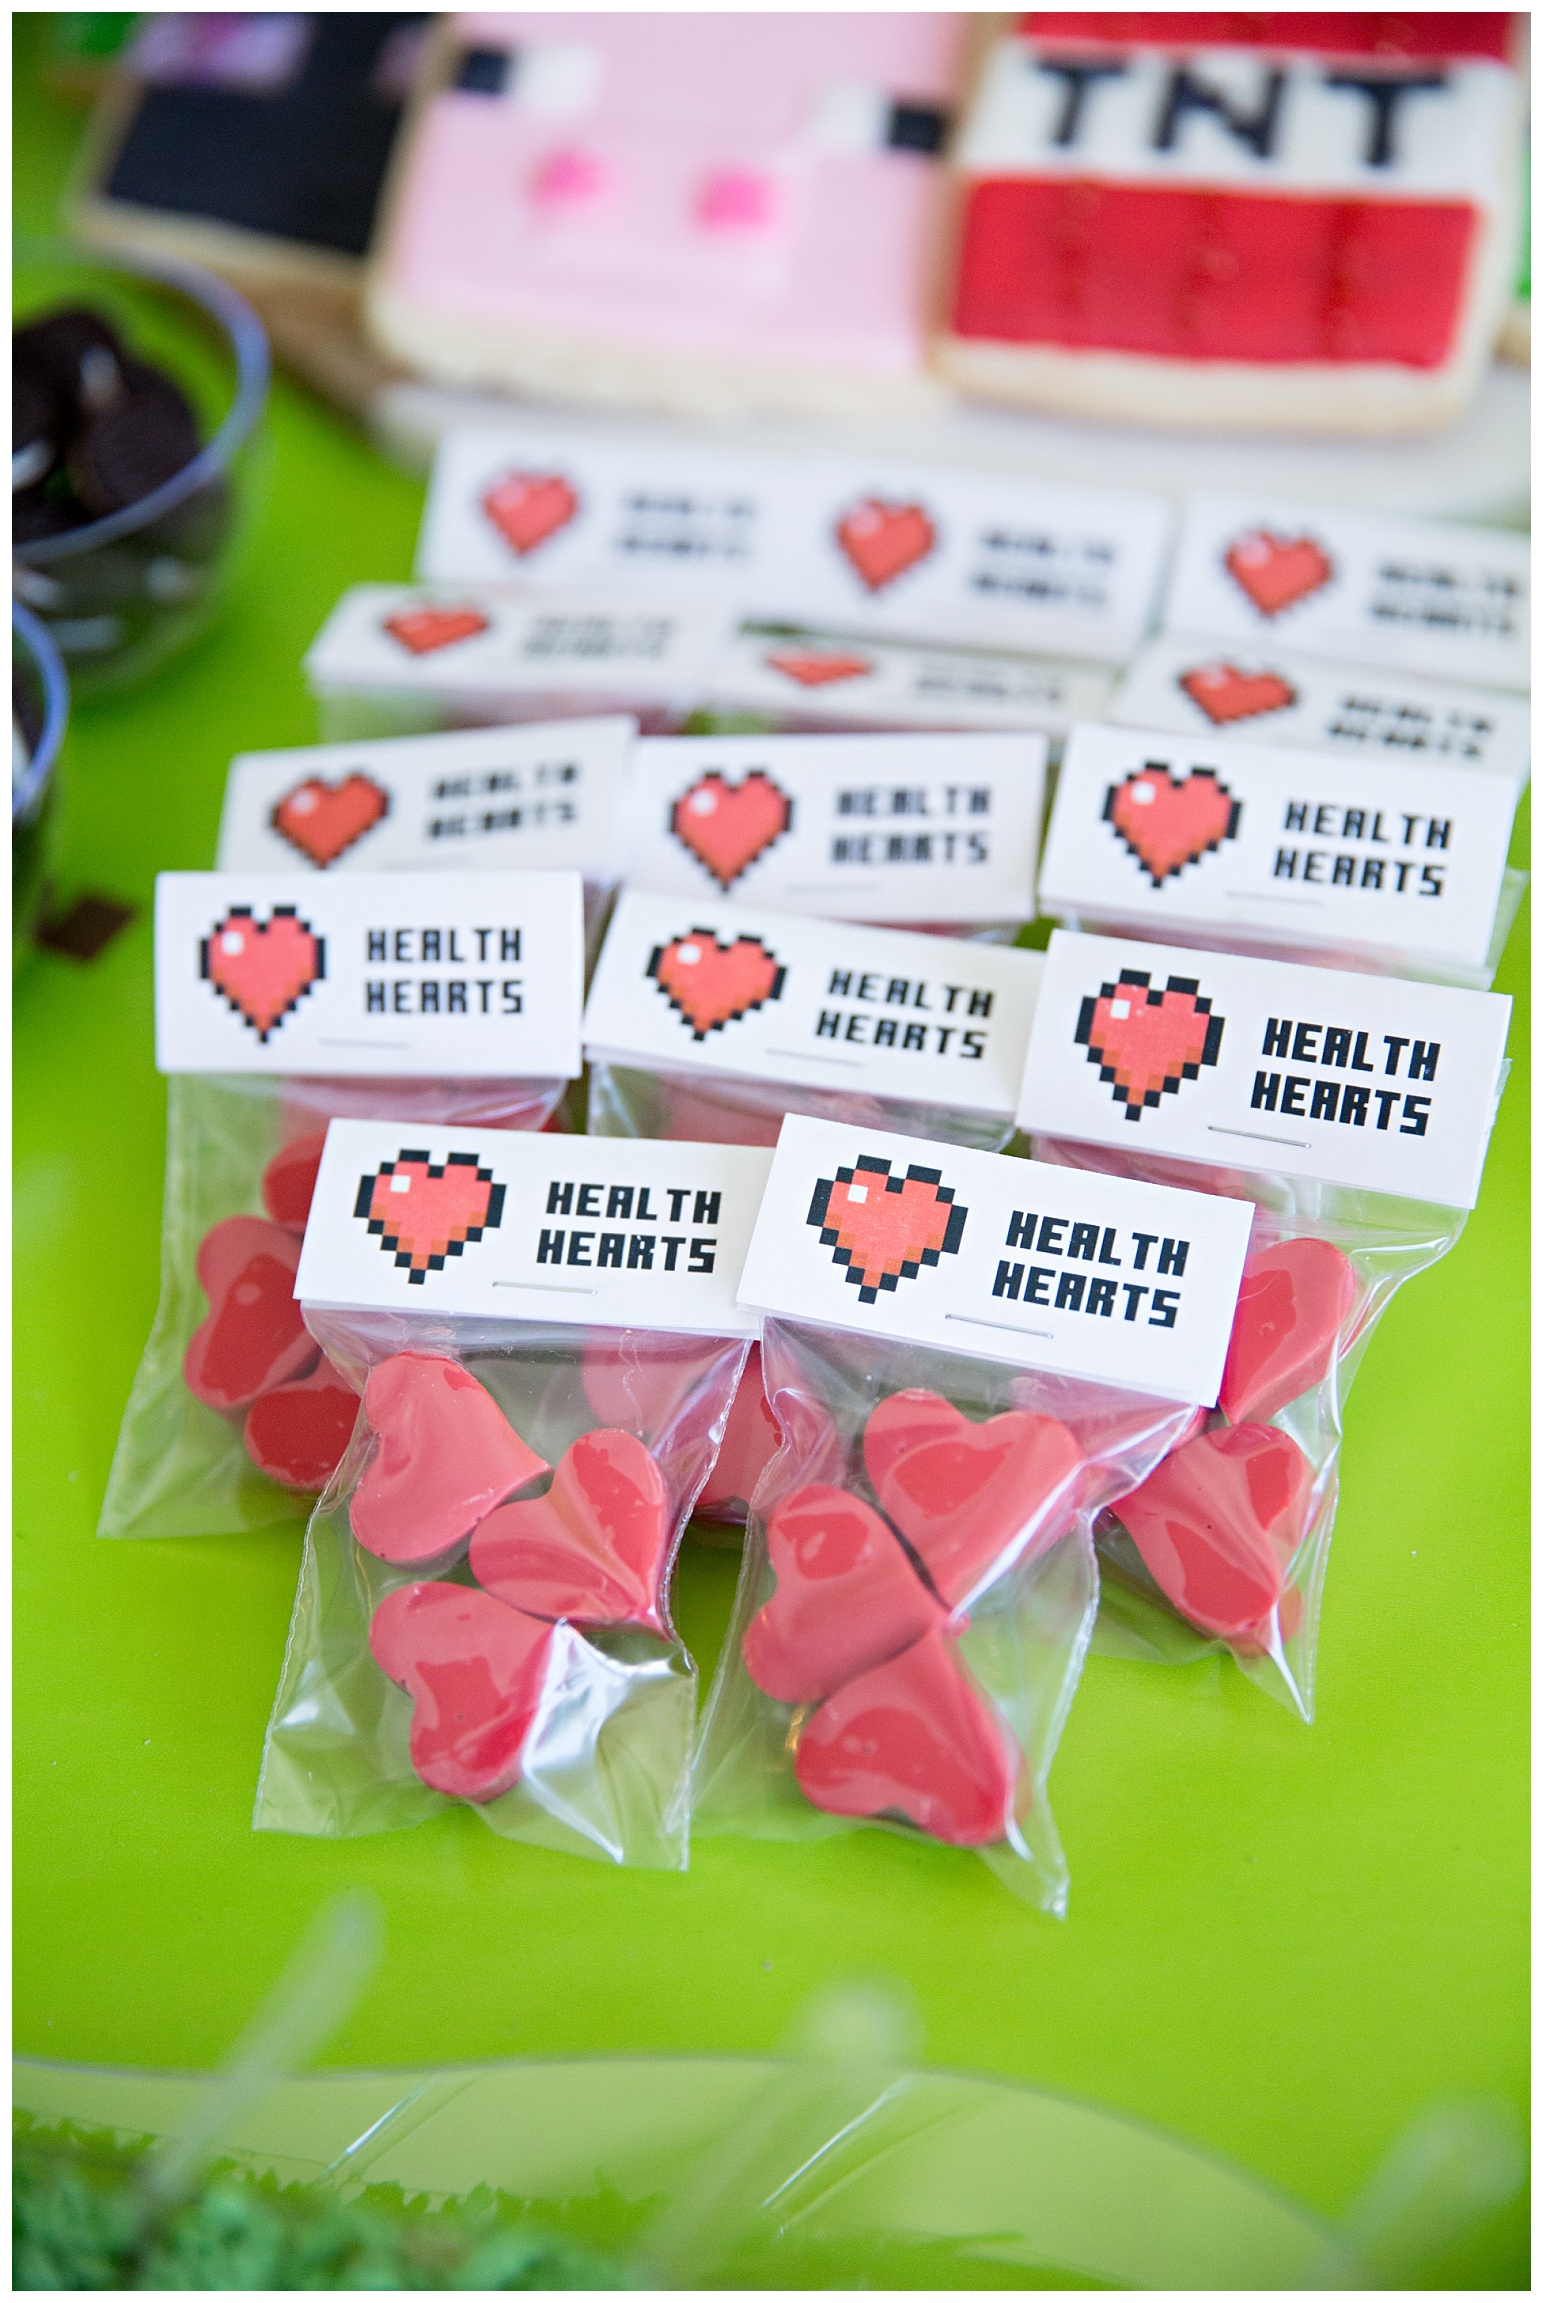
I made these health hearts using a silicone candy mold and red melting chocolate. It was my first time using a silicone mold and I’m in LOVE! It was SO easy to do!
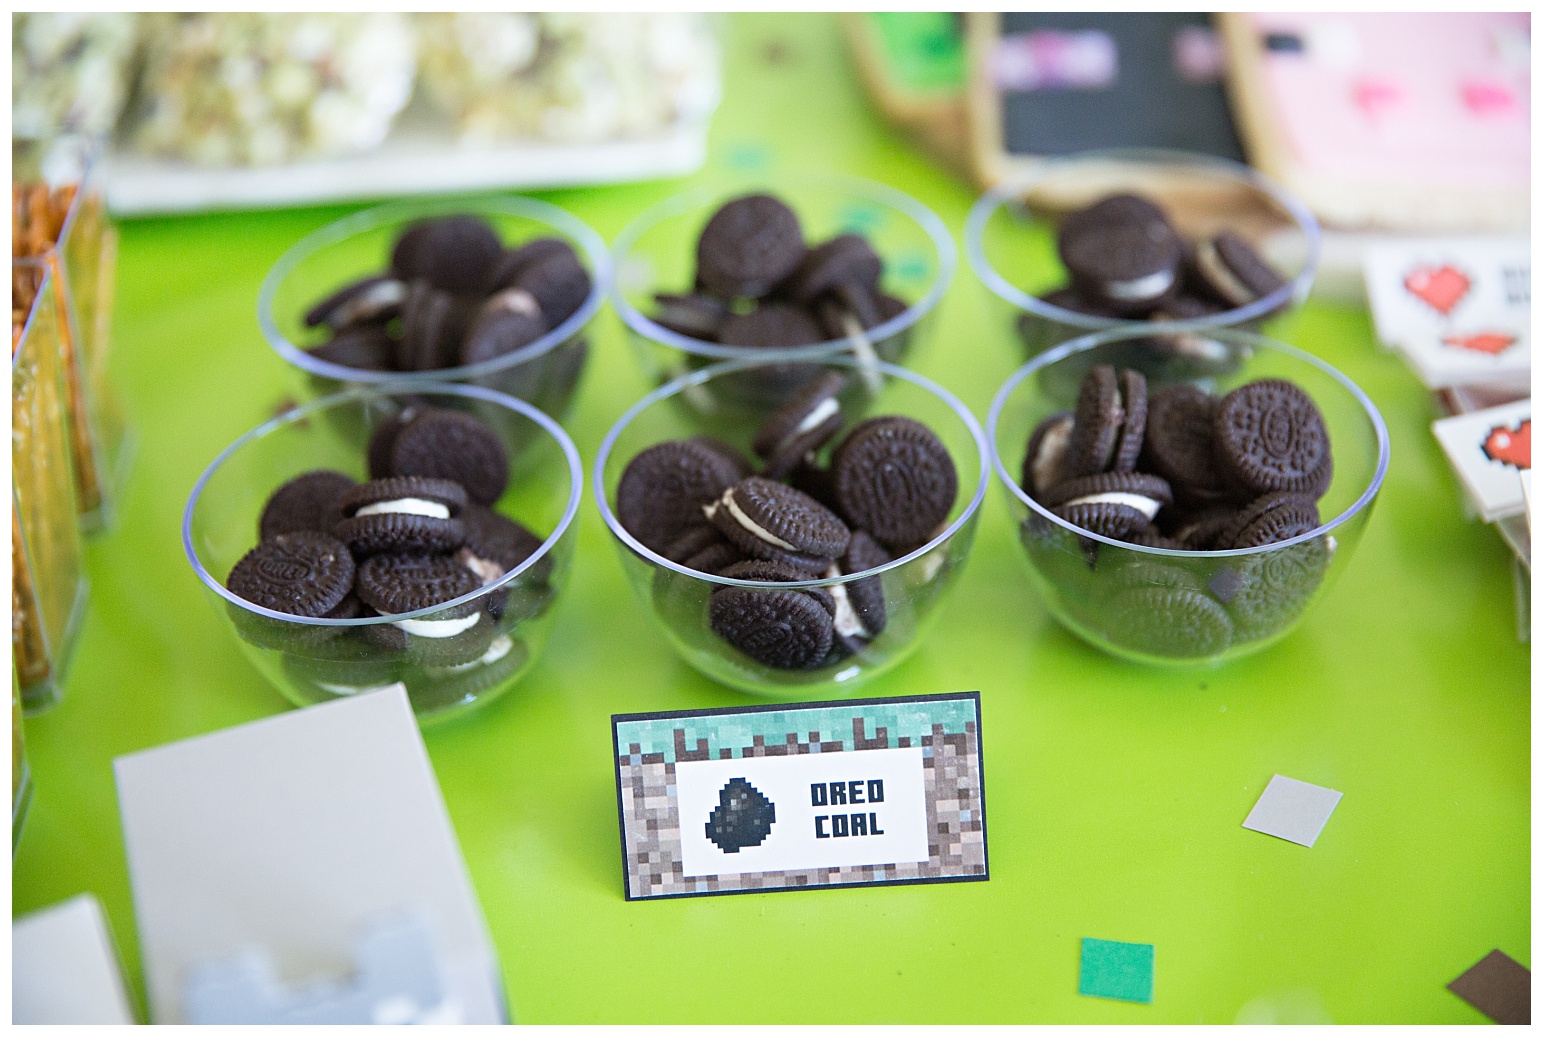
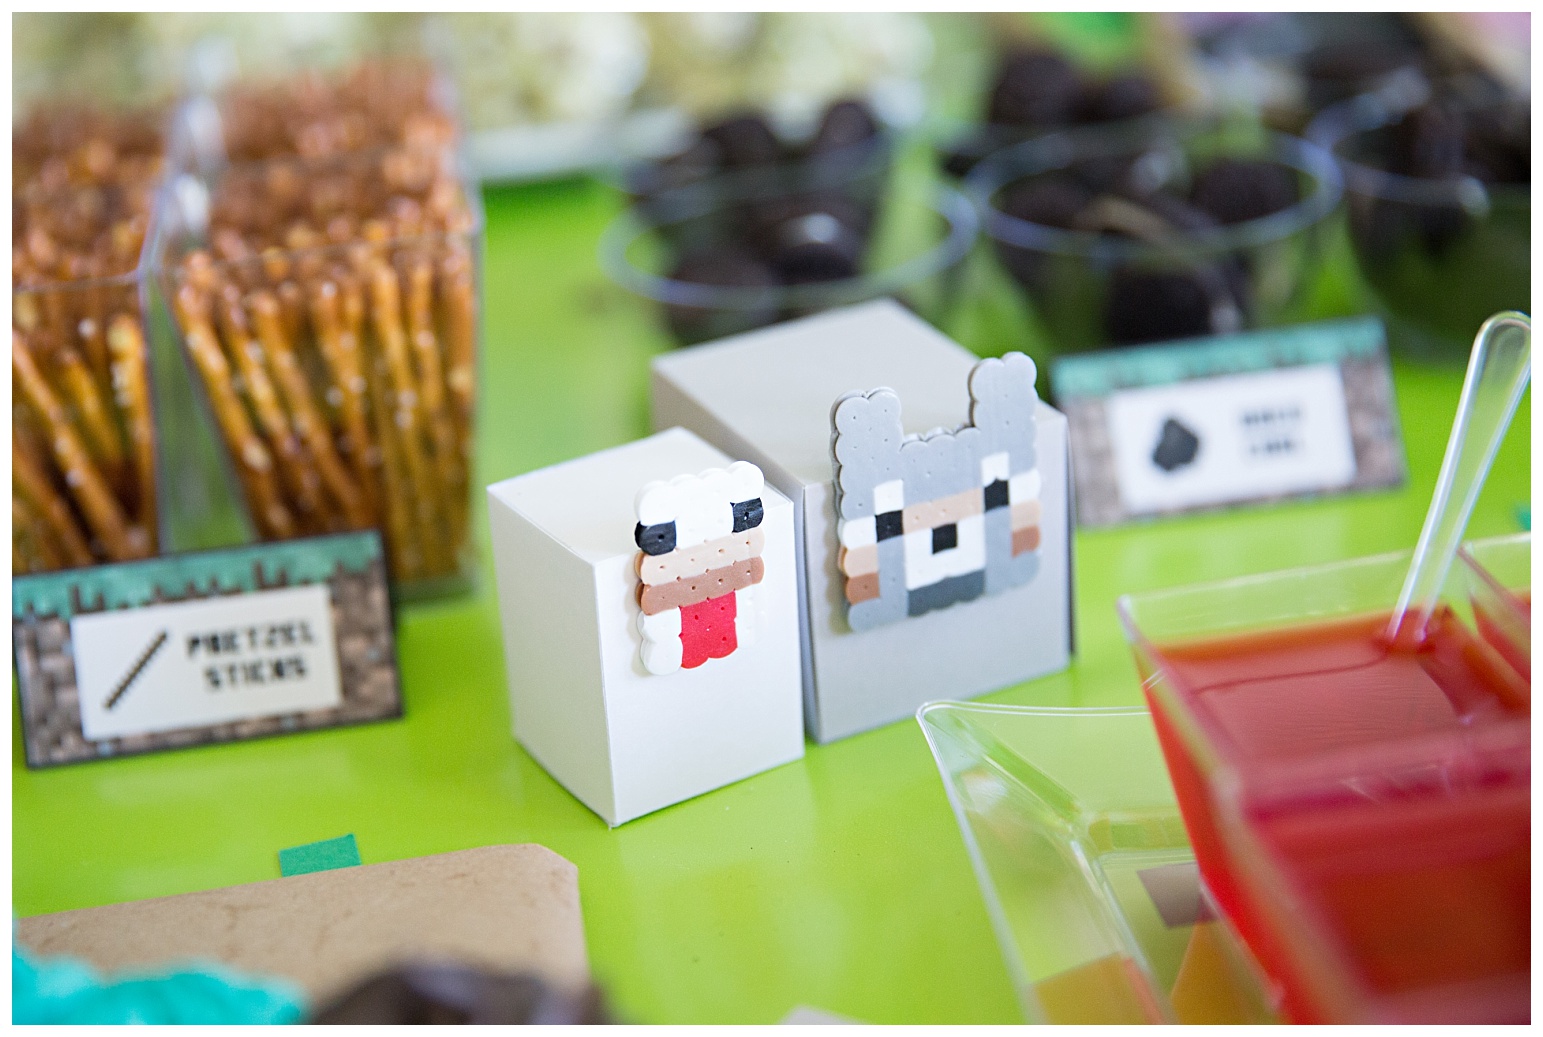
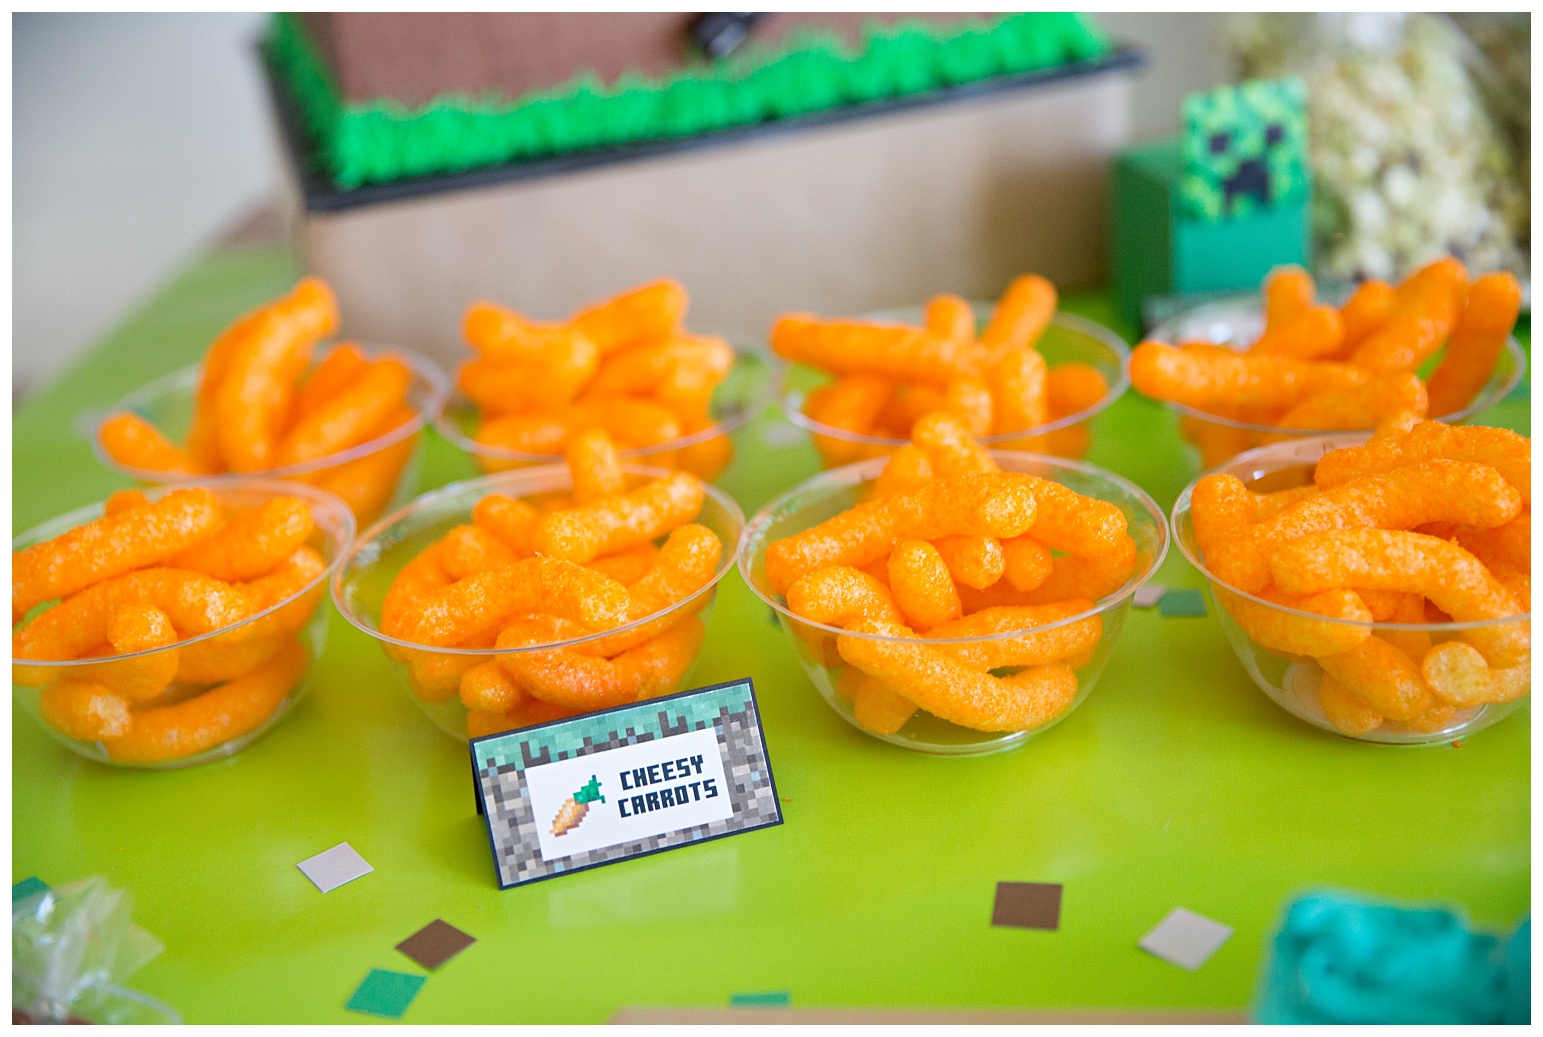
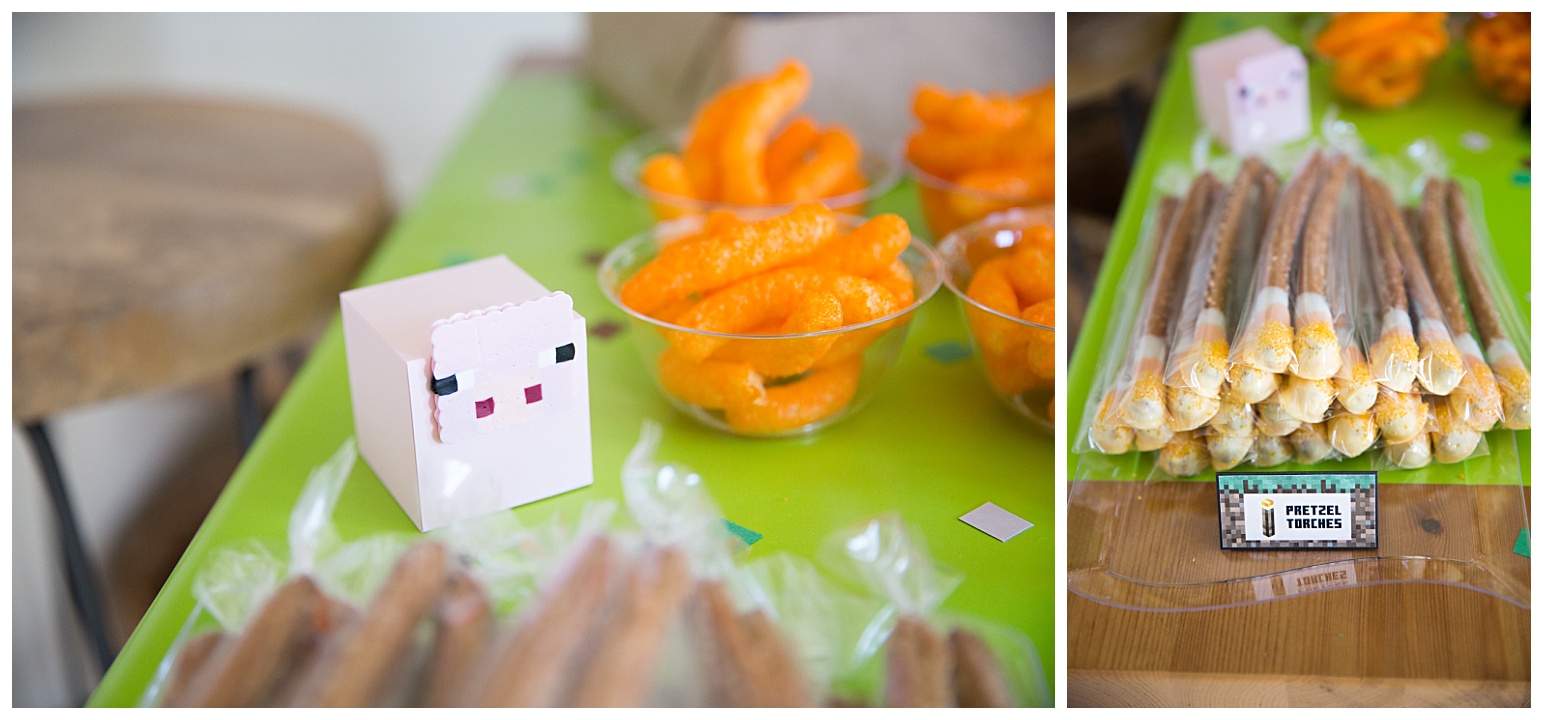
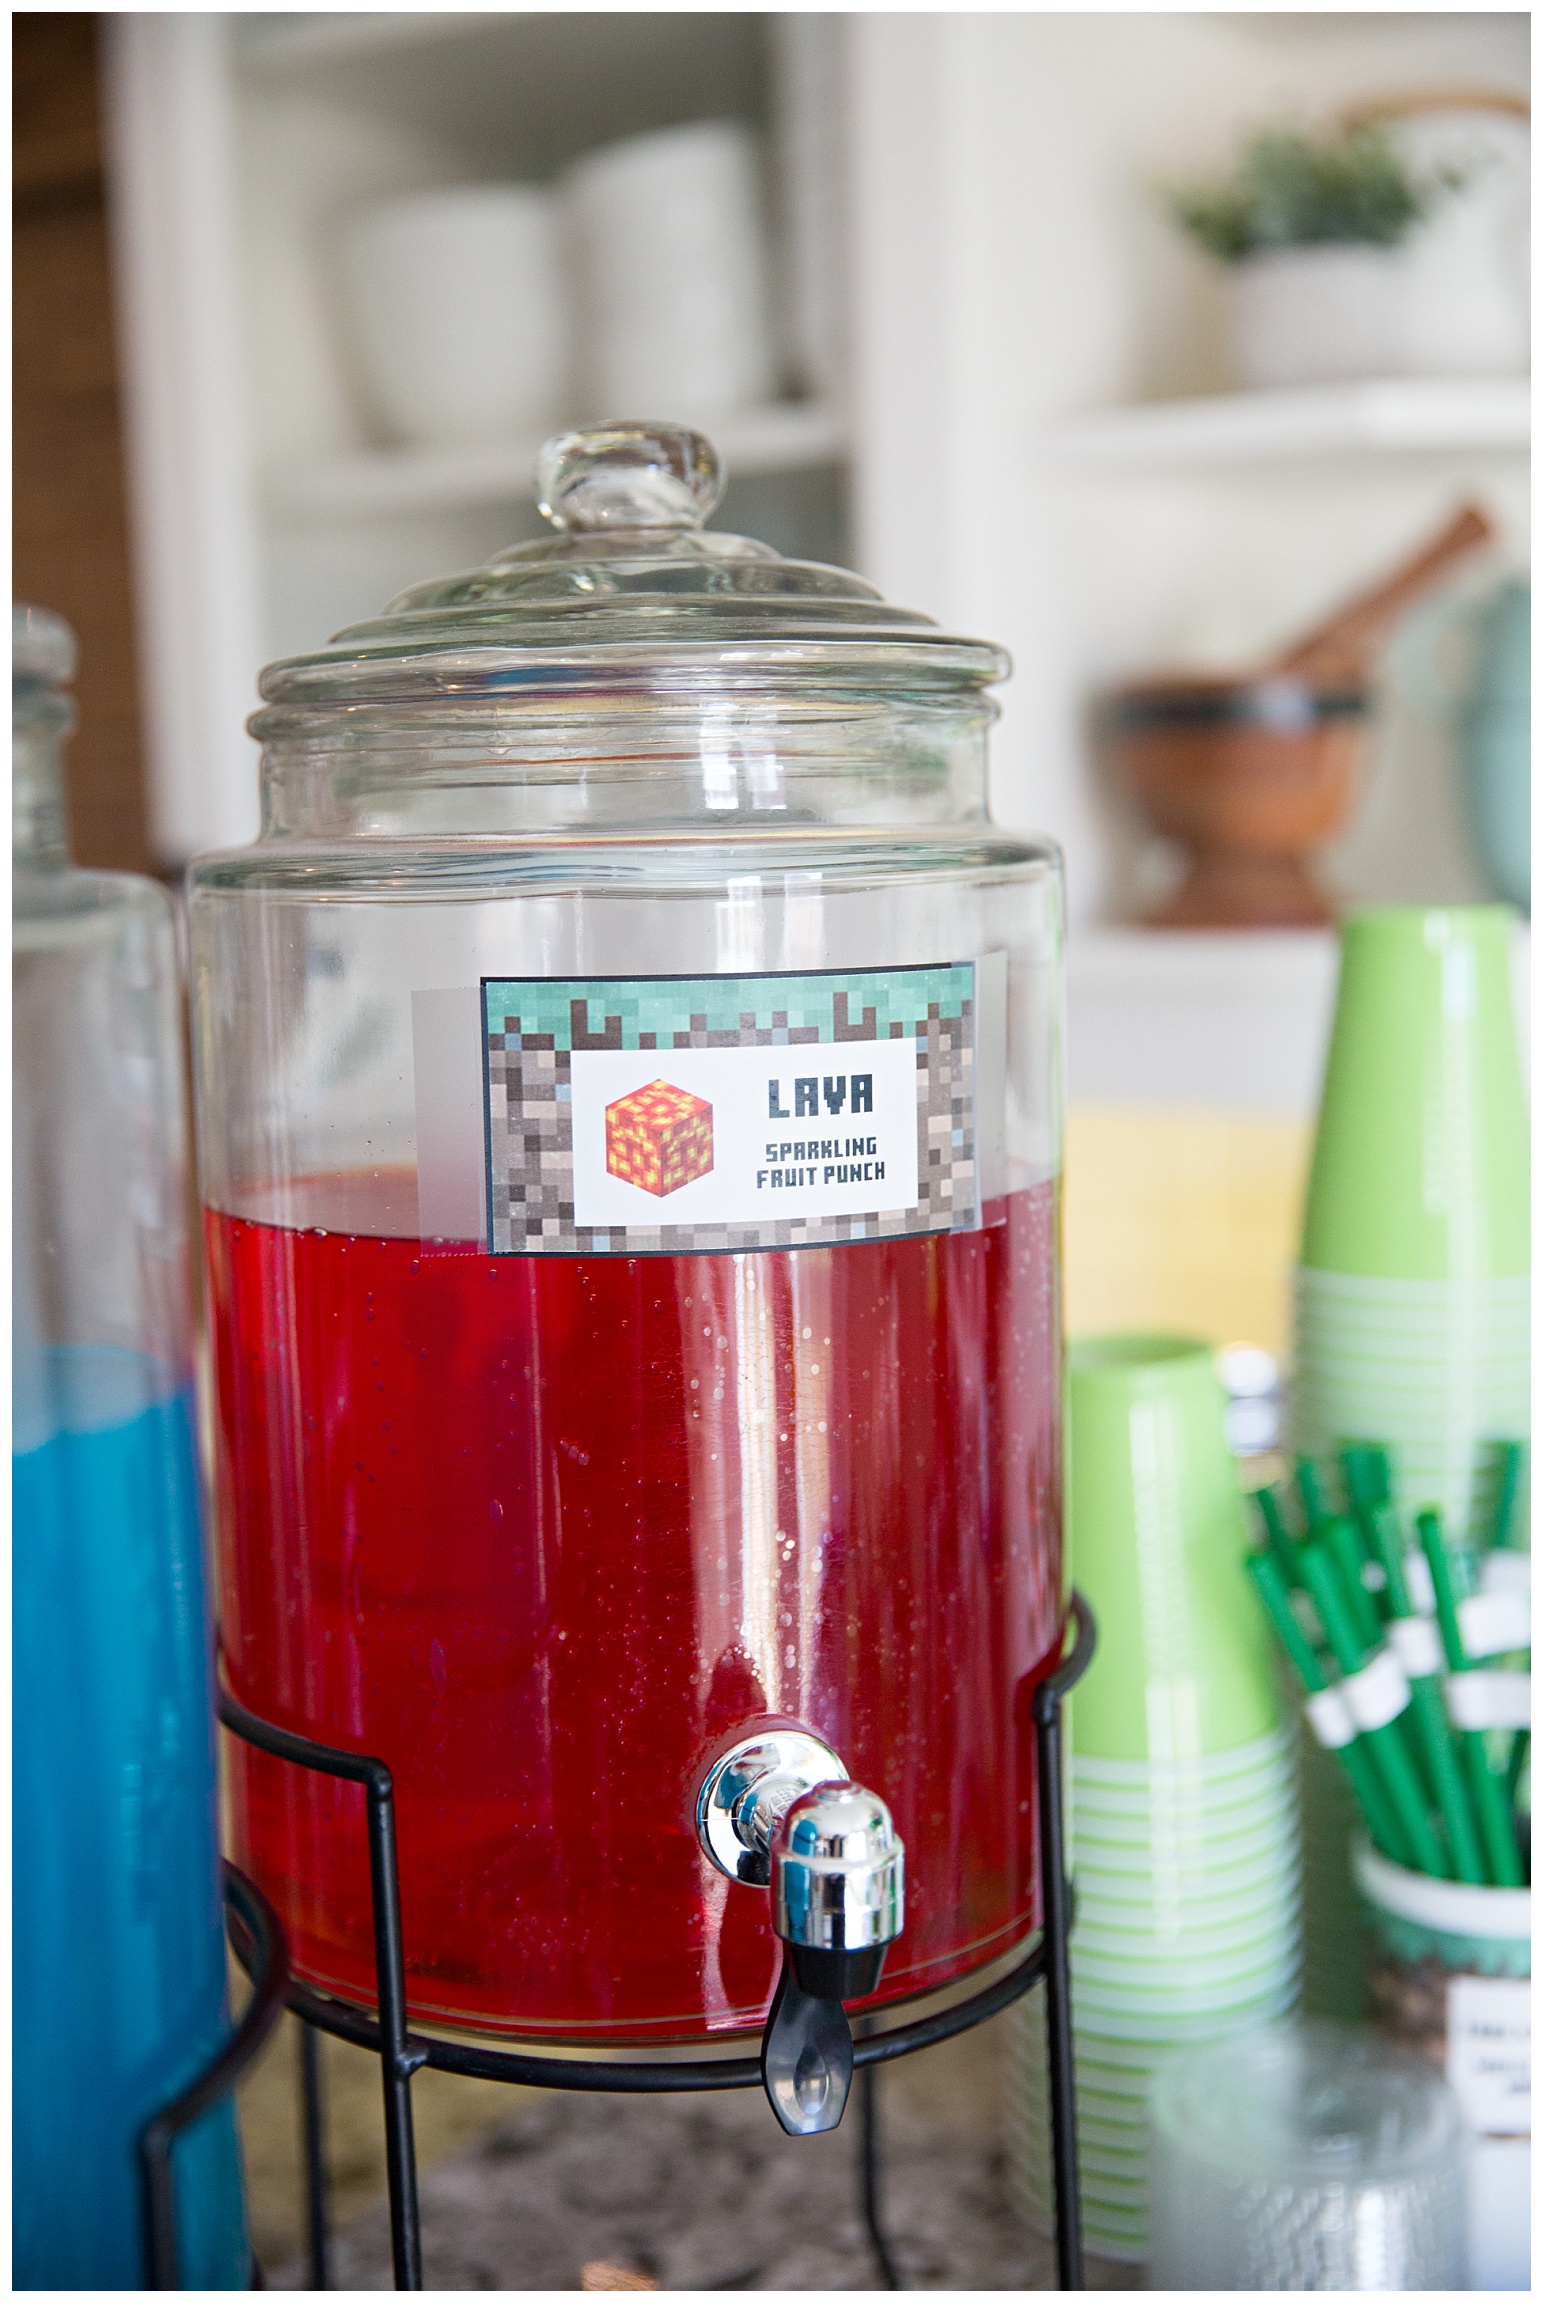
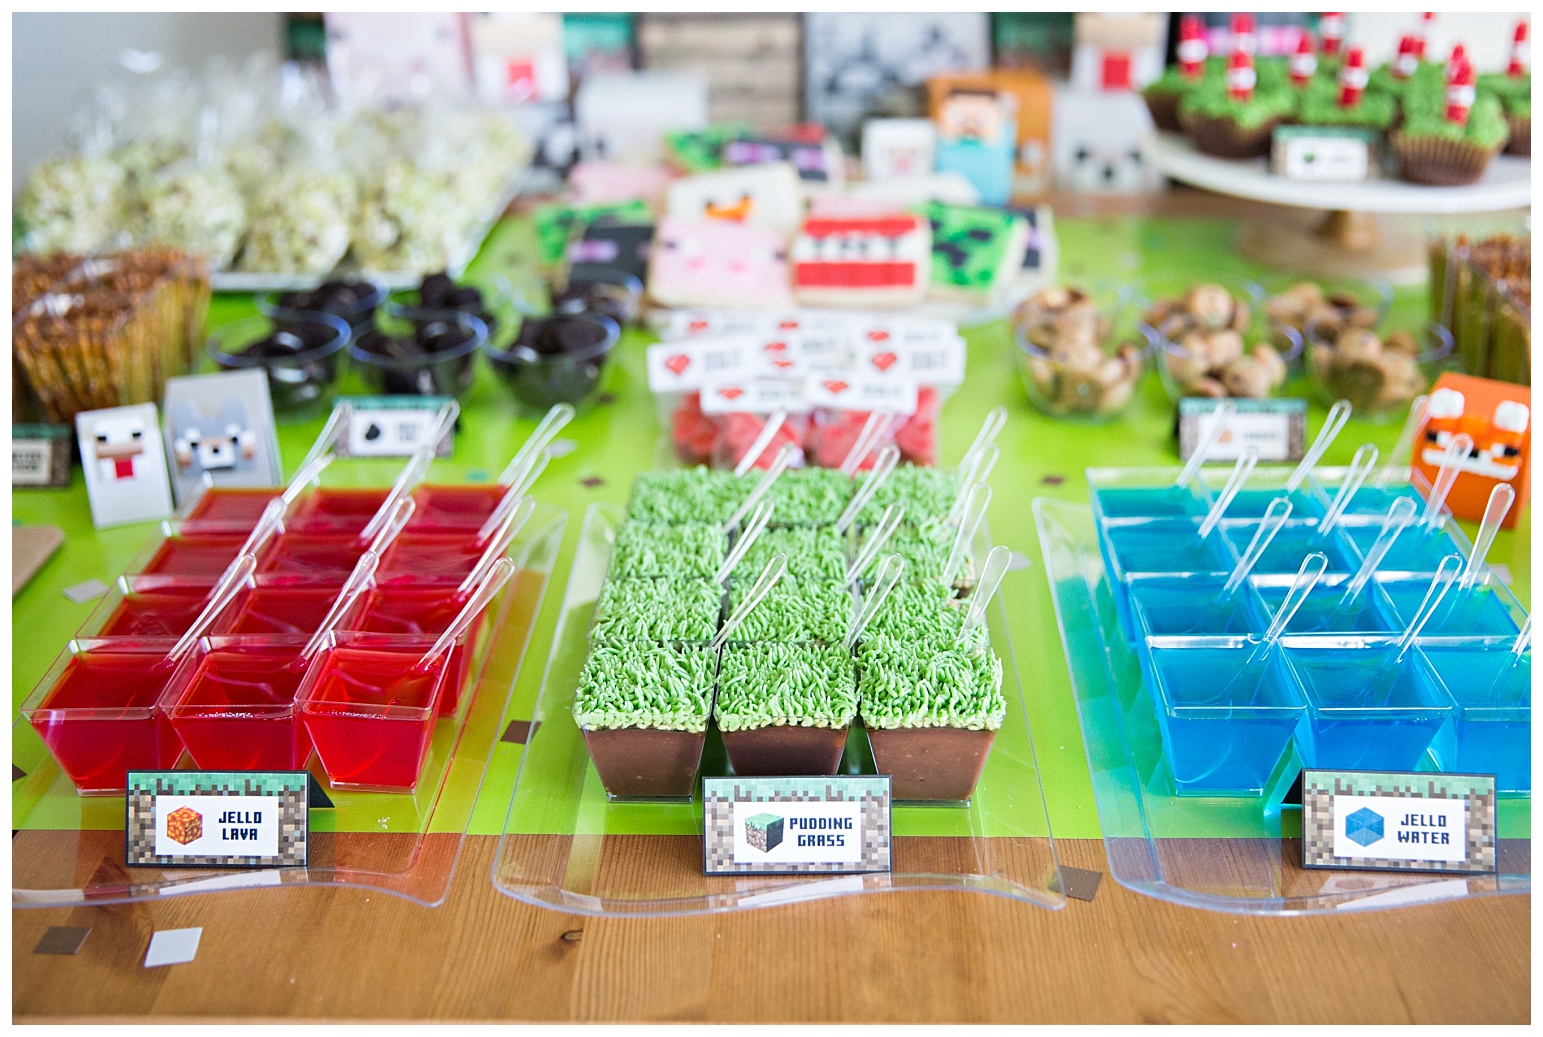
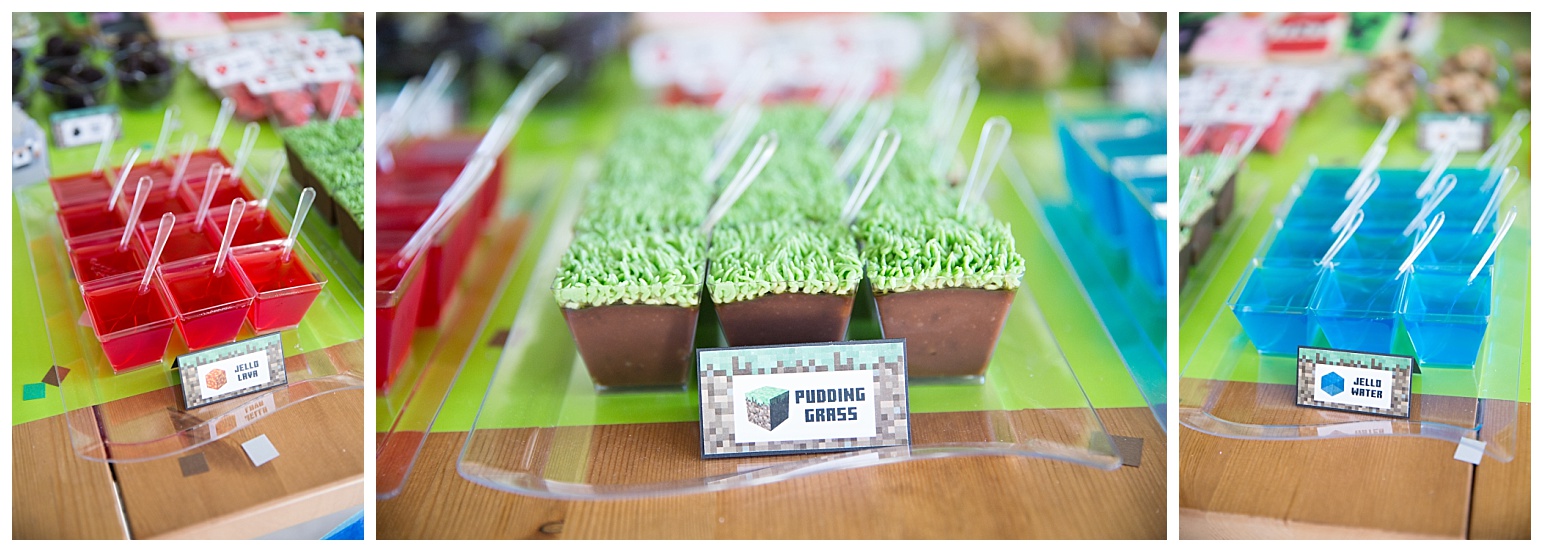
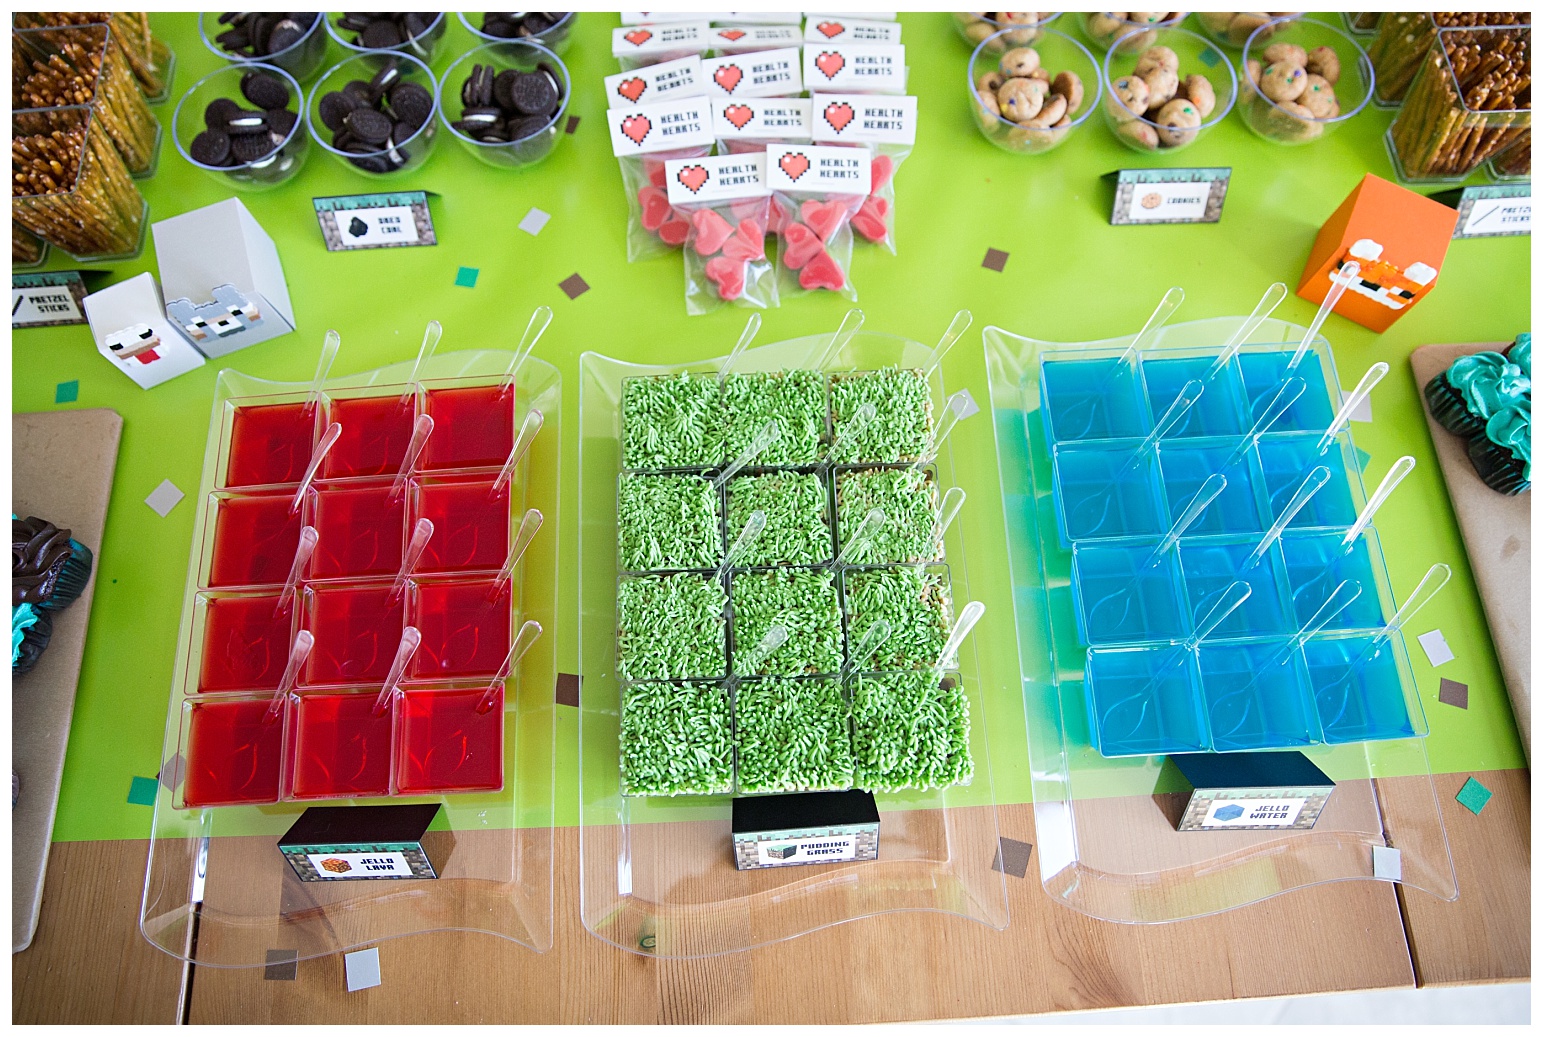
These little square cups and tiny plastic spoons were perfect (from Party City). To make 12 cups it took 2 packs of jello (per flavour). The green grass is mint buttercream frosting which I’m told was delicious paired with the chocolate pudding. The grass was created with this icing tip, it’s tricky to get the hang of … practice lots!
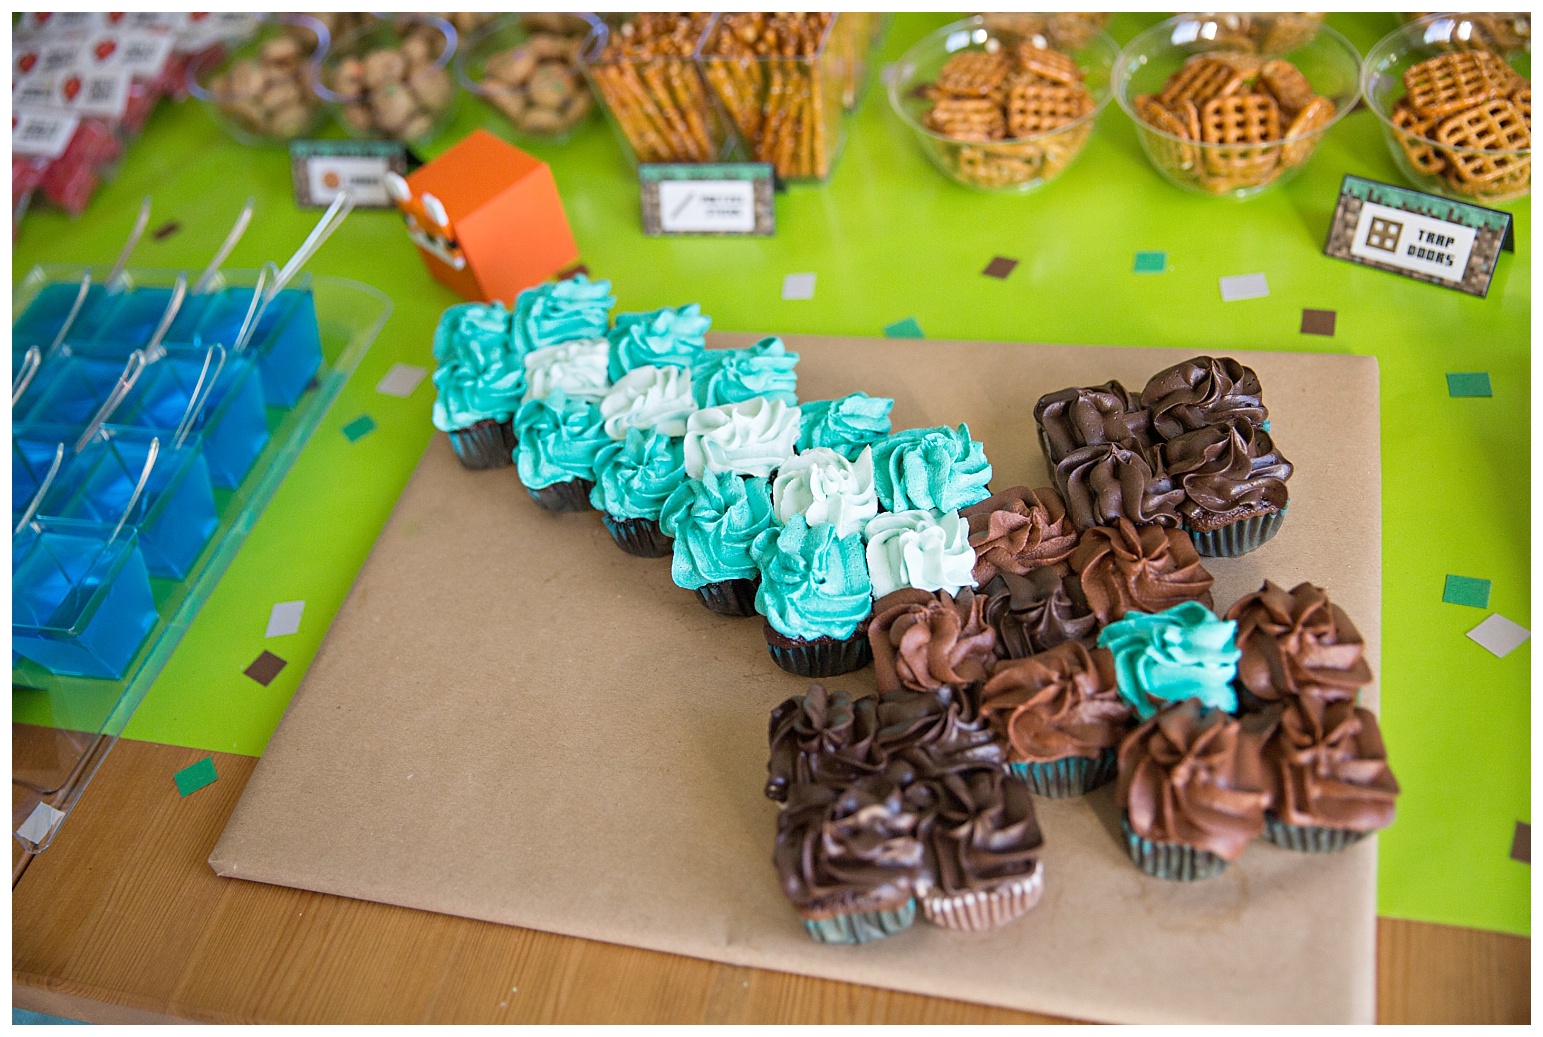
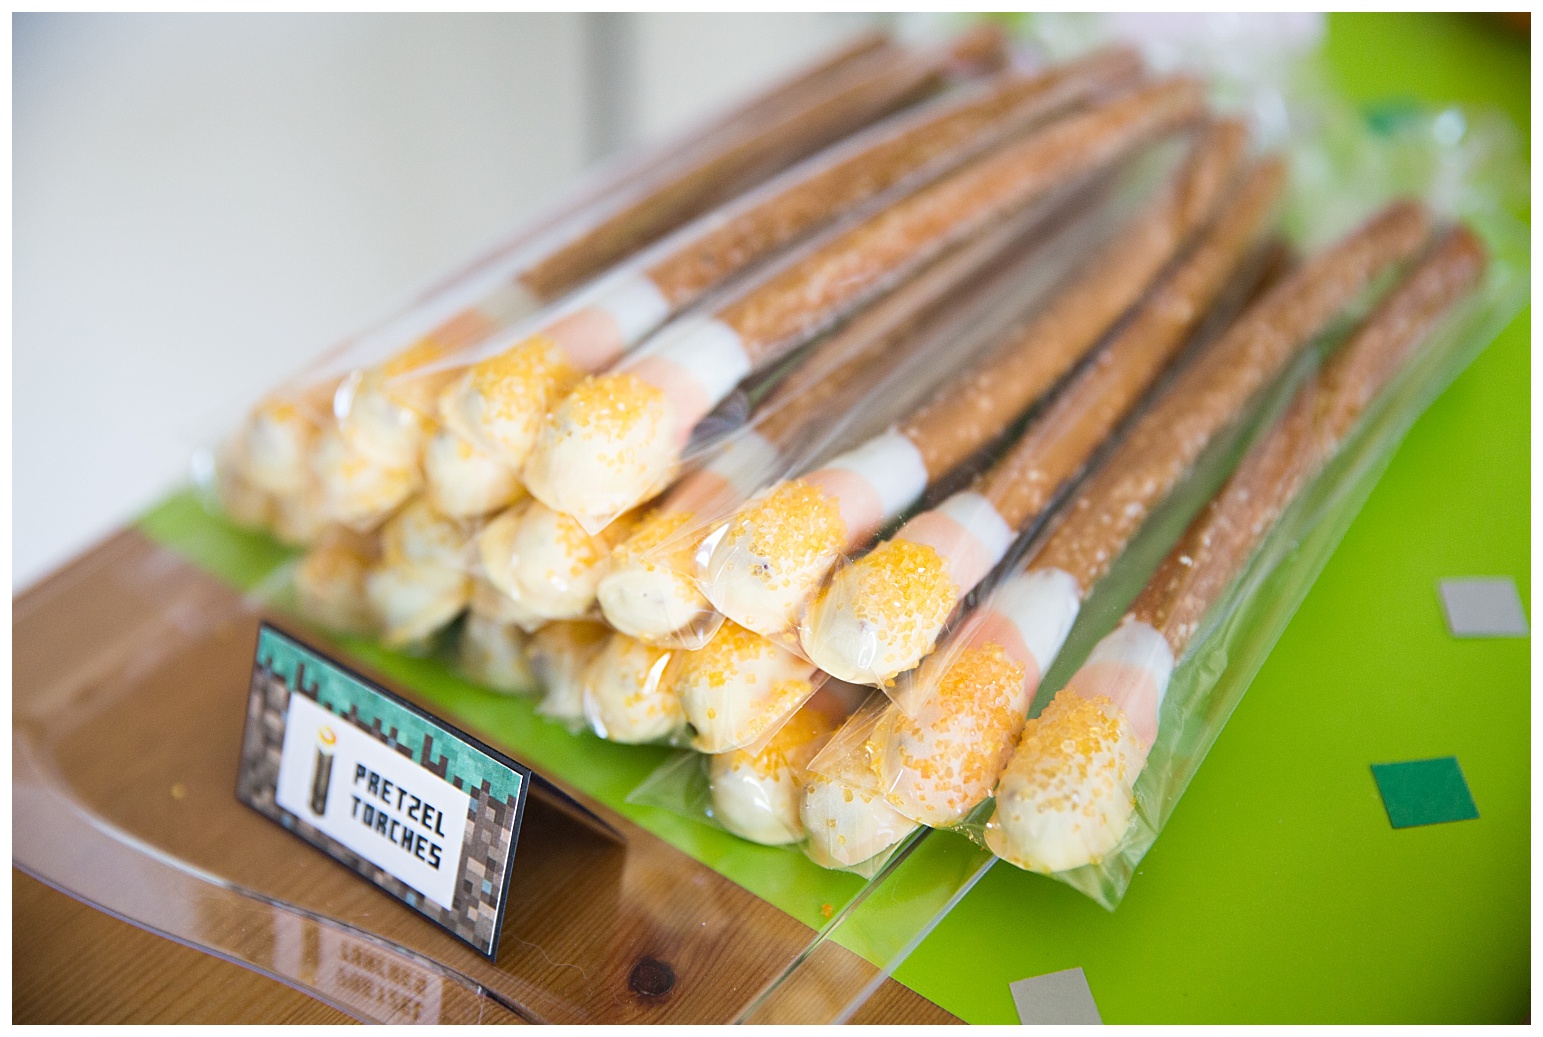
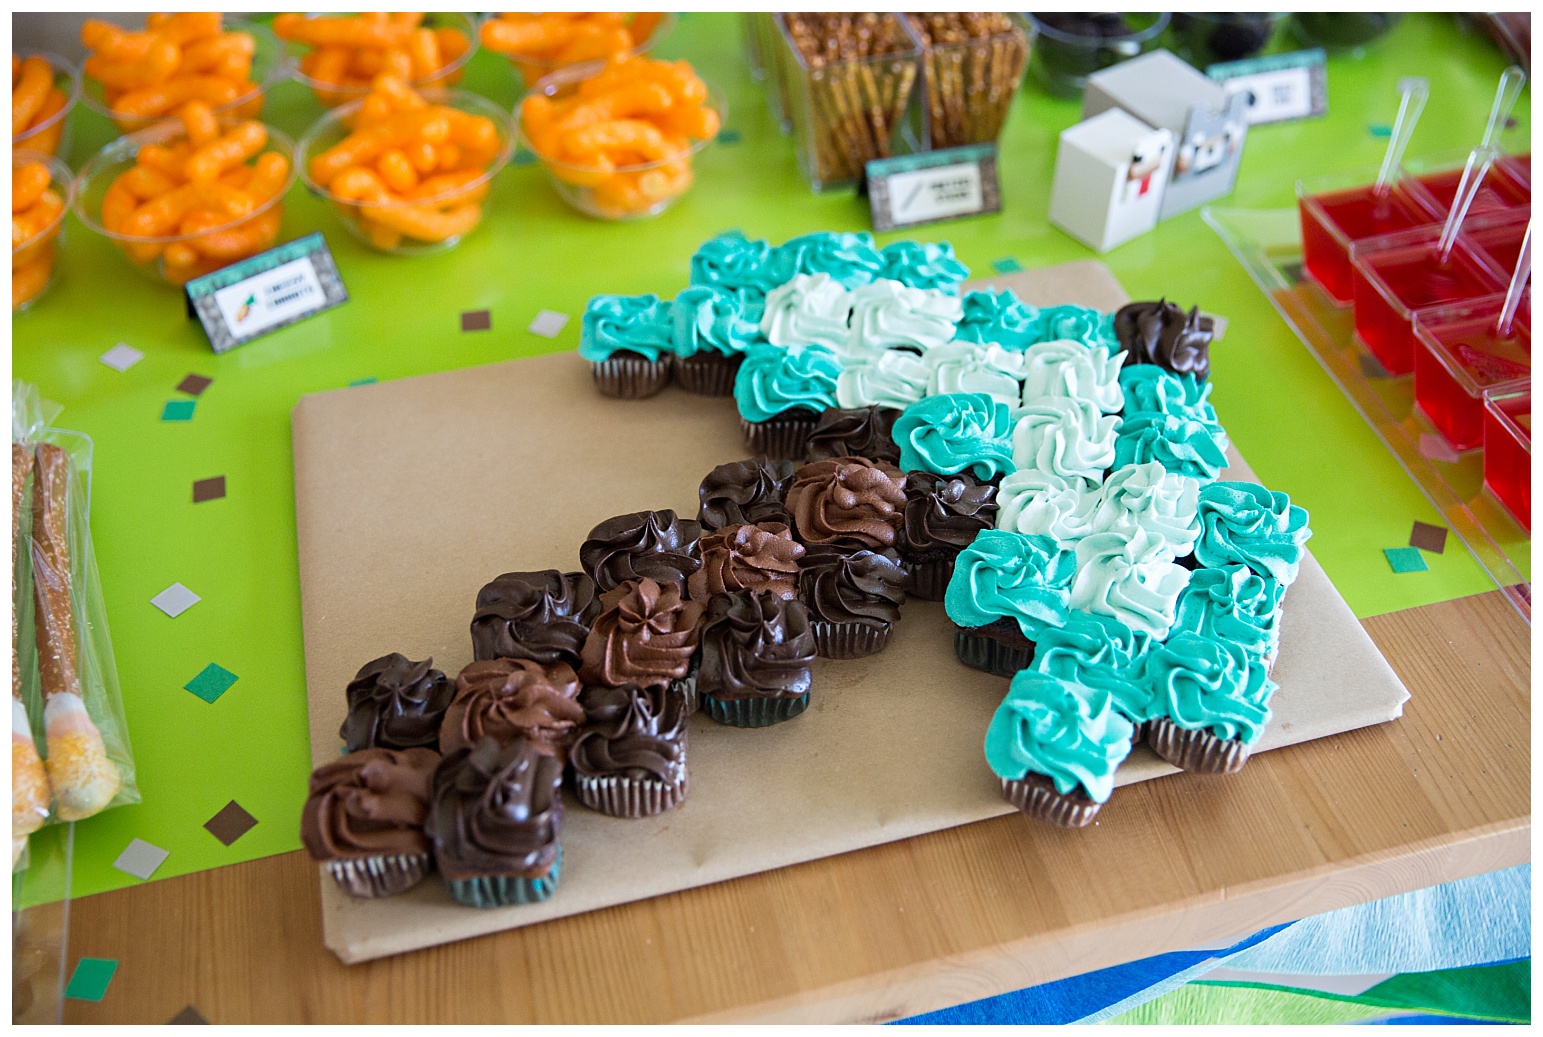
These pull-apart mini cupcake sword and axe turned out exactly how I envisioned. It turned out to be way too much food for the amount of people attending the party … but doesn’t it look SO good?!?! Lol
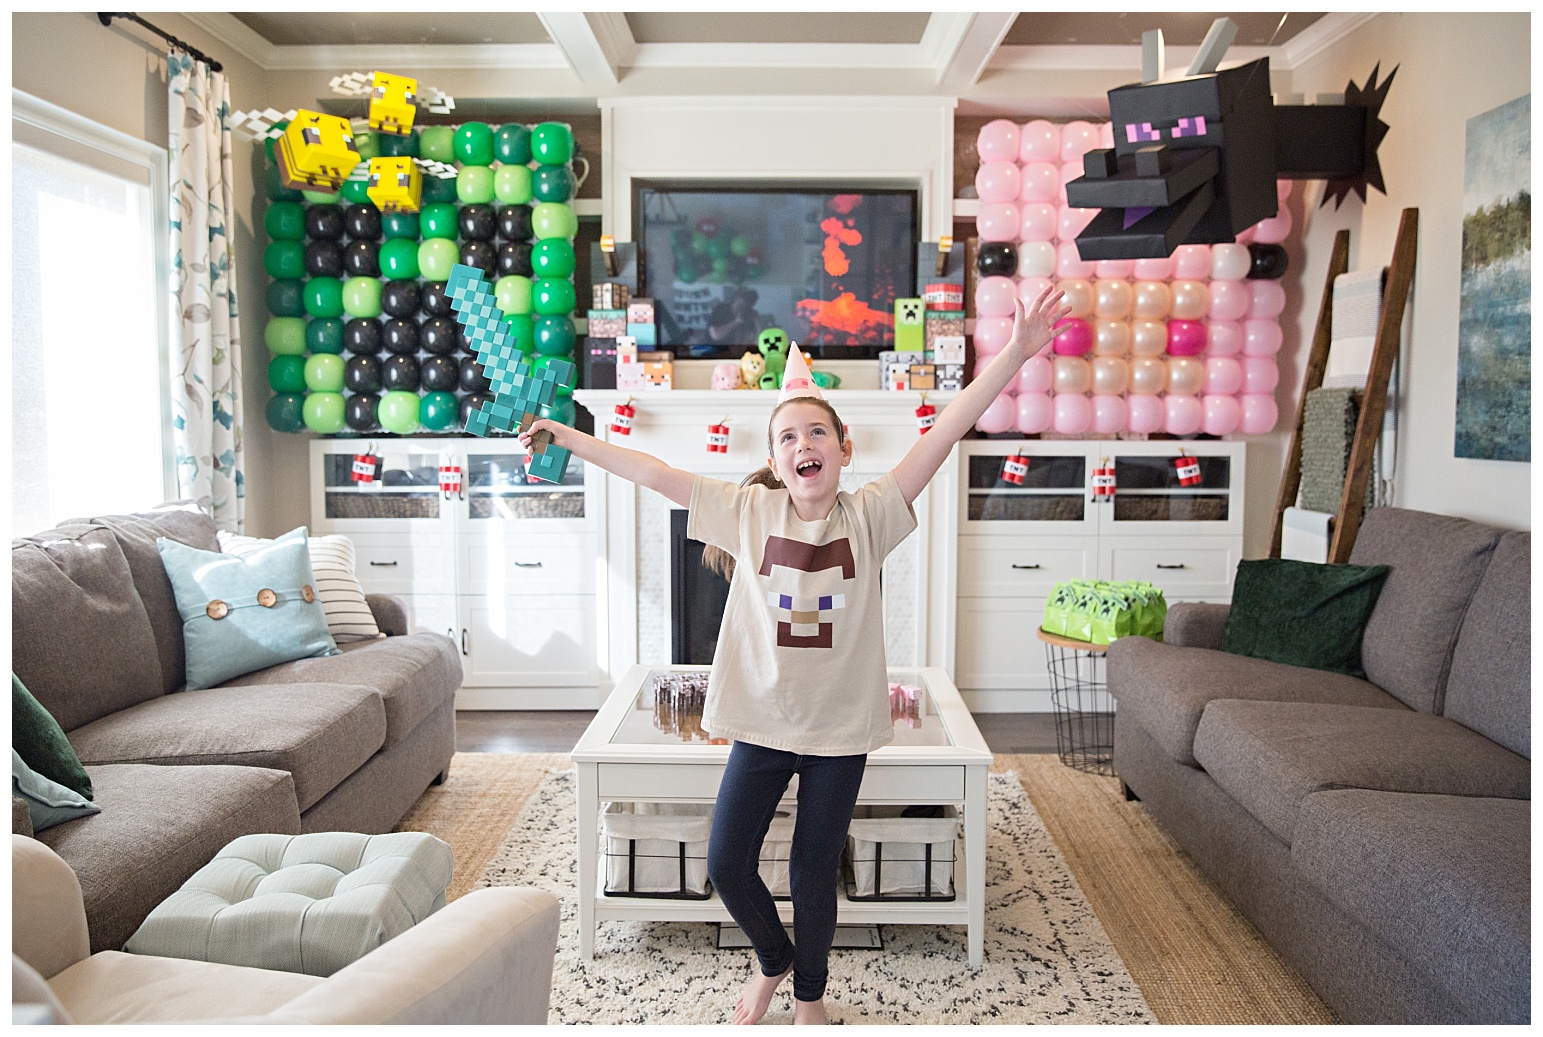
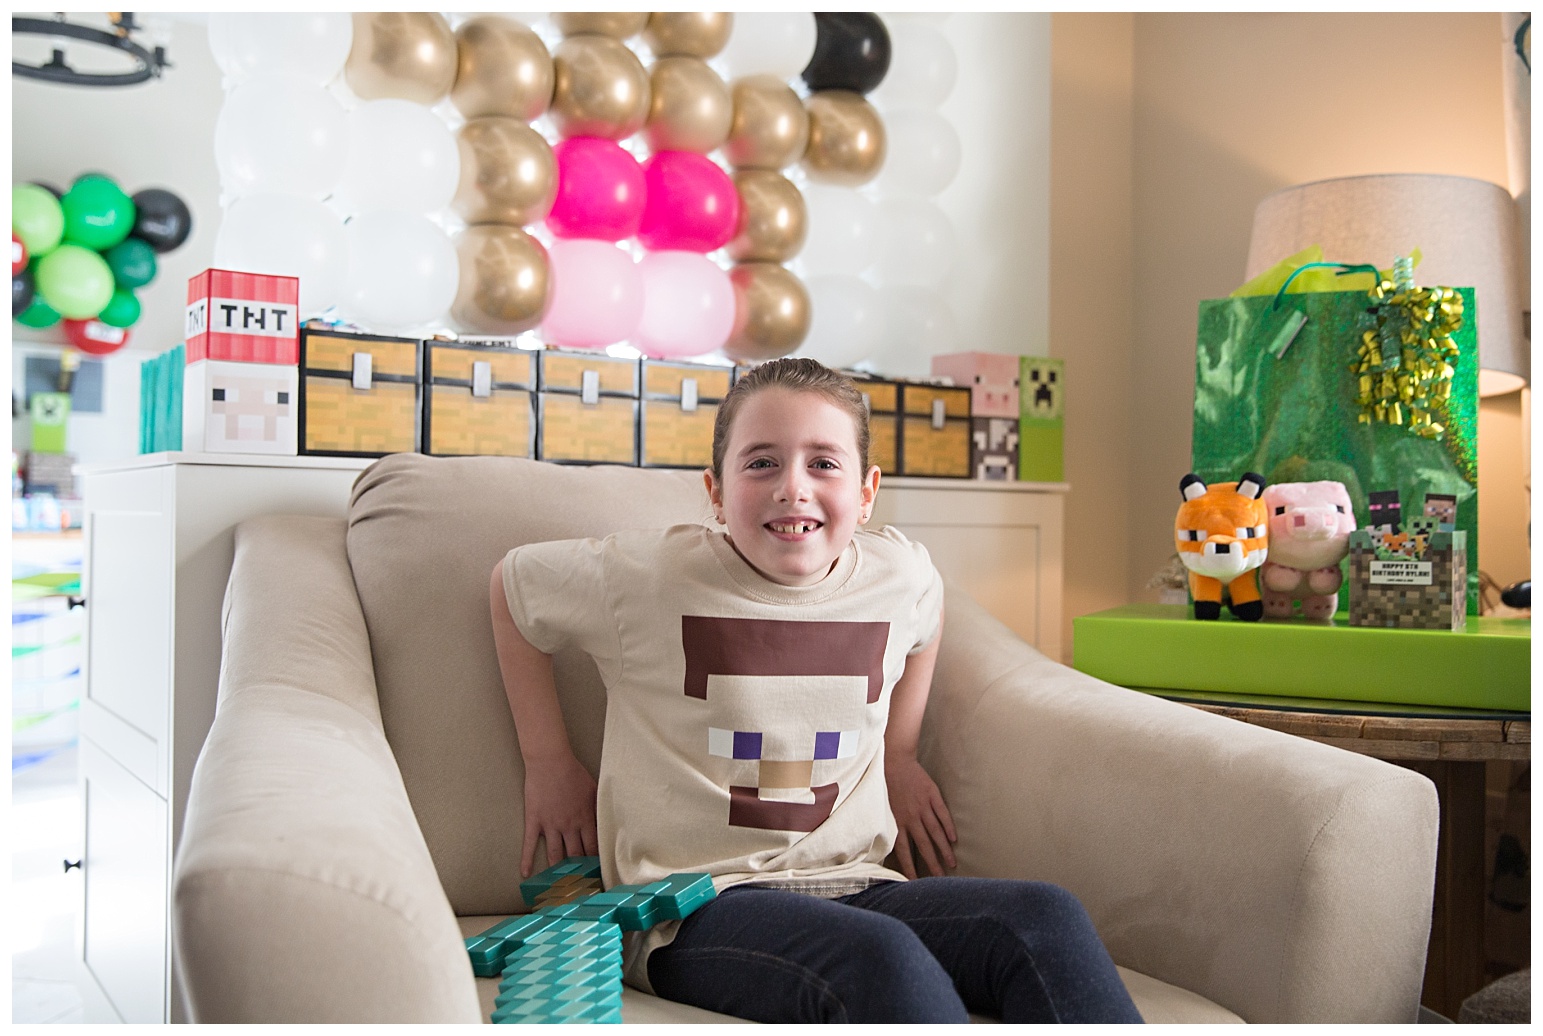
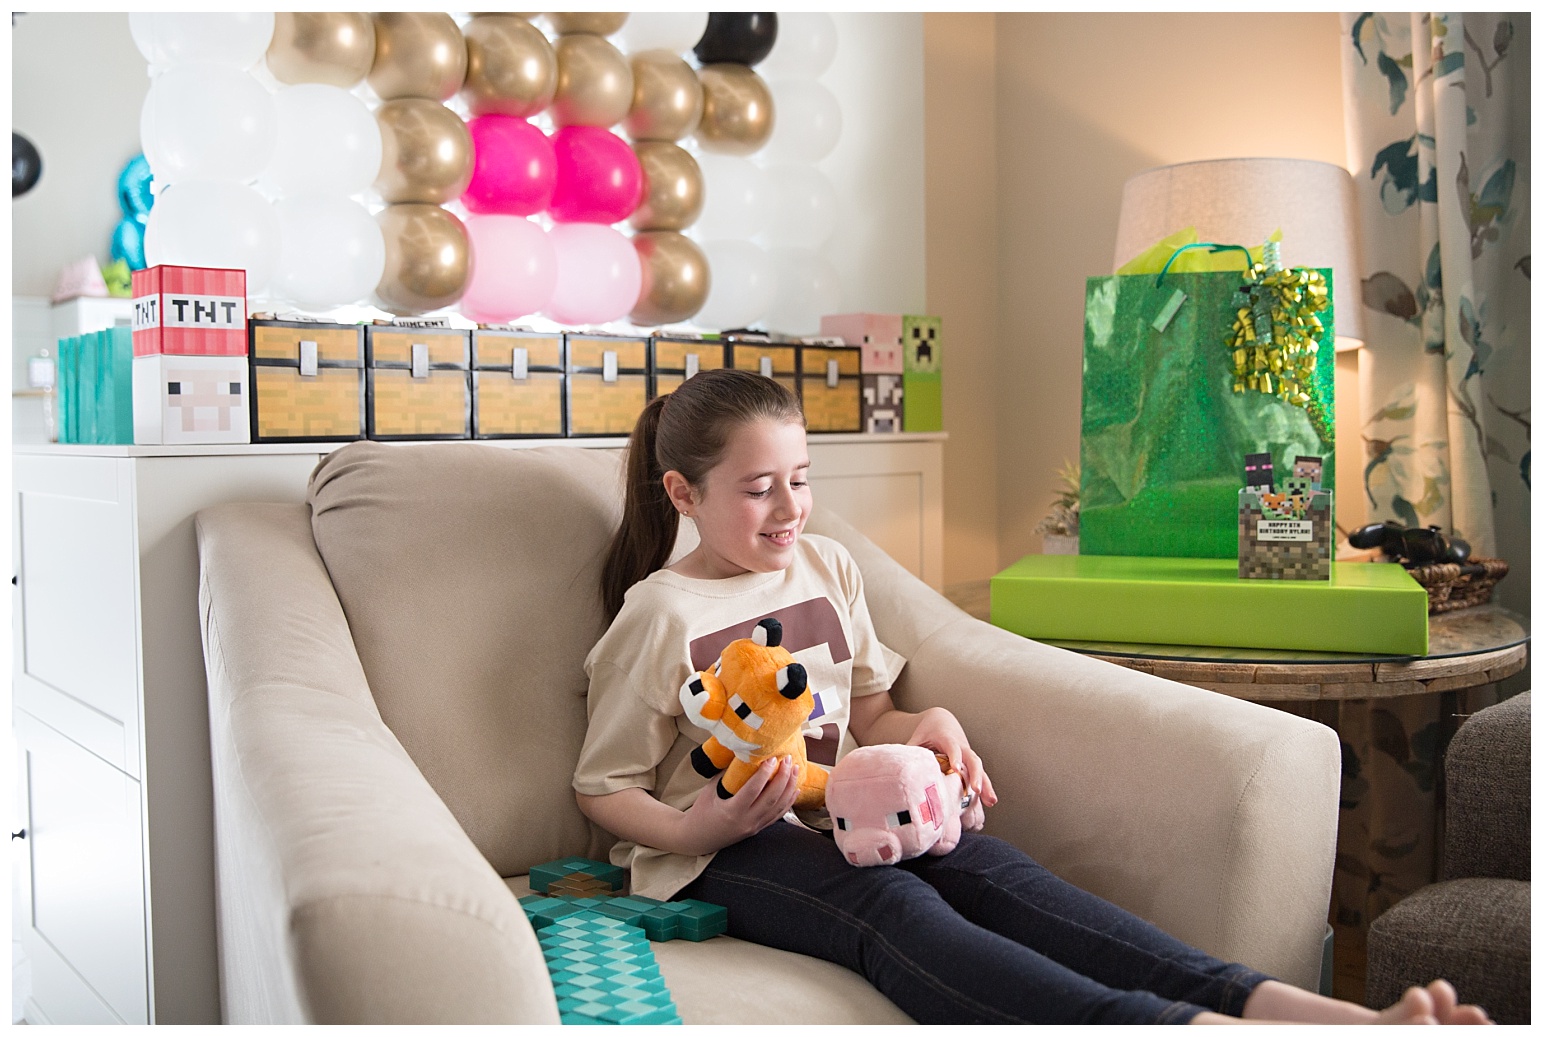
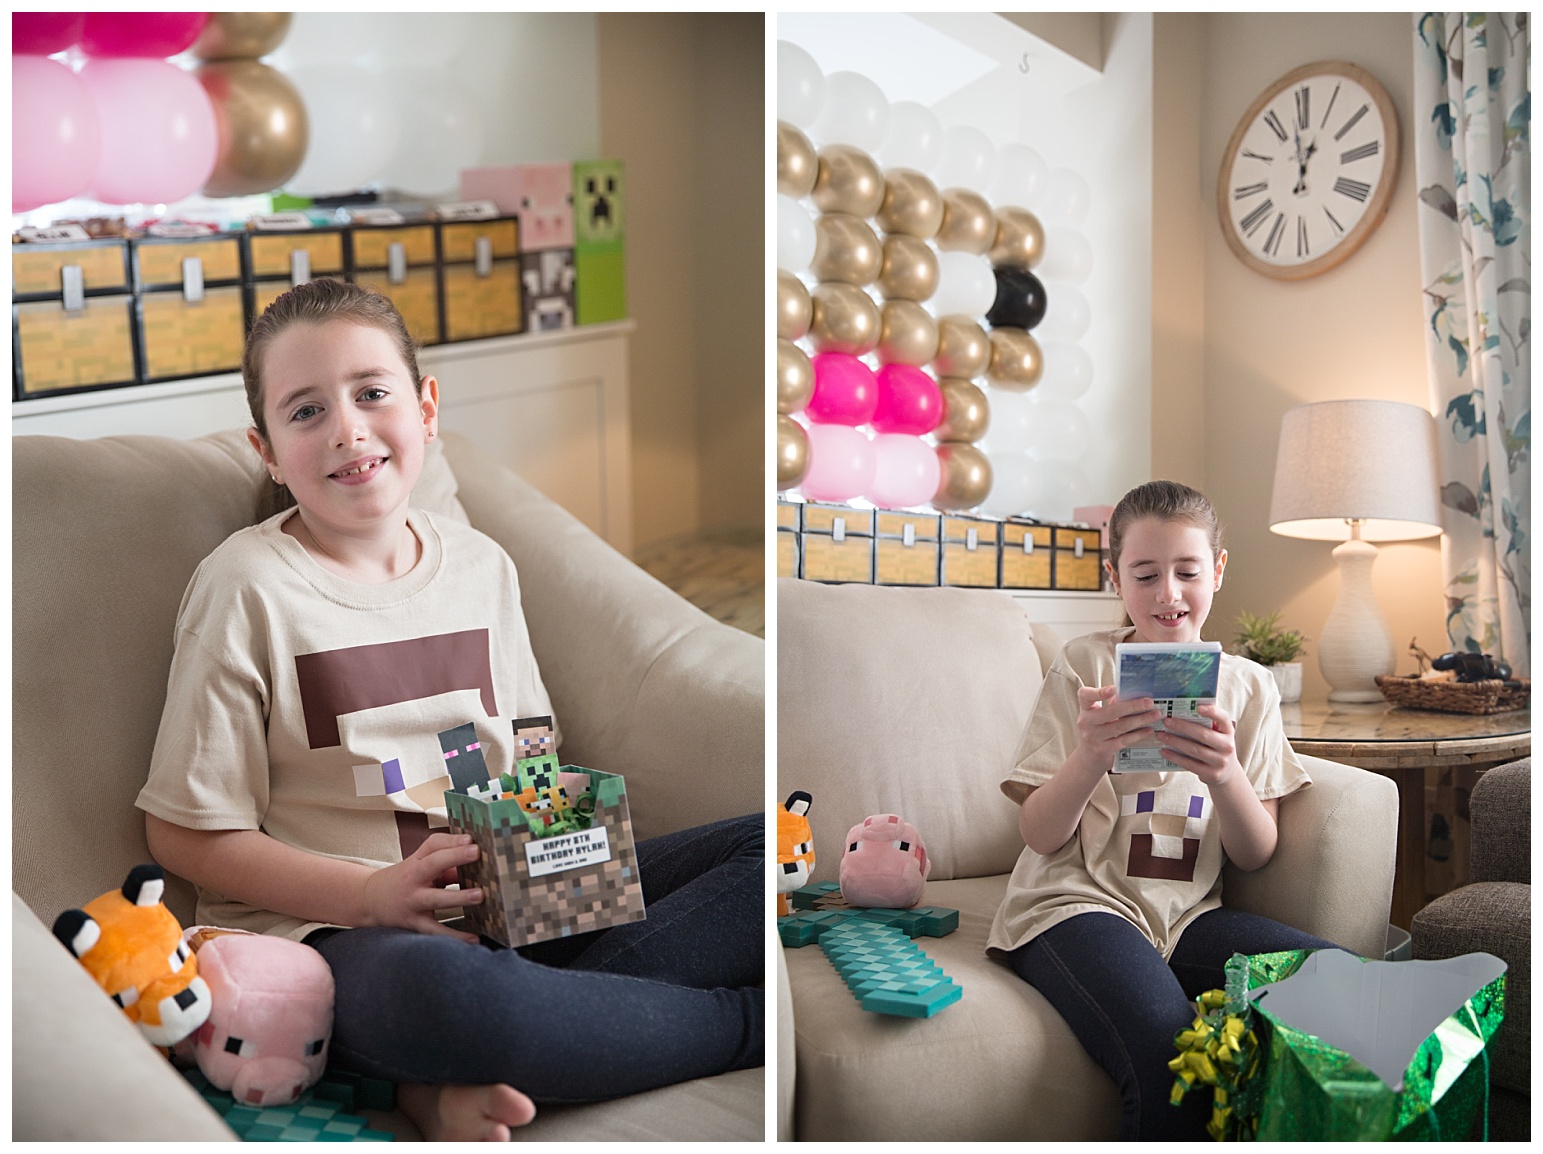
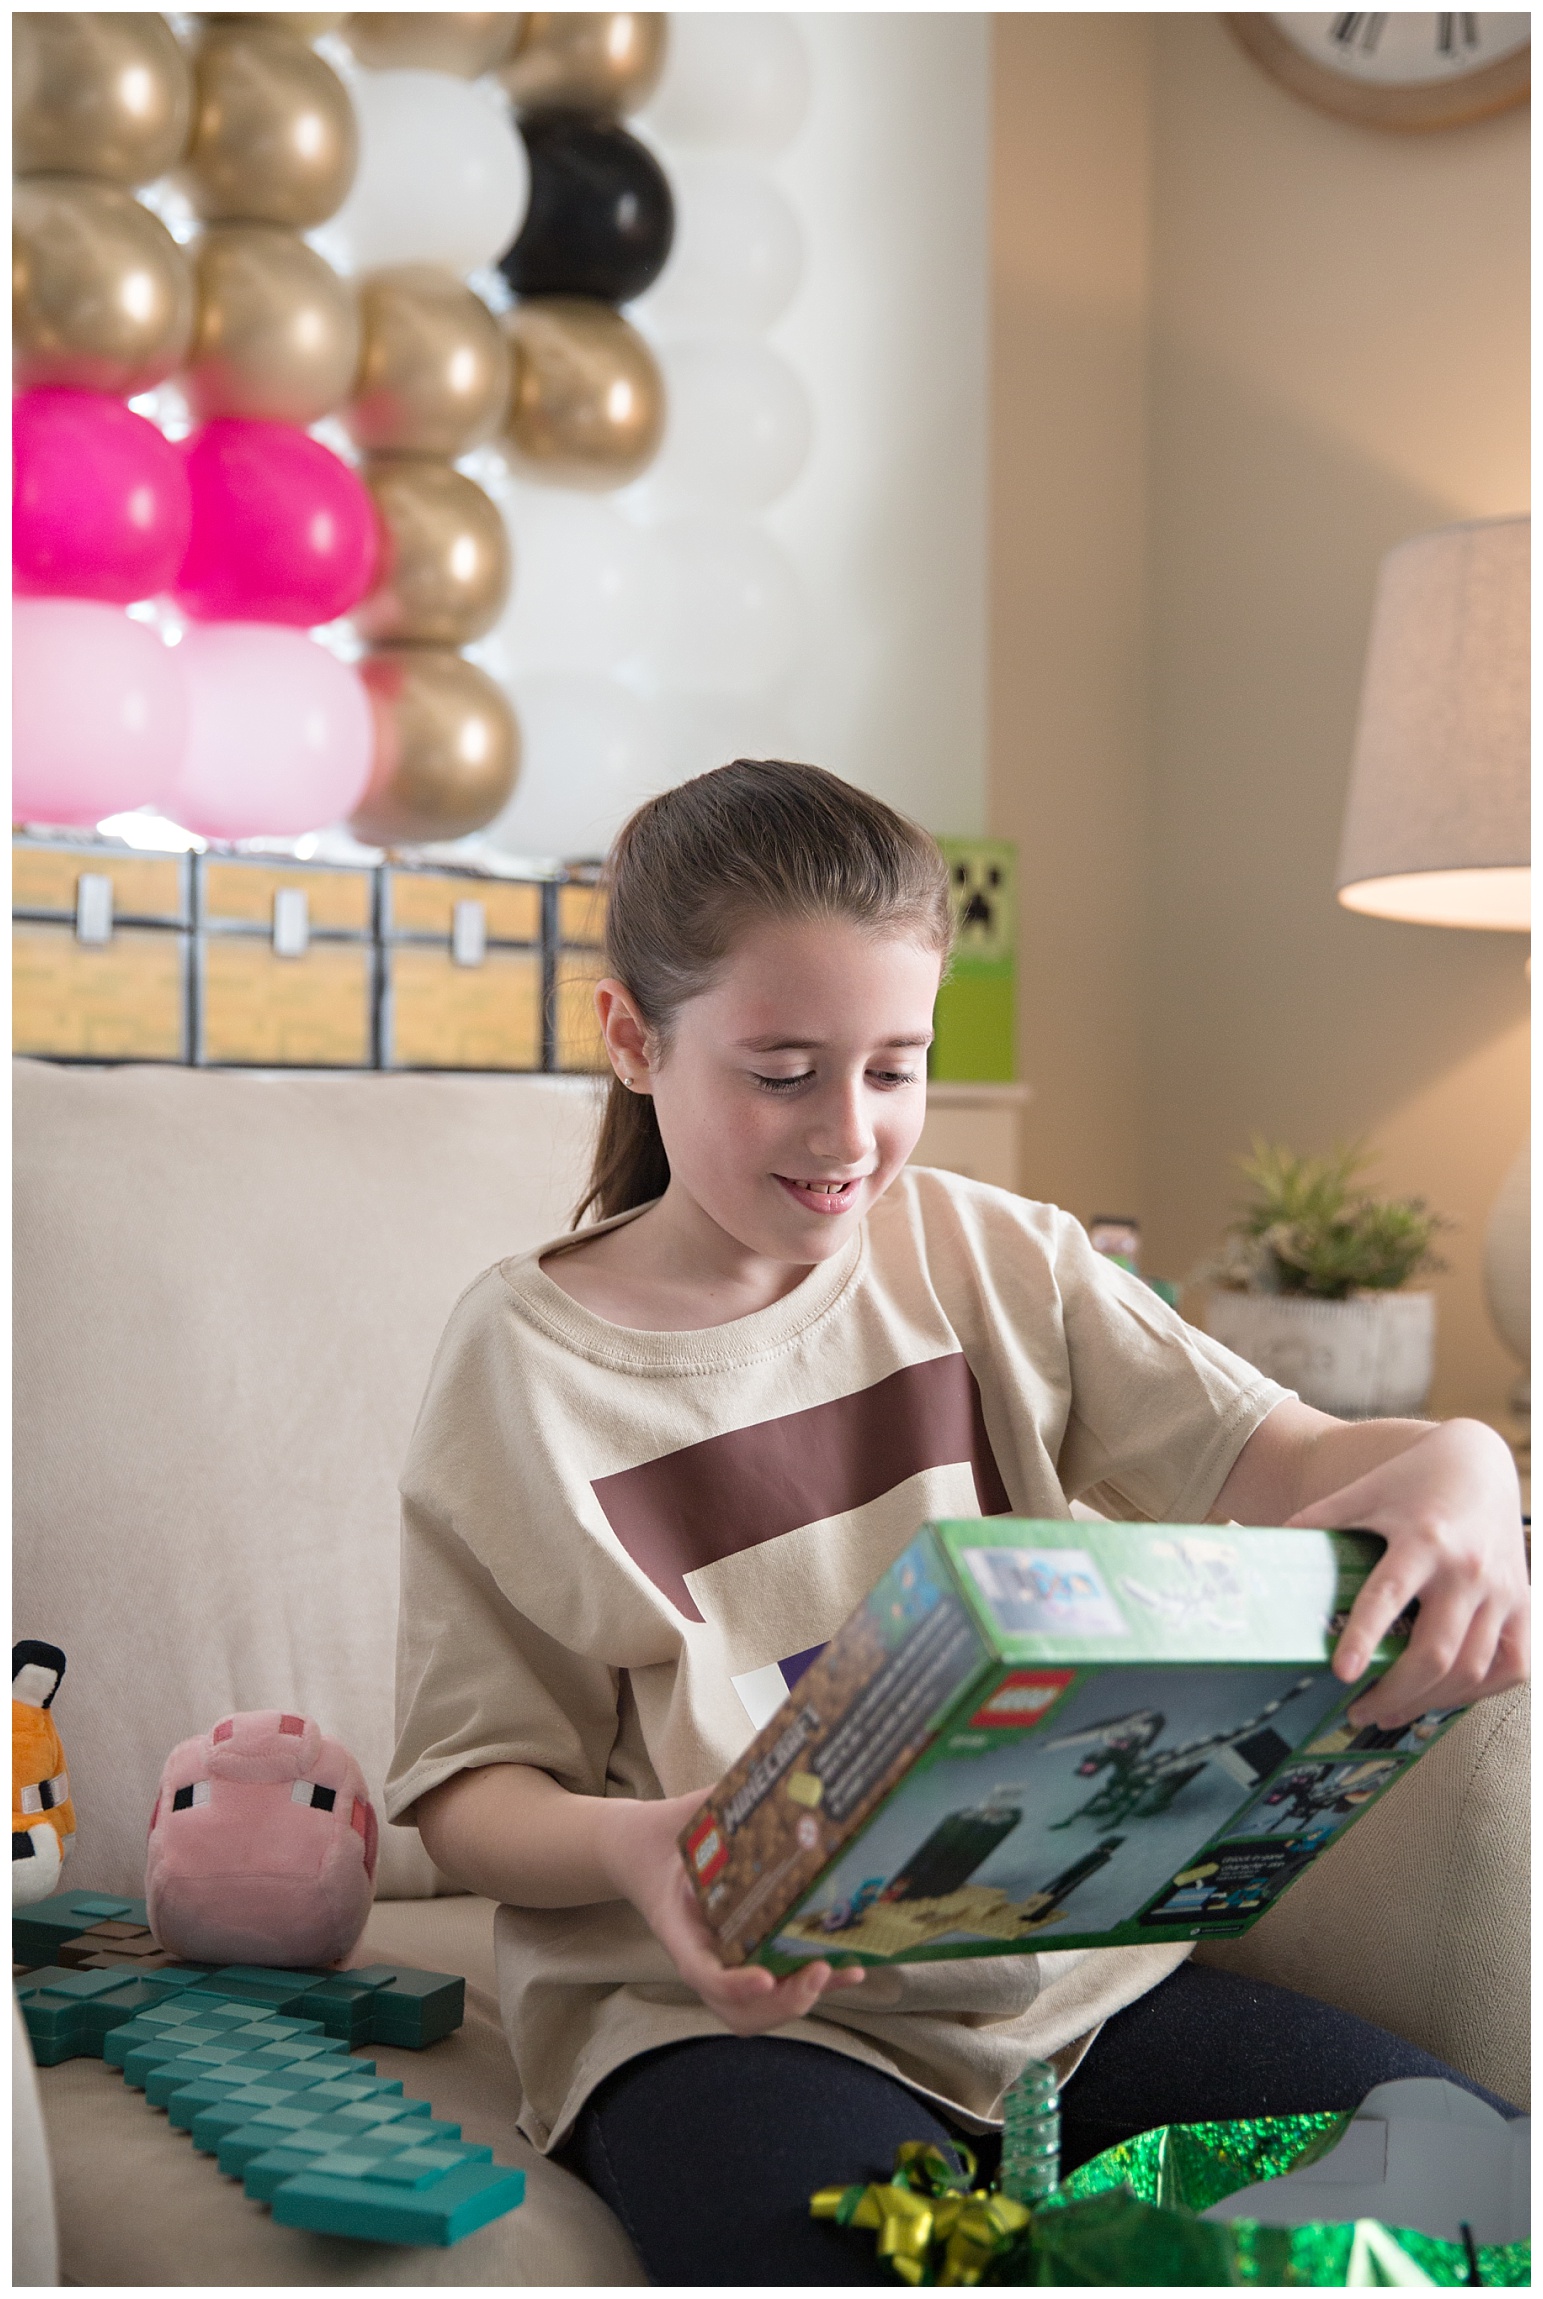
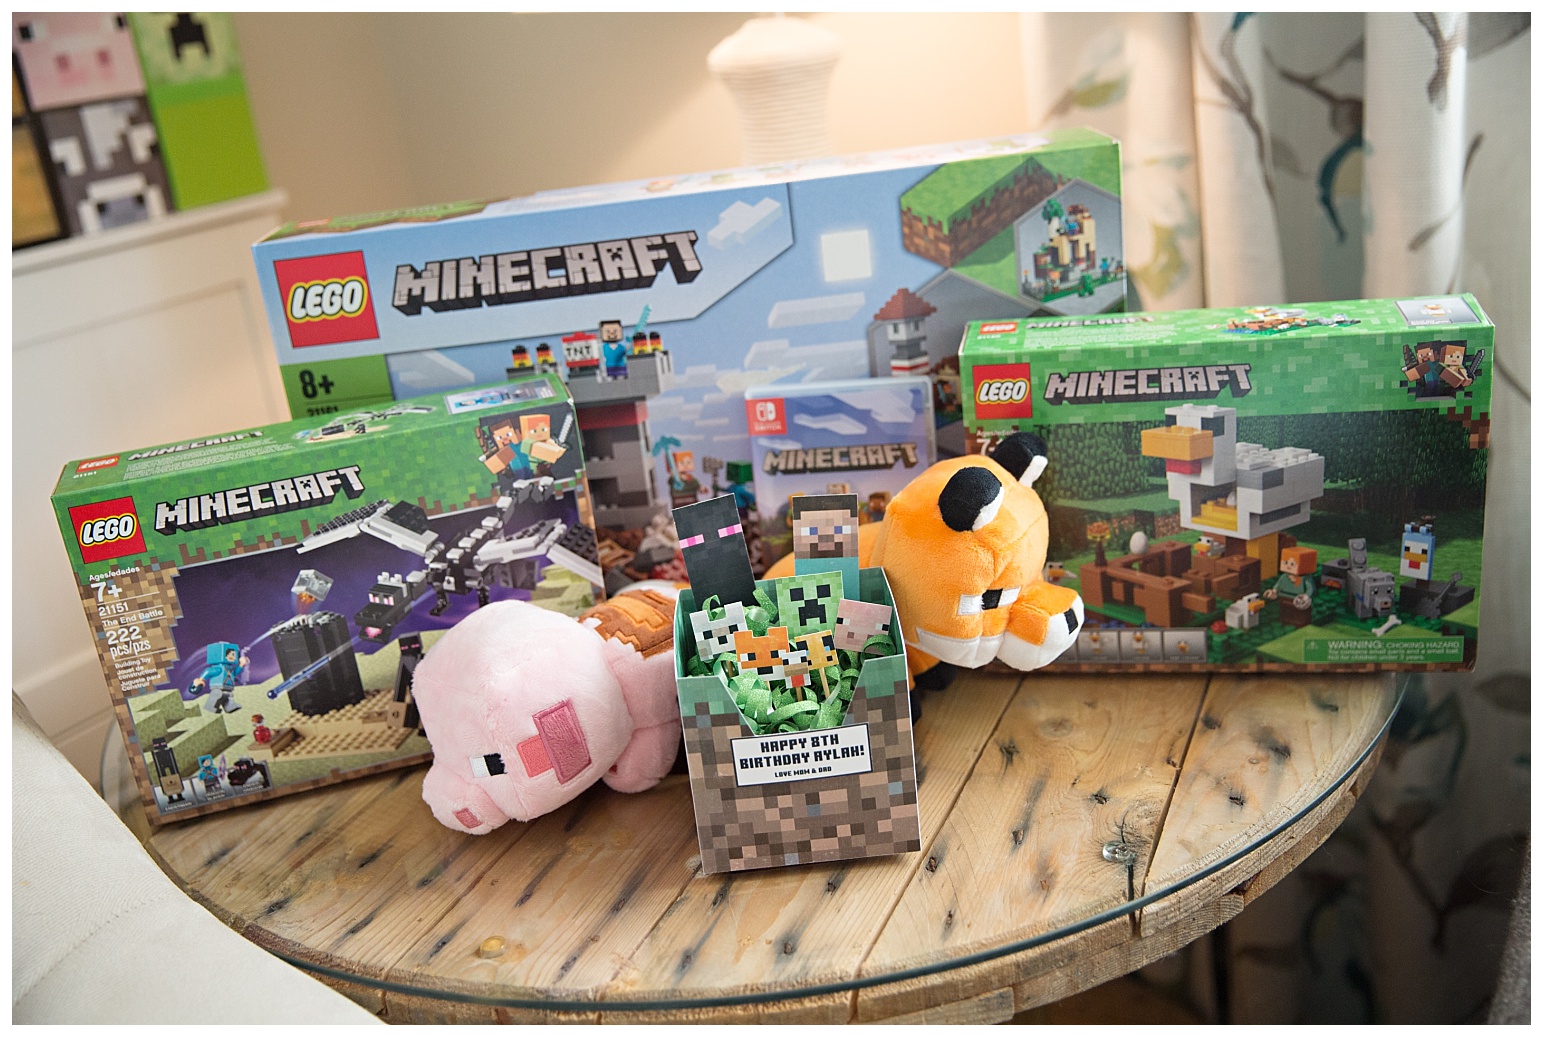
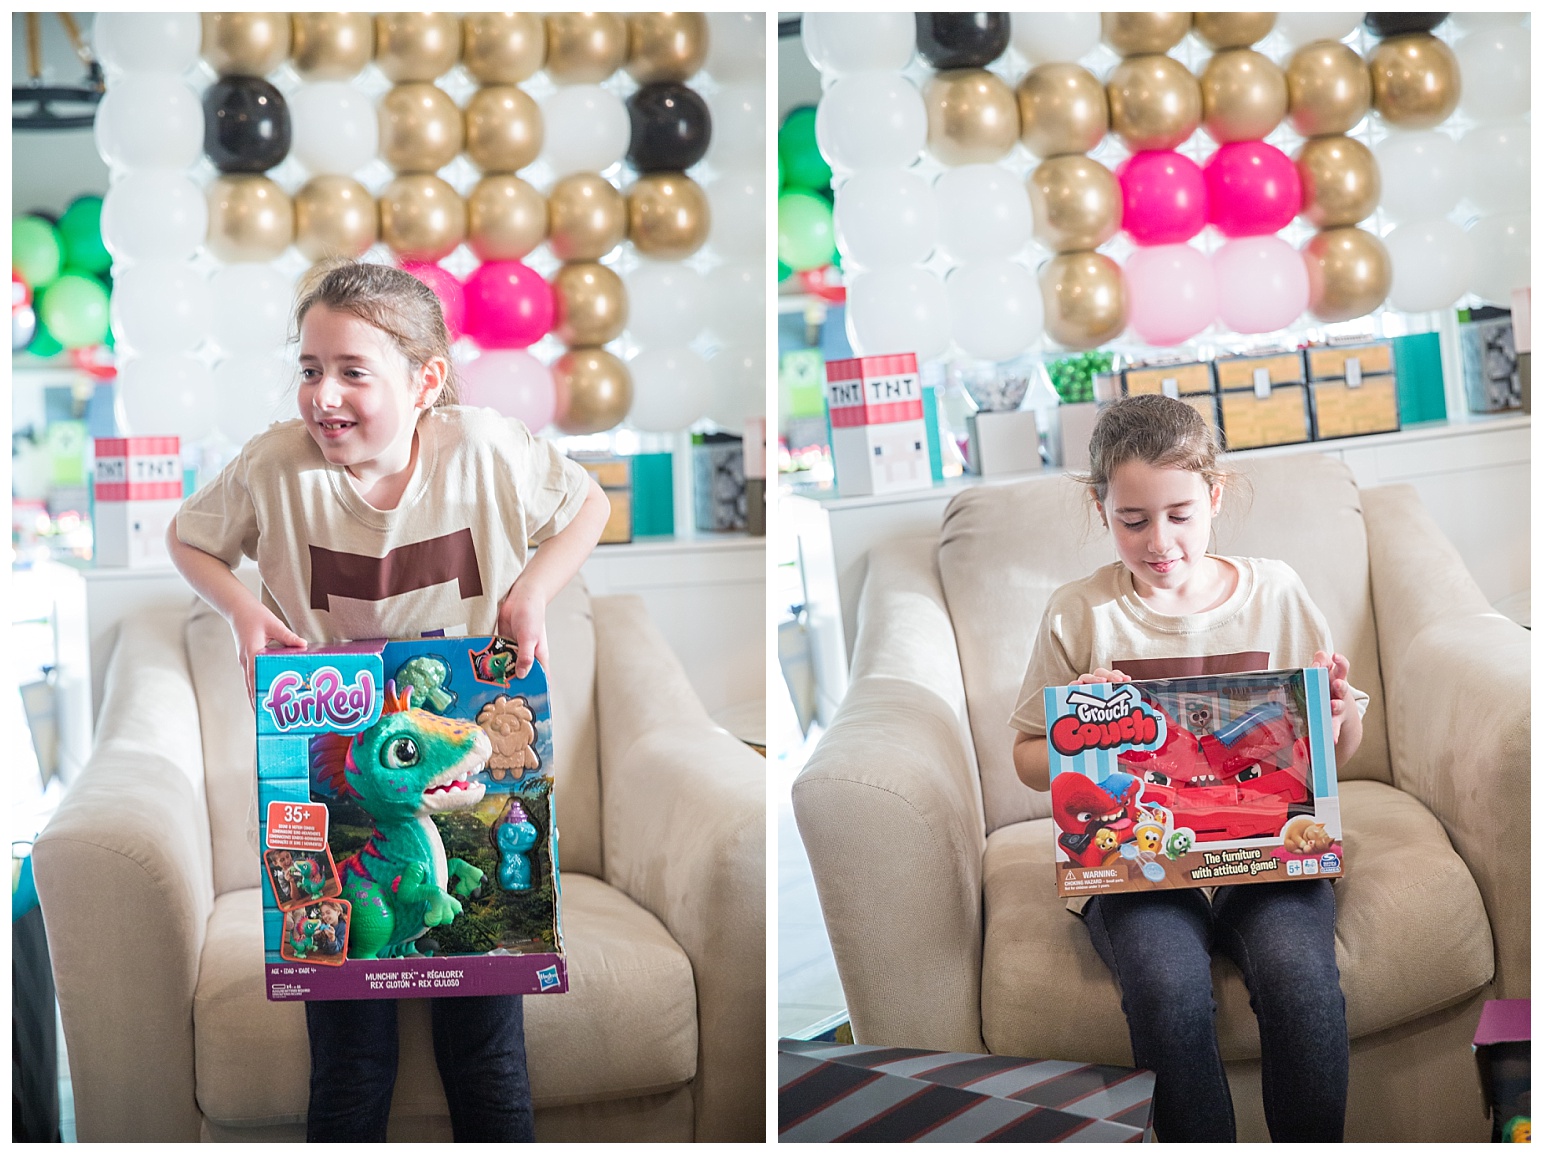
This is my Aylah! How is she EIGHT already????
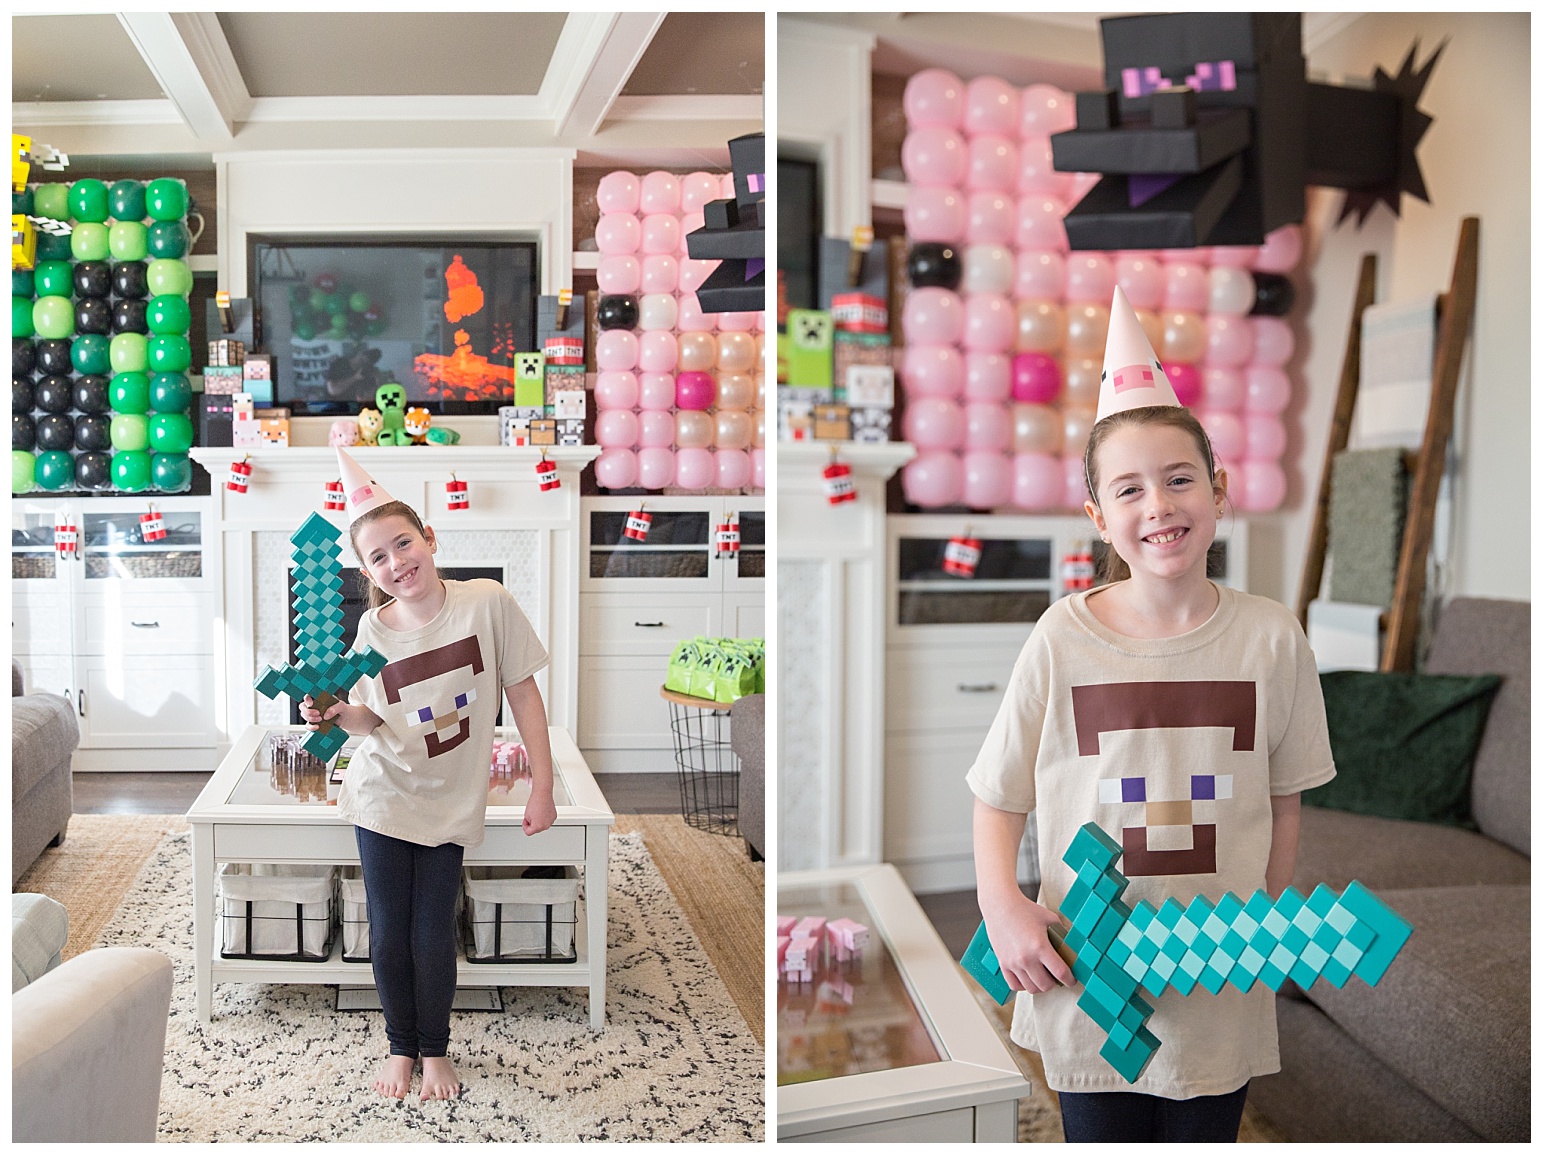
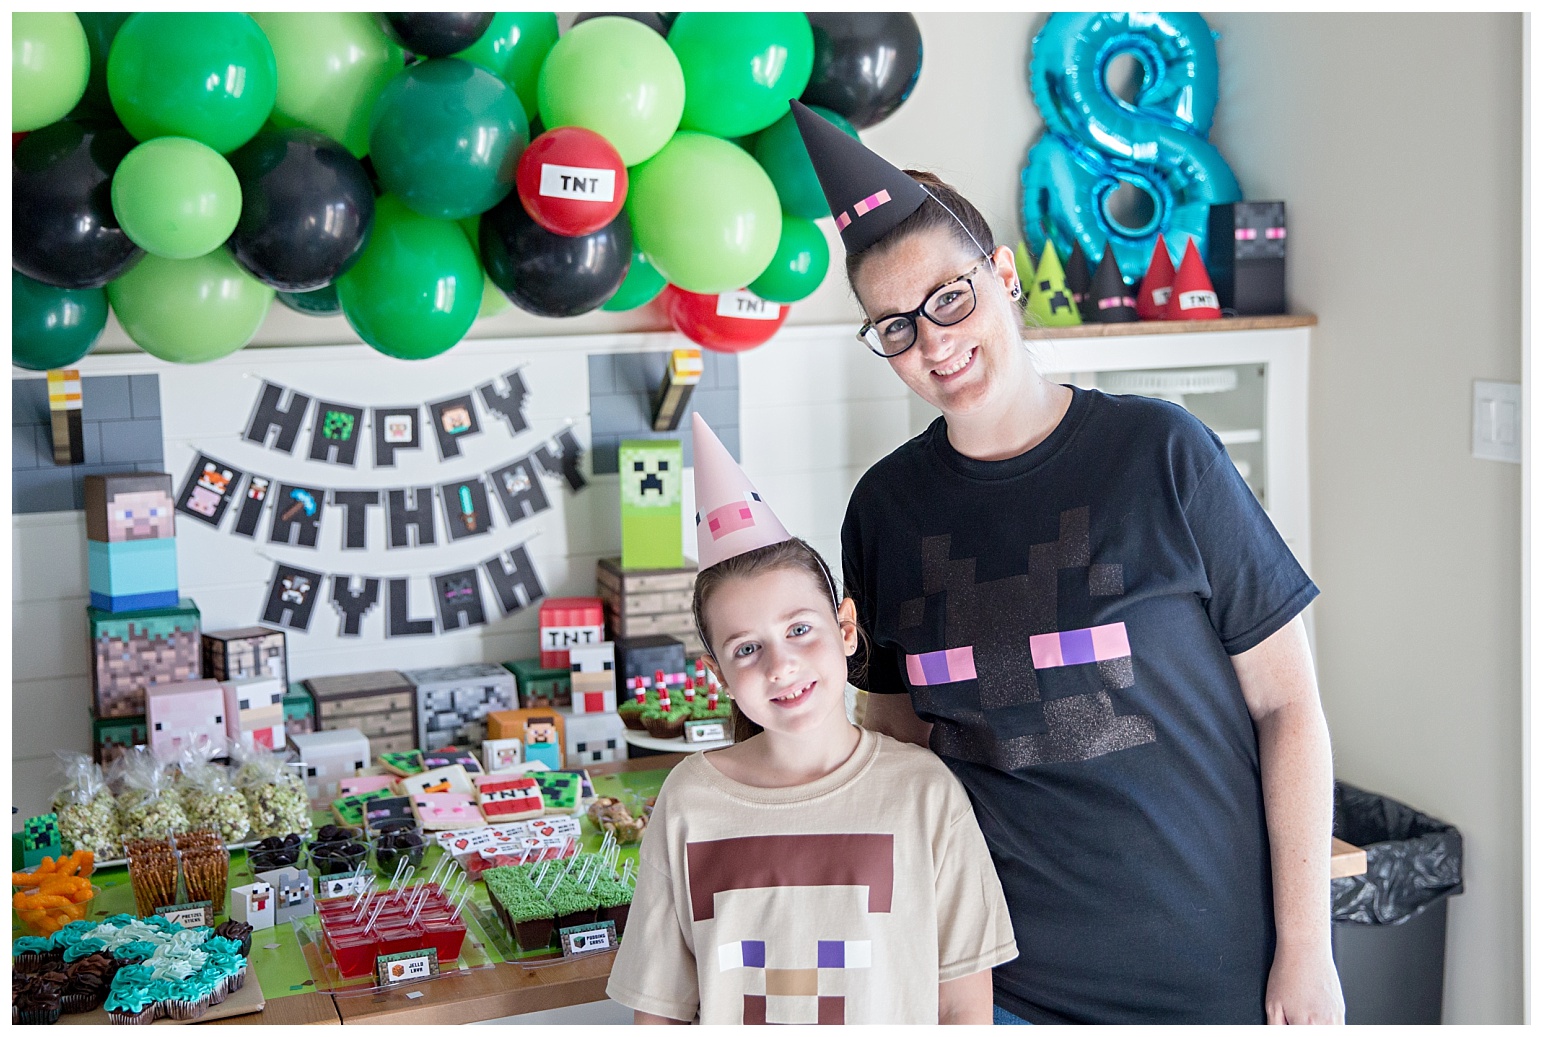
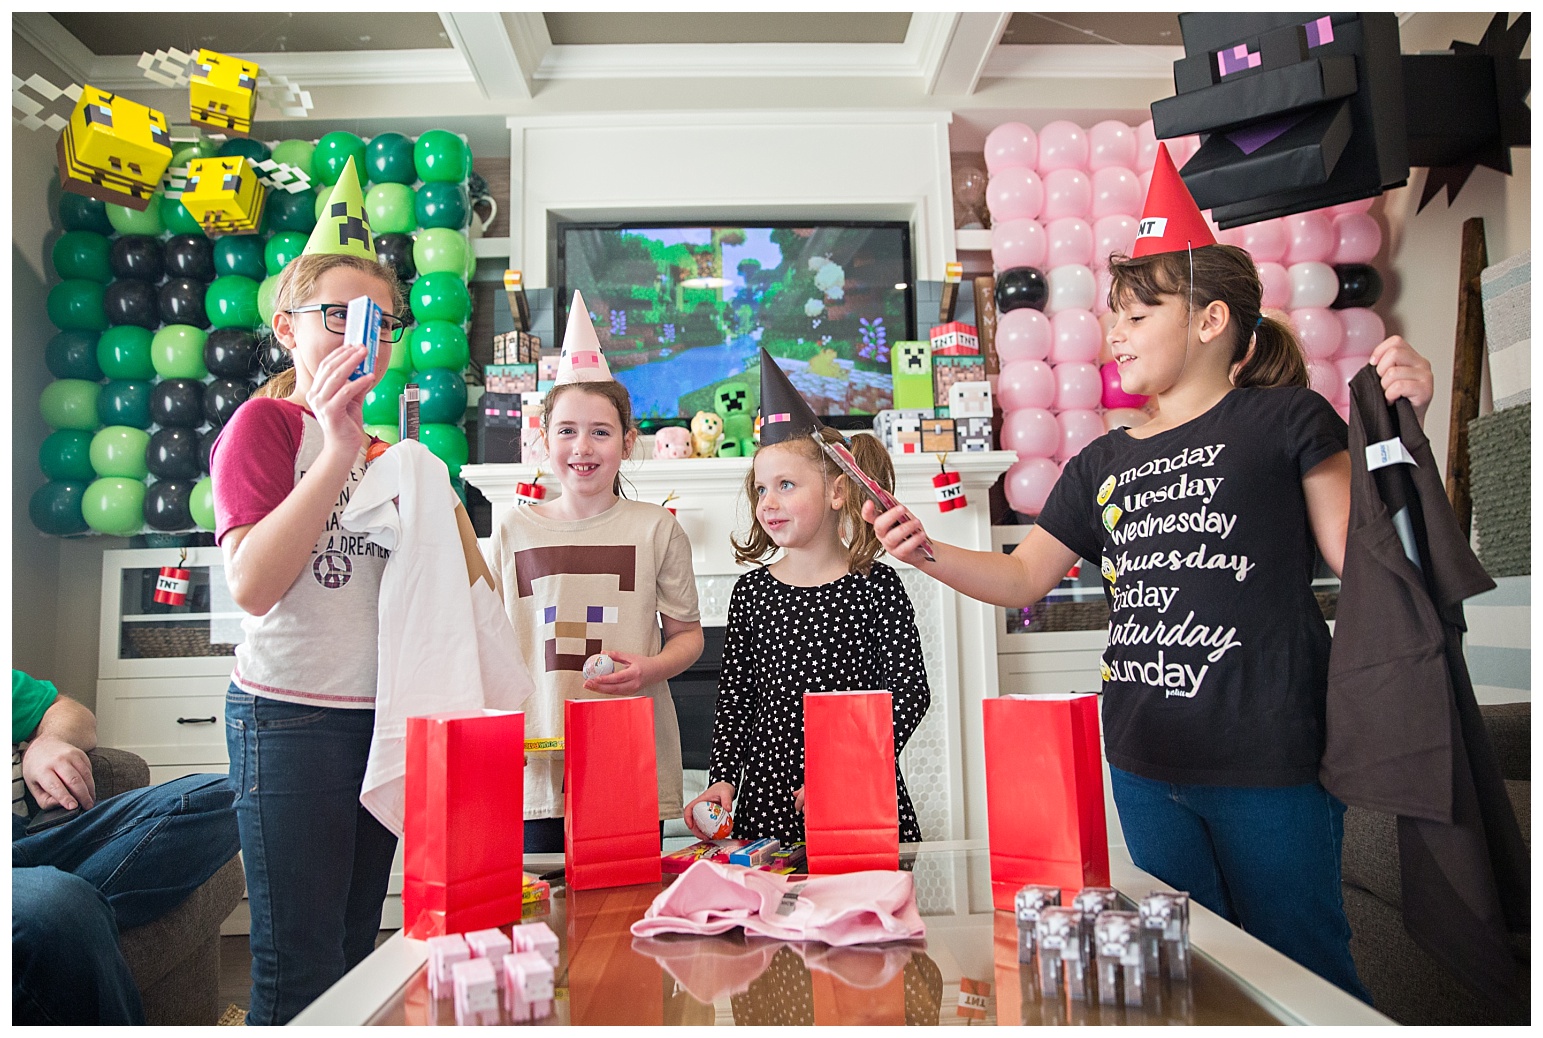
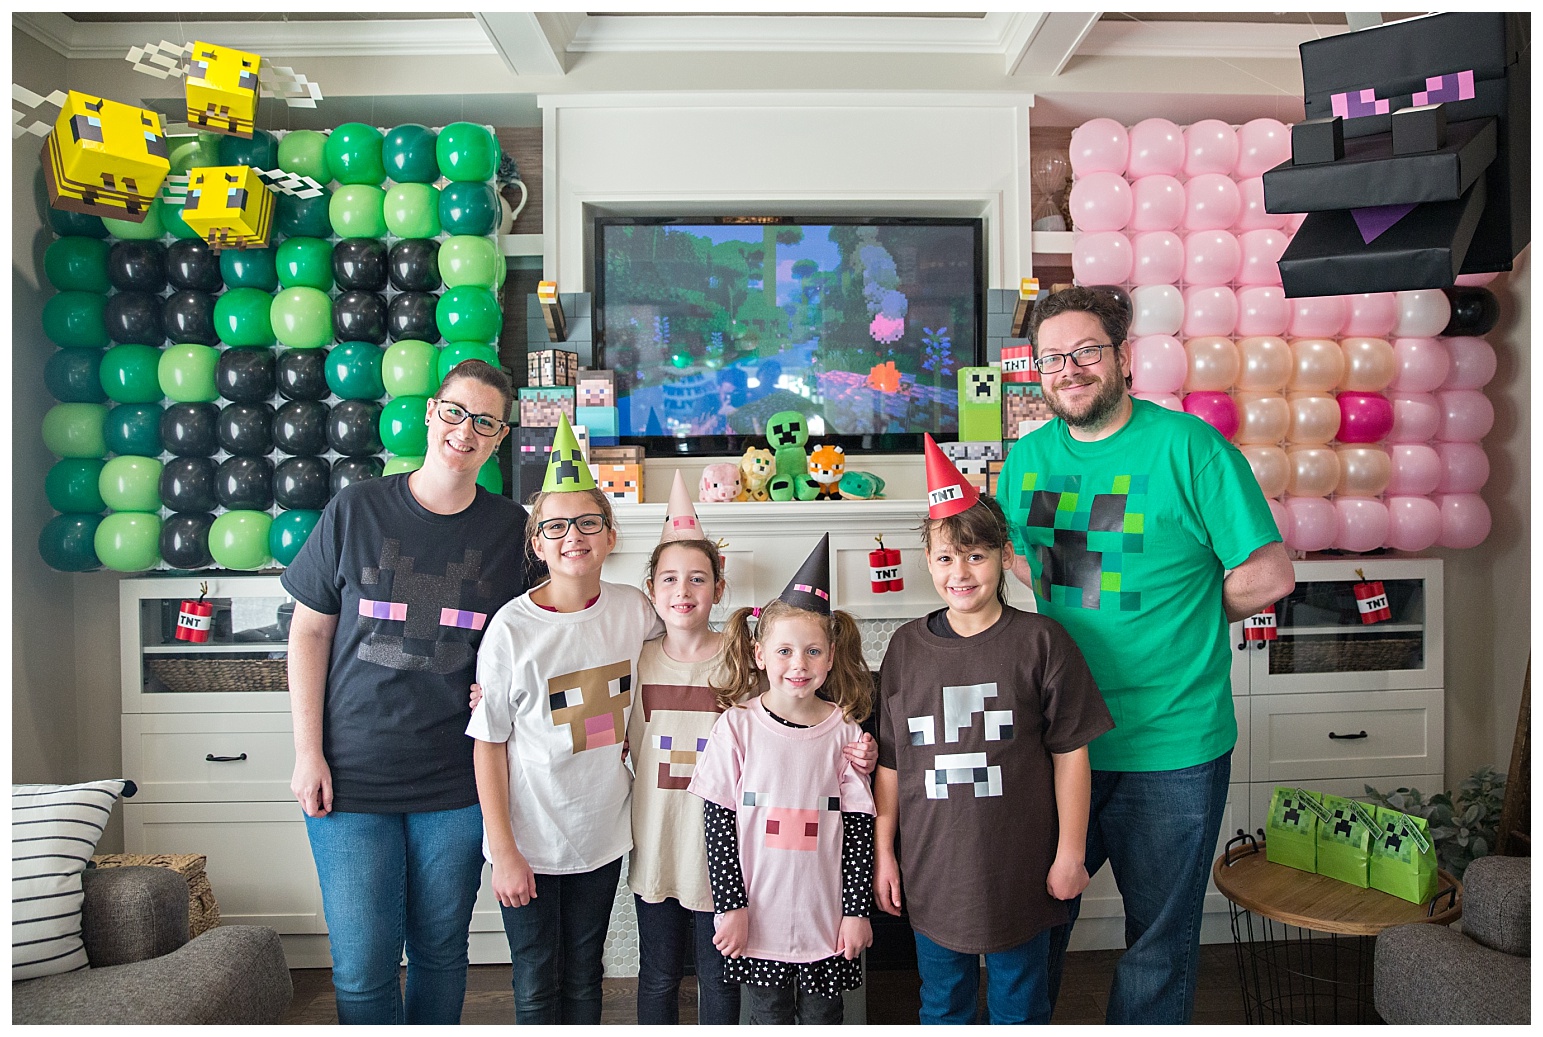
So here’s a sneak peek at the custom shirts that I made using heat transfer vinyl. I made 6 in total. Aylah wasnted to be Steve (so she could have the sword, lol), Mom and dad were the “bad guys”, and I made a cow, pig and sheep for Aylah’s cousins for the sleepover.
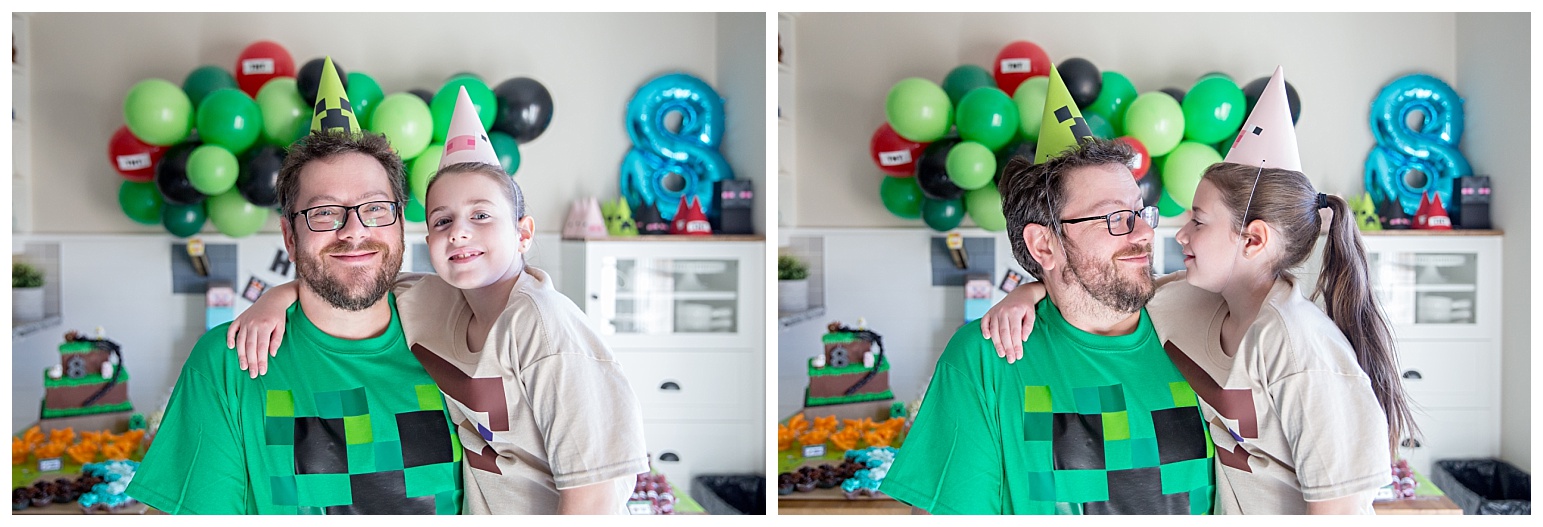
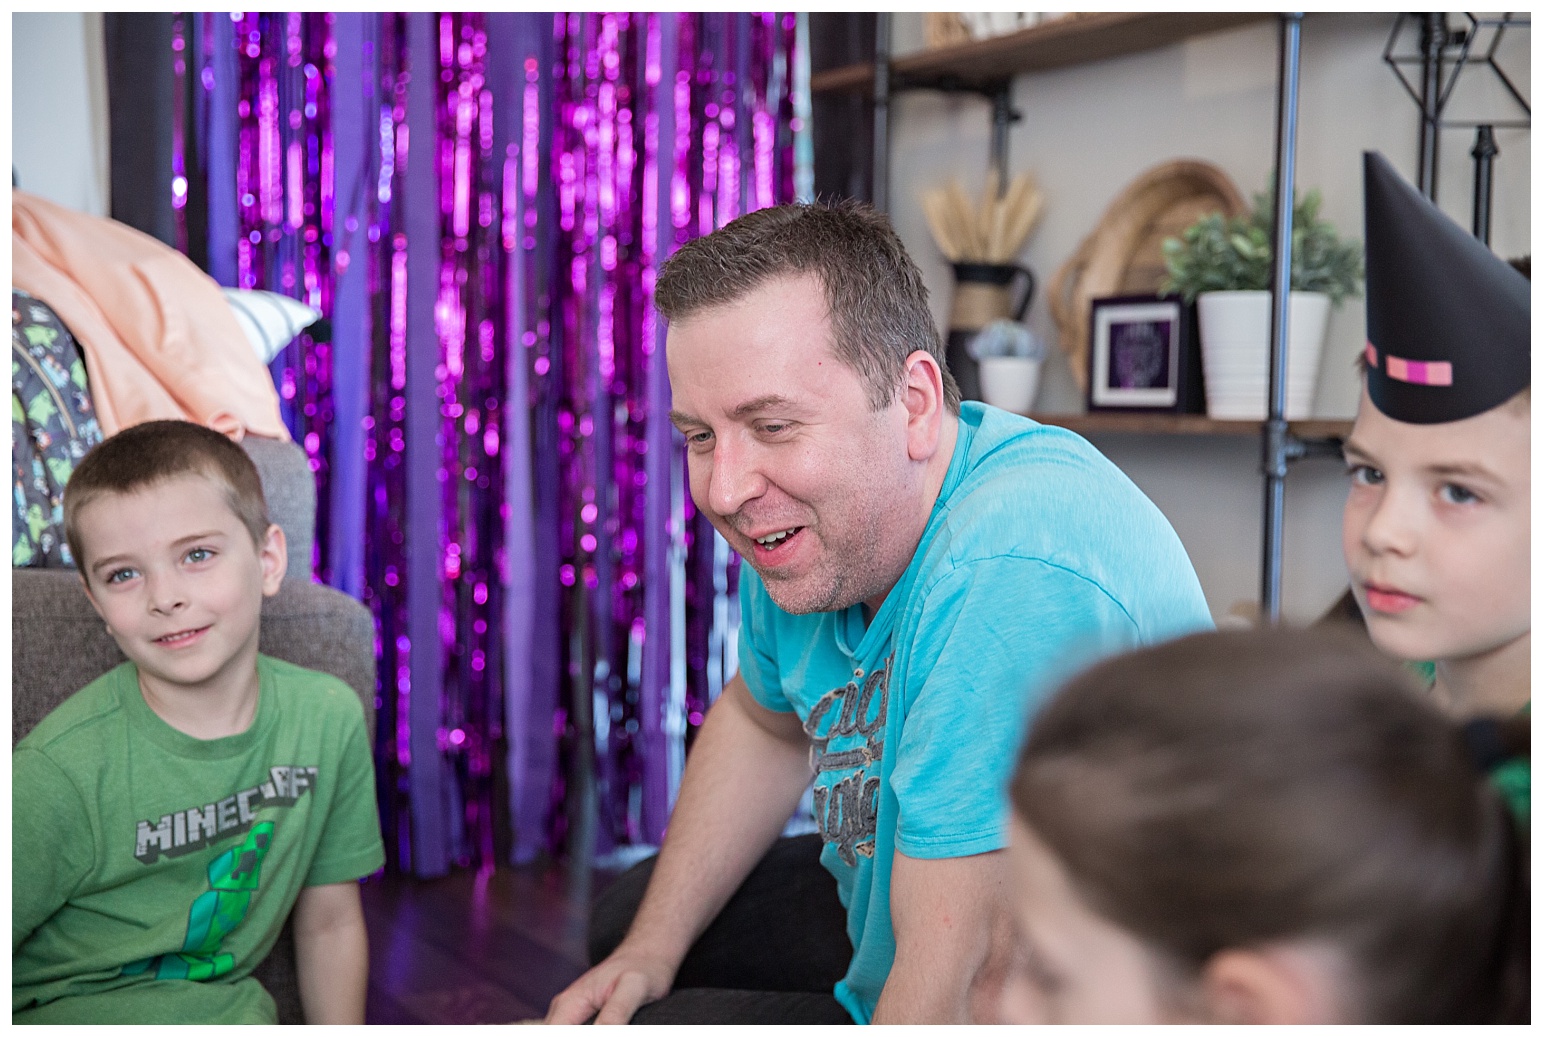
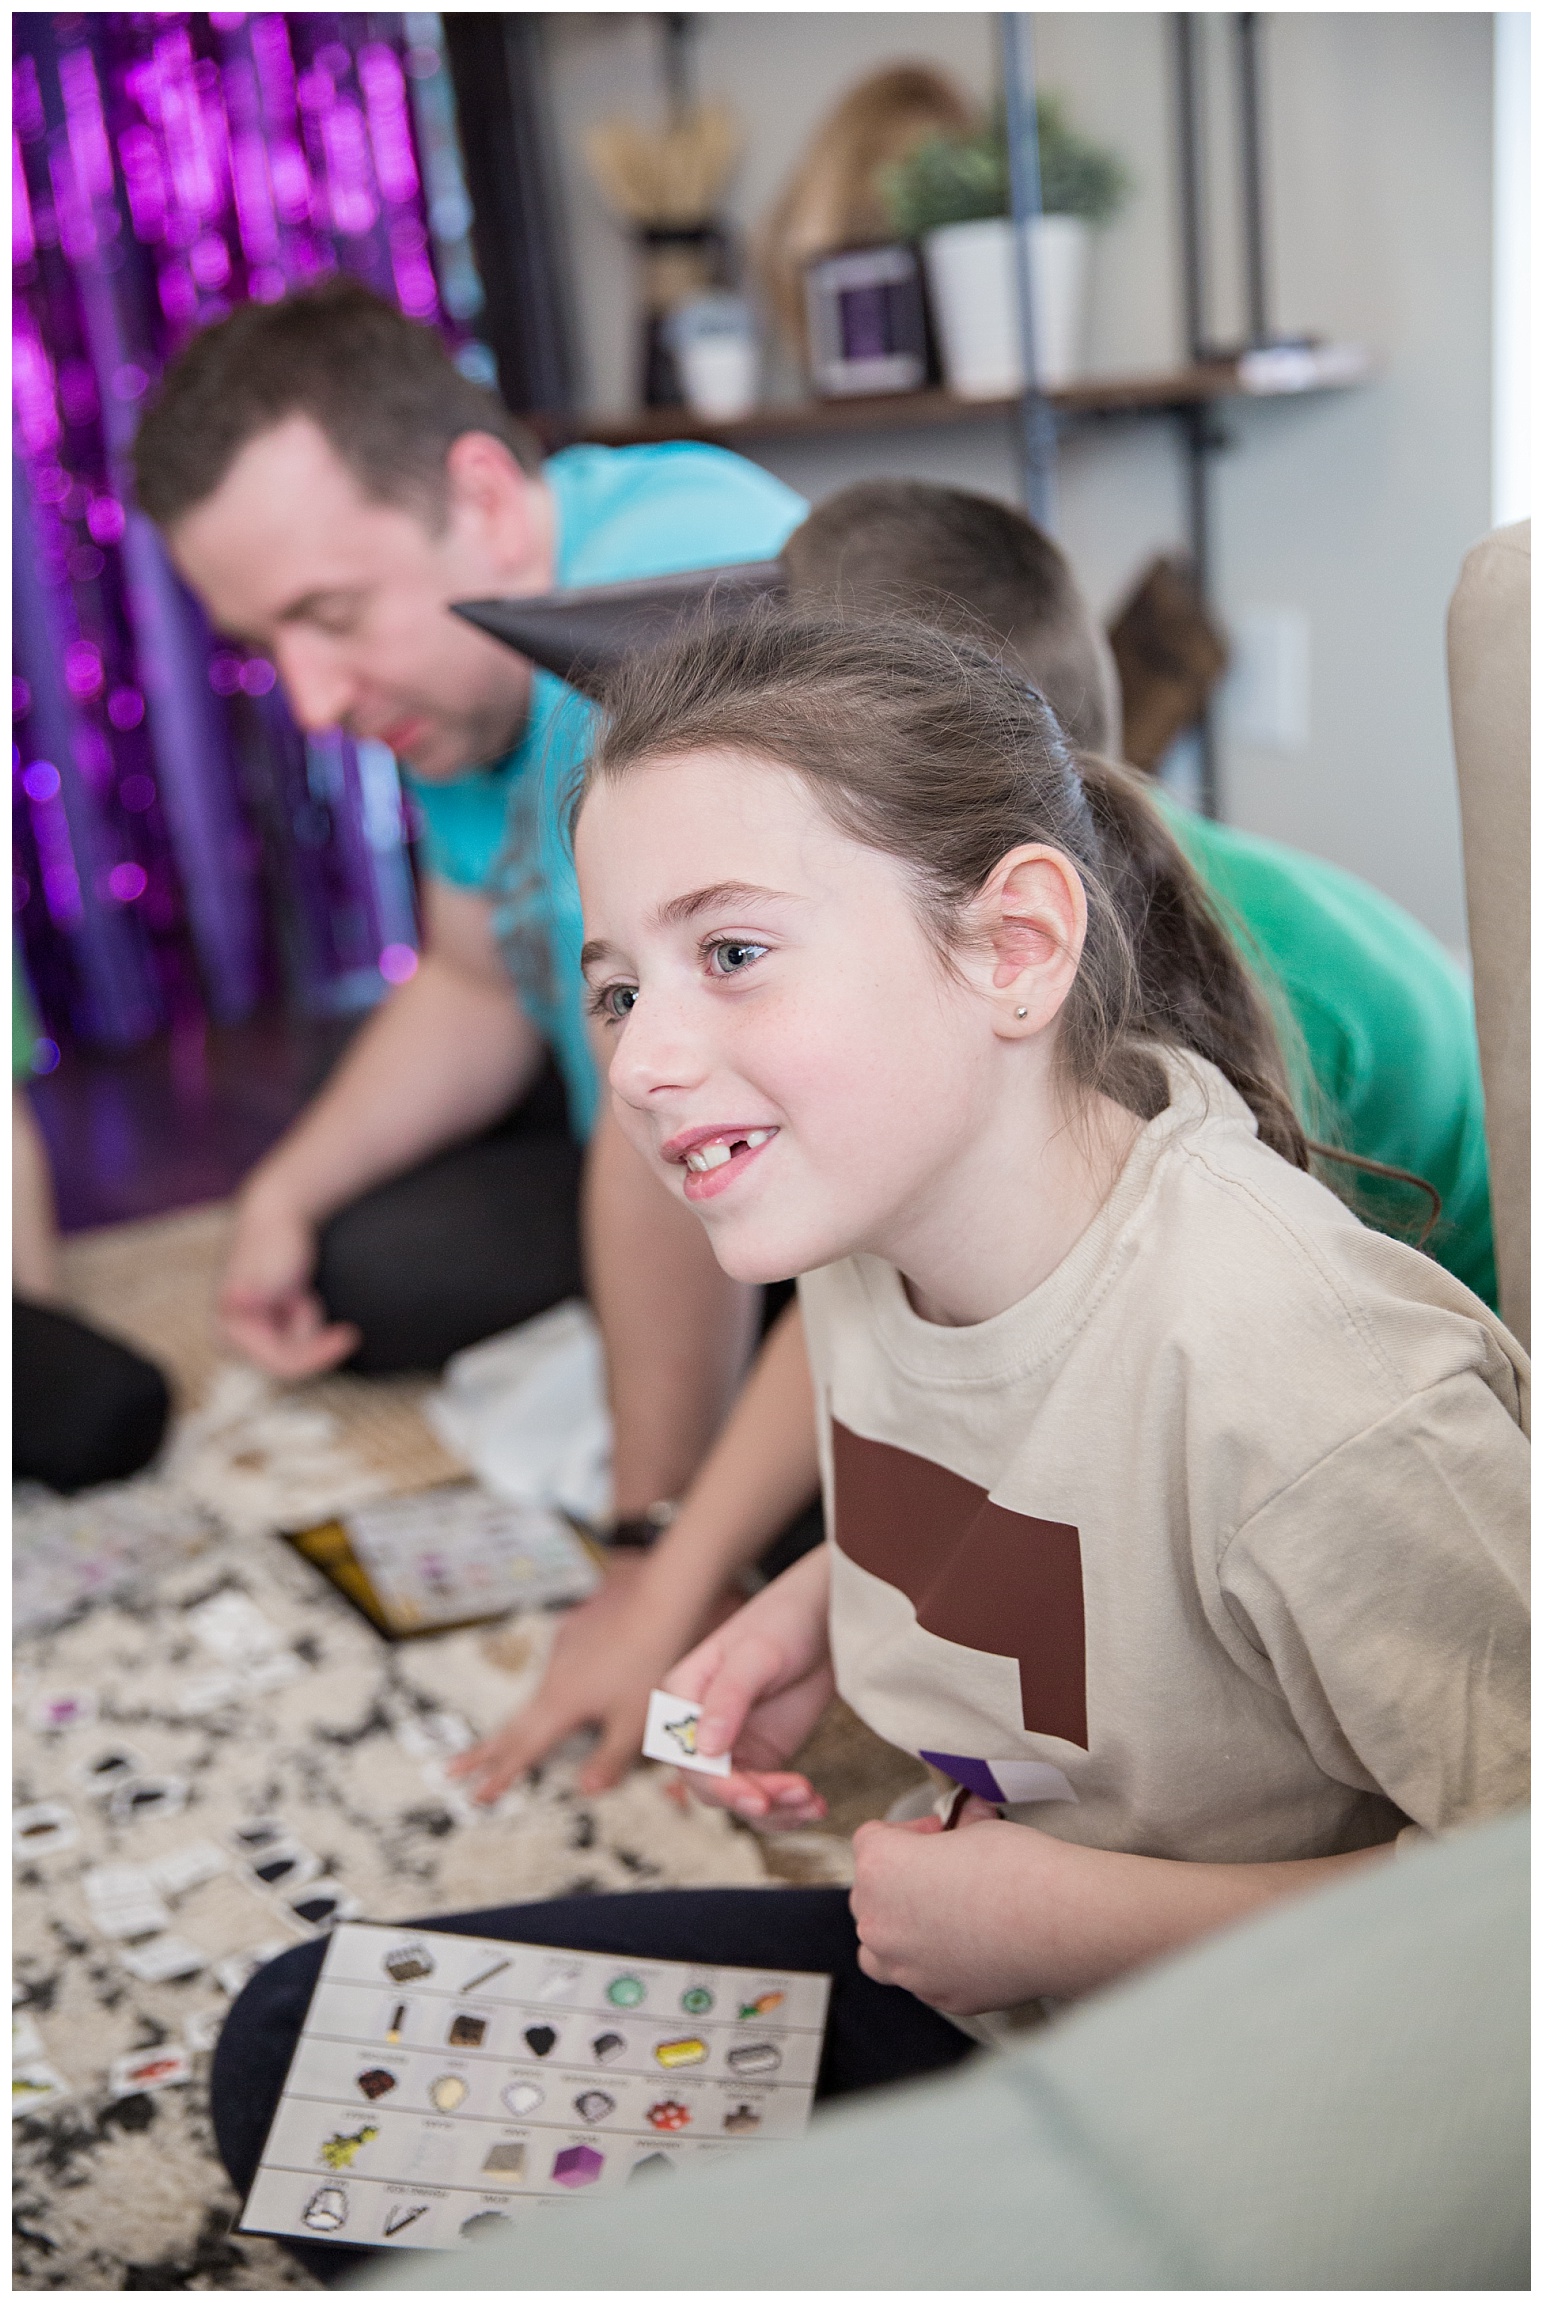
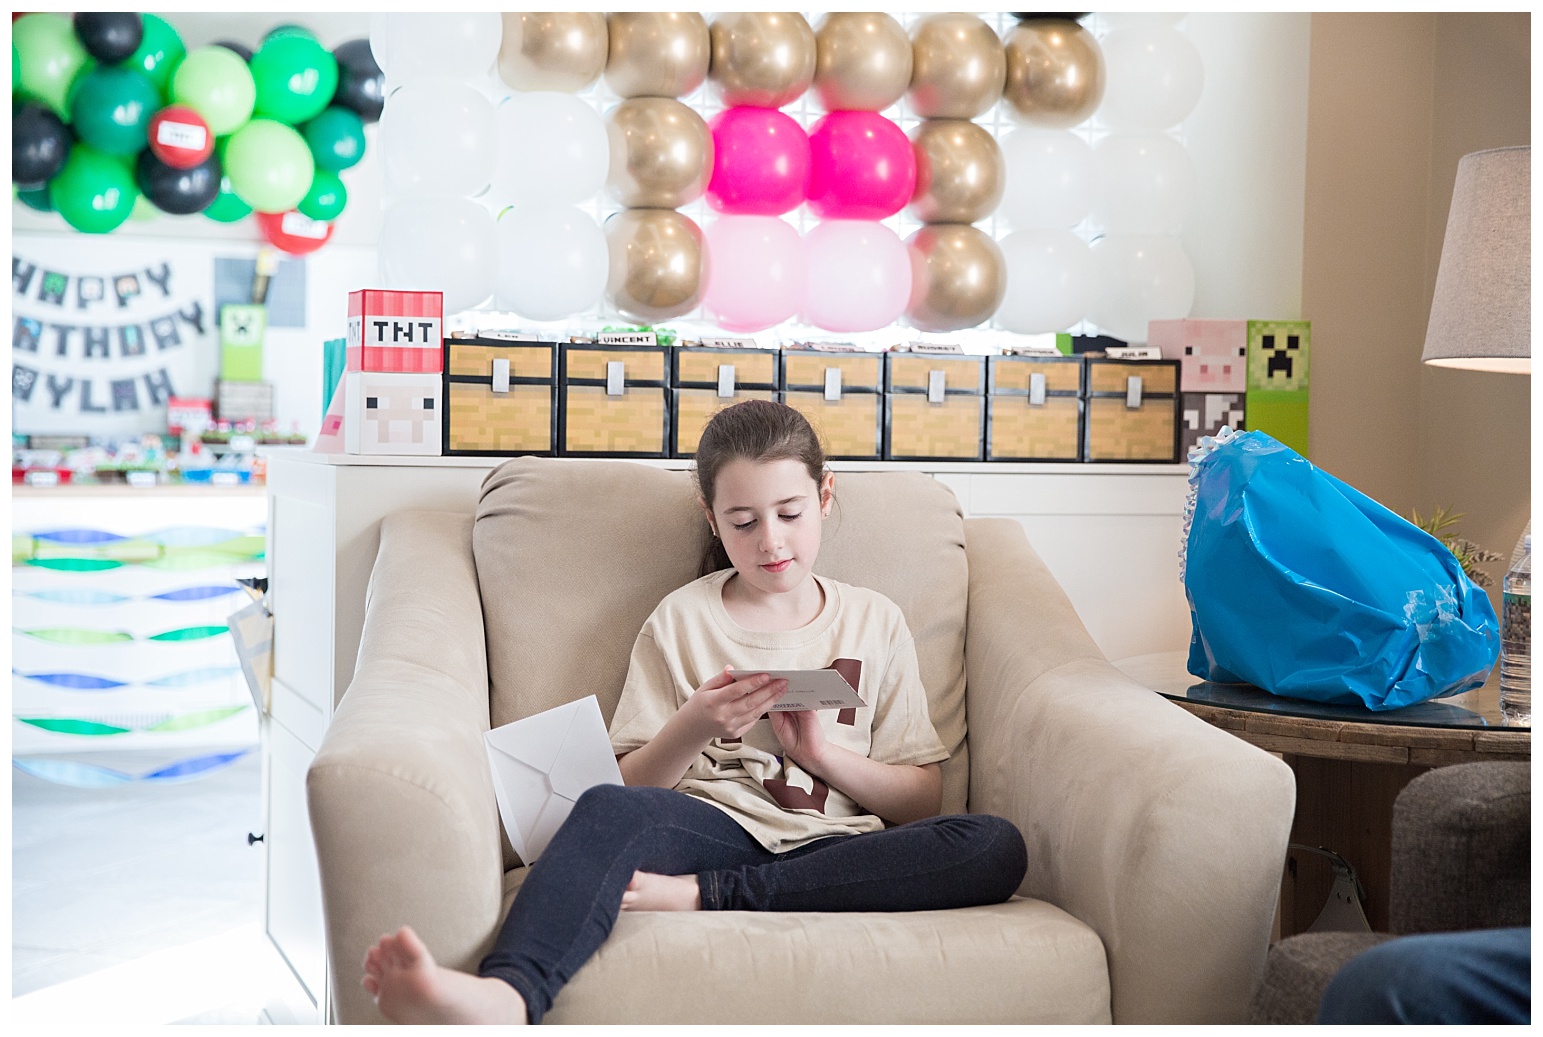
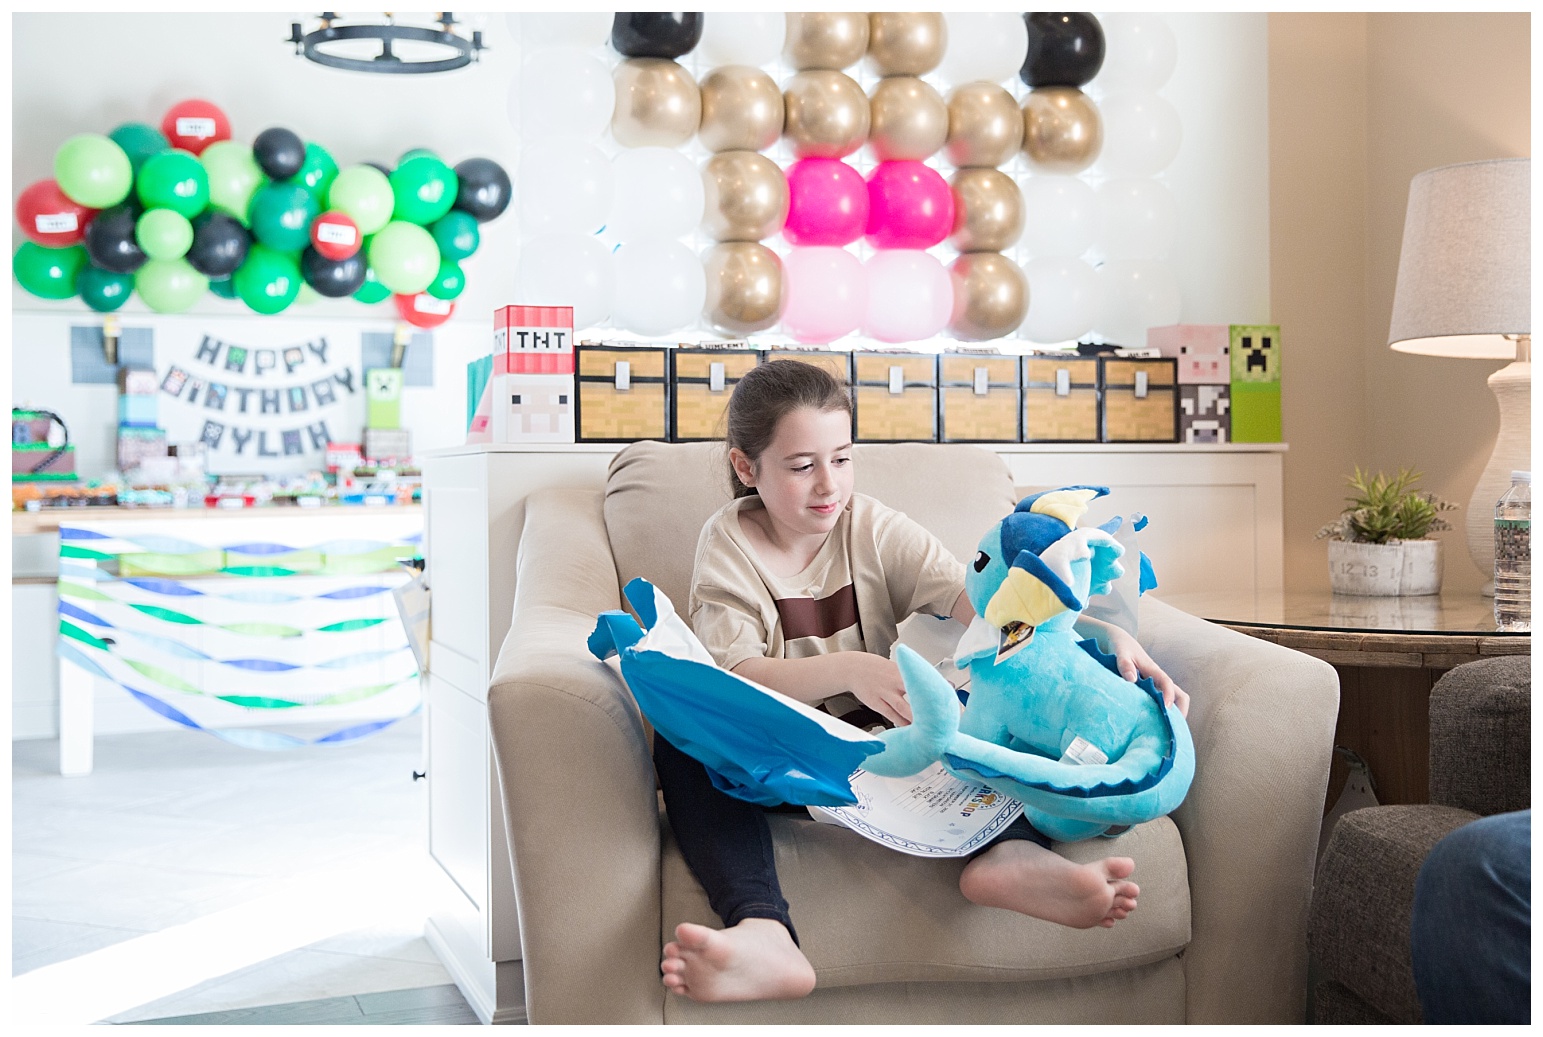
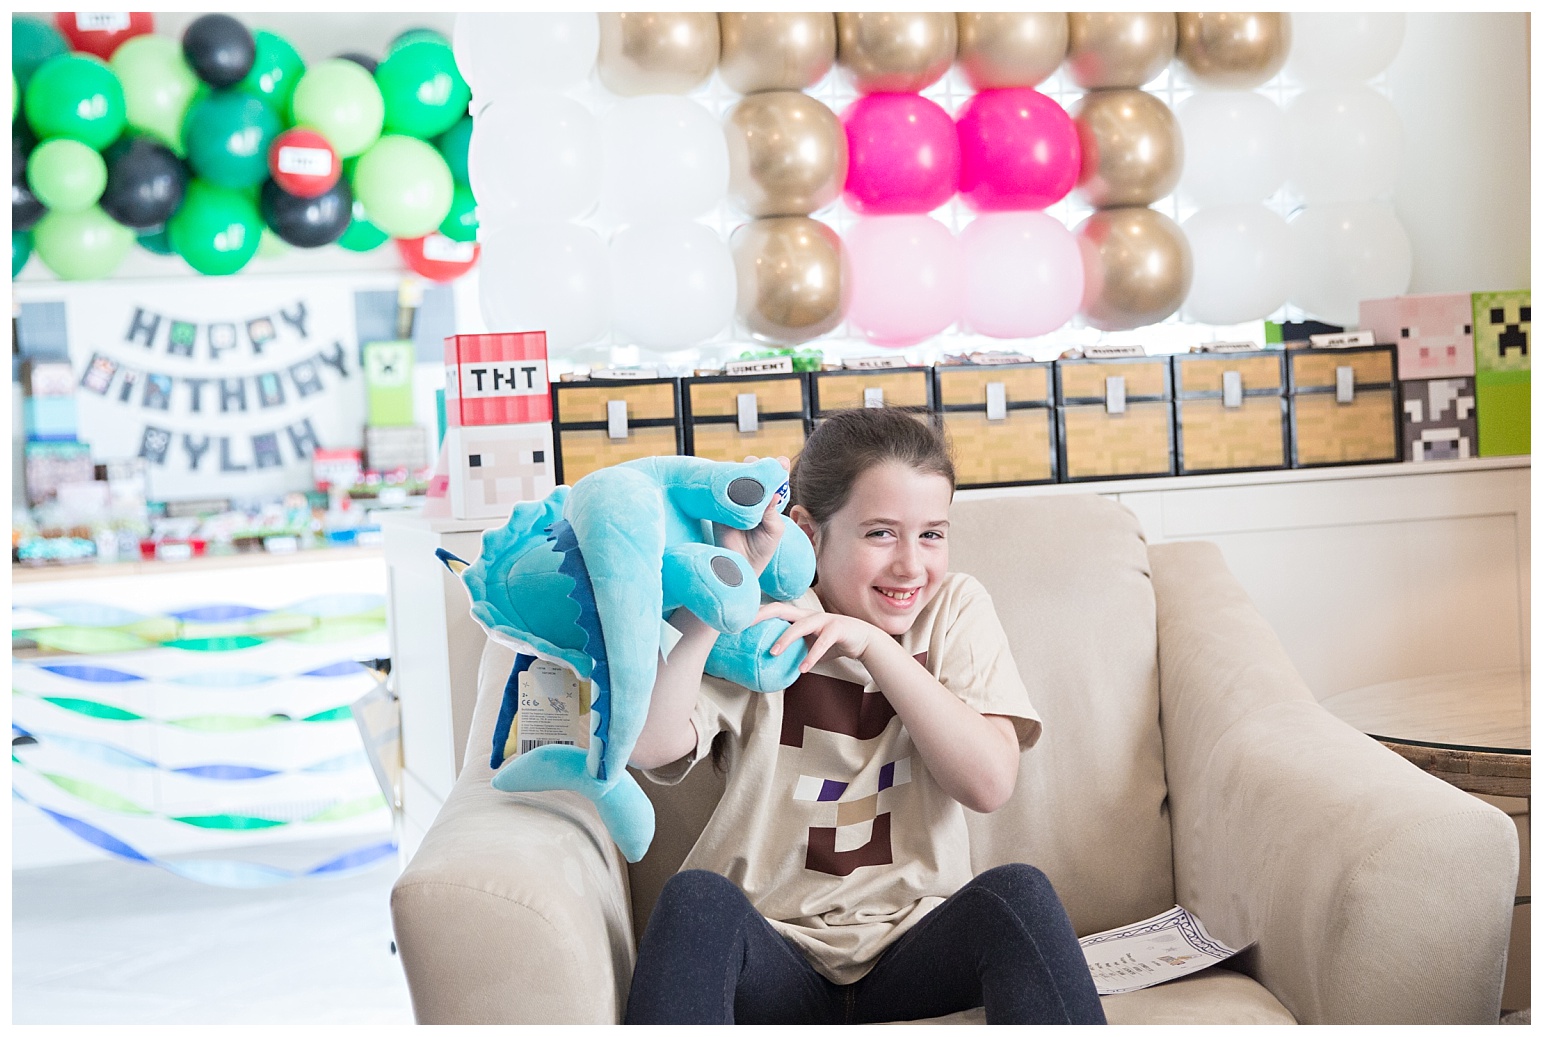
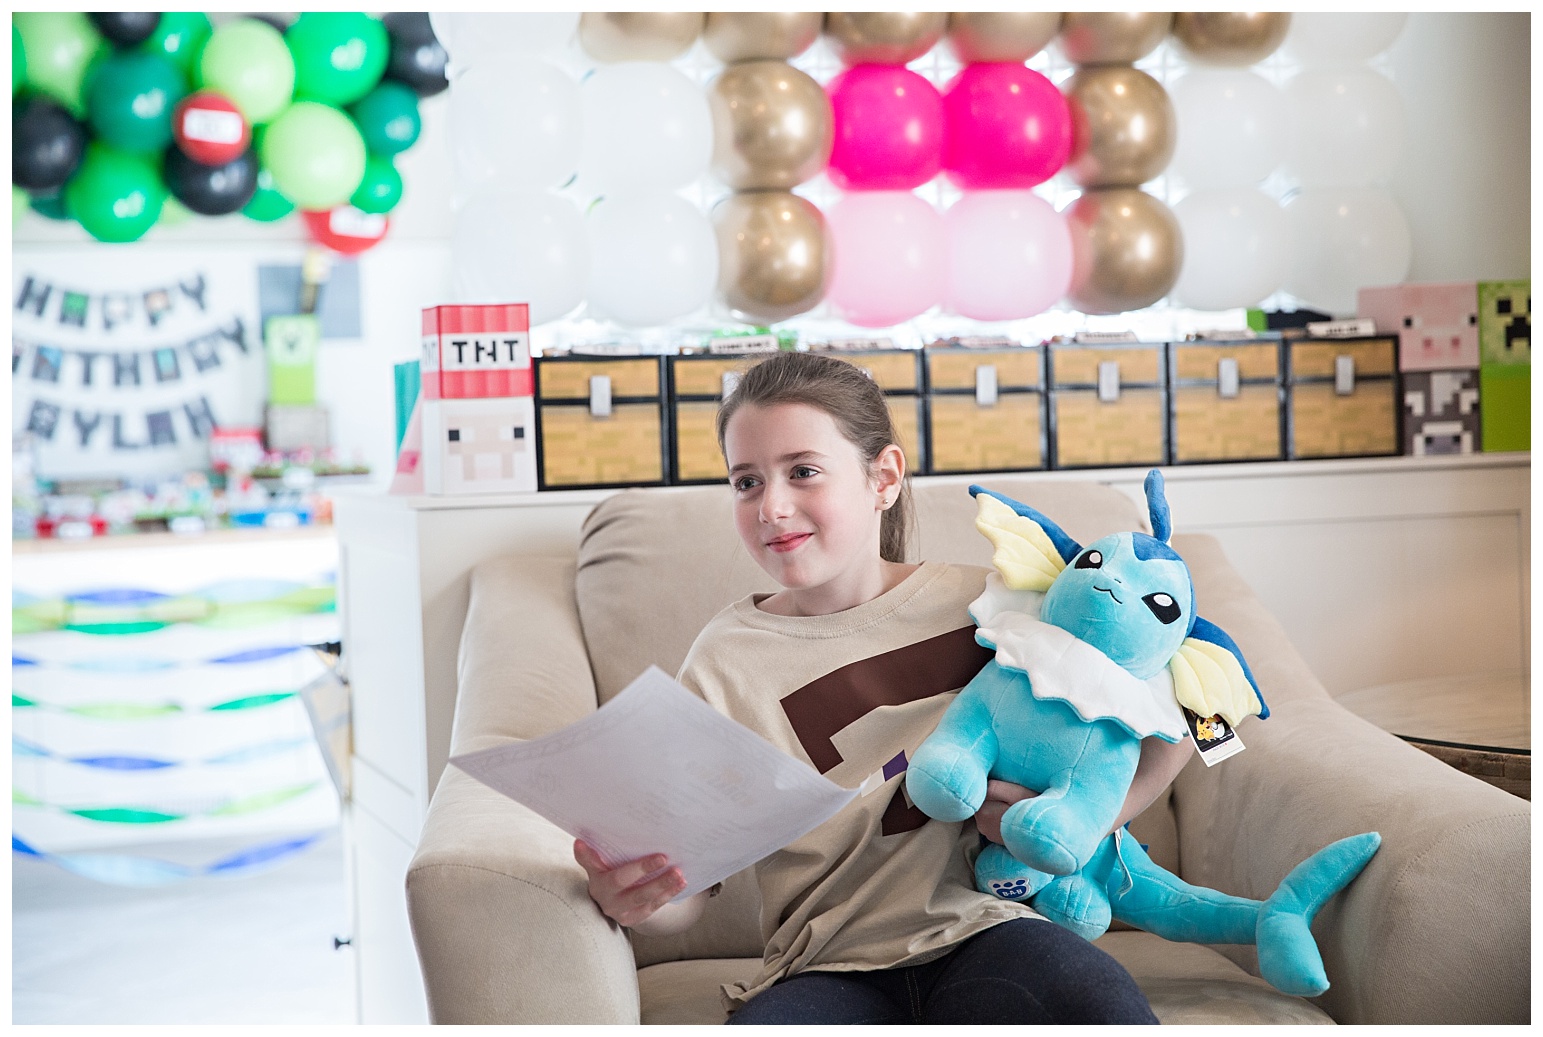
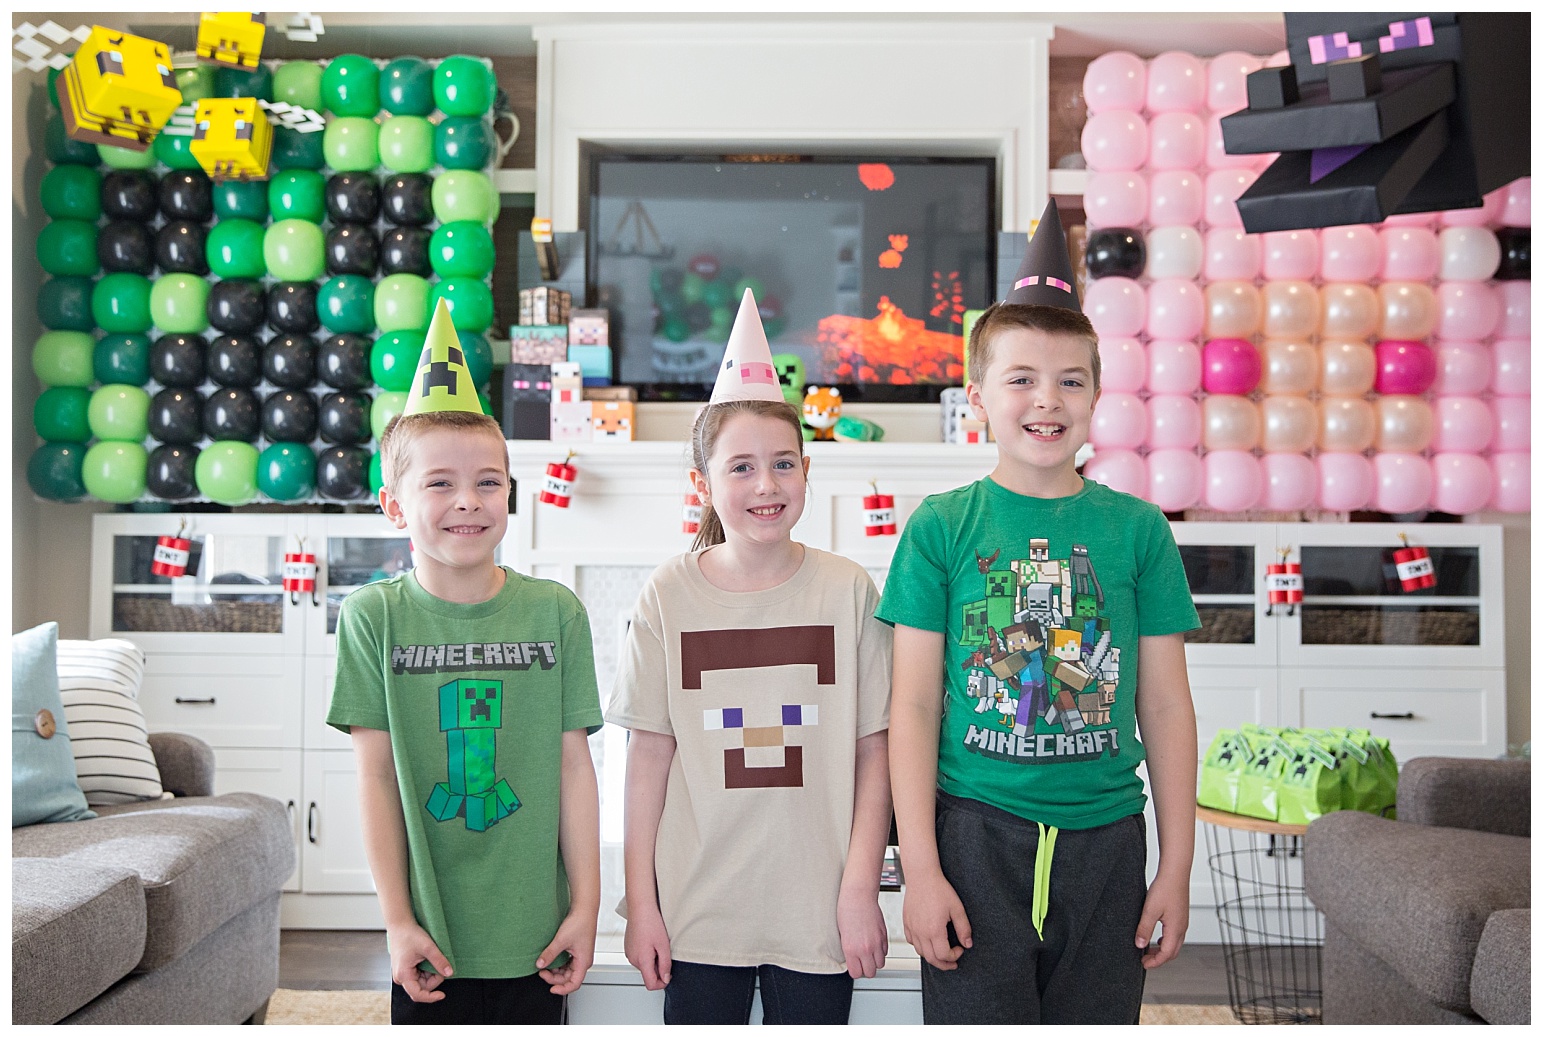
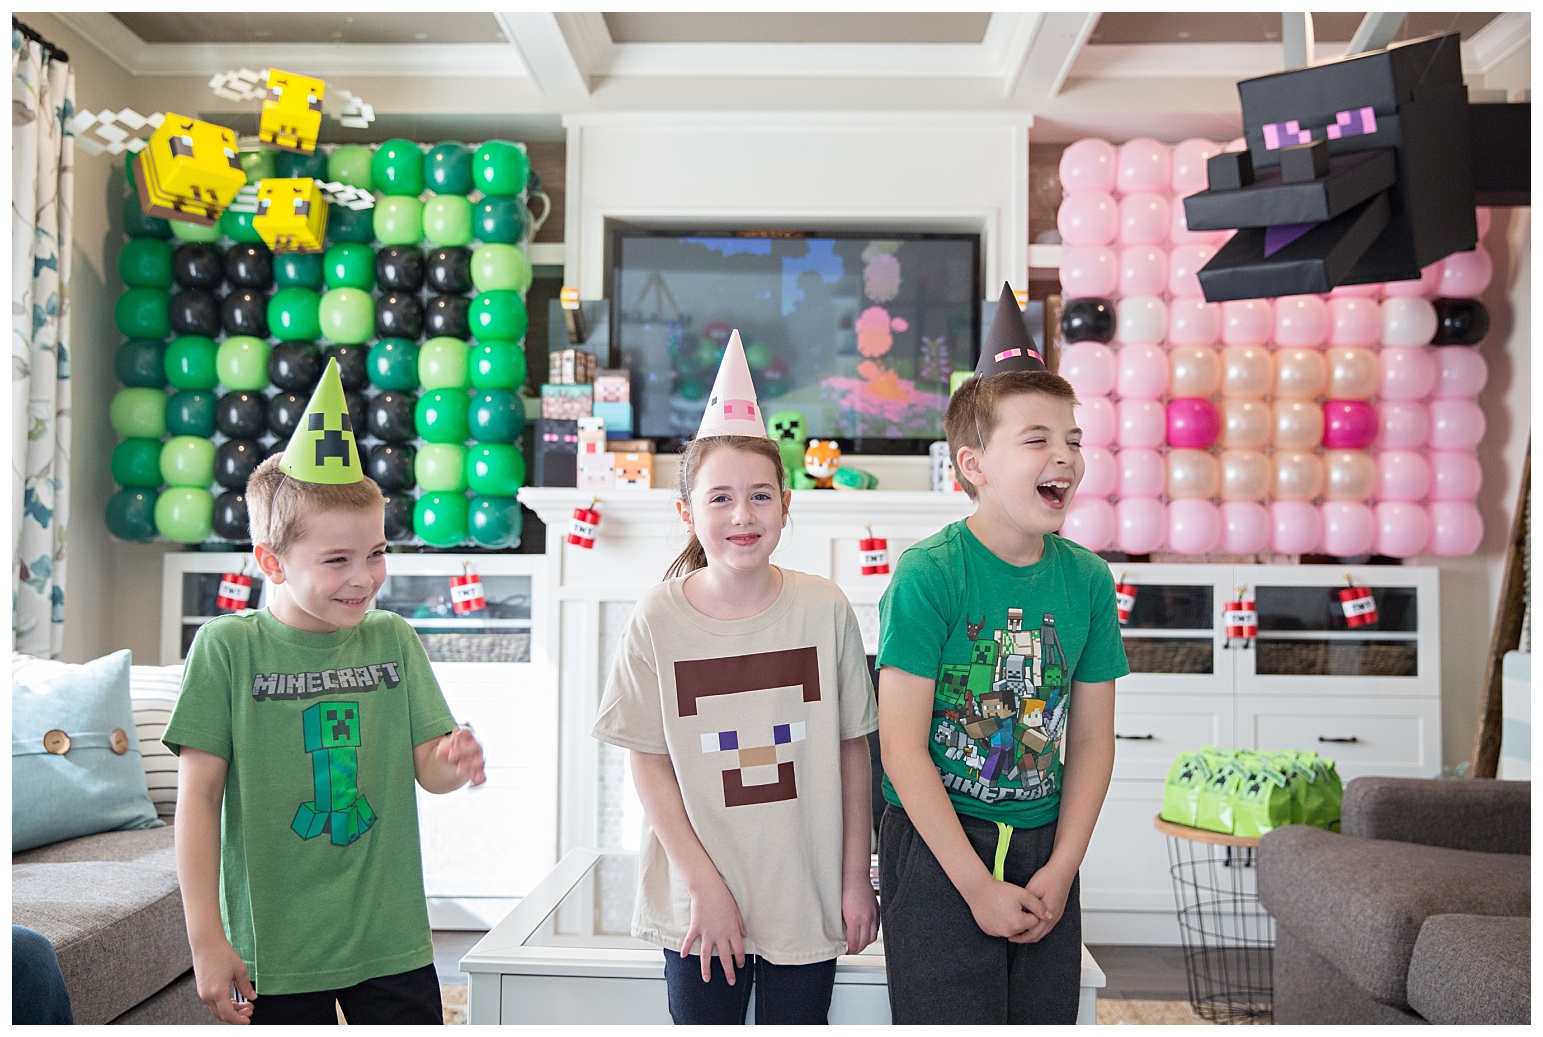
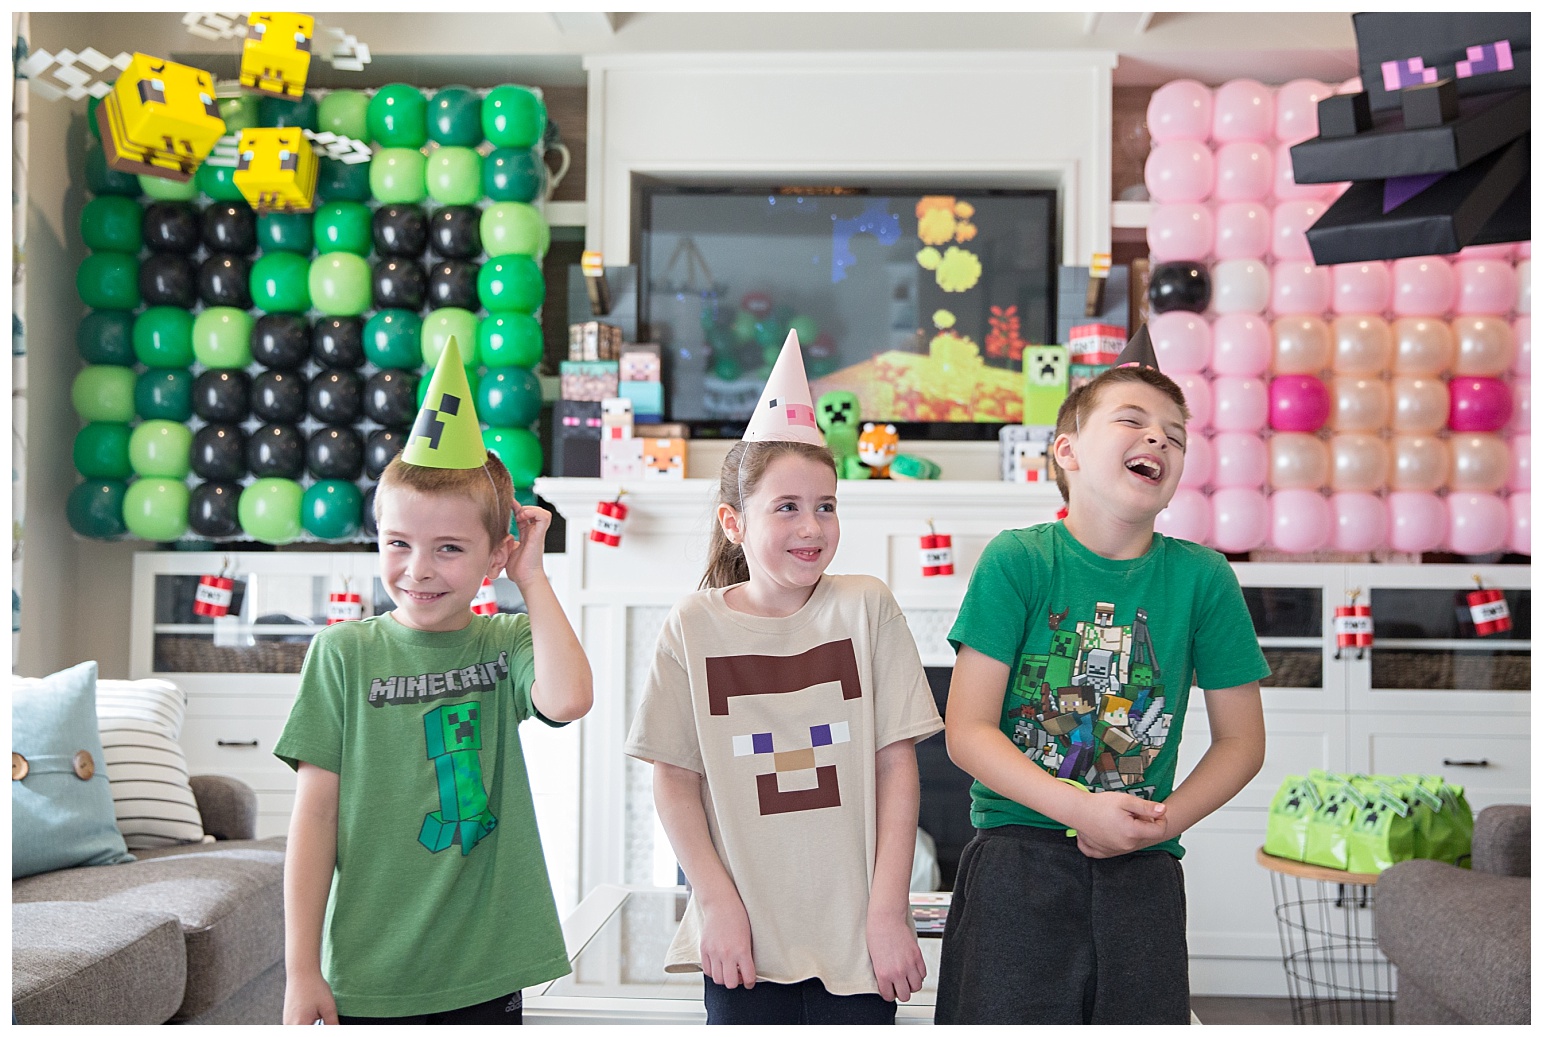
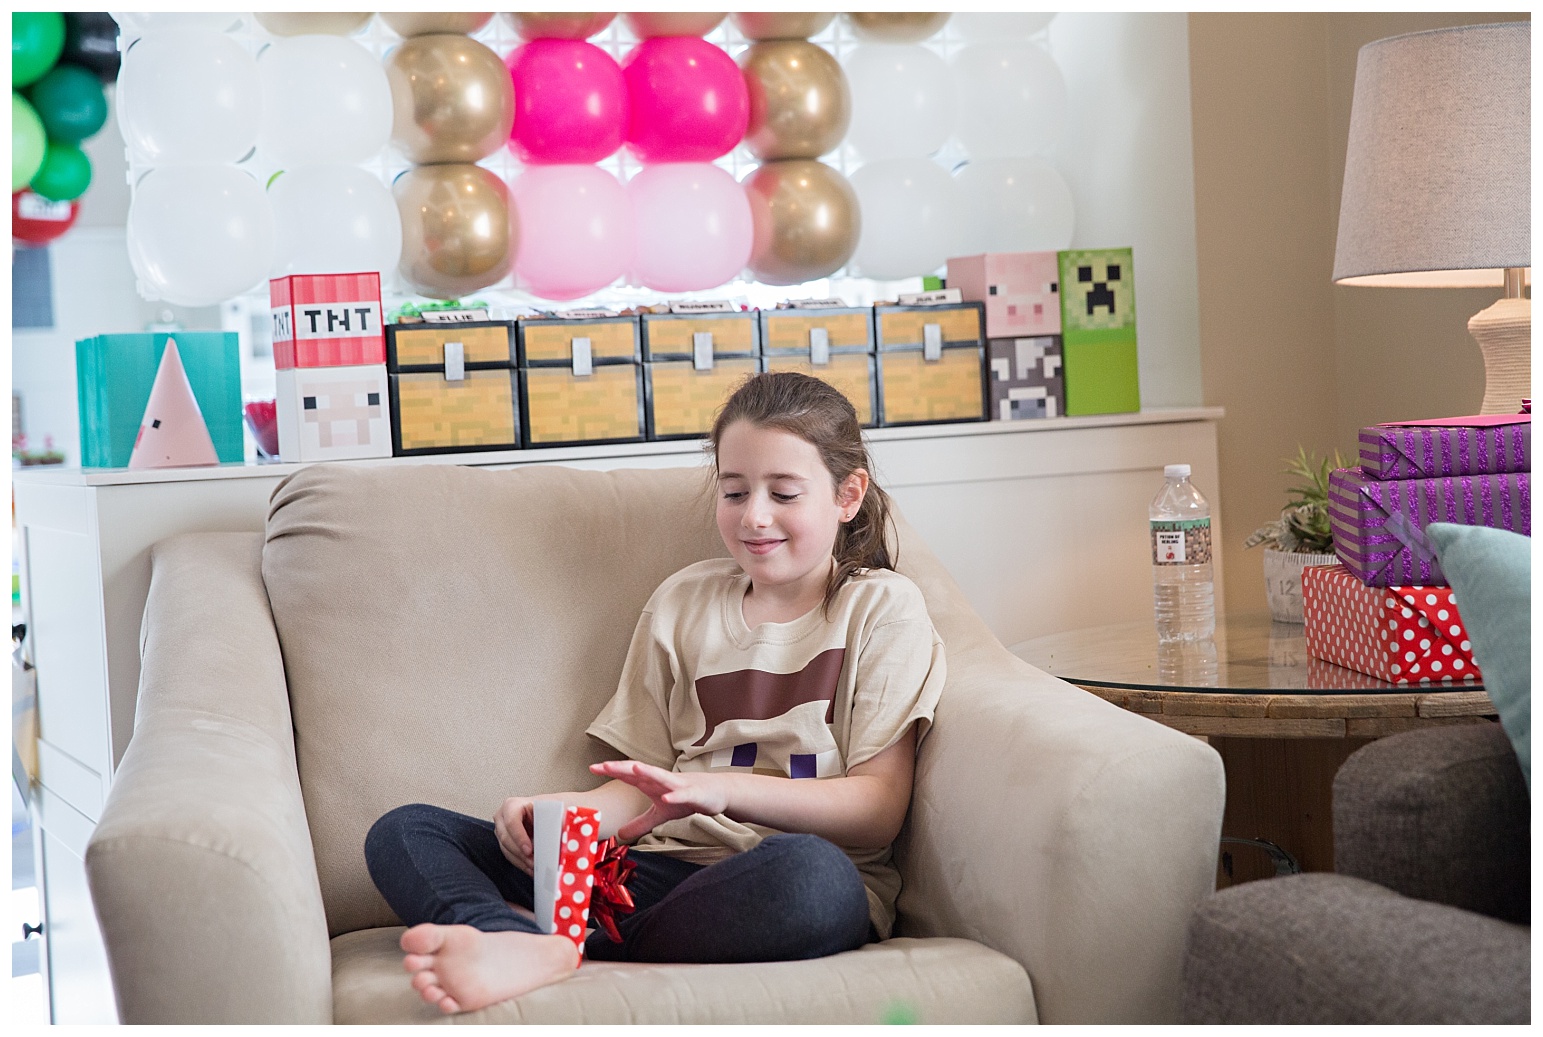
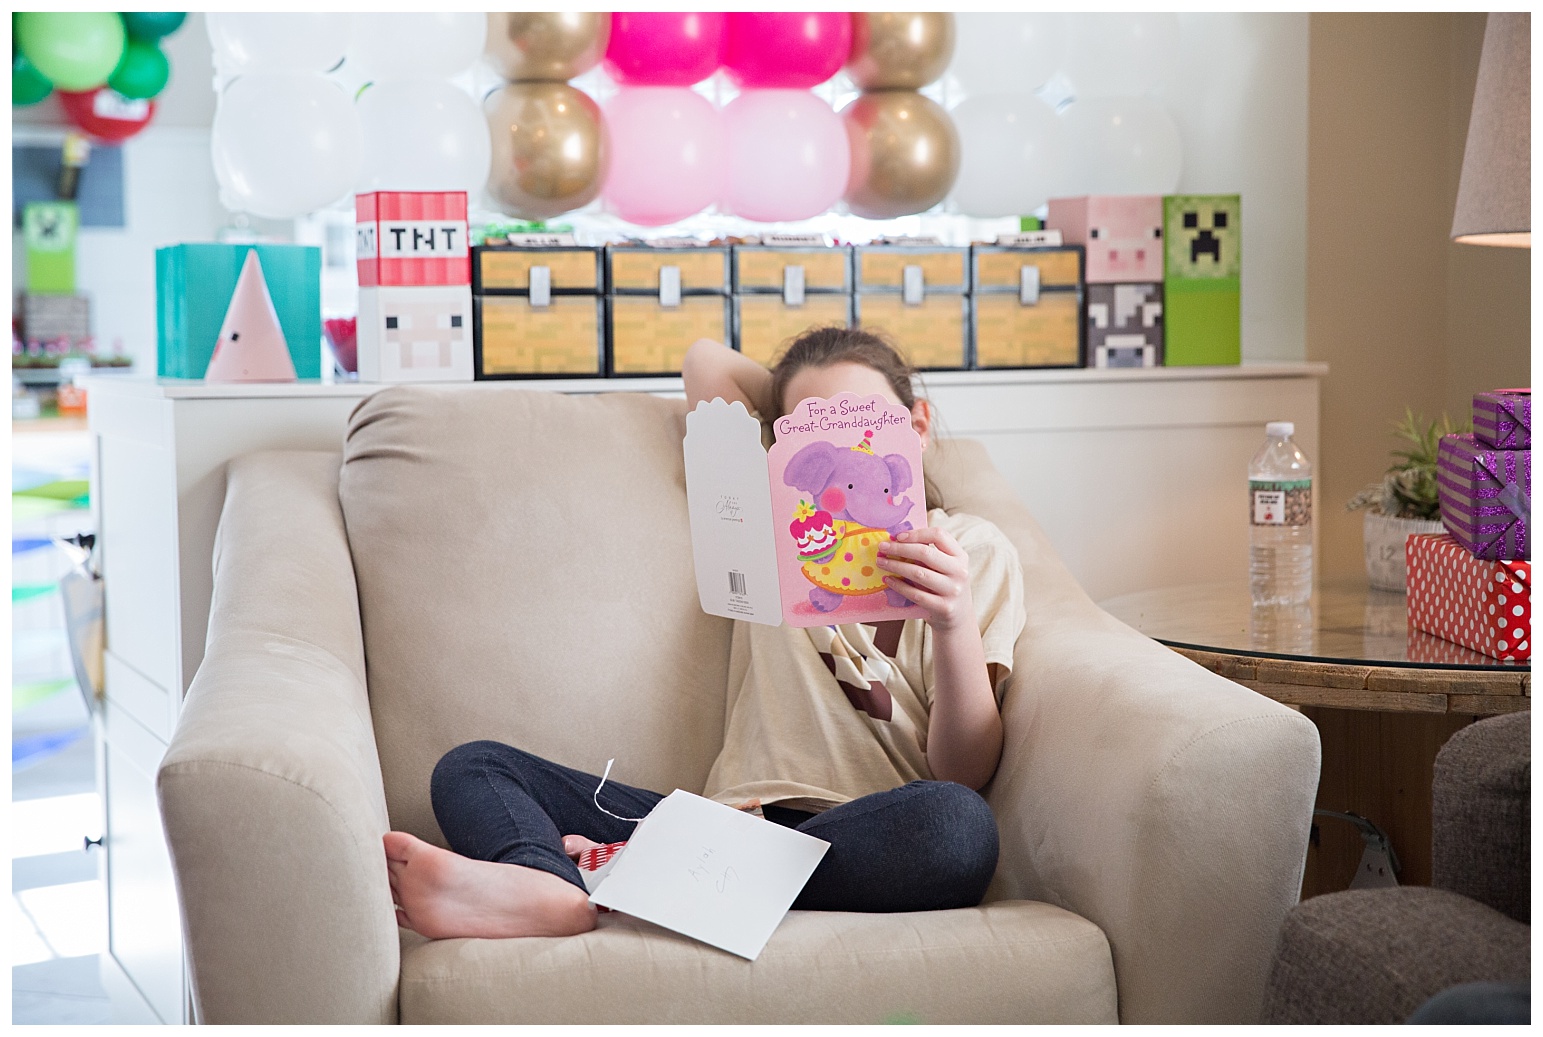
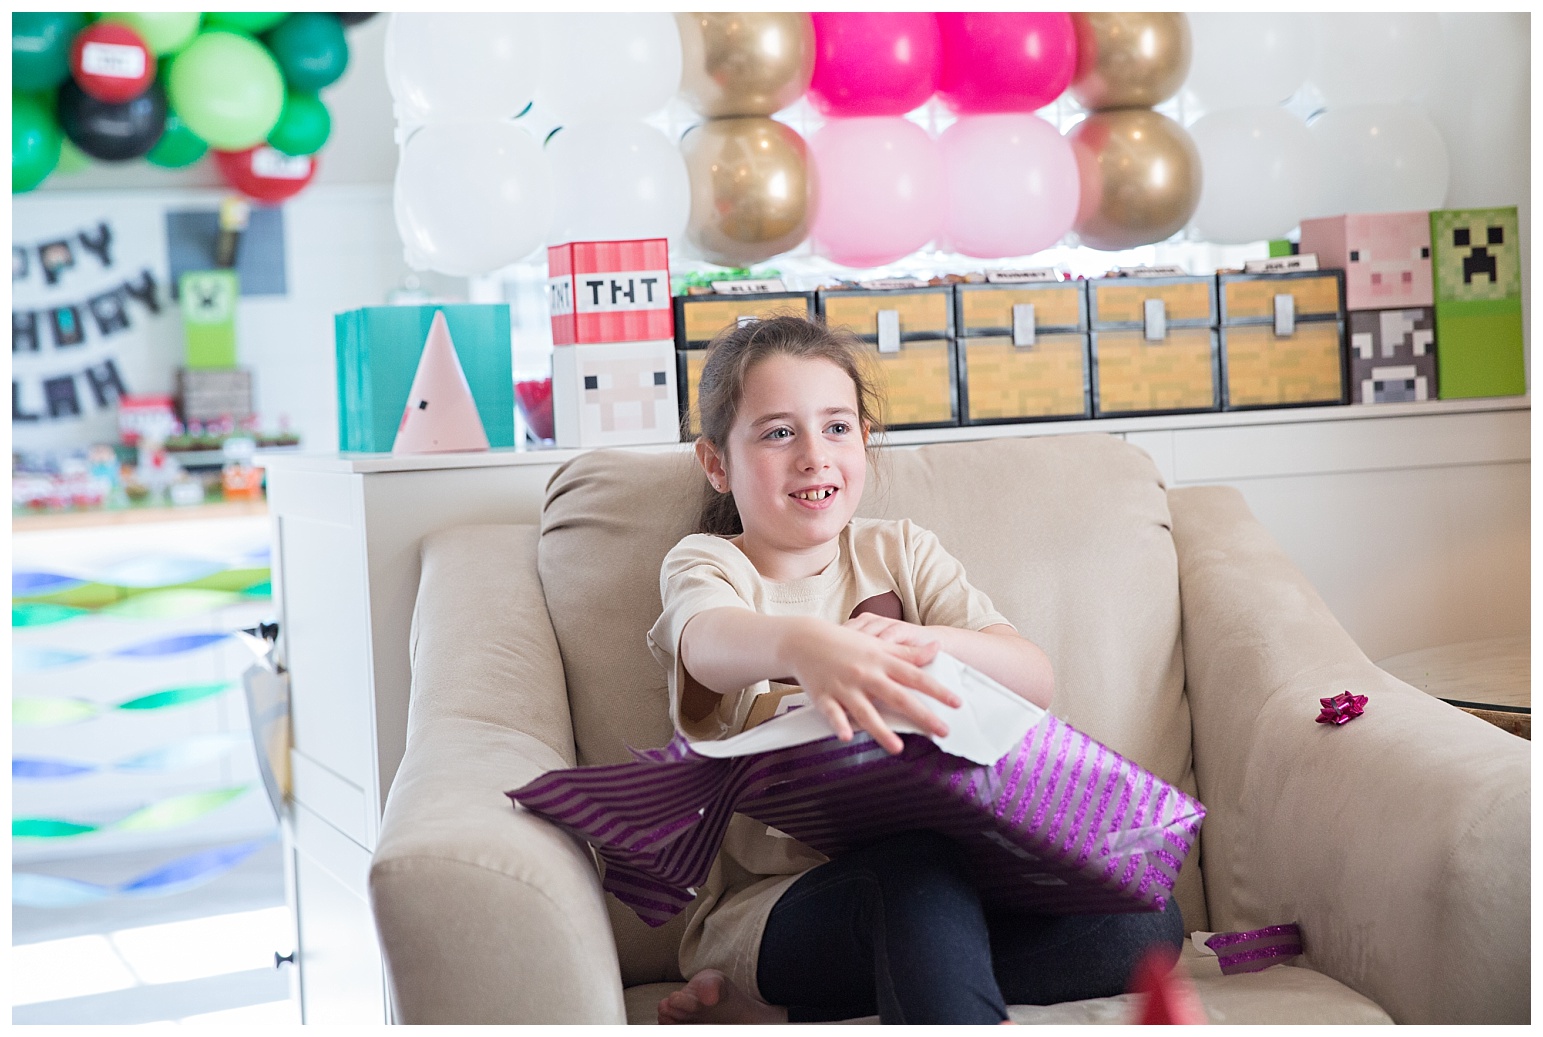
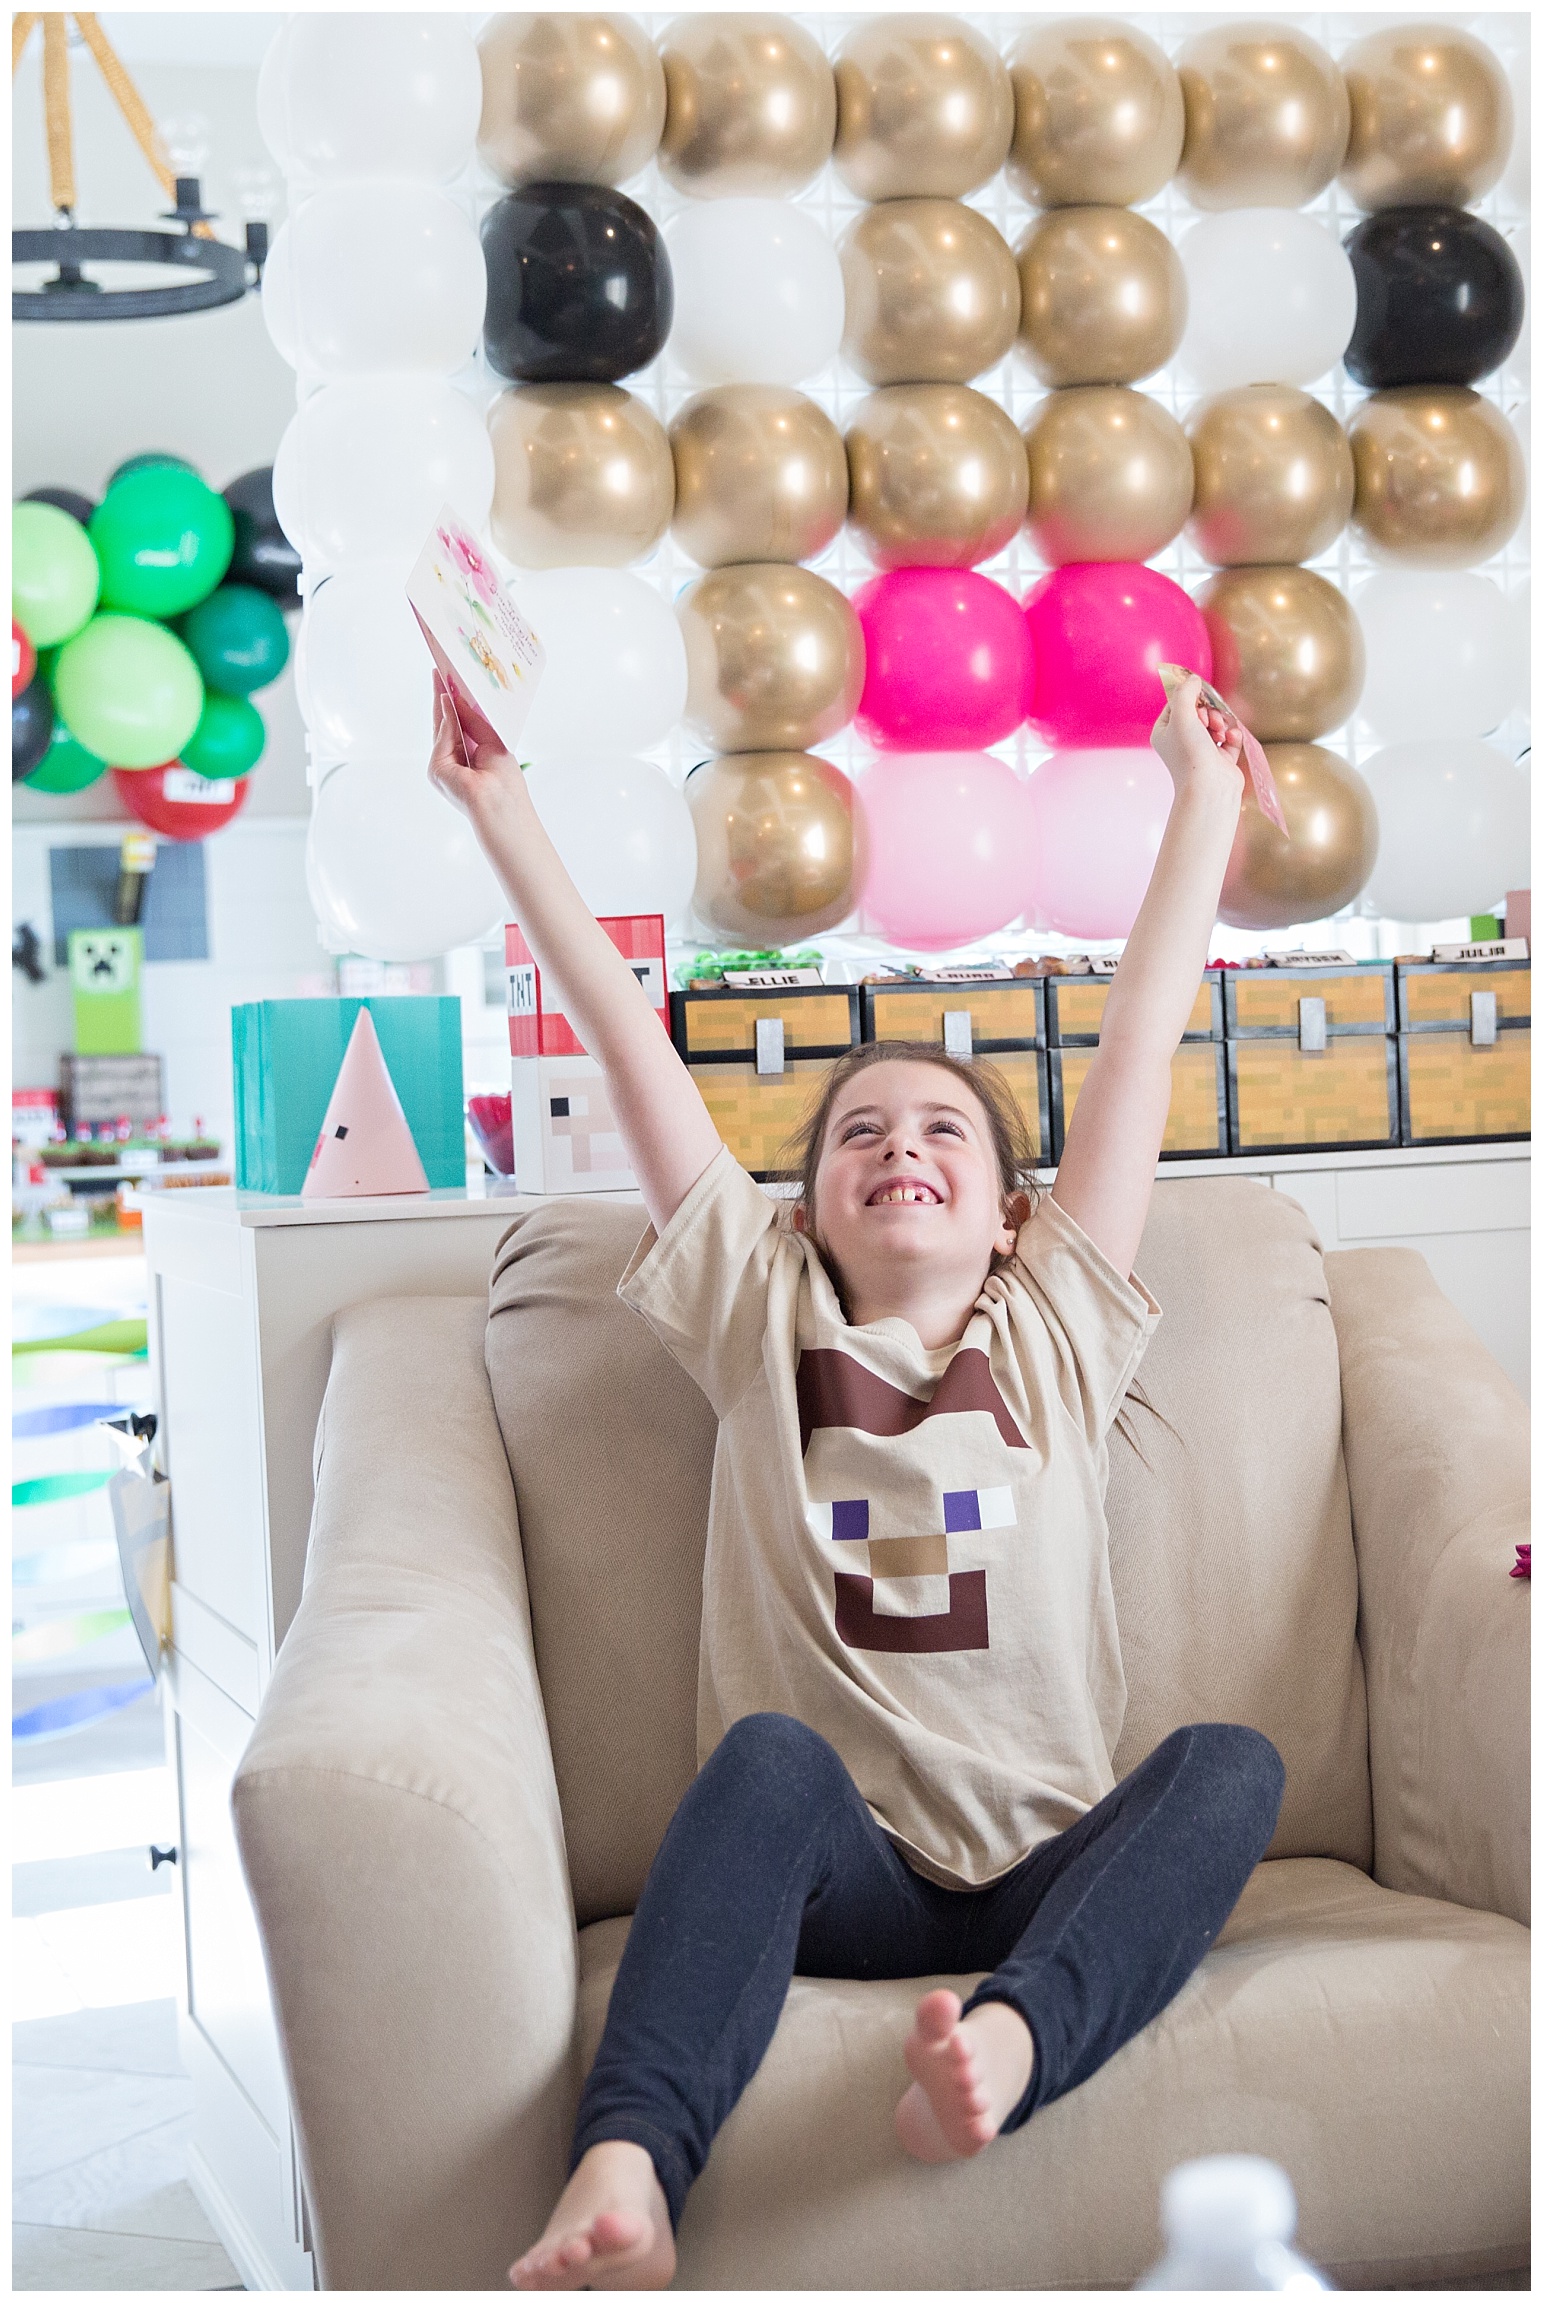
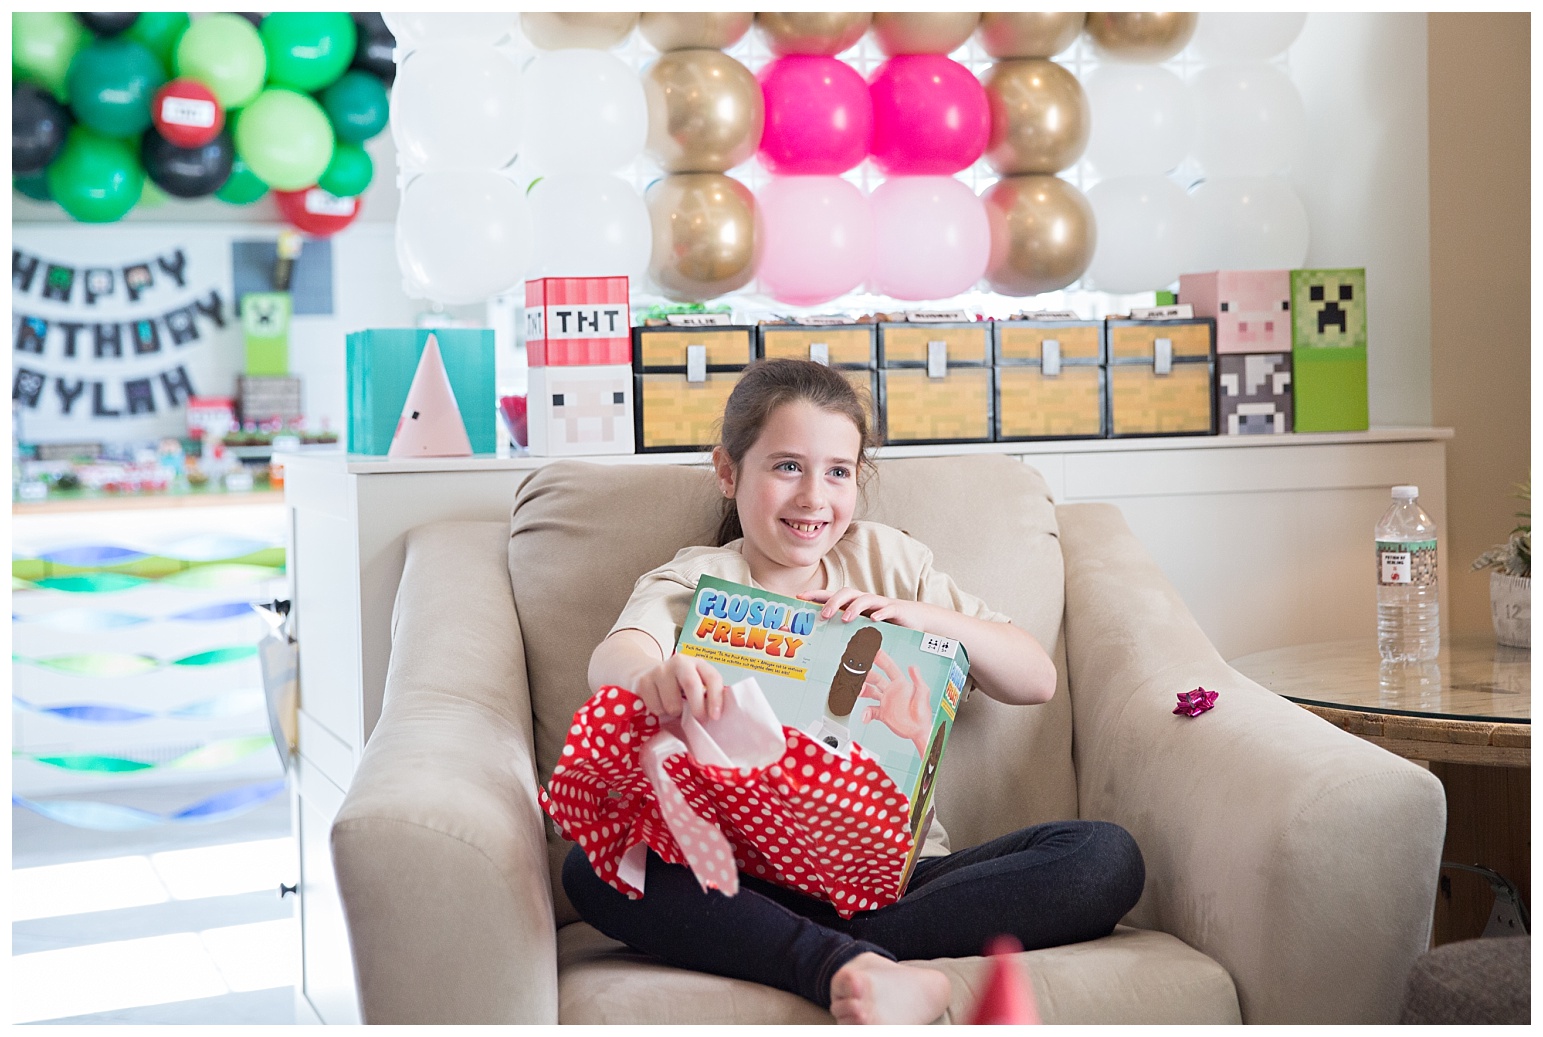
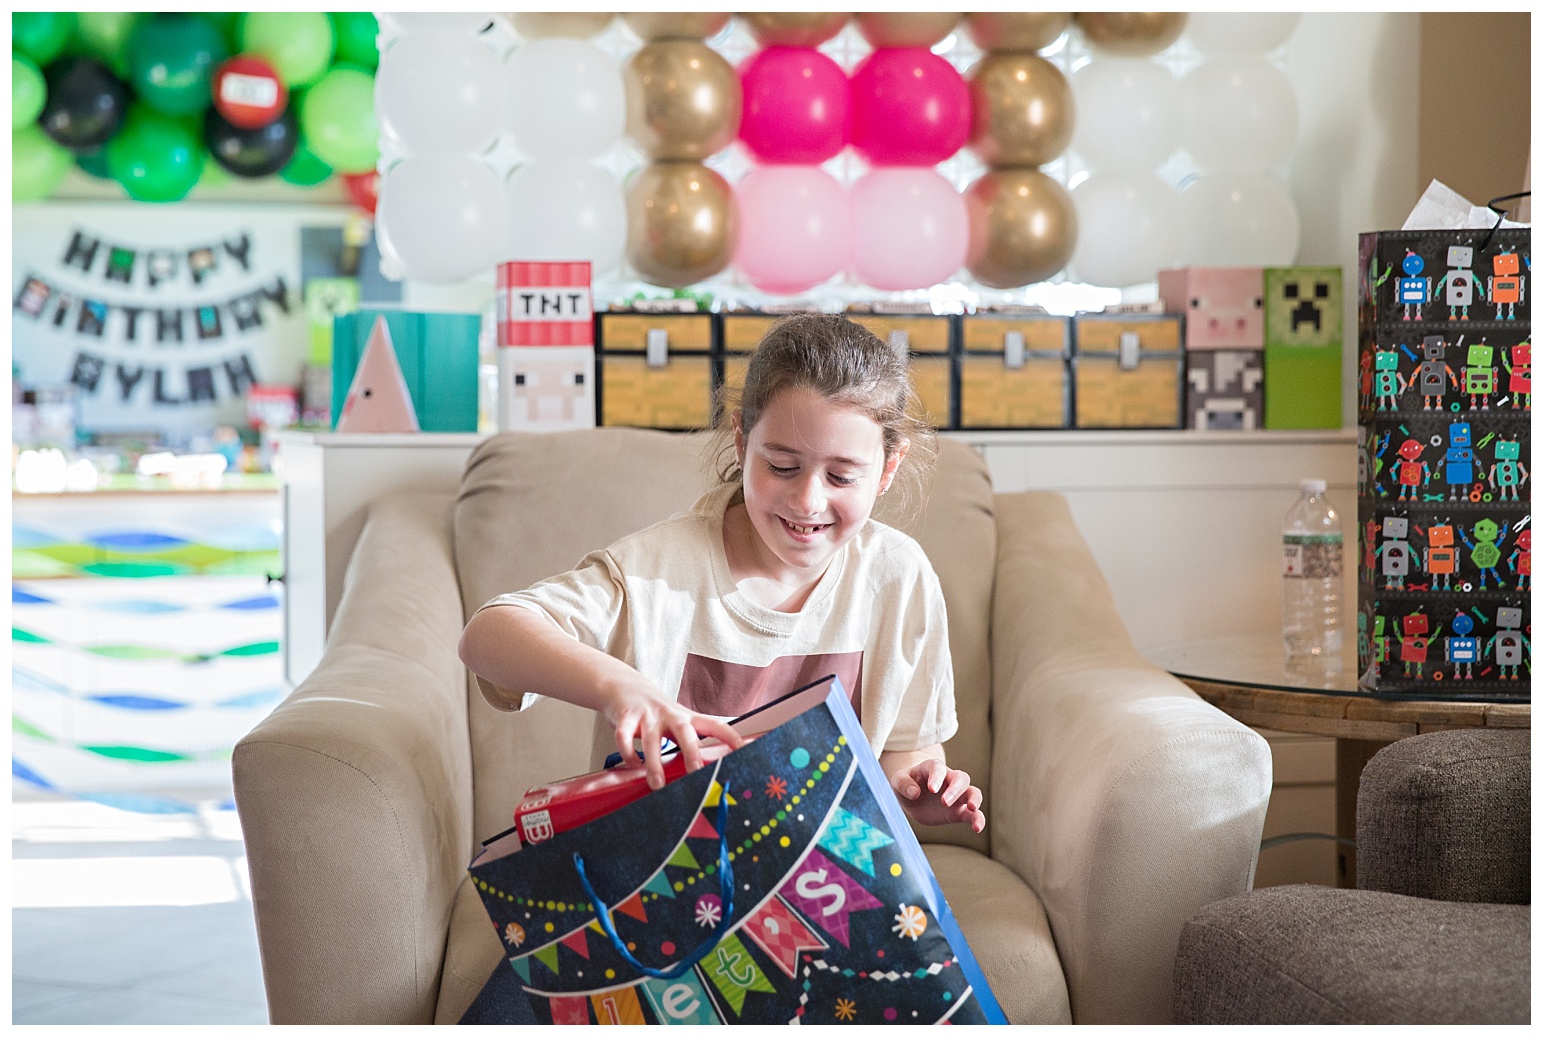
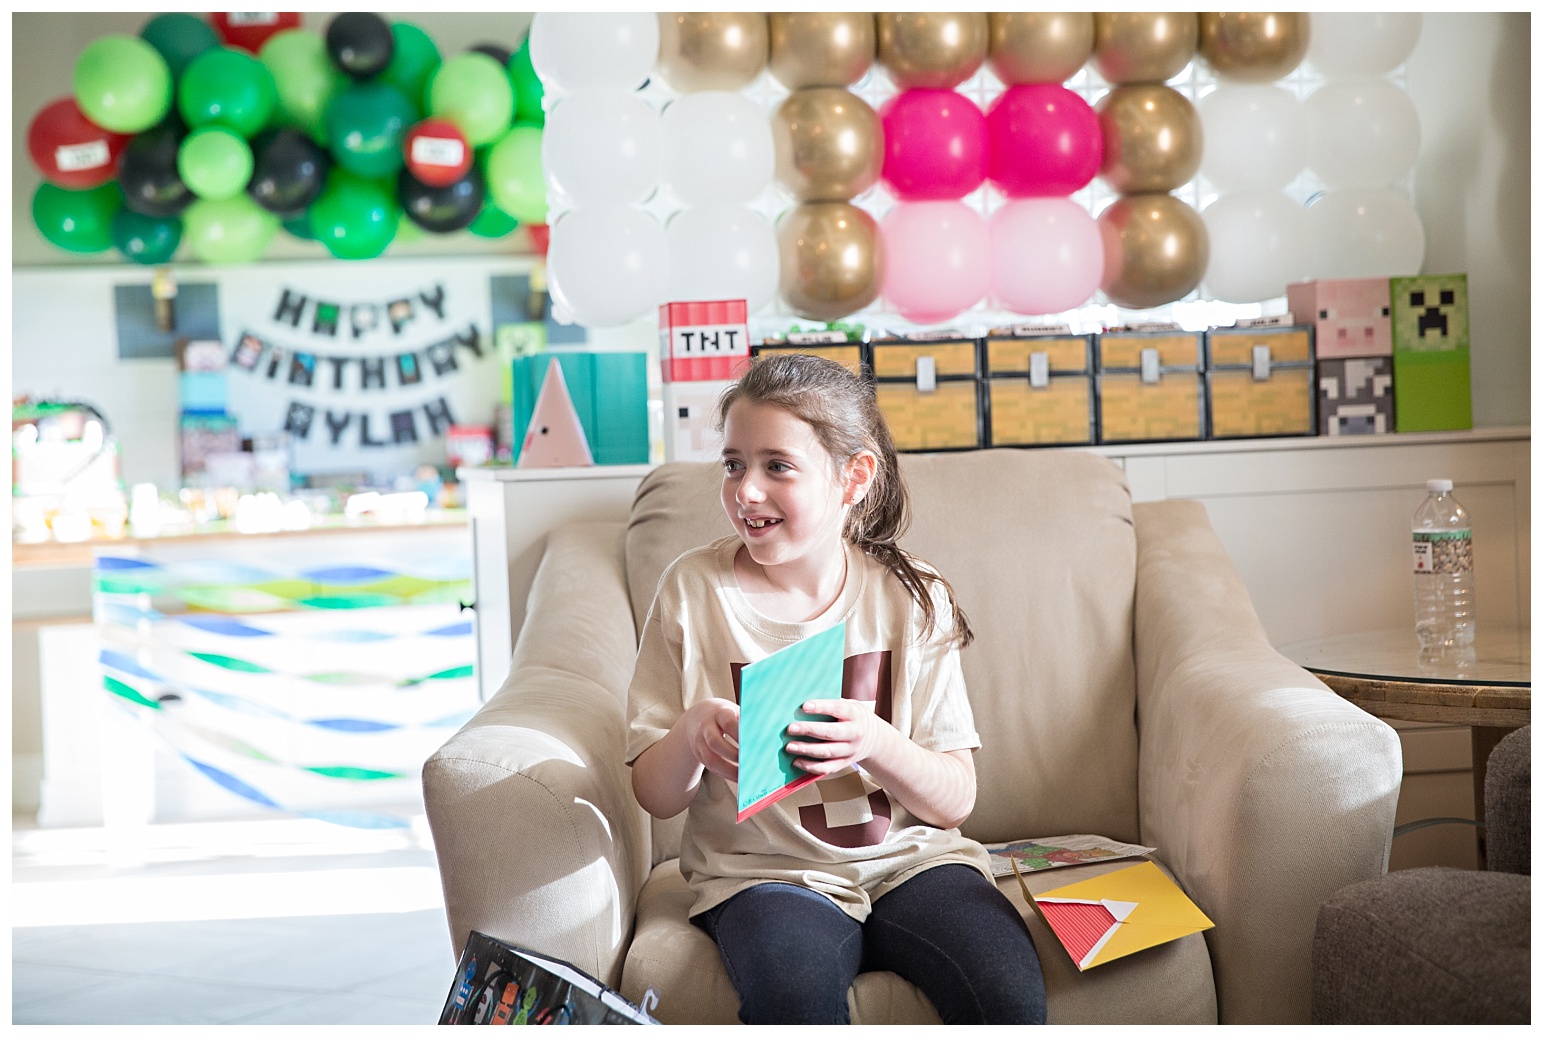
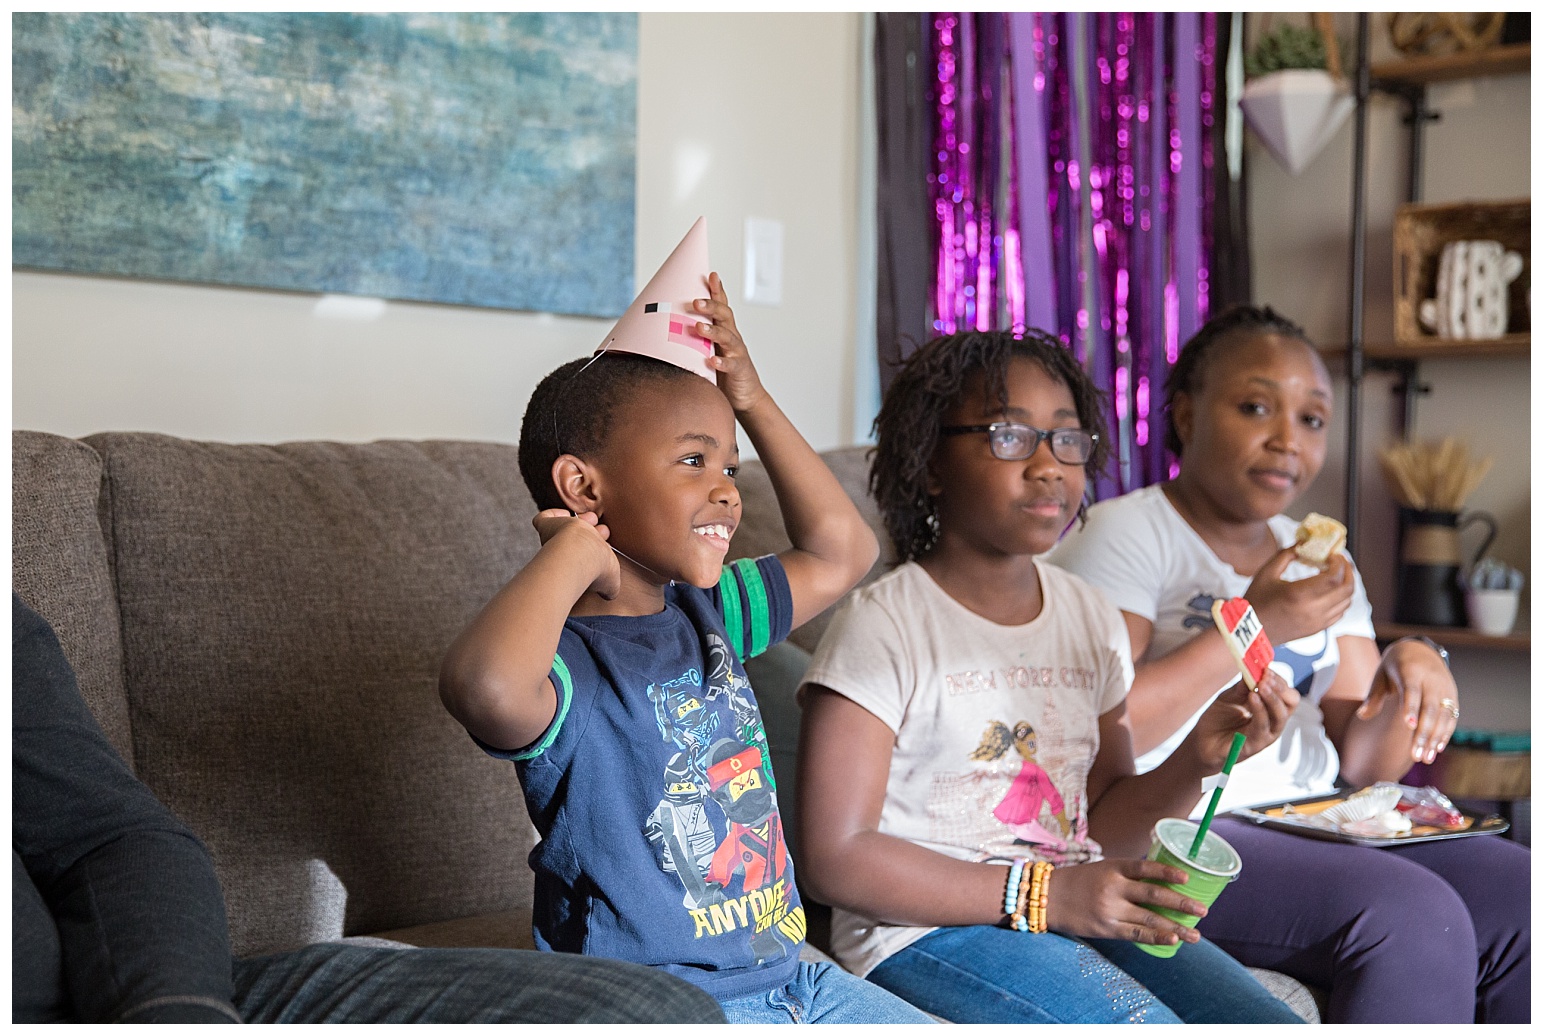
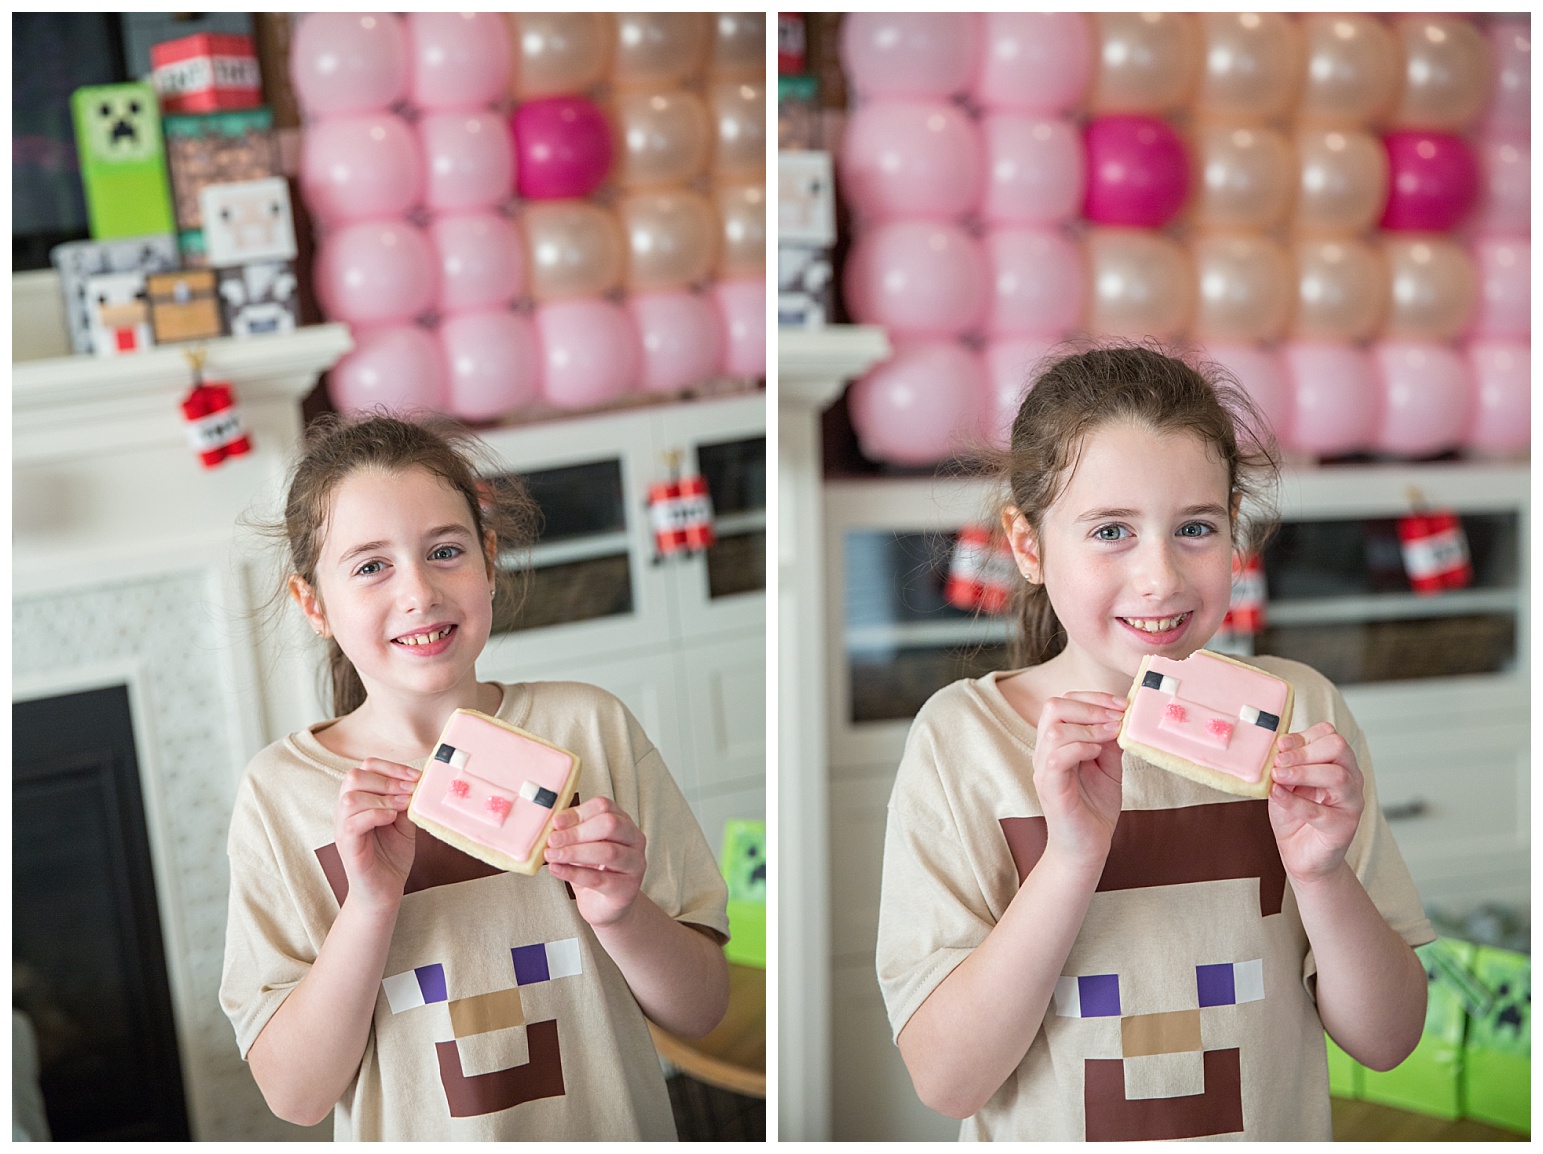
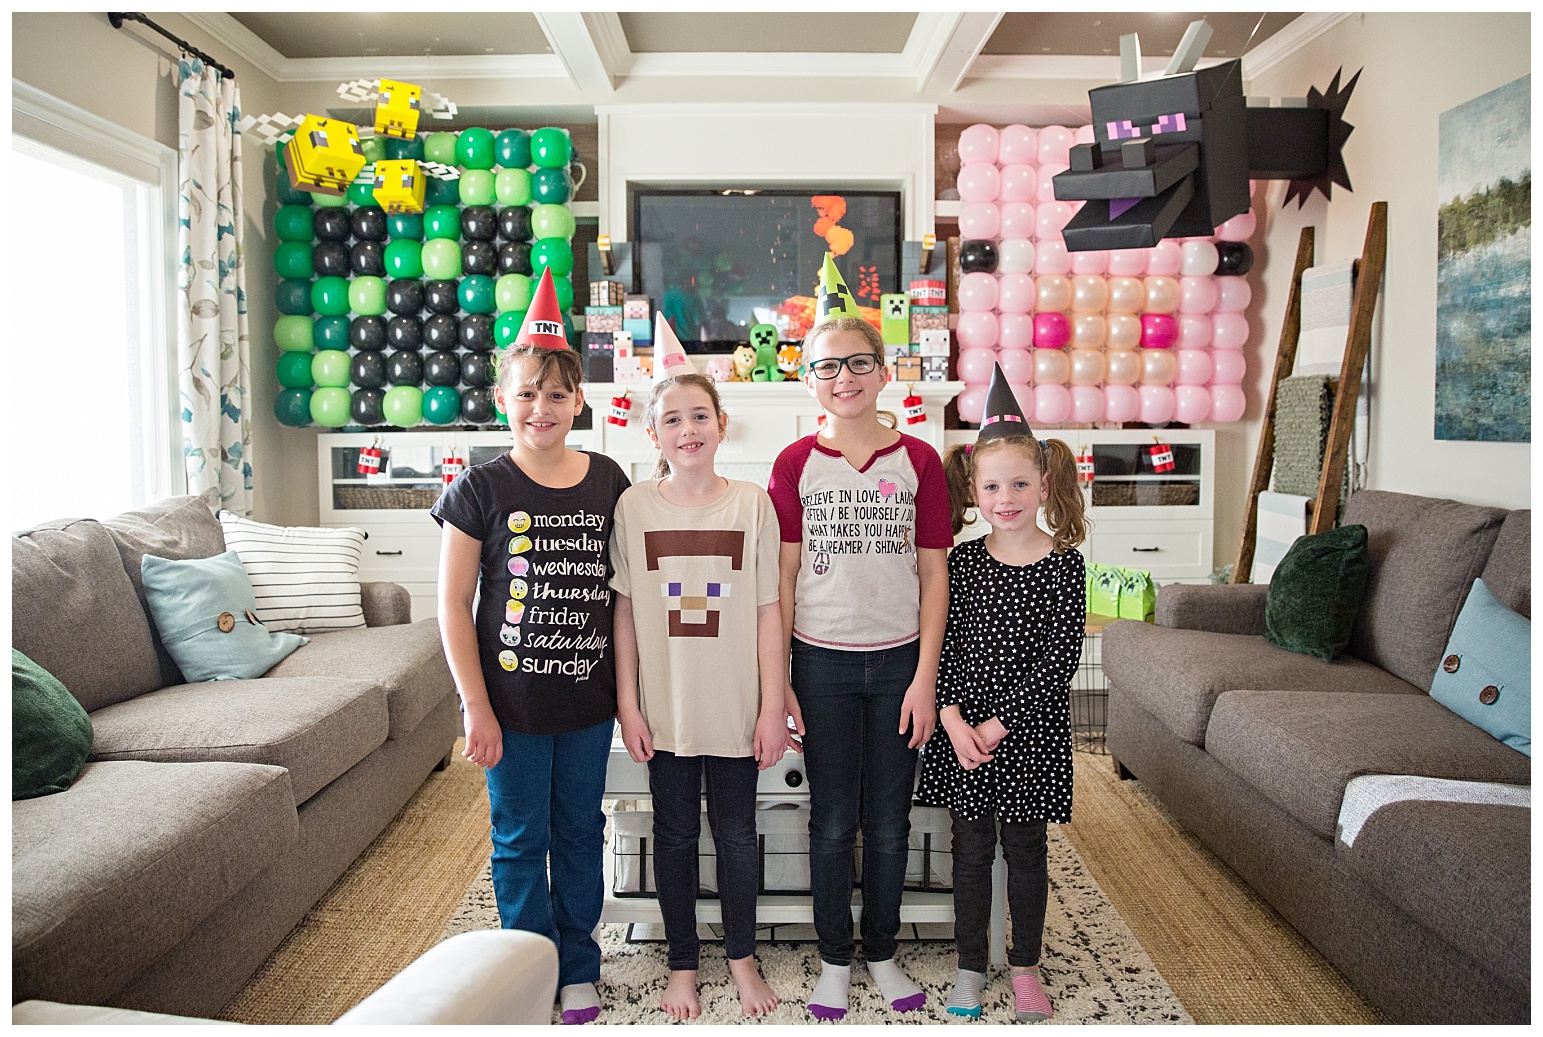
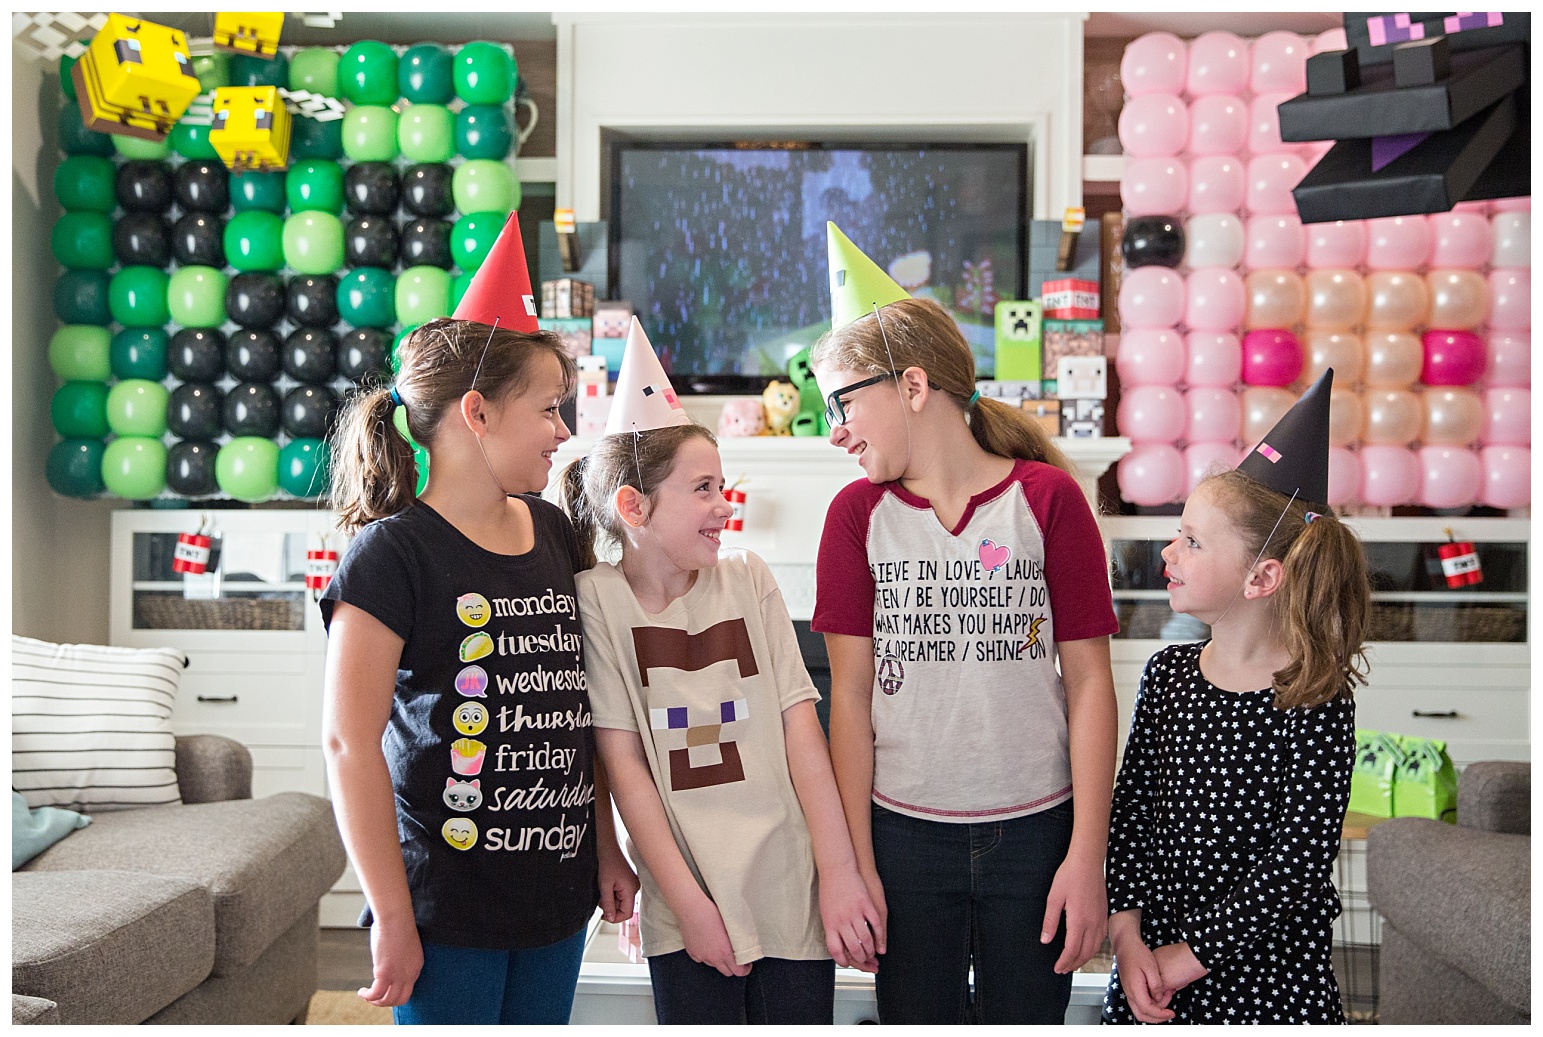
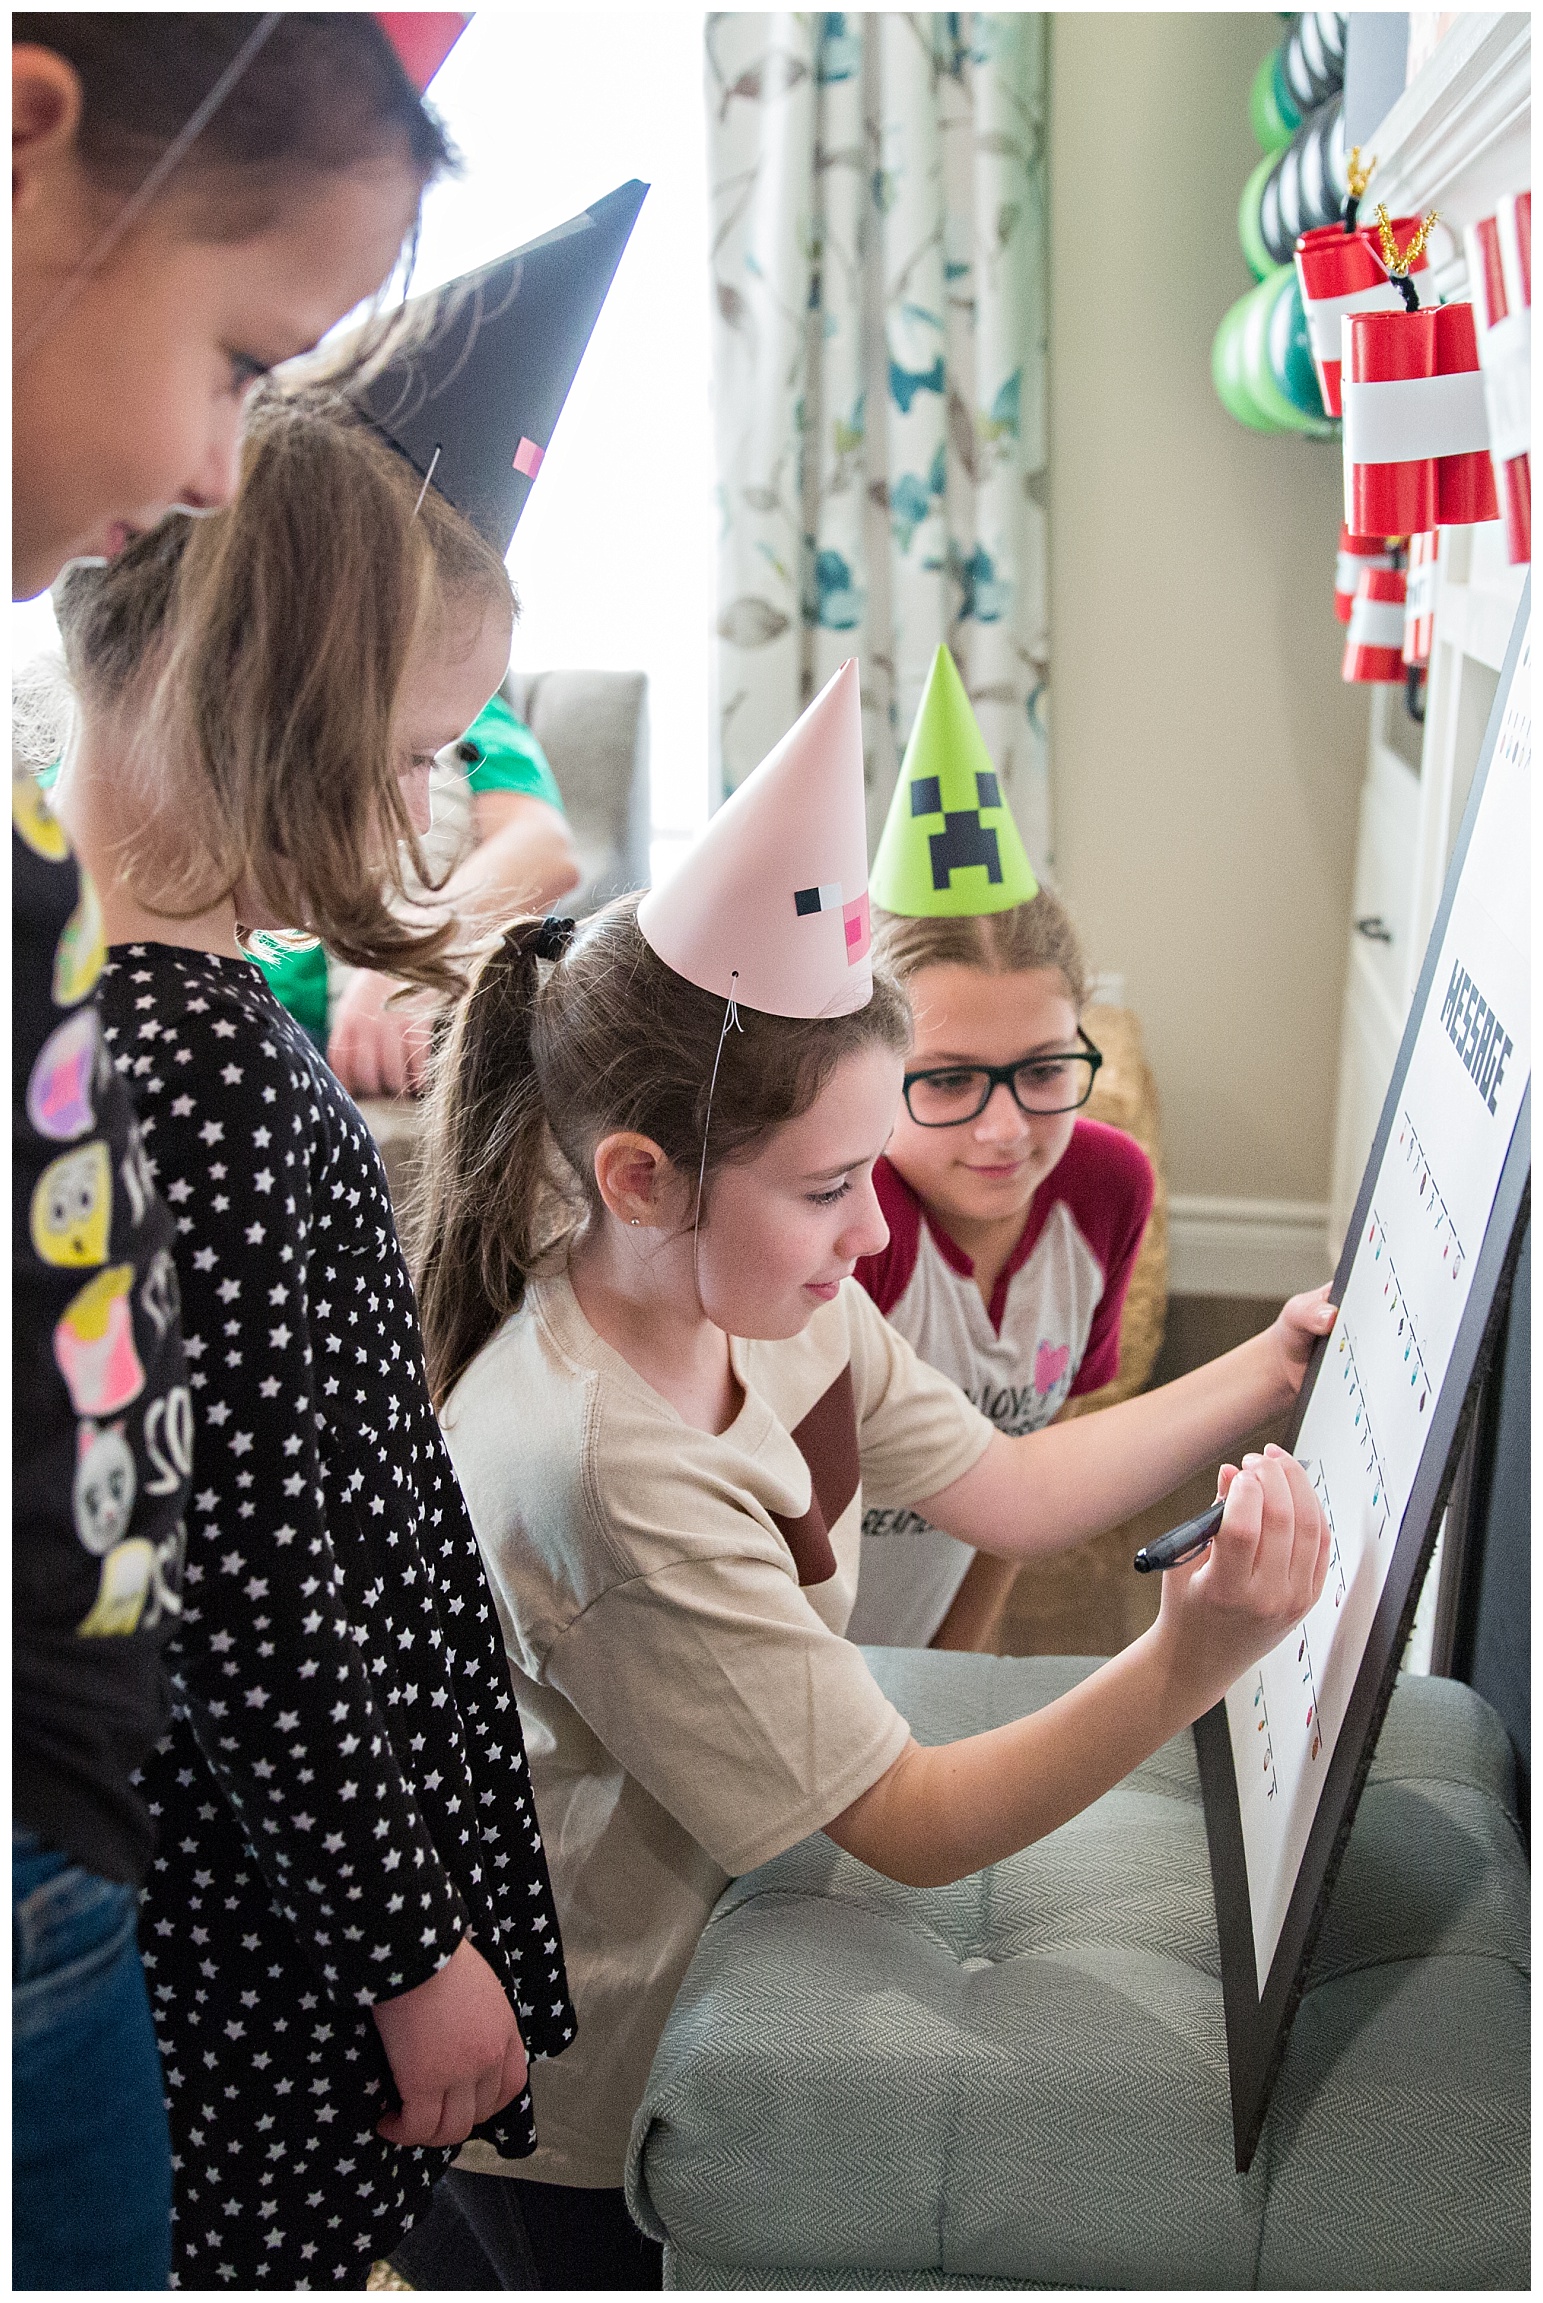
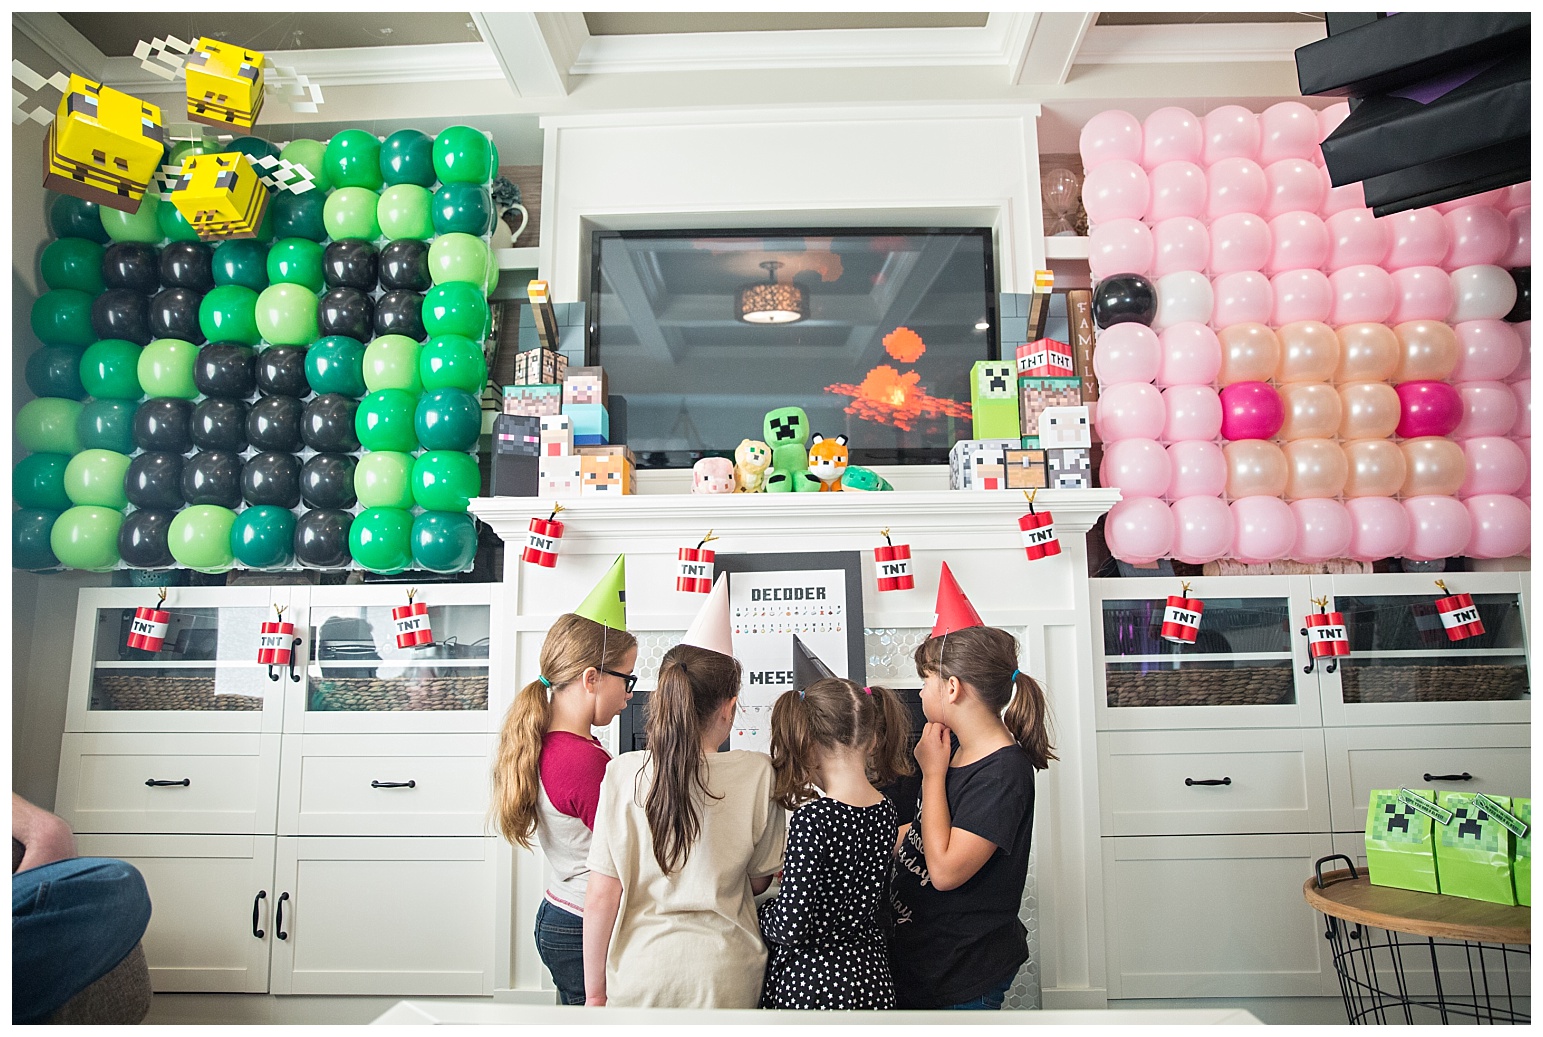
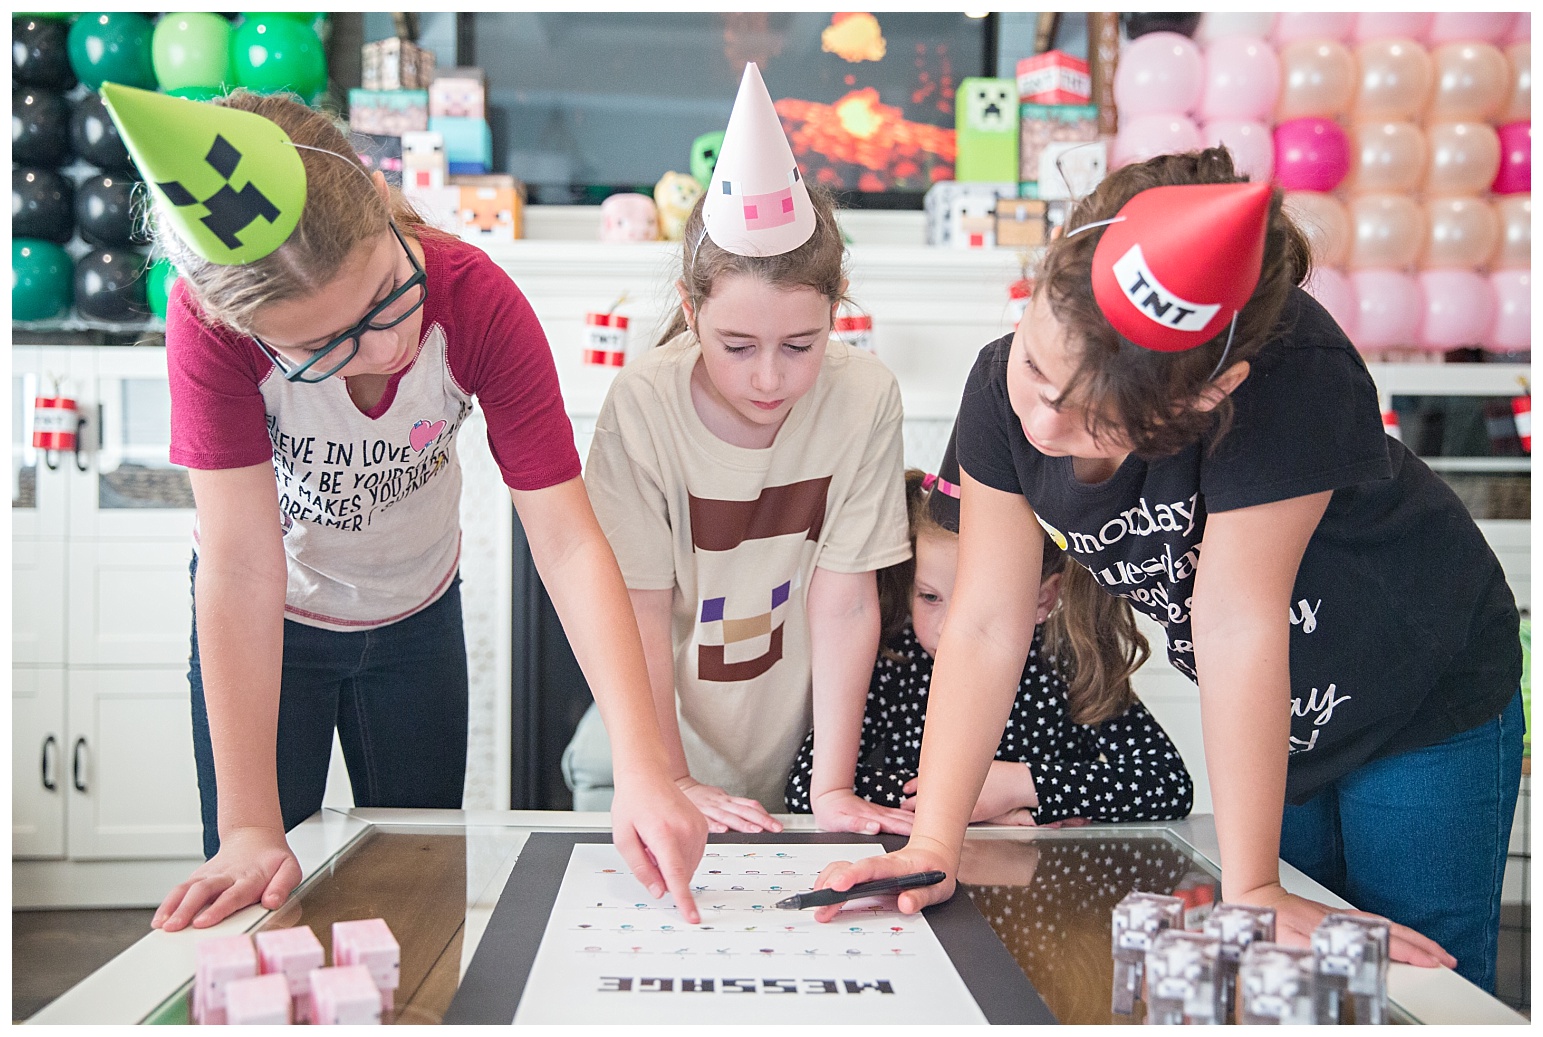
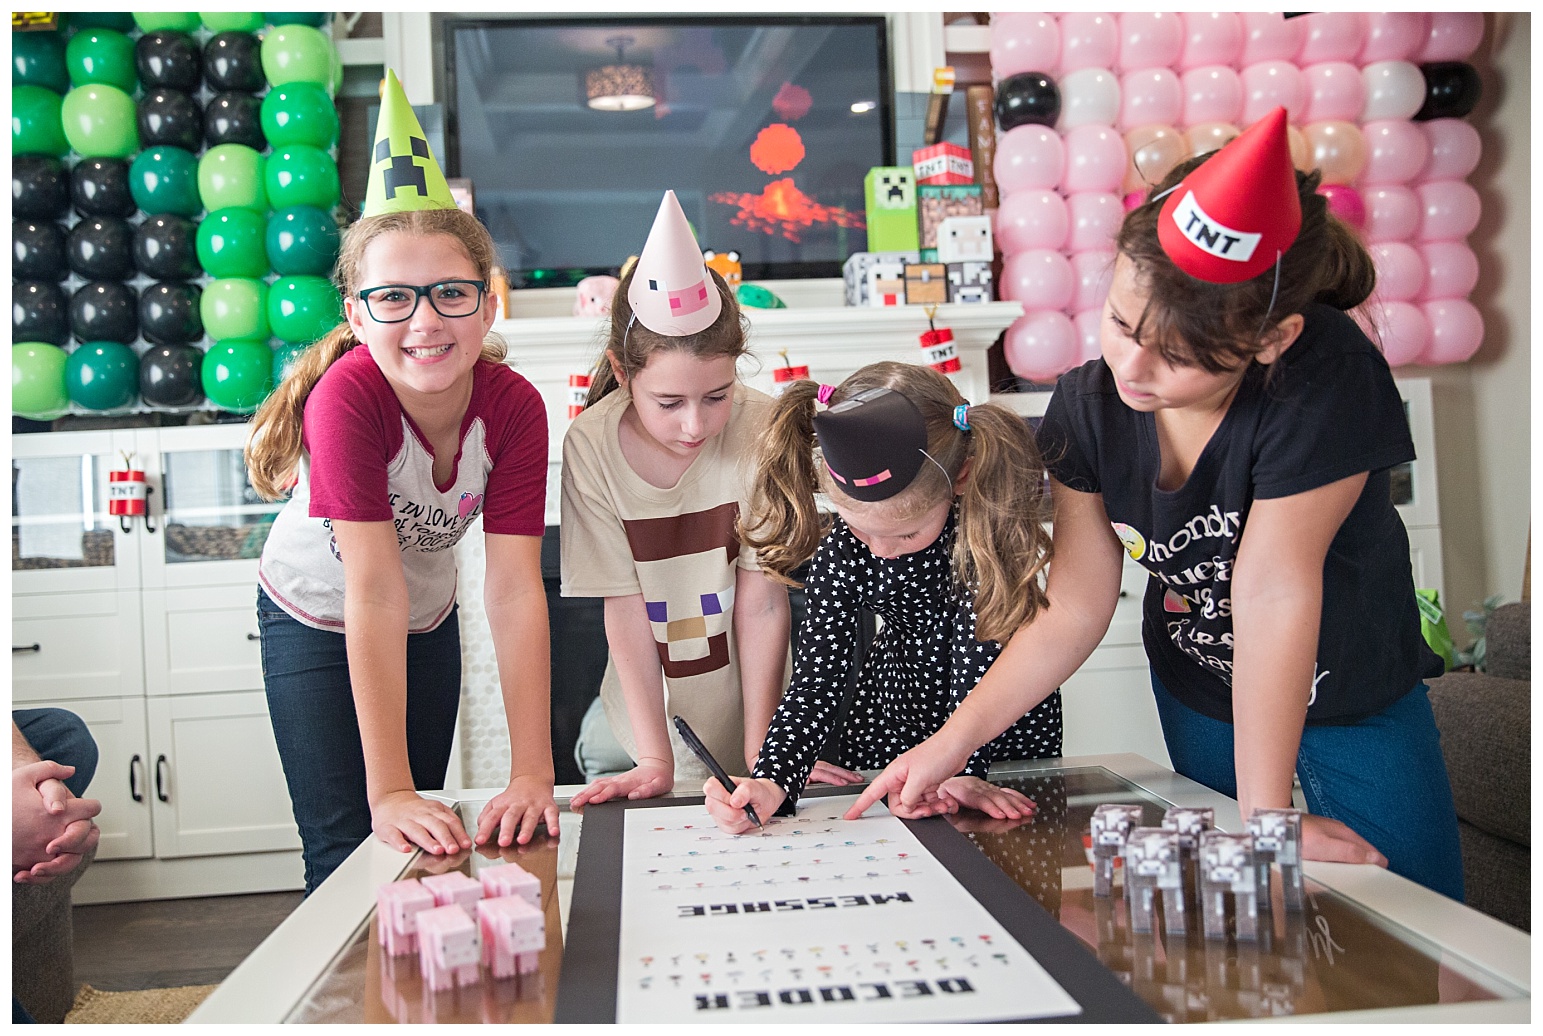
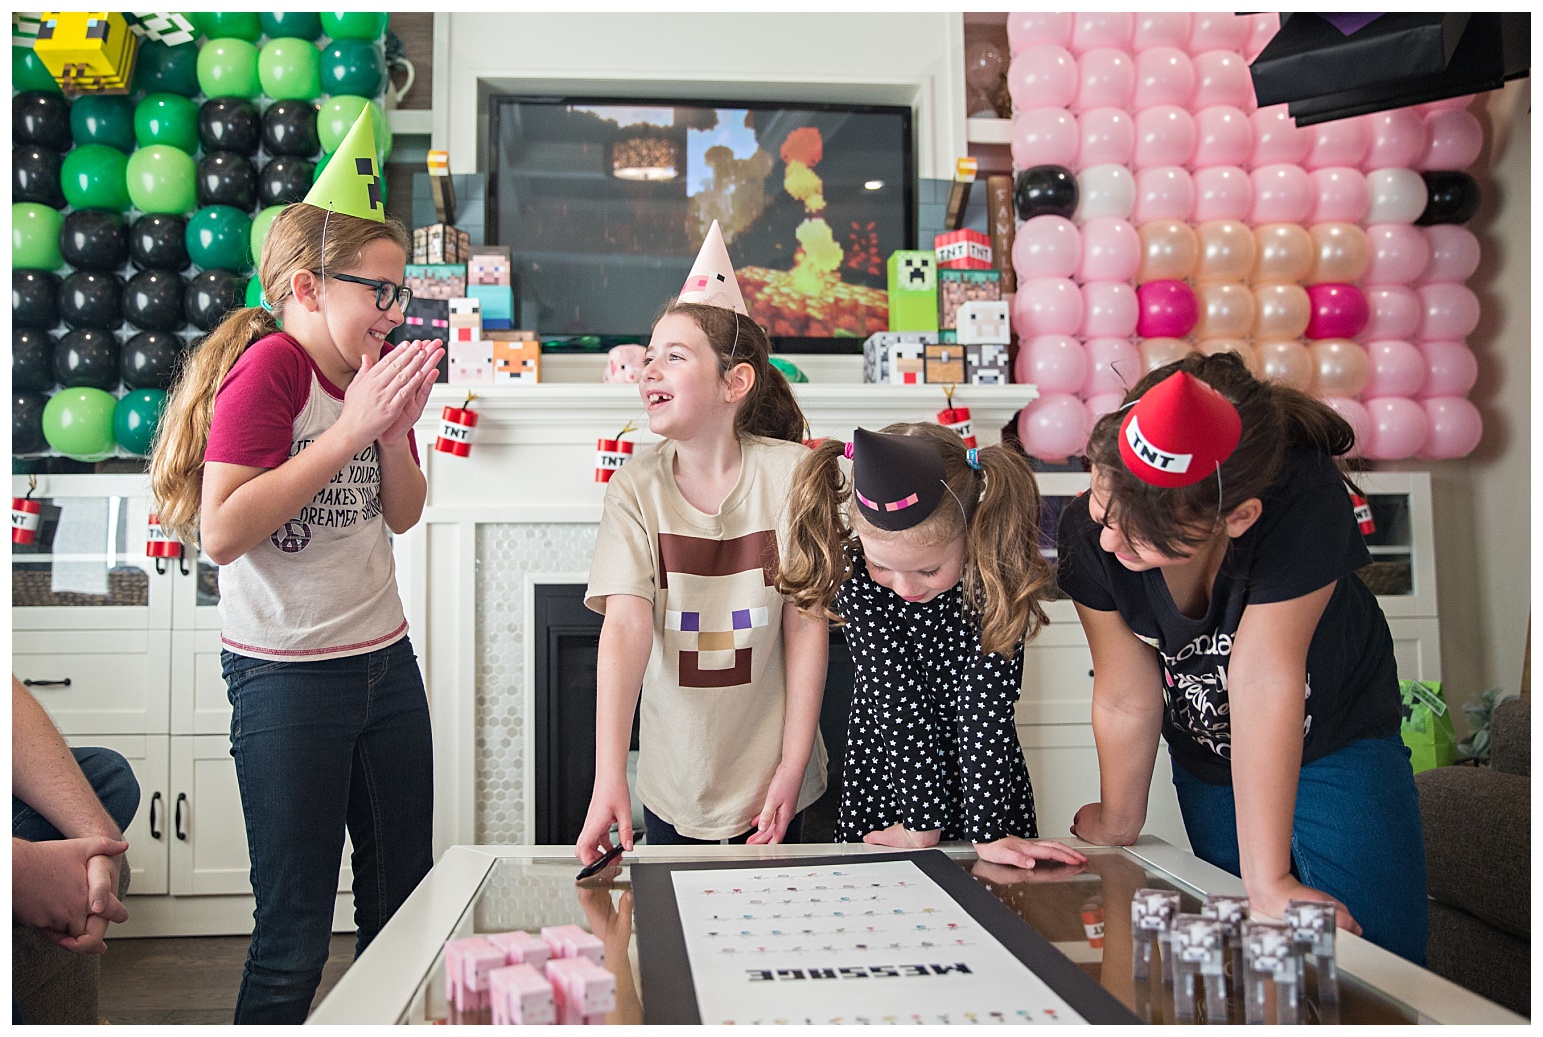
This was the moment they realized what the message said …
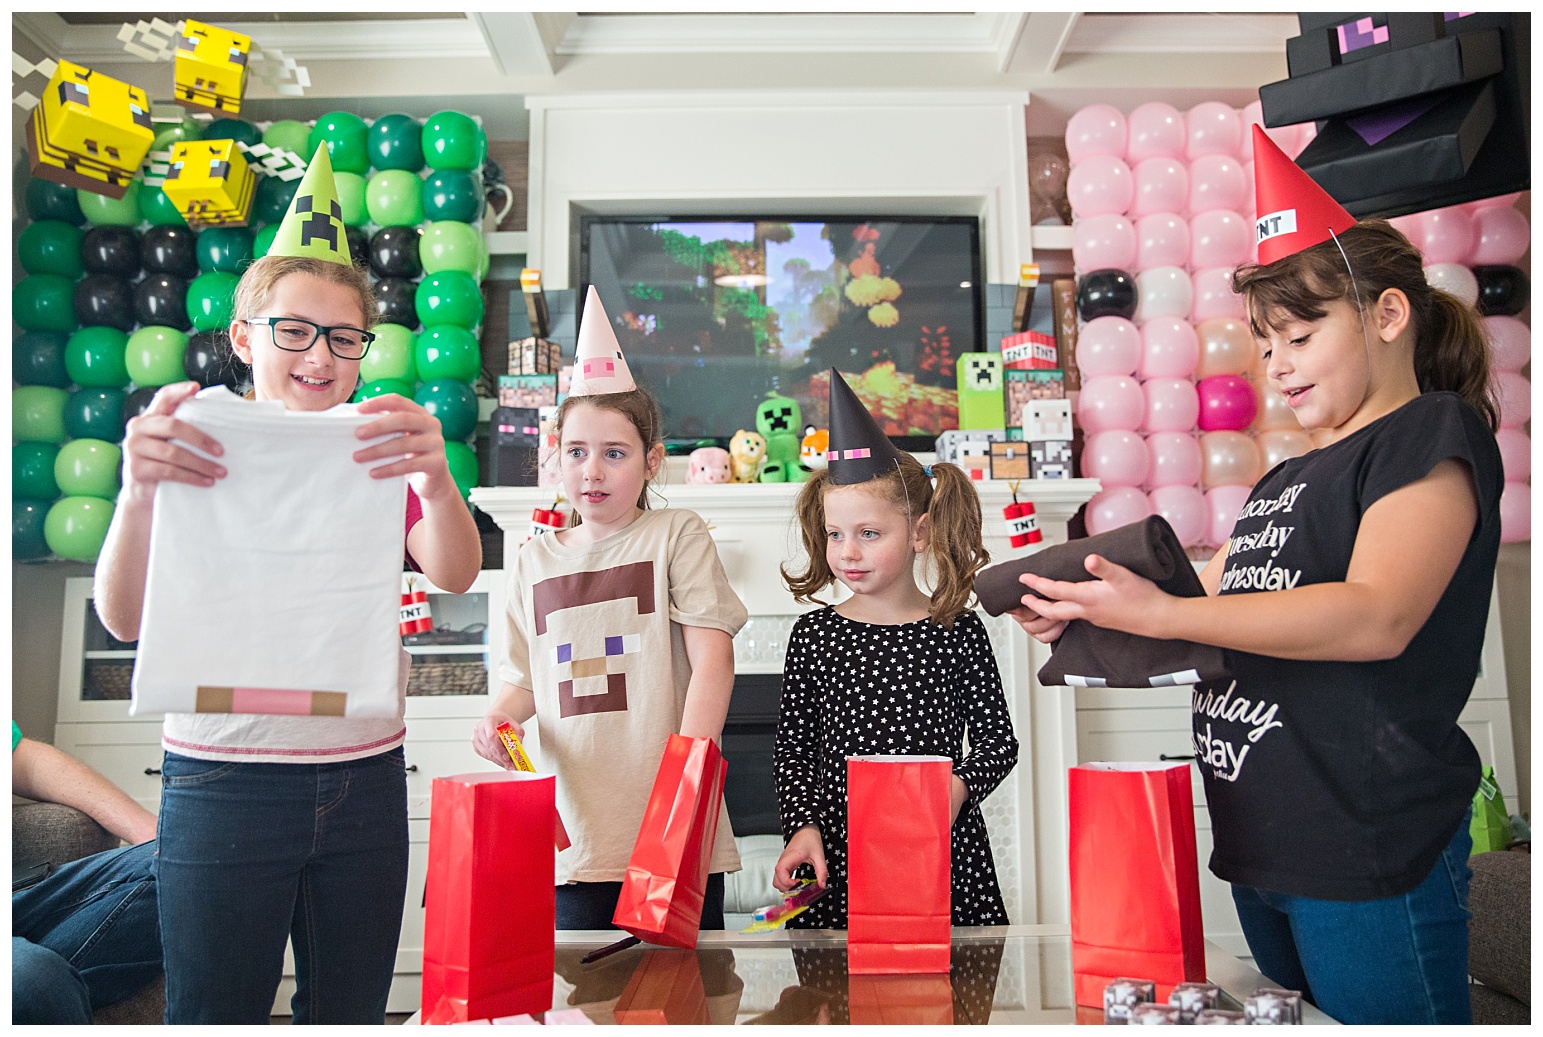
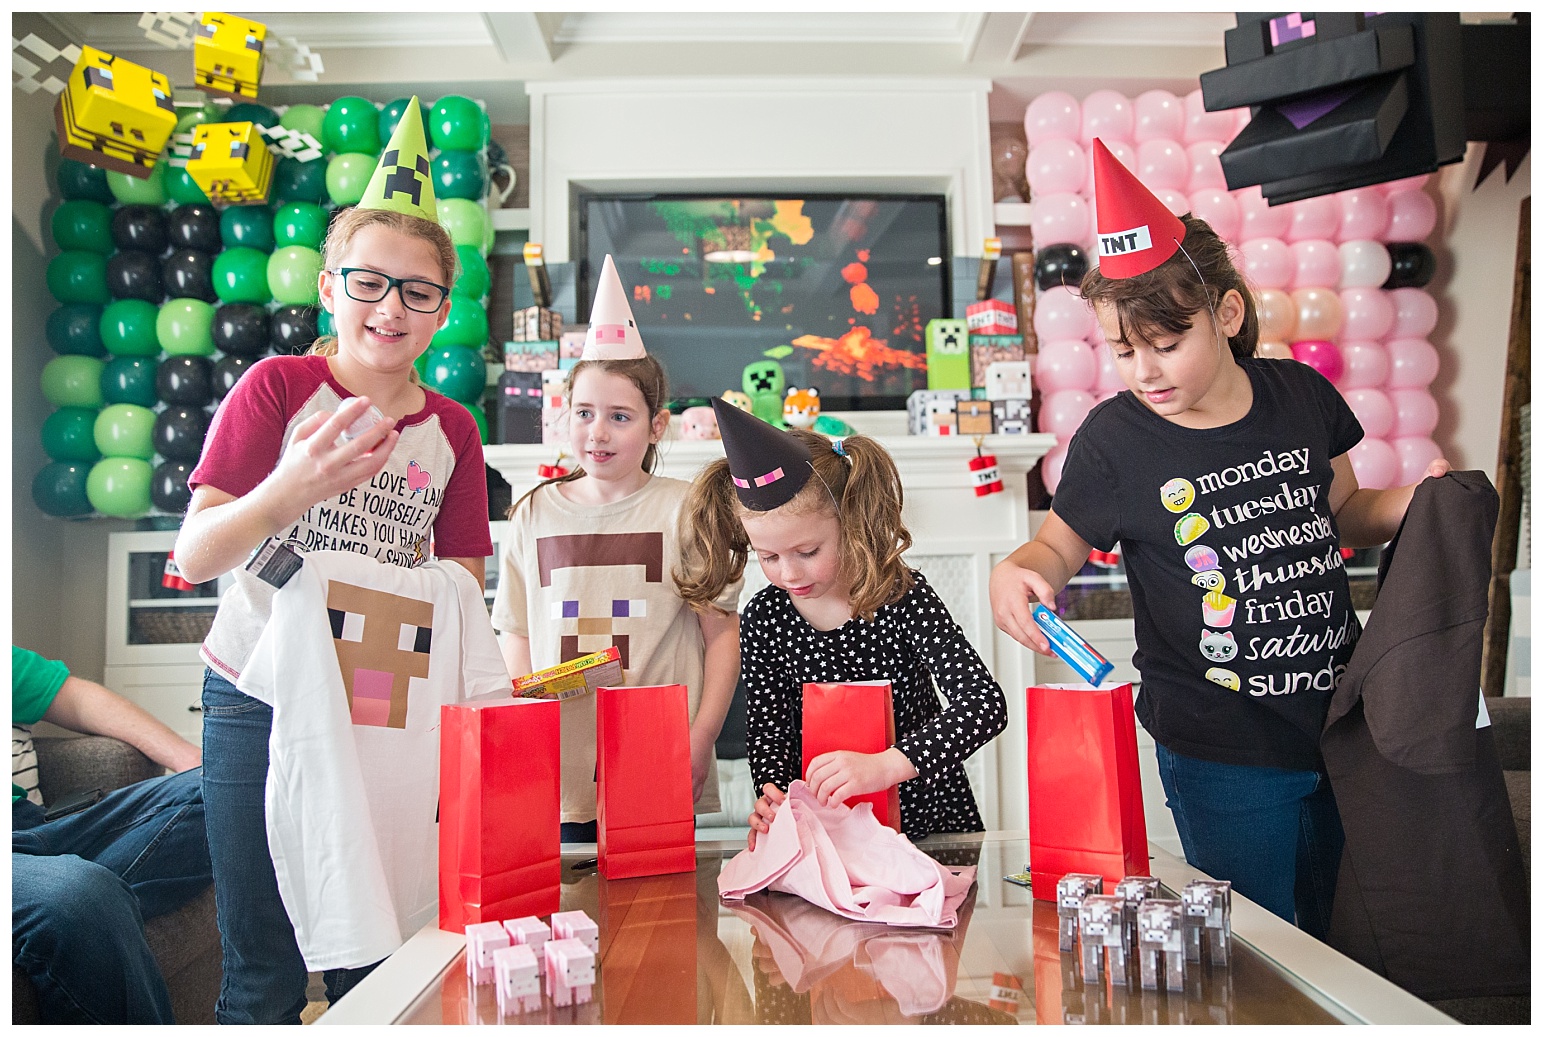
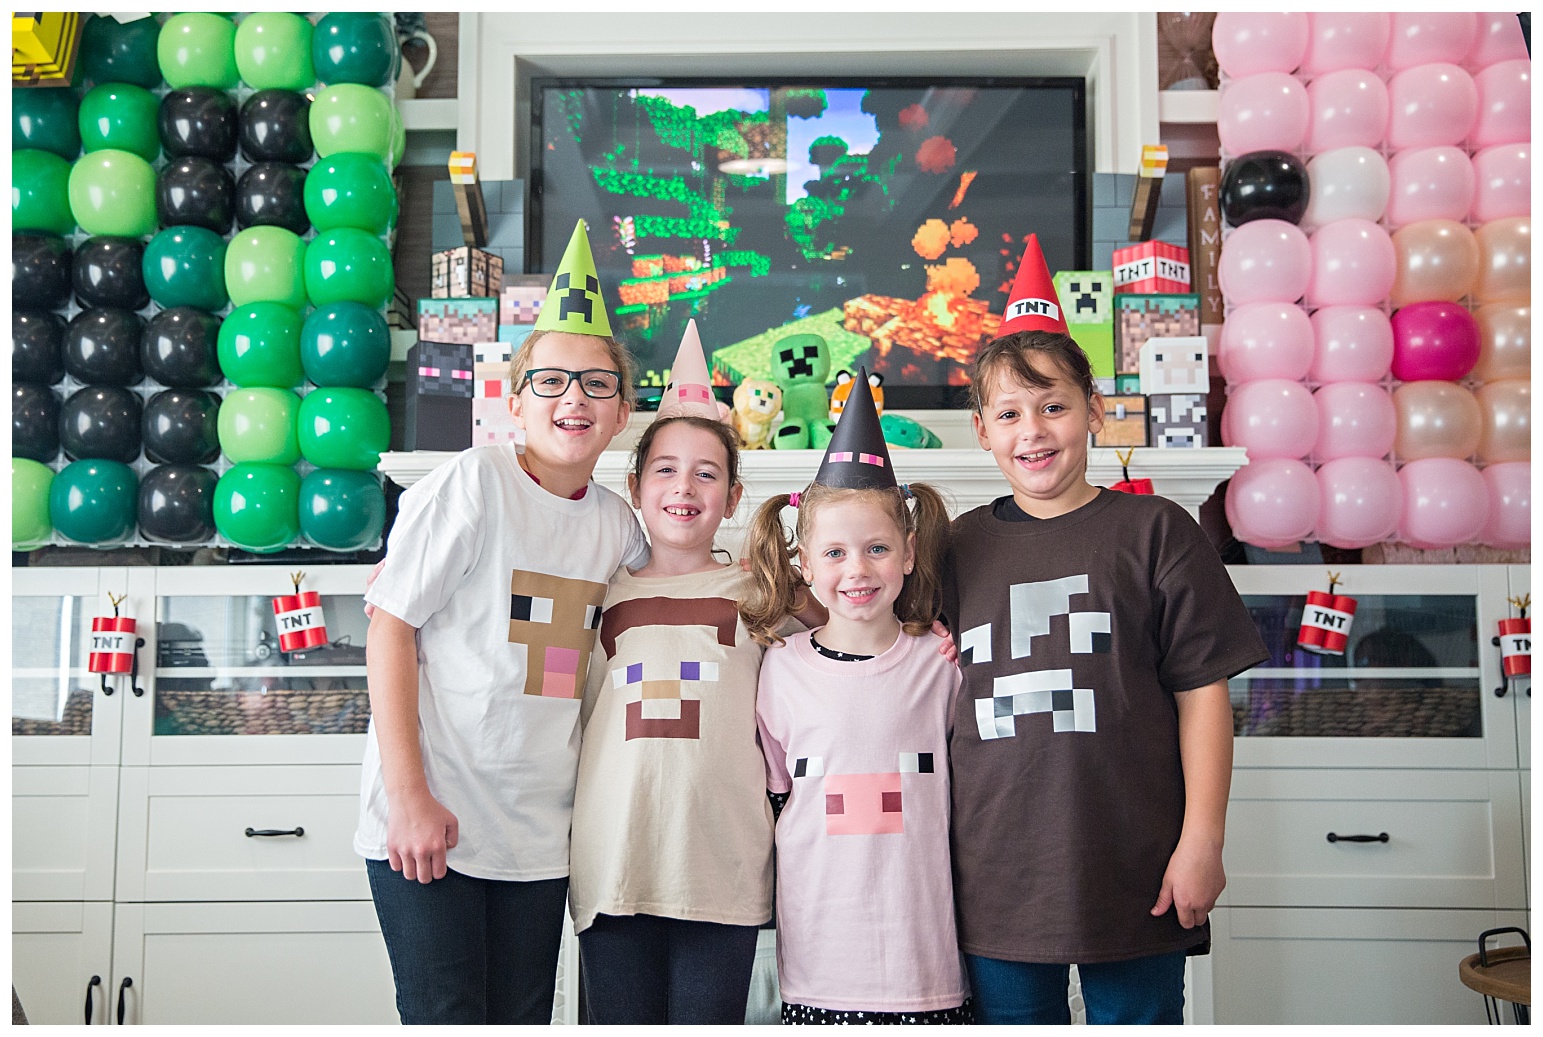
Here are all of the shirts together. They were pretty easy to make since it’s all just squares (didn’t use the computer at all). Just a lot of measuring and cutting straight lines. 😉 I ended up having to buy 2 different packages of HTV to get all of the colours that I needed. I got this one and this one.
And there ya have it.
This was by NO means the party that we had planned. We did not plan to have to split up our loved ones. We did not plan on changing the theme 4 weeks before the event. We did not plan on staying up to all hours of the morning multiple nights to pull it all off. But we adjusted our plans as needed and made it happen to celebrate our little girl in the way that she deserves. 🙂
Leave a Reply Cancel reply
© Moments by Melissa Miller
© Moments by Melissa Miller
Find ME ON
Hi!
I’m wondering what adjustments you made to the scavenger hunt? I downloaded the same game but only have 2 kids! I’m trying to figure out how to make it work for them …. Thanks in advance!
What you did looks amazing! You are very creative and talented! 🙂
I have a few questions as I am wanting to do a similar party but even doing it myself, I feel it would be out of my budget due to printing etc.
Did you do the printing from home or public? How much did printing cost for everything paper & ink? All up how much did this party cost to do?
Thank you