hamilton photographer - full service studio
about
blog
Find me ON
already a client?
login here
galleries
info
contact
hamilton photographer - full service studio
Find me ON
already a client?
login here
about
blog
galleries
info
contact
hamilton photographer - full service studio
Find me ON
already a client?
login here
about
blog
galleries
info
contact
the blog
Woodland Birthday Party
February 3, 2019
Okay, I know this post has been long awaited … people keep asking me, “When are you going to post Aylah’s birthday party?” Well … today is the DAY!!! I’m finally feeling like my work load is under control, so I can share this with a clean conscience. 3 months ago, my baby girl turned six … SIX!! We threw an adorable woodland themed birthday party for her and of course did a (few) photo shoots … obvi!
So with these birthday party posts I always seem to have a TON of comments and questions from all around the world asking how I made all of the DIY projects, so I’m going to try my best to go into detail about how I did things and where I sourced things from (if I can remember). If you just want to look at the pretty pictures and don’t care about the details then feel free to scroll past all of the text going forward. 😉 Either way, grab a coffee … this is a long one folks!
I will also have everything that is listed for SALE at the BOTTOM of this post. I will update the list as things sell so if you see it still there then it’s still available (for pickup in Hamilton or to ship at your cost). Simply comment on this post or email me at melissamiller@live.com to inquire.
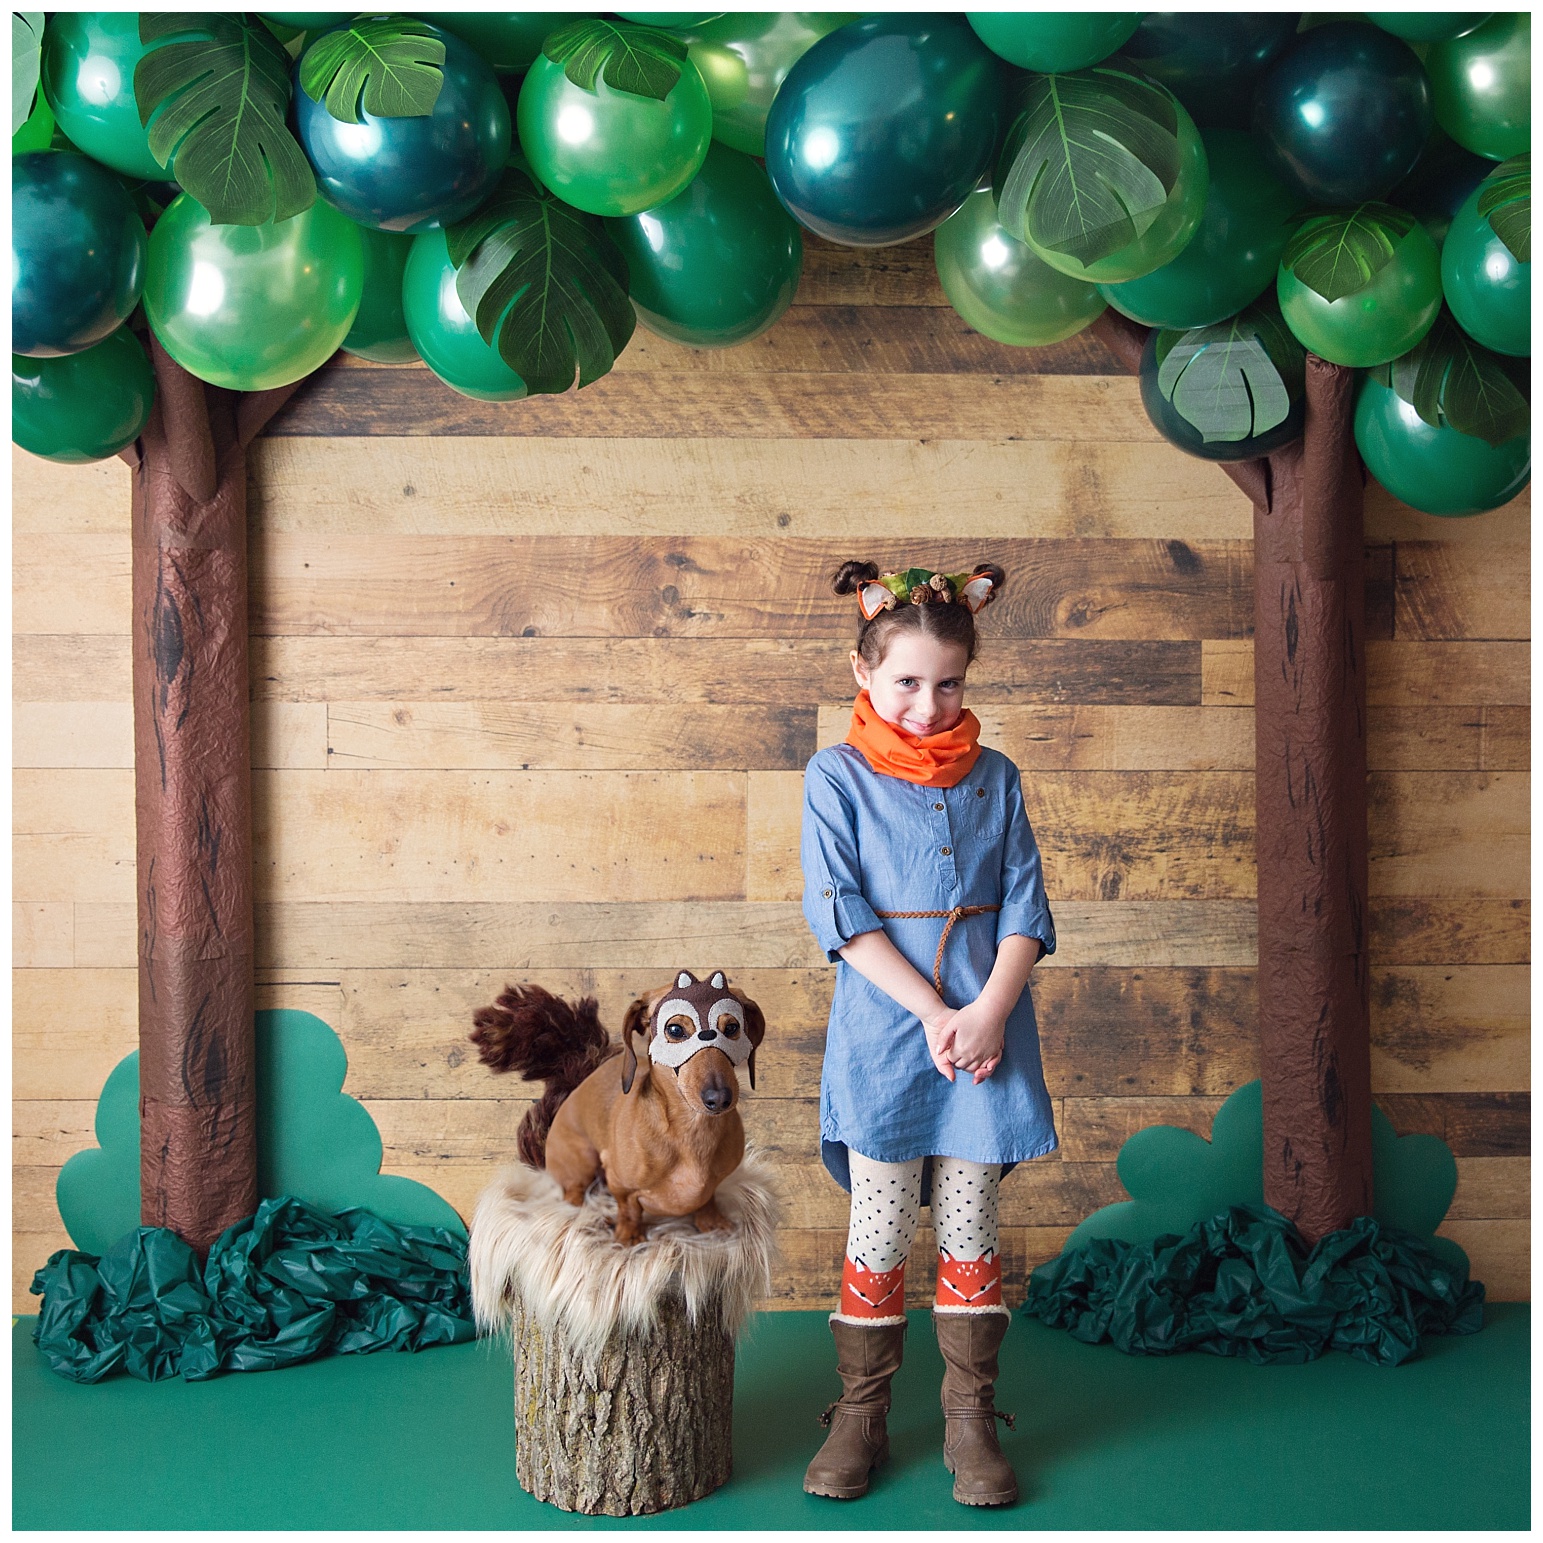
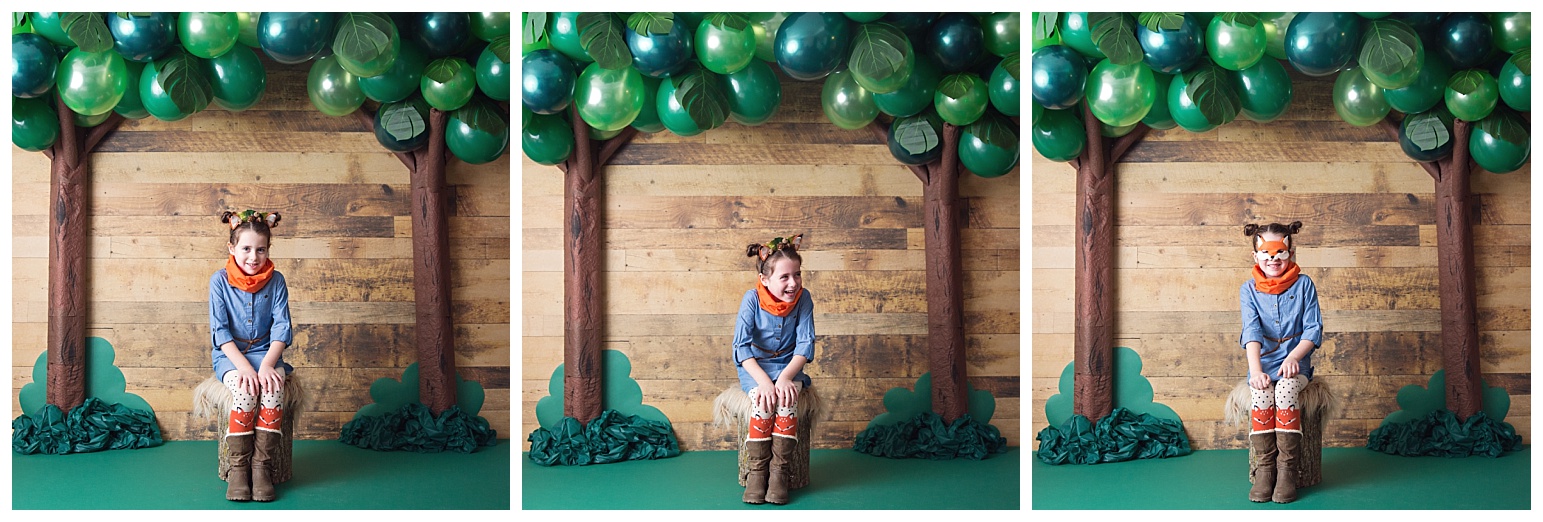
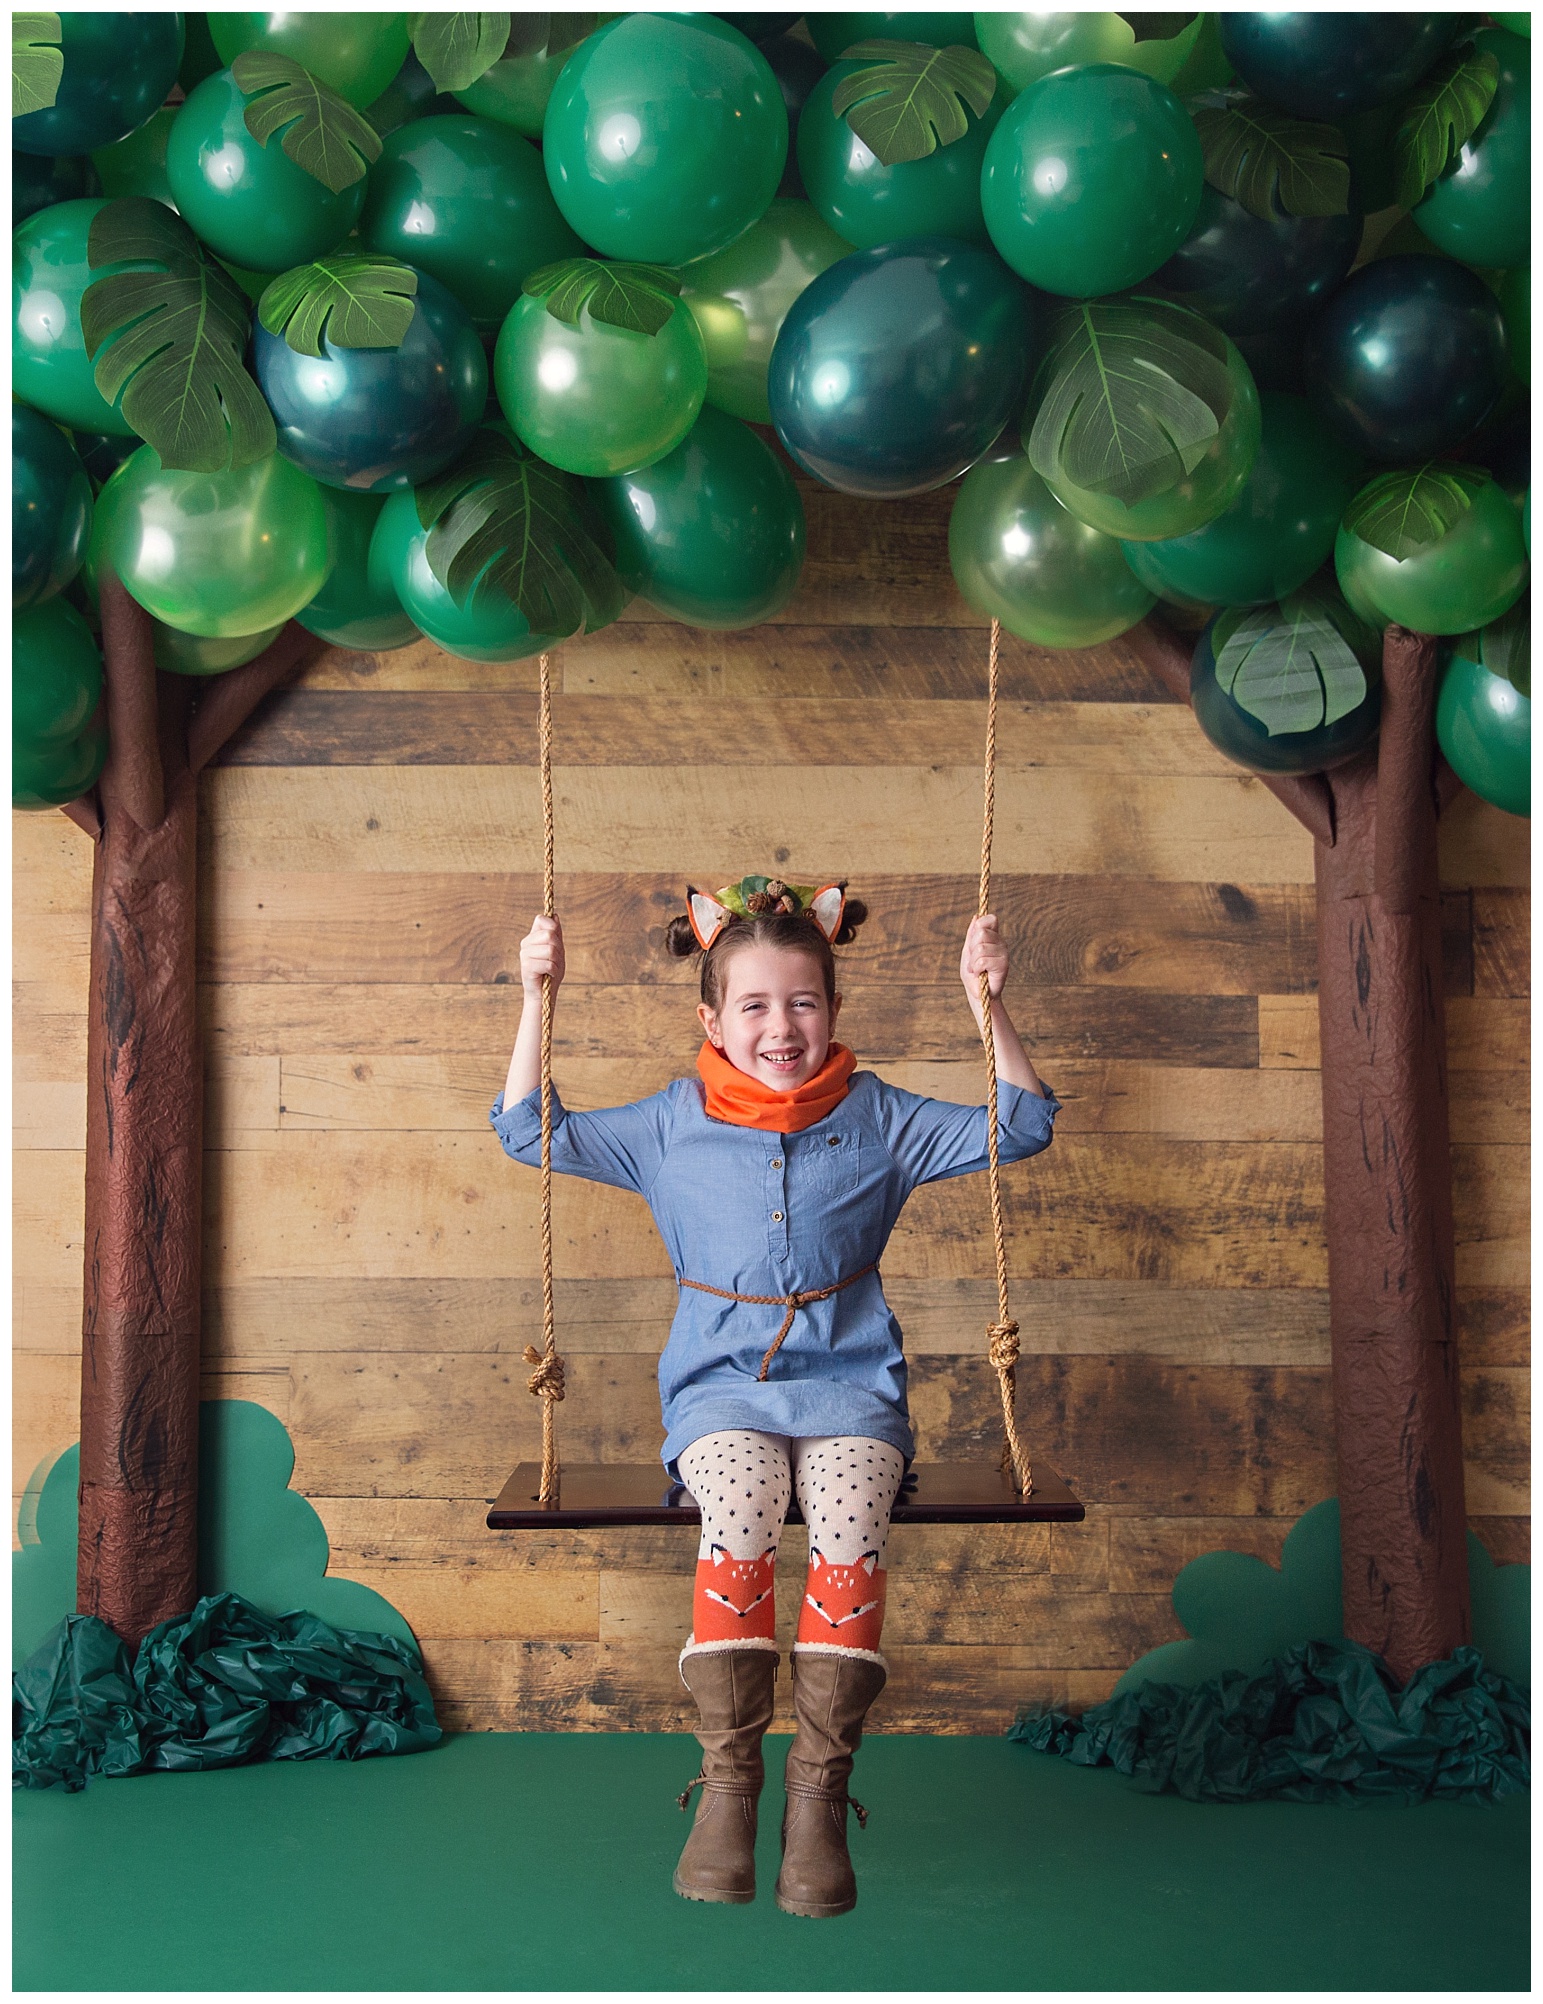
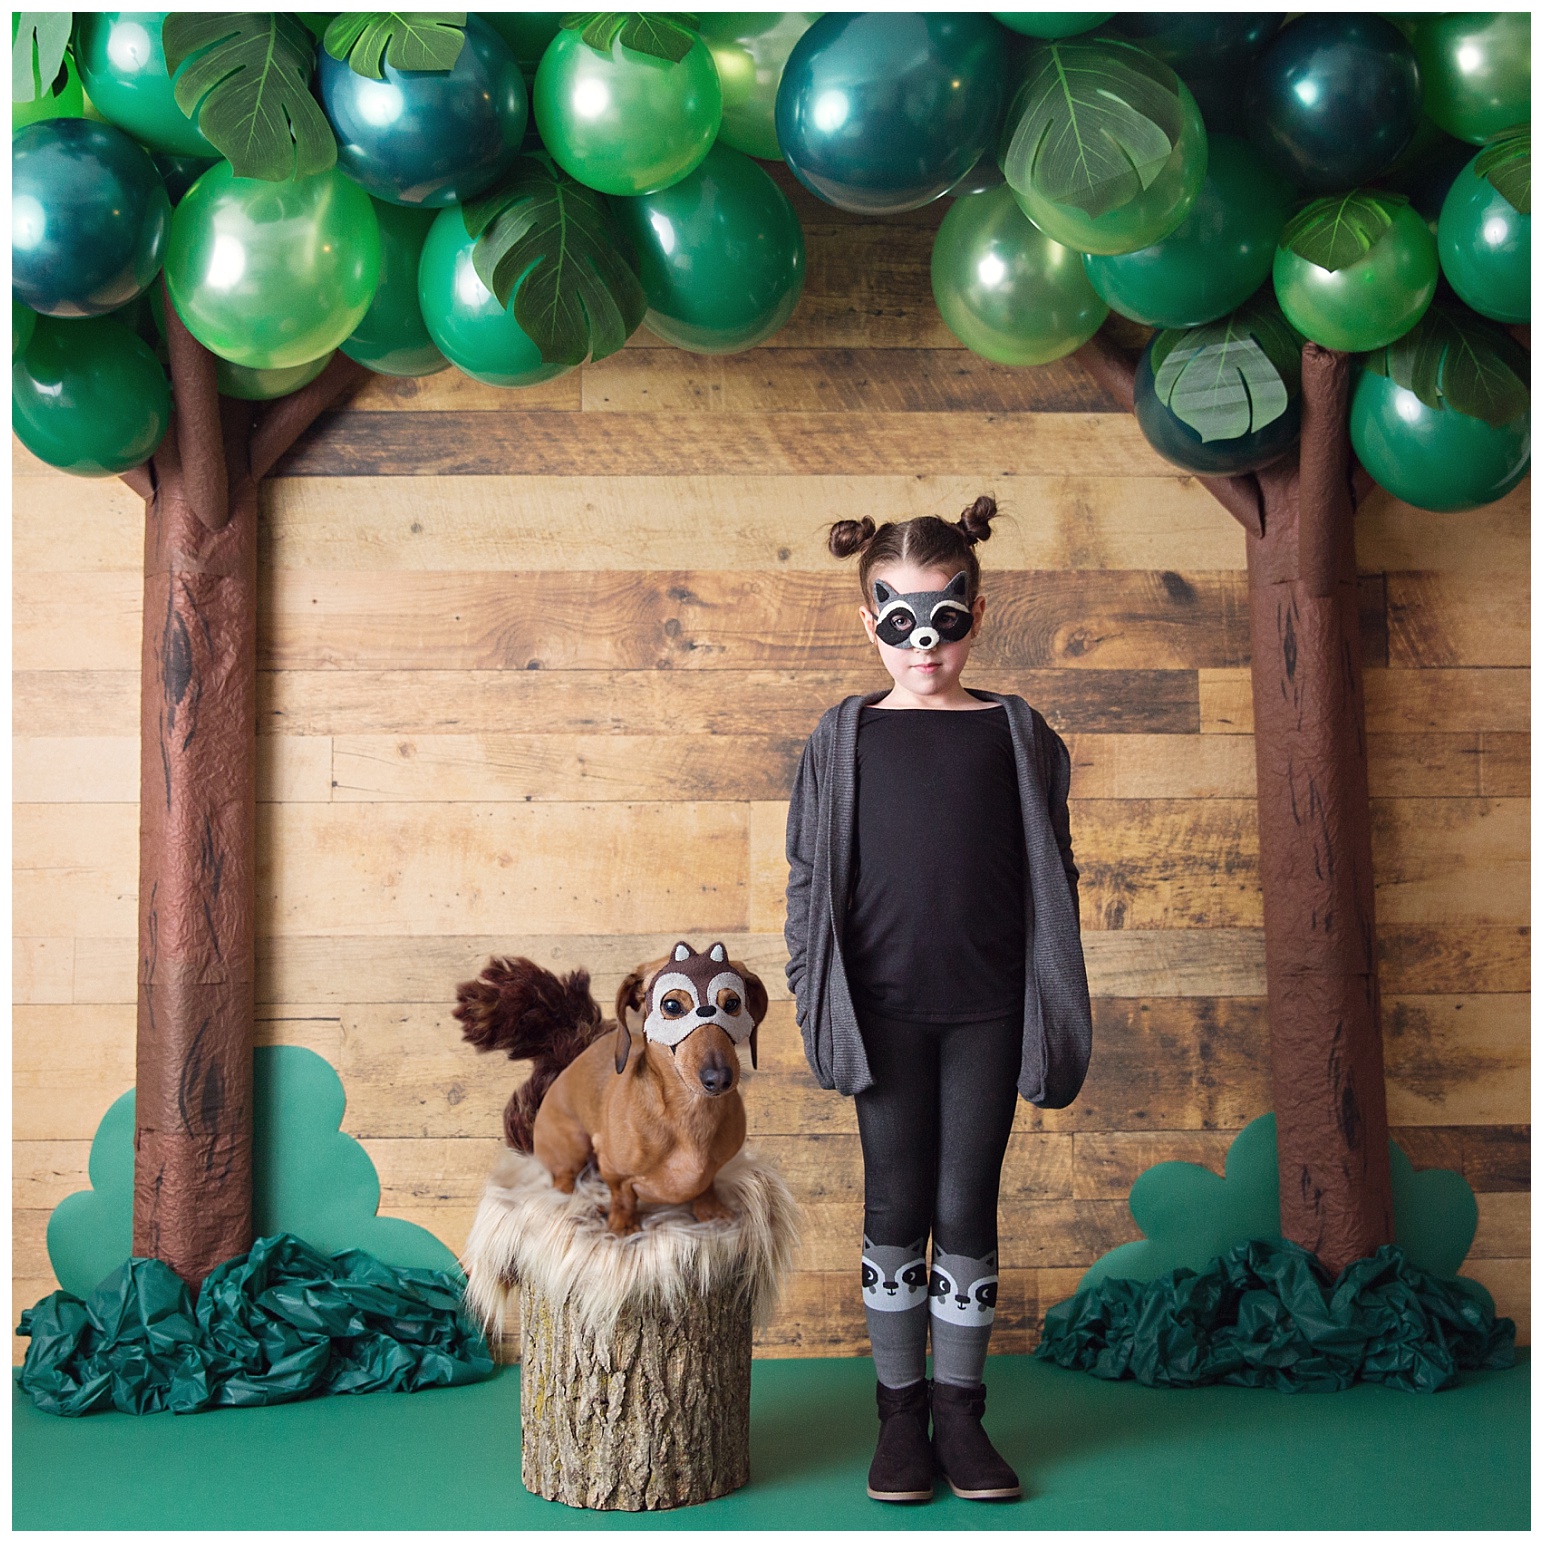
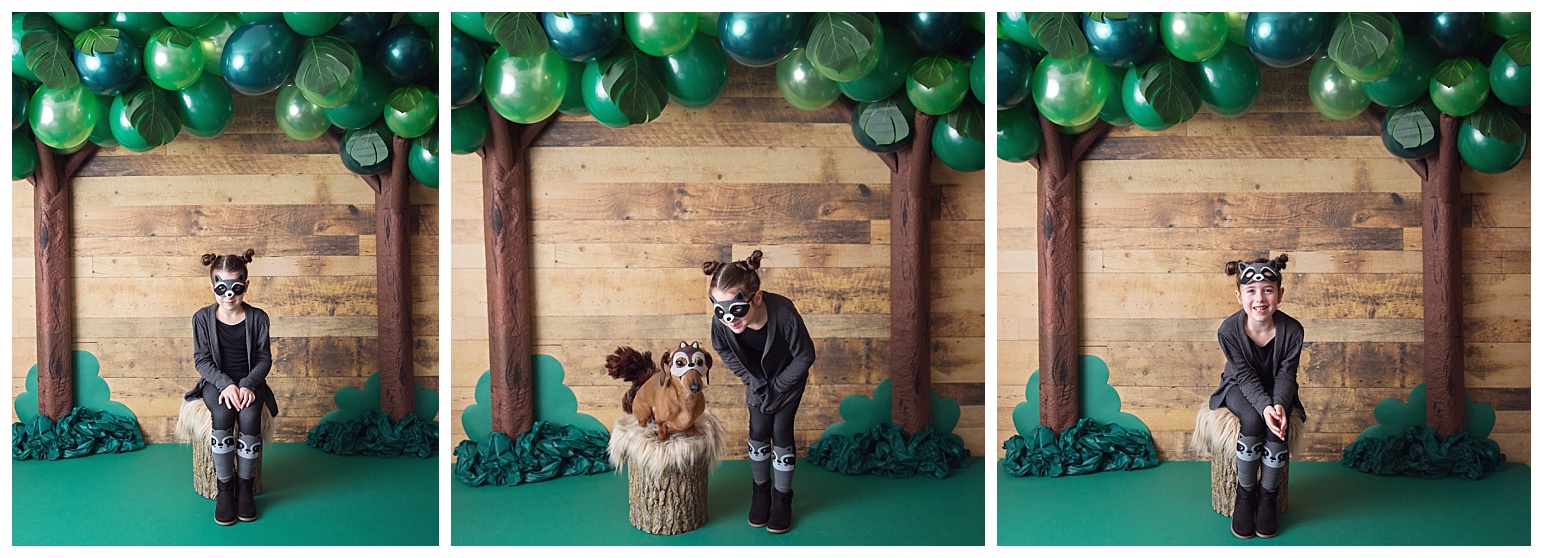
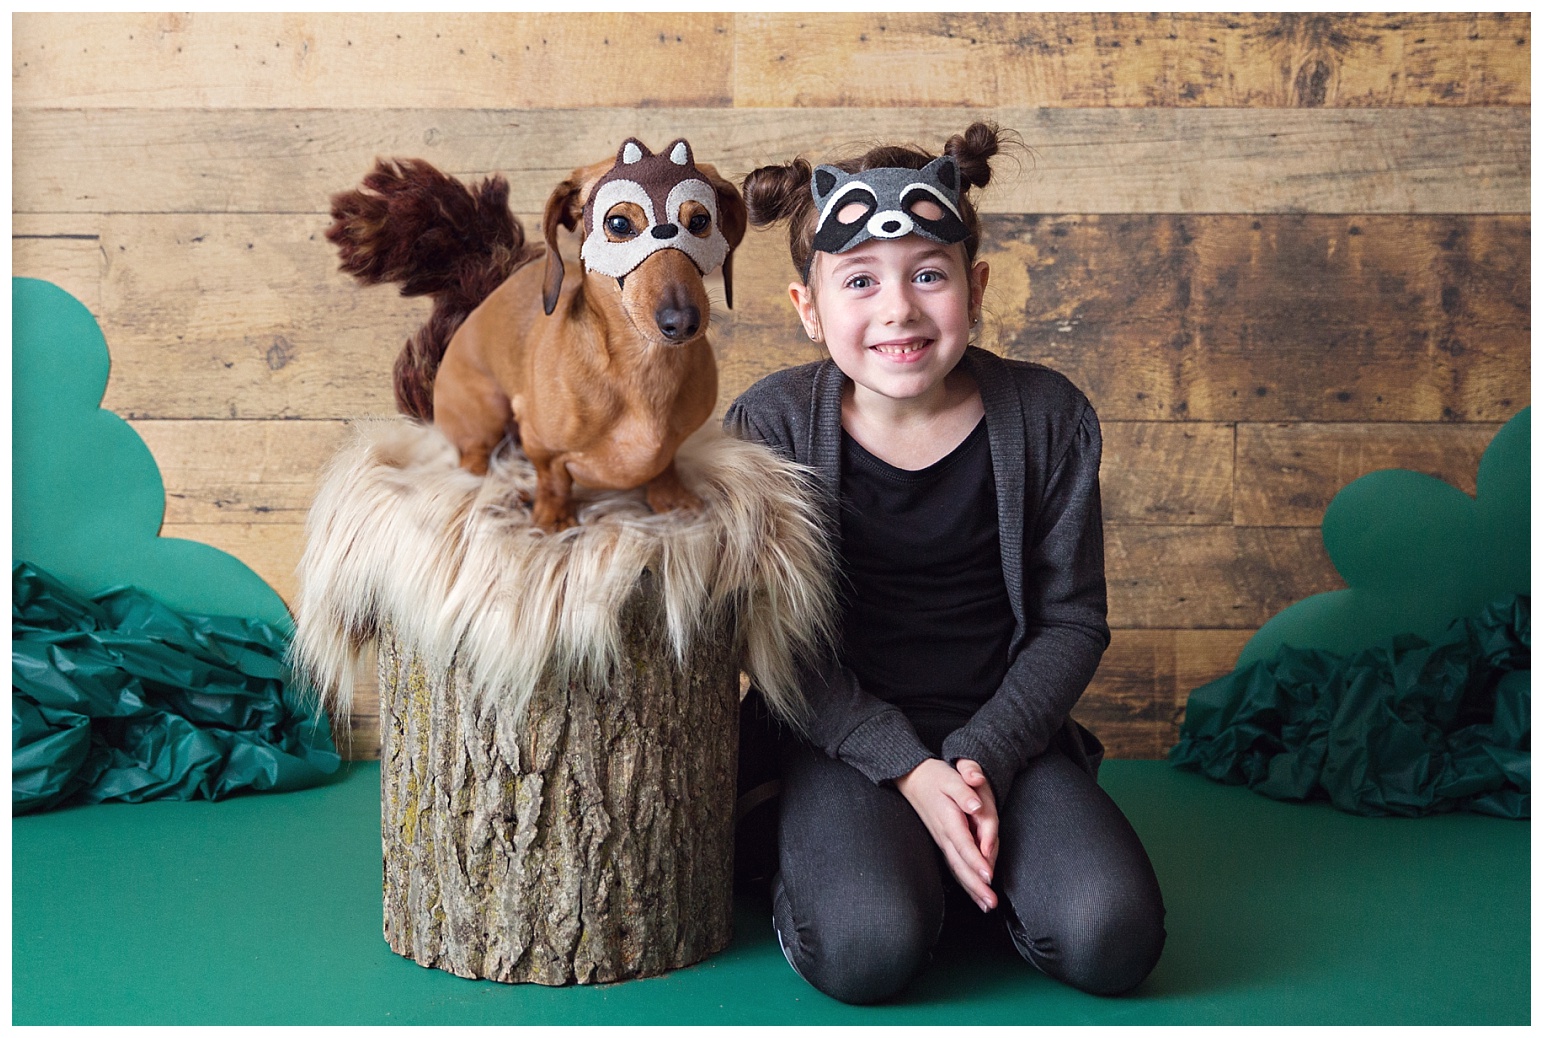
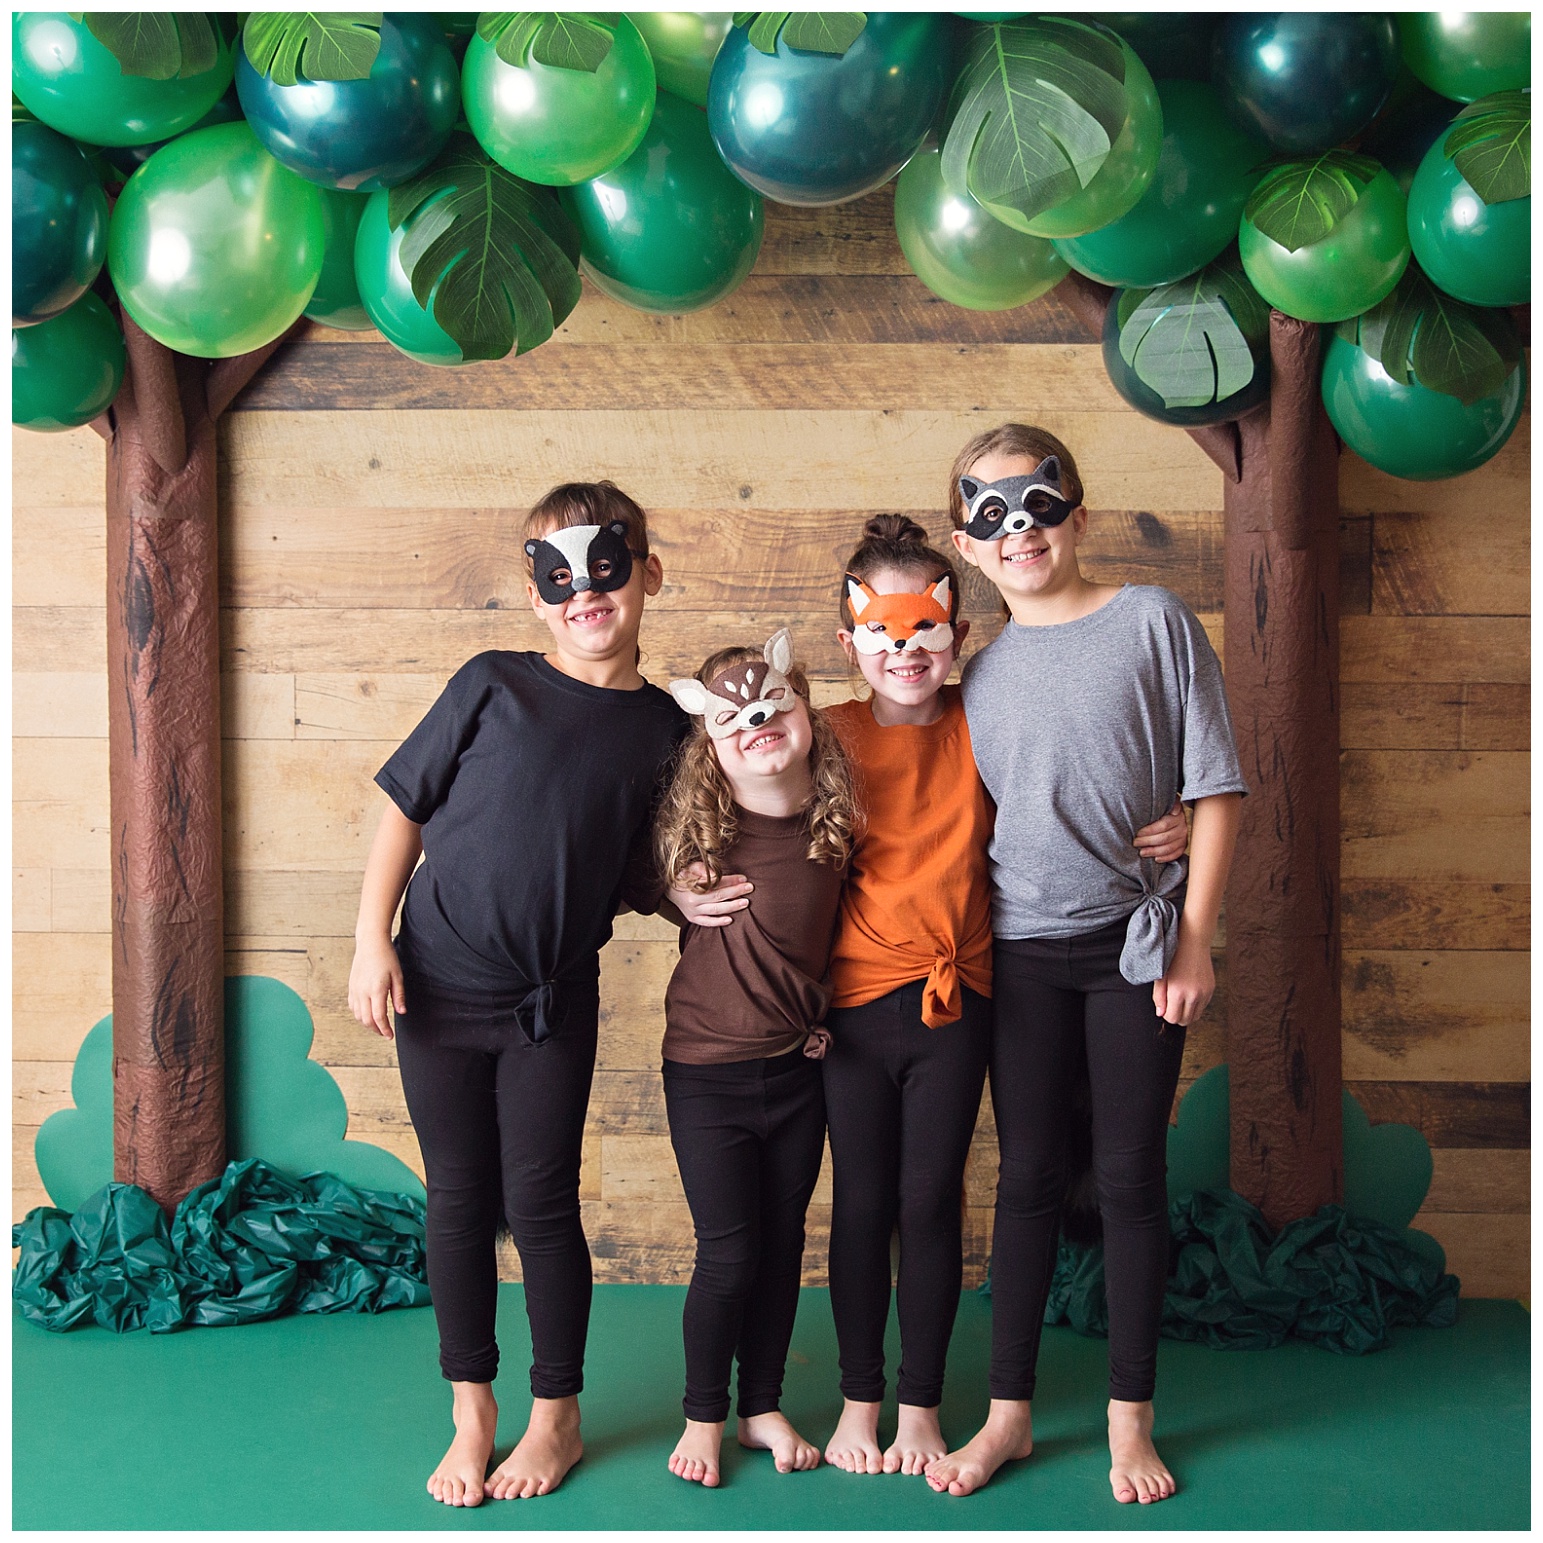
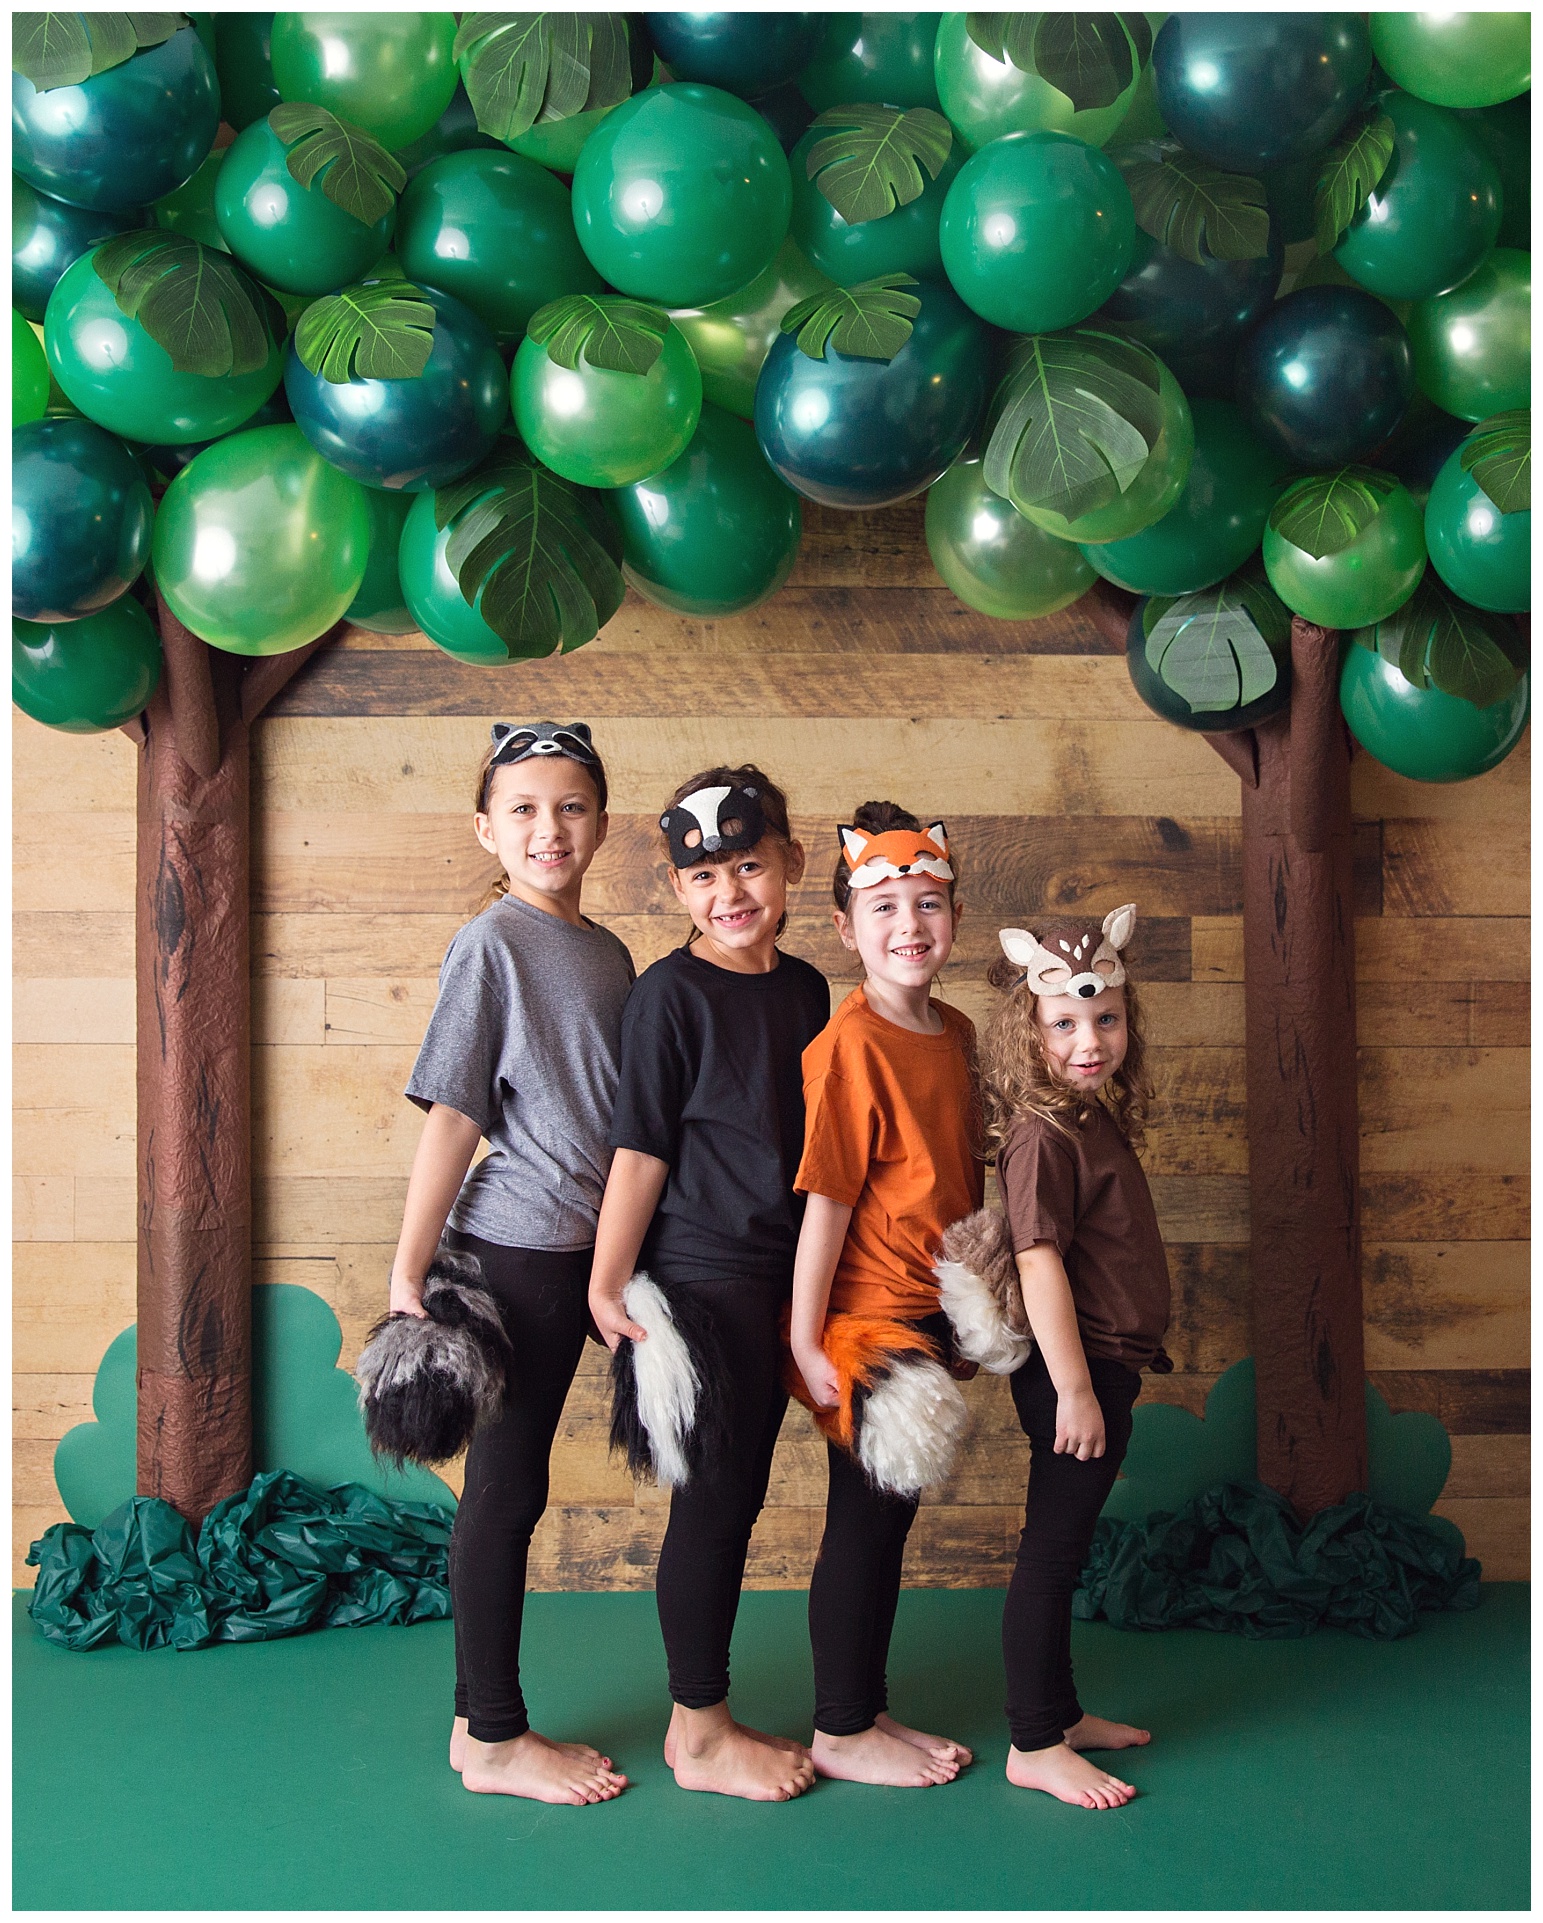
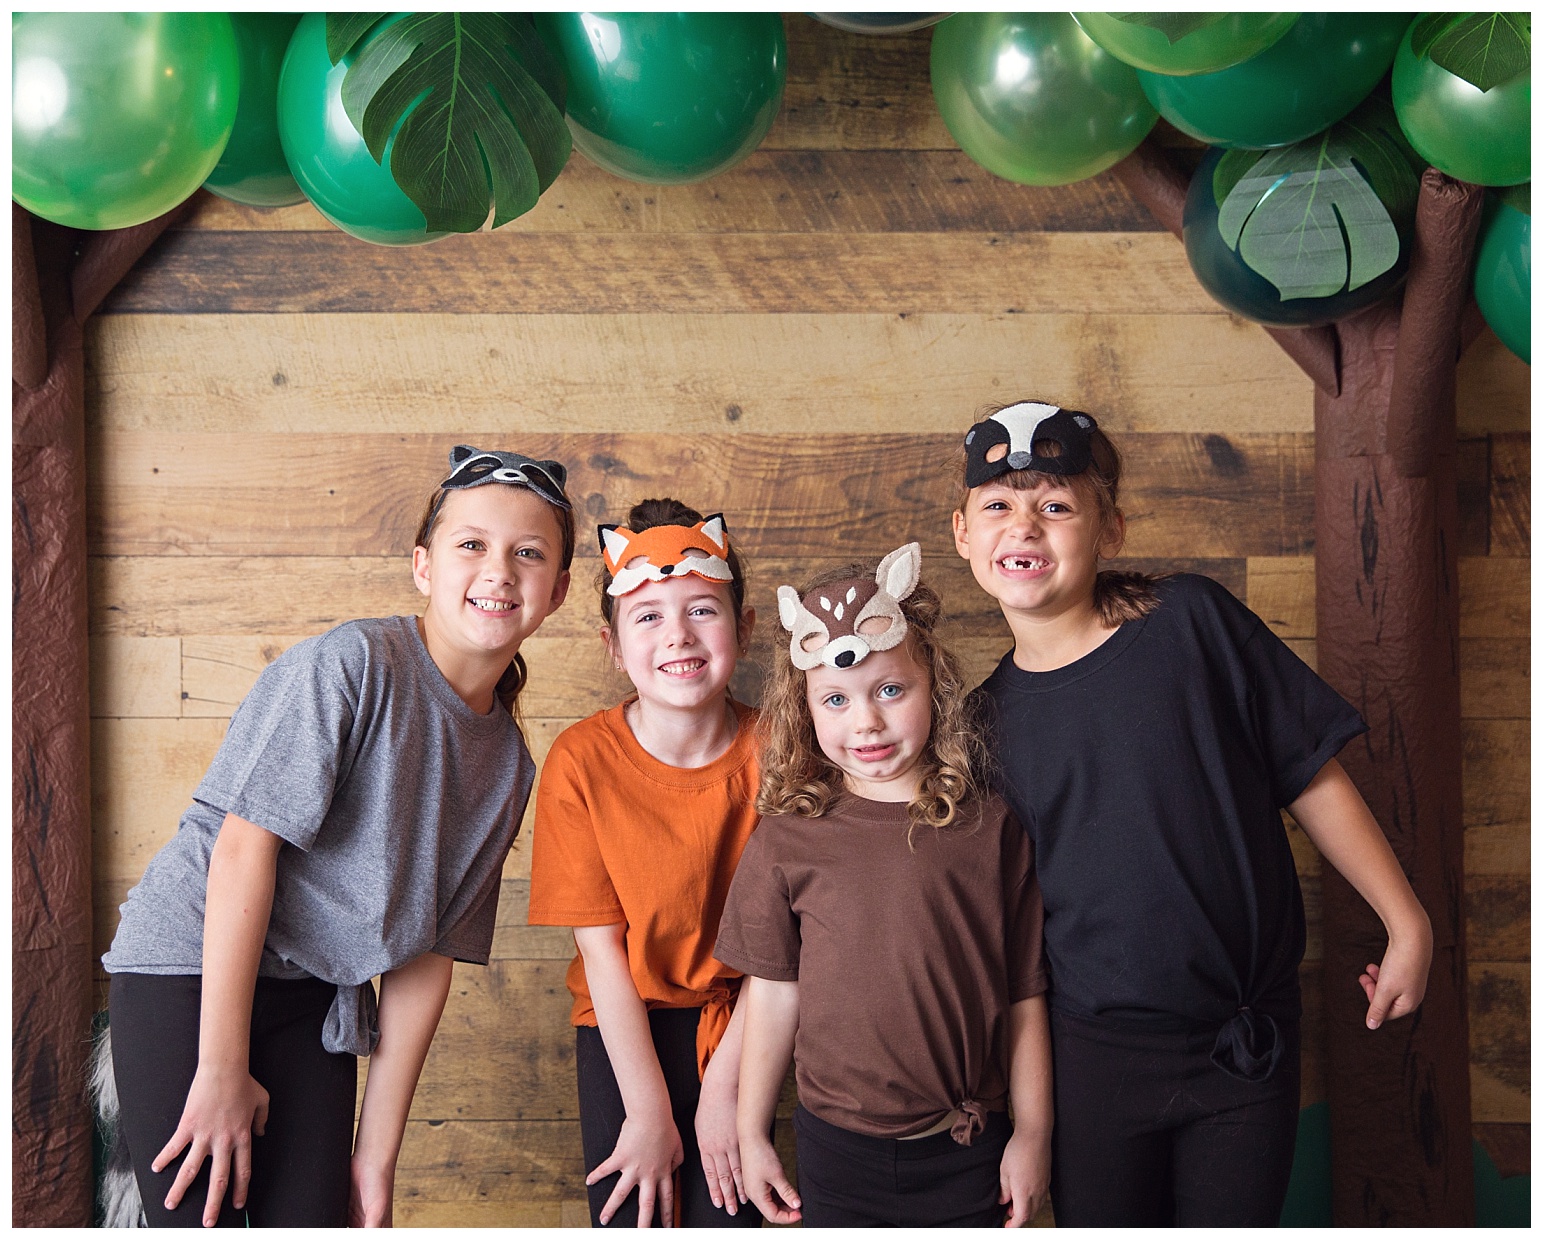
Here is the first shoot of Aylah, her cousins and her pup testing out the setup I did in the studio for her little friends to get their pictures done on party day. This is a tradition that we’ve done every year at Aylah’s parties. Her friends get to do a mini photo shoot in a themed setup and I get all of the photos printed for them and send home with the thank you cards. The kids and parents both love it and look forward to it so it looks like the tradition will be sticking around.
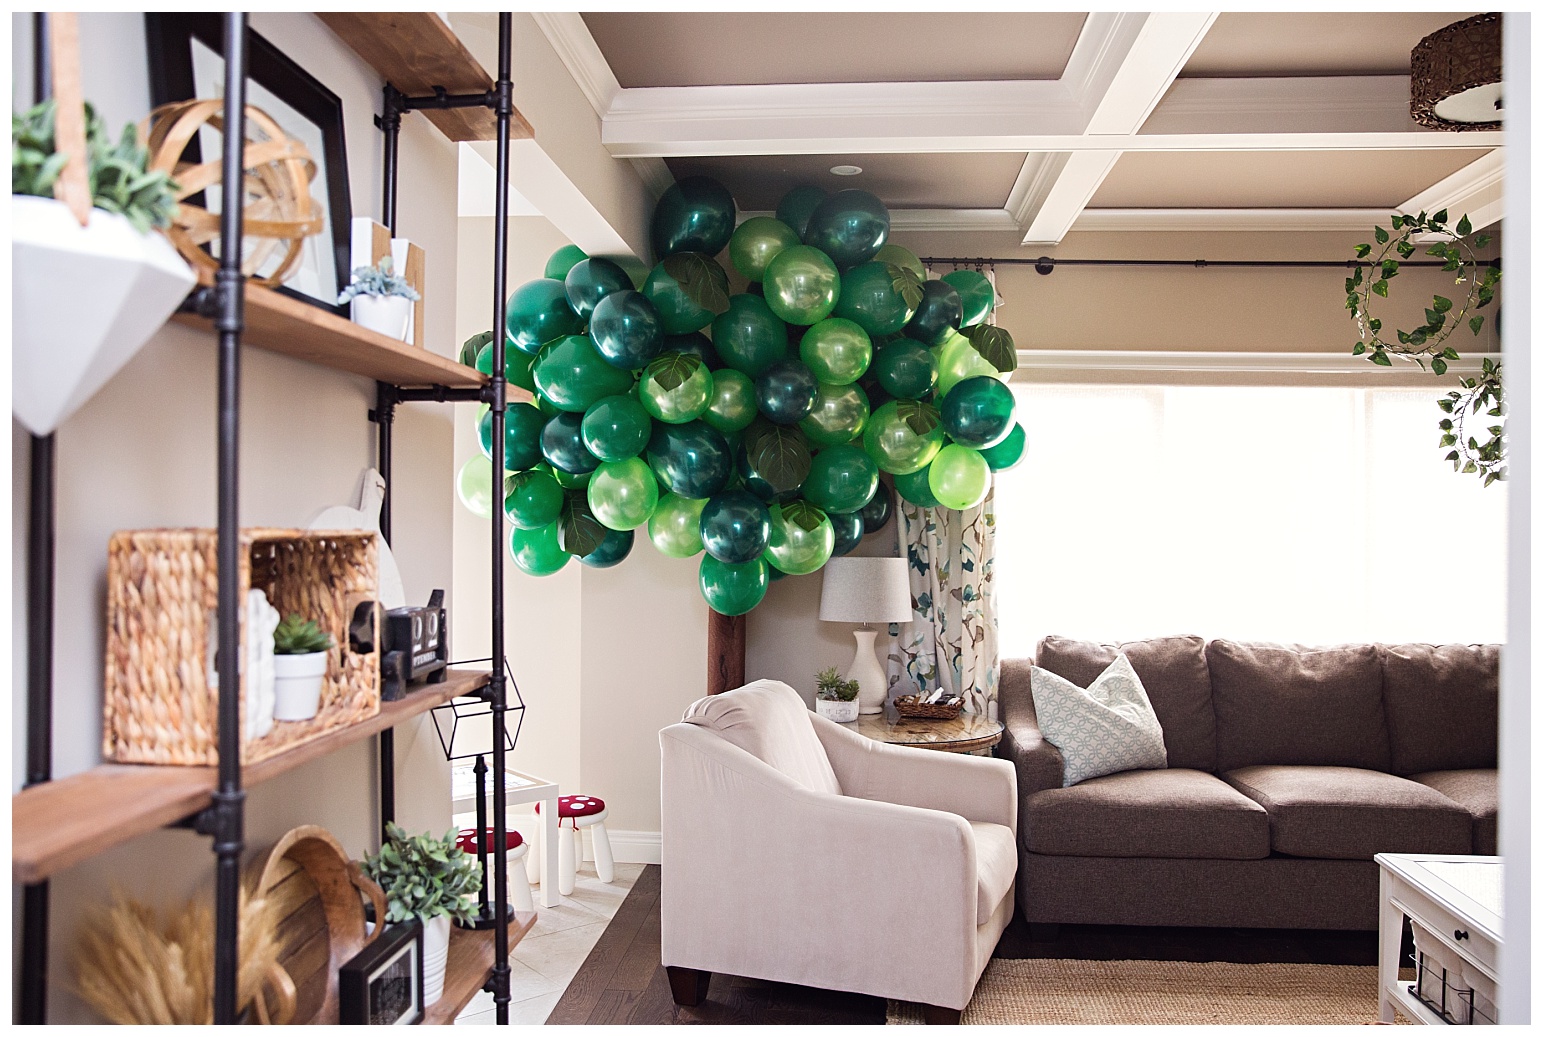
So starting with the setup below. The backdrop is wall panels from Lowes that I have in my studio already. The tree trunks were made using 3 pool noodles tied together and then wrapped in brown tissue paper. The branches are single pool noodles and they were attached to the trunks using strategically placed sewing pins and hot glue. My mom painted the knots on cuz I’m not artistic that way at all, lol.
The balloons are from where I get most of my balloons (highly recommended) Bargain Balloons … they are Canadian. They are great quality, a great price, lots of colour variety, and they show up at my door 2 days after ordering. I used 3 colours for the green balloons to give the trees dimension. The darkest ones are called “pearl forest green”, the medium ones are called “green”, and the lightest ones I had already on hand so I don’t remember where I even got them from.
The leaves are from Amazon and can be found HERE. The solid green backdrop paper is Savage seamless (colour is Evergreen) … I order from B&H.
And I know people are going to ask … Mosby’s chipmunk tail and mask were hand made by me, and no I will not make more to sell, it was a labour of love and a total pain in the butt, lol.
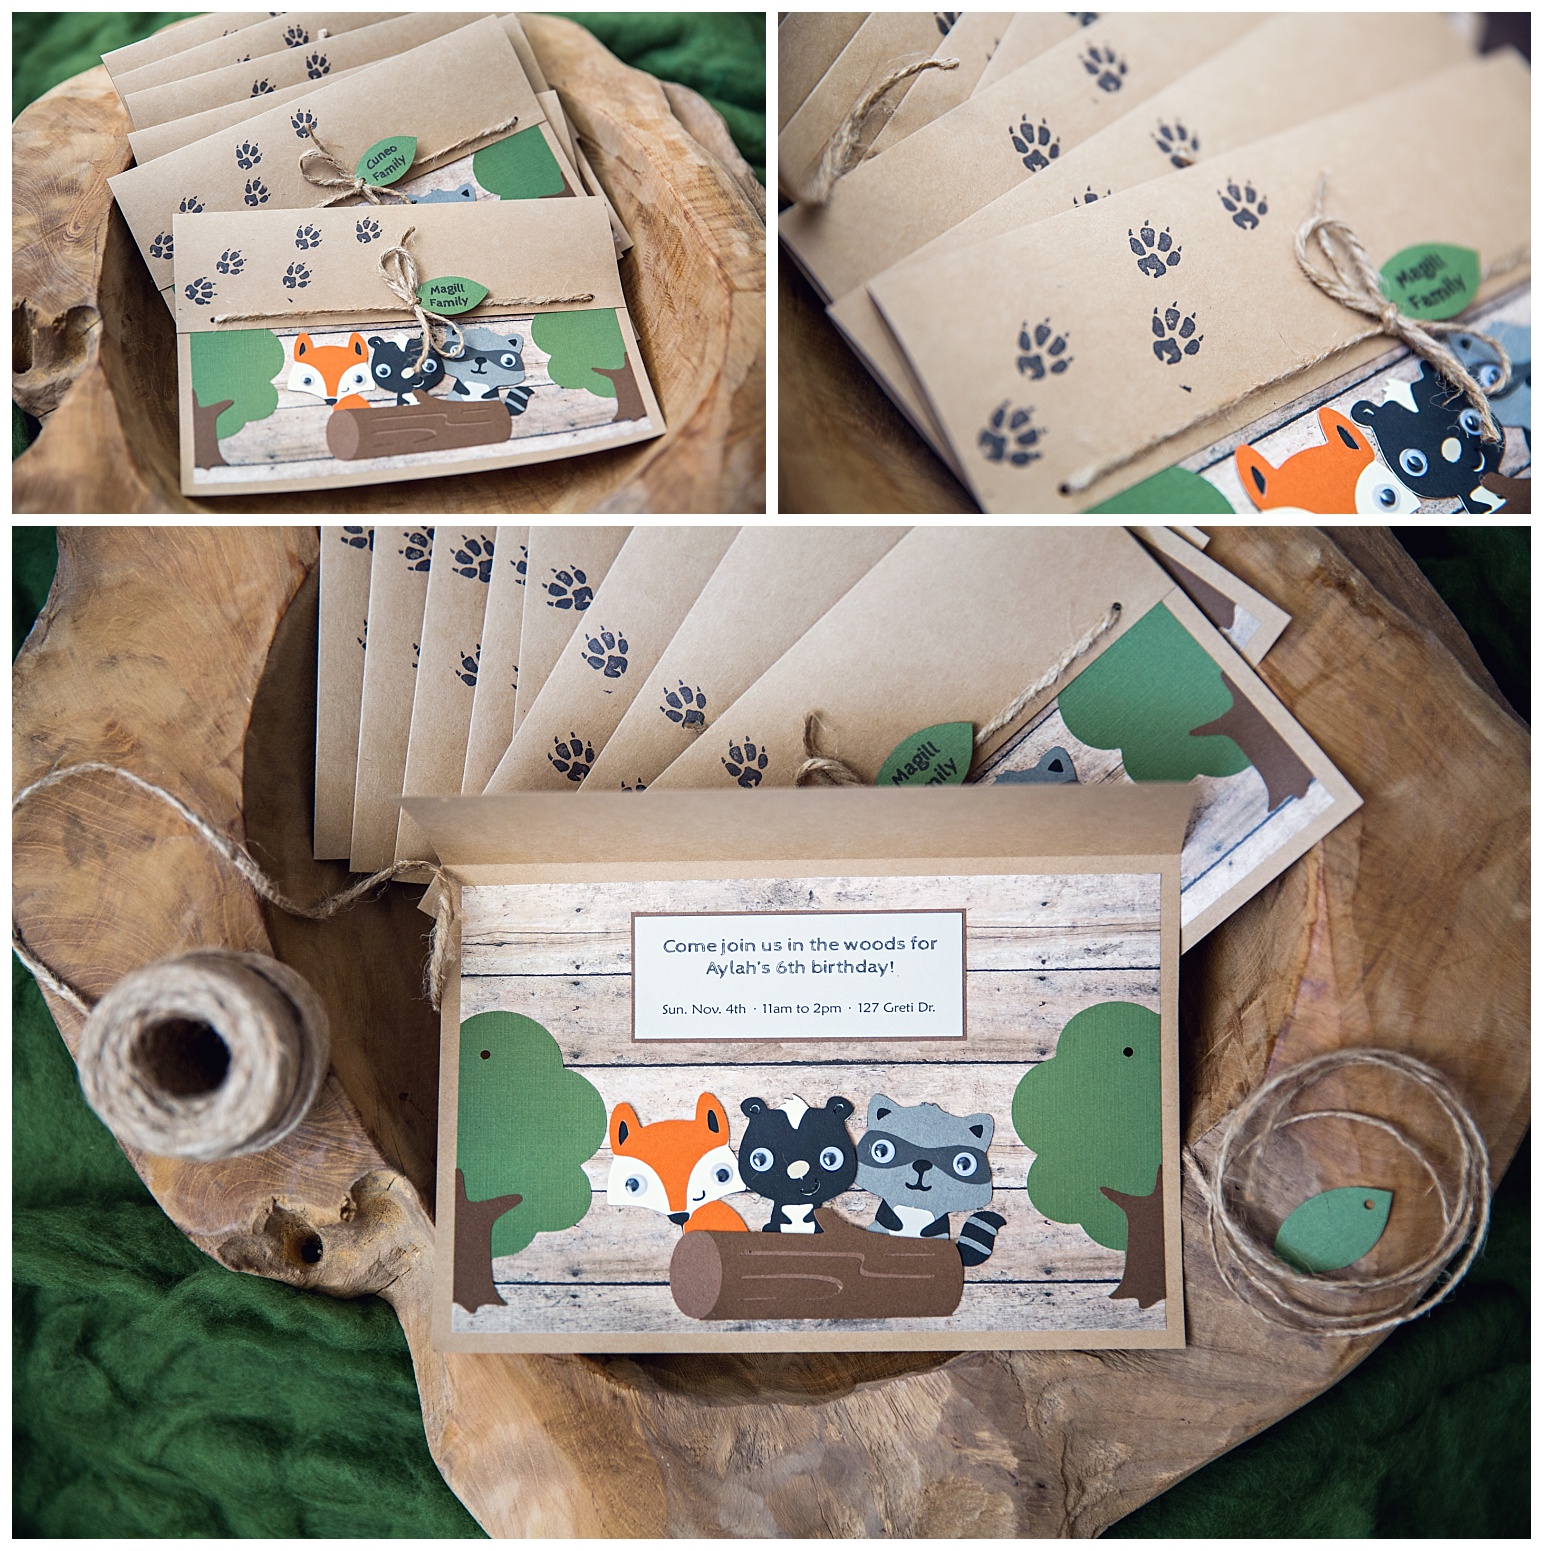
I adore these invitations … they turned out SO cute! The cutouts were all done with my super old Cricut machine using the “Create a Critter” cartridge. In other news I got the new Cricut Explore Air 2 for Christmas and I’m dying to crack that puppy open and start using it! The animal print stamps were from Amazon.
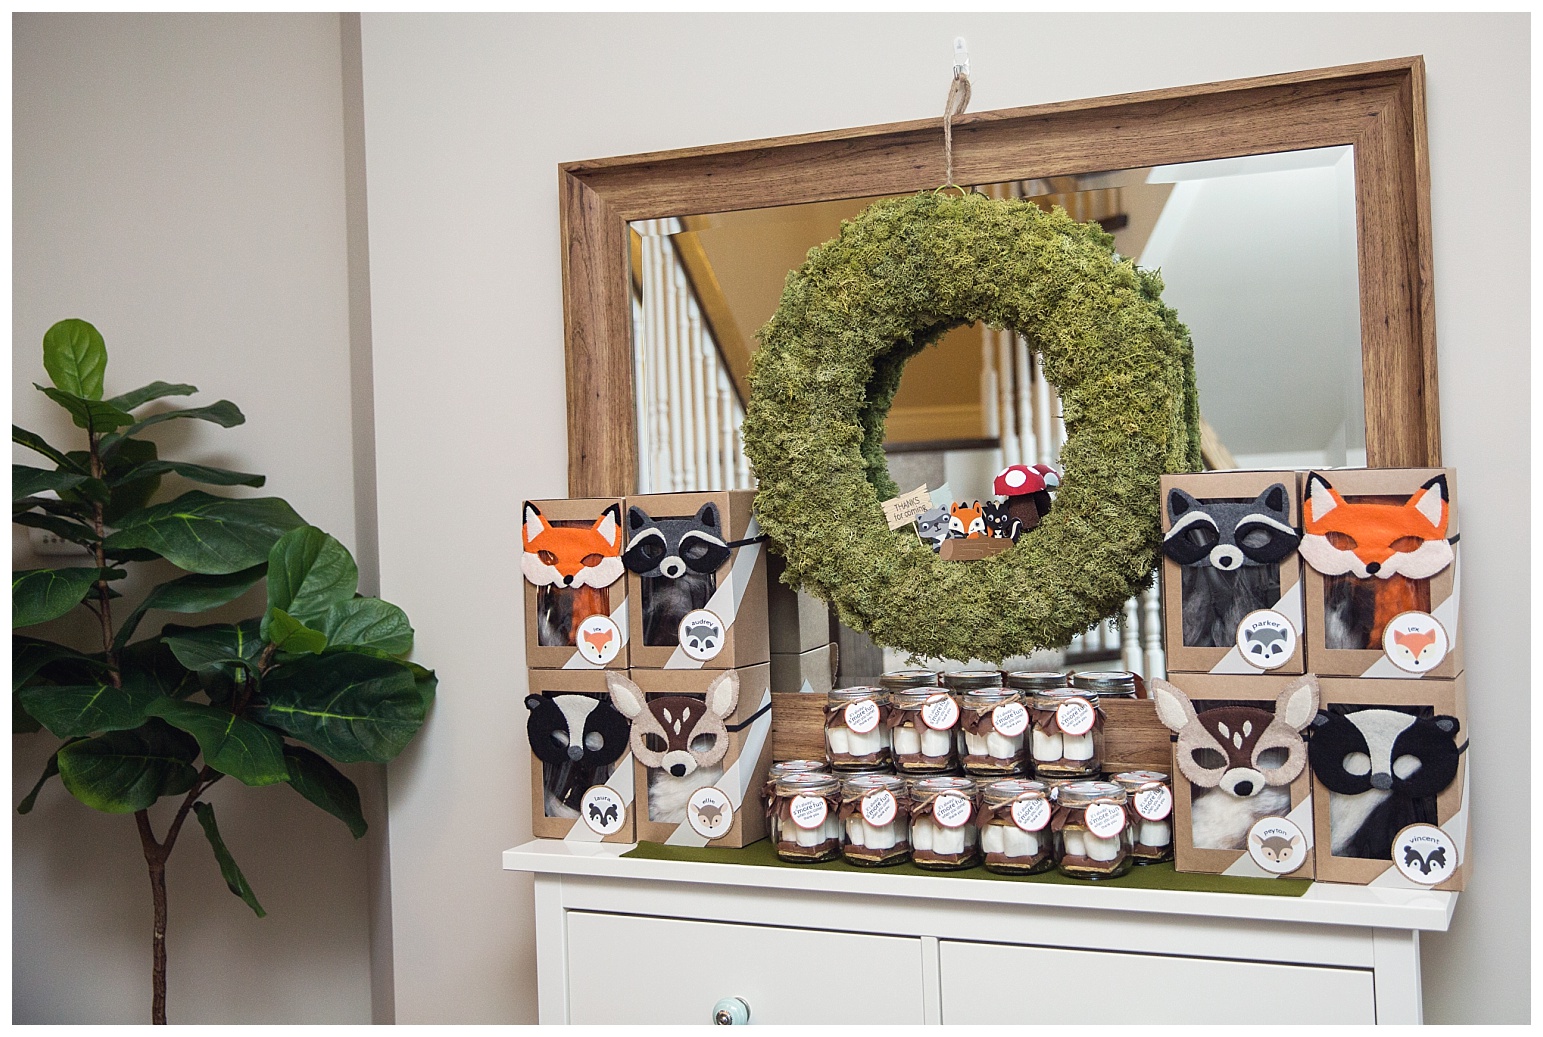
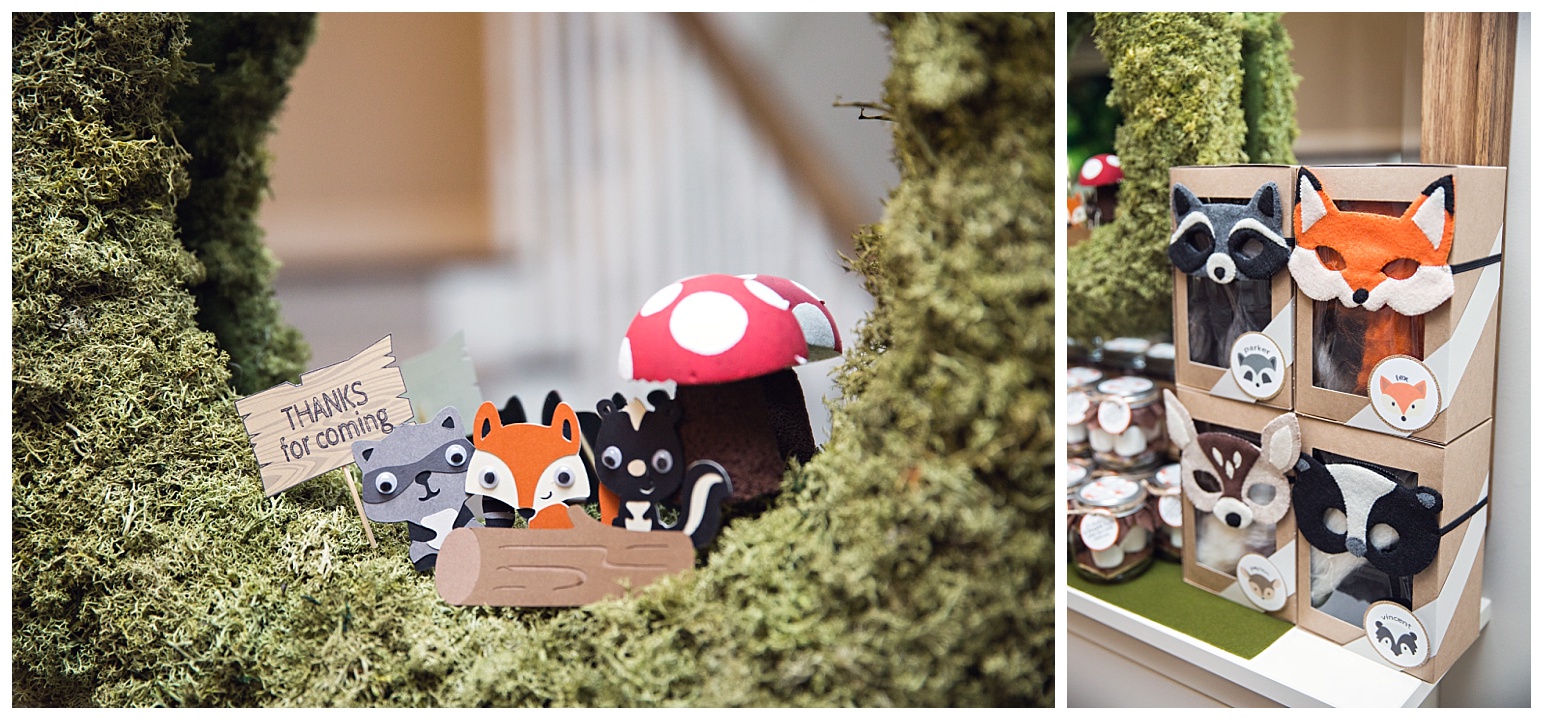
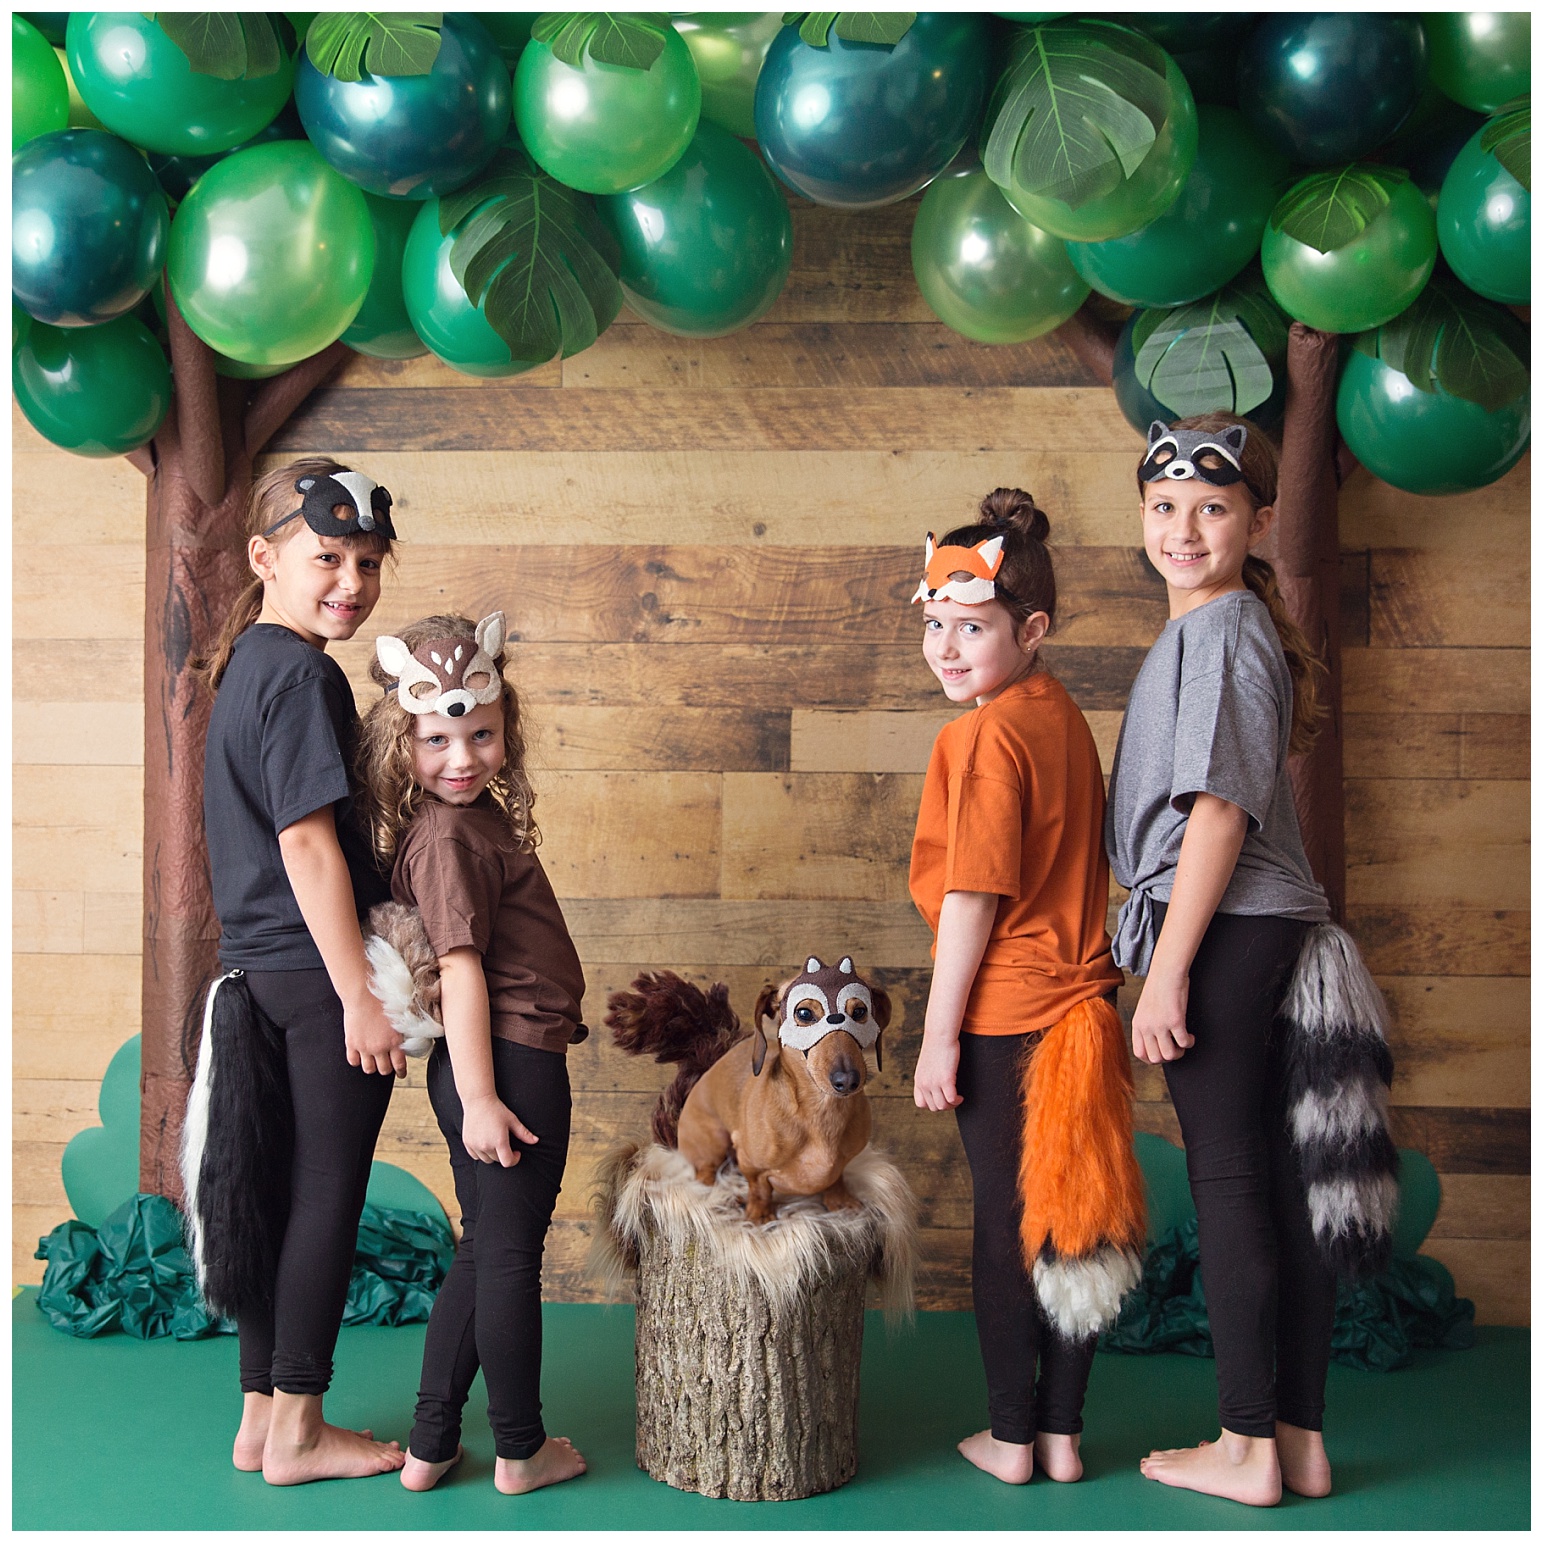
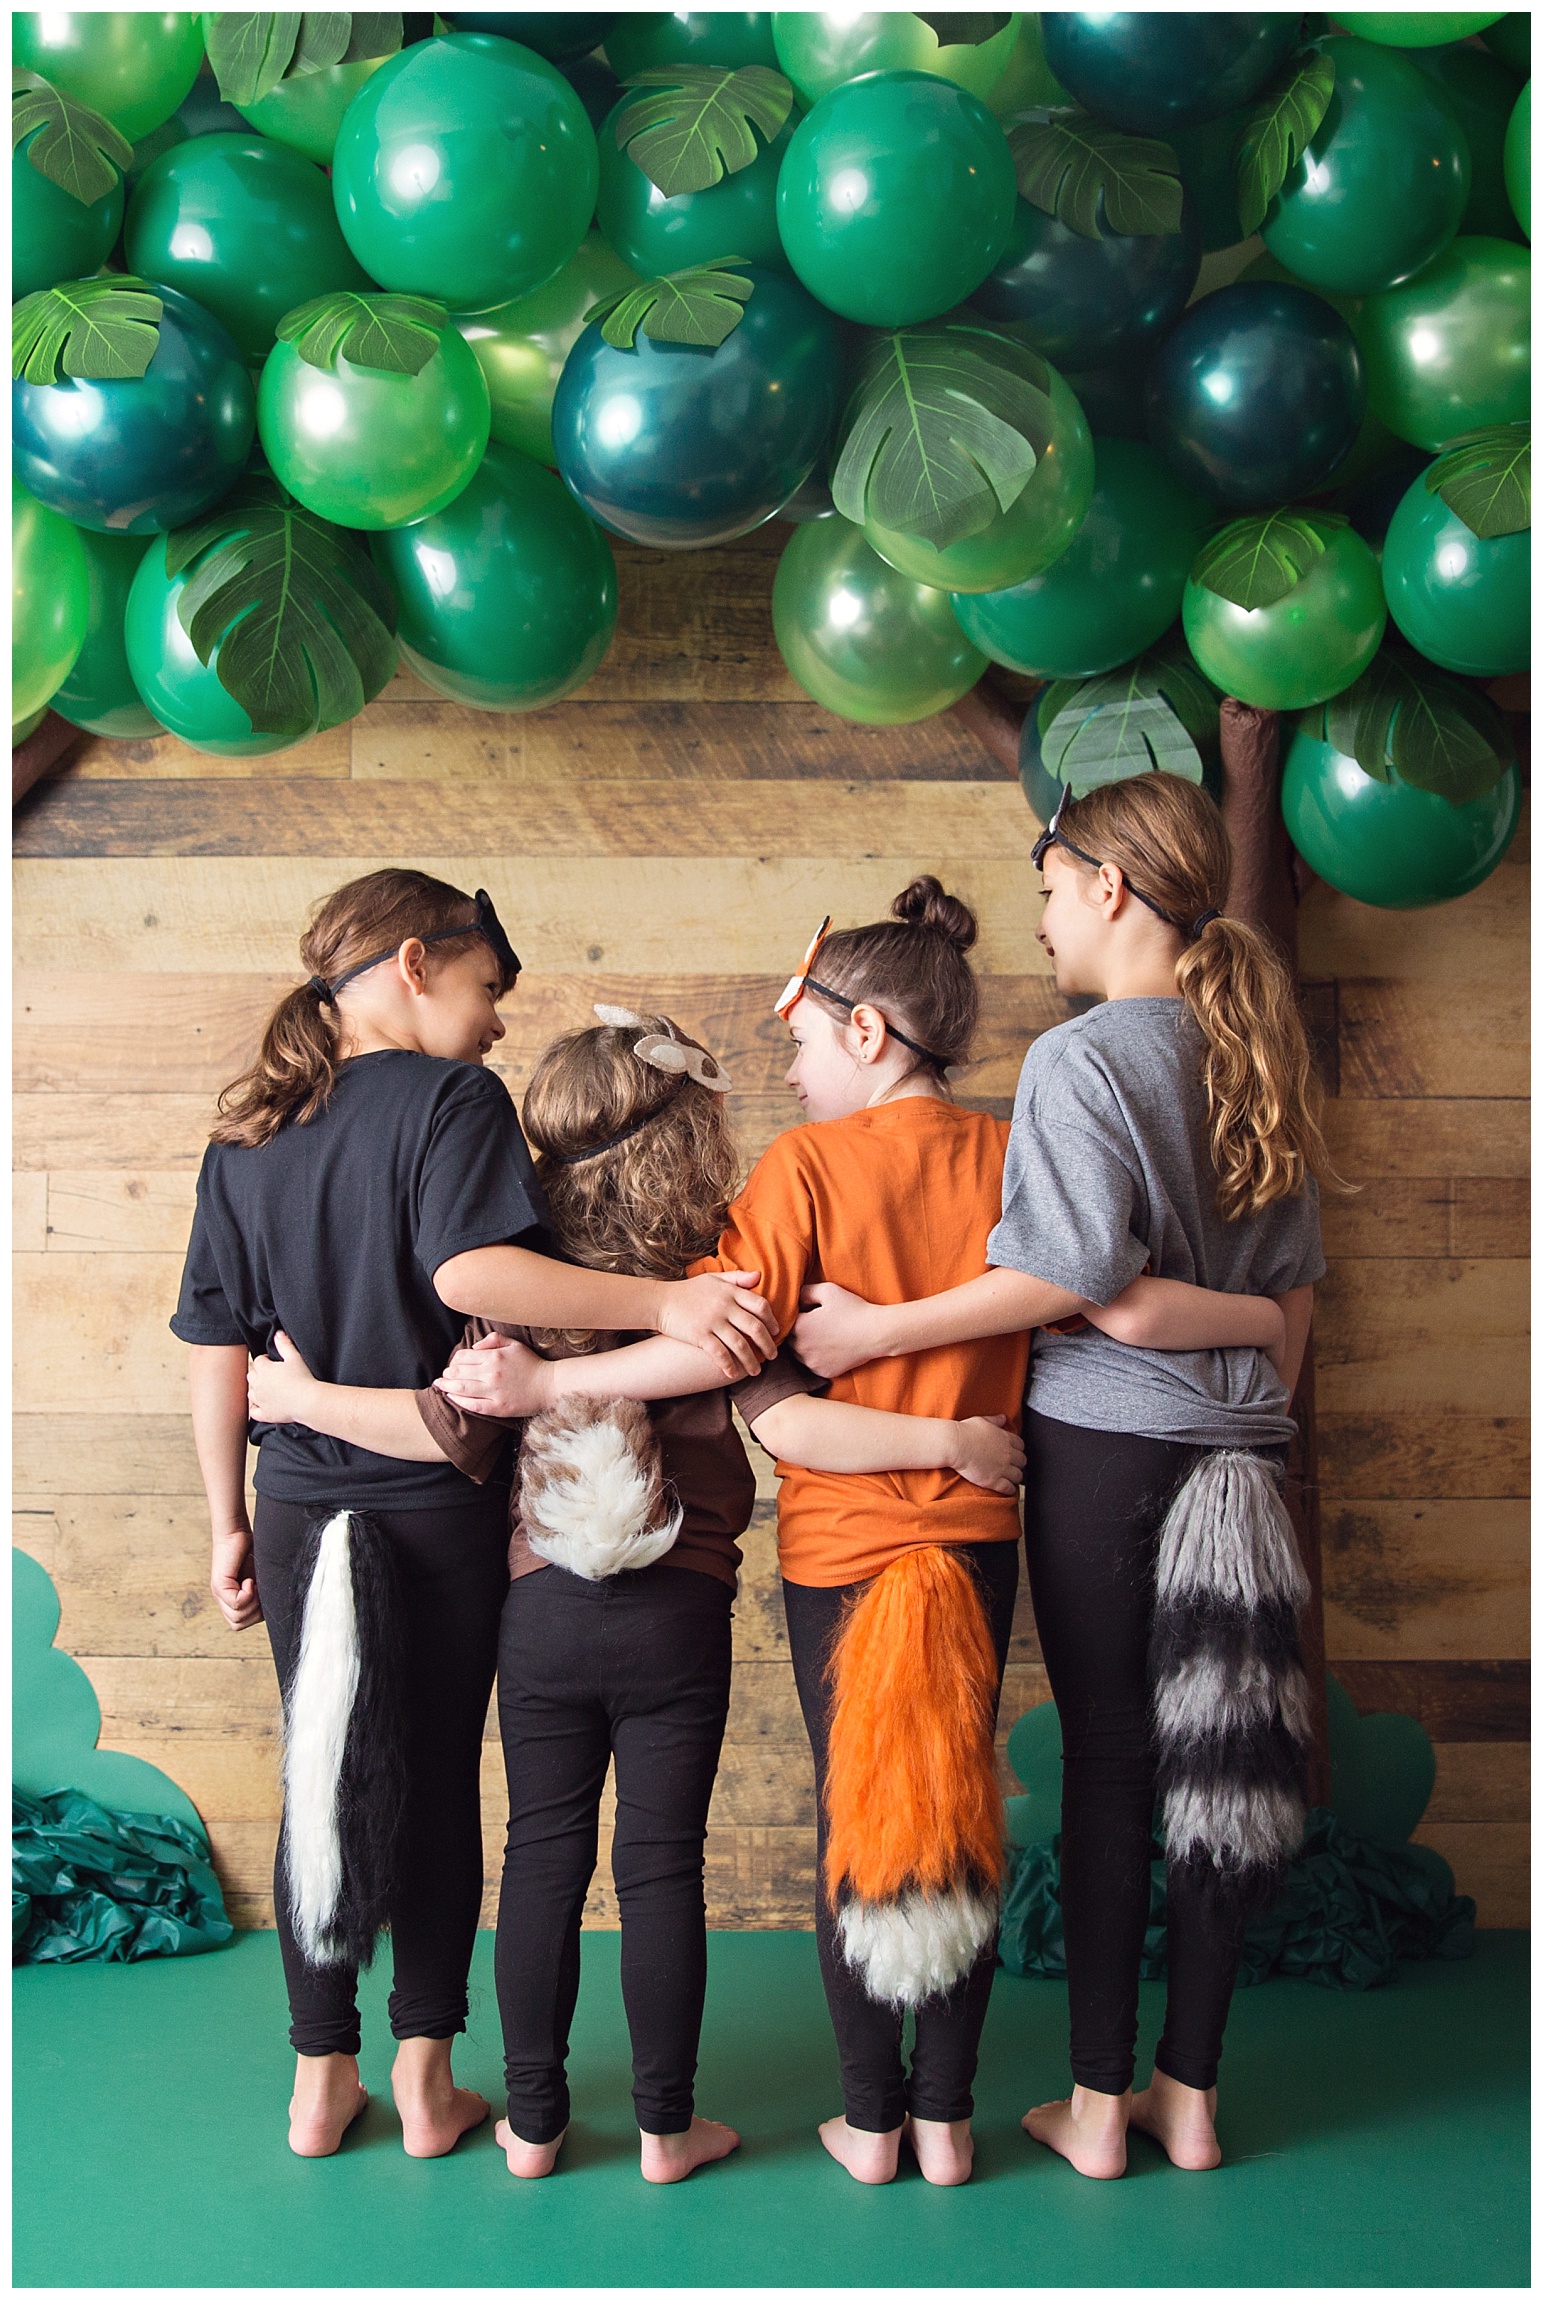
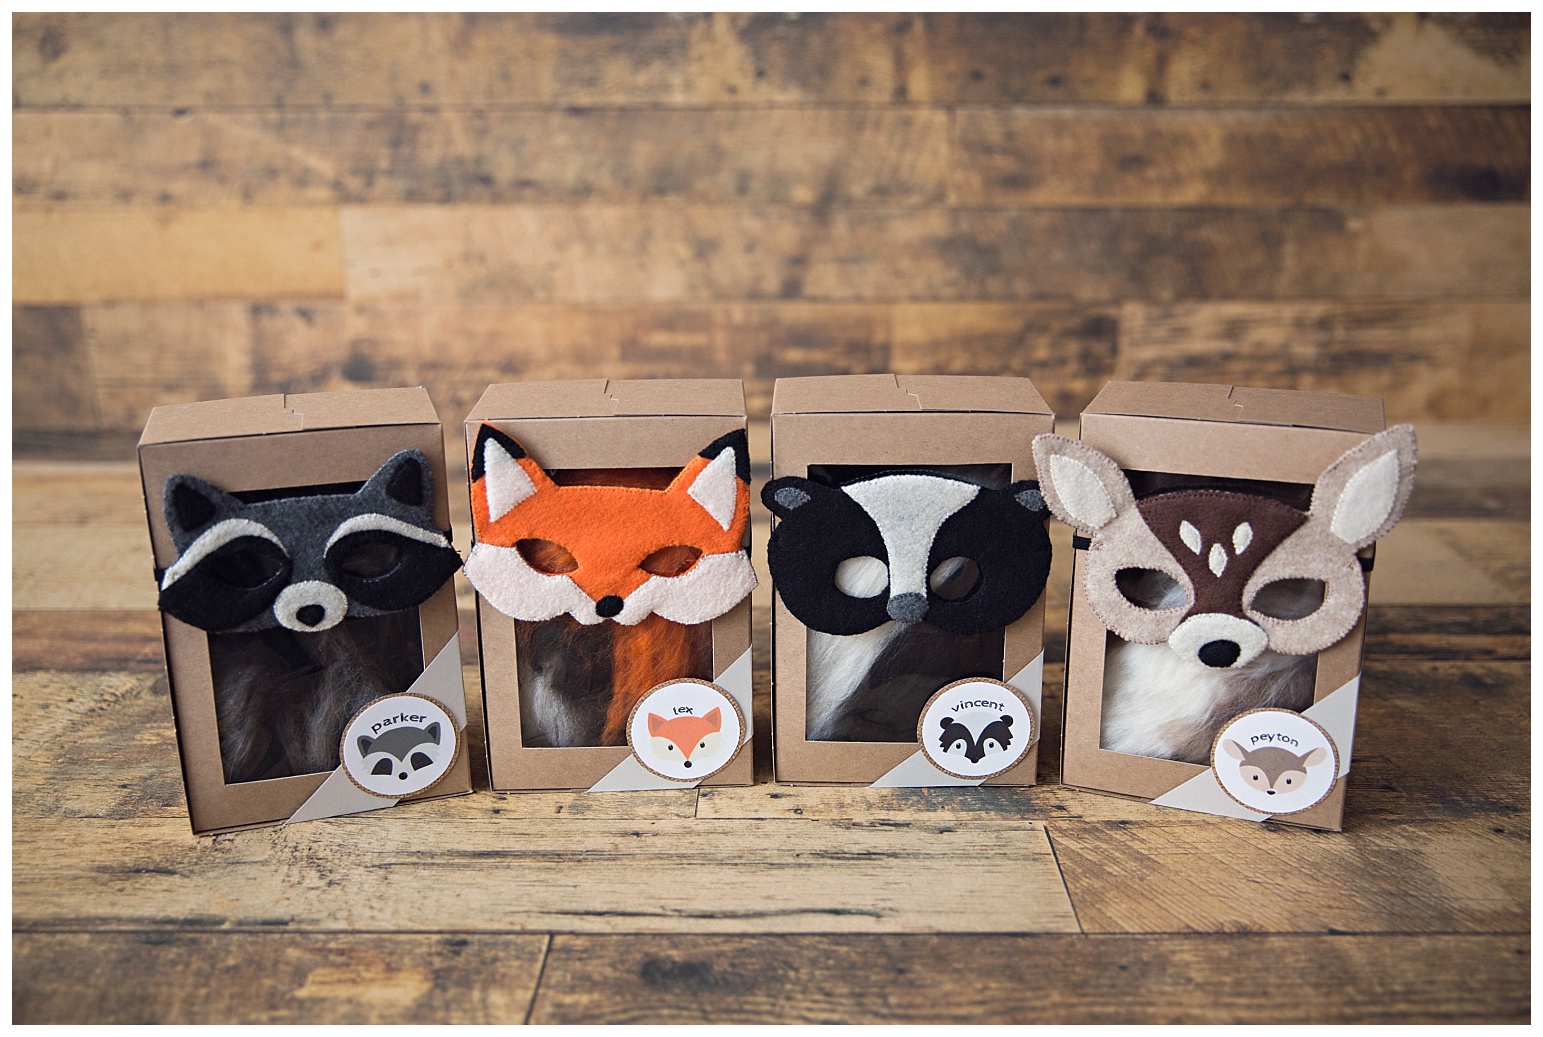
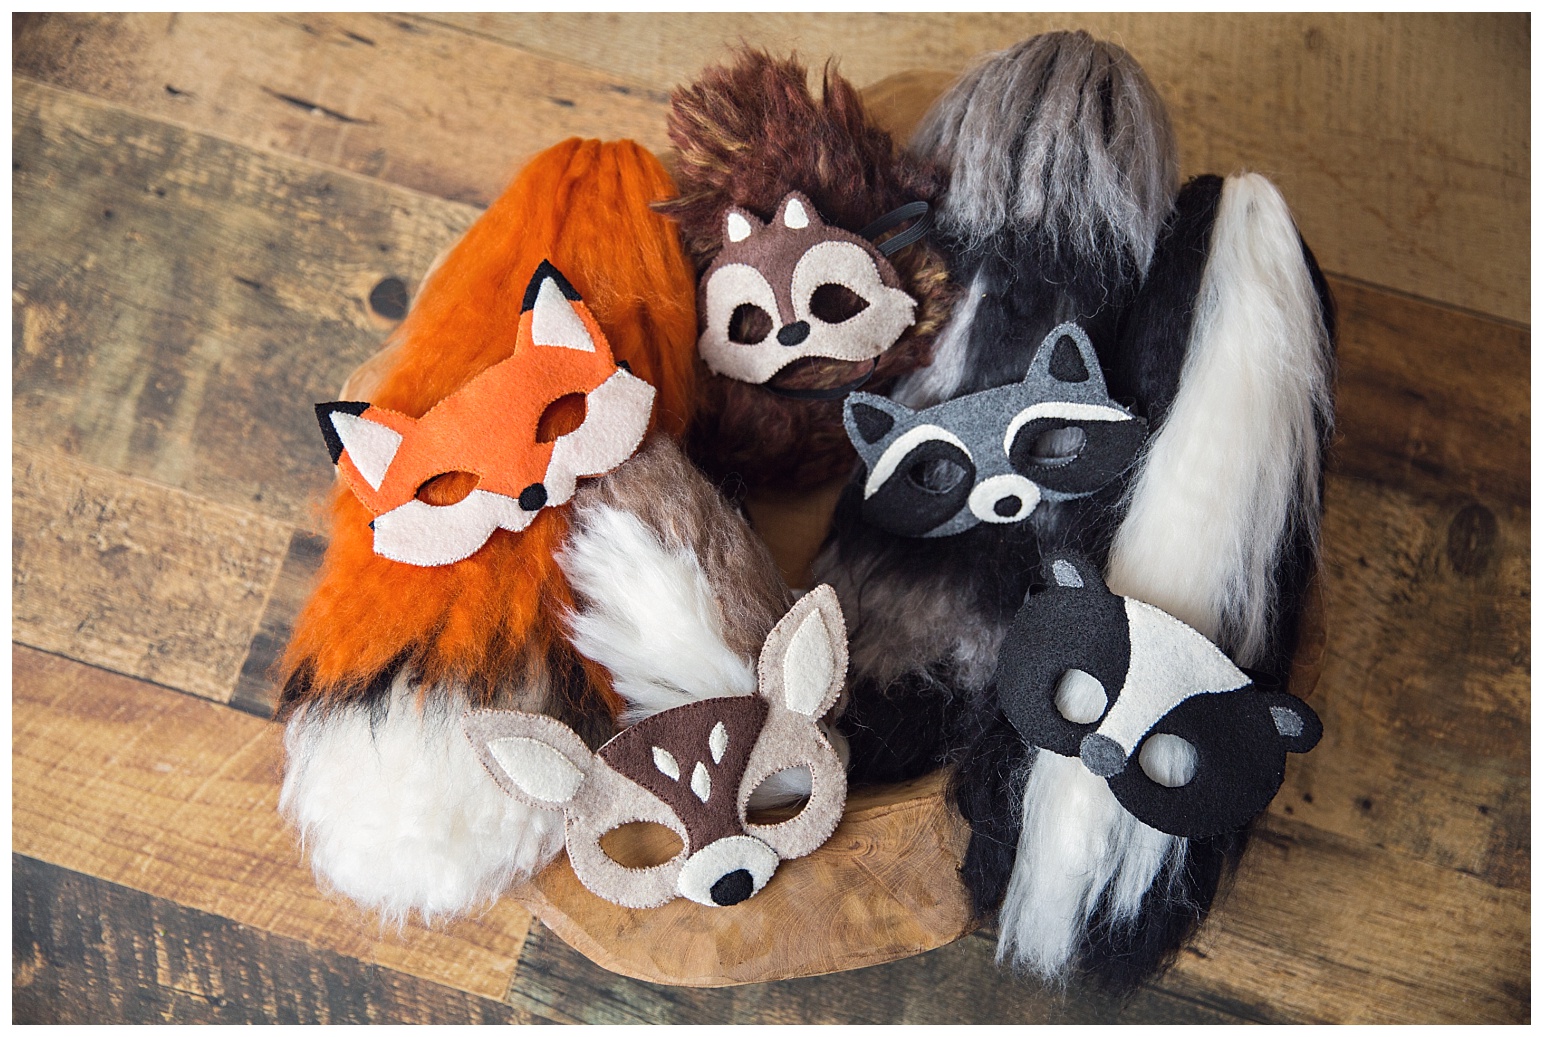
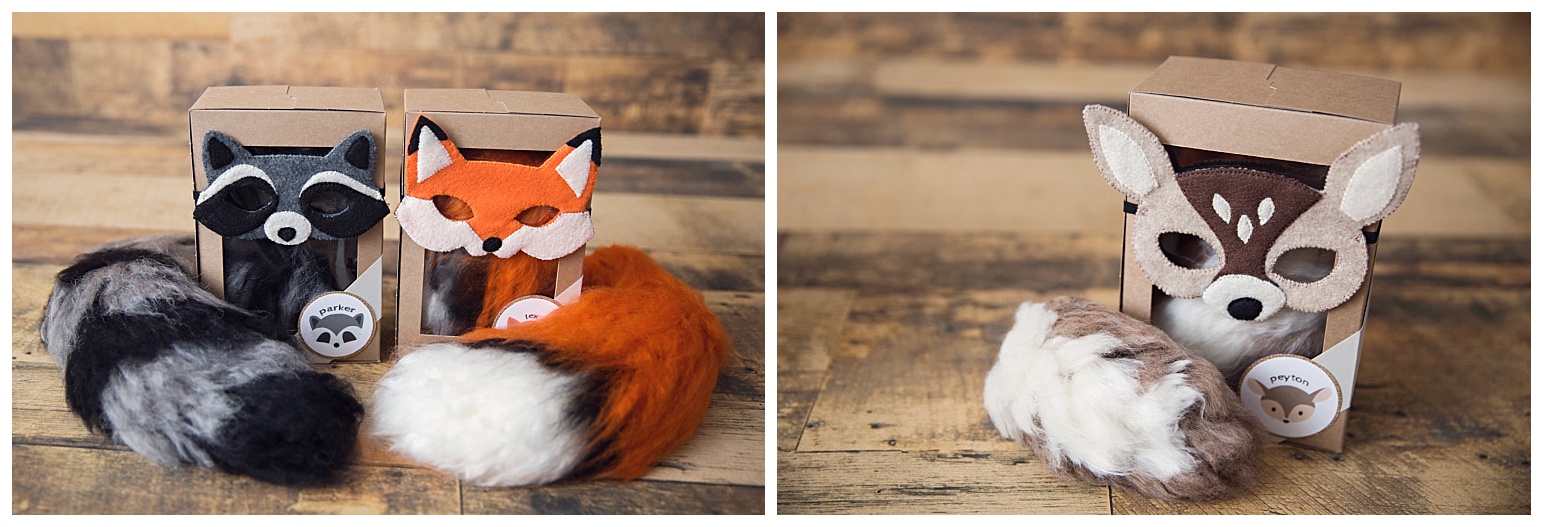
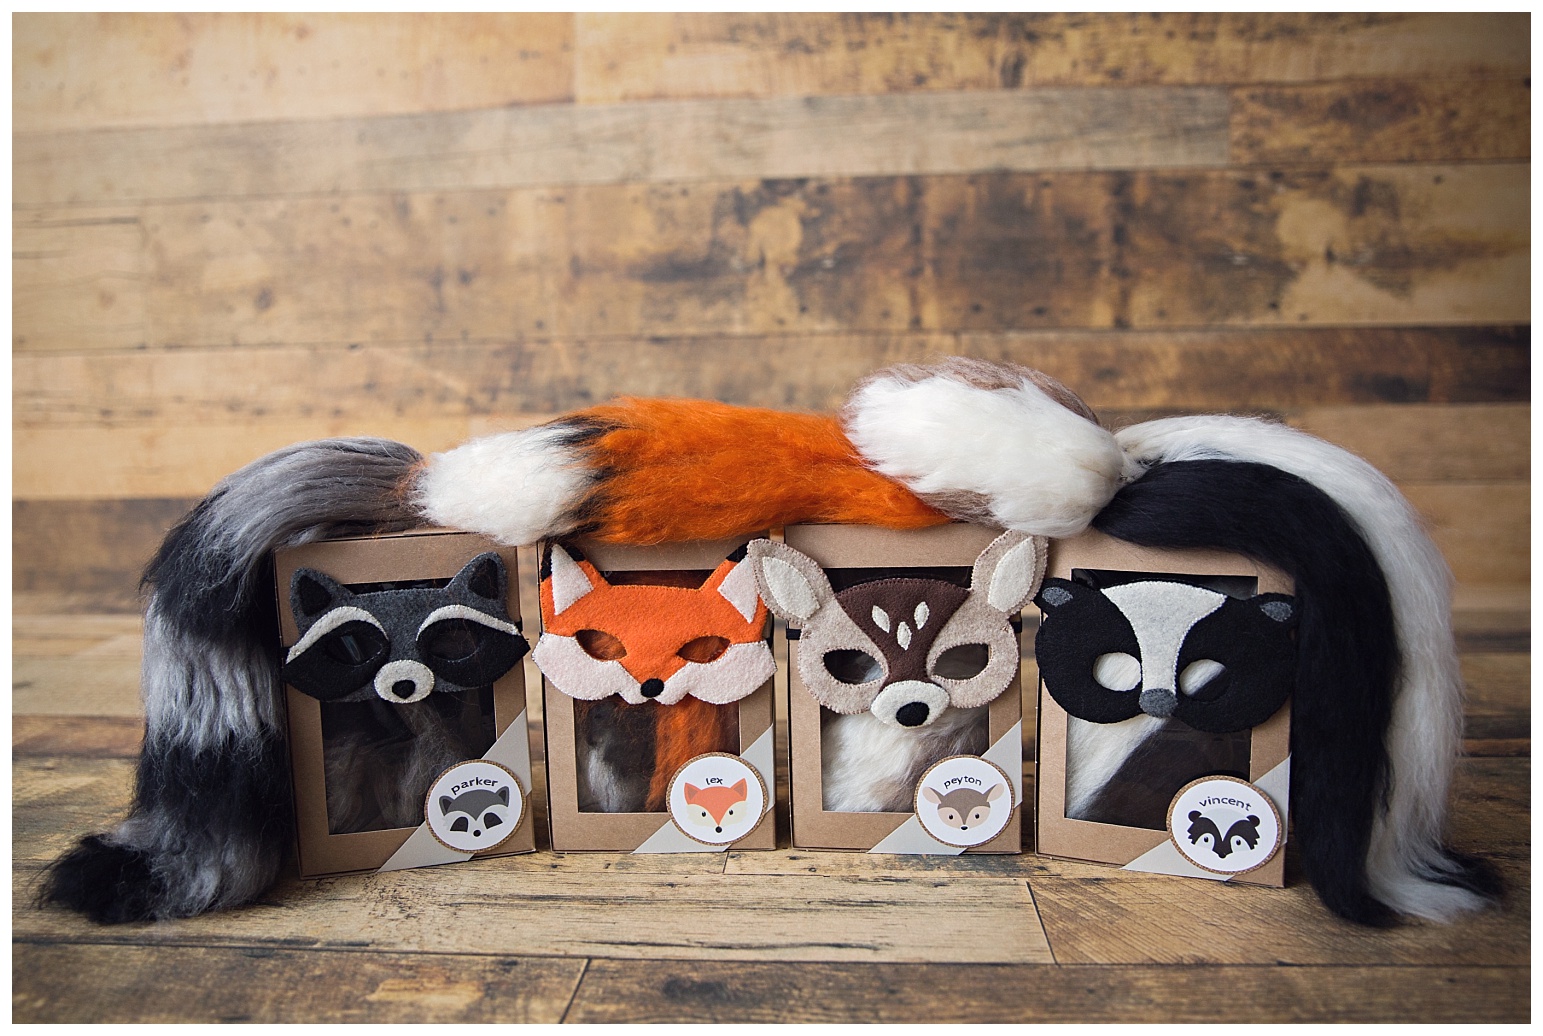
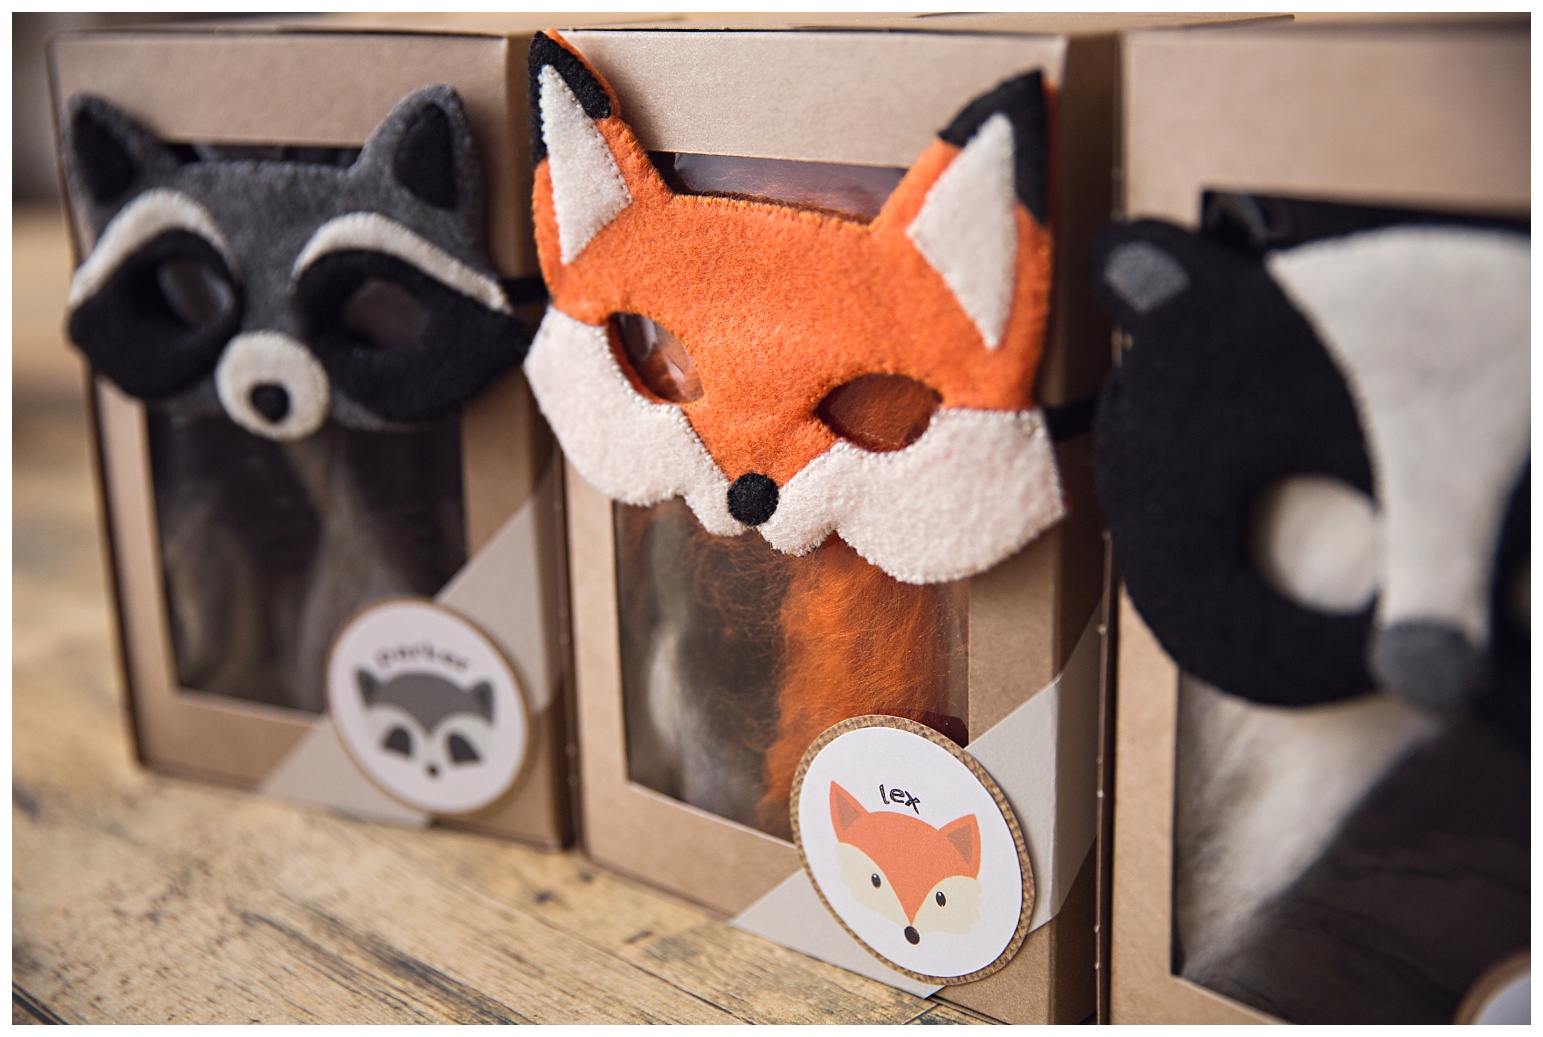
The favours for the kids were their very own handmade tail and mask set. The masks were made using felt, and the tails were made using deconstructed yarn and lots of hours of work. I did not do my own tutorial while making them so I can’t really explain the process (without pictures to look at the words will sound crazy).
I based my creations off of THIS tutorial with some adjustments of my own. But that should get you started at least. I put these clips on the base of each tail so the kids could just clip them to their waistband. The kraft boxes are cupcake boxes from a bakery. The tops were actually solid so I cut the windows out and added the cellophane myself.
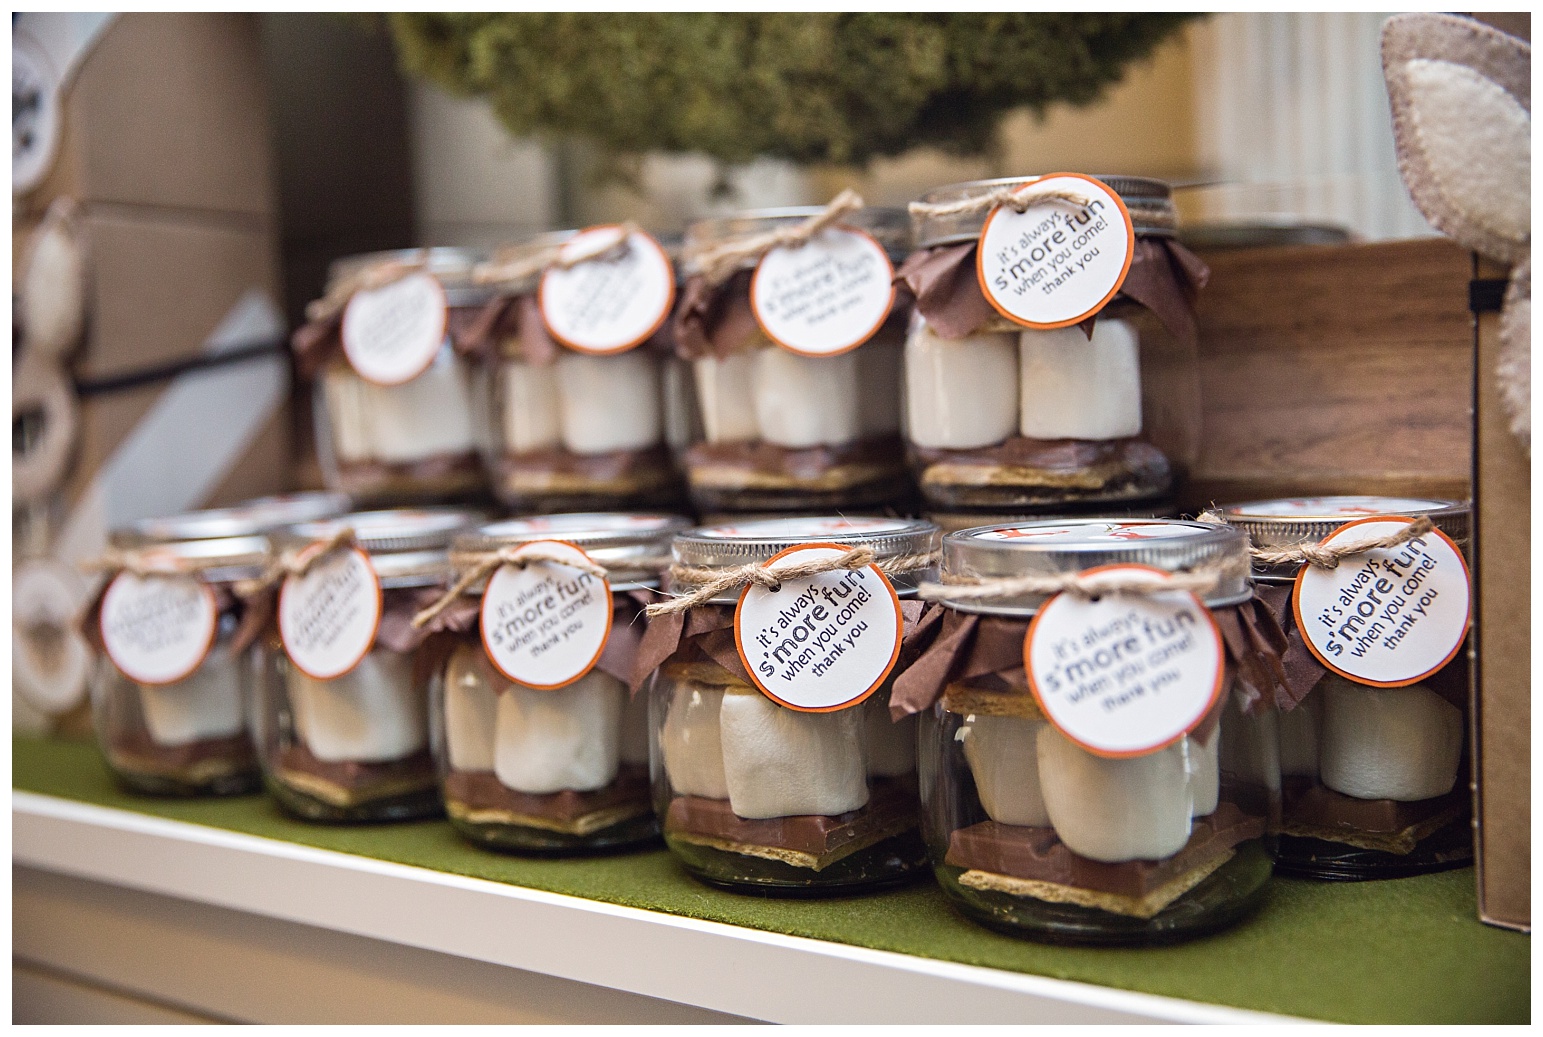
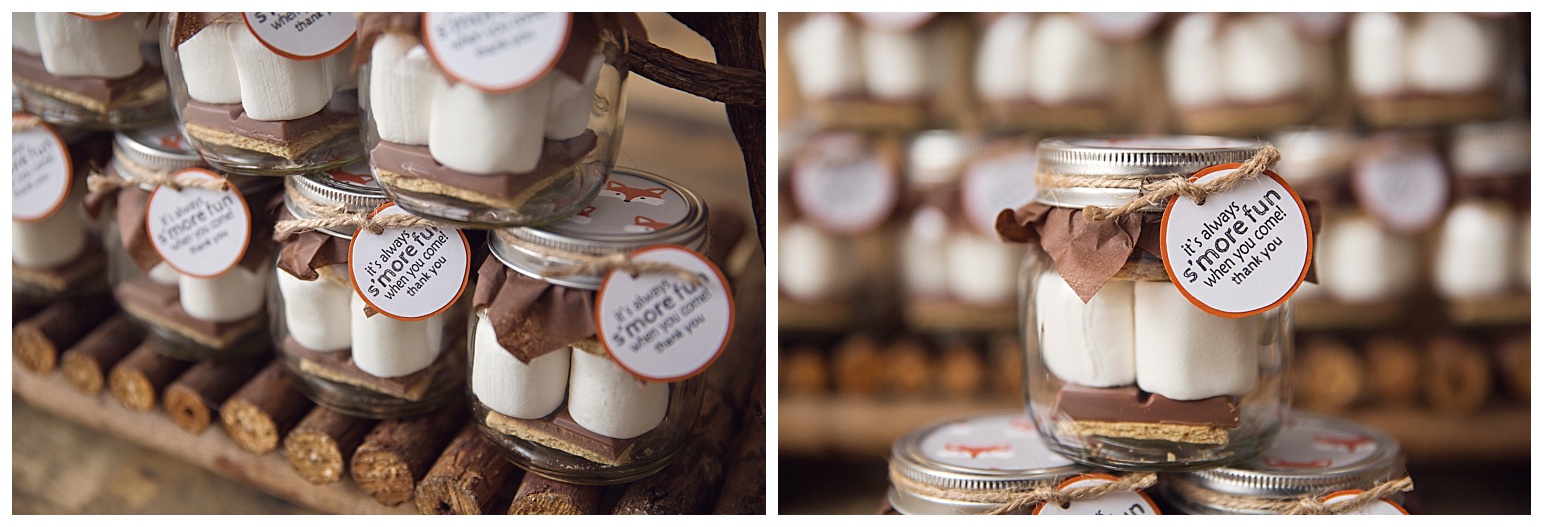
The favours for the adults were simple mini mason jar s’mores kits. Nothing too fancy here …
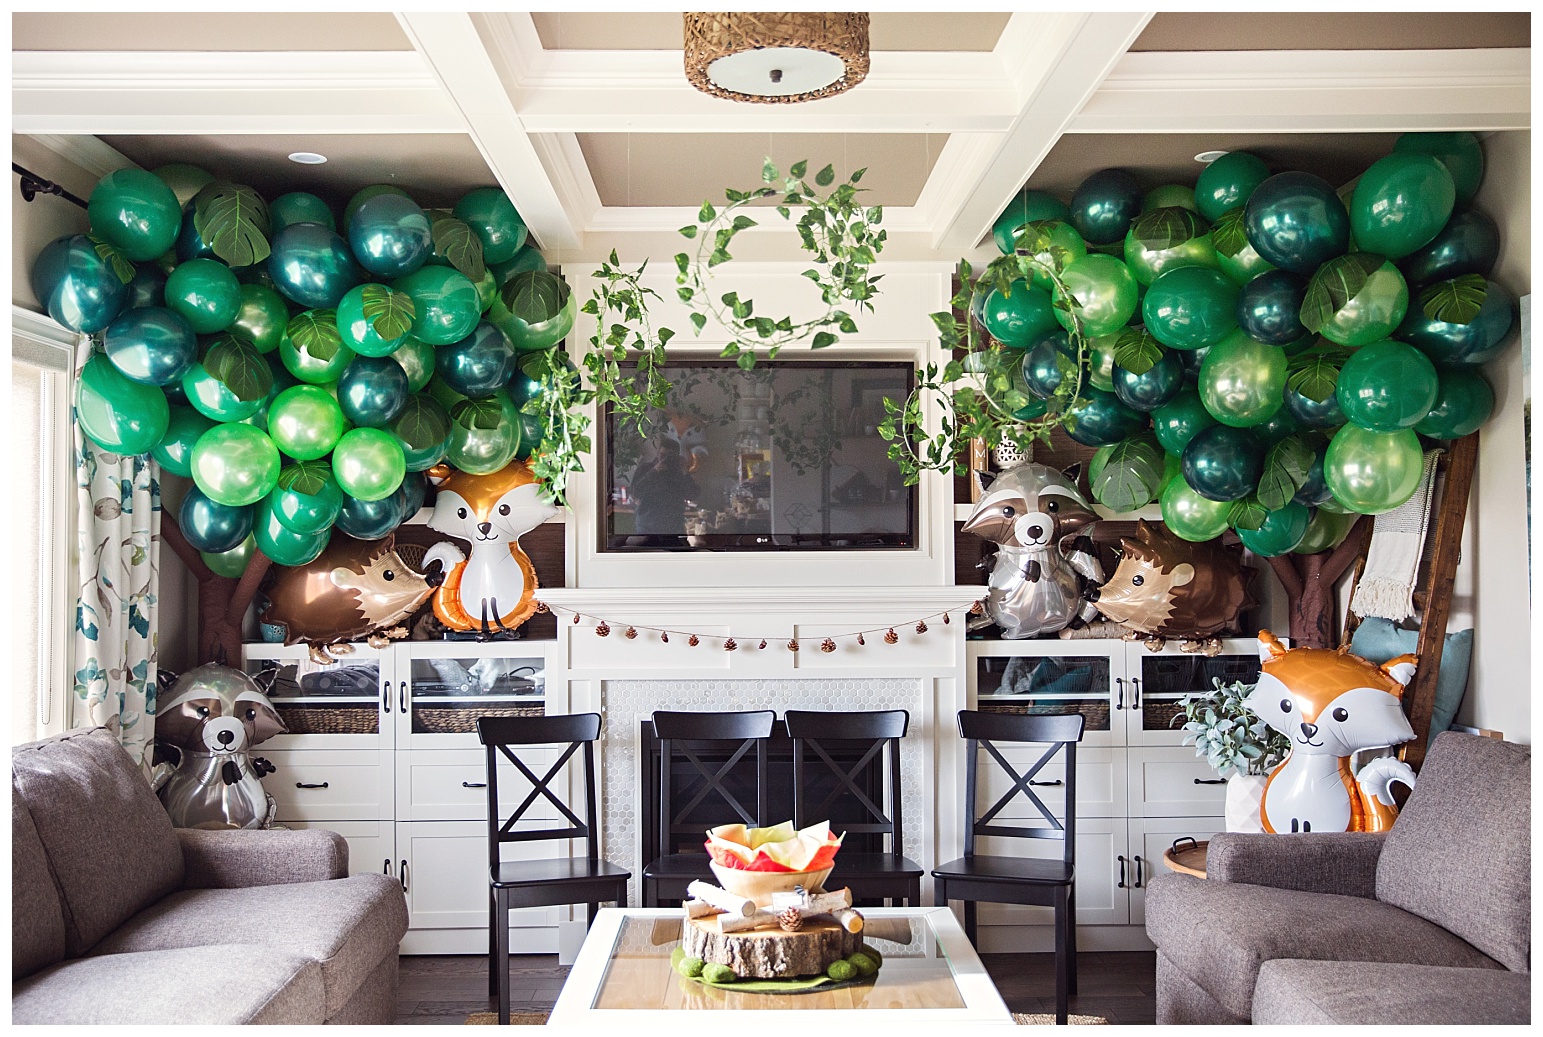
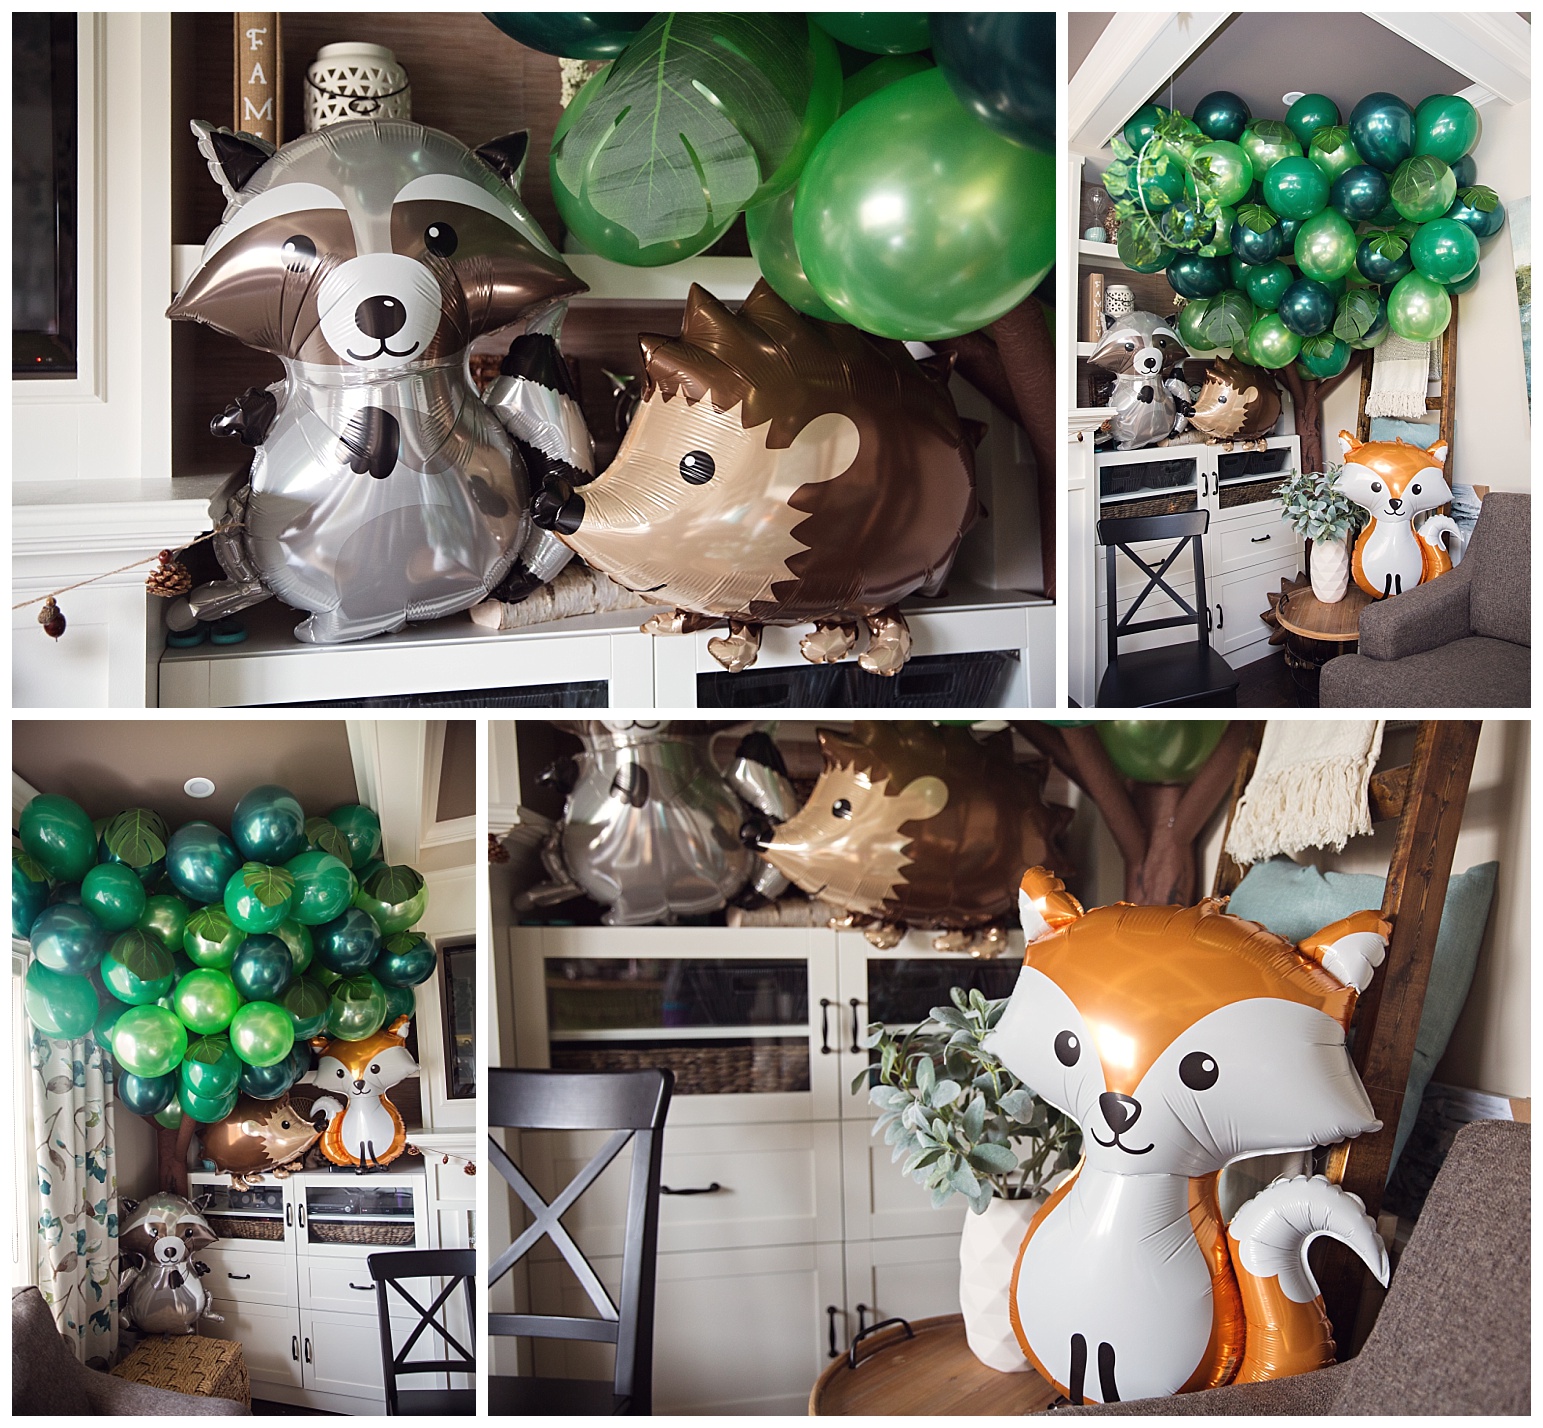
And here is how the woodland forest took over my living room!! The trees I’ve already described, but I know I will be asked how all of the balloons are attached. So you take a really long piece of heavy duty fishing line and put a needle on the end. Thread the needle through the nipple of the balloons (alternating colours/sizes as you go). I found it was important in this case to have different balloon sizes … the smaller balloons help to fill in the gaps so everything looks fuller and you don’t end up with holes. Think of ice cubes in a glass … if they are all the same size, it’s impossible to not get gaps between them. Once you have a good long string of balloons (not too long or it becomes unmanageable) … you just attach it to your ceiling/walls with clear removable command hooks like these. I use these little suckers to hang EVERYTHING for Aylah’s parties. They come off easily and are virtually invisible. I keep the hooks when I’m done and just buy new sticky strips every year.
The adorable mylar animal balloons are also from Bargain Balloons. They were a super reasonable price and were huge! I had enough to send each child home with one which they LOVED.
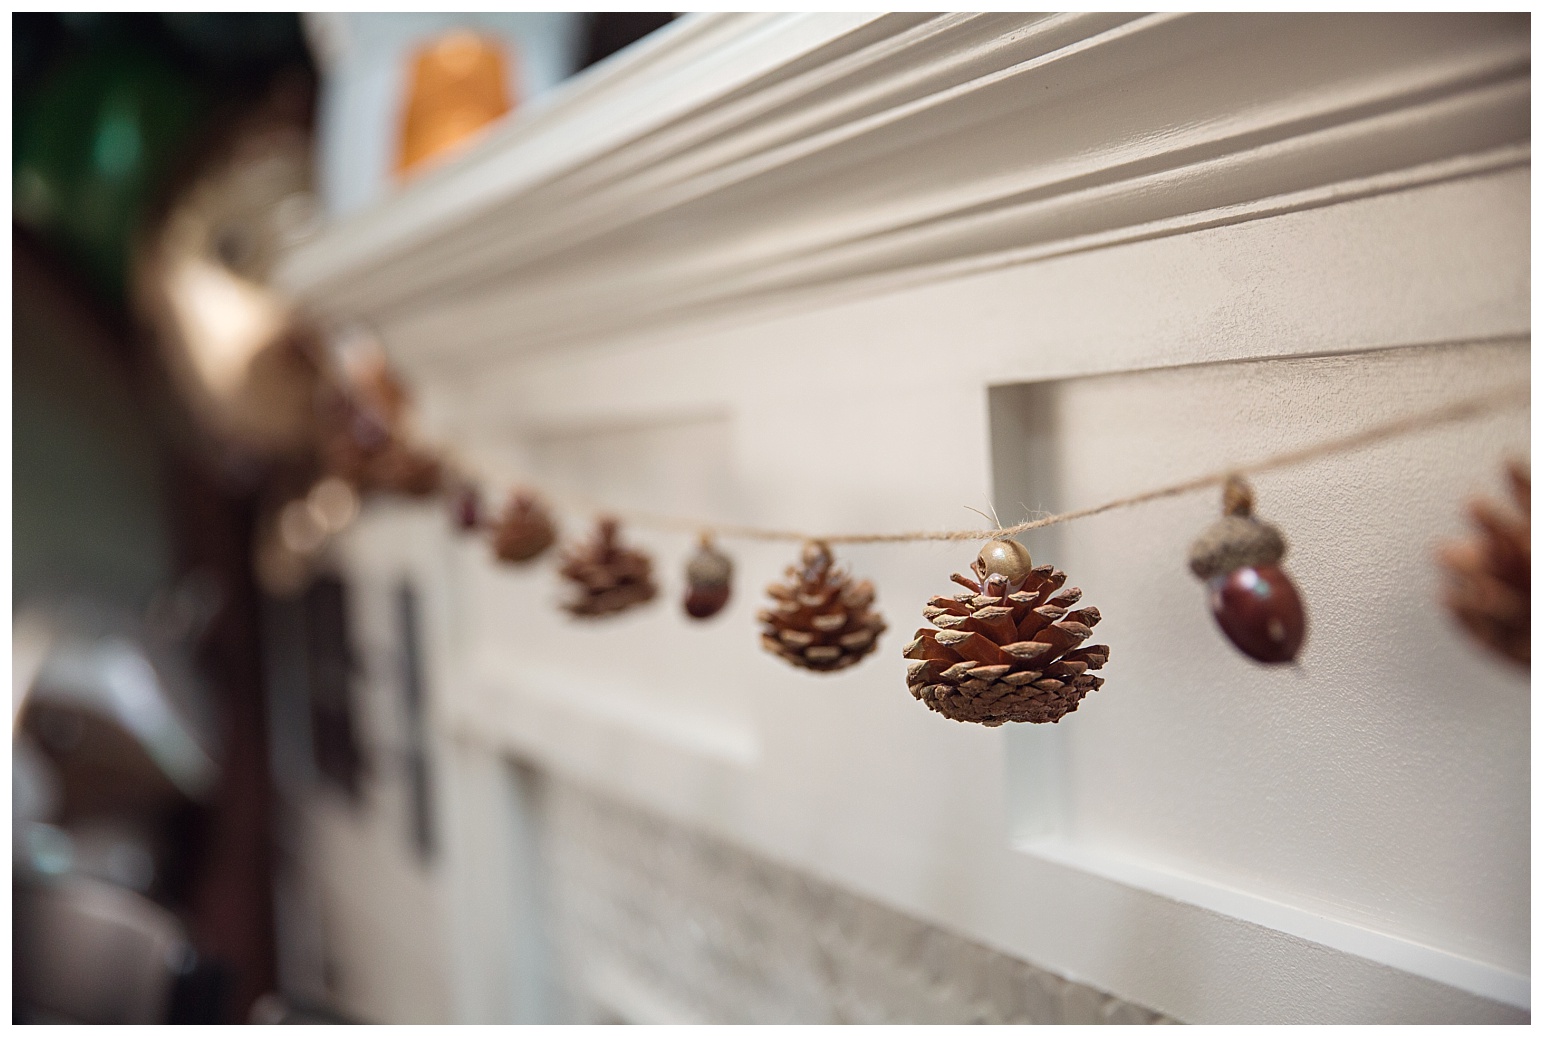
I strung these pine cones and acorns by hot gluing wooden beads to the top so that I could string twine through them.
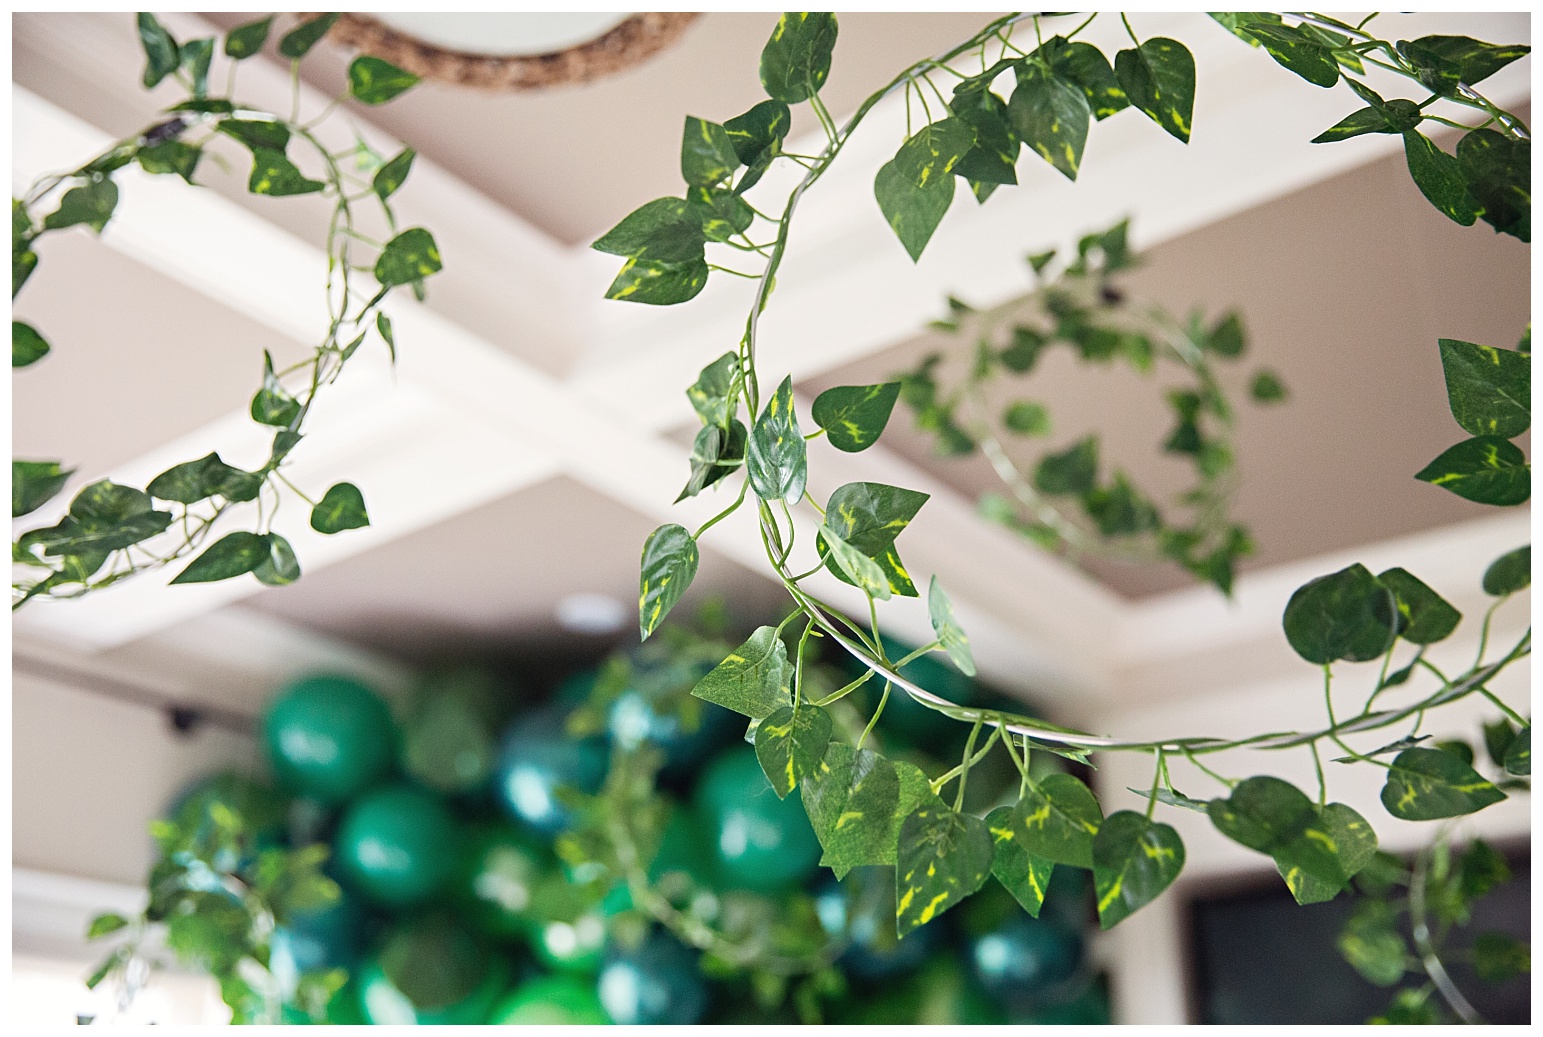
These leafy wreaths were a last minute addition. I actually had the vines already from another project that didn’t end up working. They are from Amazon HERE. I just bought wire from Michaels to make the rings and weaved the vines around them. And again they are hung using fishing line and the command hooks.
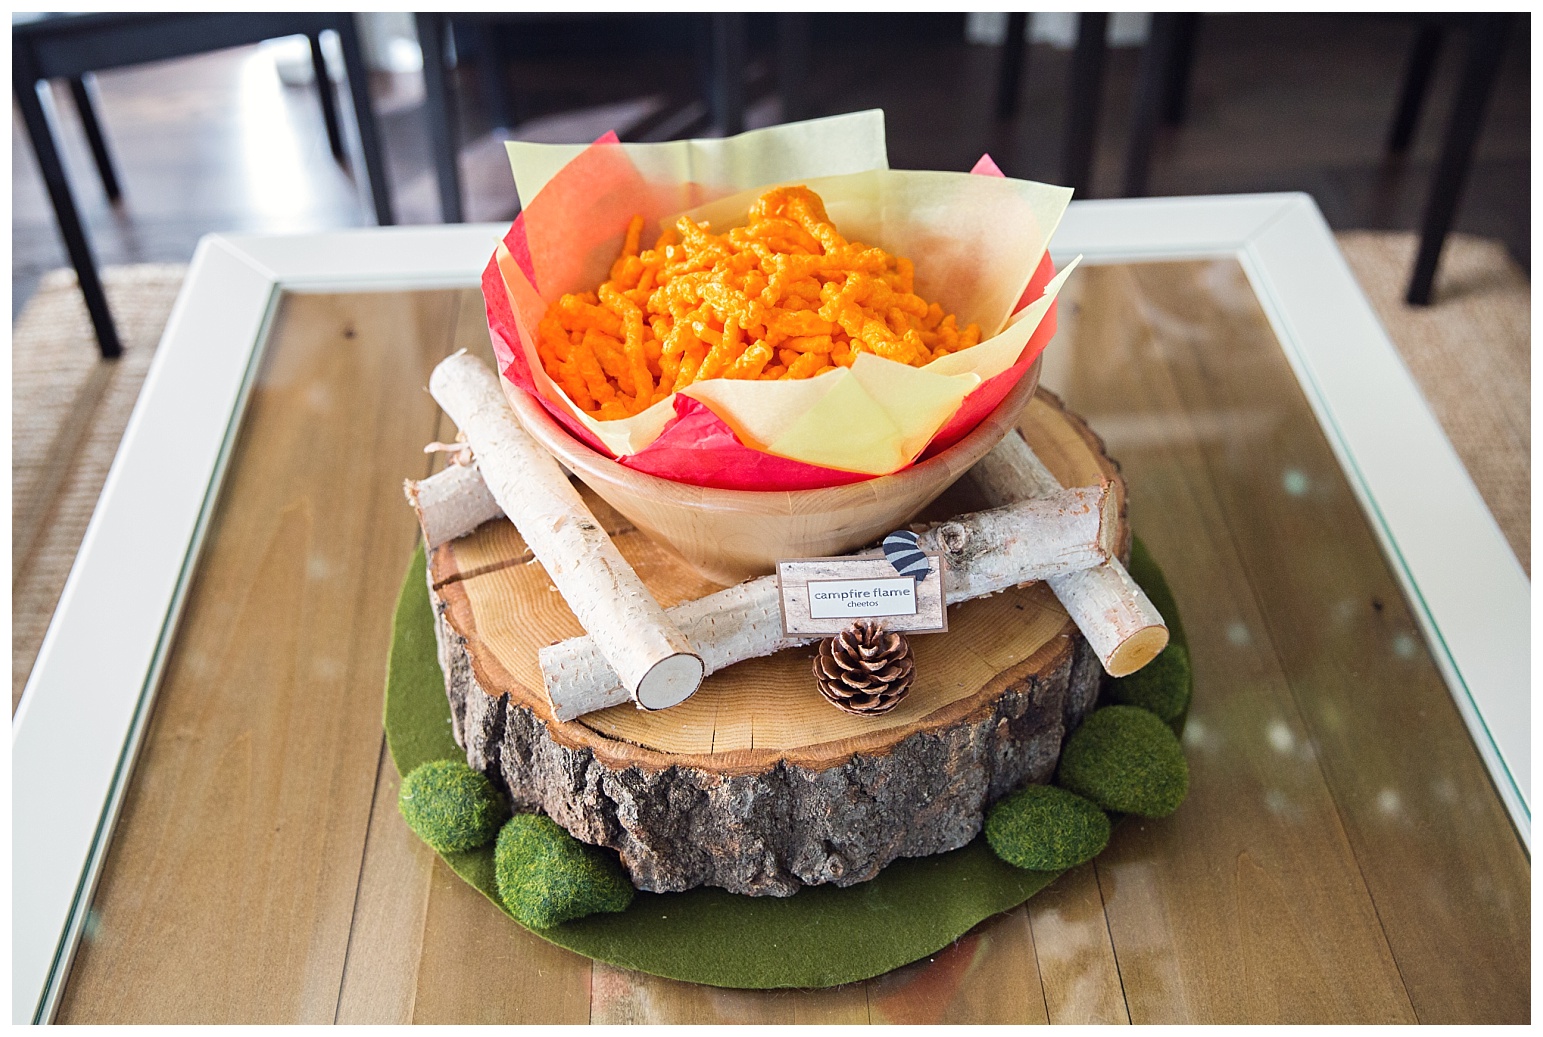
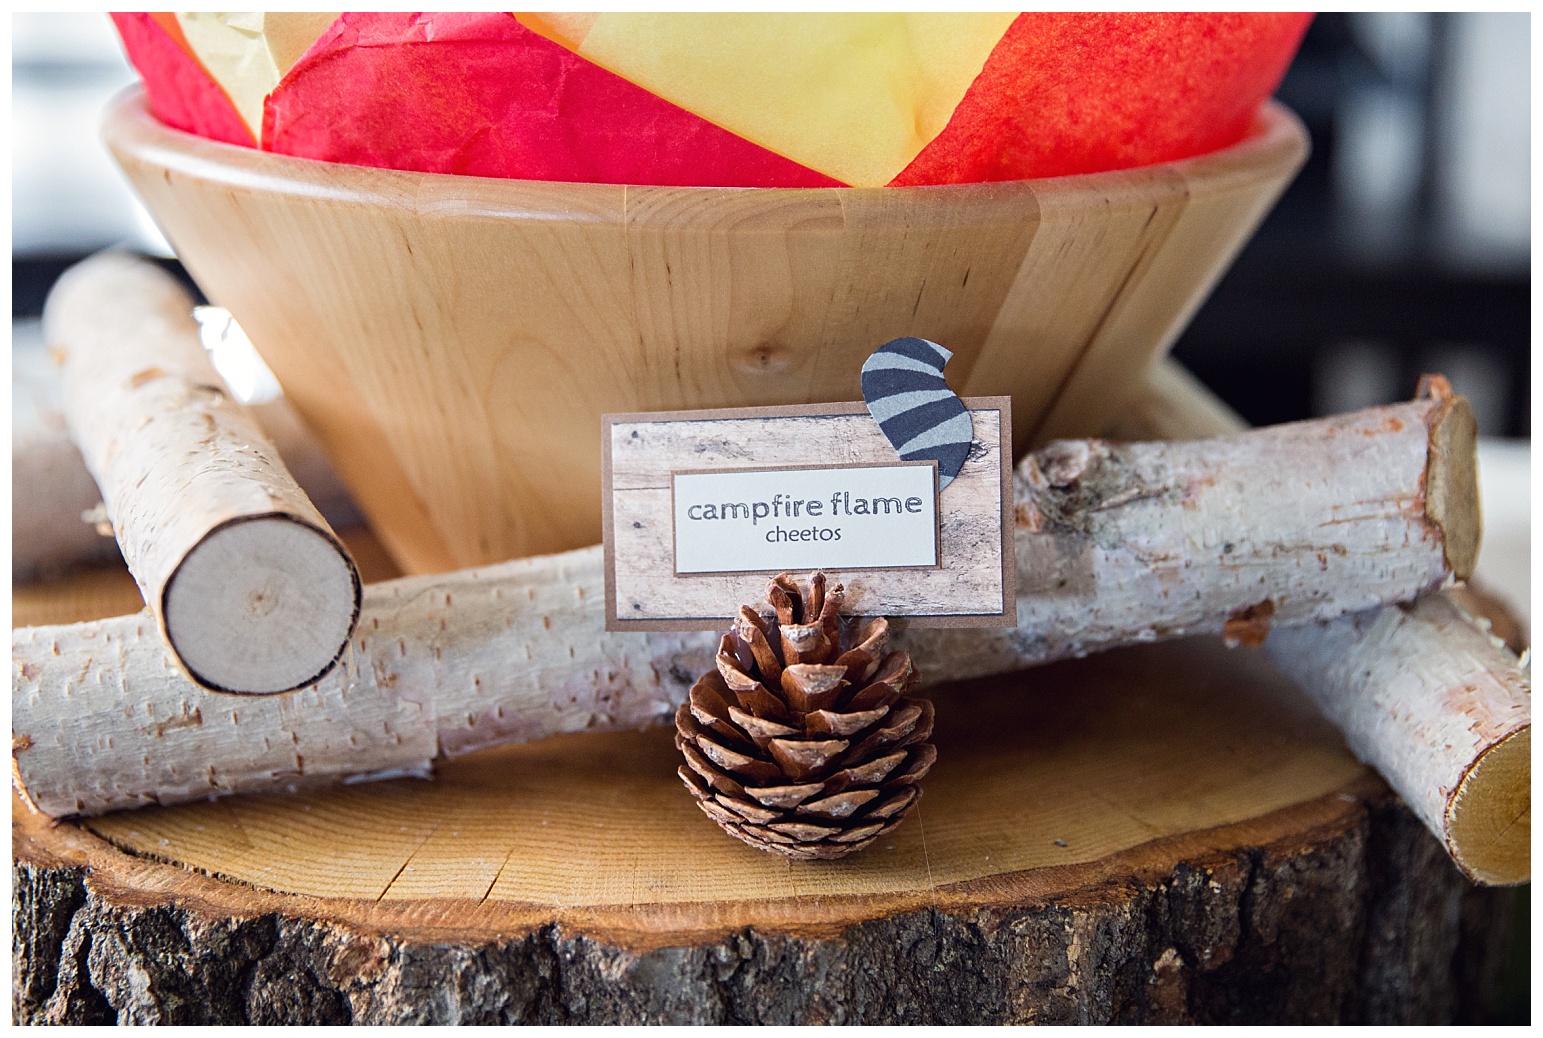
I love how my campfire snack bowl turned out. Being a photographer I have lots of “props” kicking around, so all of this lumber I already had. I just used red and yellow tissue paper to look like flames around the Cheetos.
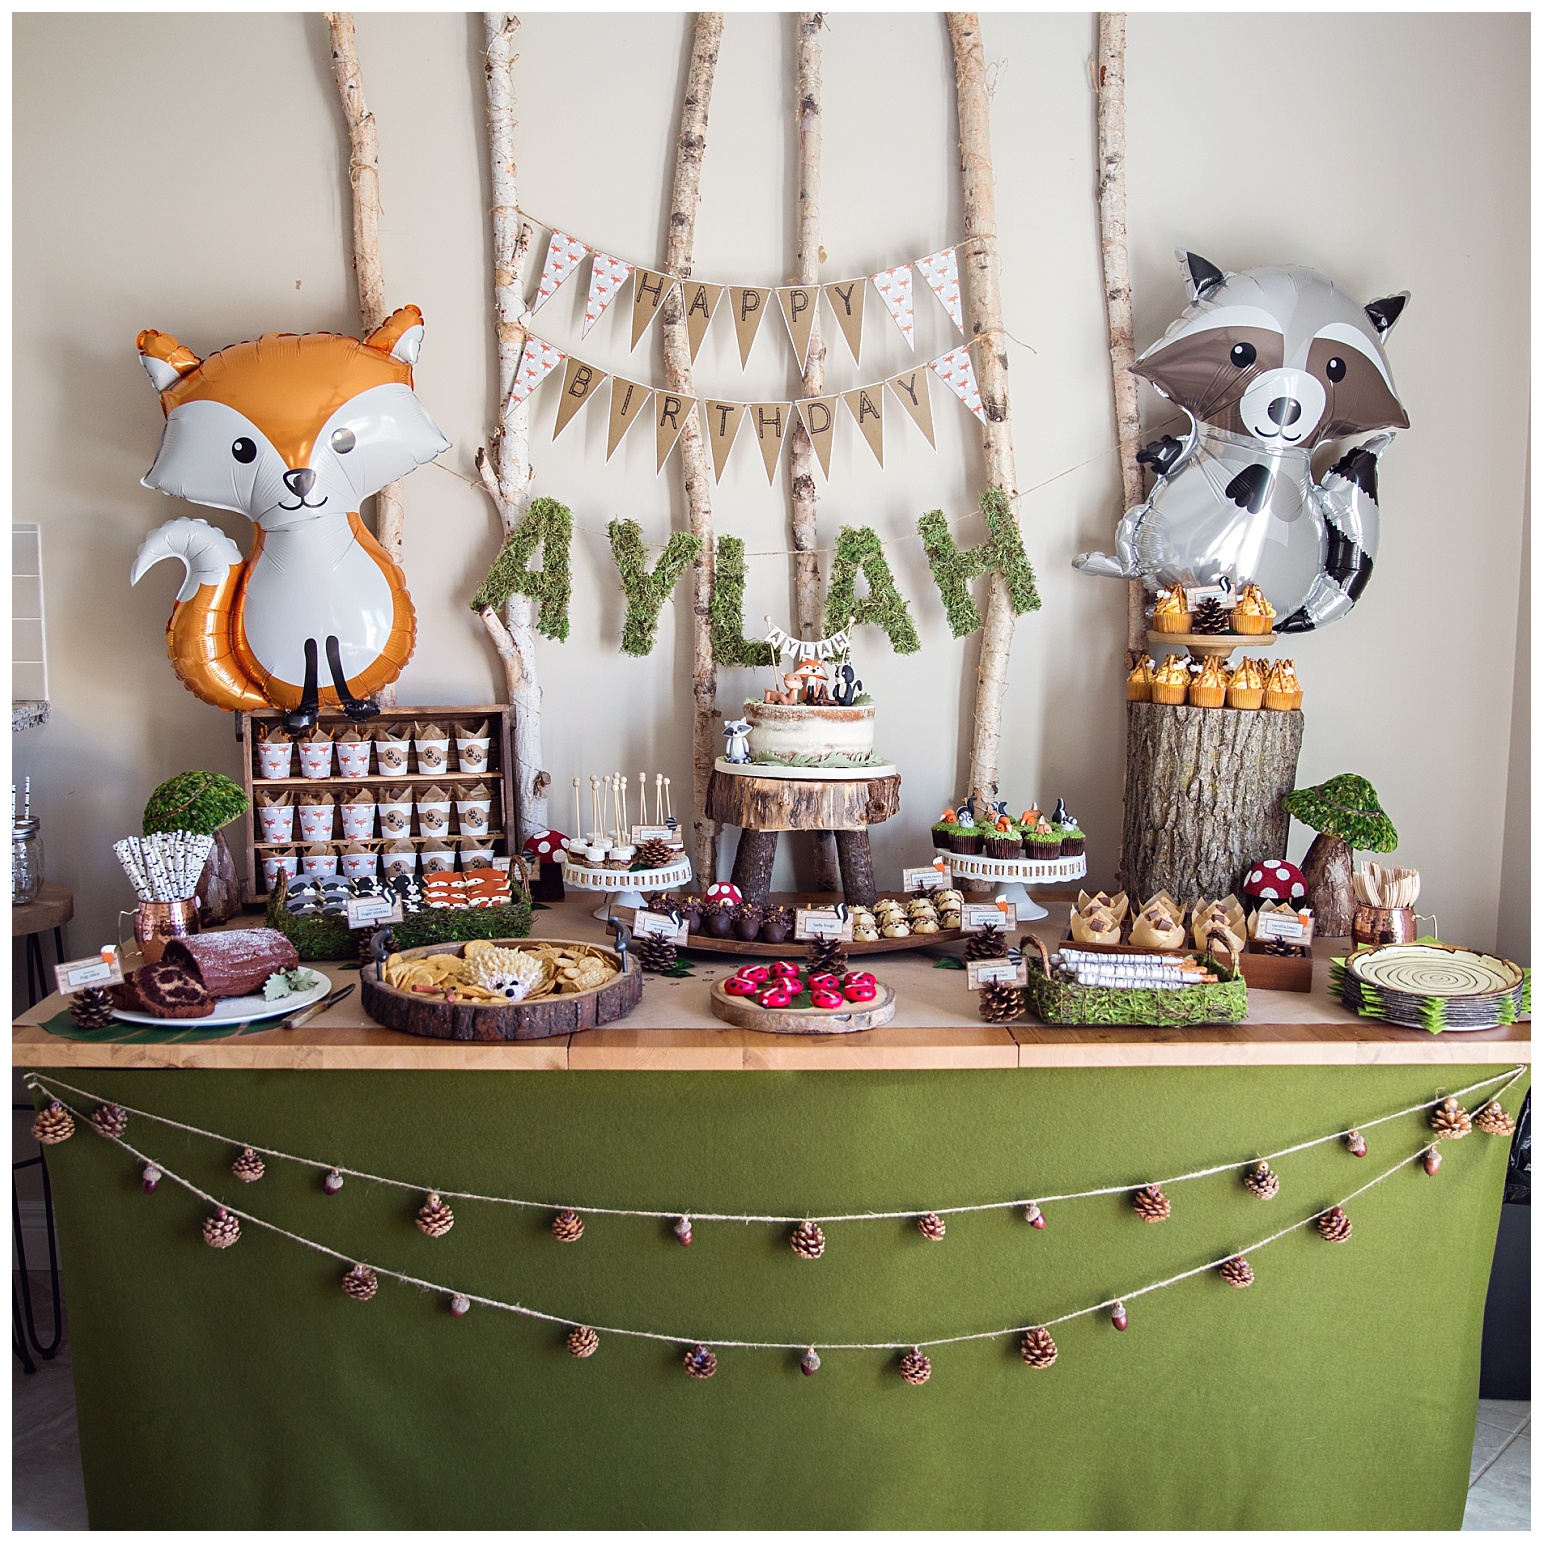
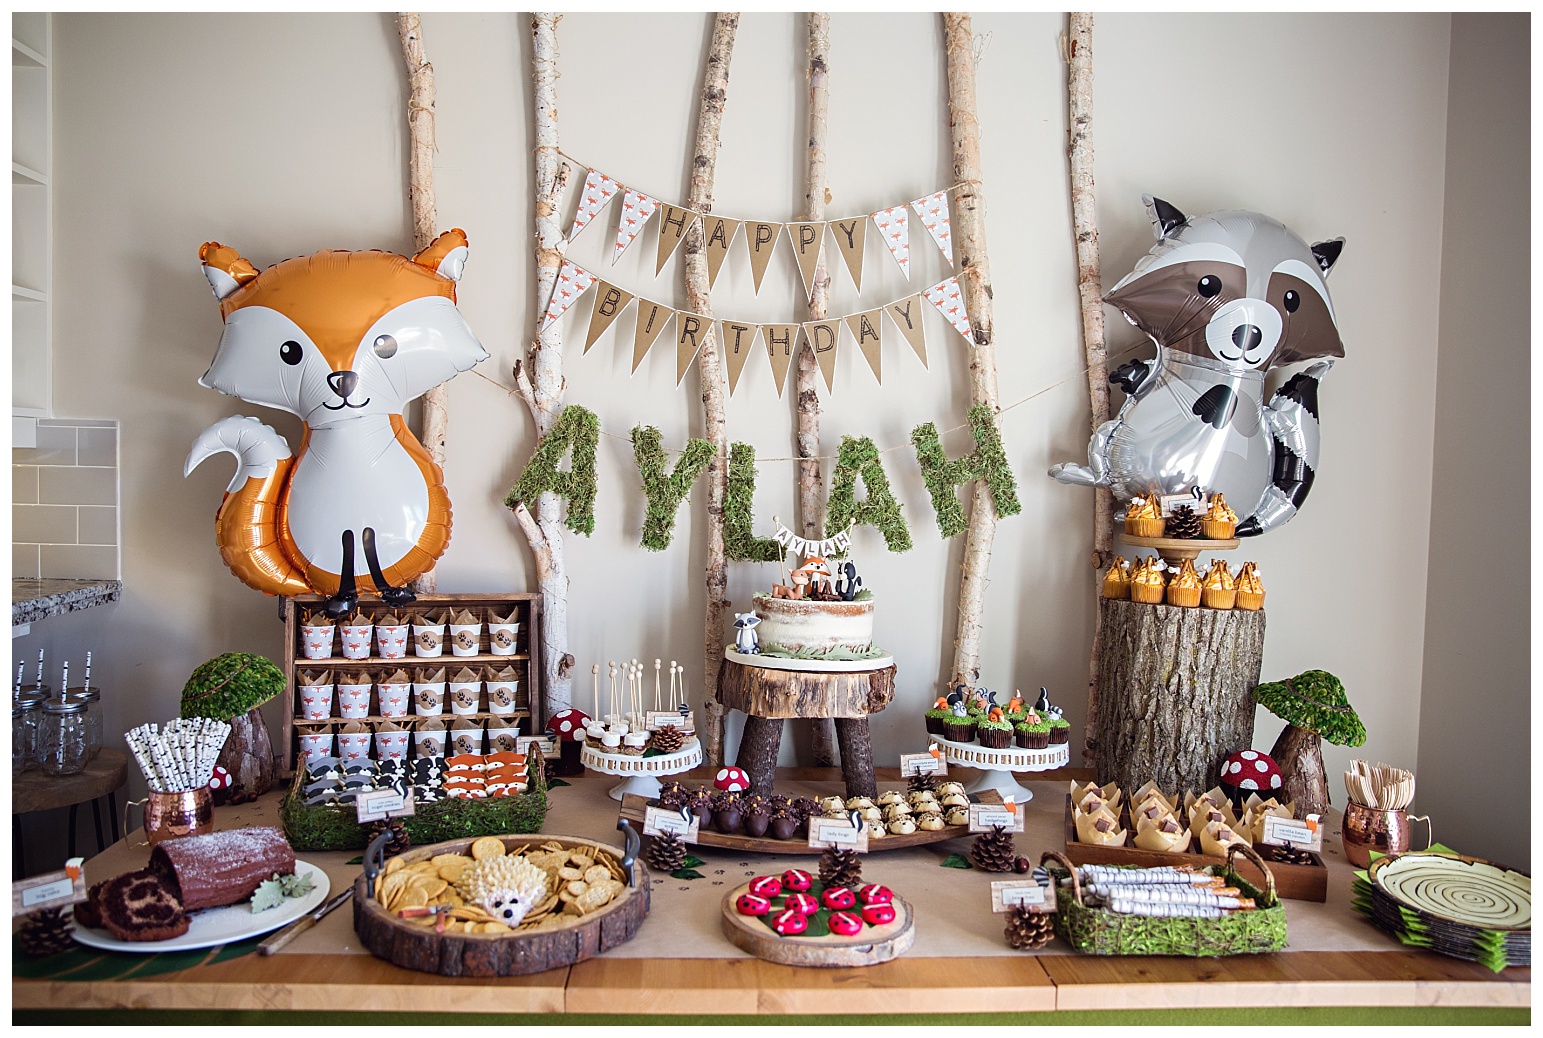
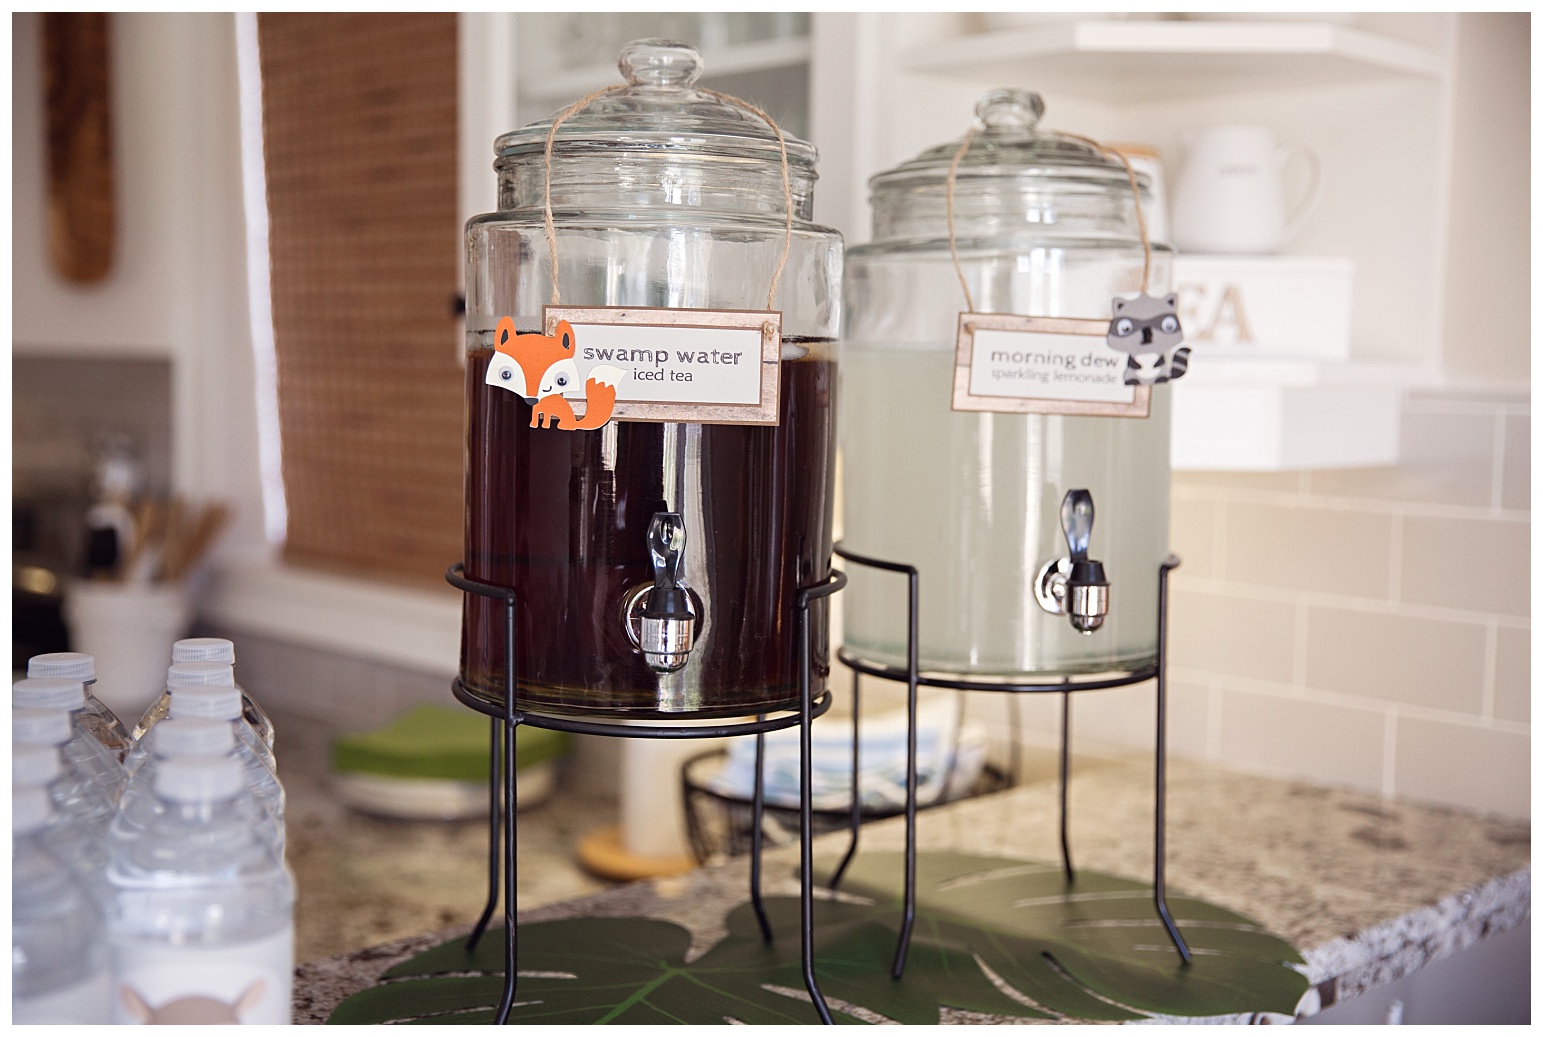
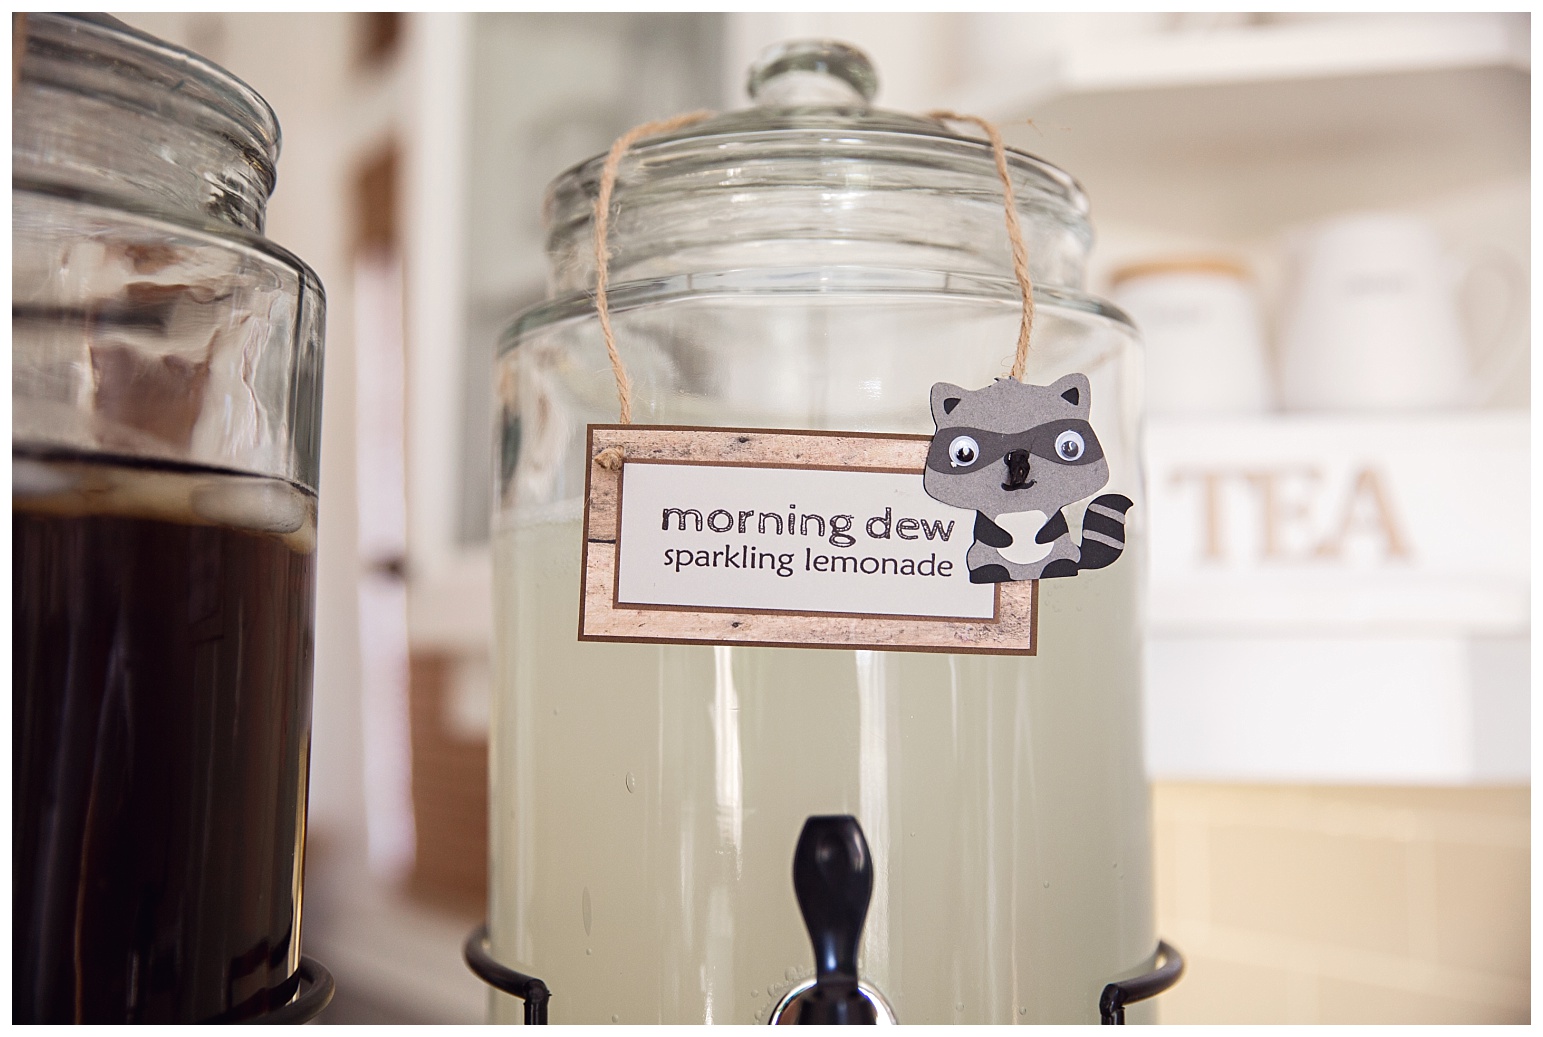
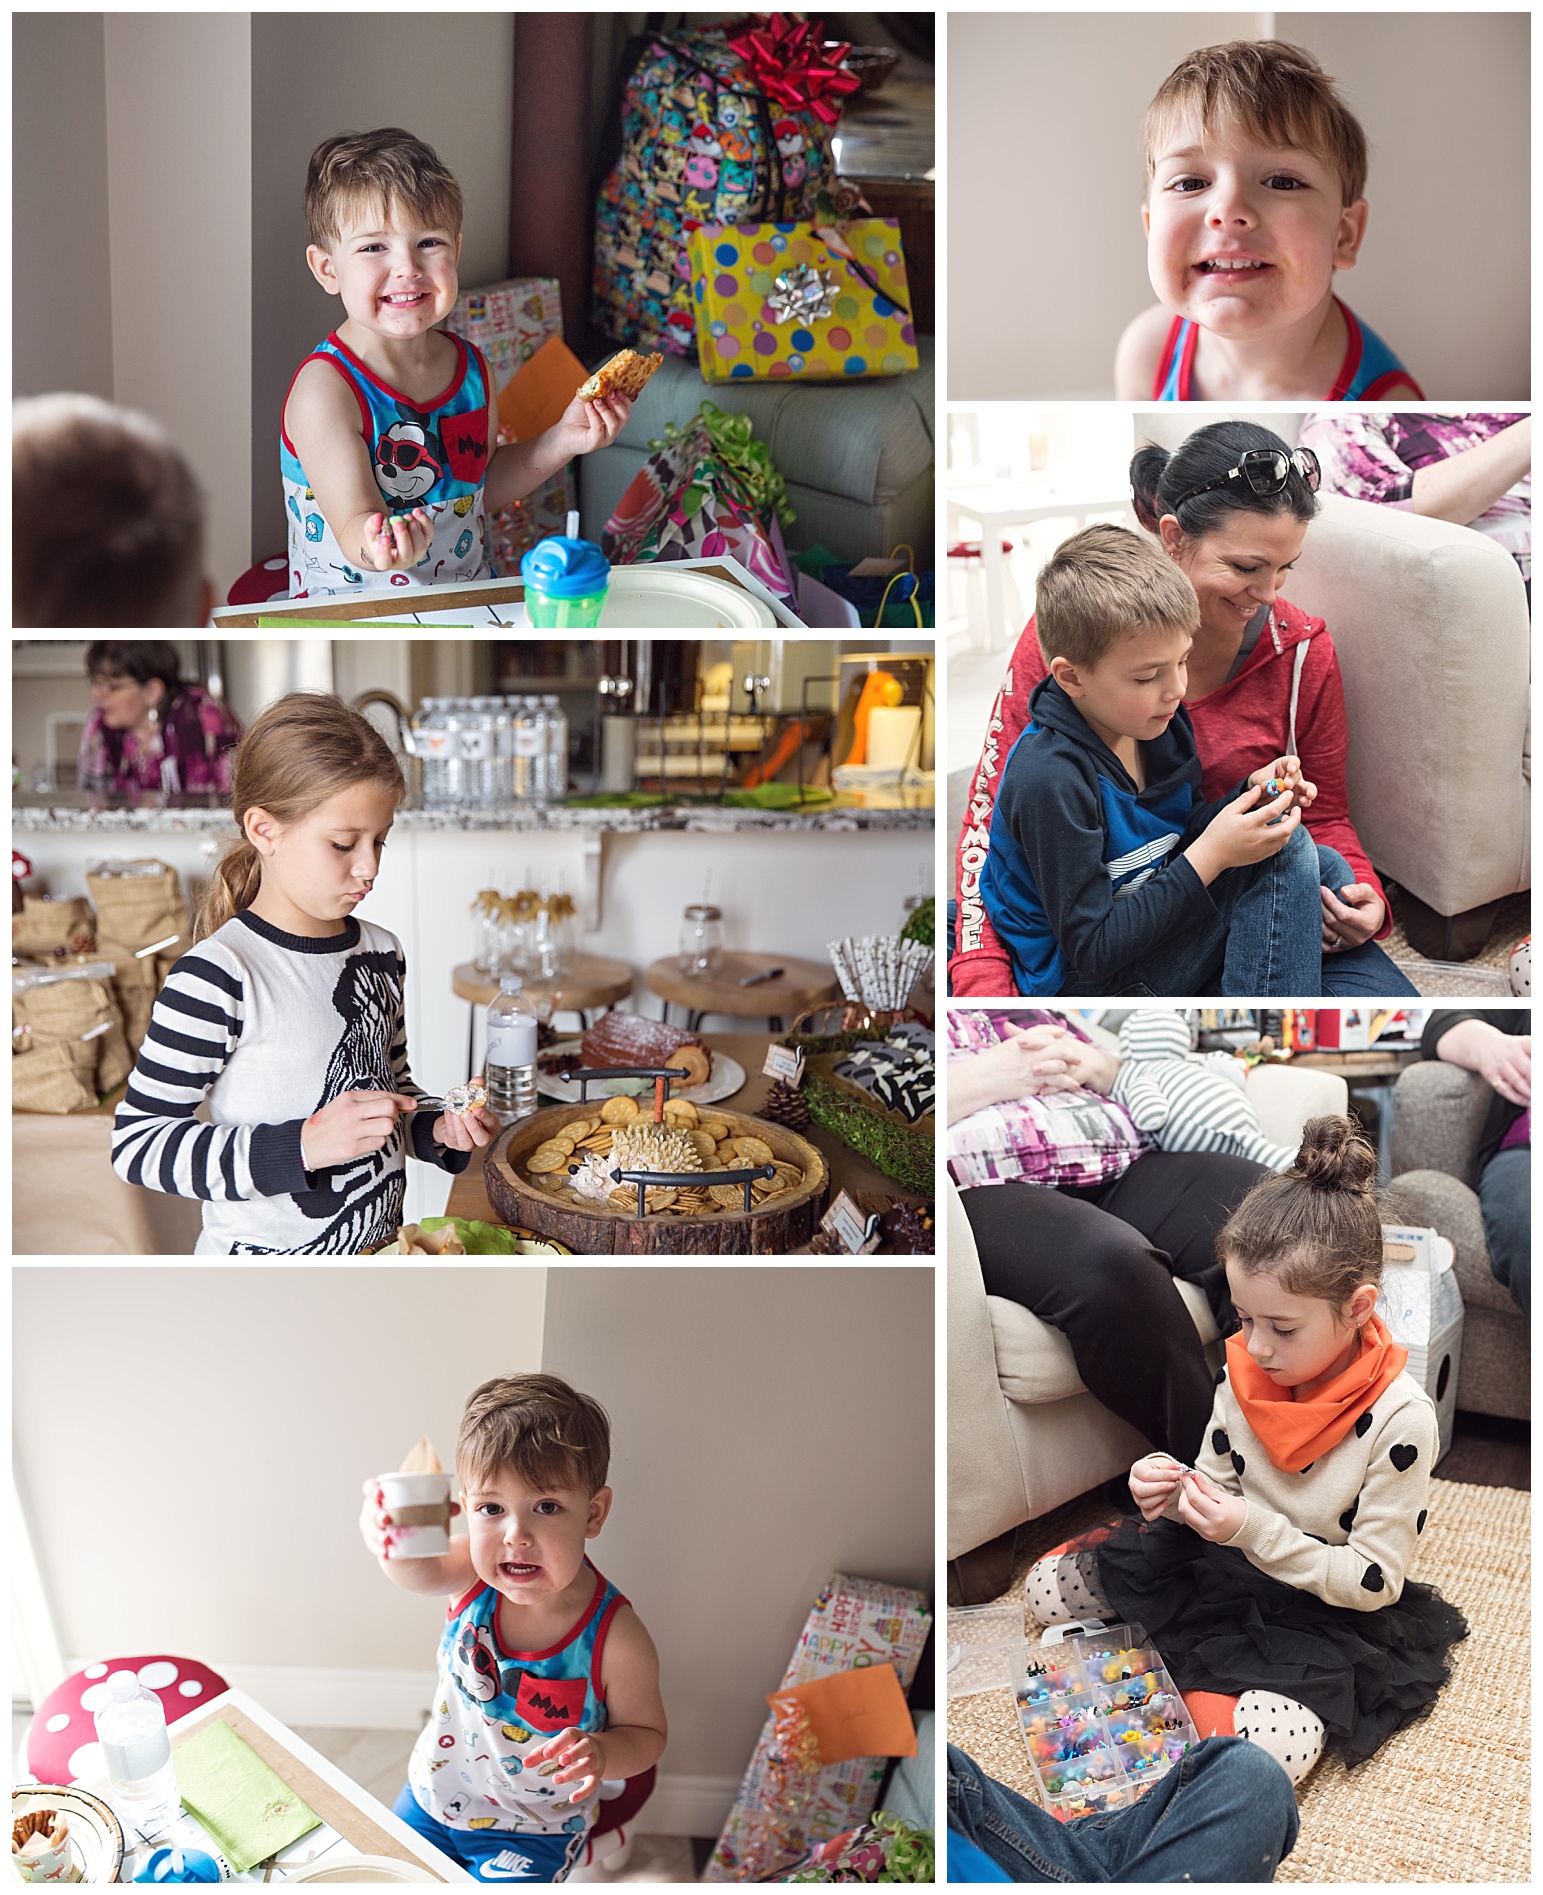
And now for my favourite part of any of Aylah’s parties … the food table. This one was a lot of fun to put together and it didn’t even cost me too much because I already had a lot of the rustic elements hanging around the house. Let’s dive into the details …
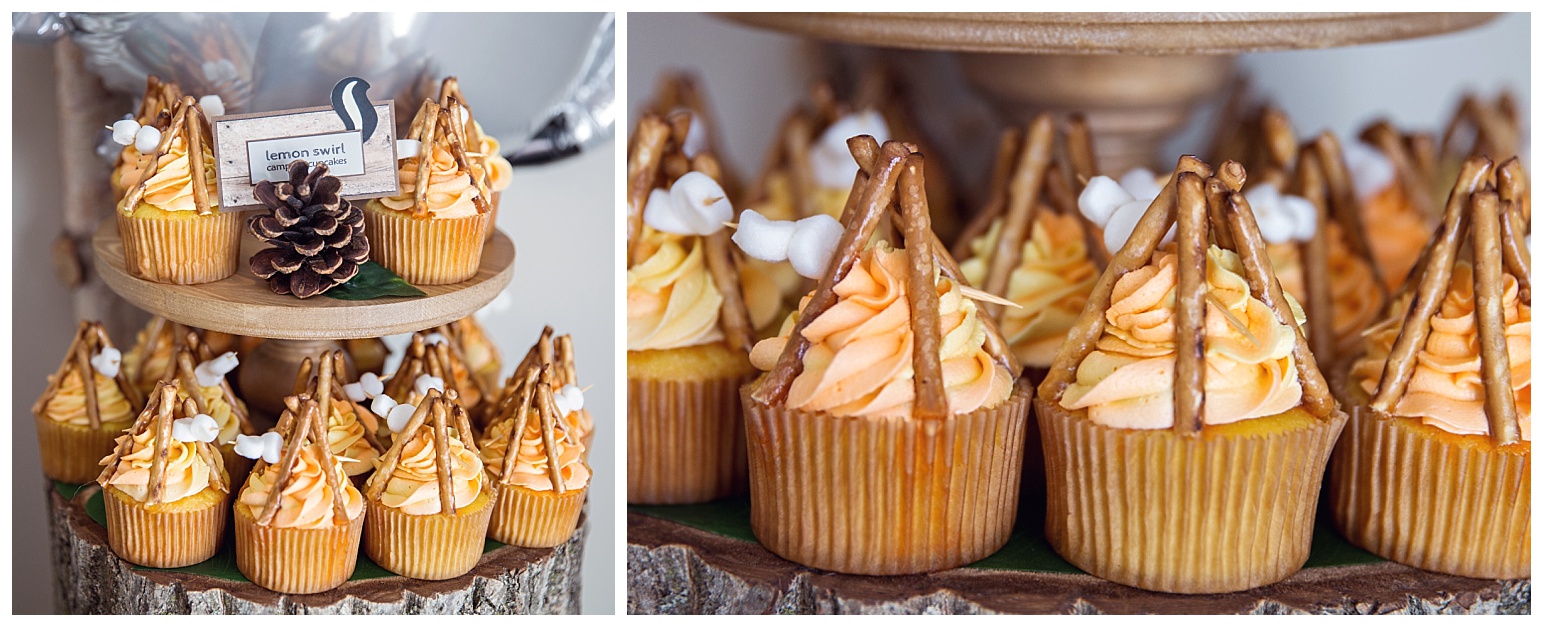
These campfire cupcakes are so adorable, and so easy. It’s subtle in the pictures, but the icing is actually two-toned orange and yellow swirl. I did that by just adding both colours to my piping bag at the same time (on separate sides) and then letting them come together in the frosting tip. Super easy and it created a really nice “flame” effect. Pretzel sticks and mini marshmallows on toothpick skewers completed the look. The cupcakes and the icing were both lemon flavoured to go with their yellow colouring … they were delicious!
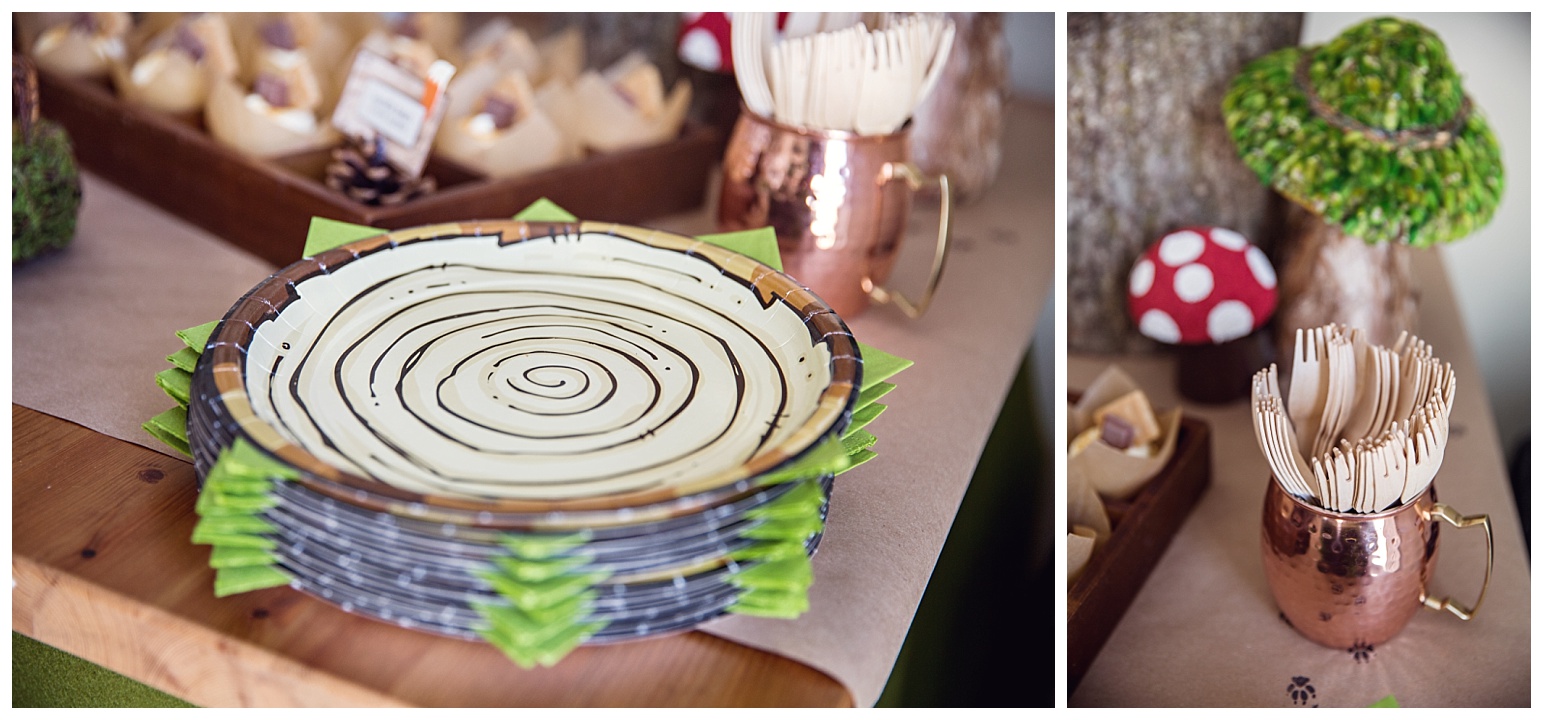
I found these perfect paper plates and wooden utensils on Amazon. The plates are HERE and the cutlery is HERE.
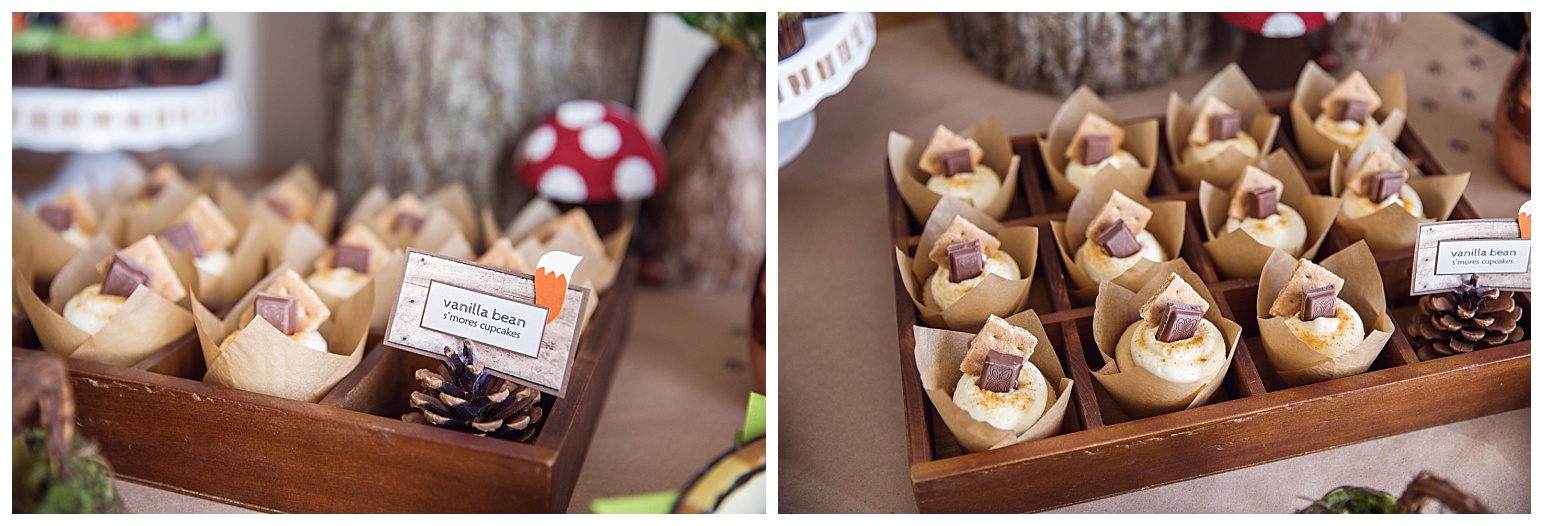
Vanilla Bean S’mores Cupcakes: Vanilla cake, vanilla bean icing using a large round frosting tip to give it a very pillowy shape. Graham cracker crumbs to give them some texture and topped with a mini graham cracker and a chocolate square.
The tray was purchased at HomeSense for Aylah’s farm party years ago and the kraft cupcake wrappers are from Michaels.
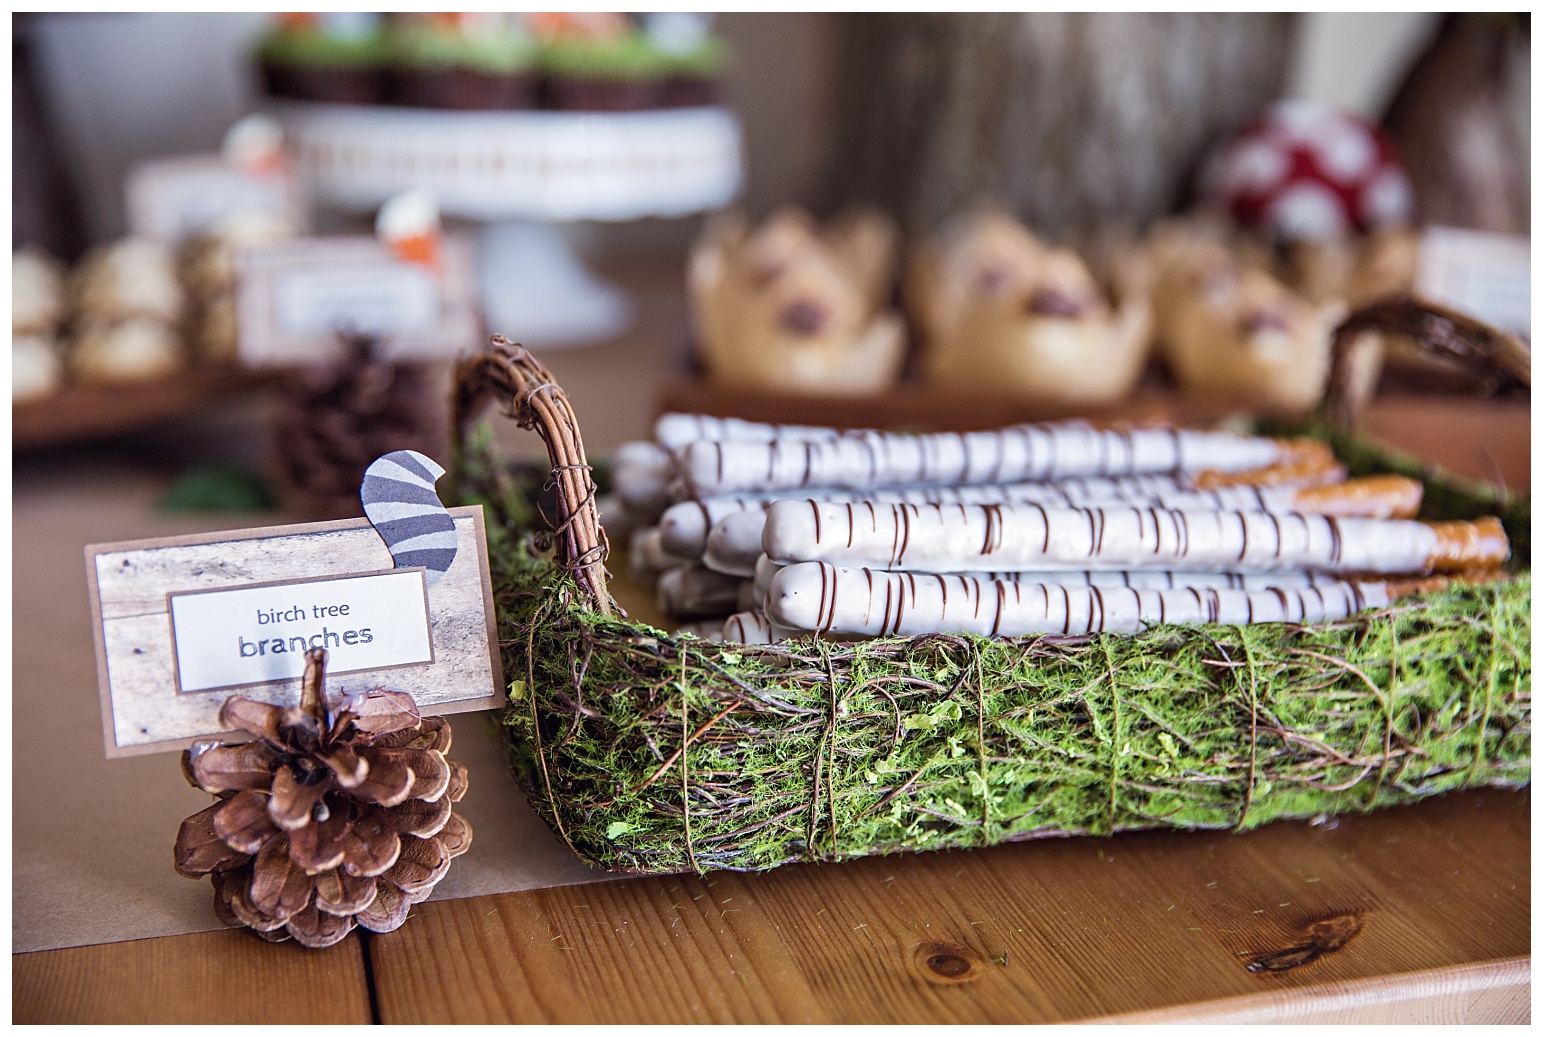
These birch pretzel sticks were super easy to make as well. Just melt some white chocolate wafers, dip in the pretzel rods and drizzle with melted dark chocolate.
I scored these amazing mossy baskets at Michaels as well for 70% off. Total lucky find. This is party of why I start planning Aylah’s parties 8-10 months in advance. I have the theme decided and then if I come across things on sale that will work I start collecting them. When it comes down to crunch time I have a bunch of stuff to use and I got it all at a discount and I’m not left scrambling at the last minute to find things … it’s a win/win.
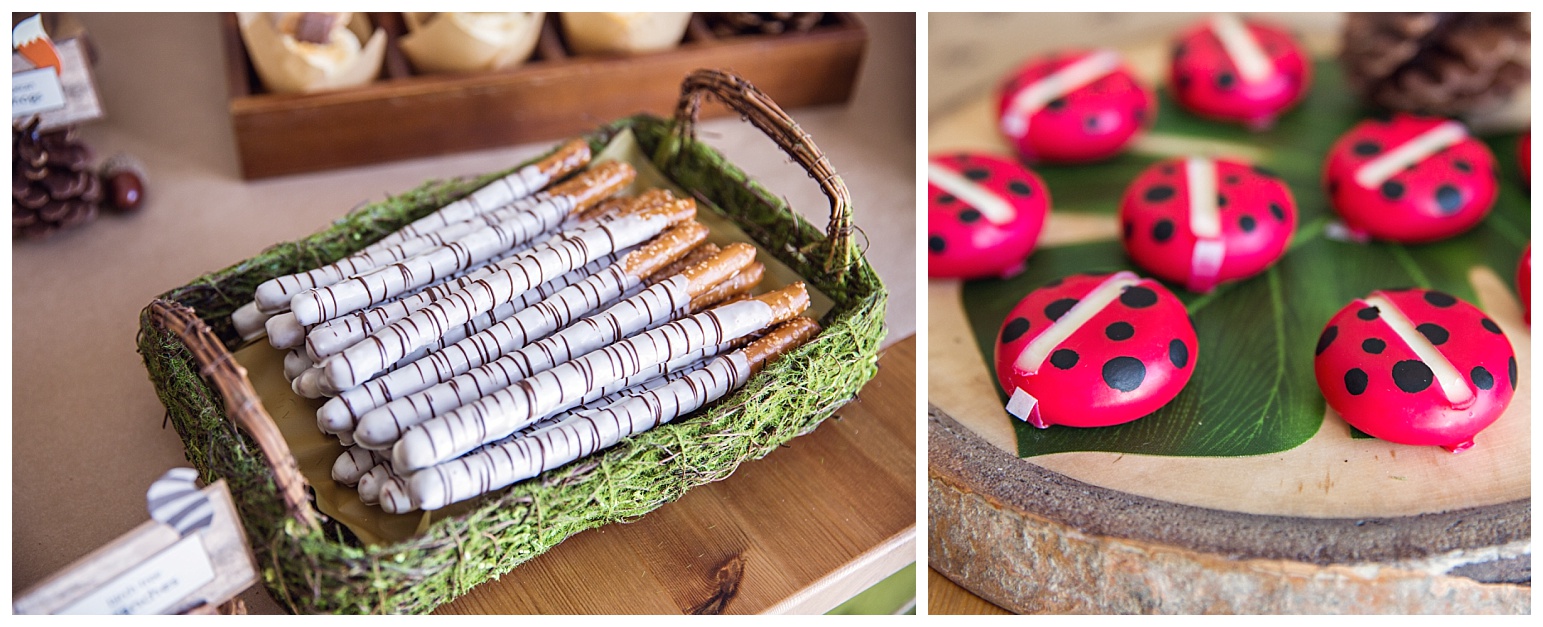
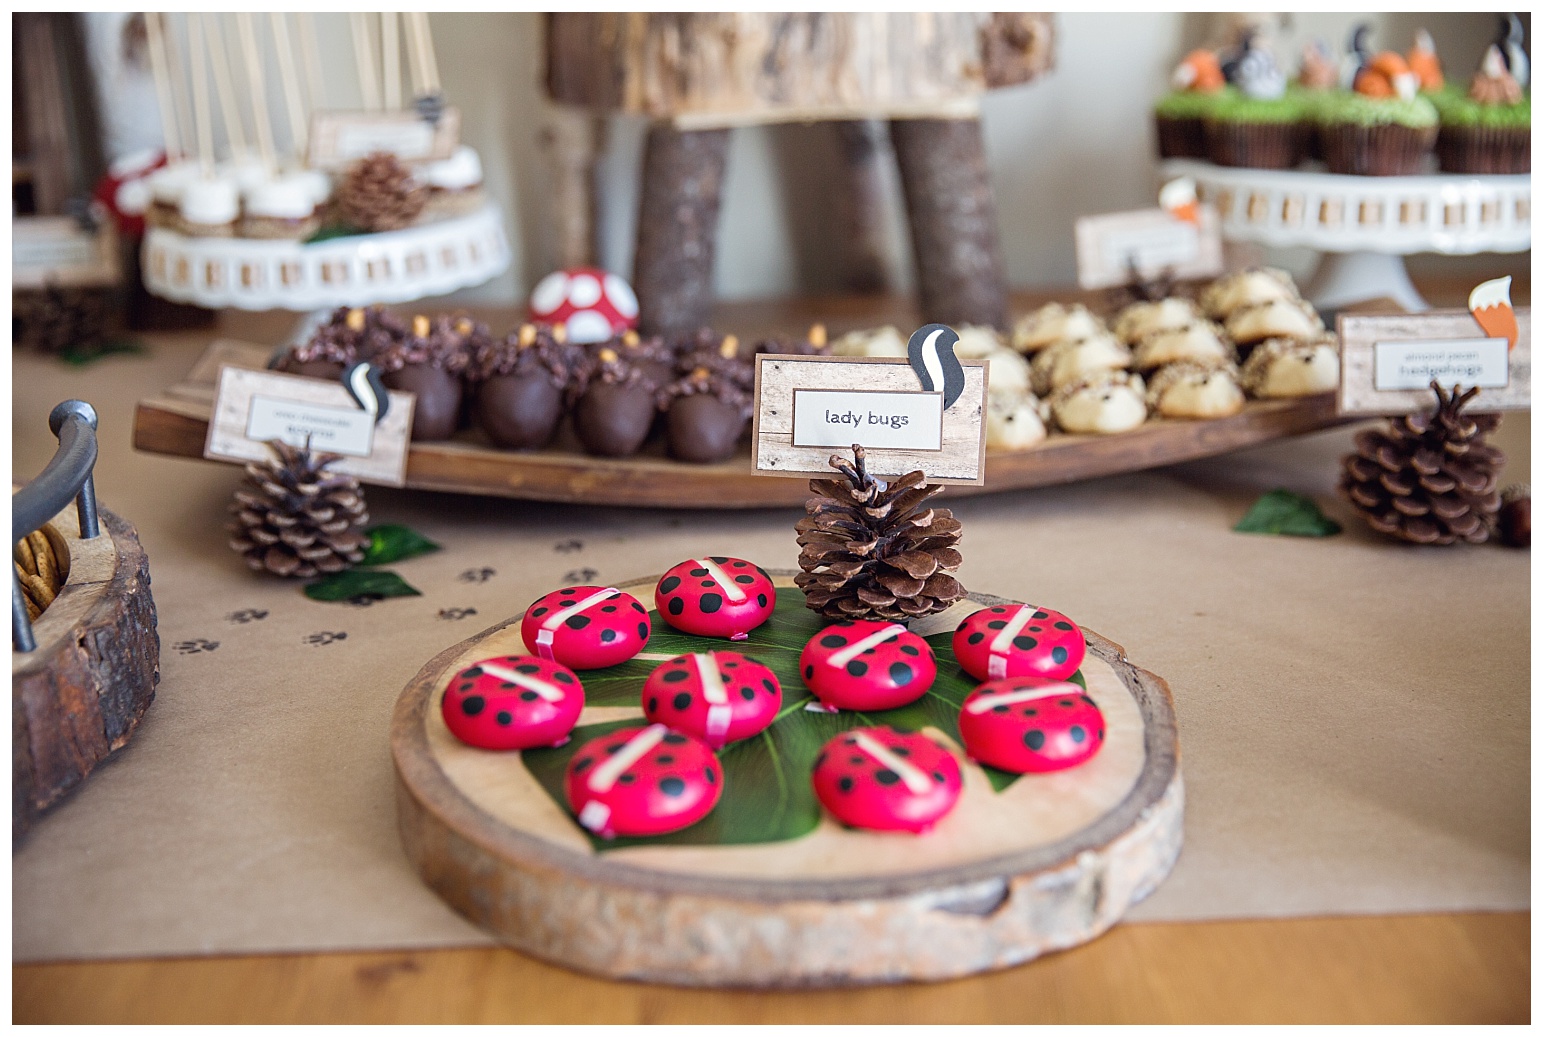
These Babybel lady bugs were a huge hit with the kiddies. I just peeled off half of the center strip and drew black dots on the wax coating. I tried black Sharpie marker first, which didn’t work at all … and then I tried black acrylic craft paint which was perfect. I prepared these a few days before the party and just stored them in the fridge painted and all. Aylah was so tempted not to eat them ahead of time, lol.
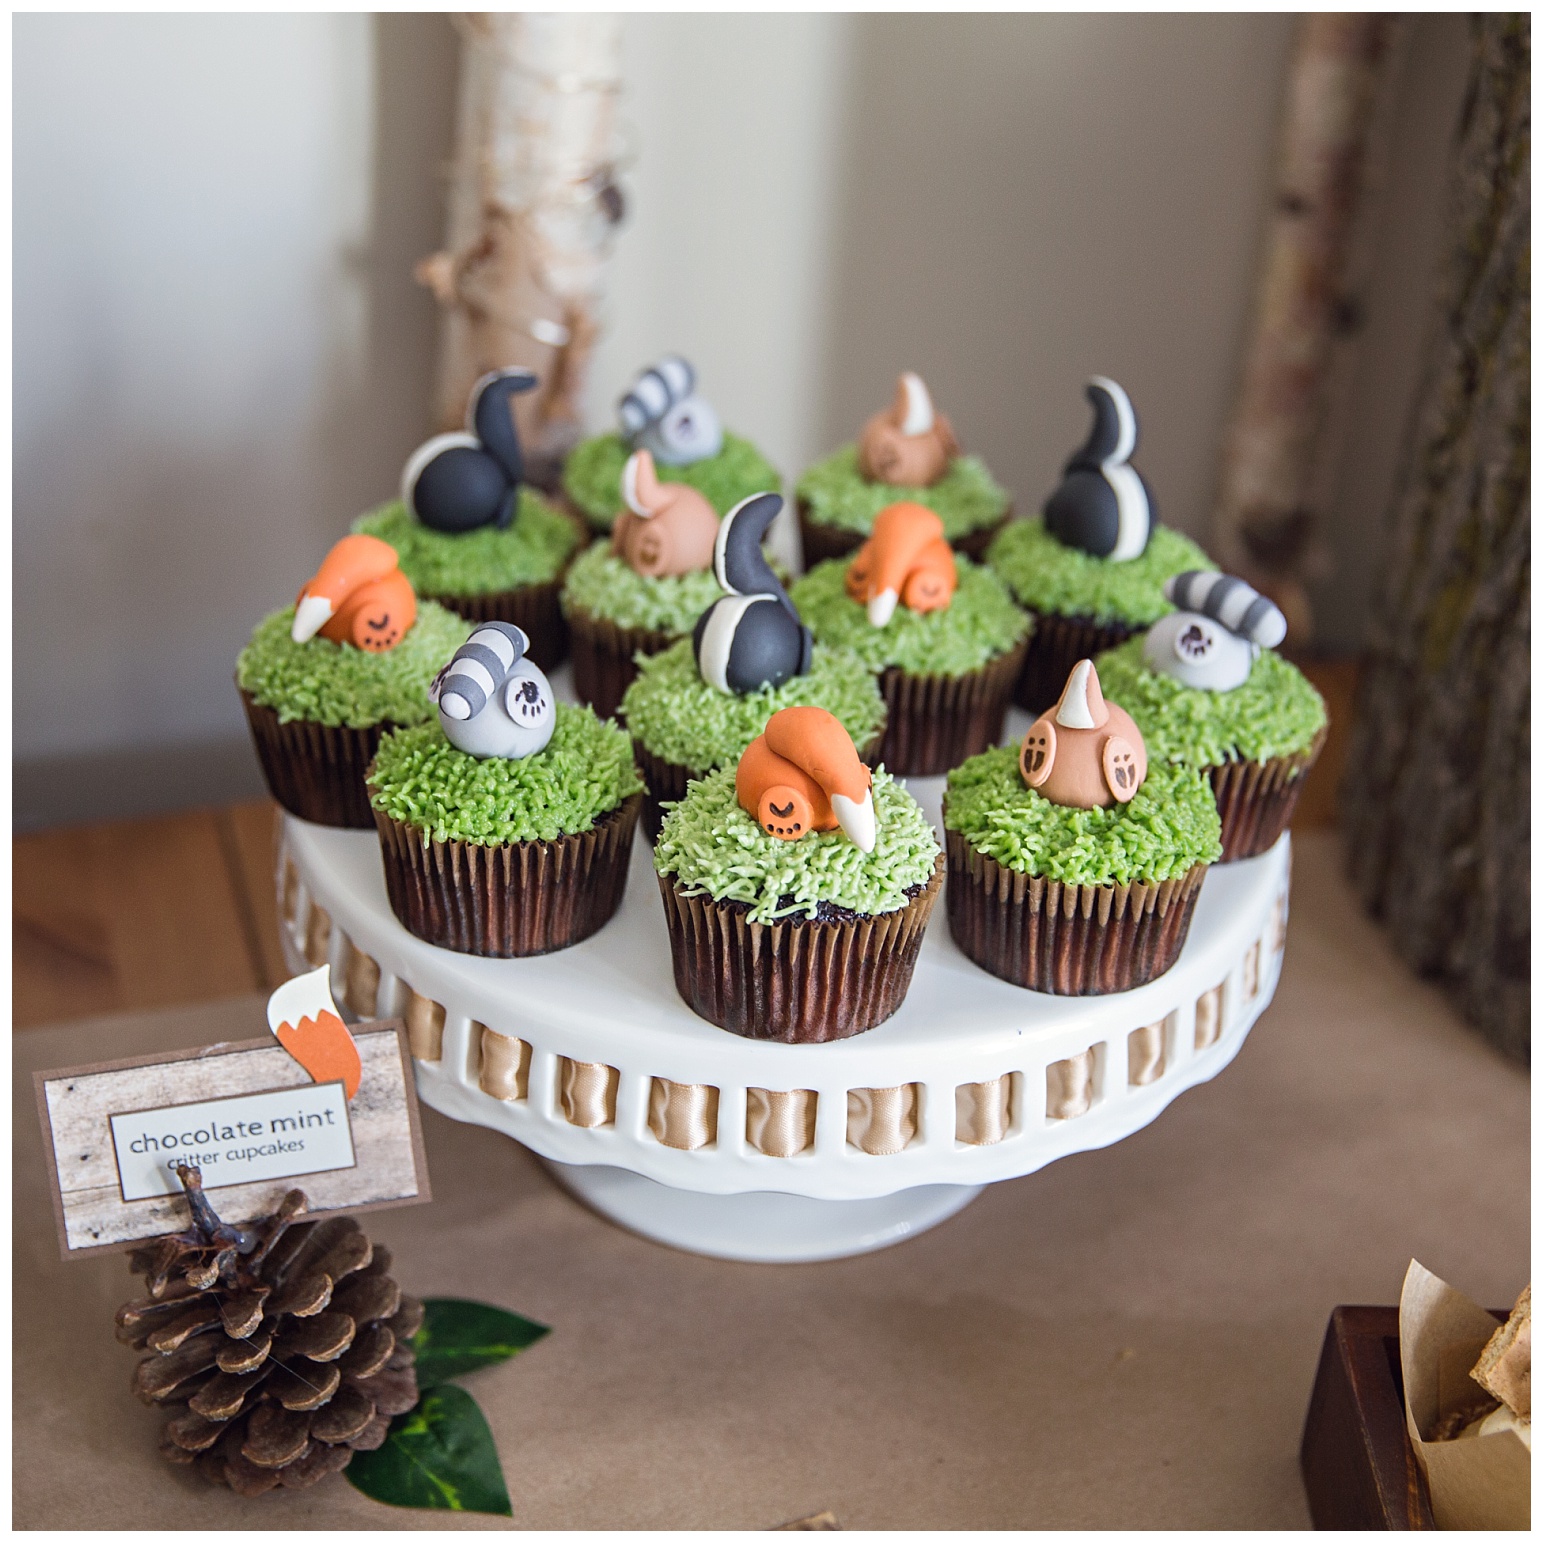
These sweet critter bums were also made by my baker and they couldn’t have turned out more perfect! I made these cupcakes with chocolate cake and baked them in kraft cups so that they would have a “soil” colour, and then the mint grass frosting was done with THIS tip to make the grass effect. My mother-in-law did these for me … there was a bit of a learning curve getting the grass length right, but once she got into the rhythm they worked up really quickly.
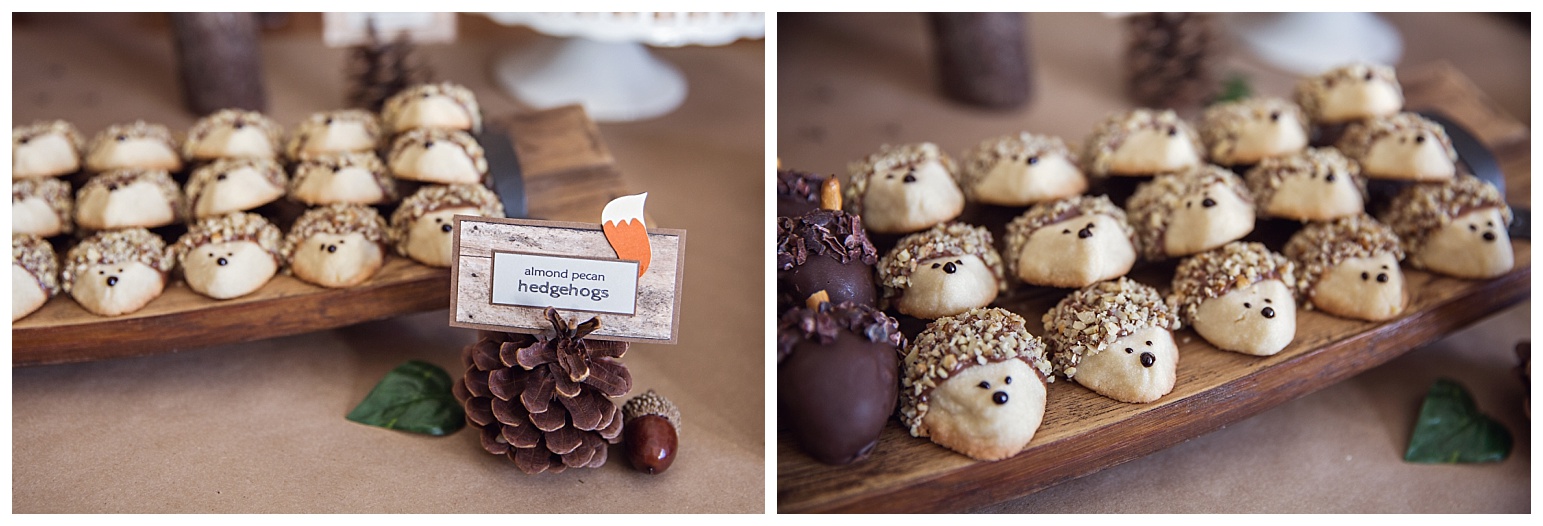
This tray was my favourite thing on the table by far … both for the cuteness factor, as well as the delicious taste! Both of these recipes were a first time try and they both turned out exactly as planned. Details below …
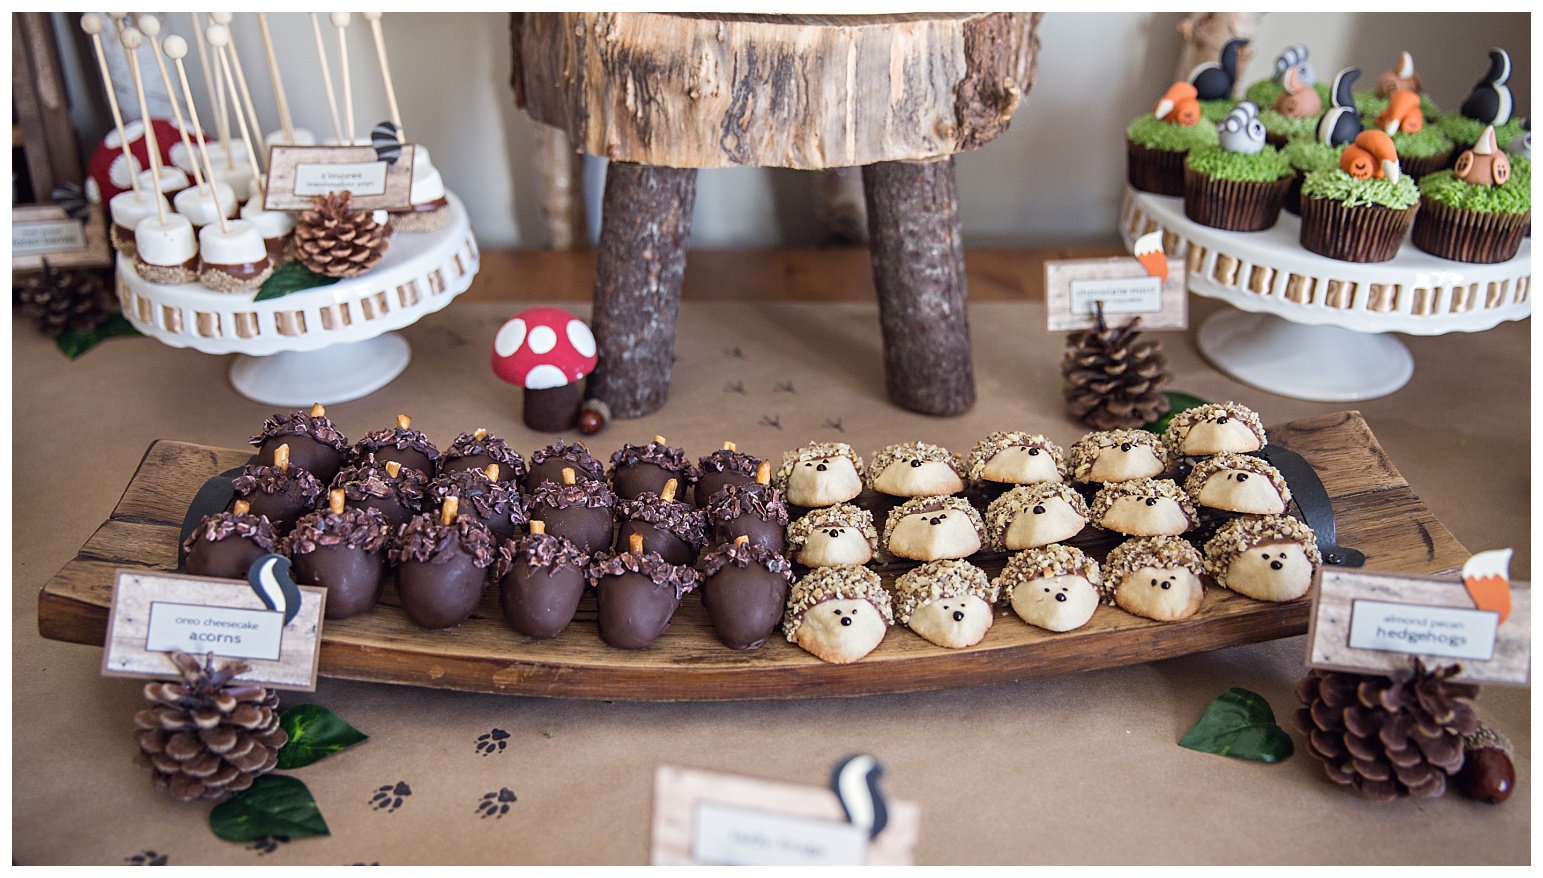
Almond Pecan Hedgehog Cookies: Aren’t these little guys the cutest thing you’ve ever seen!! I cannot take any credit for the idea … I first saw them HERE. I used my favourite sugar cookie recipe and it worked perfectly. You need to choose a batter that is dense and will hold it’s shape while baking. Once you have your hedgehog shaped cookies baked you just dip their bodies in melted chocolate and then roll the dipped portion in crushed nuts. The eyes and noses were done with royal icing.
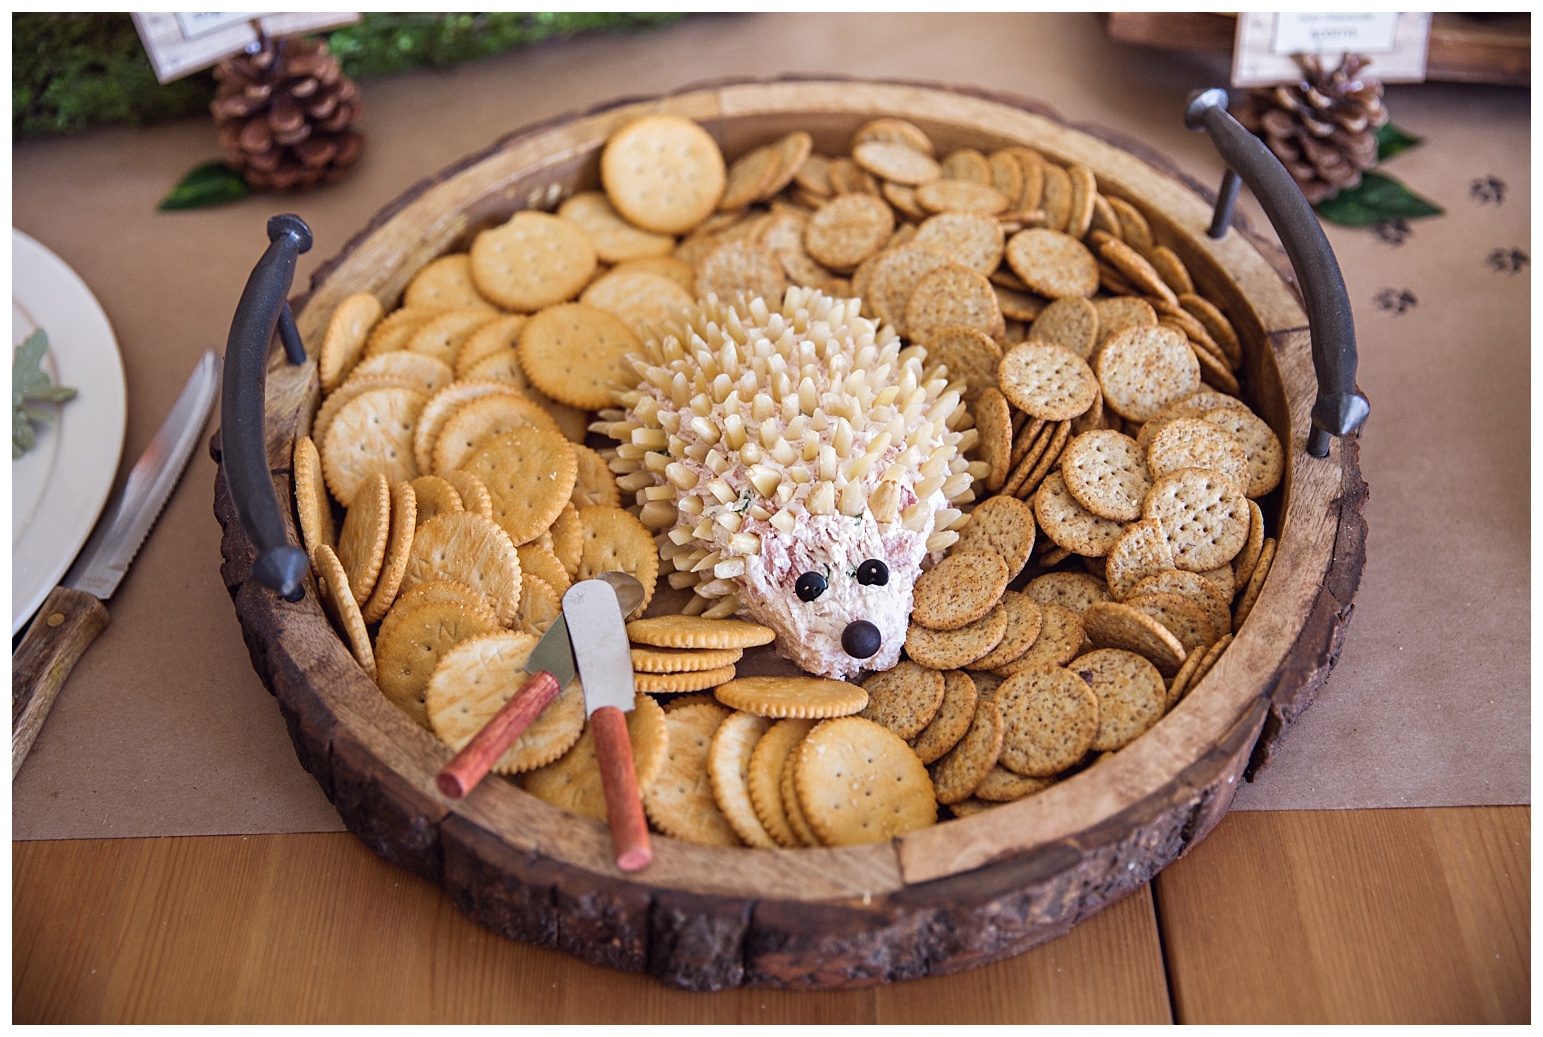
This hedgehog cheeseball was a huge hit too. The cheeseball is a family recipe and I just added some almond slivers and buttons.
The rustic tray is from HomeSense and I had it from this campfire shoot that we did a couple of years ago.
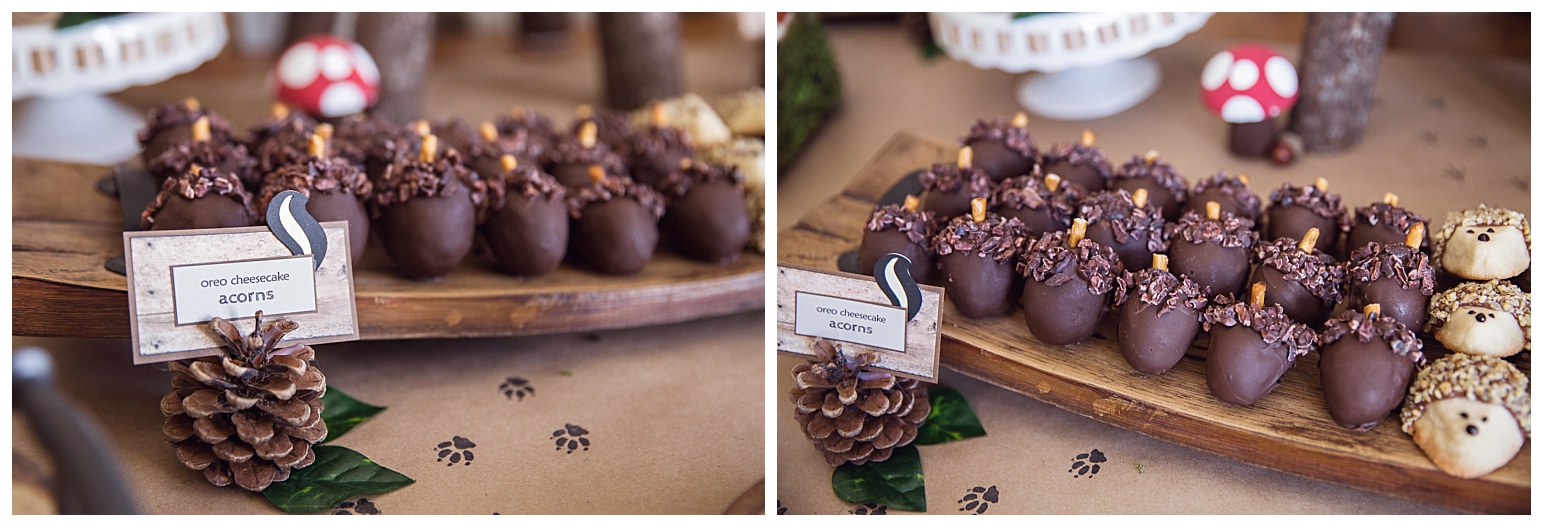
Oreo Cheesecake Acorns: These I will DEFINITELY be making again. Maybe not in the shape of acorns, they could just be oreo balls, but they were DELICIOUS!! I got the recipe HERE and followed it to a tee. If you like cheesecake and chocolate then you NEED these in your life!
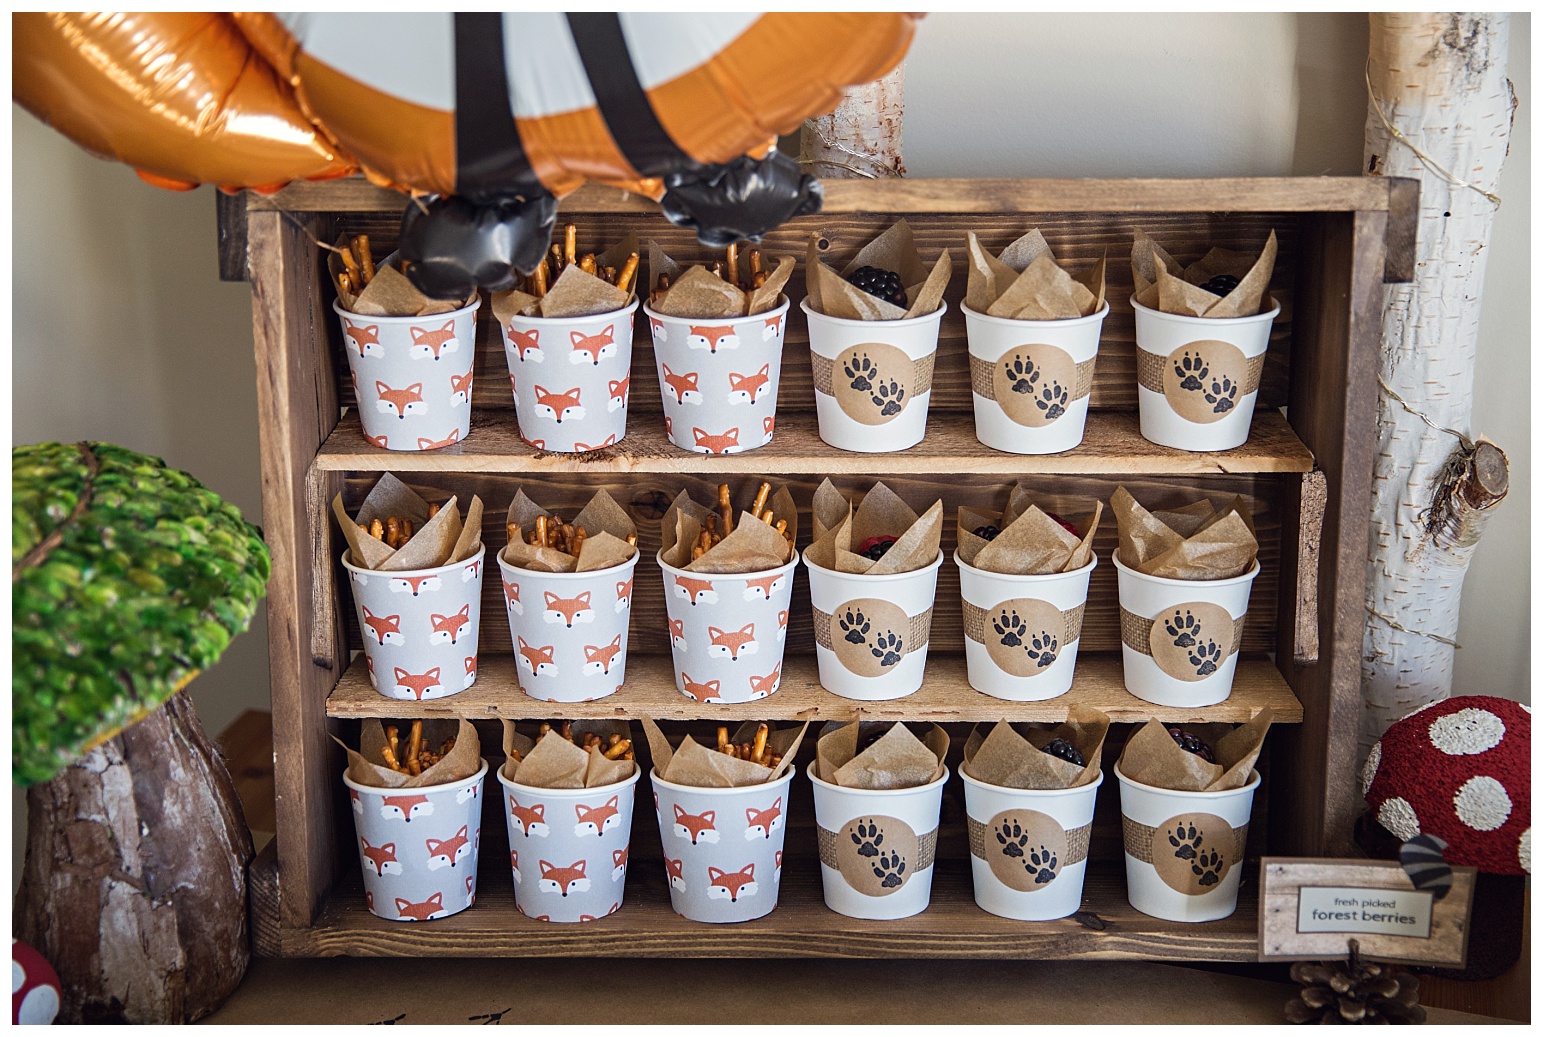
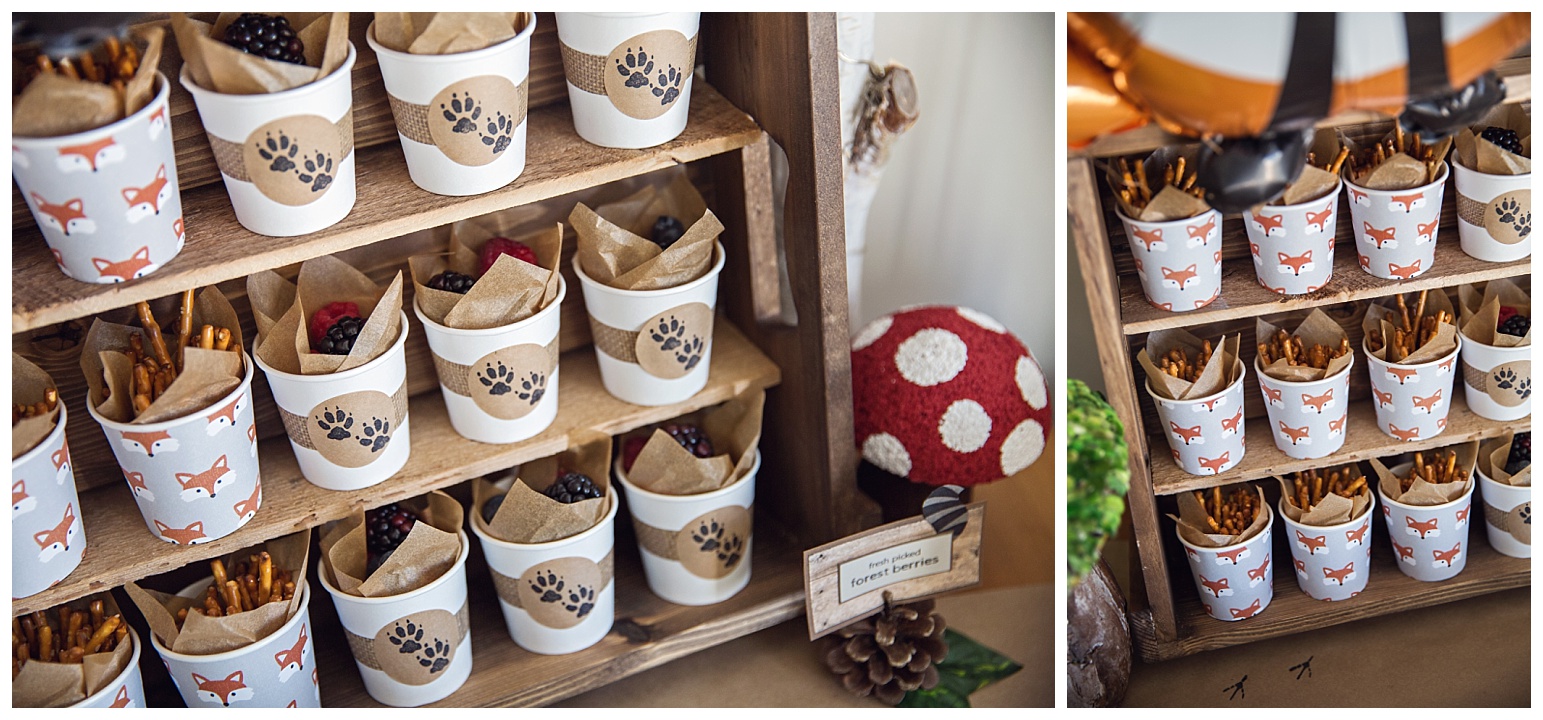
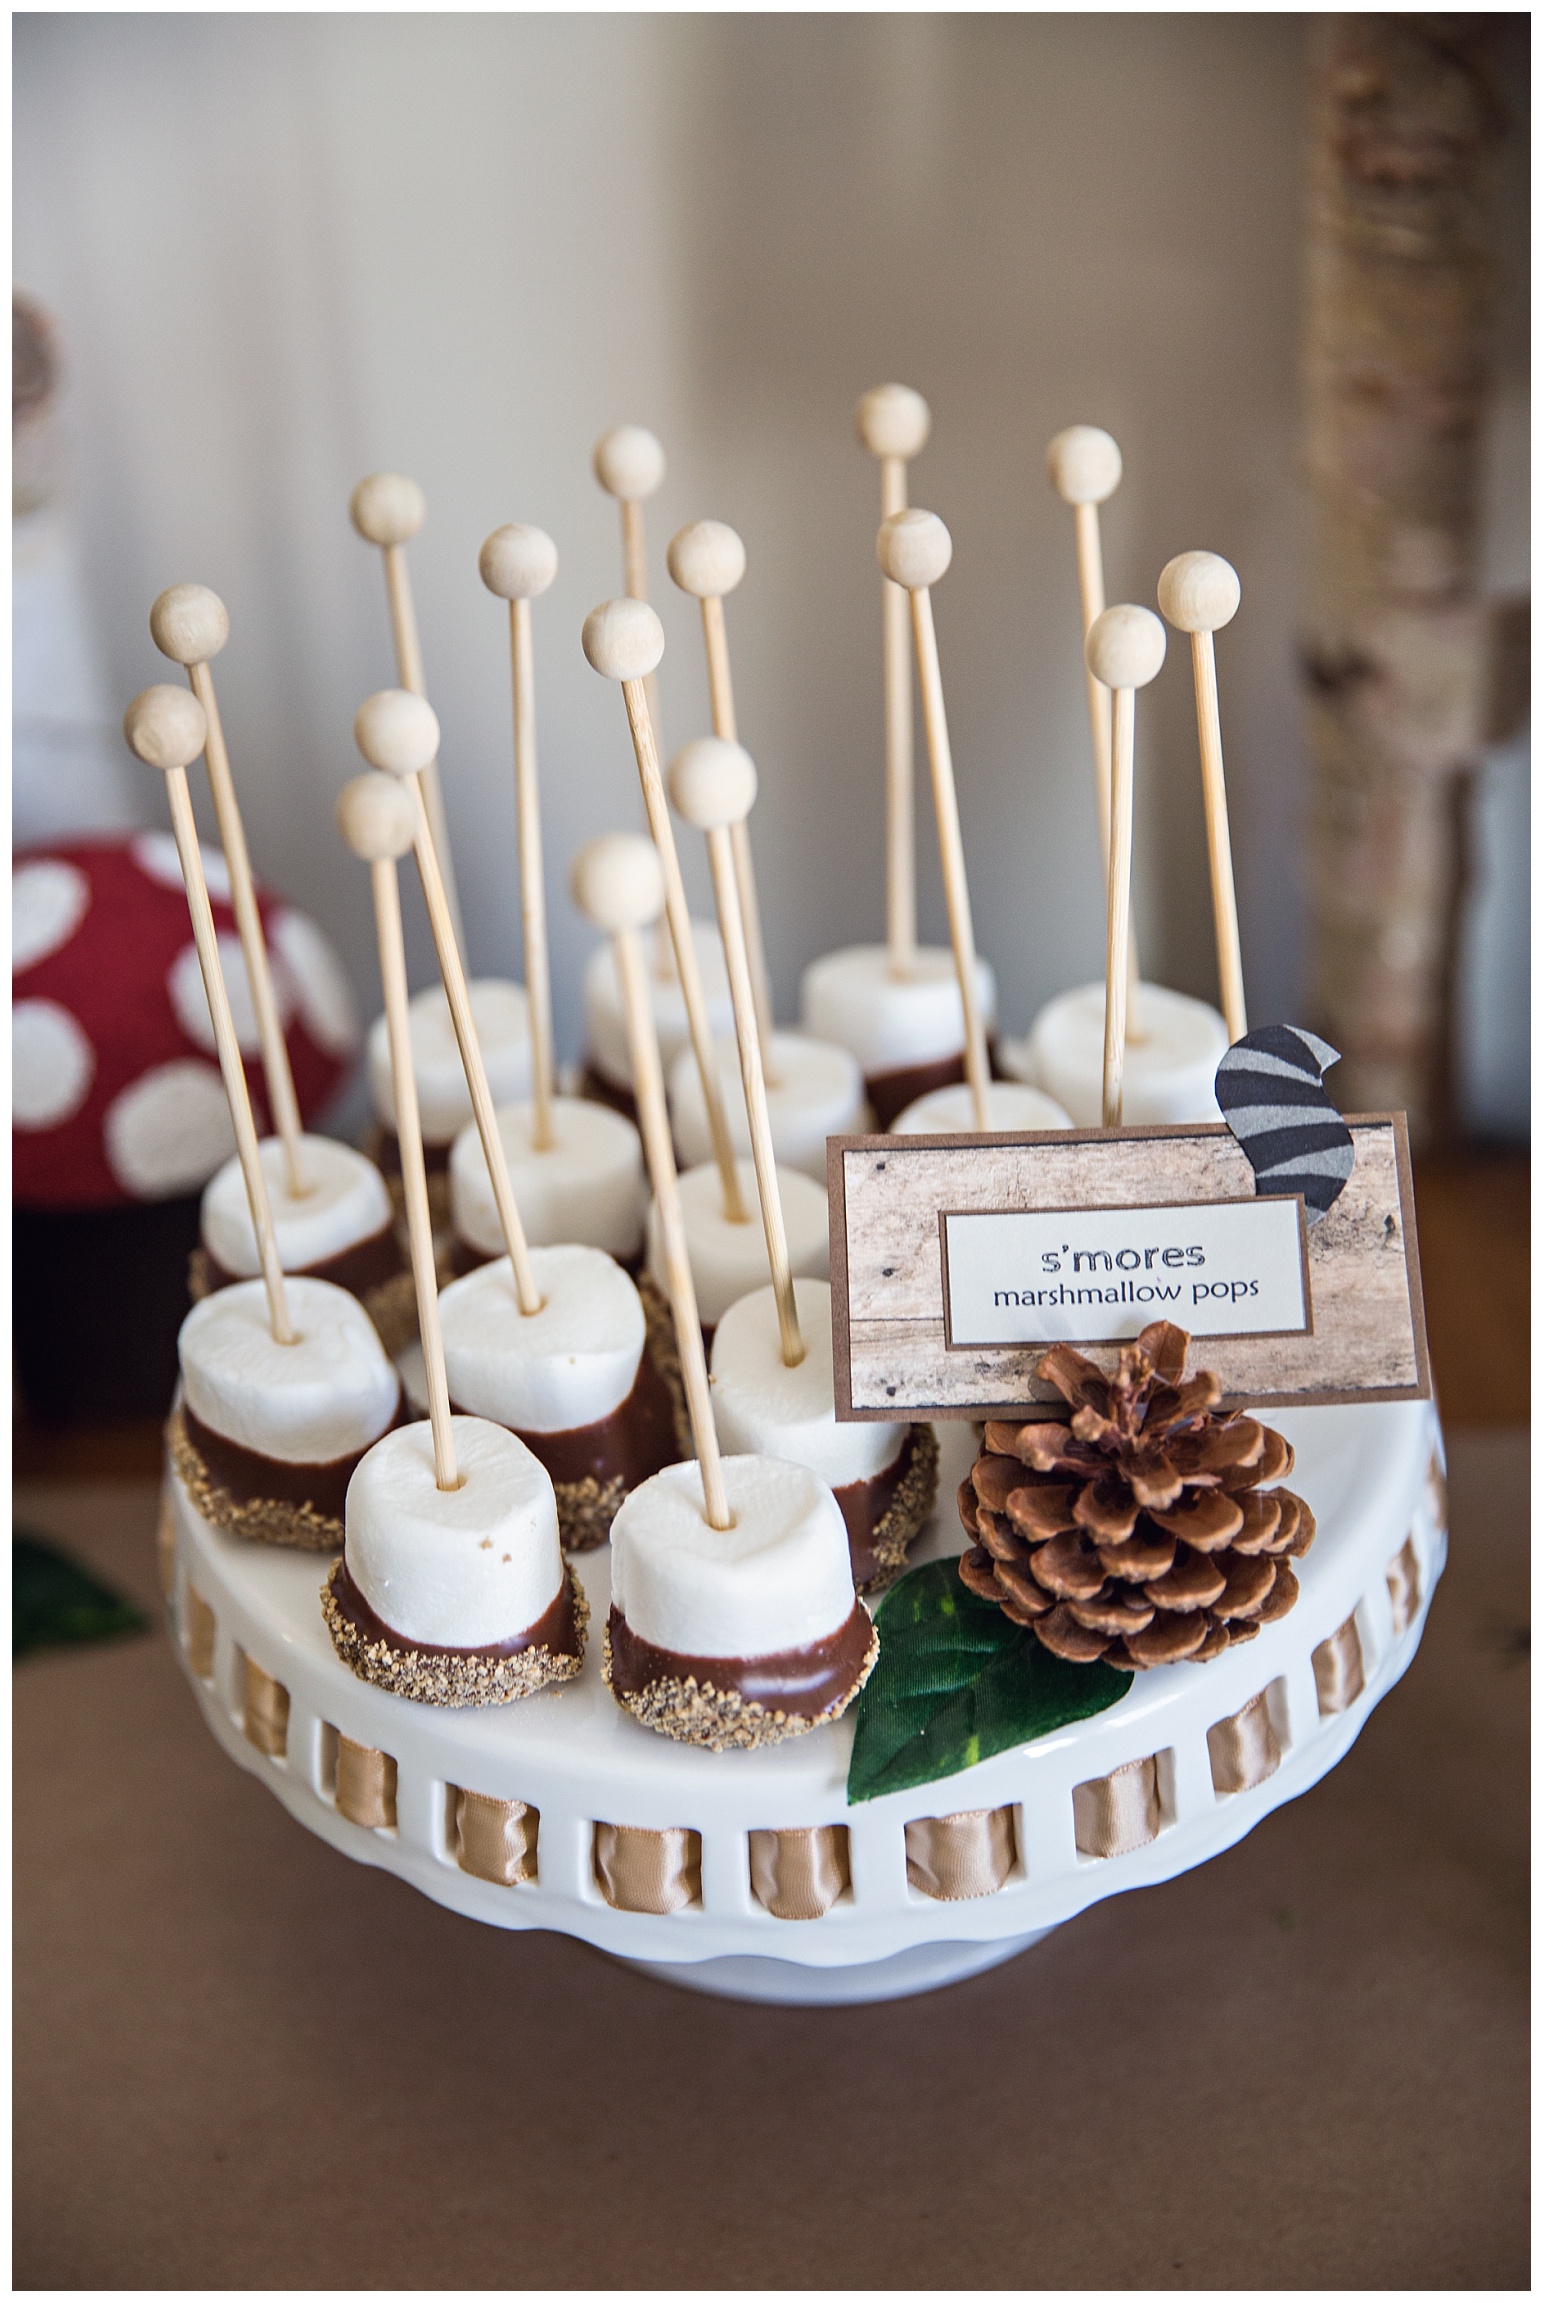 I got these cute little white cups from Party City and just left the handles glued down. I decorated them with scrapbook paper. I added these temporary shallow shelves to the crate with some spare scraps of wood that I had lying around in the garage.
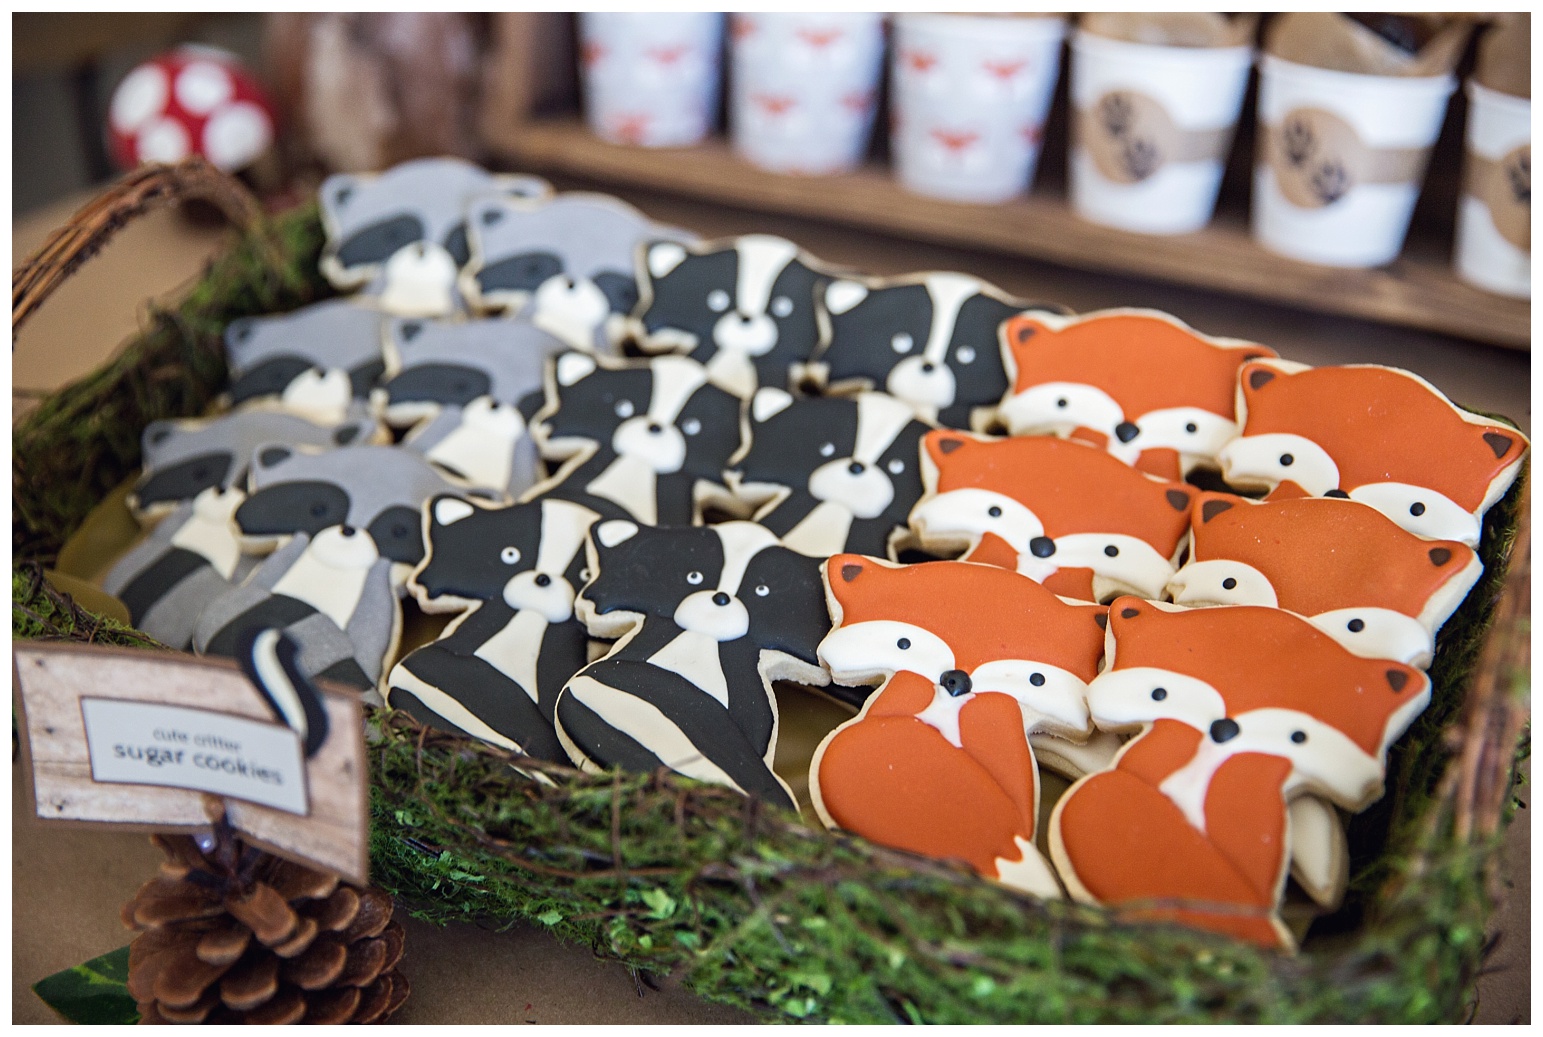
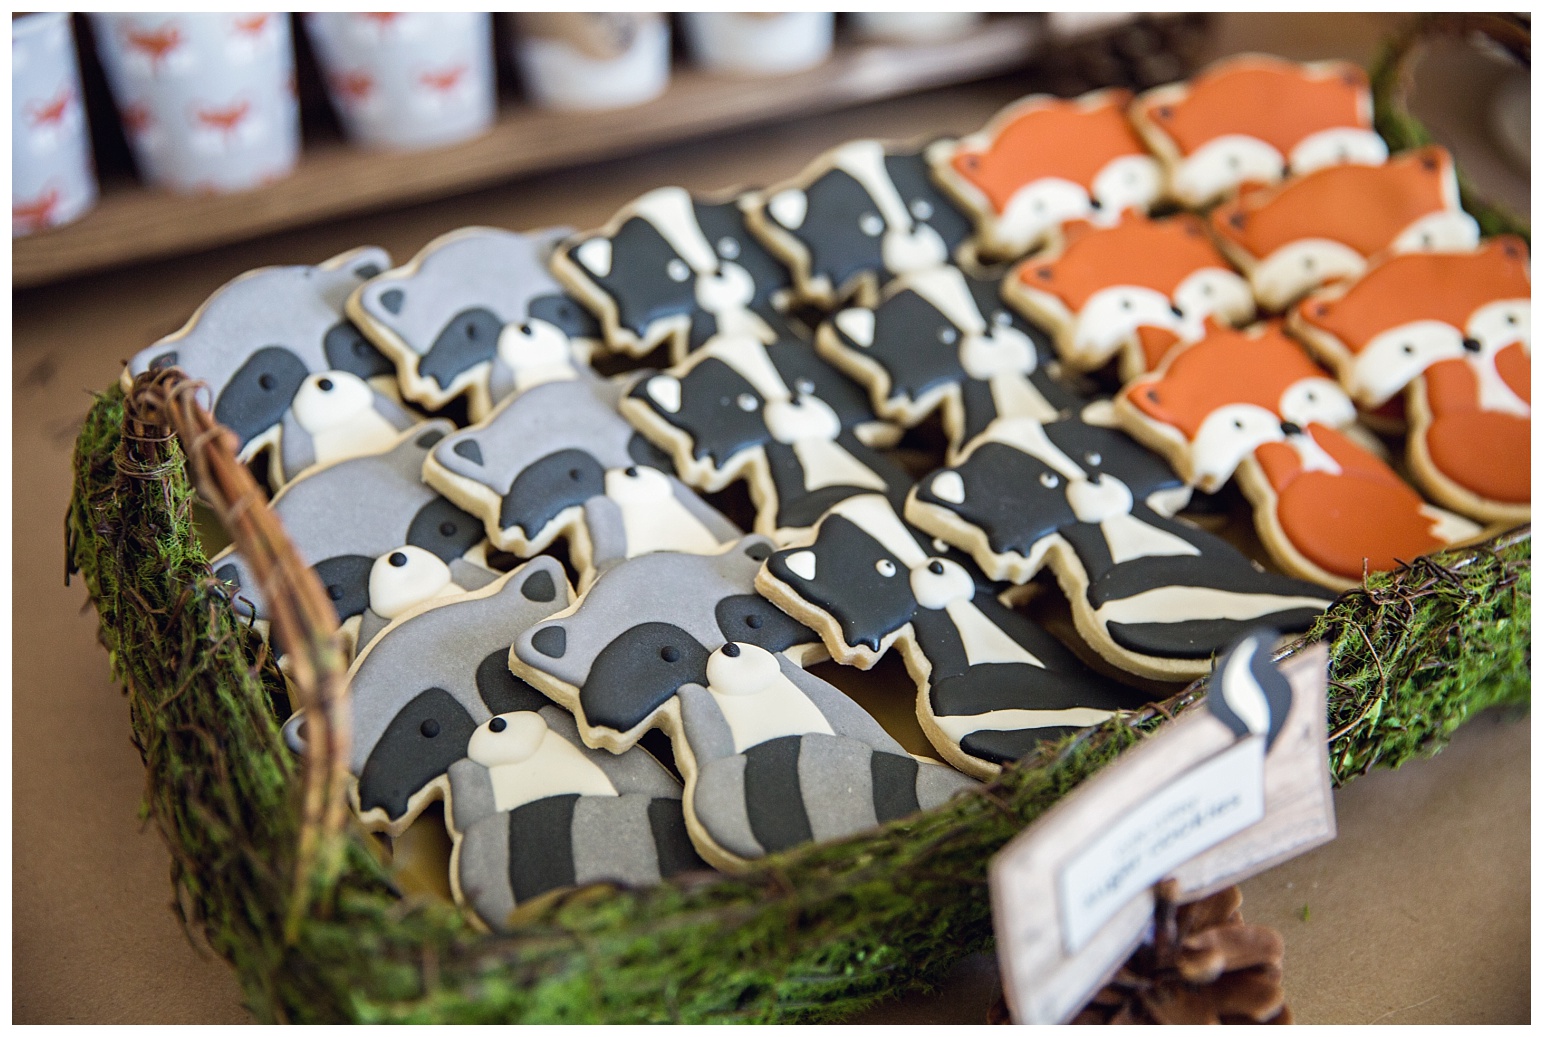
I ordered THESE cookie cutters and got my friend Christina to make these adorable sugar cookies! I usually love doing sugar cookies myself, but I had taken on a bit too much this year with food prep so decided to outsource them this time. She always does a way better job than I ever could anyway, lol.
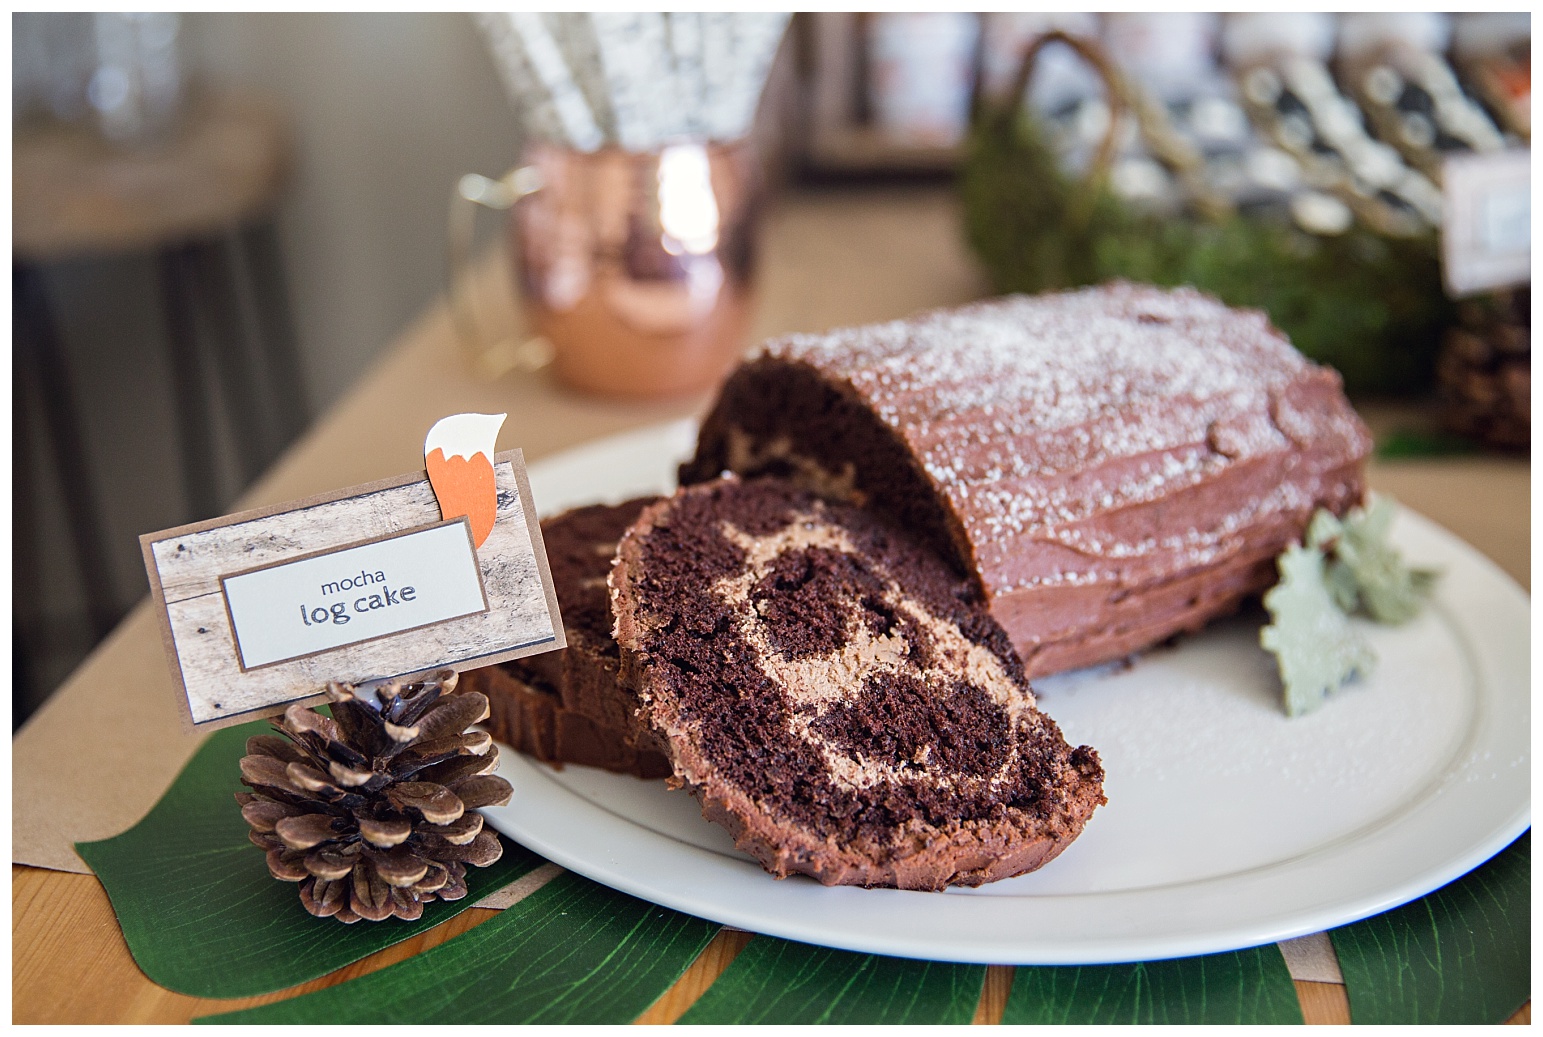
Christina made this delicious mocha log cake as well. I still have some of it in my freezer for a rainy day, hehe.
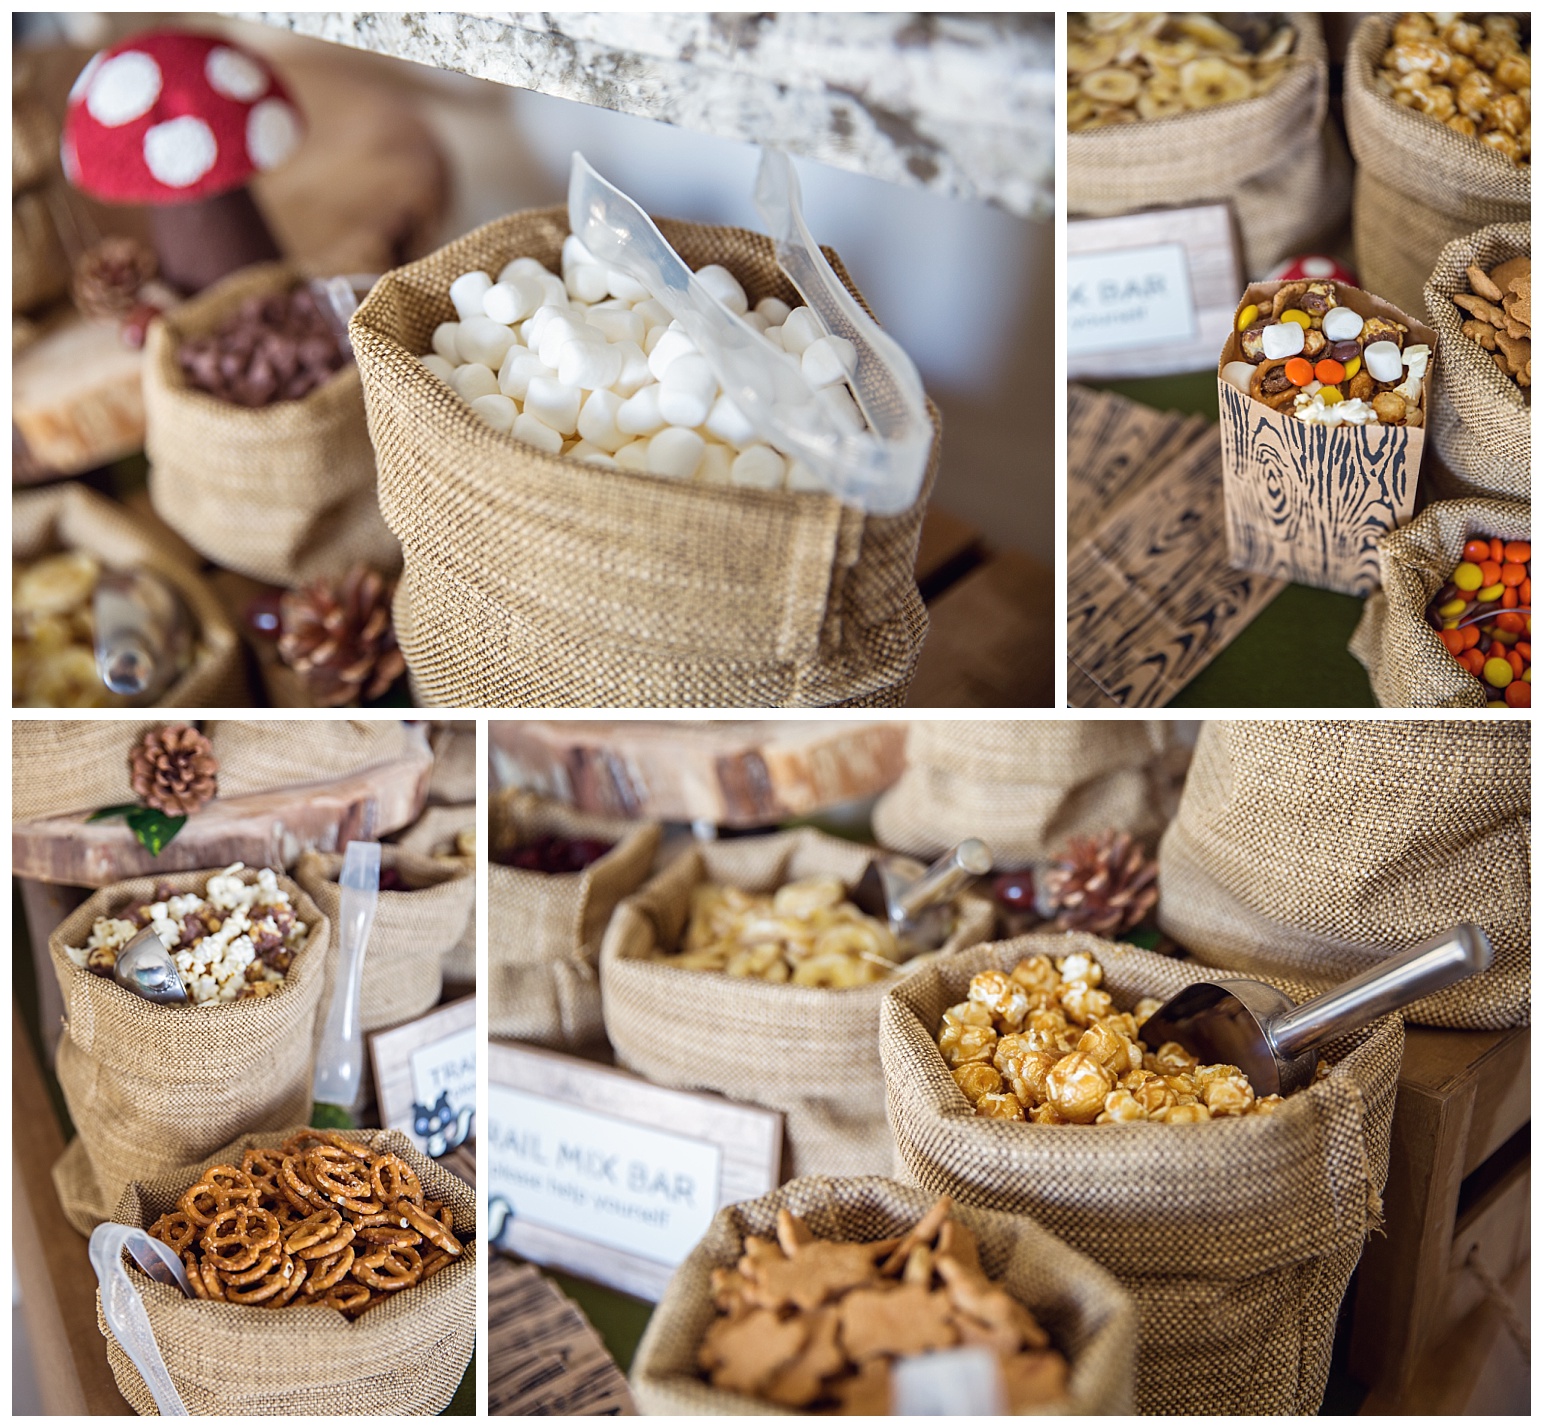
I knew I wanted to have a trail mix bar, but it took me some time to decide on how I wanted to display it. I ended up finding this upholstery fabric at FabricLand (it looks like burlap, but it’s actually quite smooth and soft). I’m no seamstress, but I though “how hard could it be to sew some straight lines to make little sacks?” The answer is … not hard at all. I love how they turned out!
Those cute little toad stools that I used on both tables were made from styrafoam cones (top cut off) and styrafoam balls (cut in half). Just hot glue together and paint.
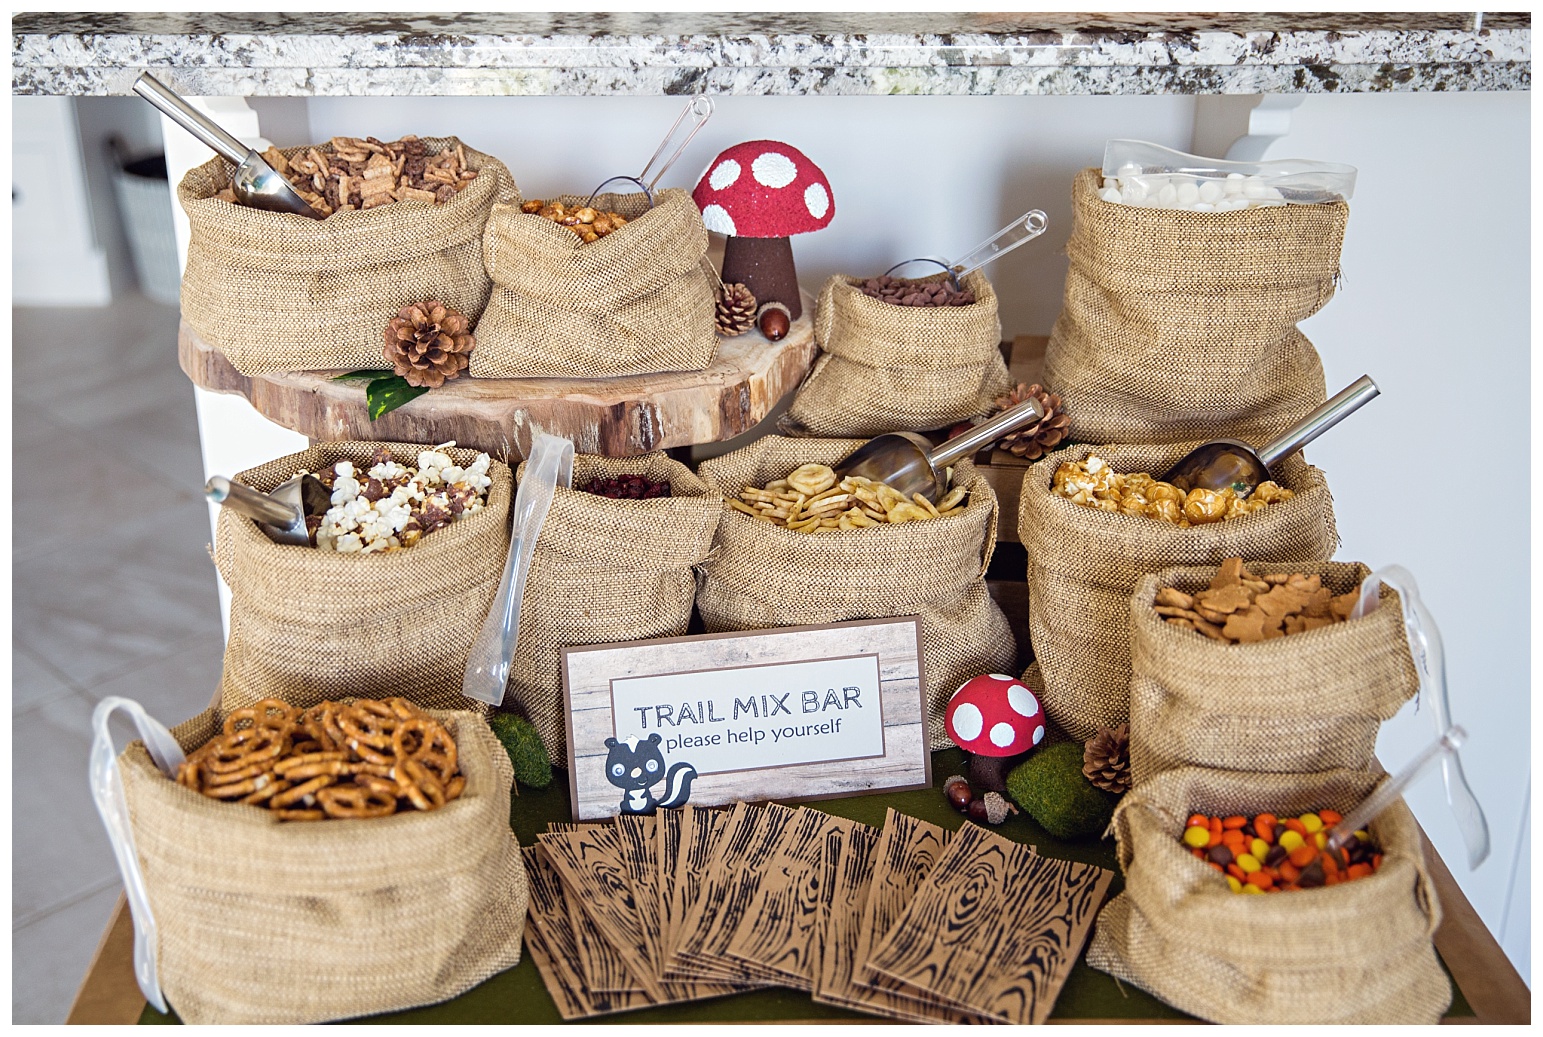
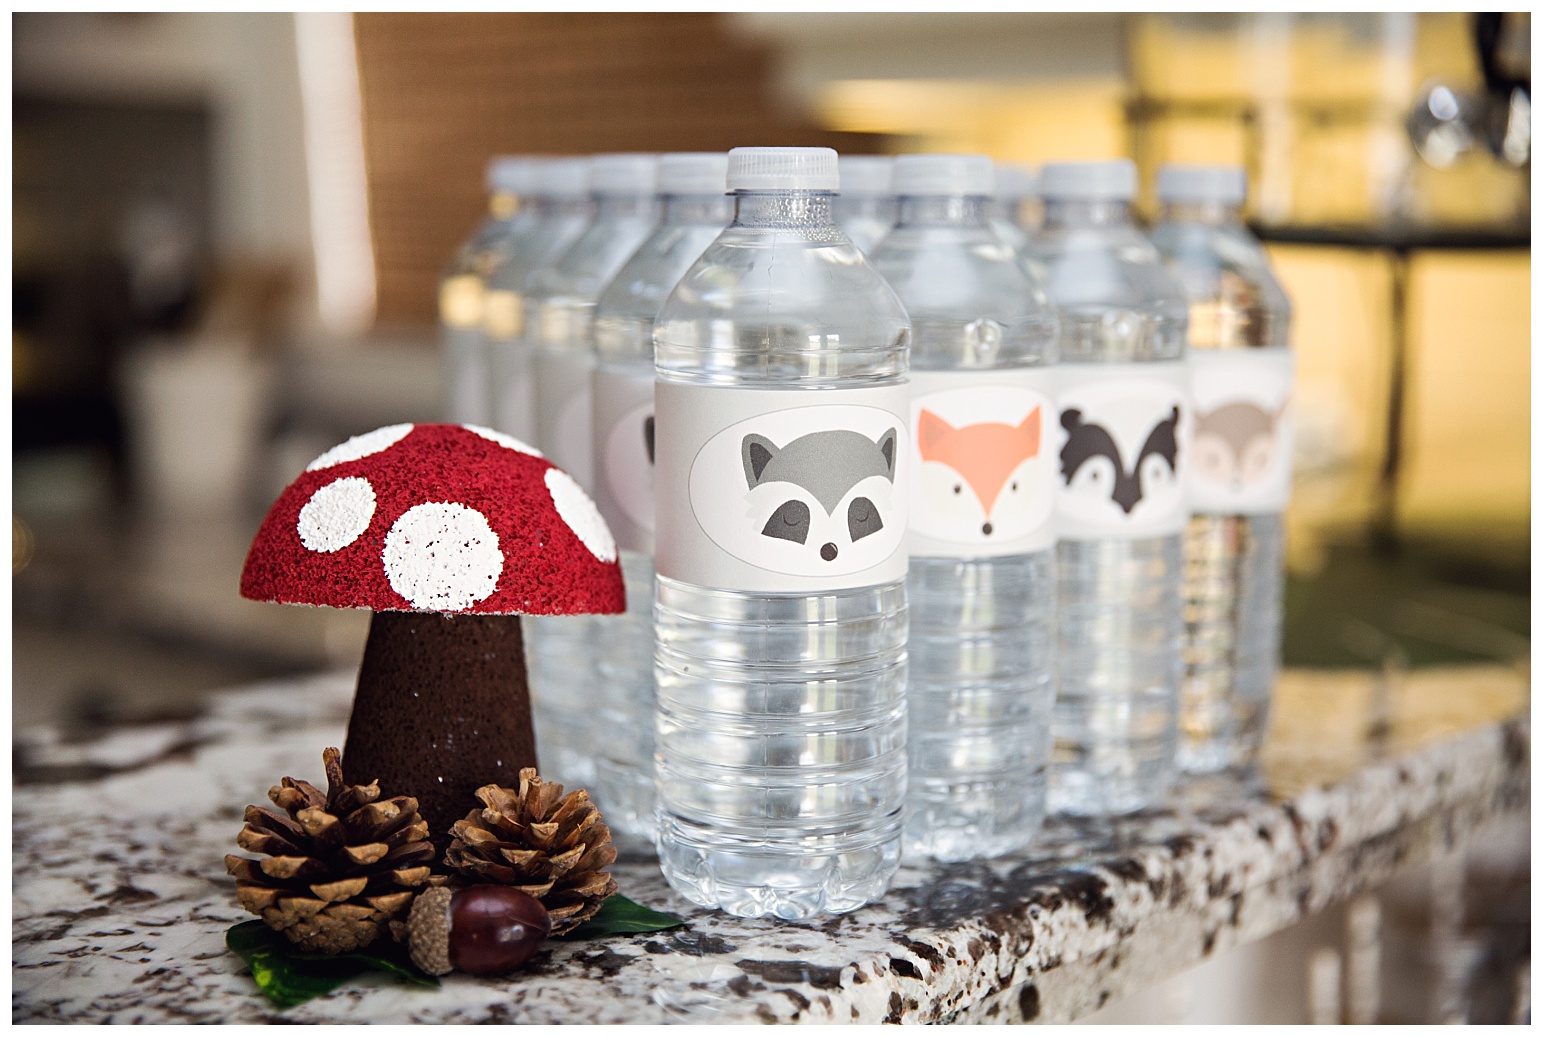
I got the little paper bags from Michaels and used THIS stamp to paint on the bark texture.
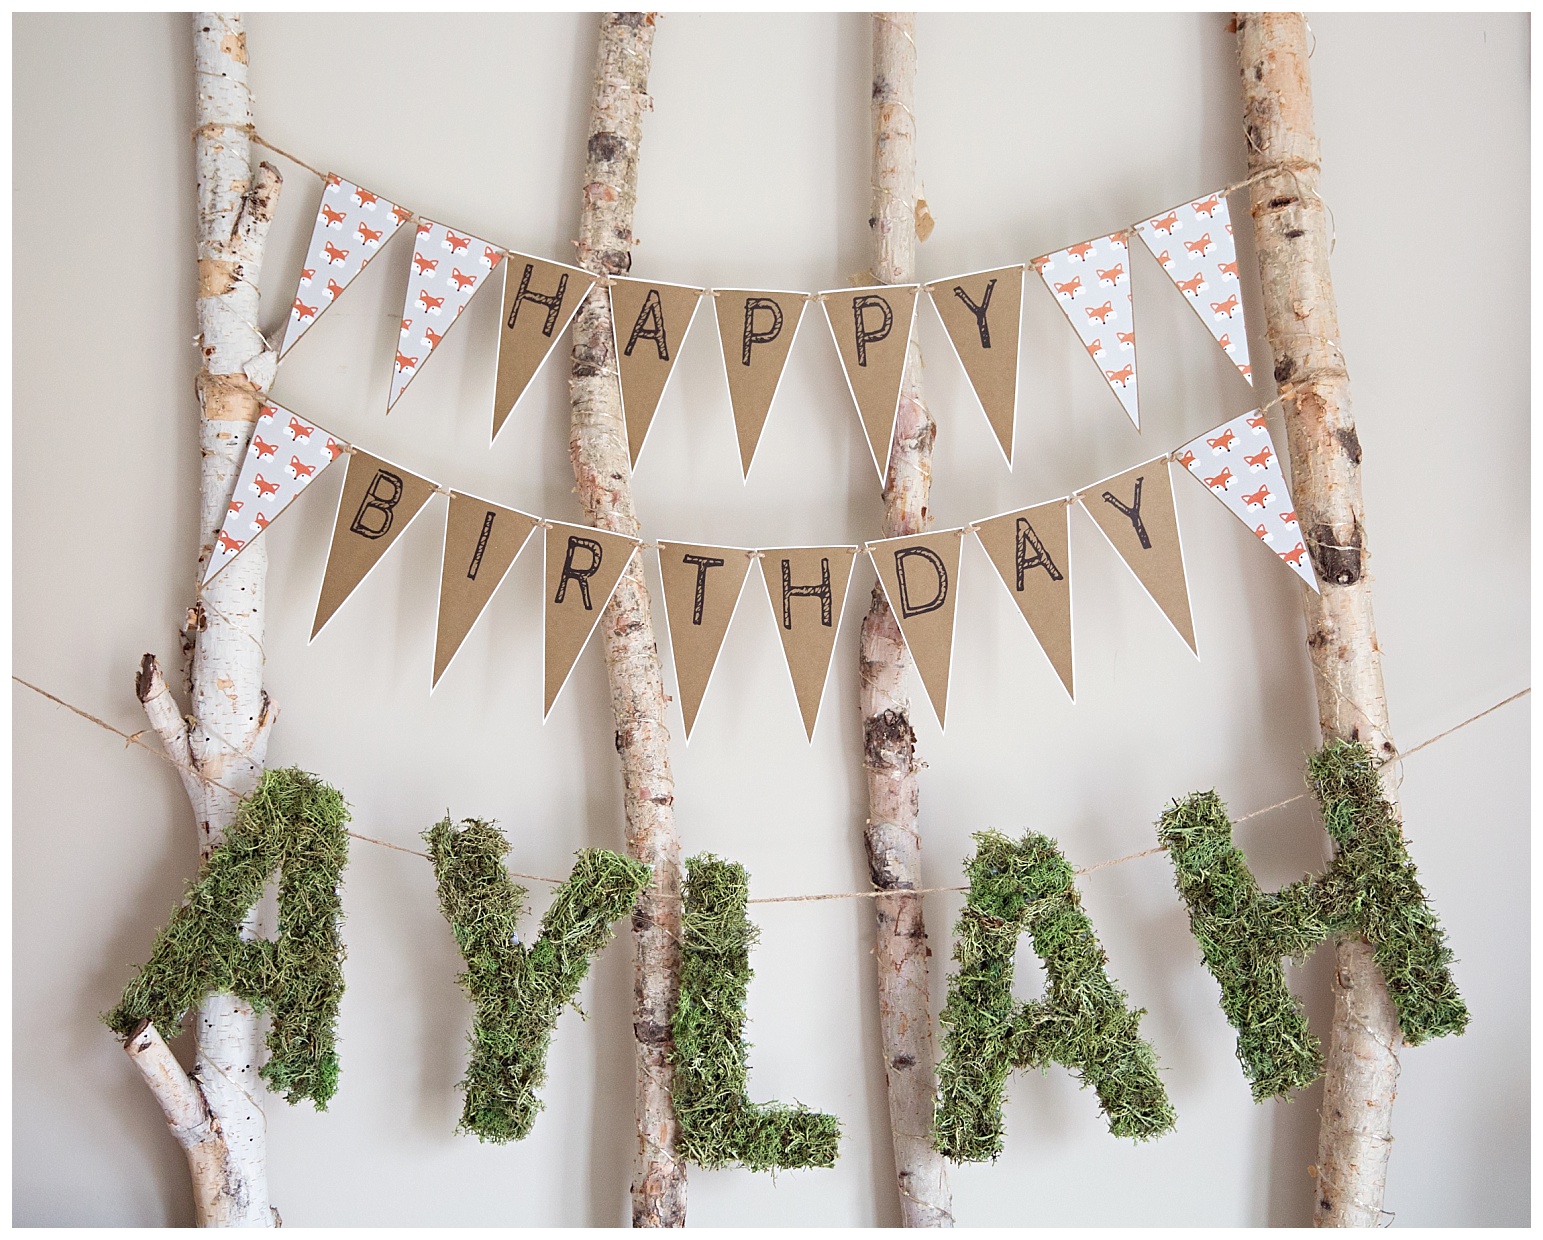
I made this bunting banner using scrapbook paper, and the moss letters were just cut out from foam board and then I glued reindeer moss to them. I got the reindeer moss from the dollar store. It was a super messy job and took a descent amount of time (thank goodness her name only has 5 letters), but they turned out exactly how I had envisioned. The birch branches were borrowed from a fellow photographer friend of mine, but they can be purchased all over the place, especially in the fall.
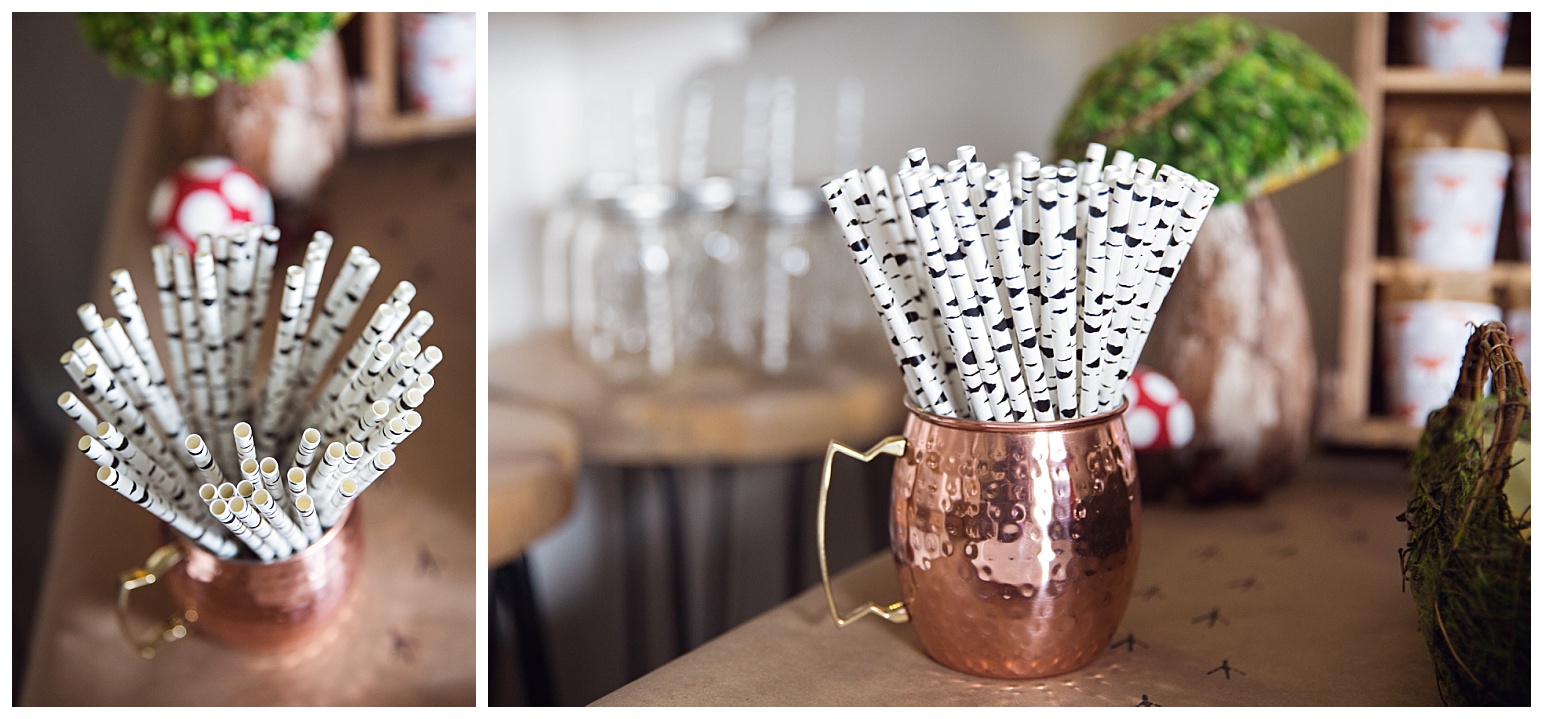
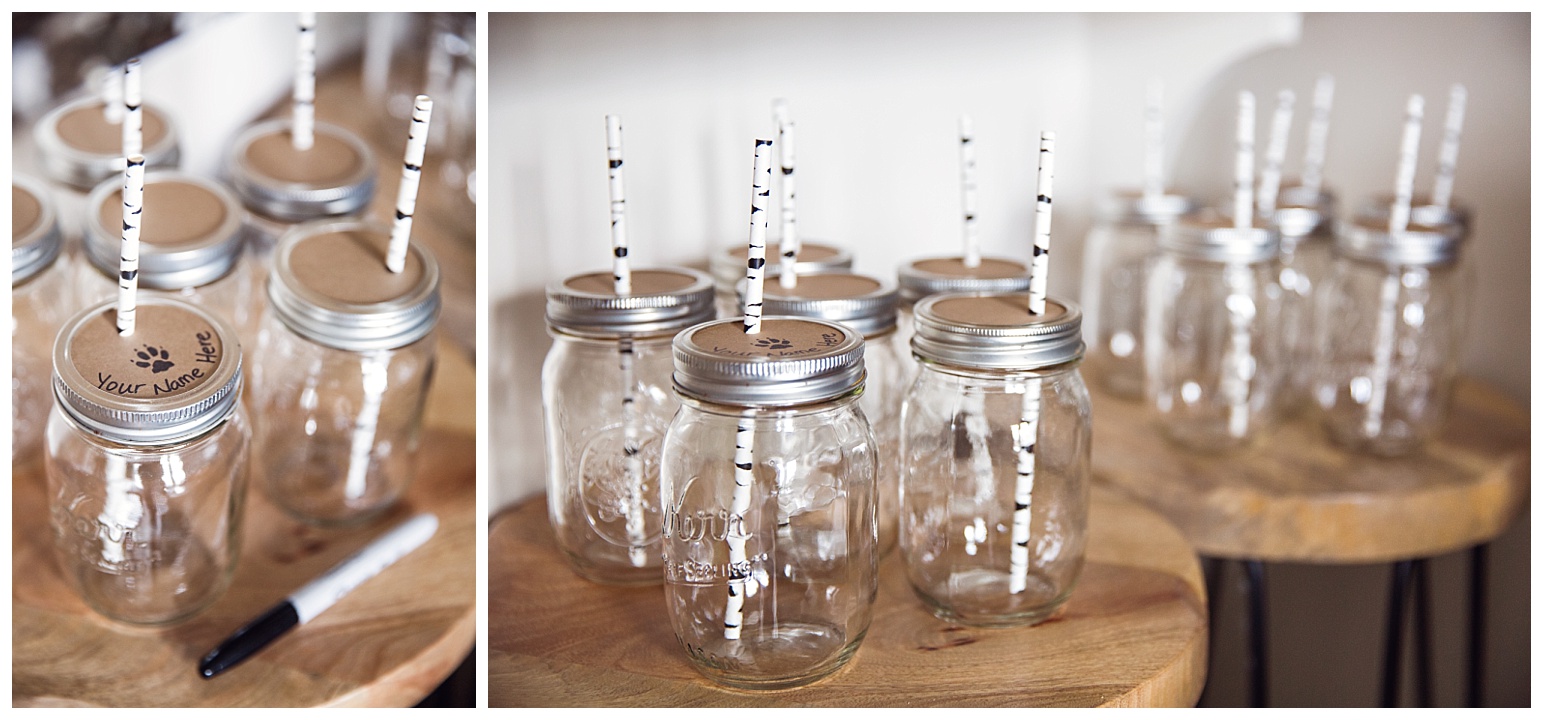
I got these birch paper straws from Amazon.
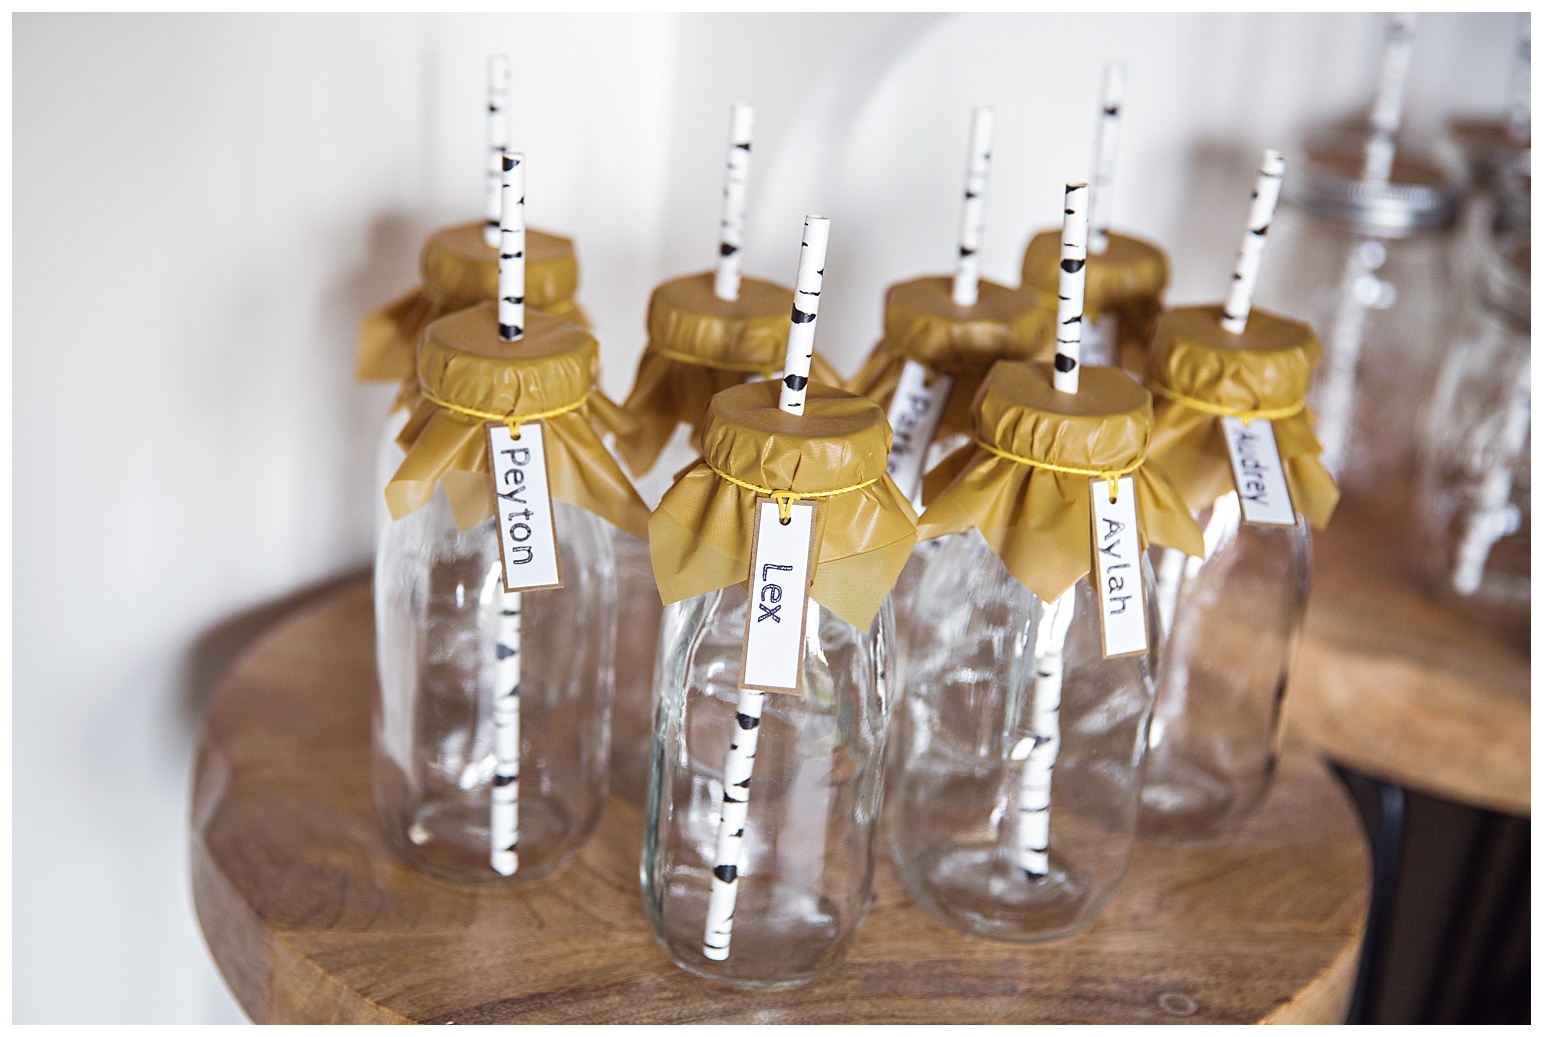
These milk bottles and mason jars were from the farm party as well so those just came out of storage for another round.
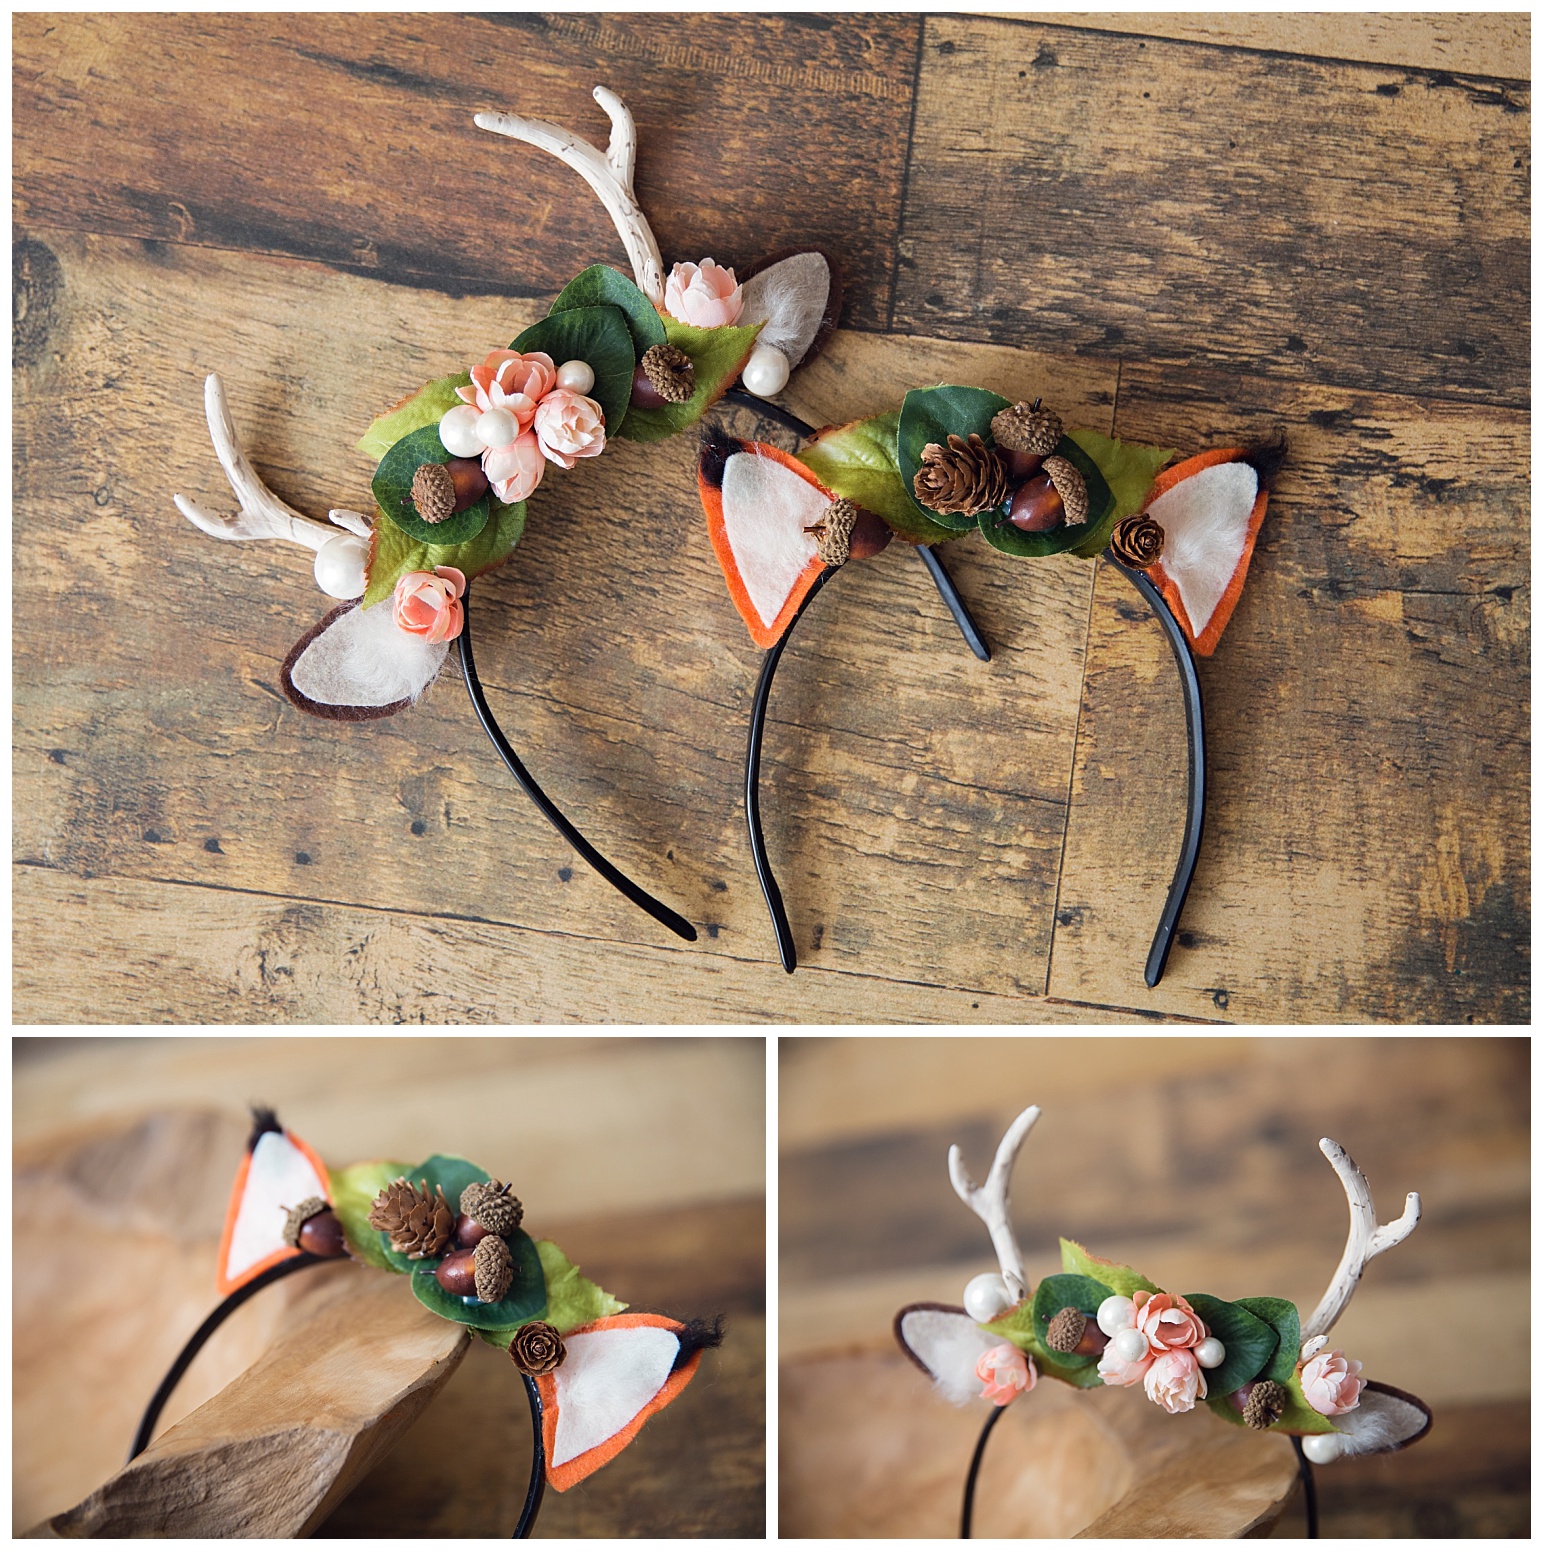
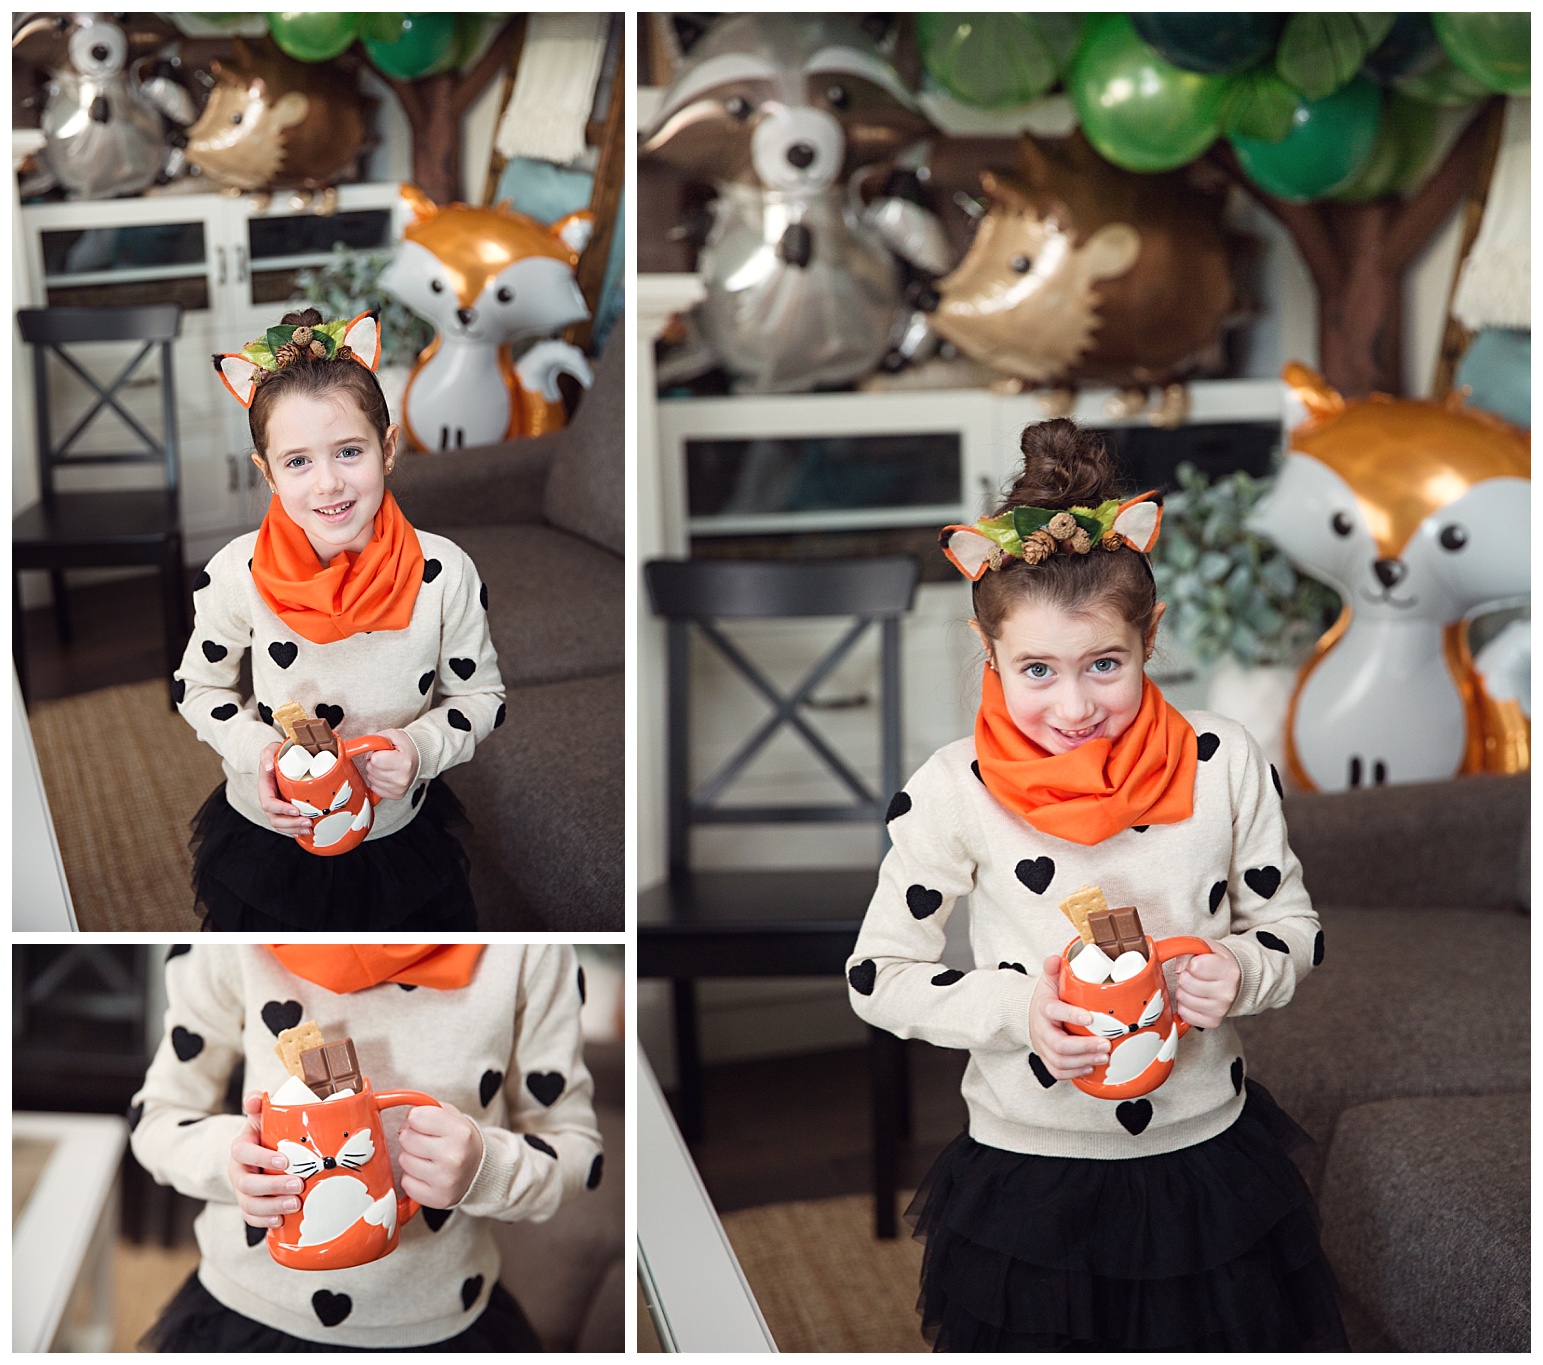
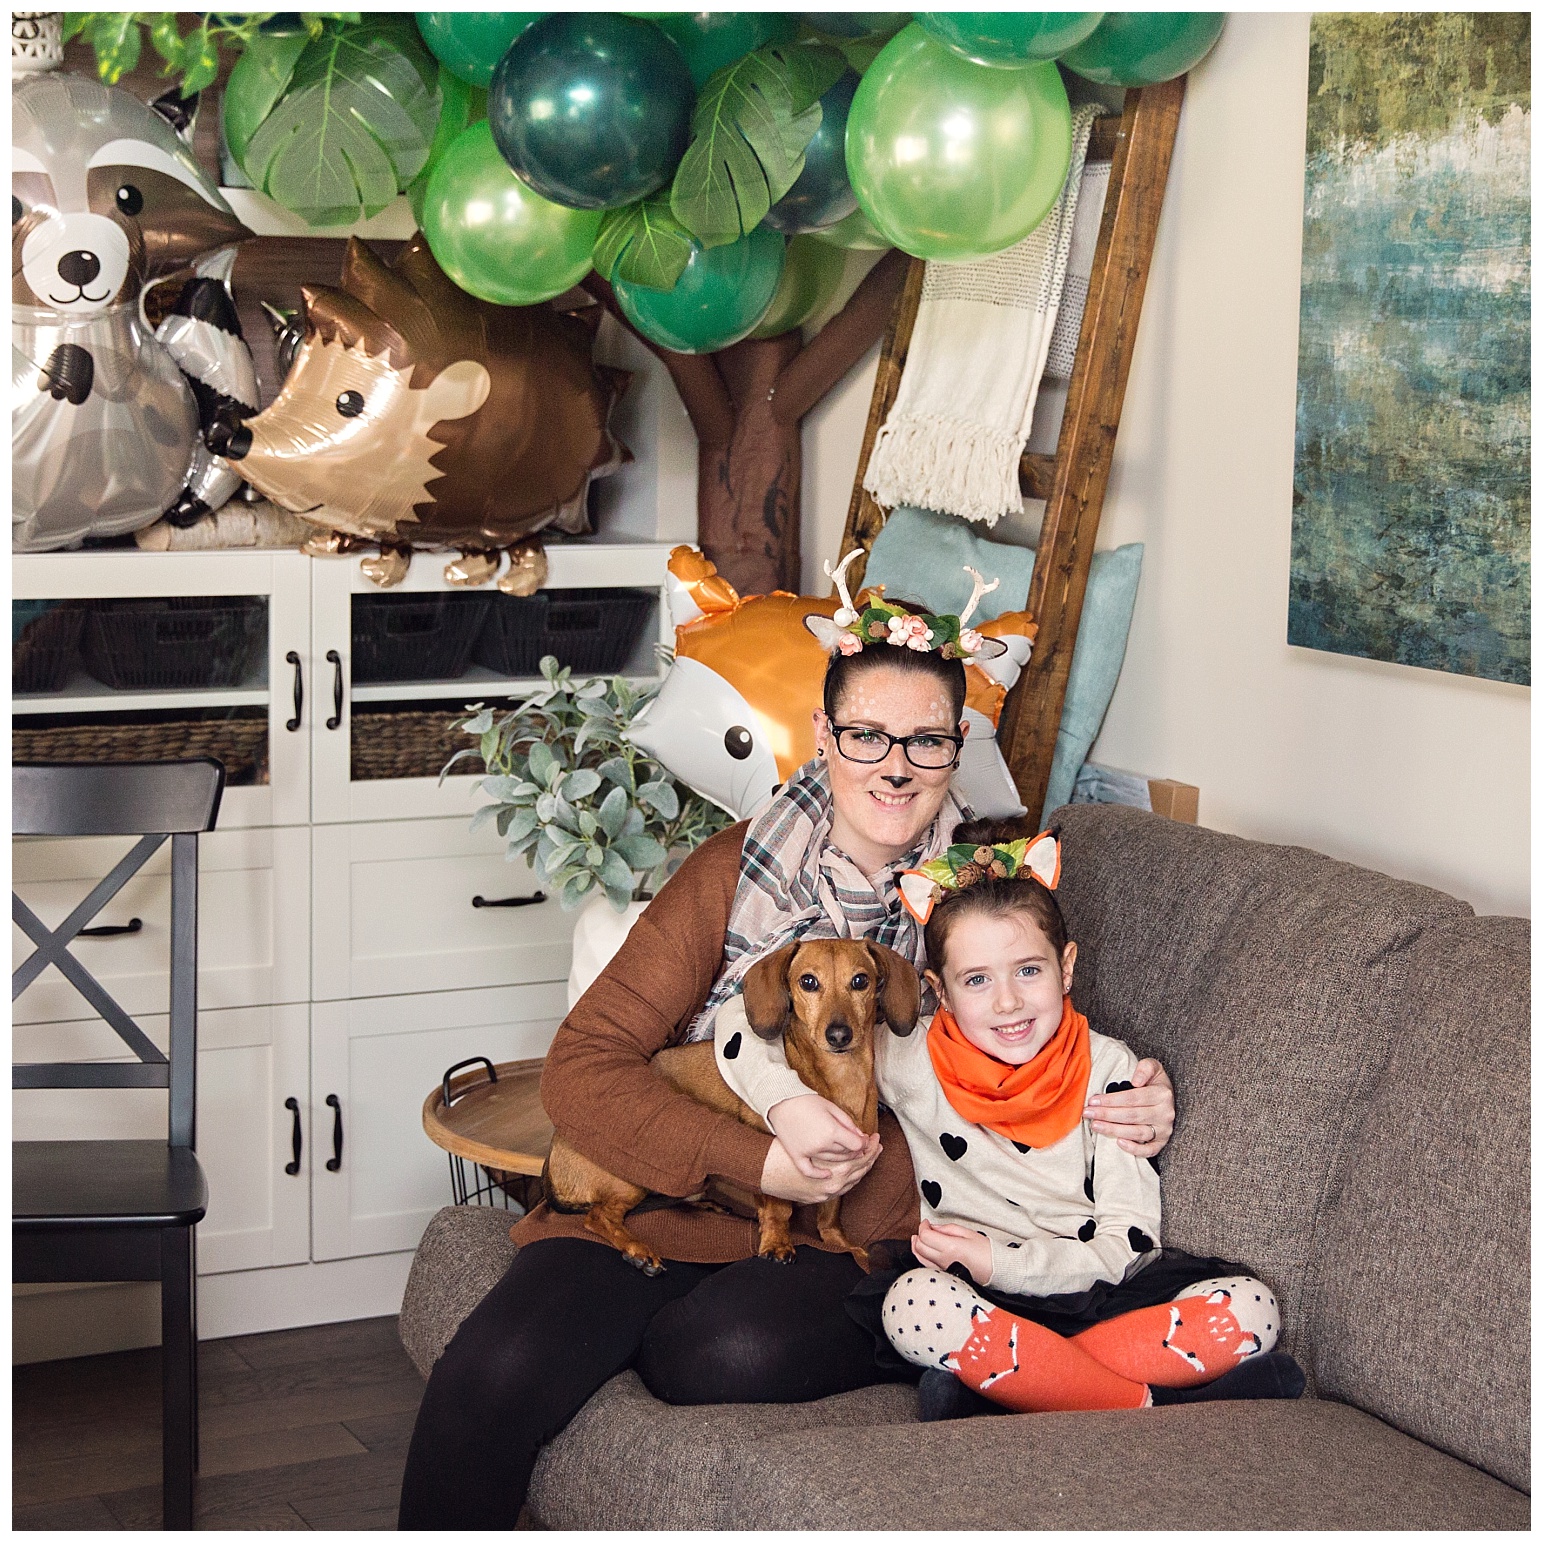
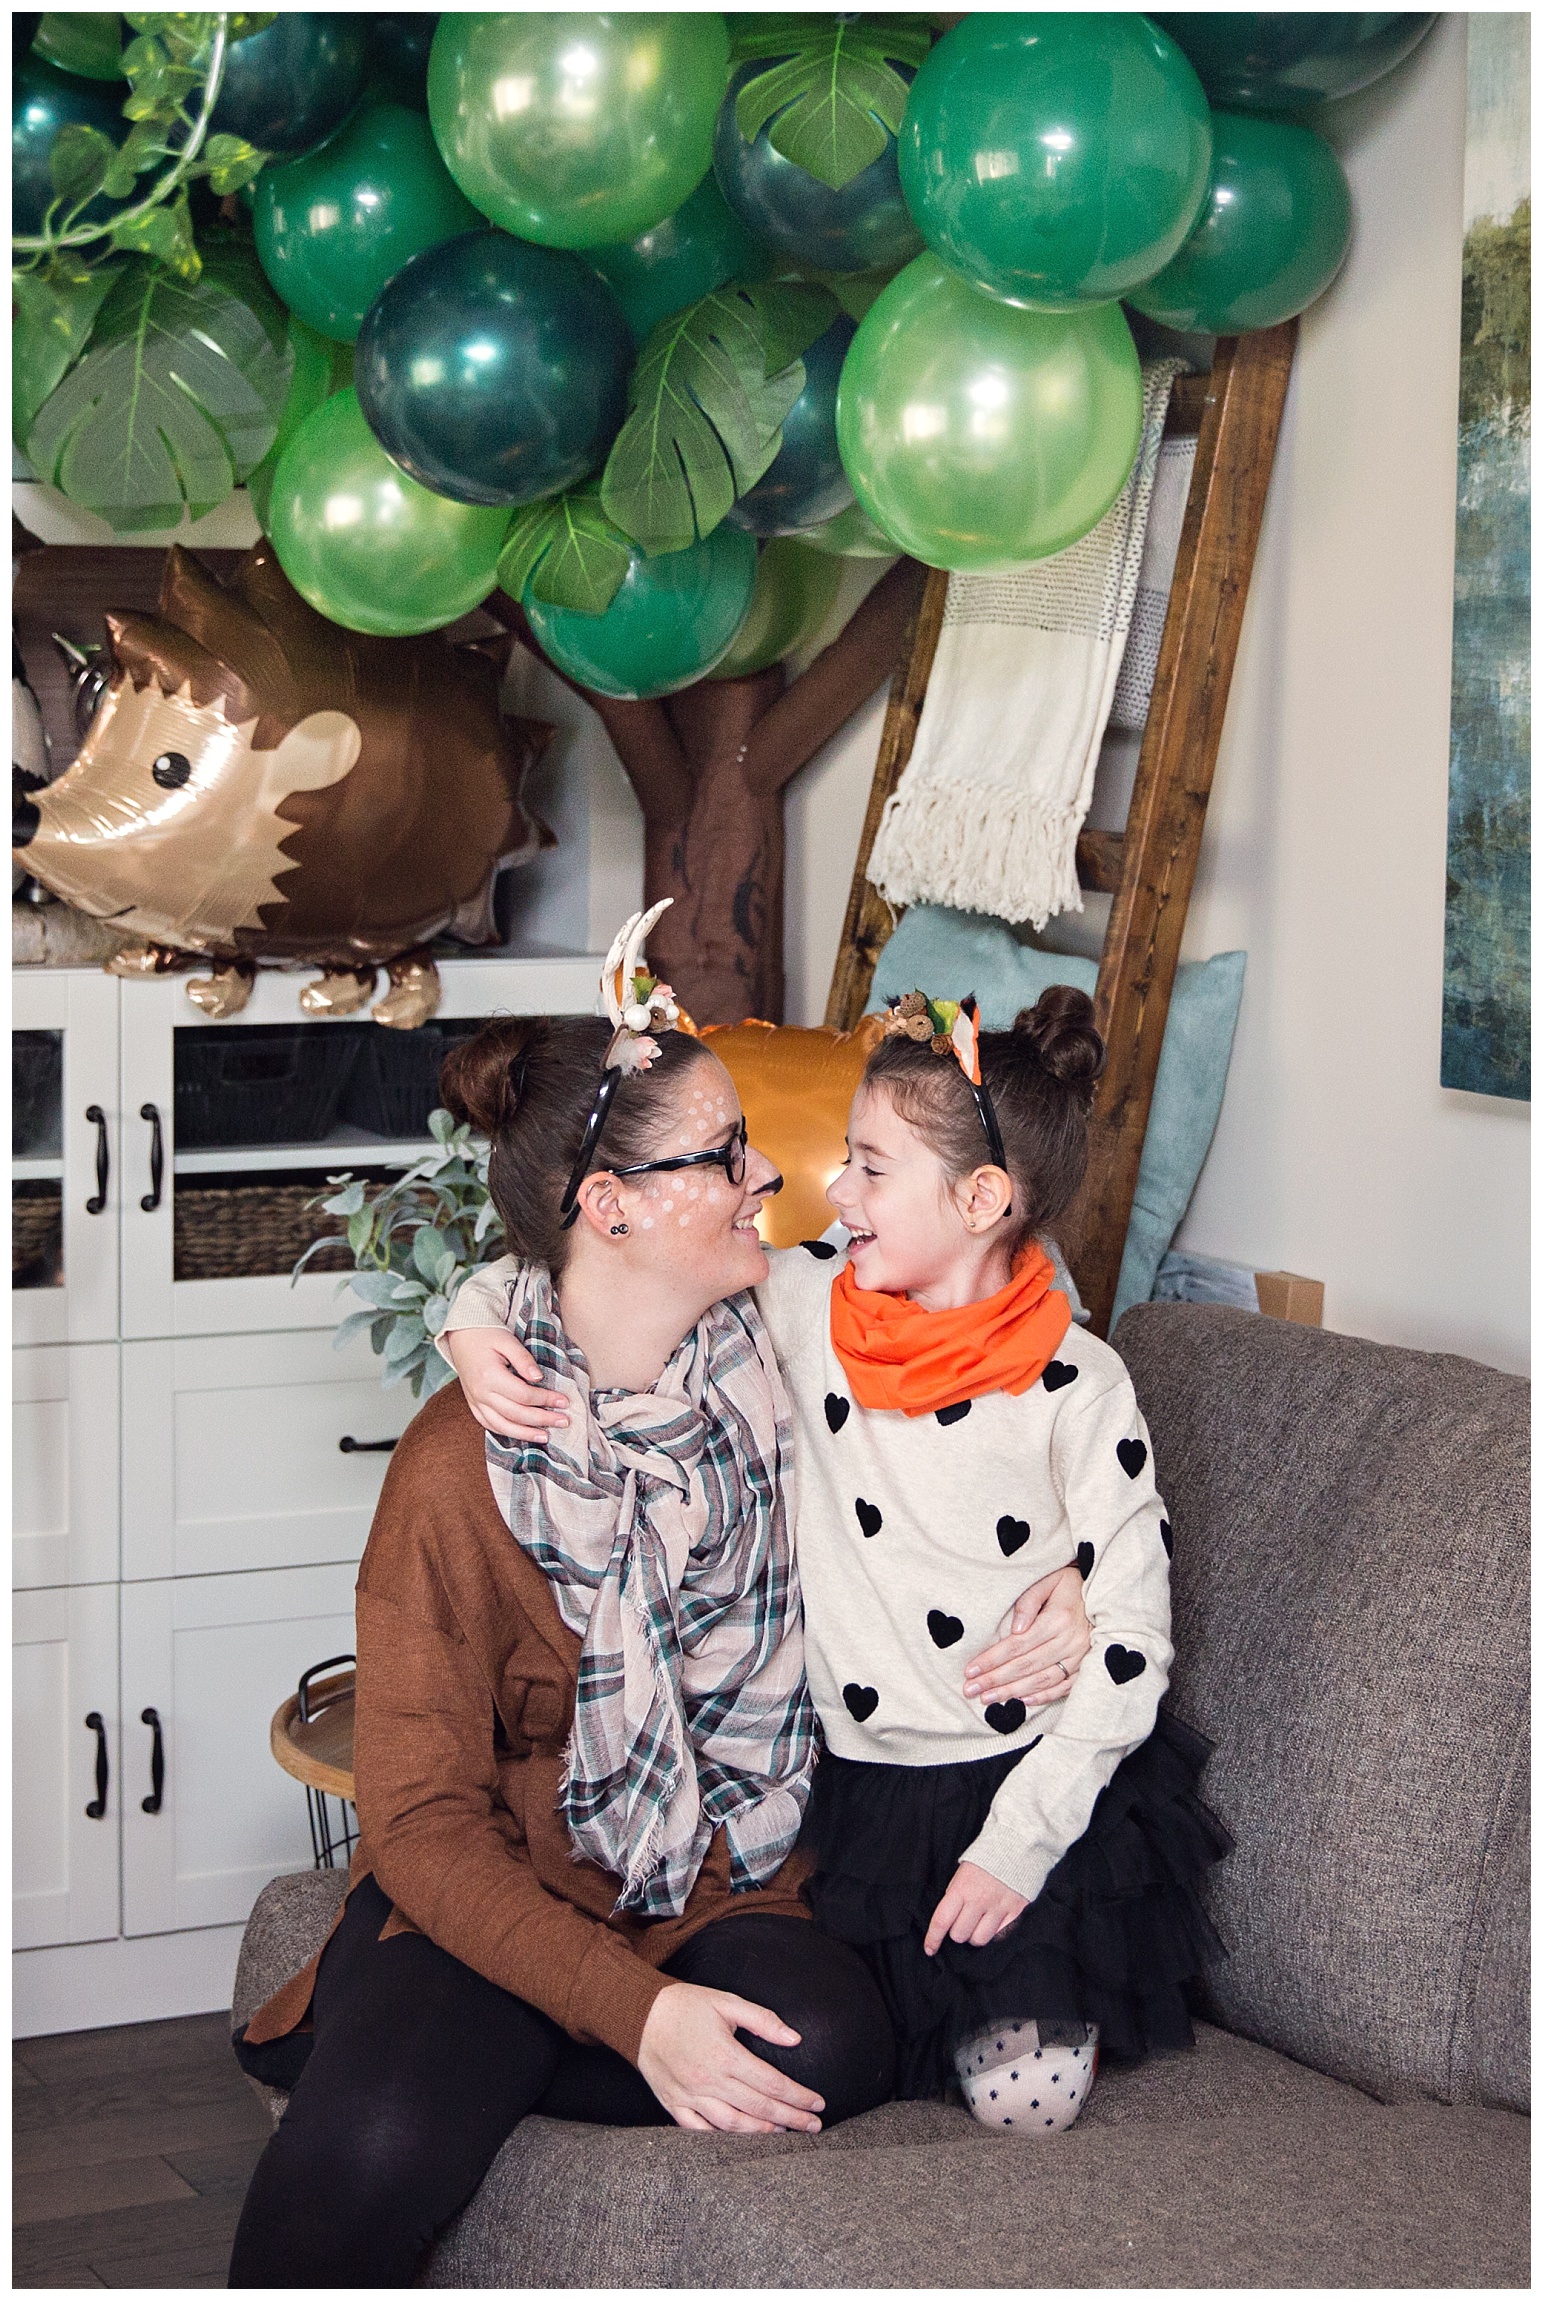
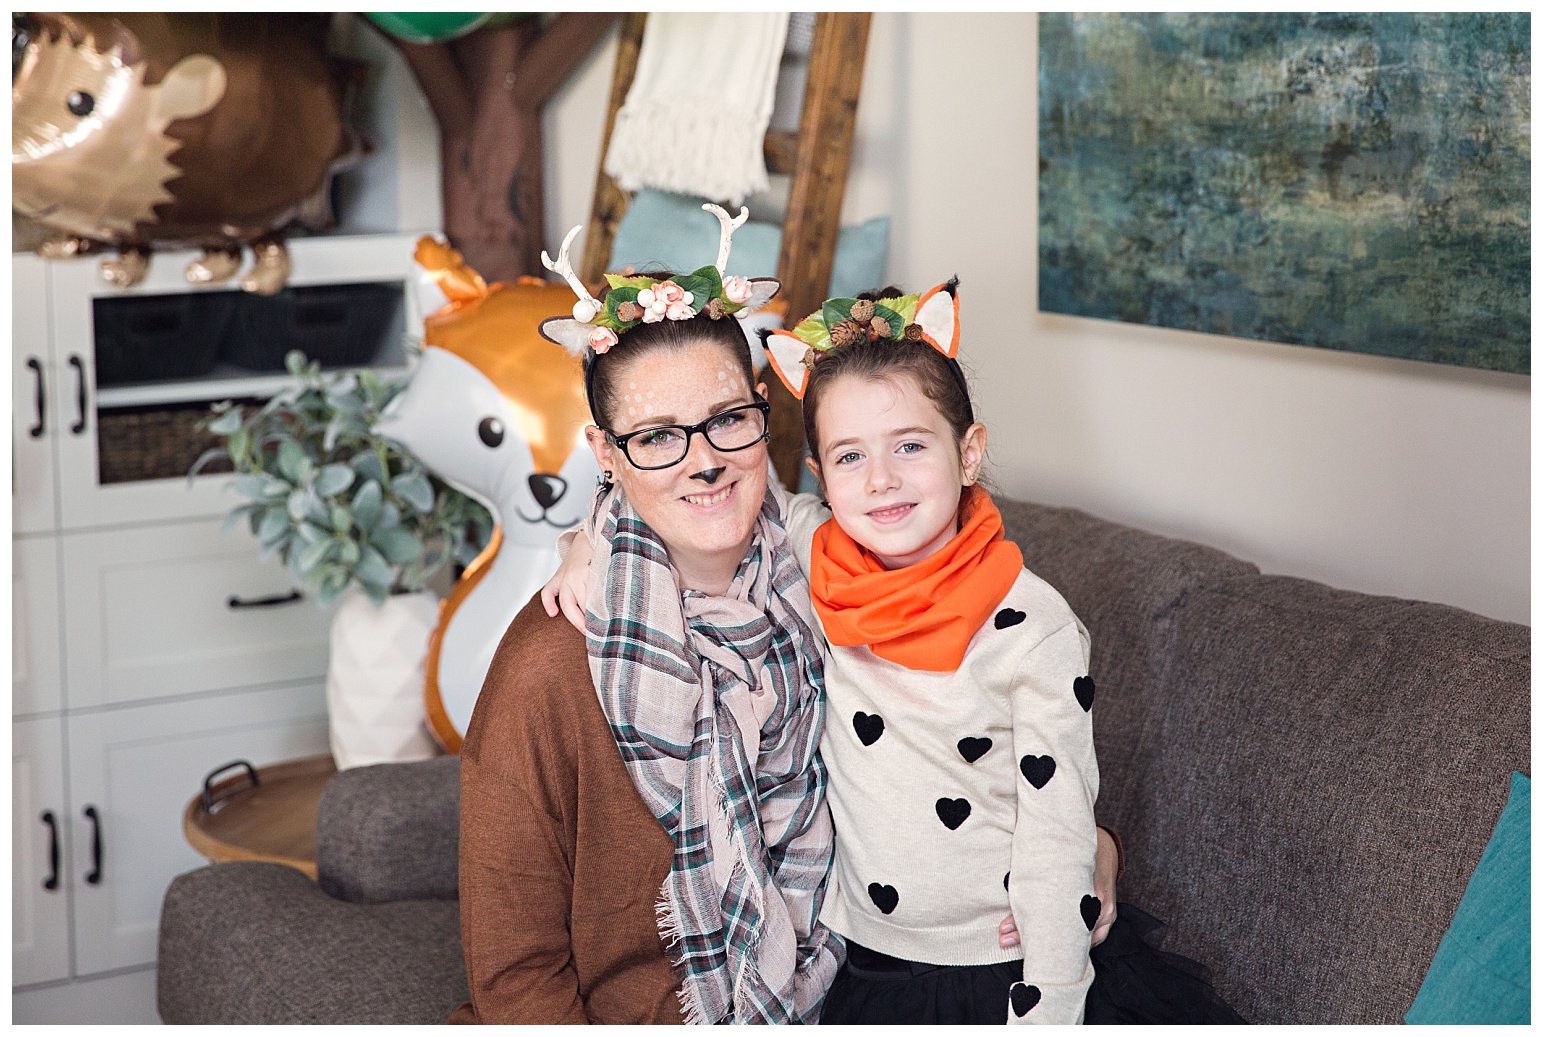
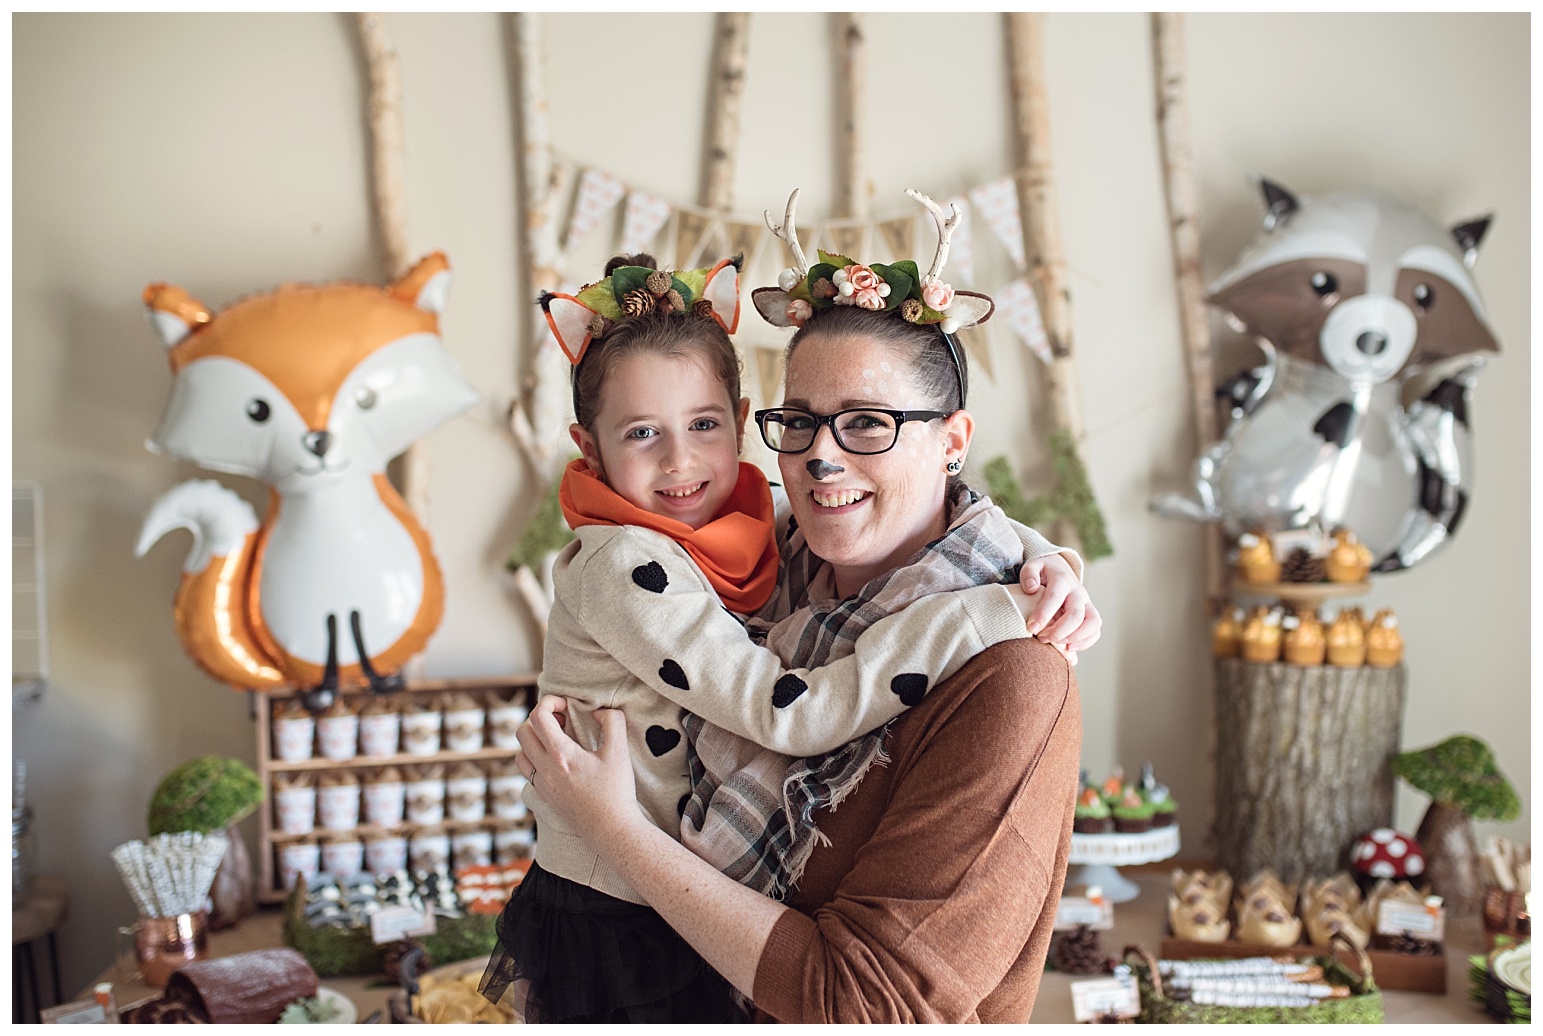
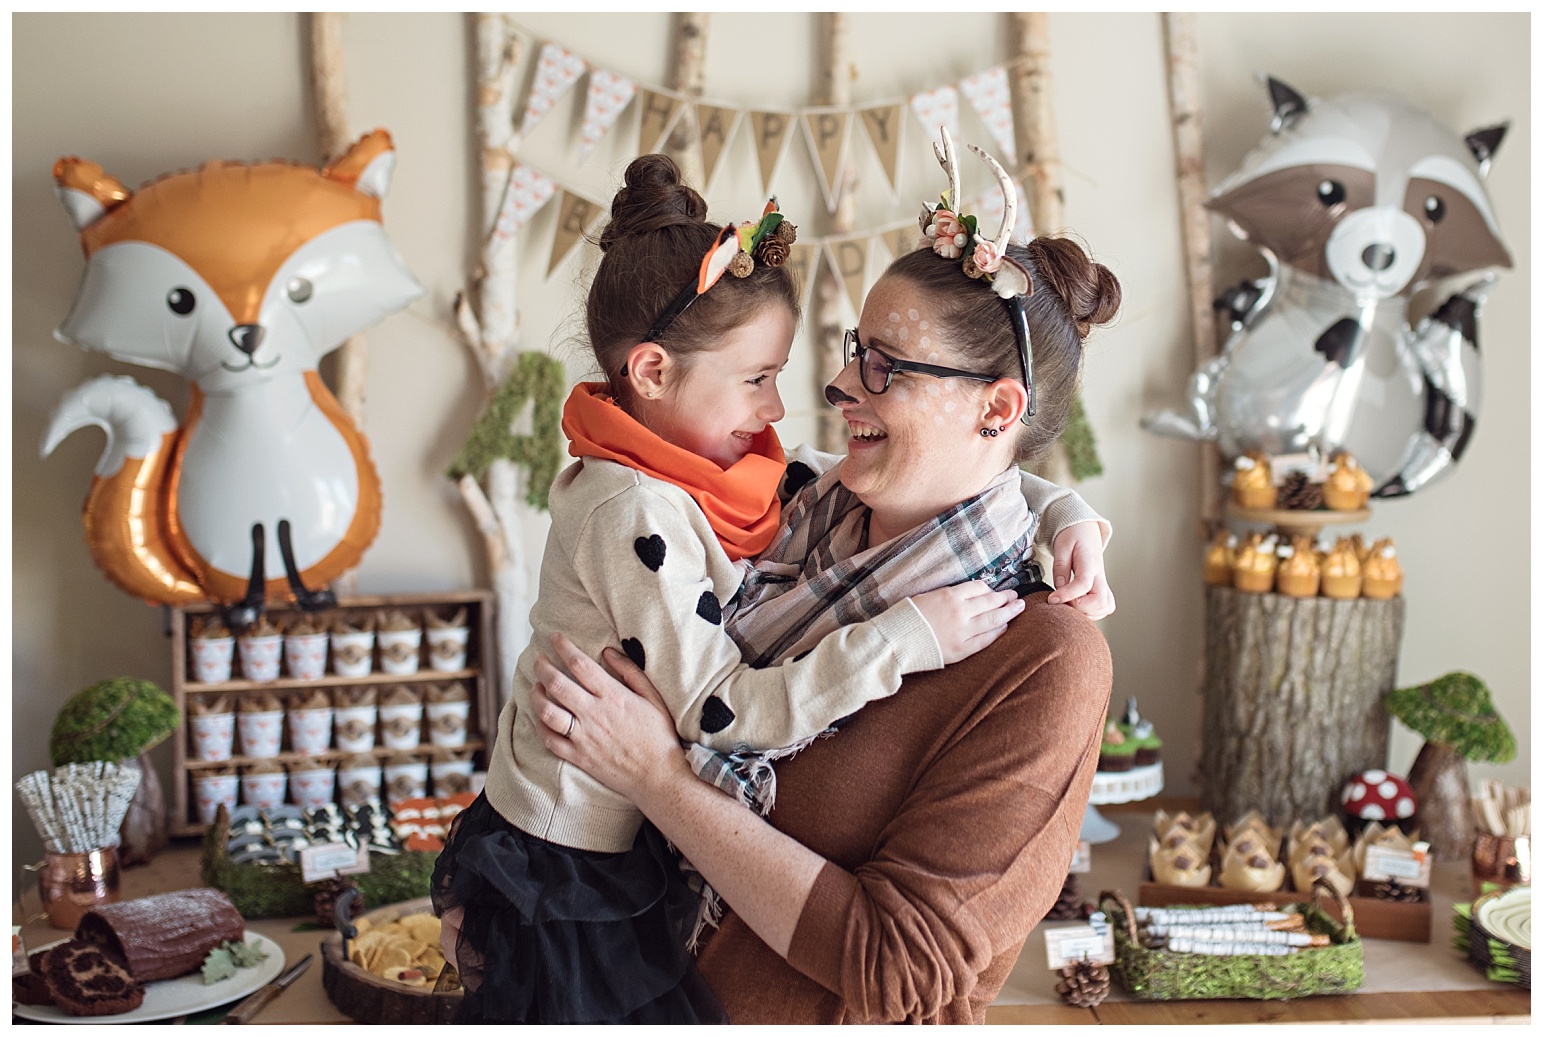
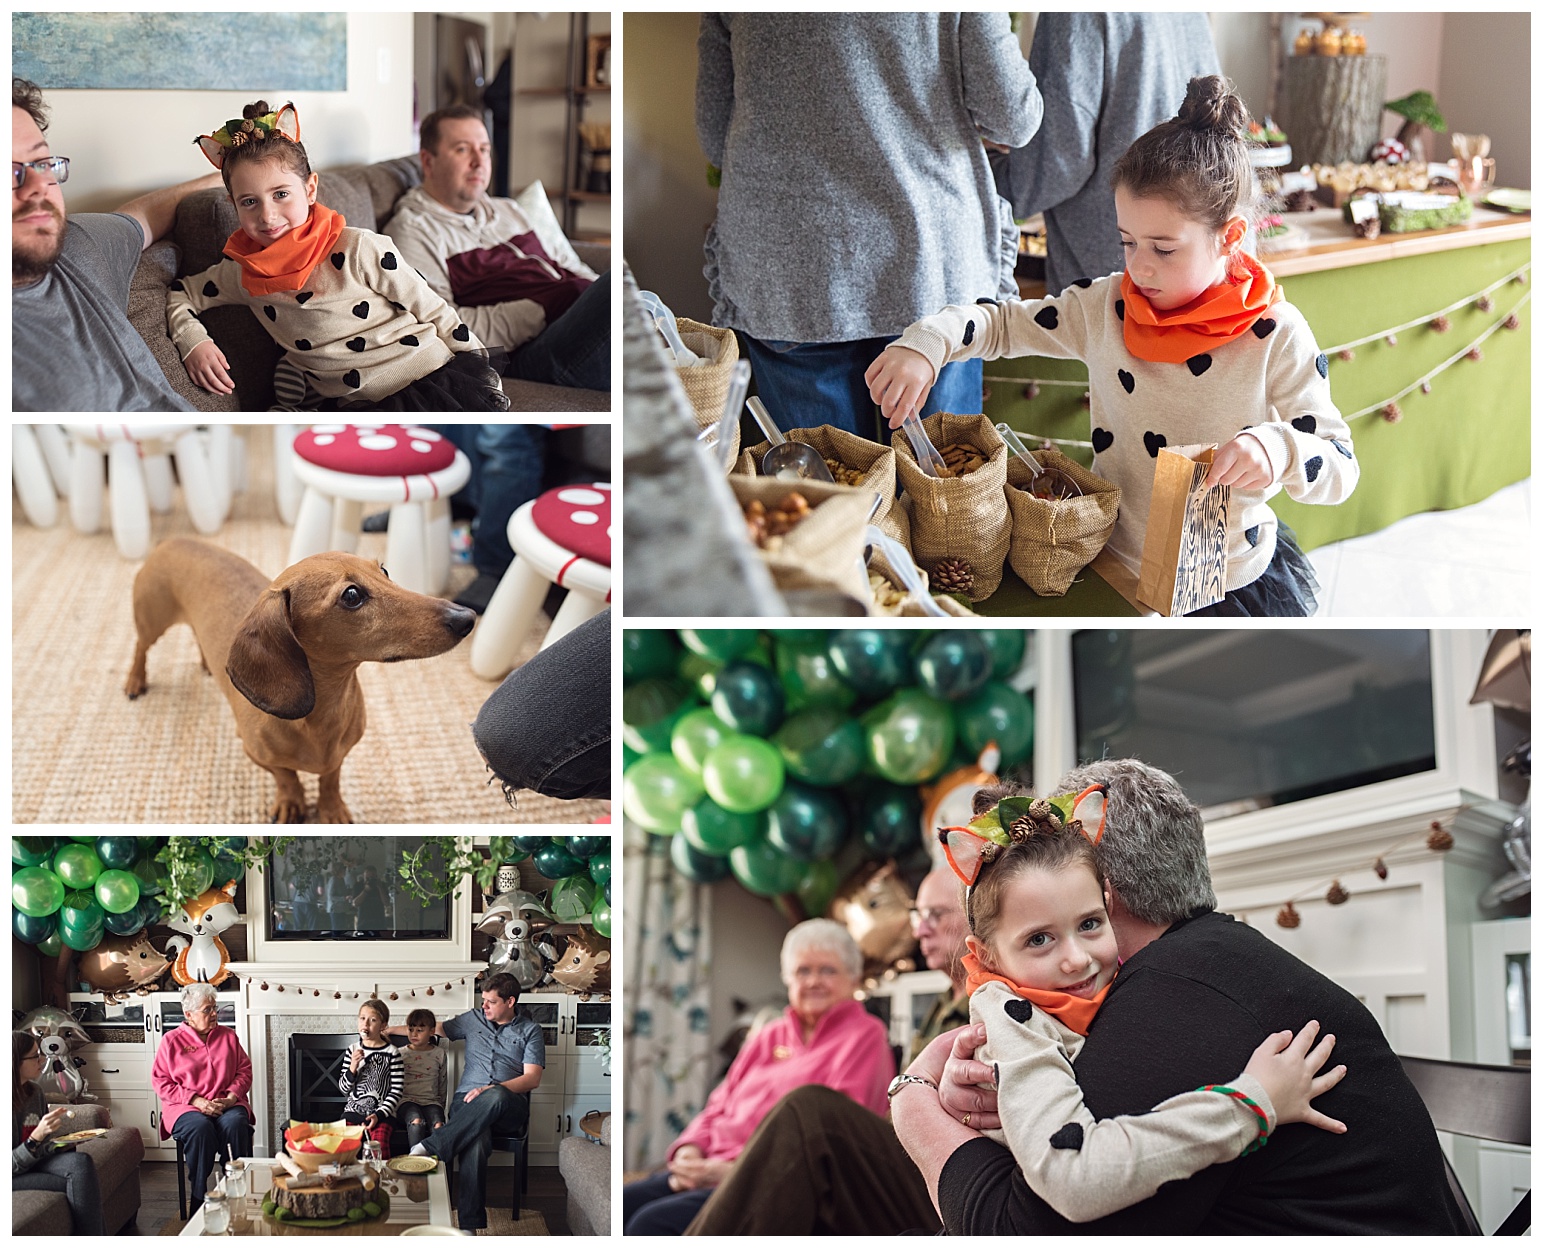
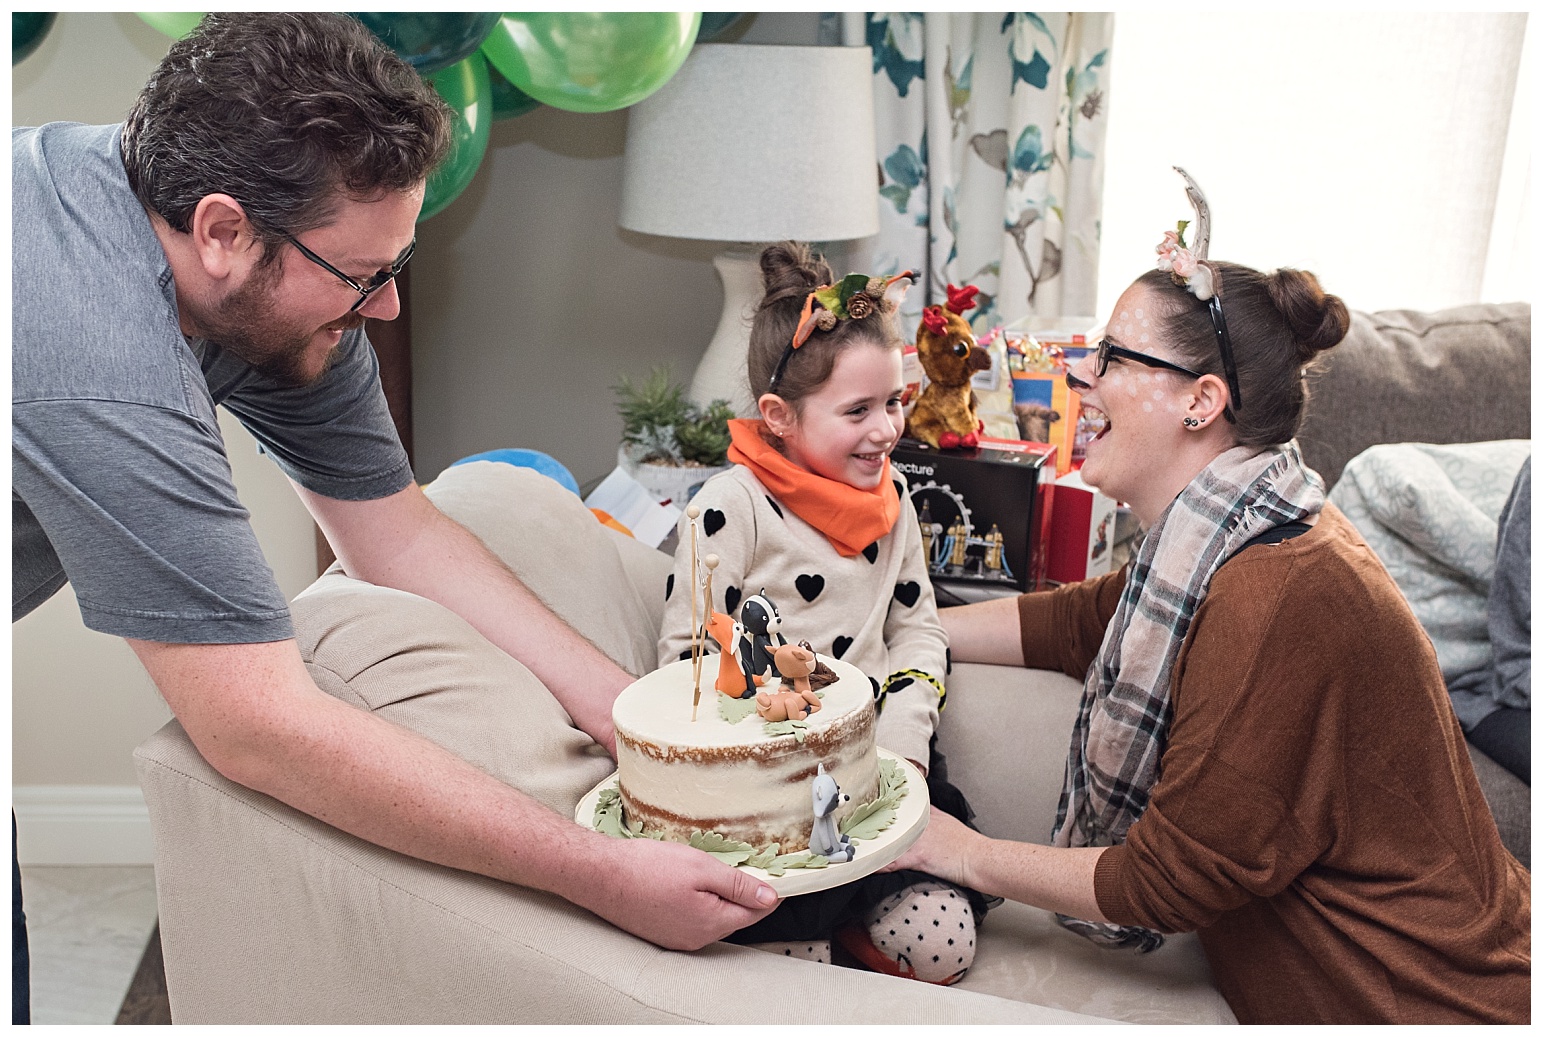
I made these sweet headbands for Aylah and I to wear for the party. She’s not much of a girly girl so the only way I could get her to wear a headband would be to put something “cool” like fox ears on them, lol. #whateverworks
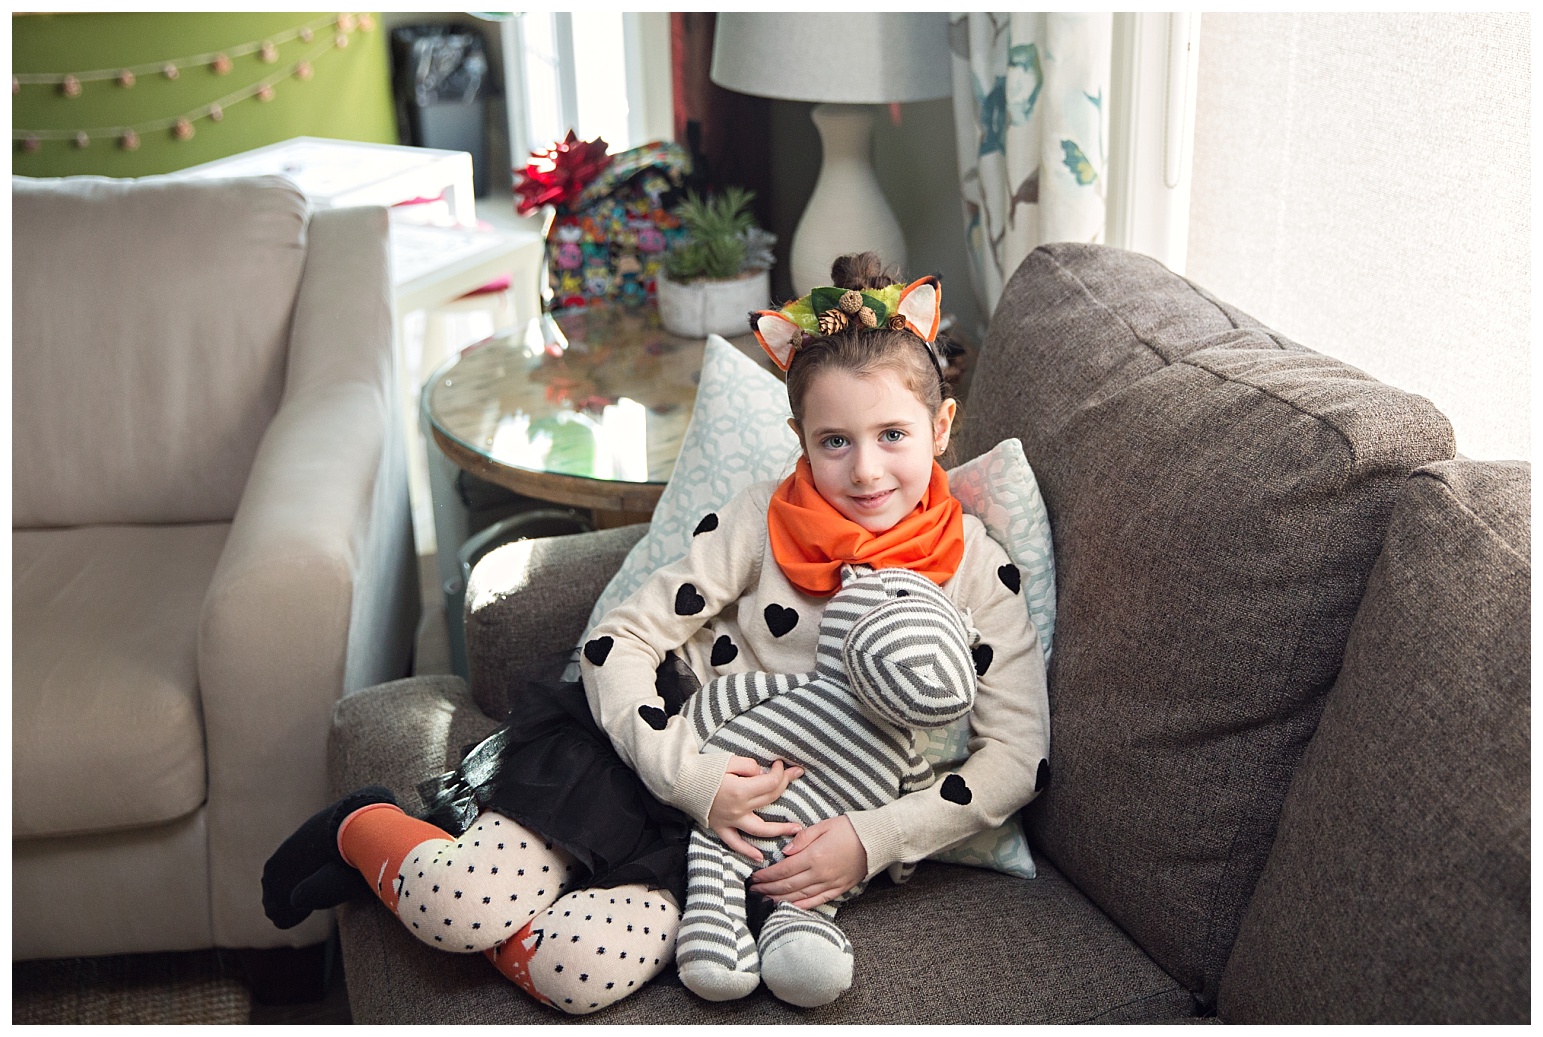
Aylah’s heart sweater was from H&M, her fox tights and black skirt were from Old Navy and the orange scarf was just some spare fabric that I had kicking around.
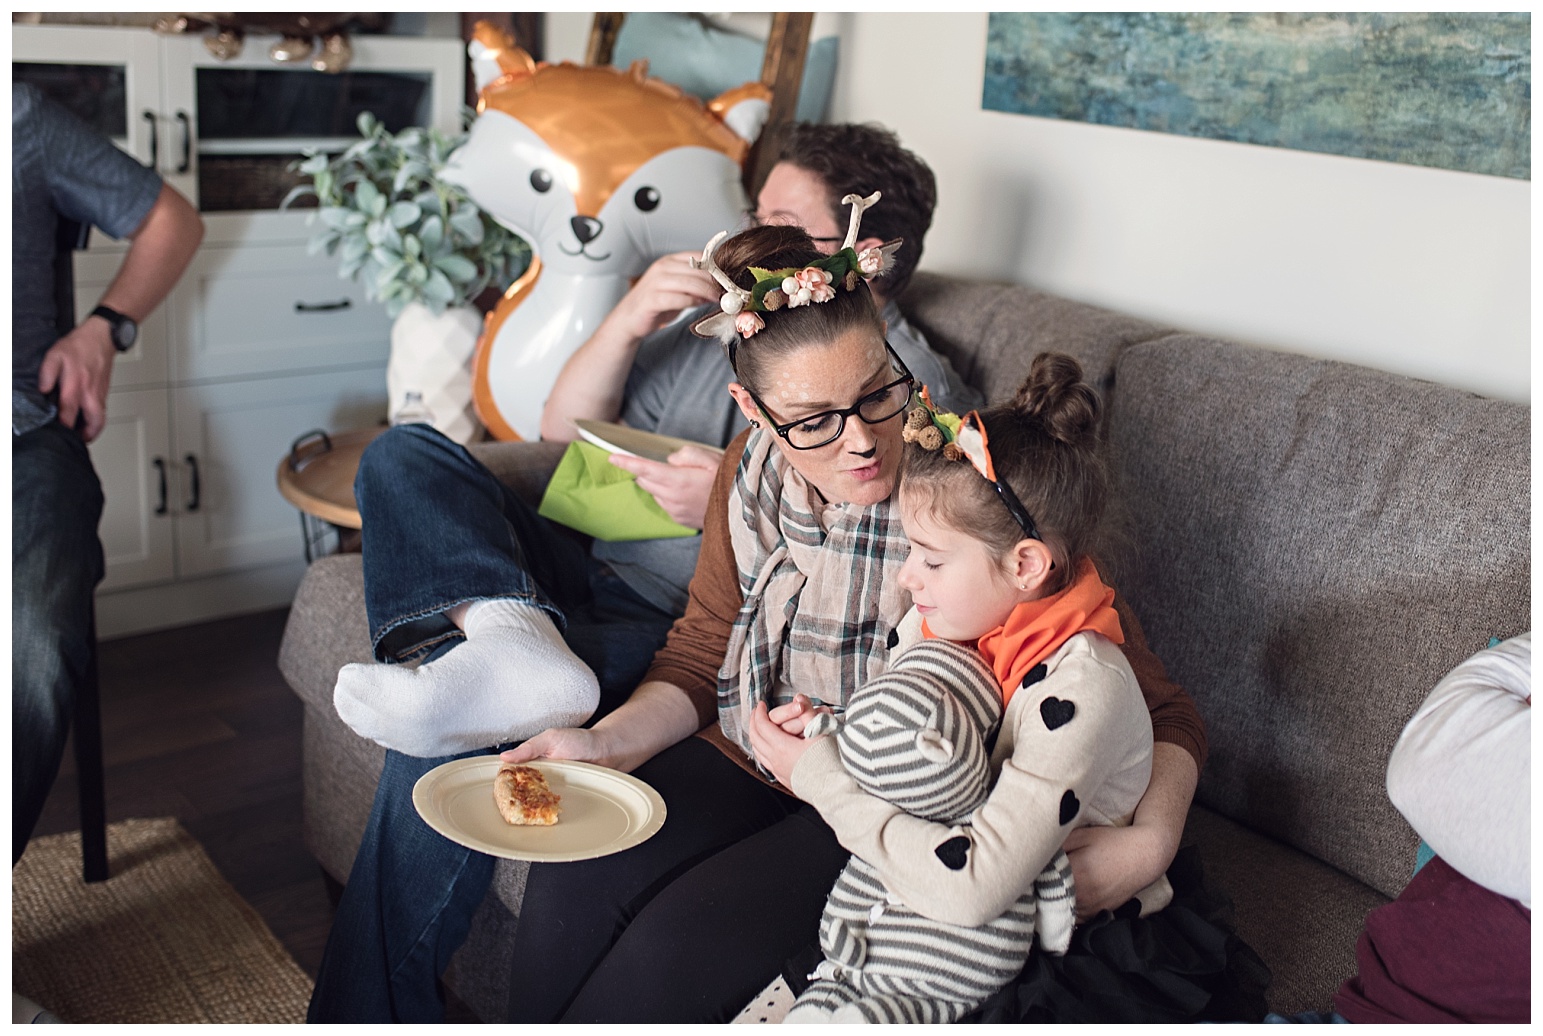
And this is her beloved stuffed hippo HipHip. He goes with her everywhere.
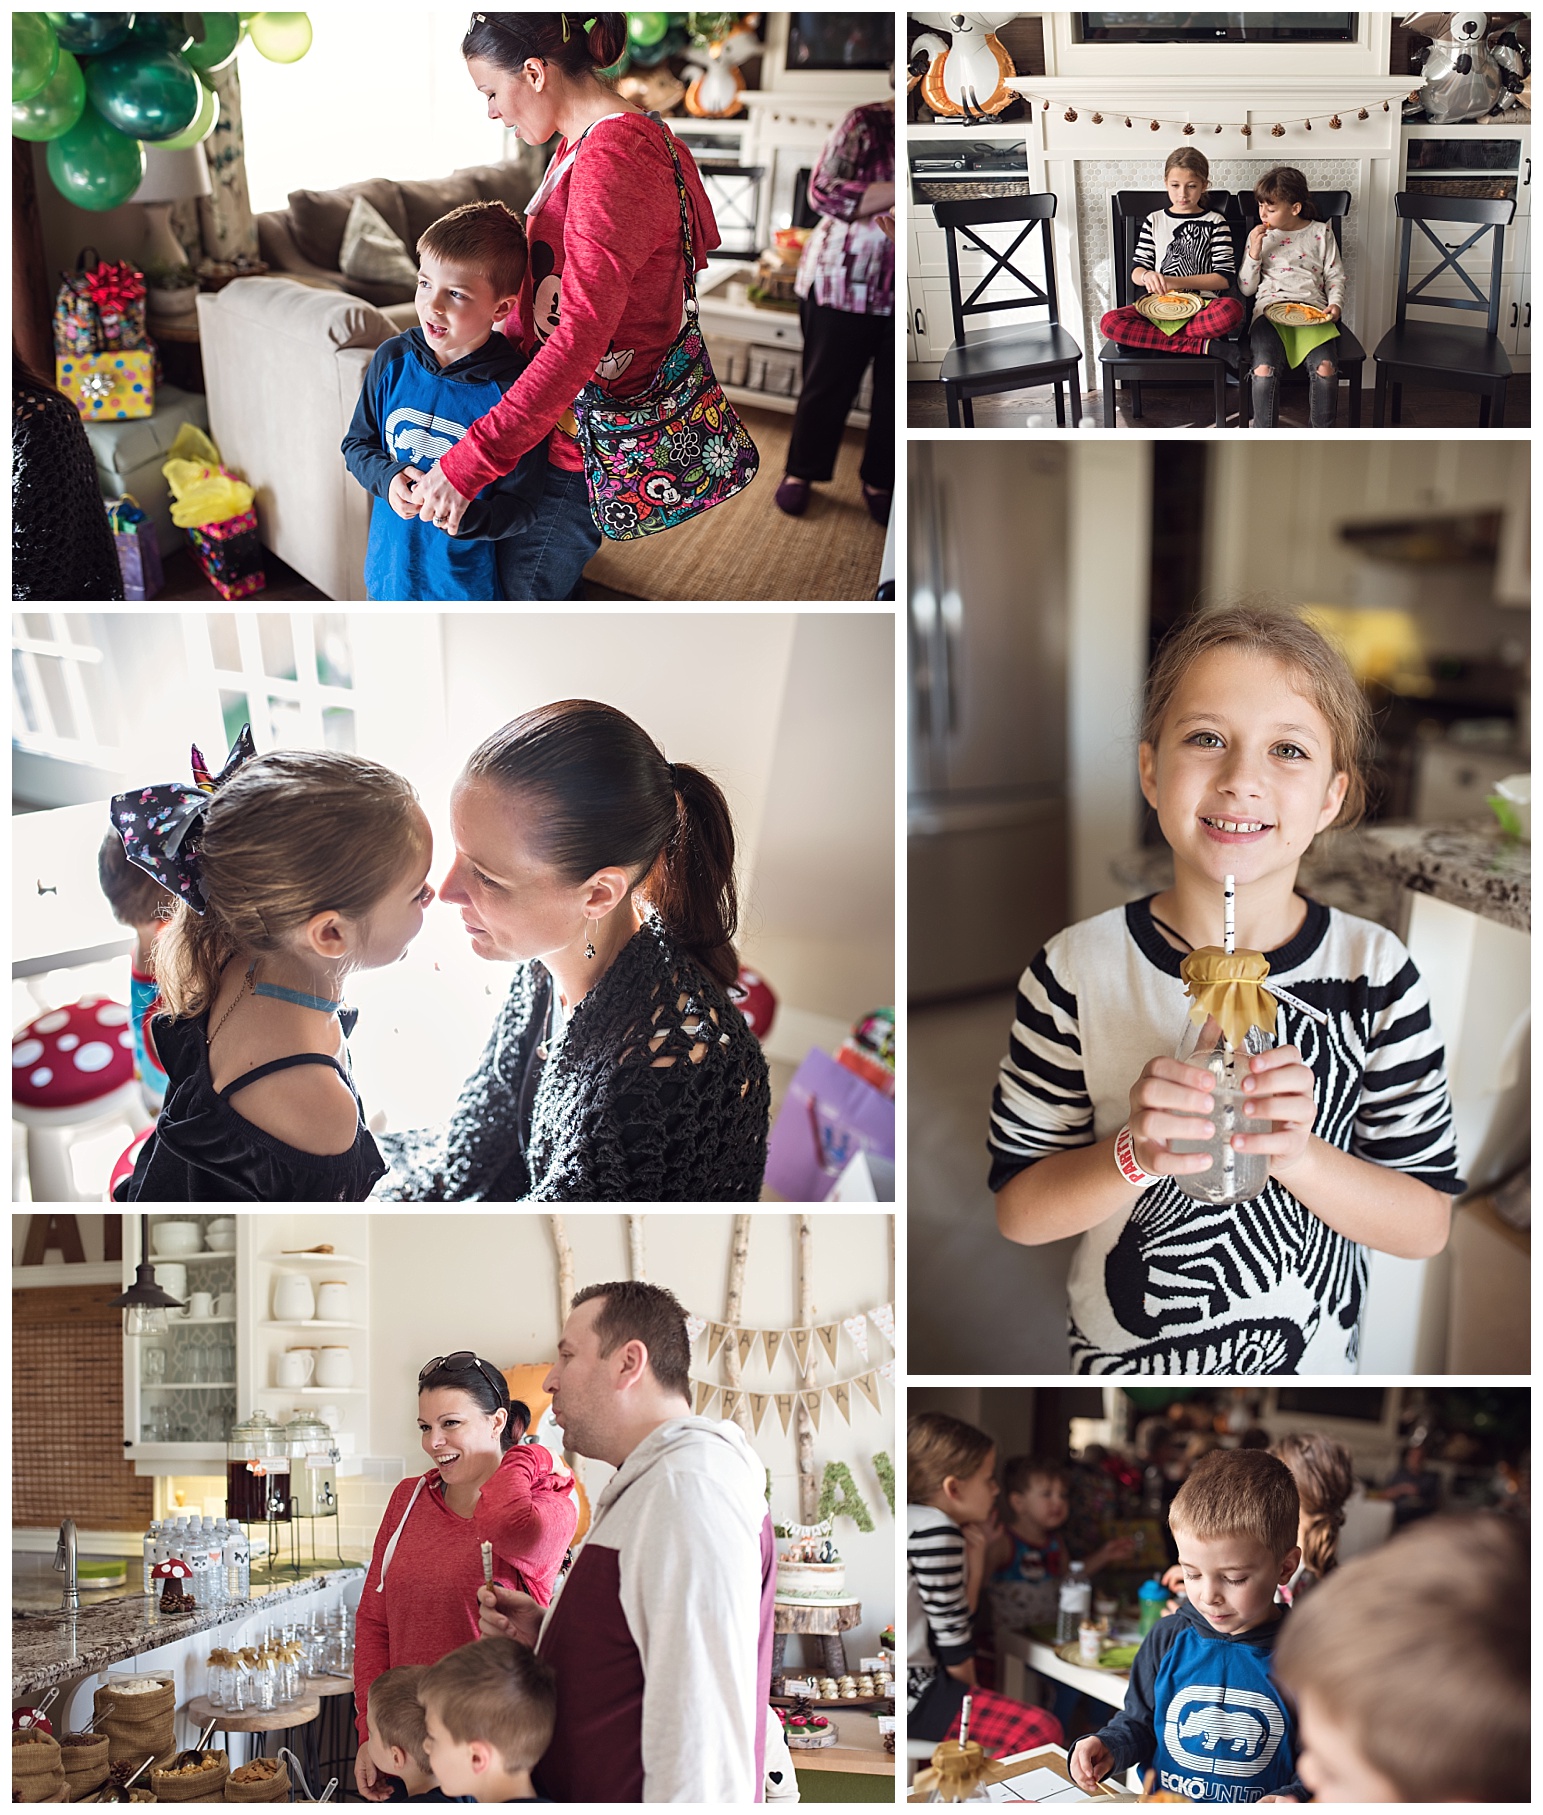
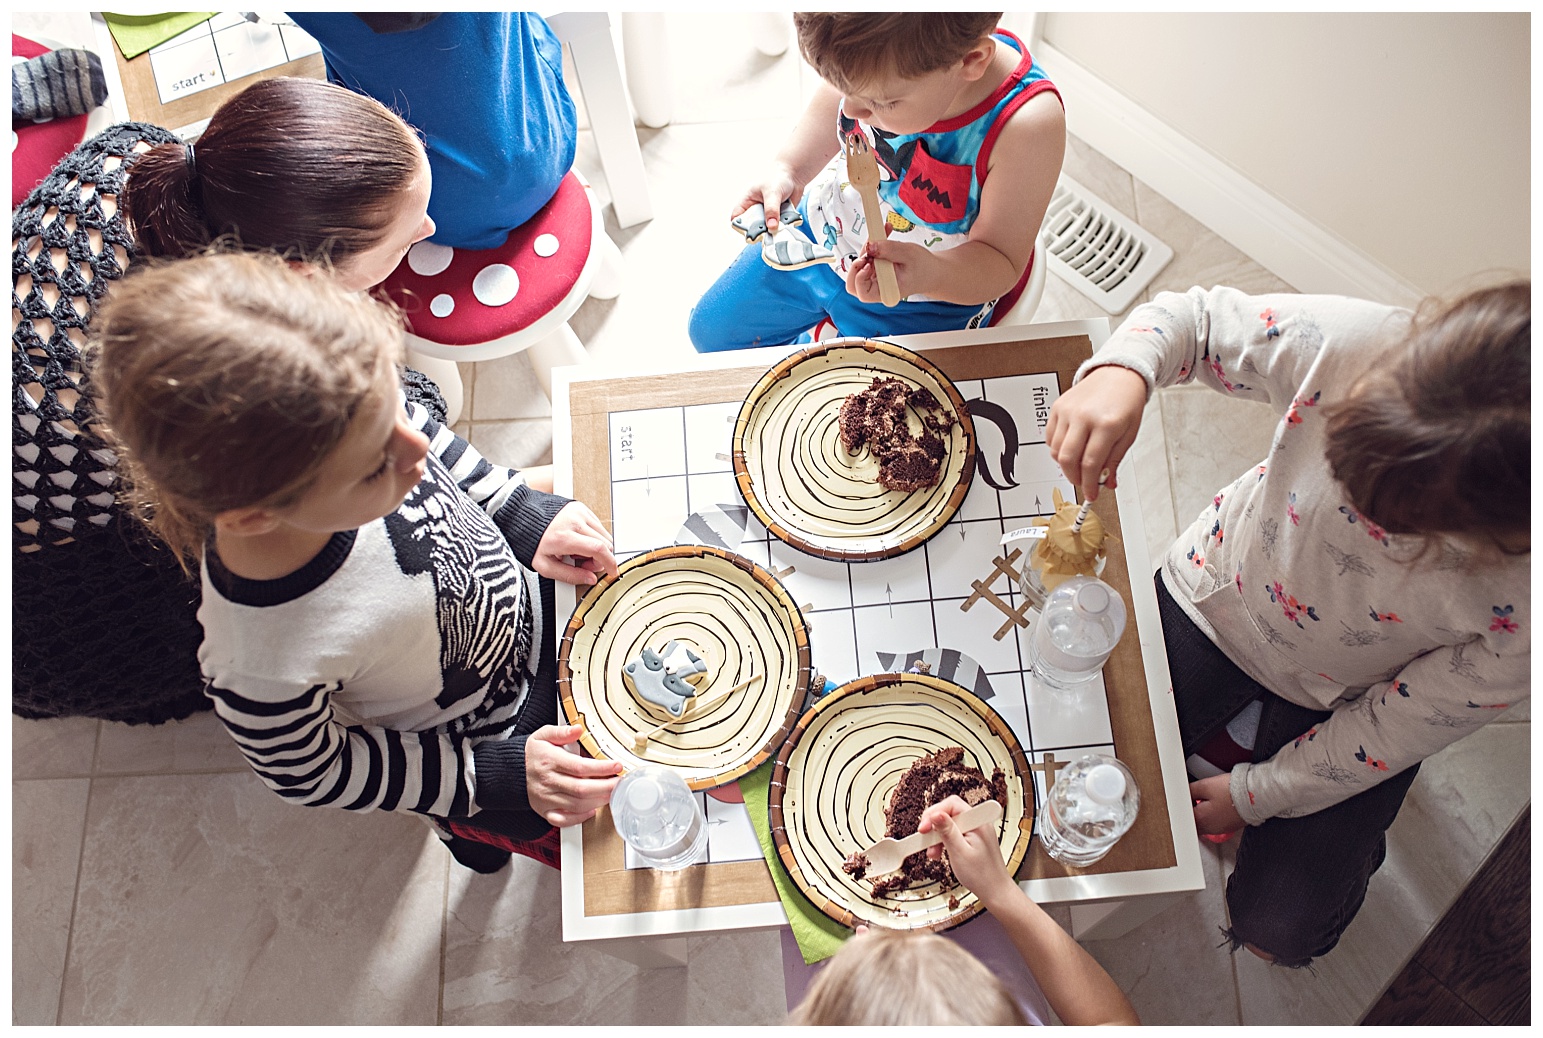
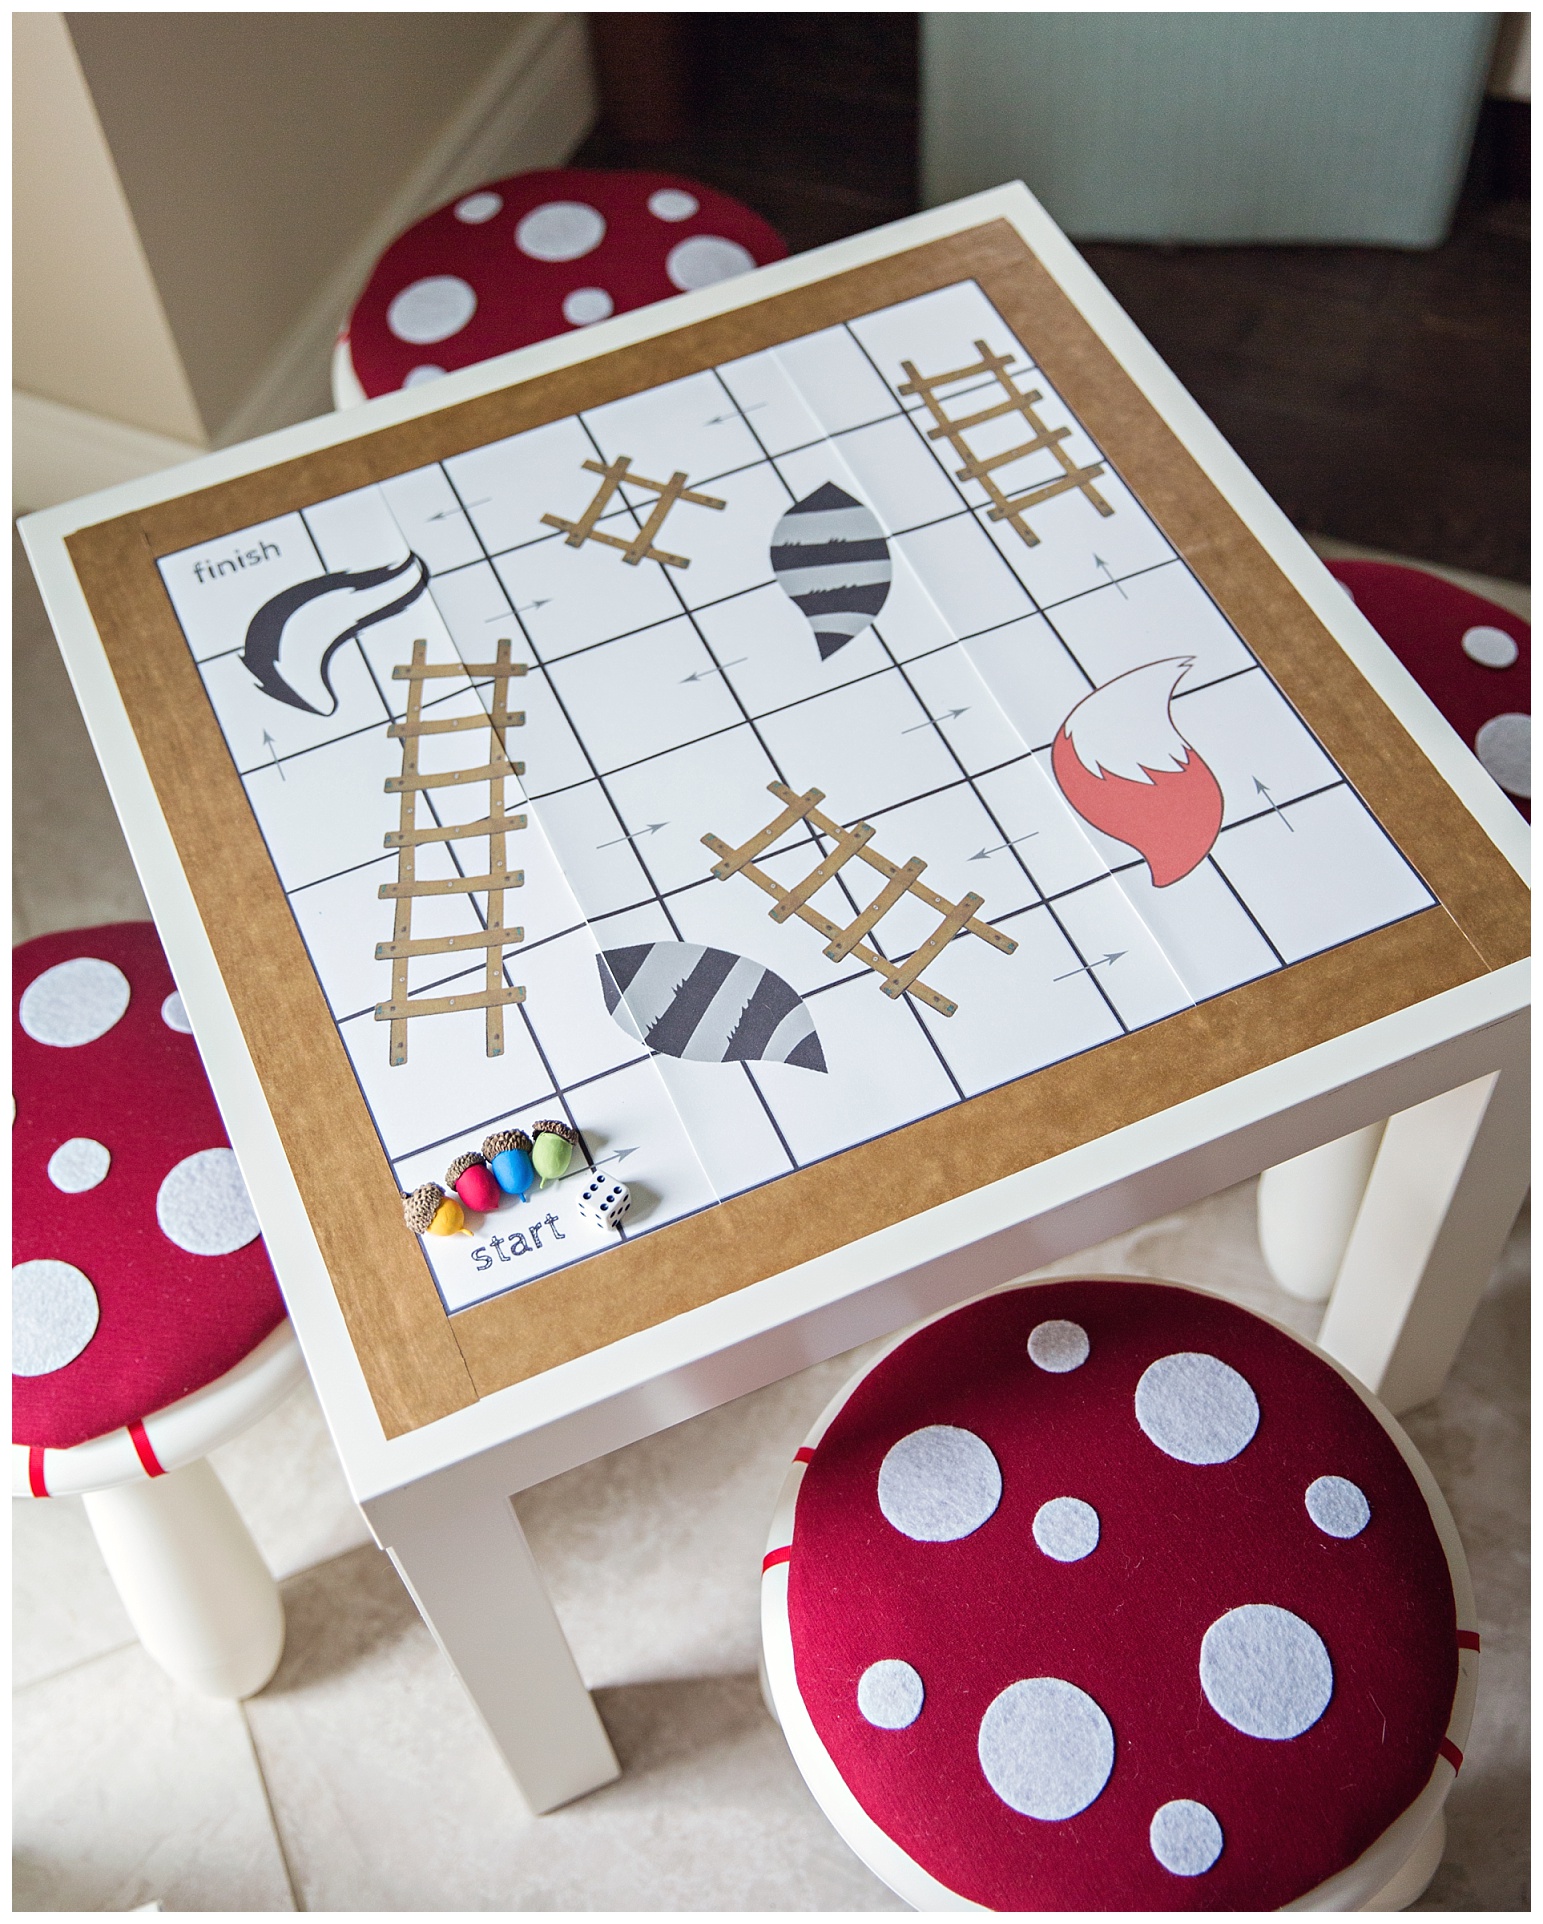
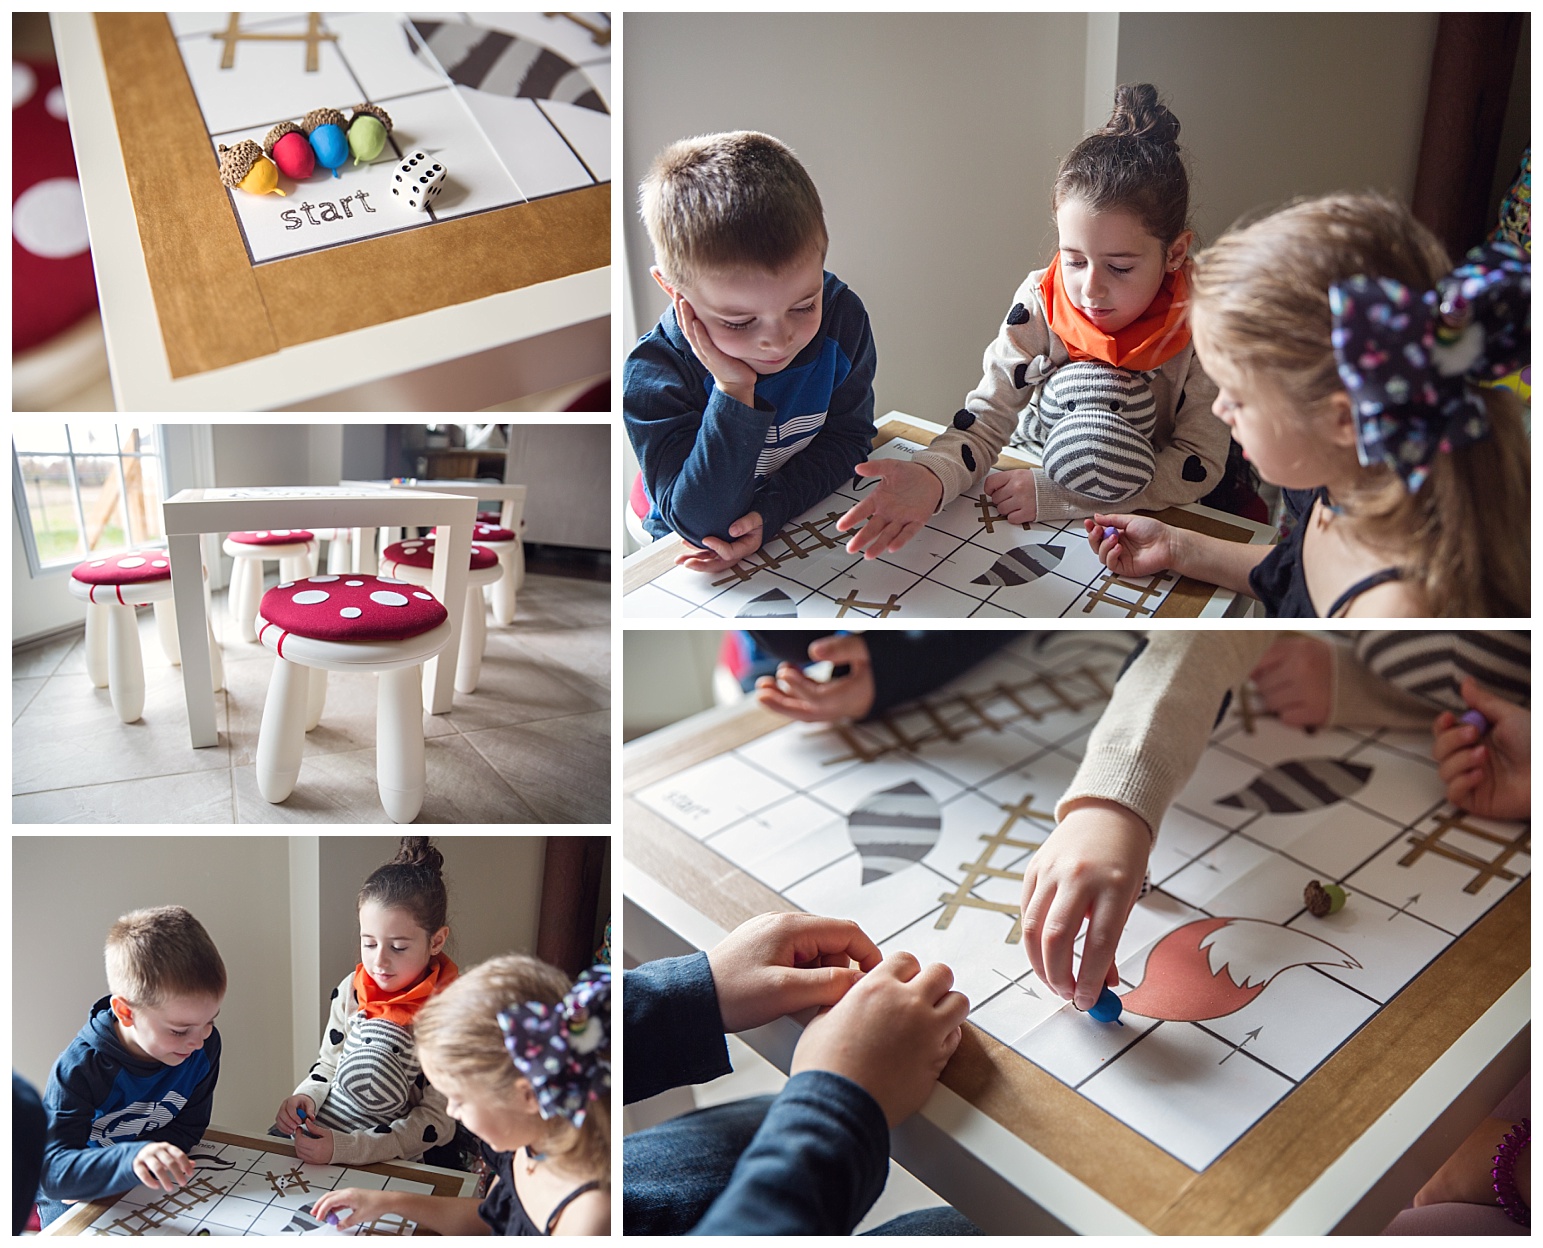
I usually set up these kids tables in the kitchen (truthfully it’s in an attempt to keep cake crumbs and icing out of my jute living room rug, lol). The tables are these LACK ones from Ikea and the little stools are from Ikea too.
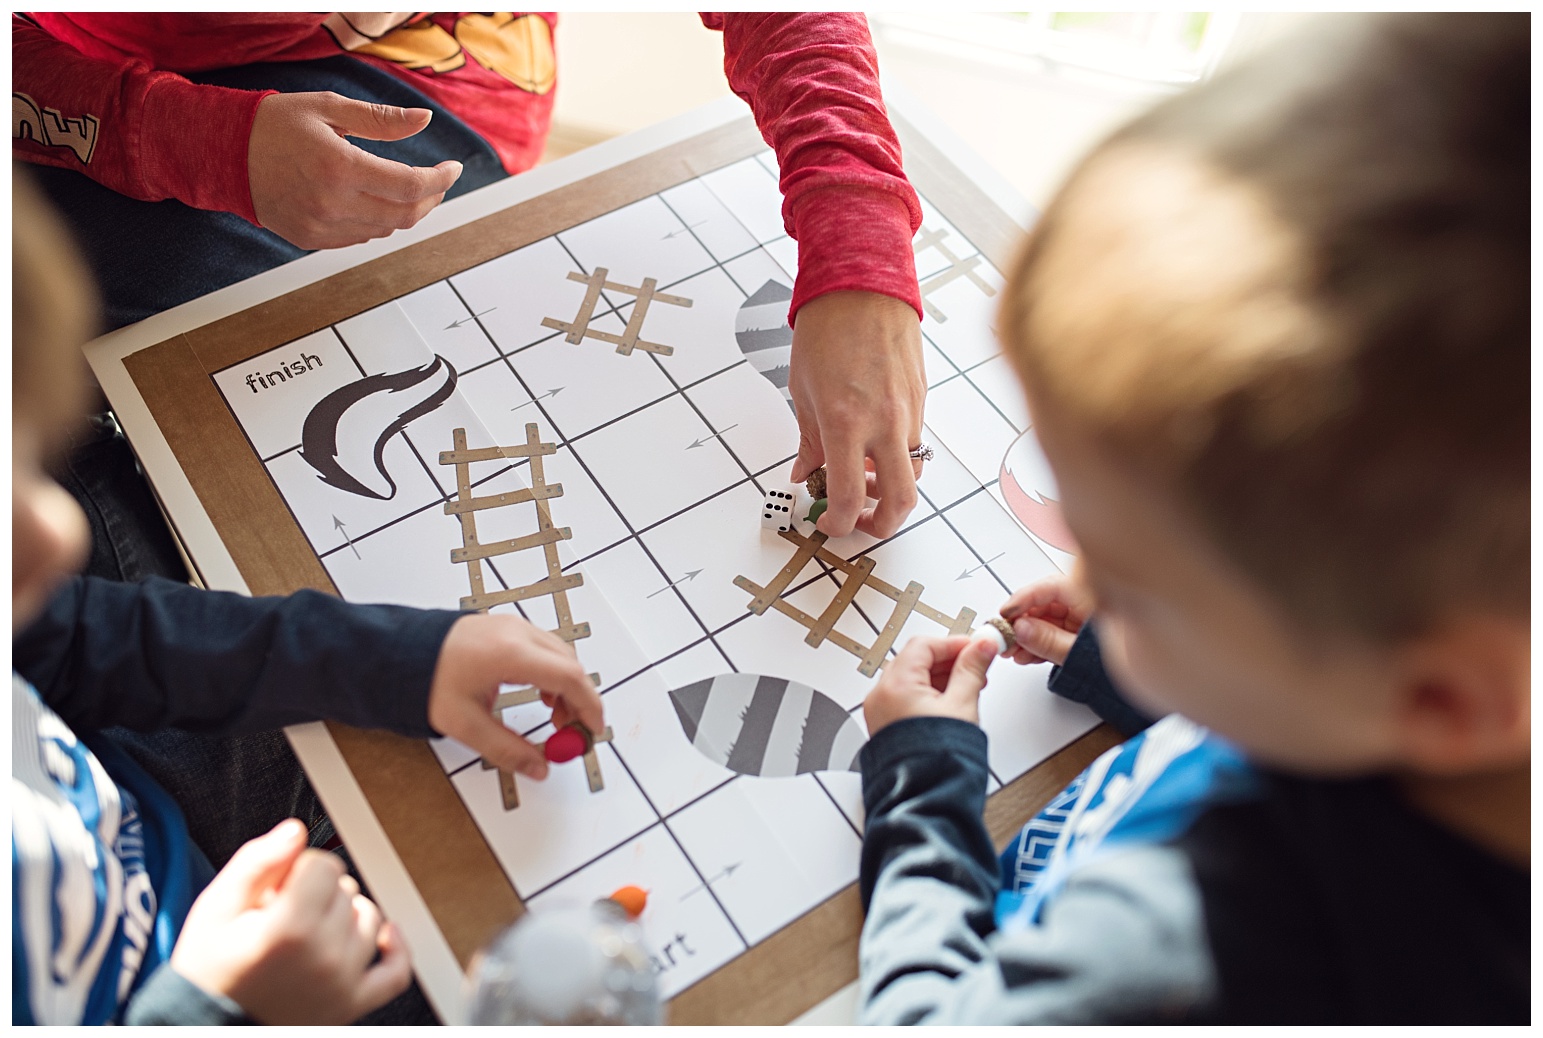
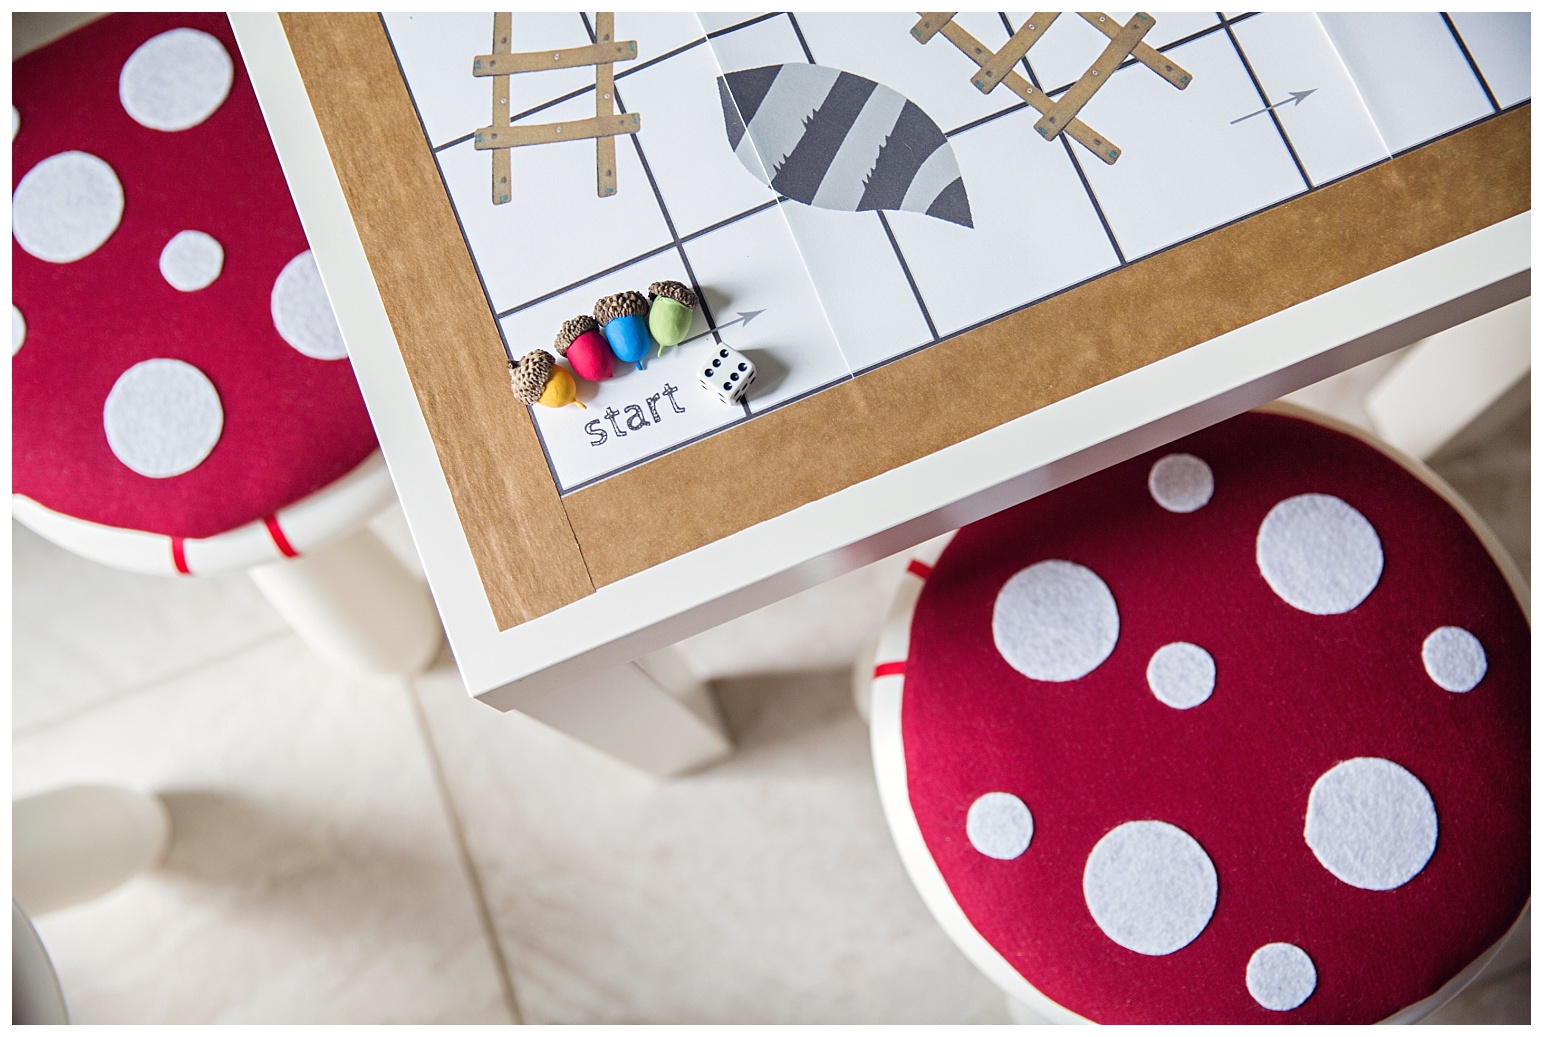
I created (from scratch) this woodland inspired shoots and ladders game and stuck them right to the table tops. This kept the kids occupied while guests were still arriving and before the real fun started. The game pieces are just acorns that I painted with acrylic craft paint.
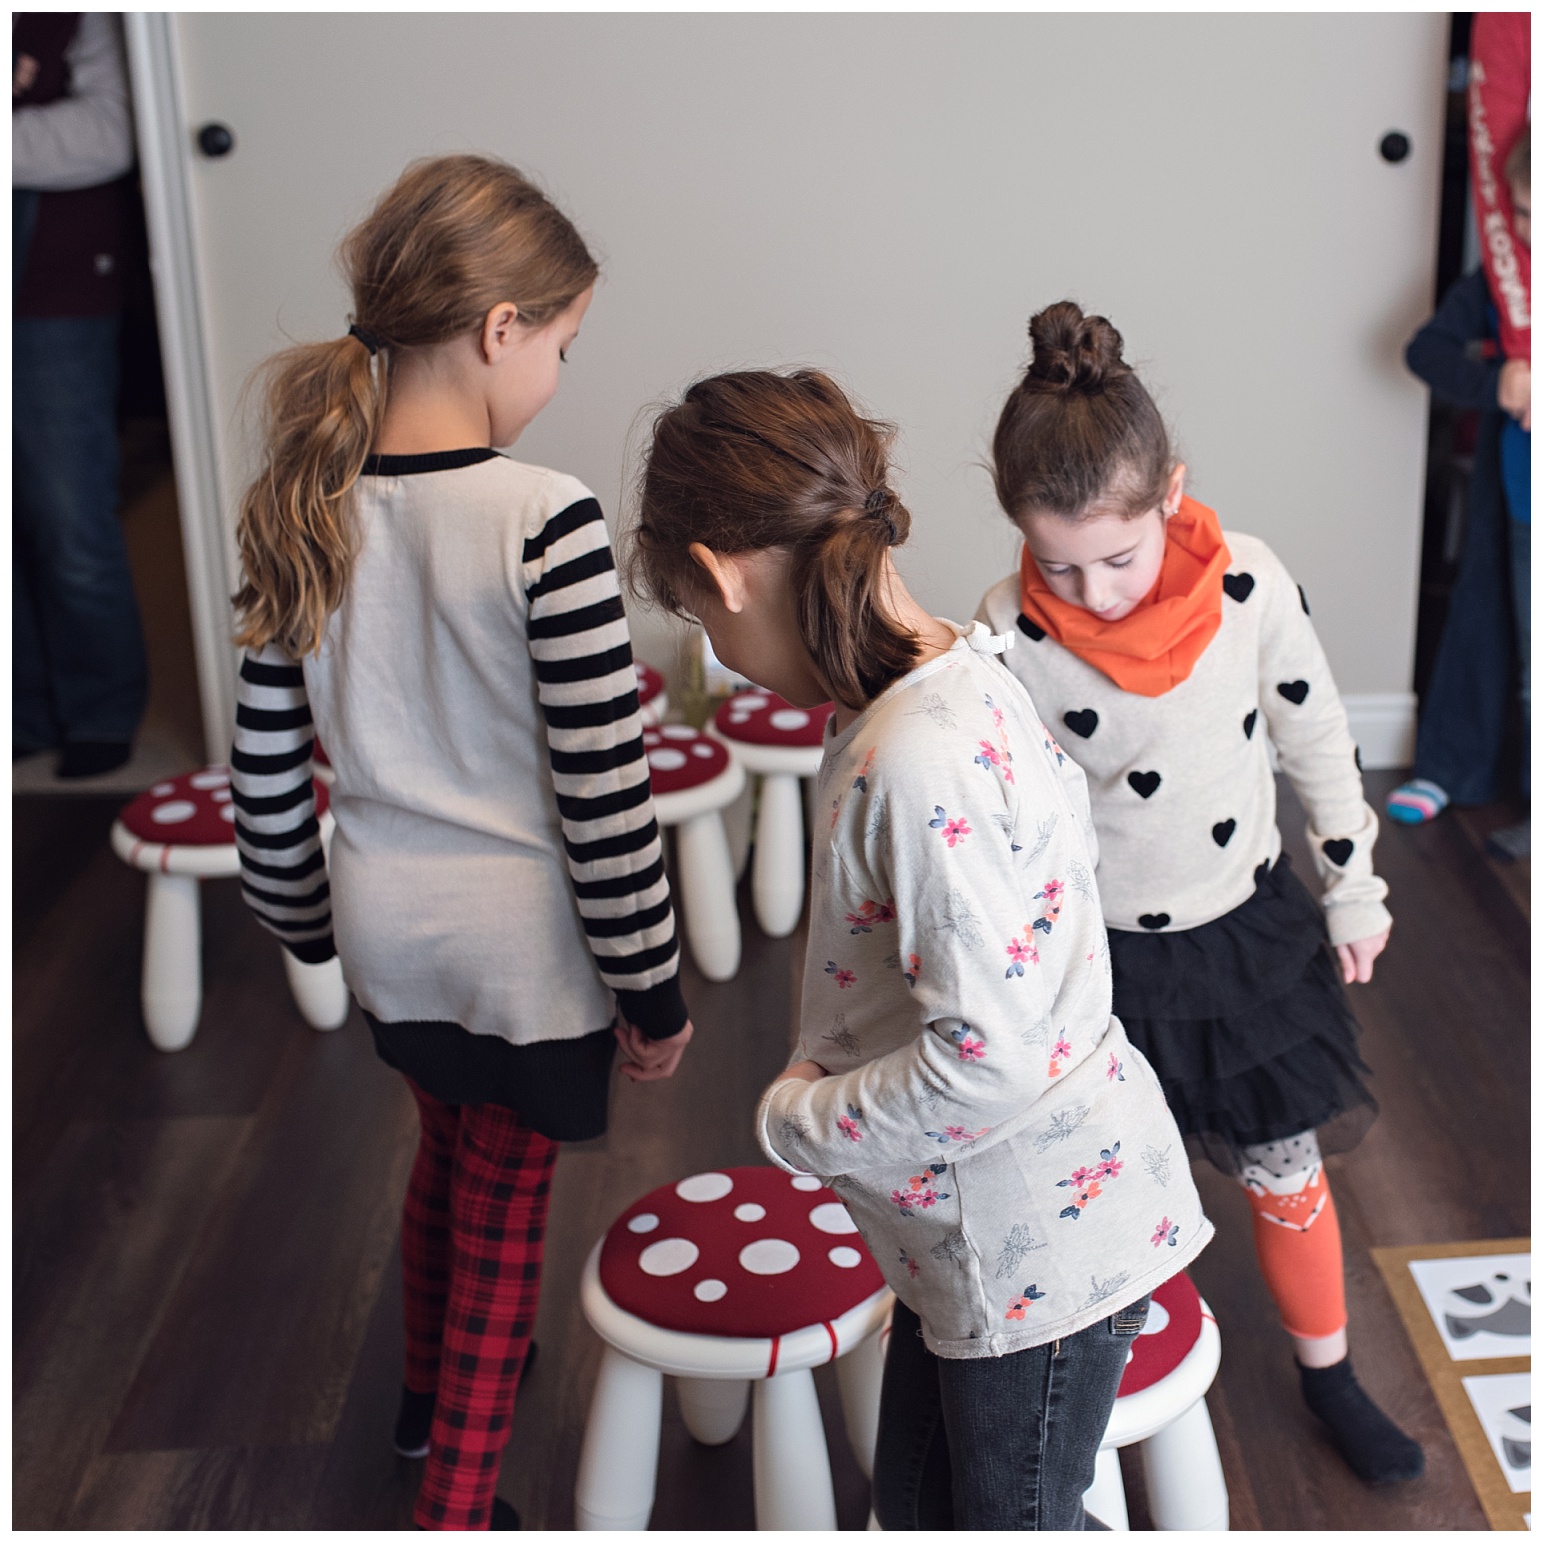
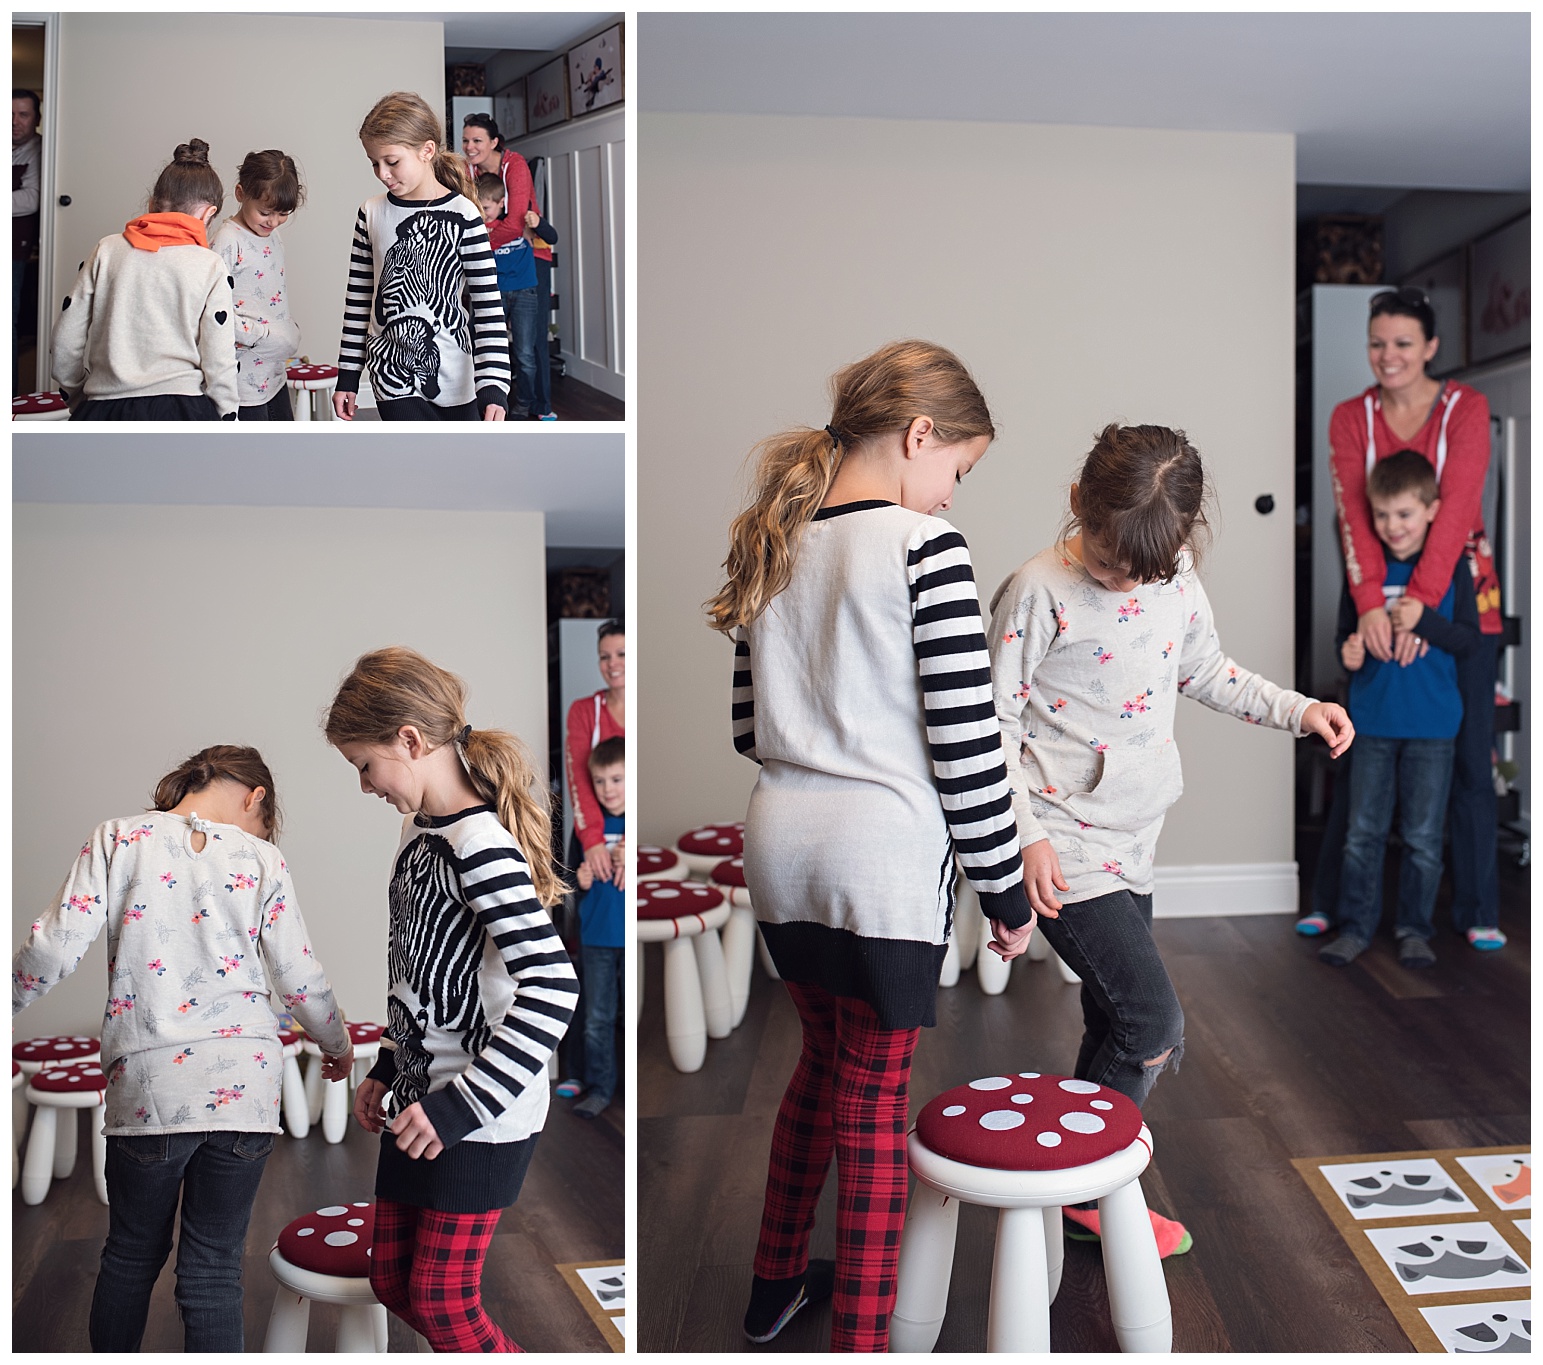
I also made the toadstool covers. I cut circles out of foamboard, added some cotton batten to make them soft, coved with red stretch fabric from FabricLand and then hot glued white felt circles on top. Strips of ribbon attached them to the stools.
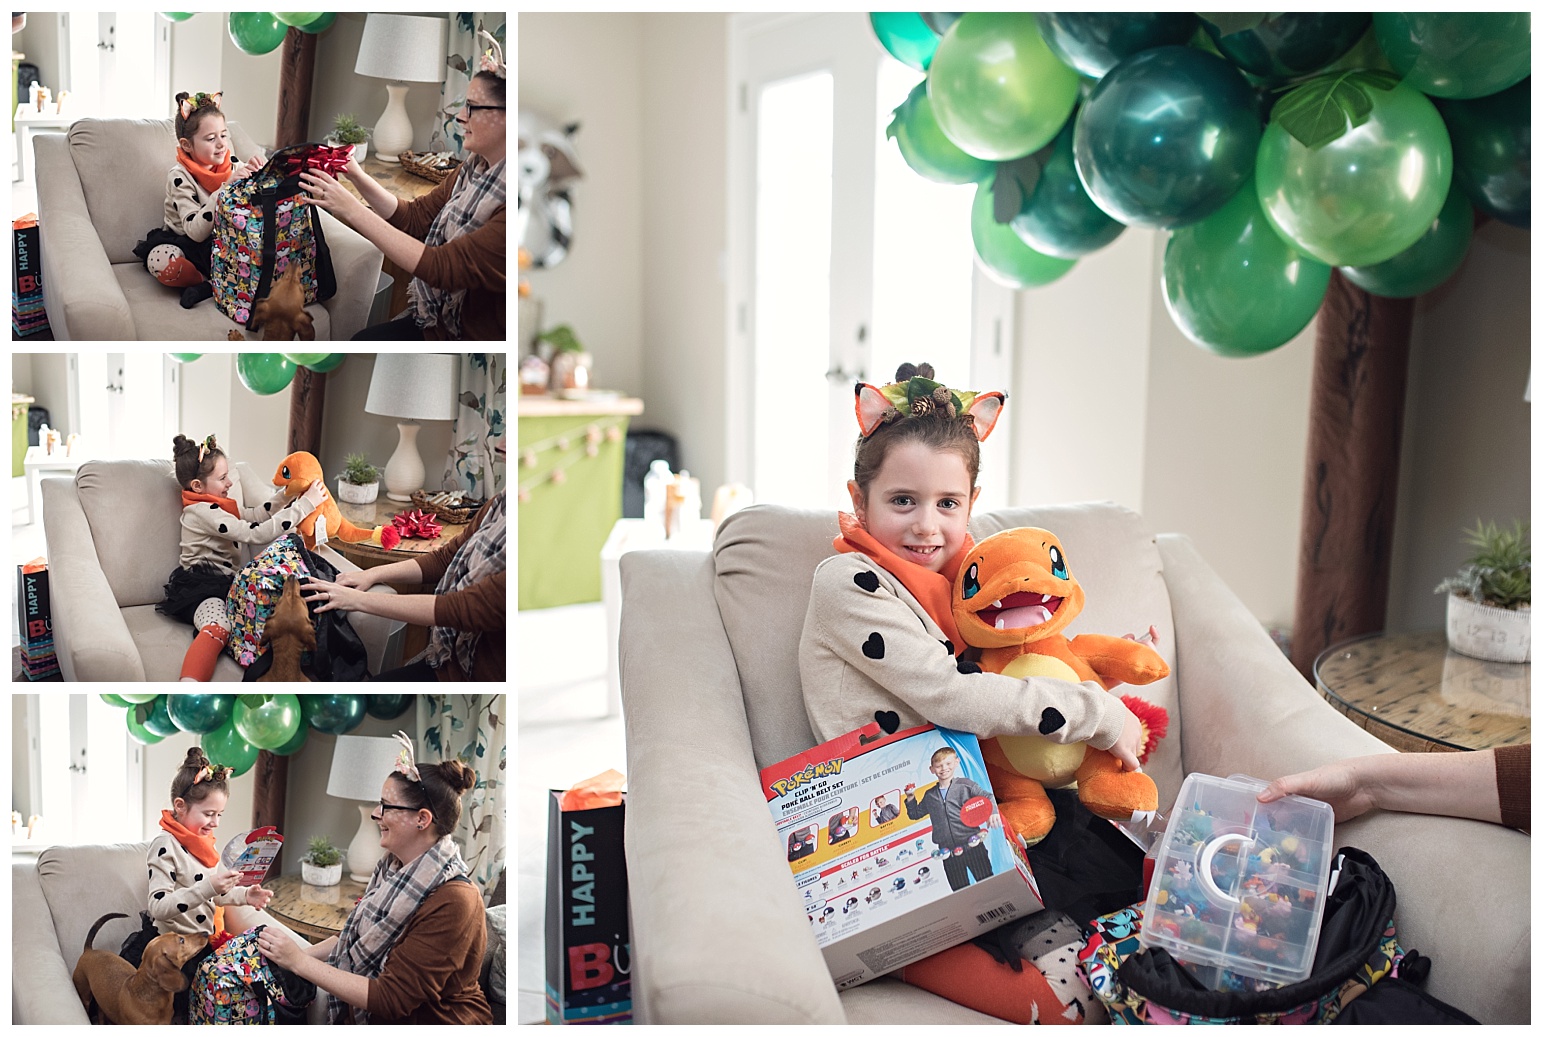
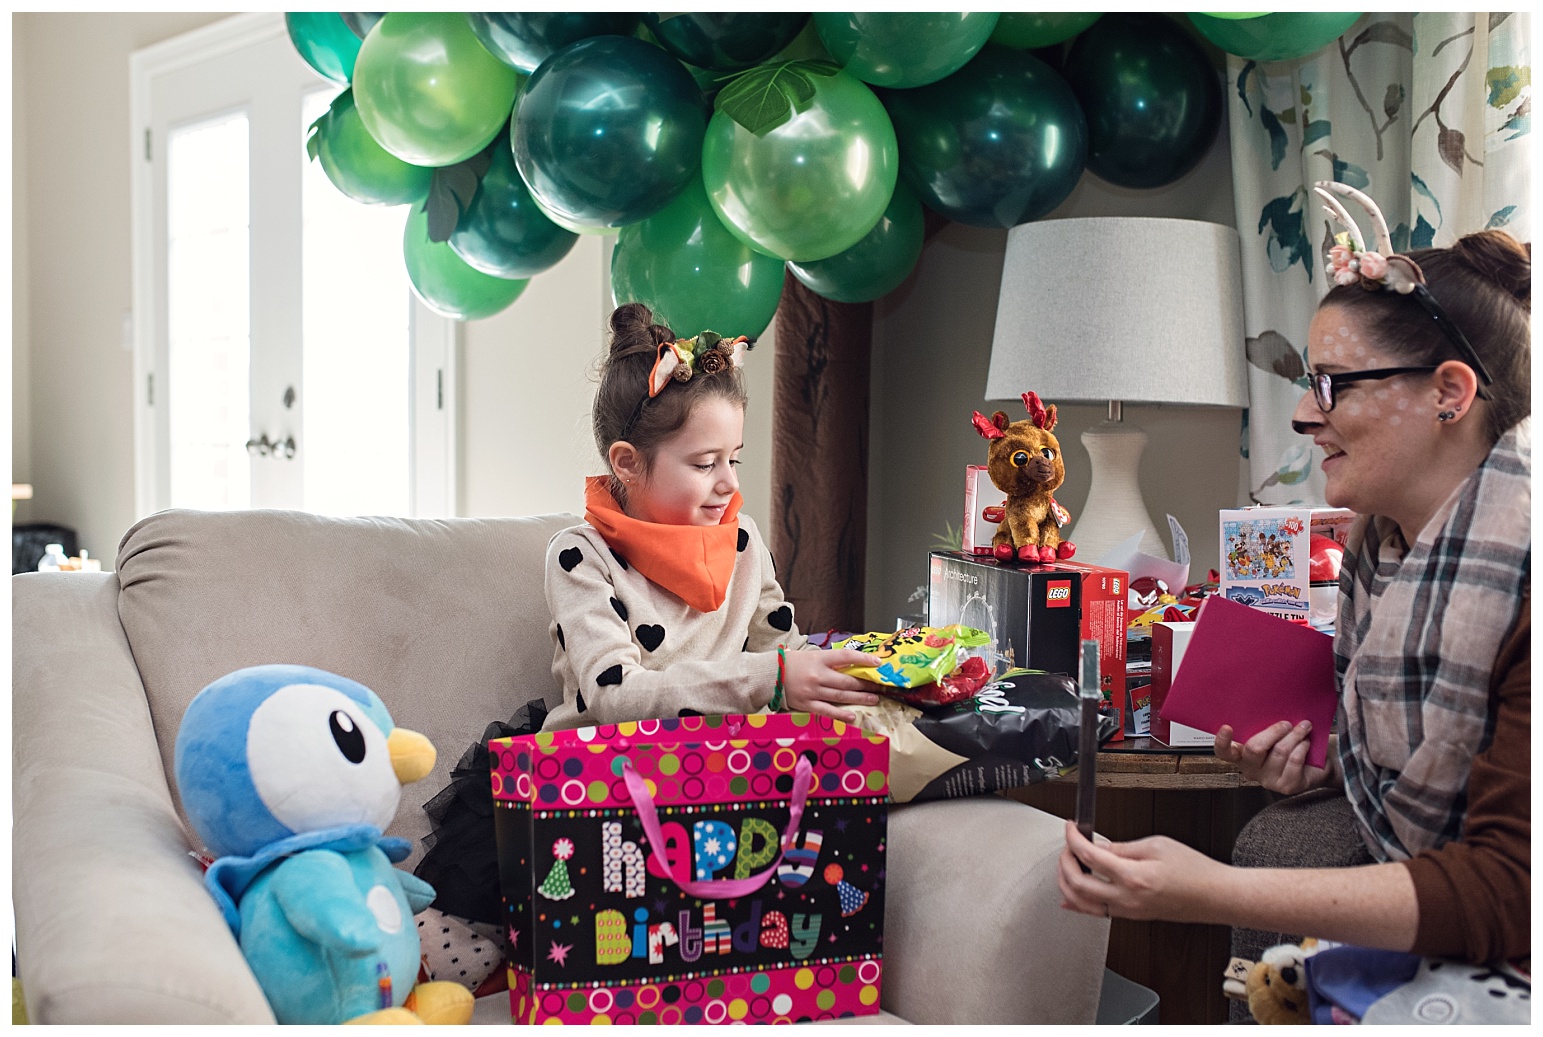
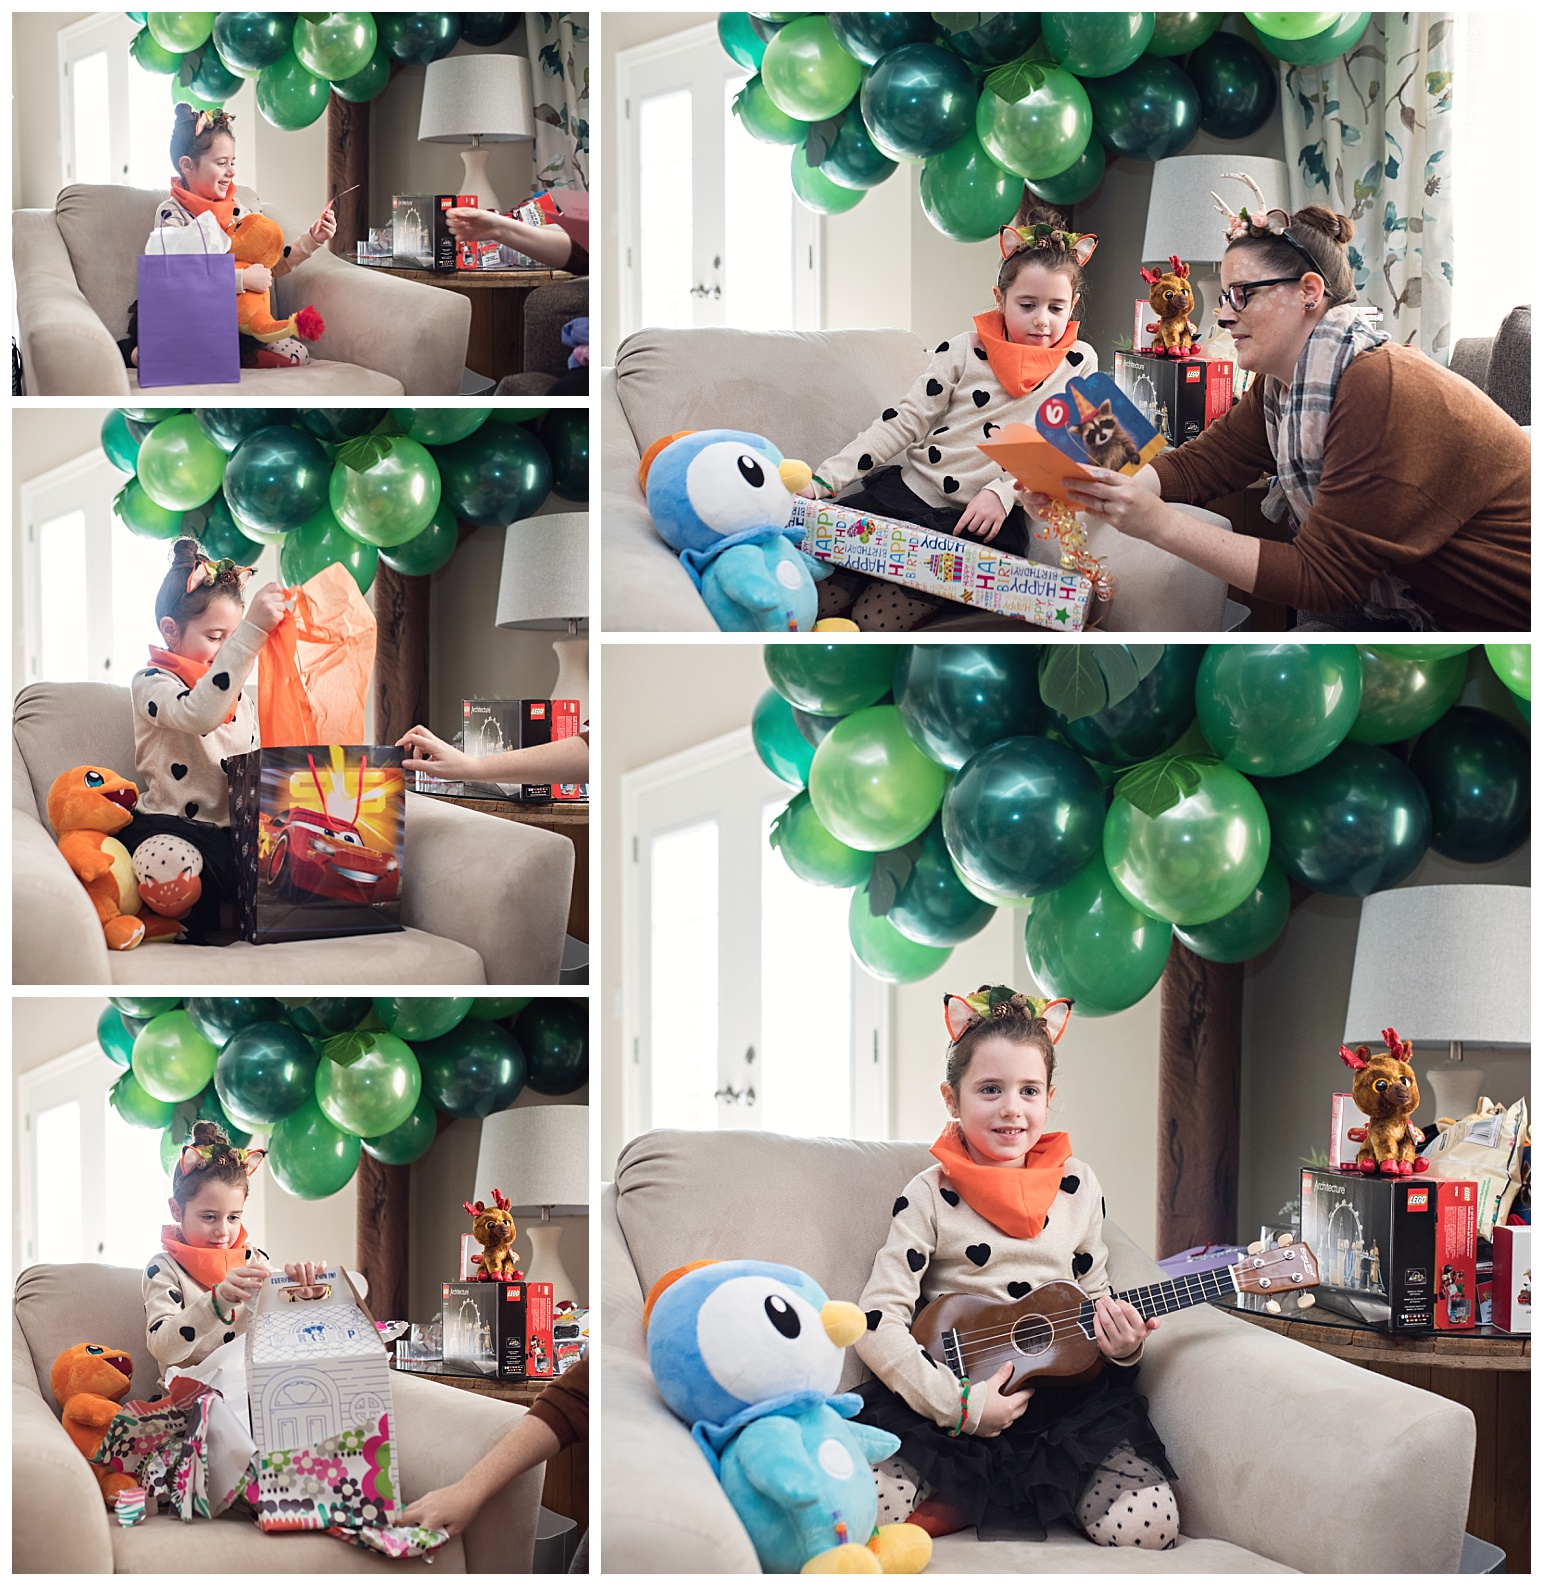
And now comes the part that all of the kids LOVE! The games and photo shoot down in the studio.
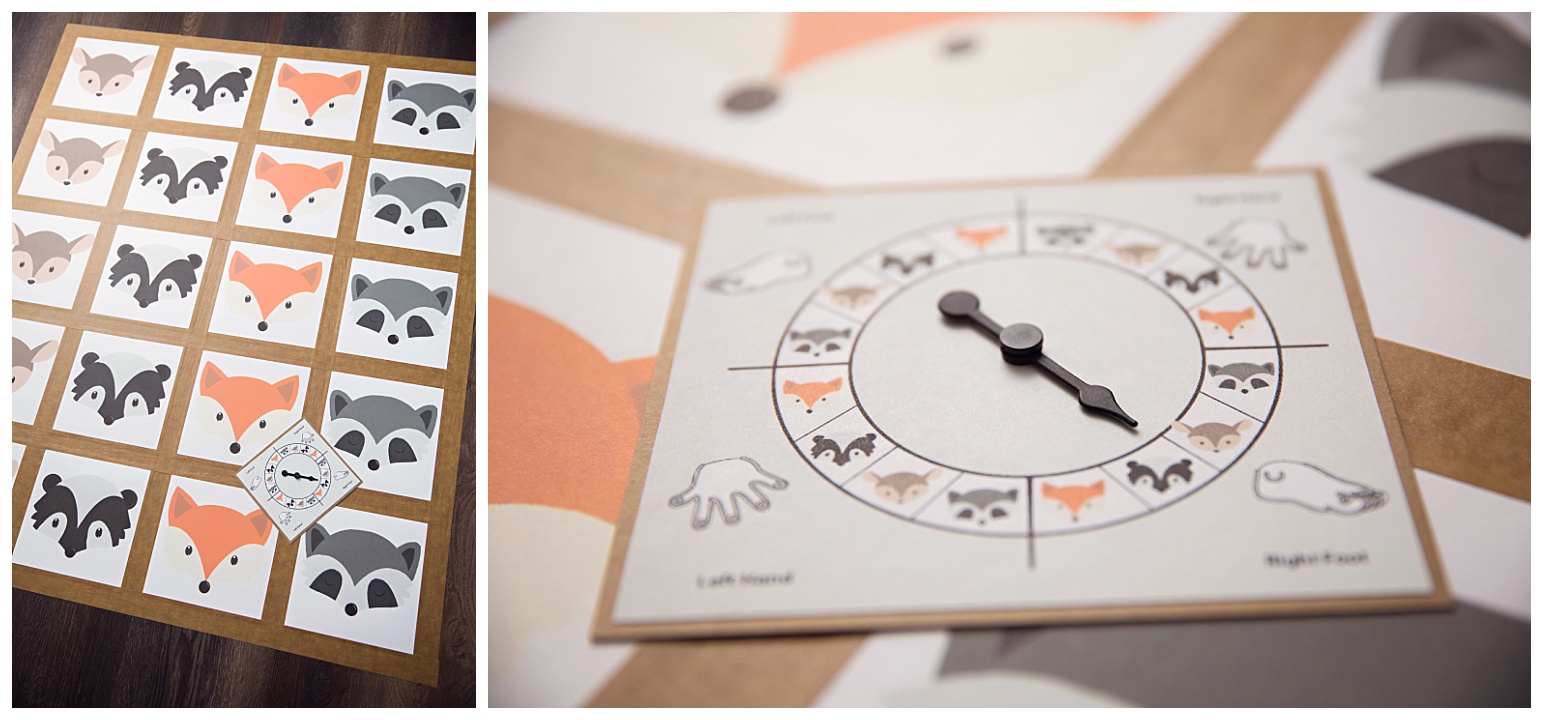
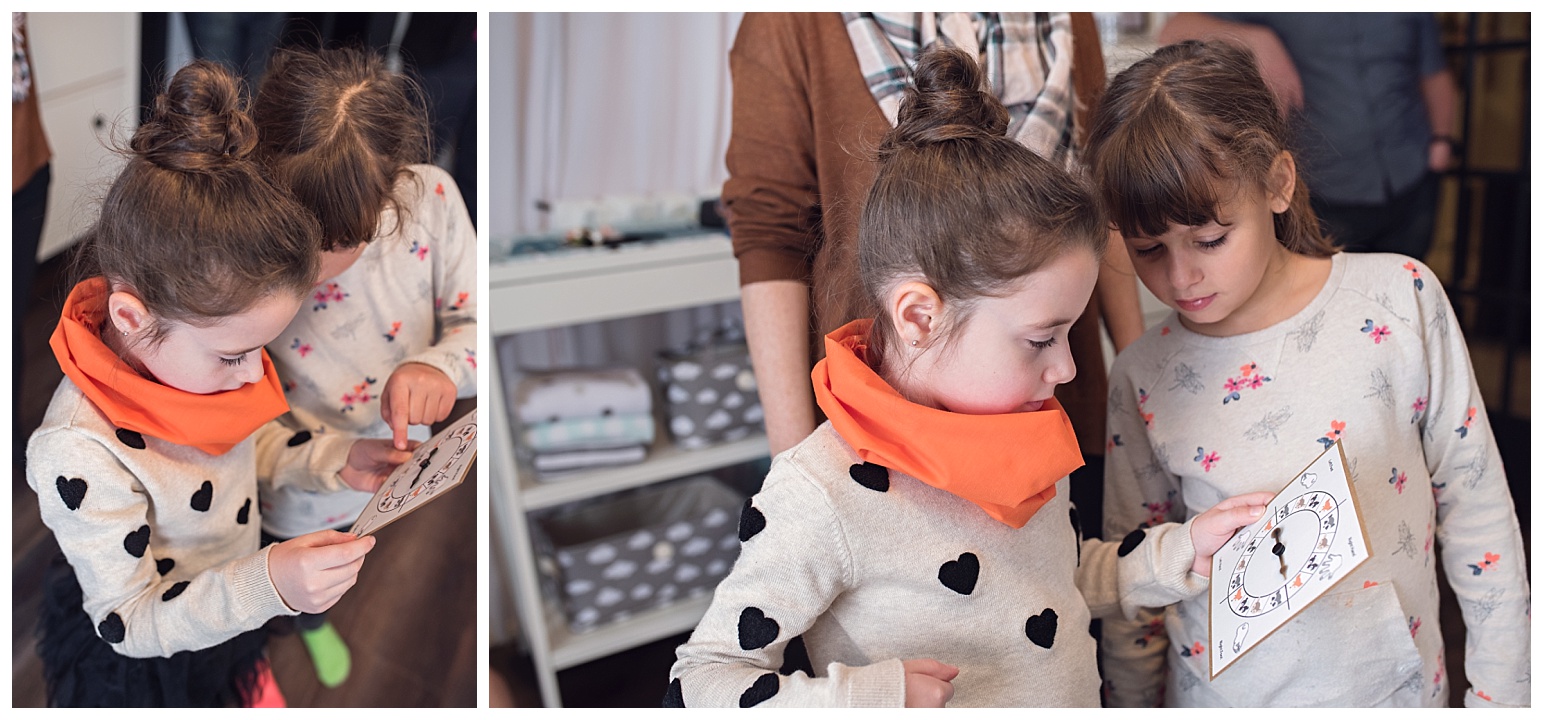
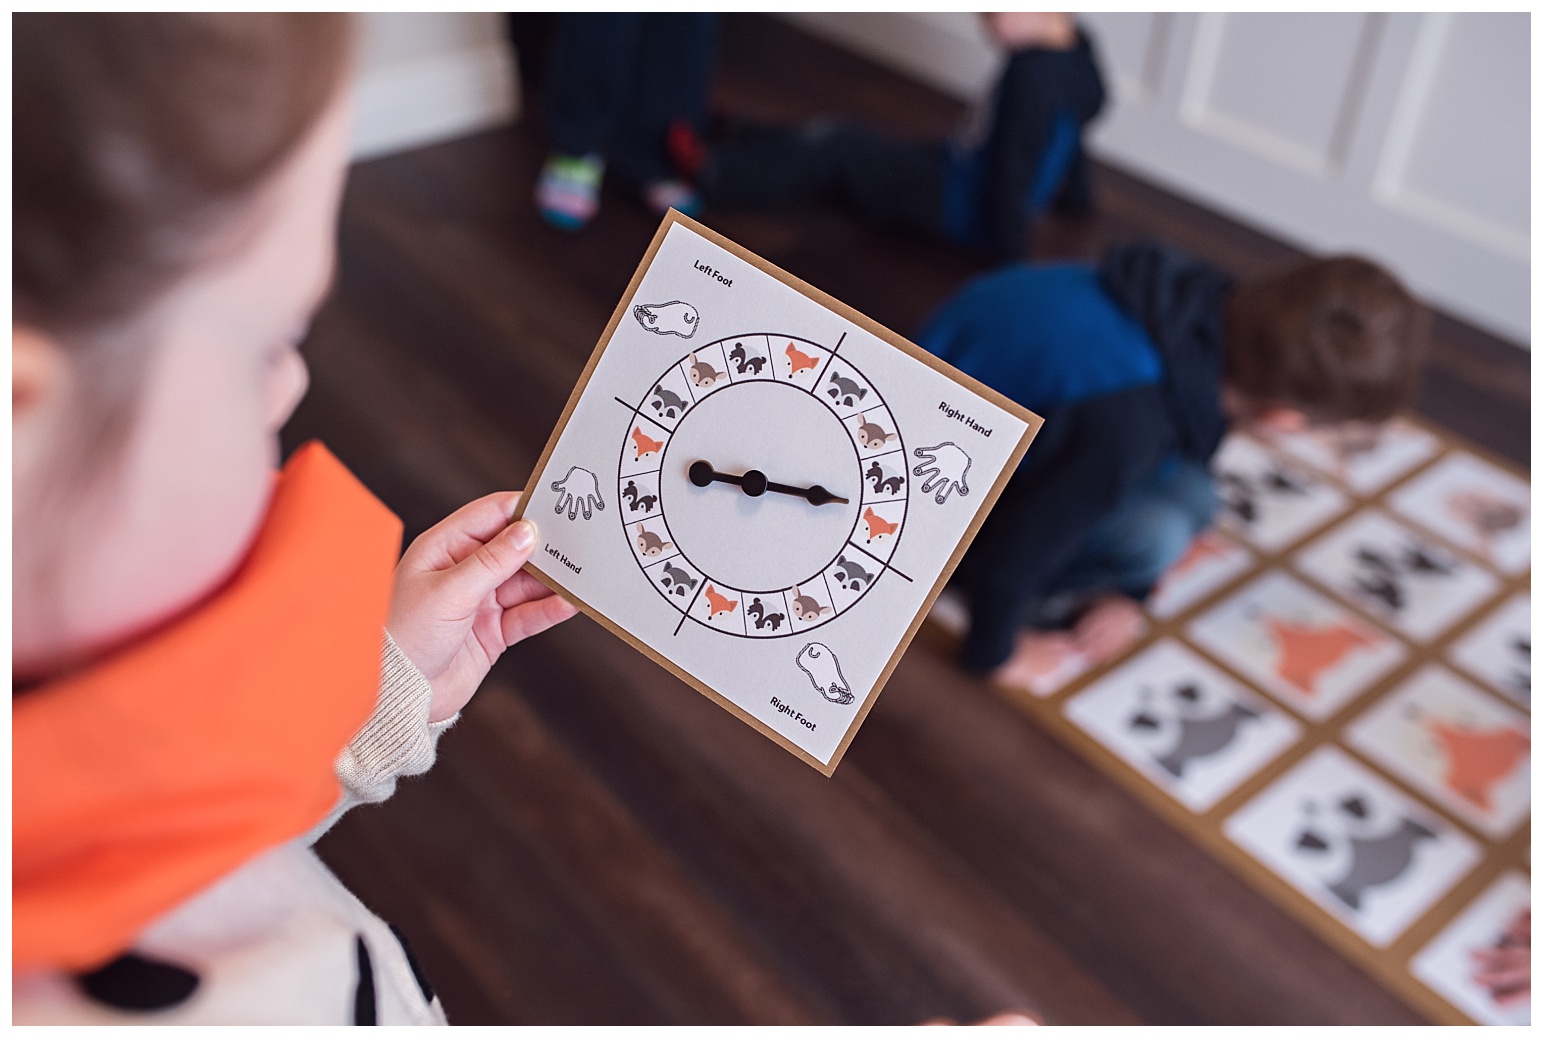
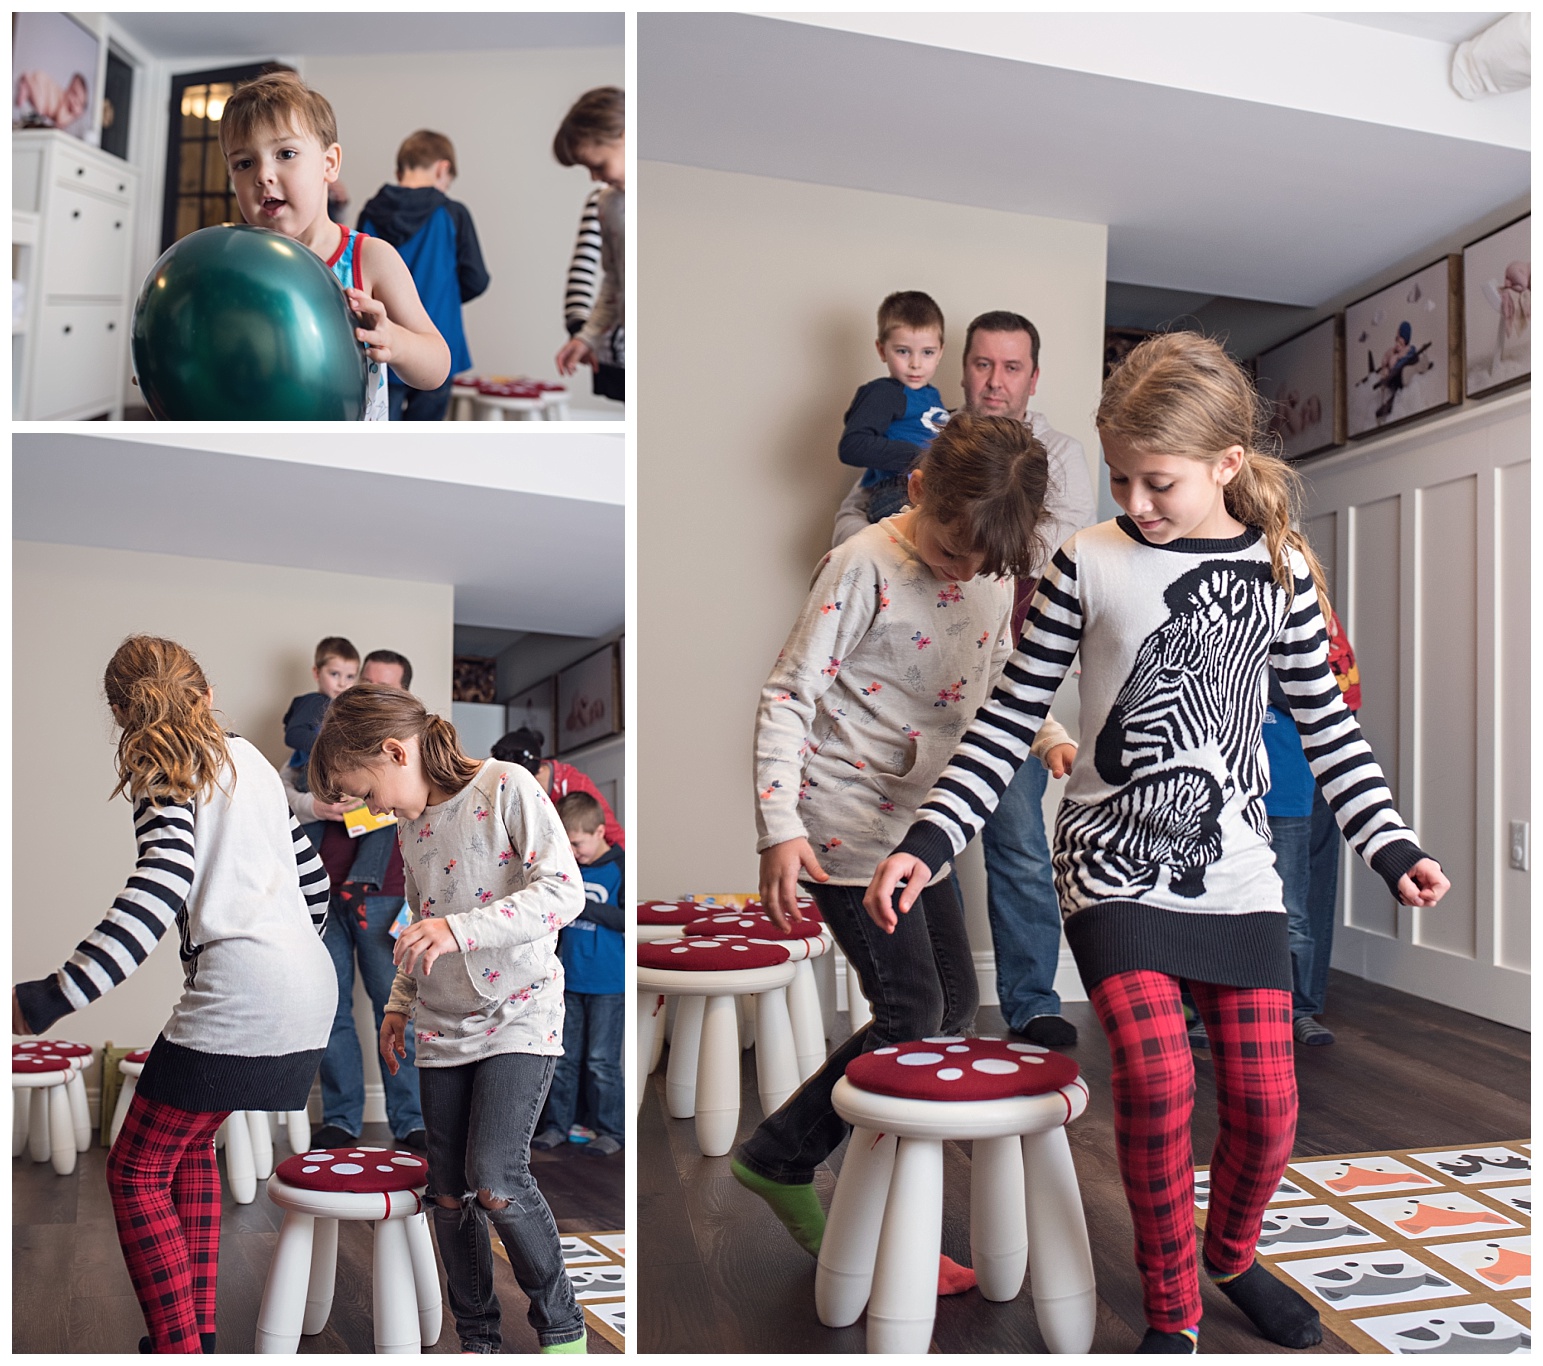
First game was Twister (woodland style). I just printed the animal heads on my computer and taped them to the floor with this kraft tape. I also made the spinner myself using parts from these.
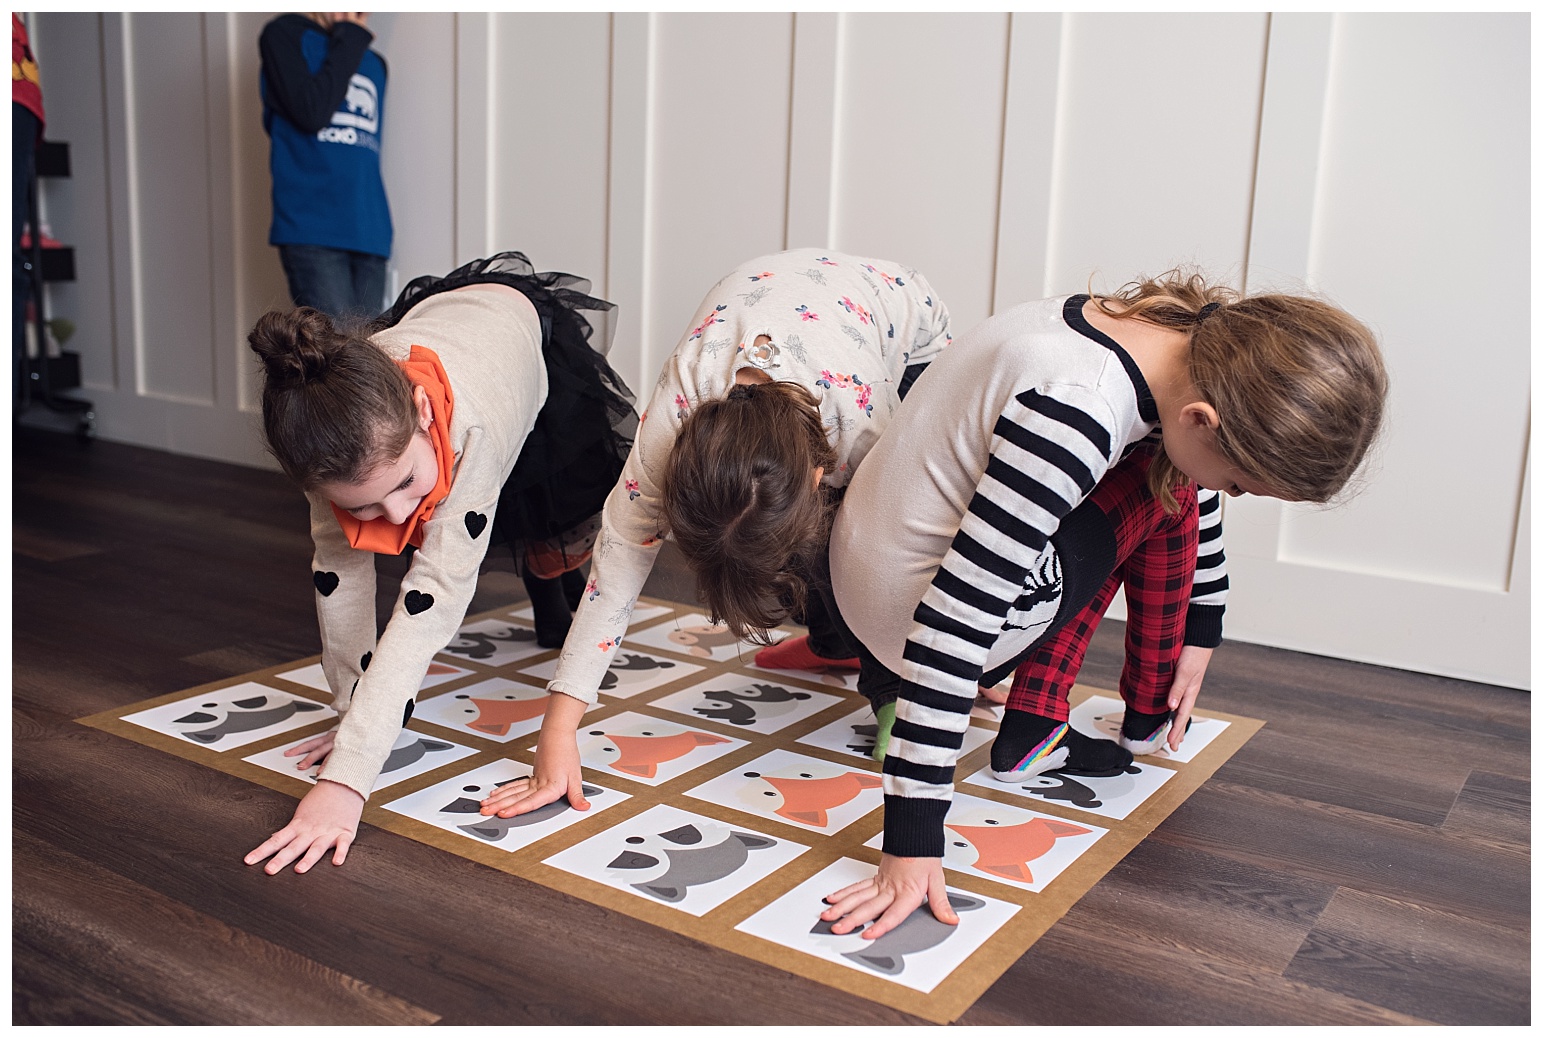
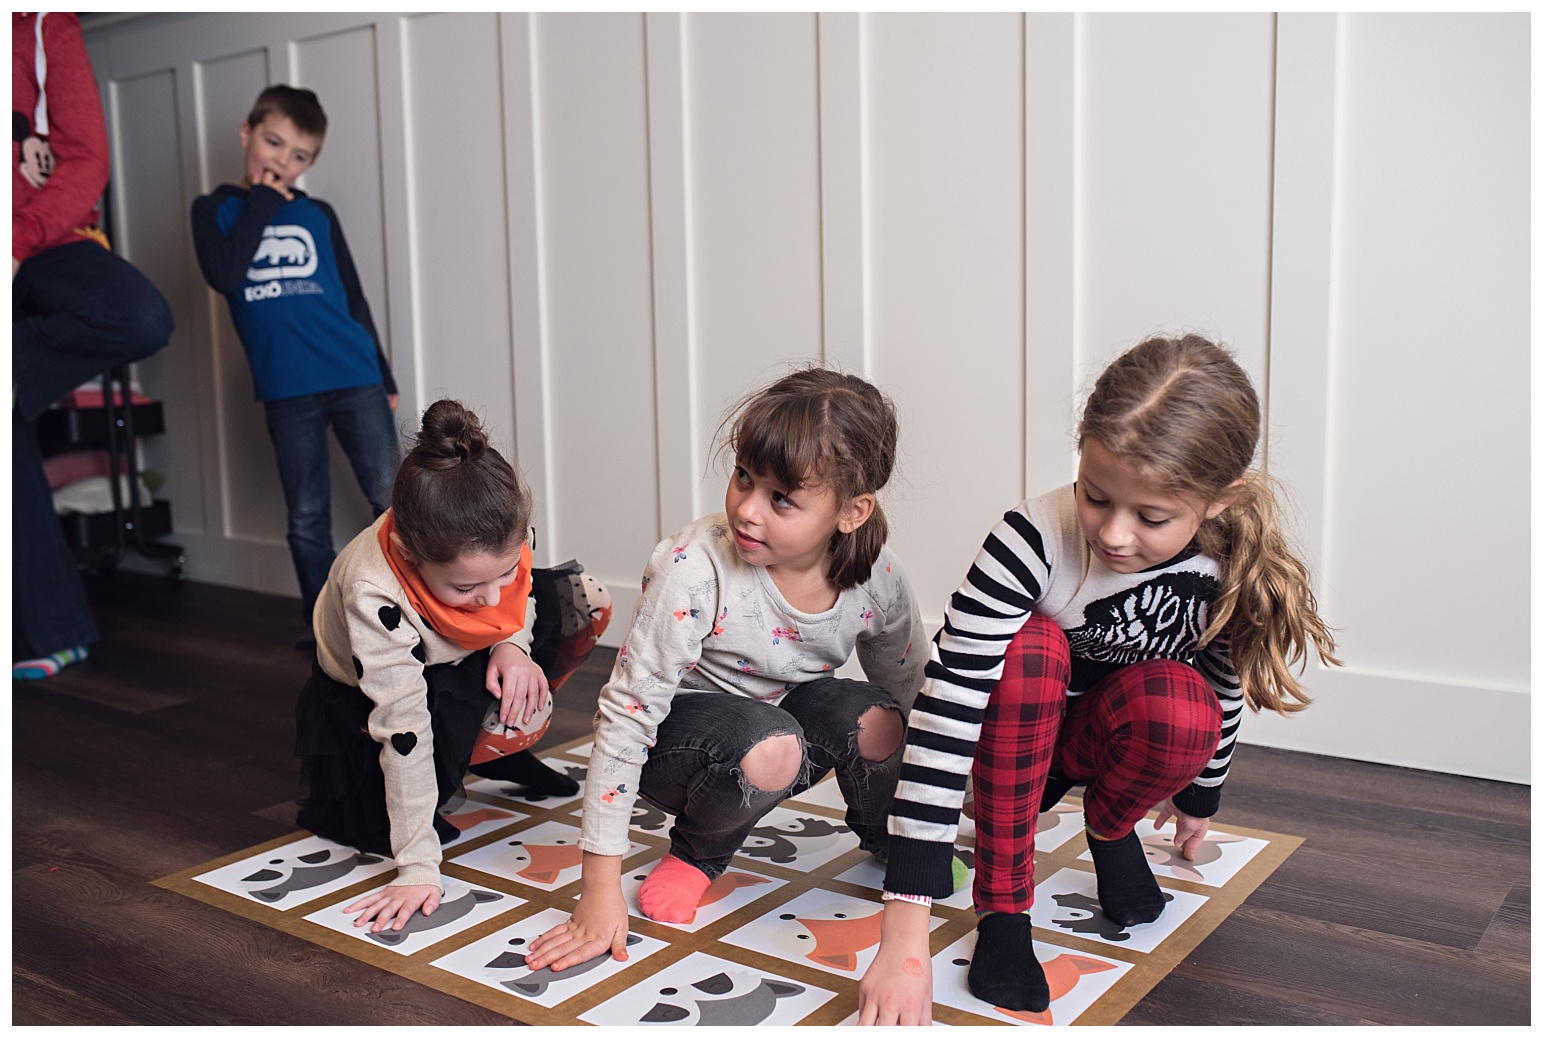
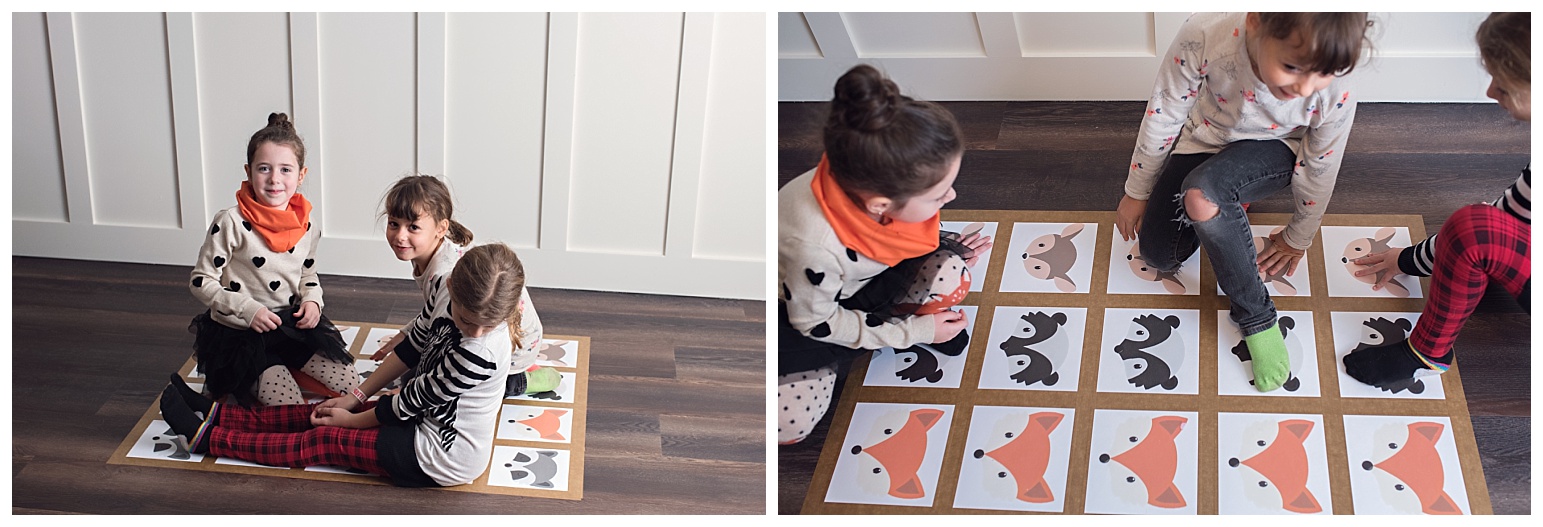
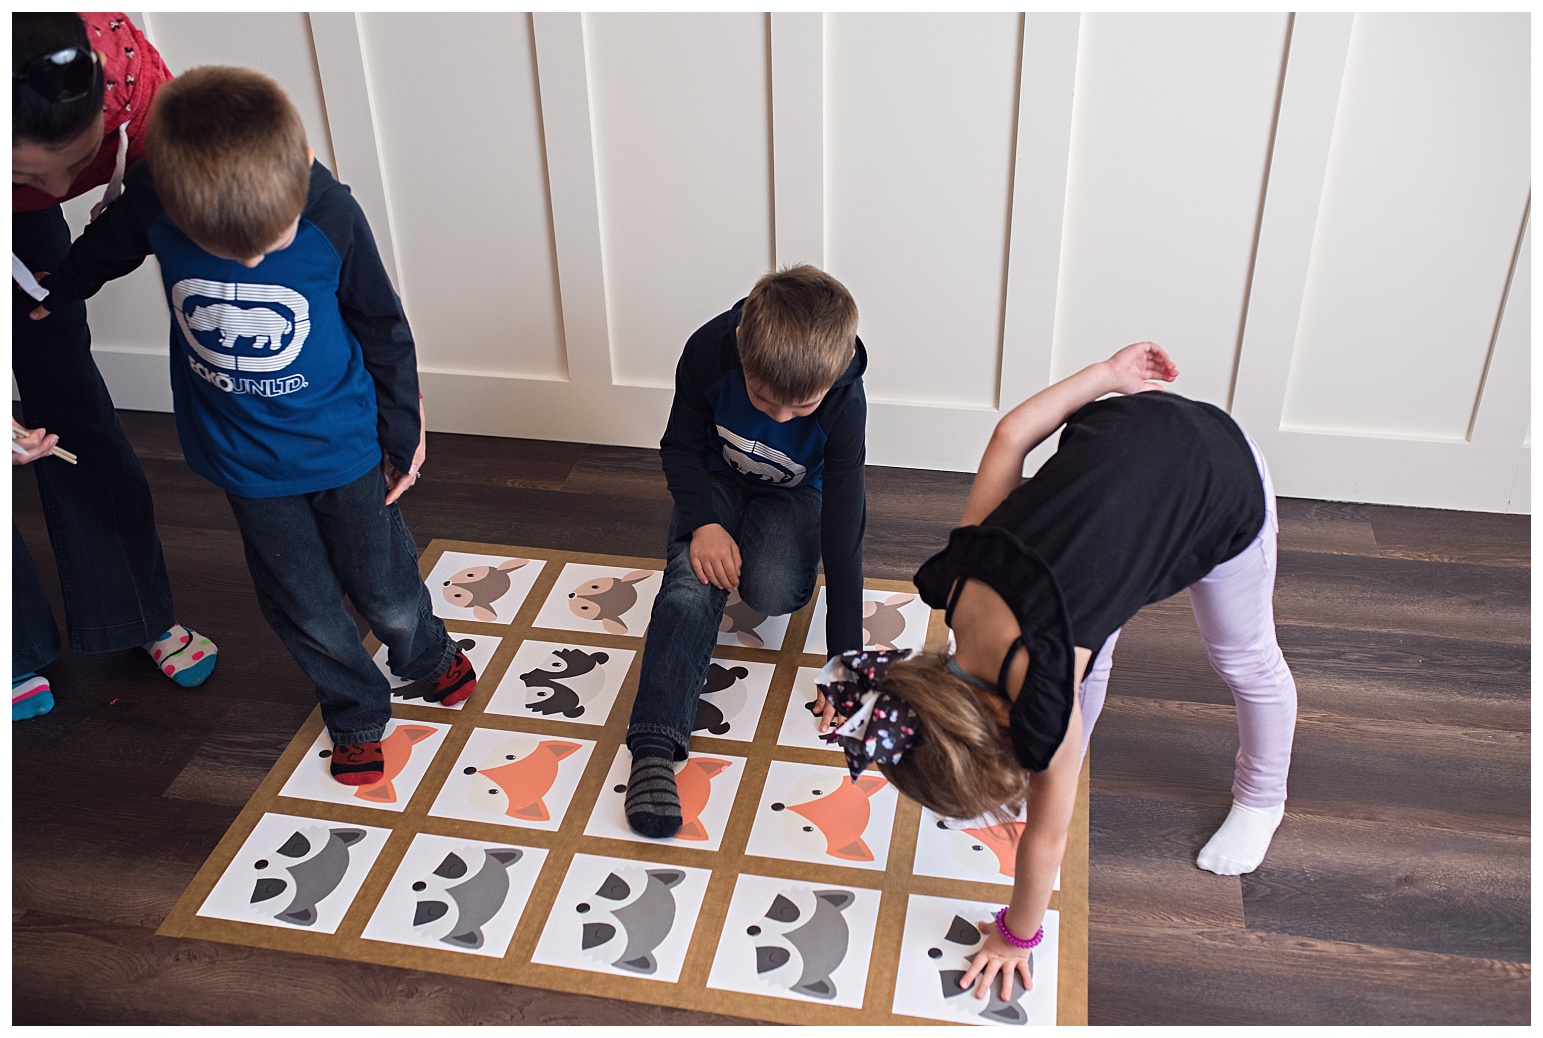
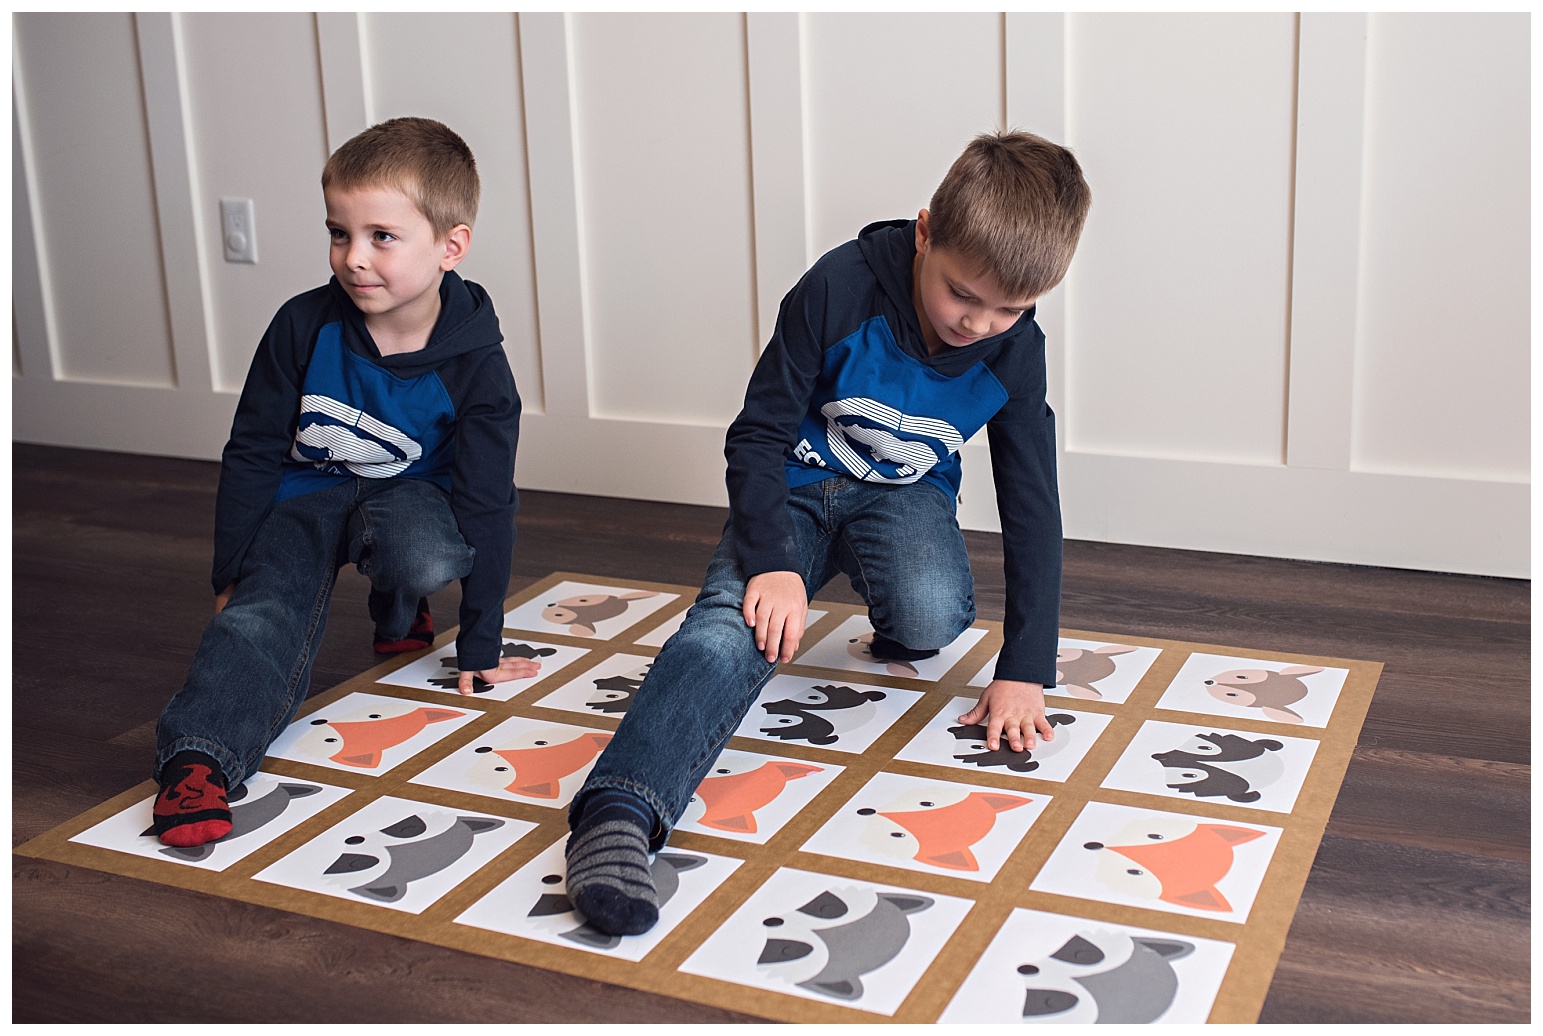
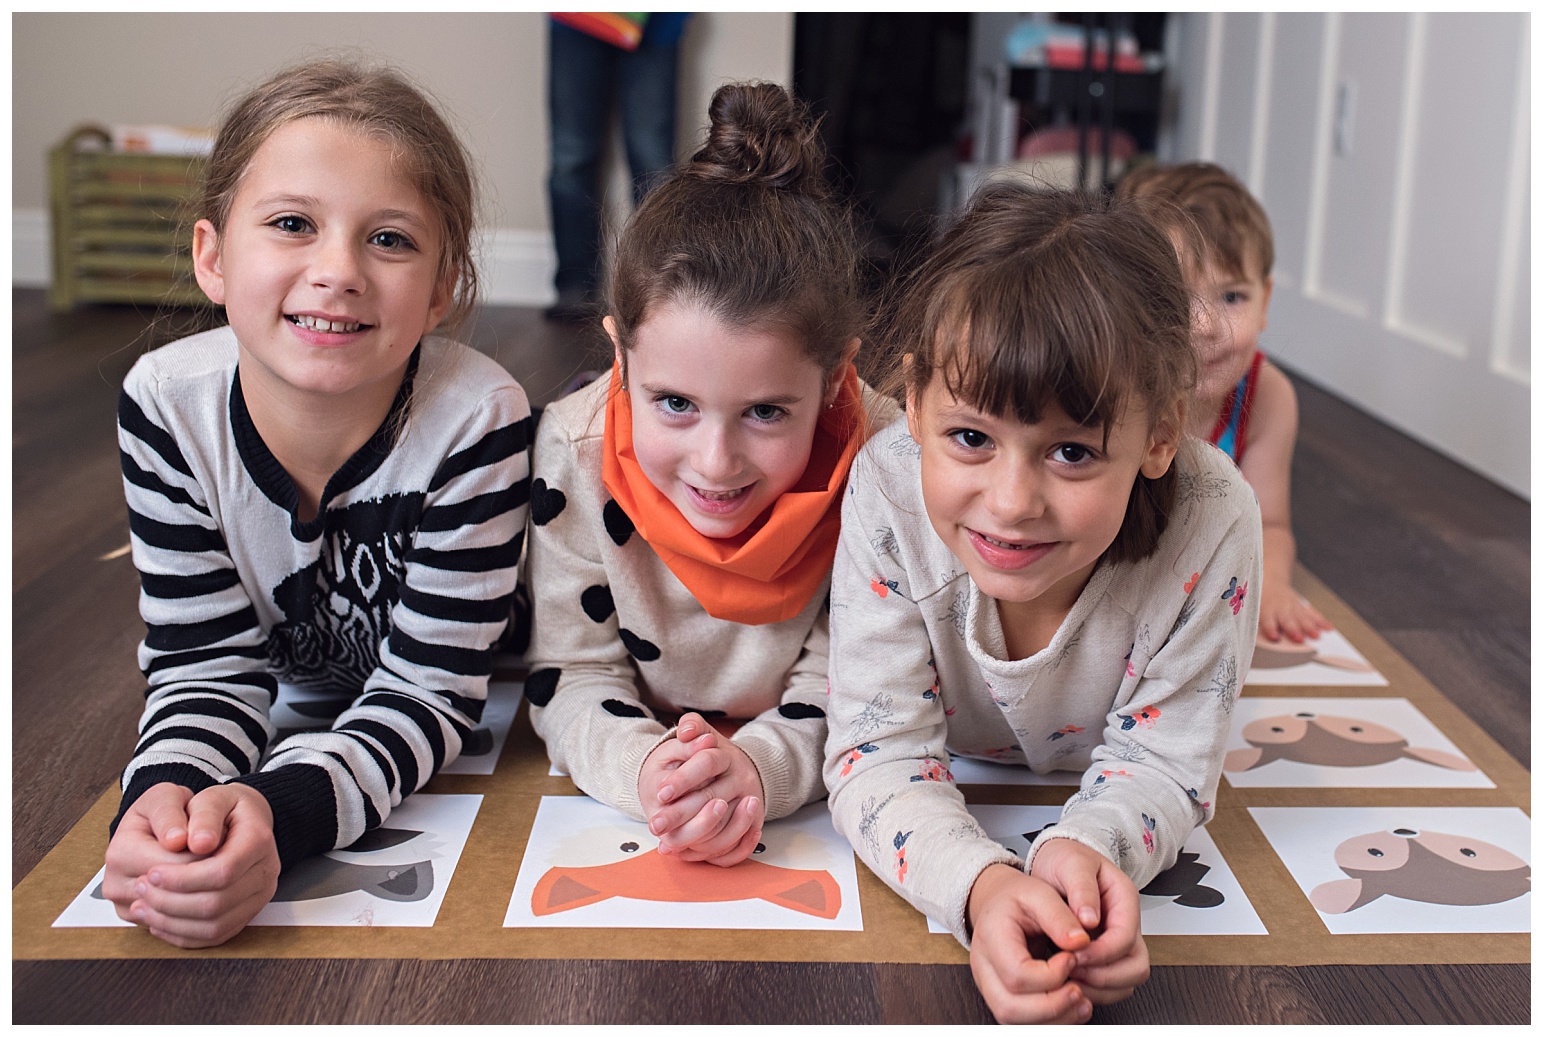
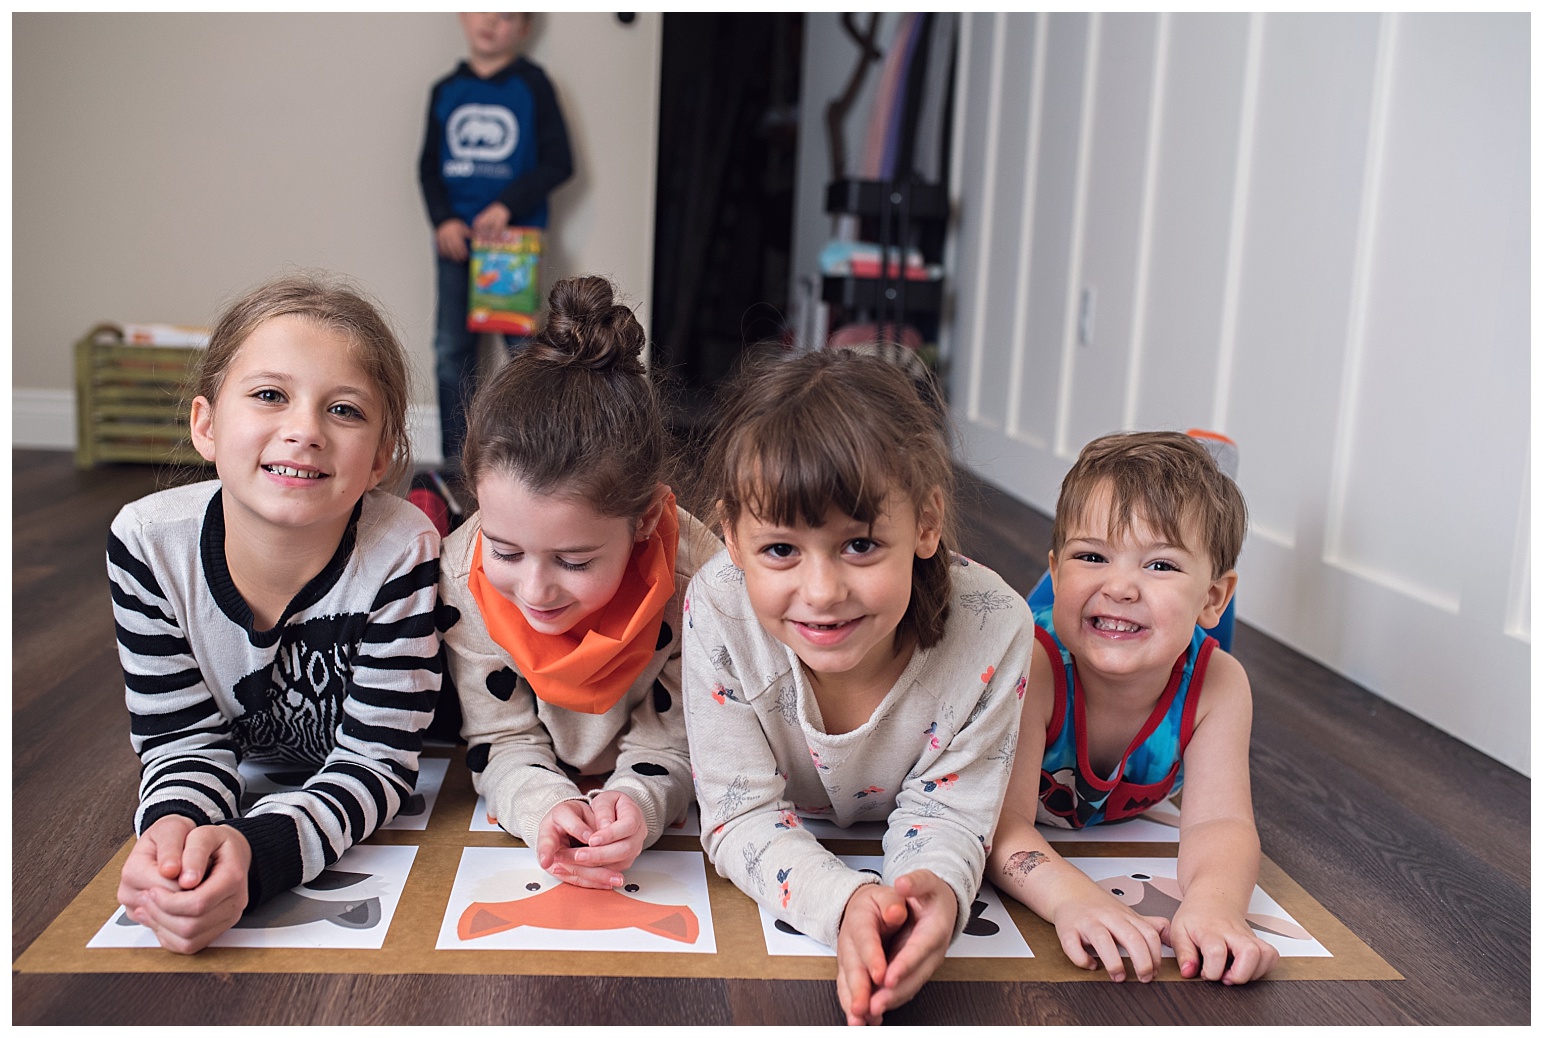
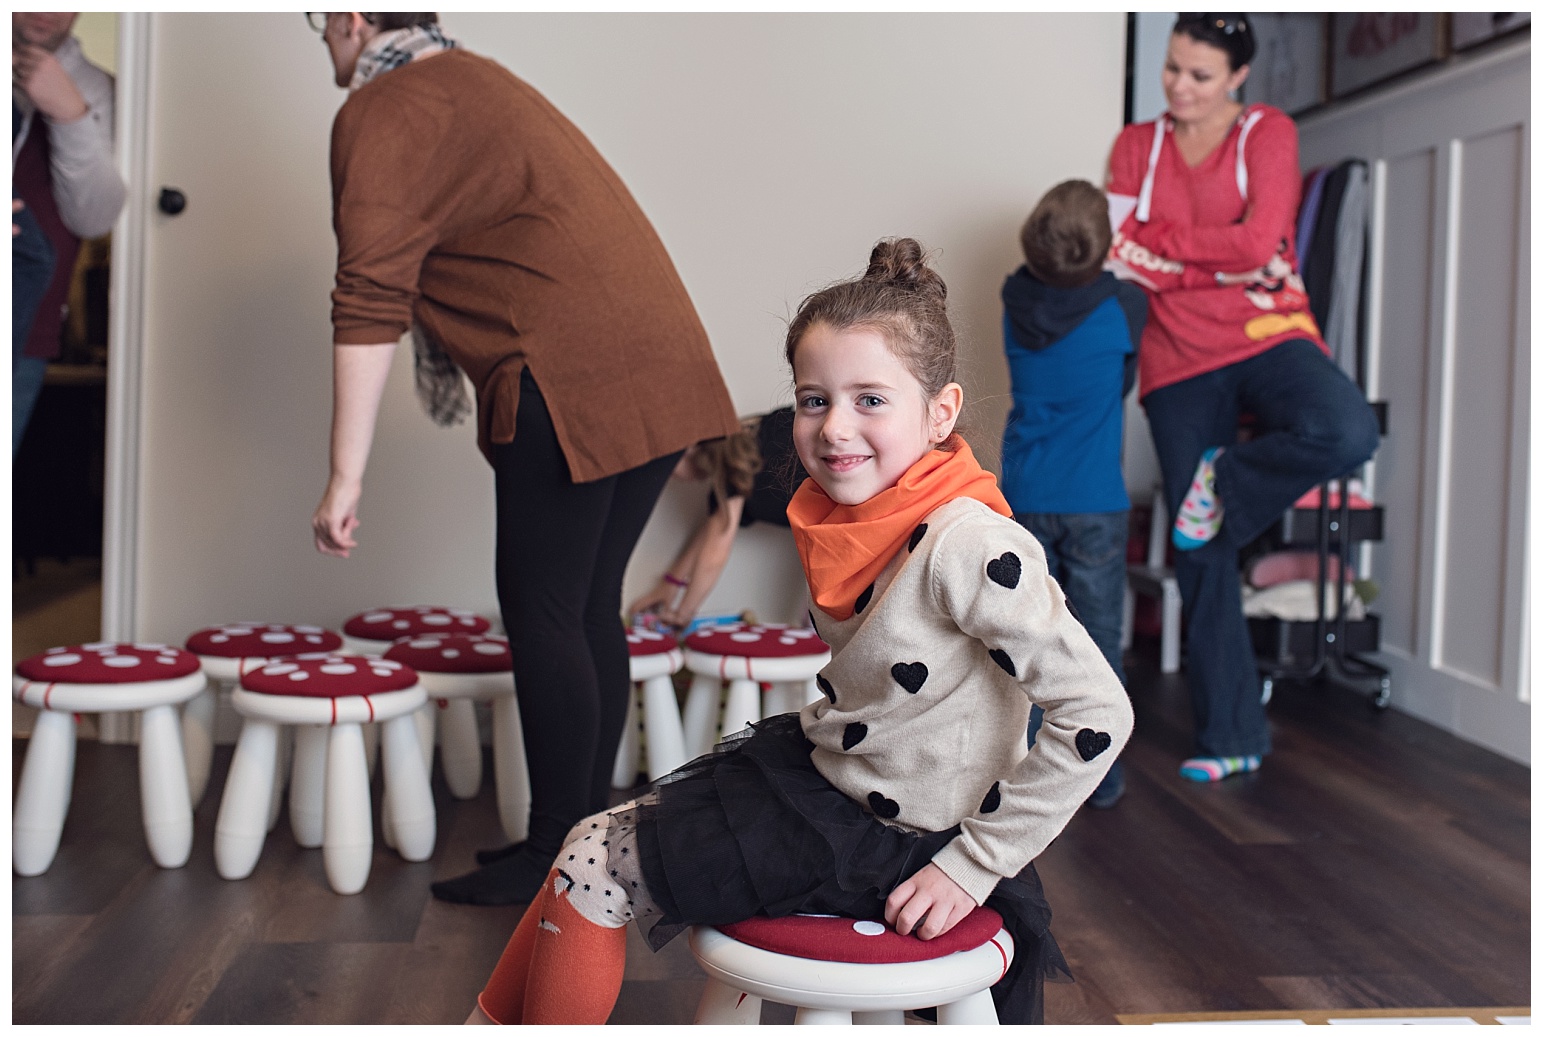
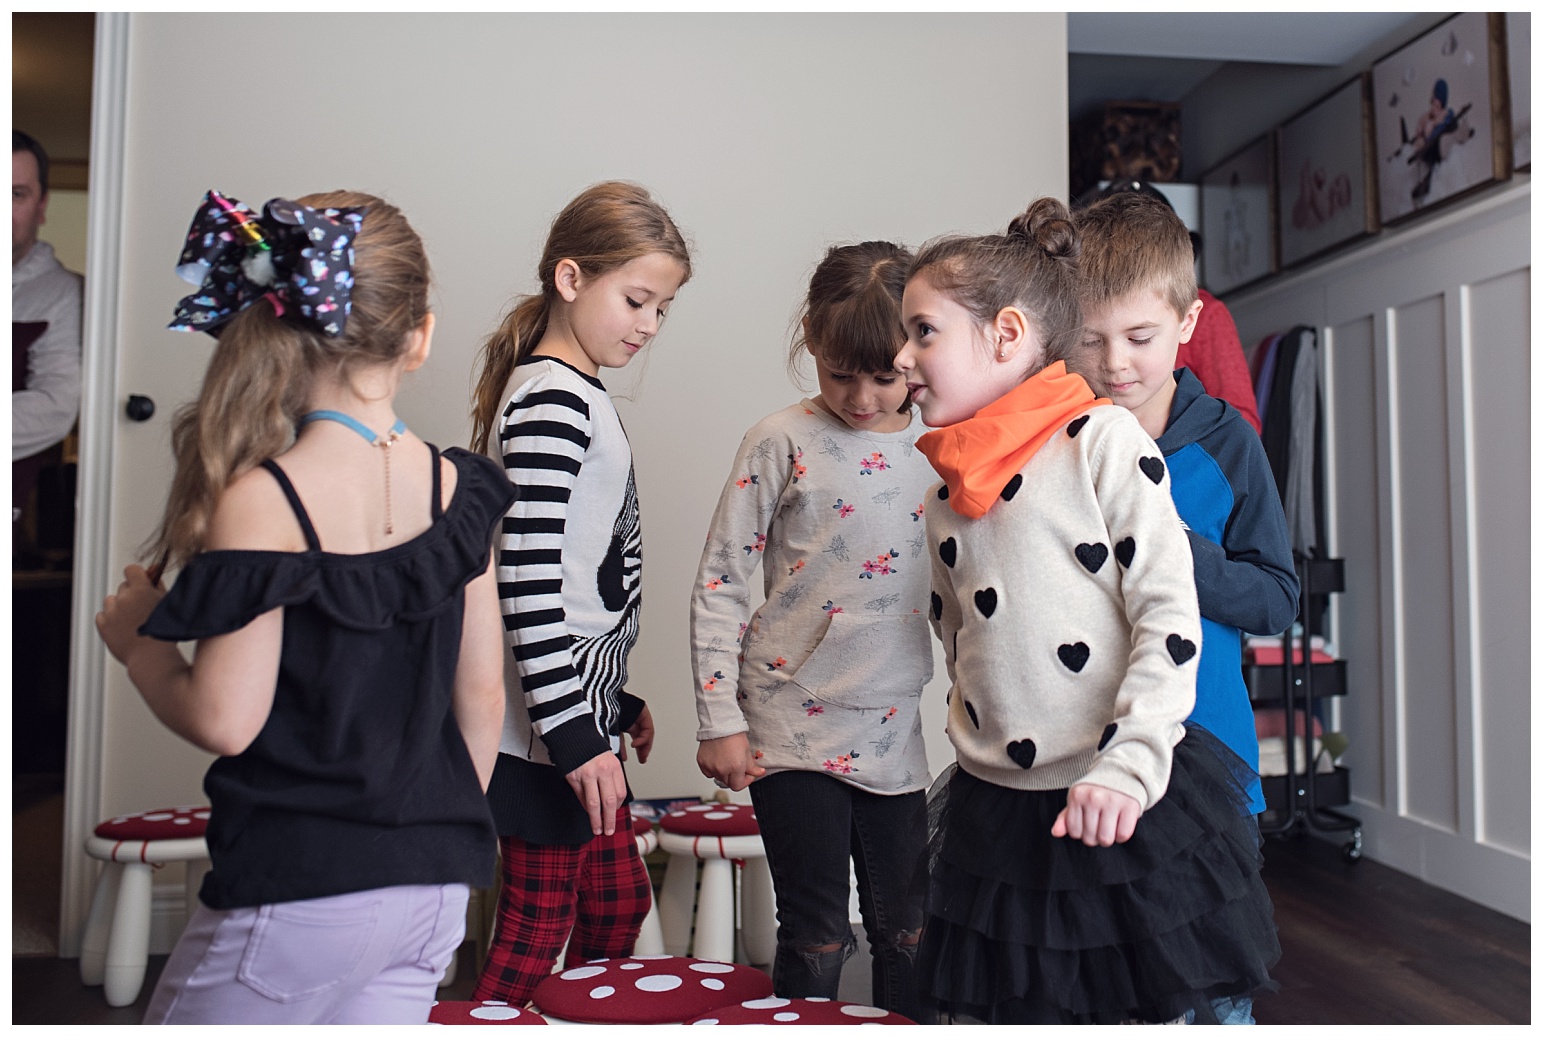
Next up was musical toadstools. Pretty self explanatory. It was nice to have a second use for the stools … they were too cute to only use for one thing, lol.
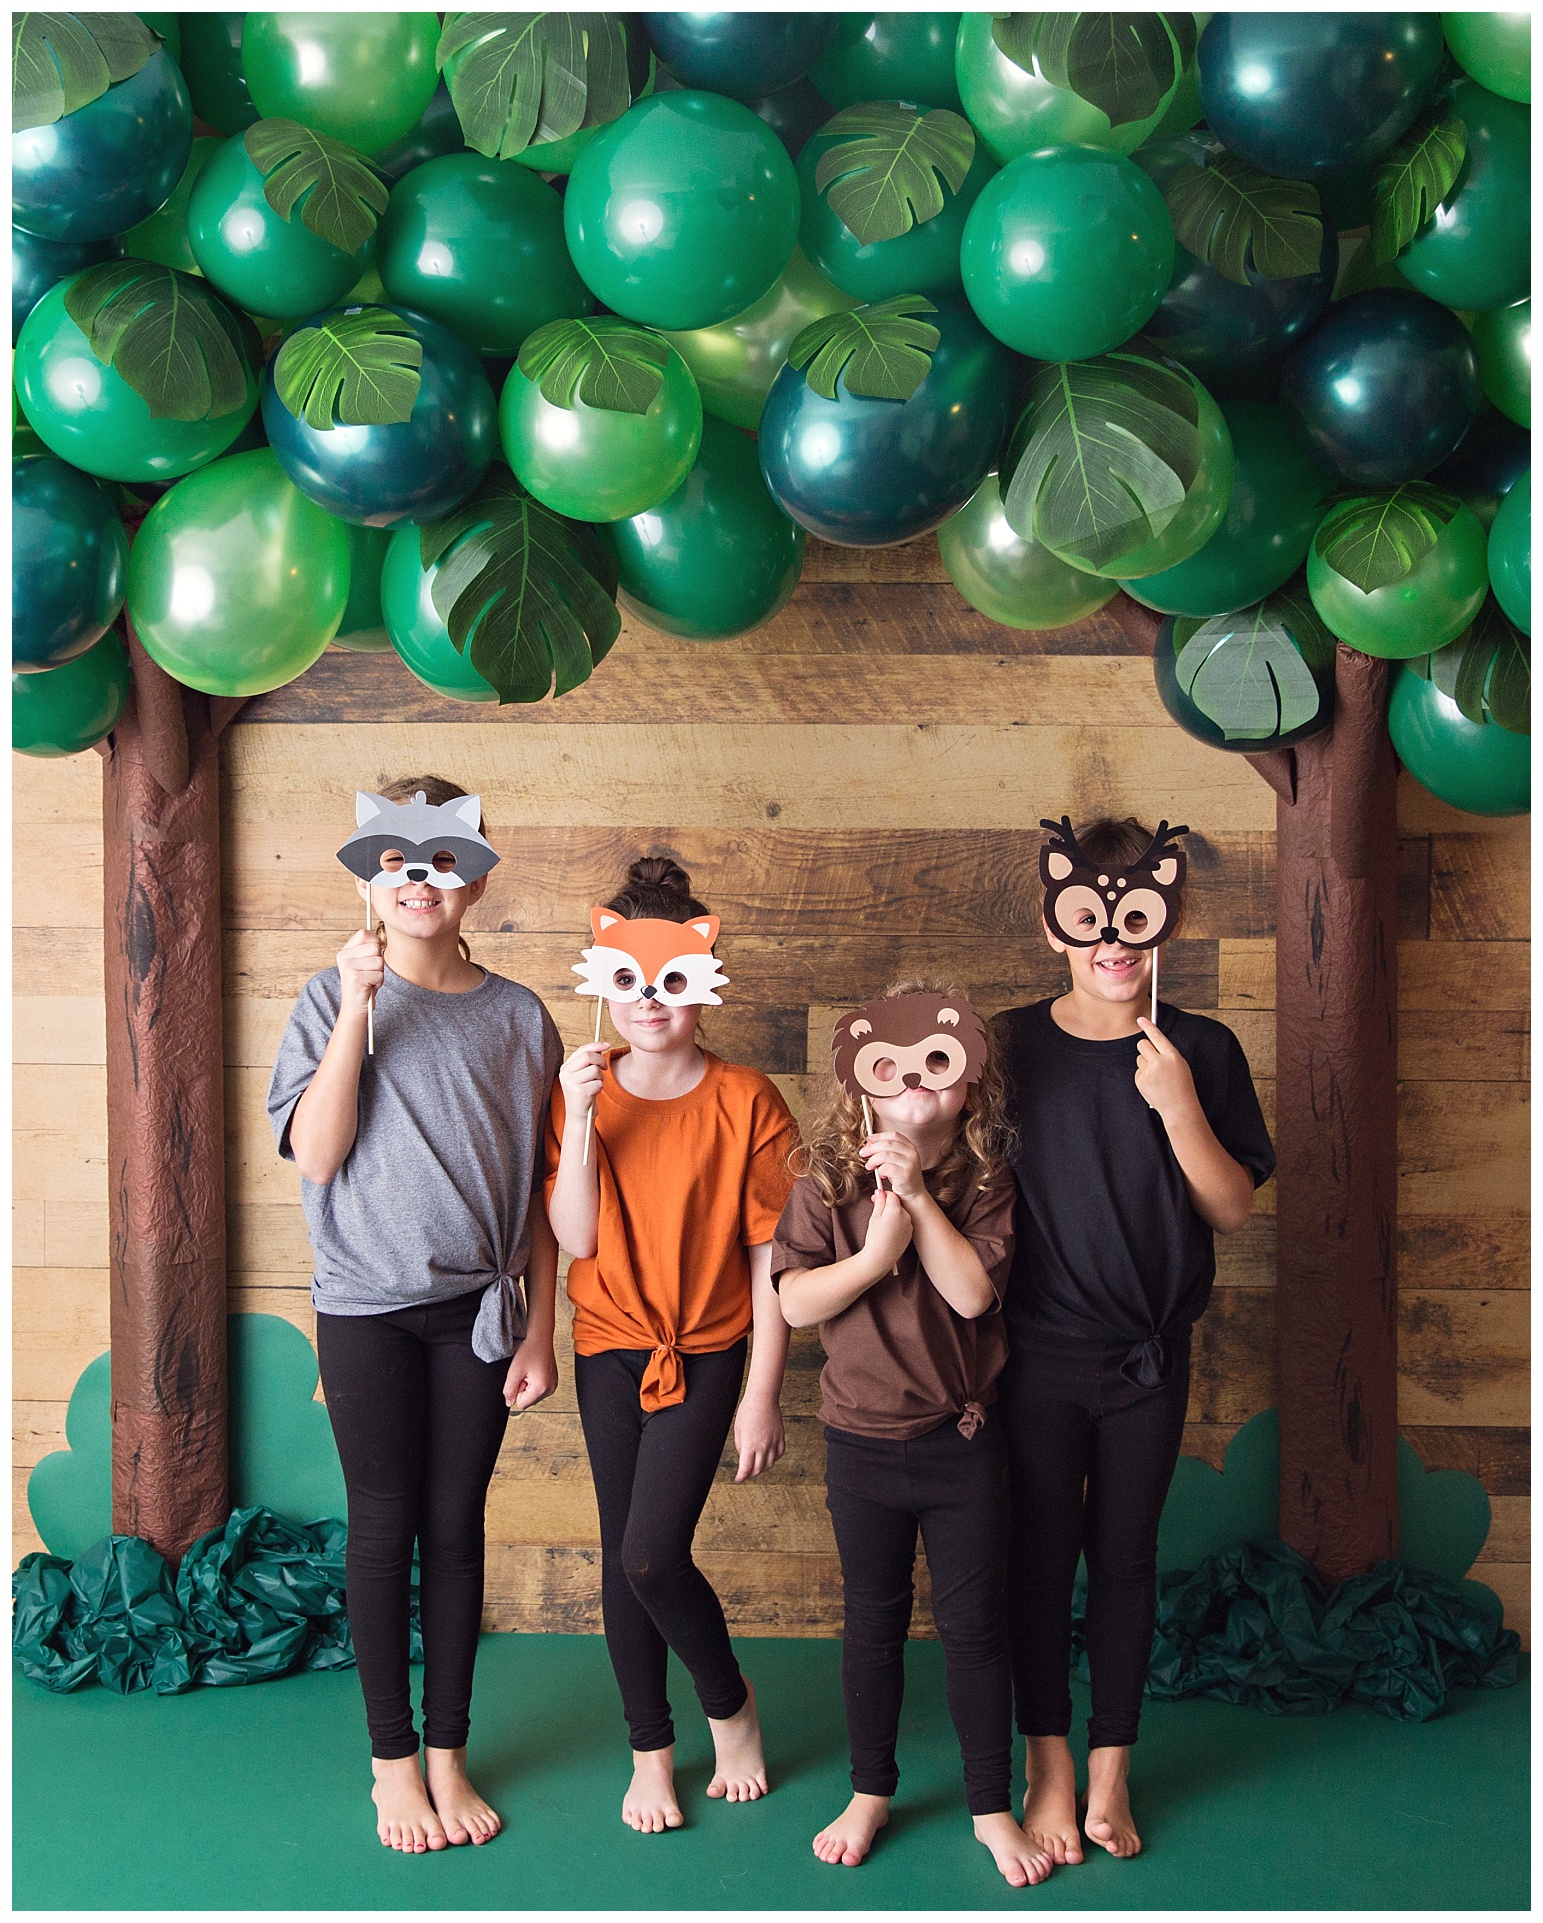
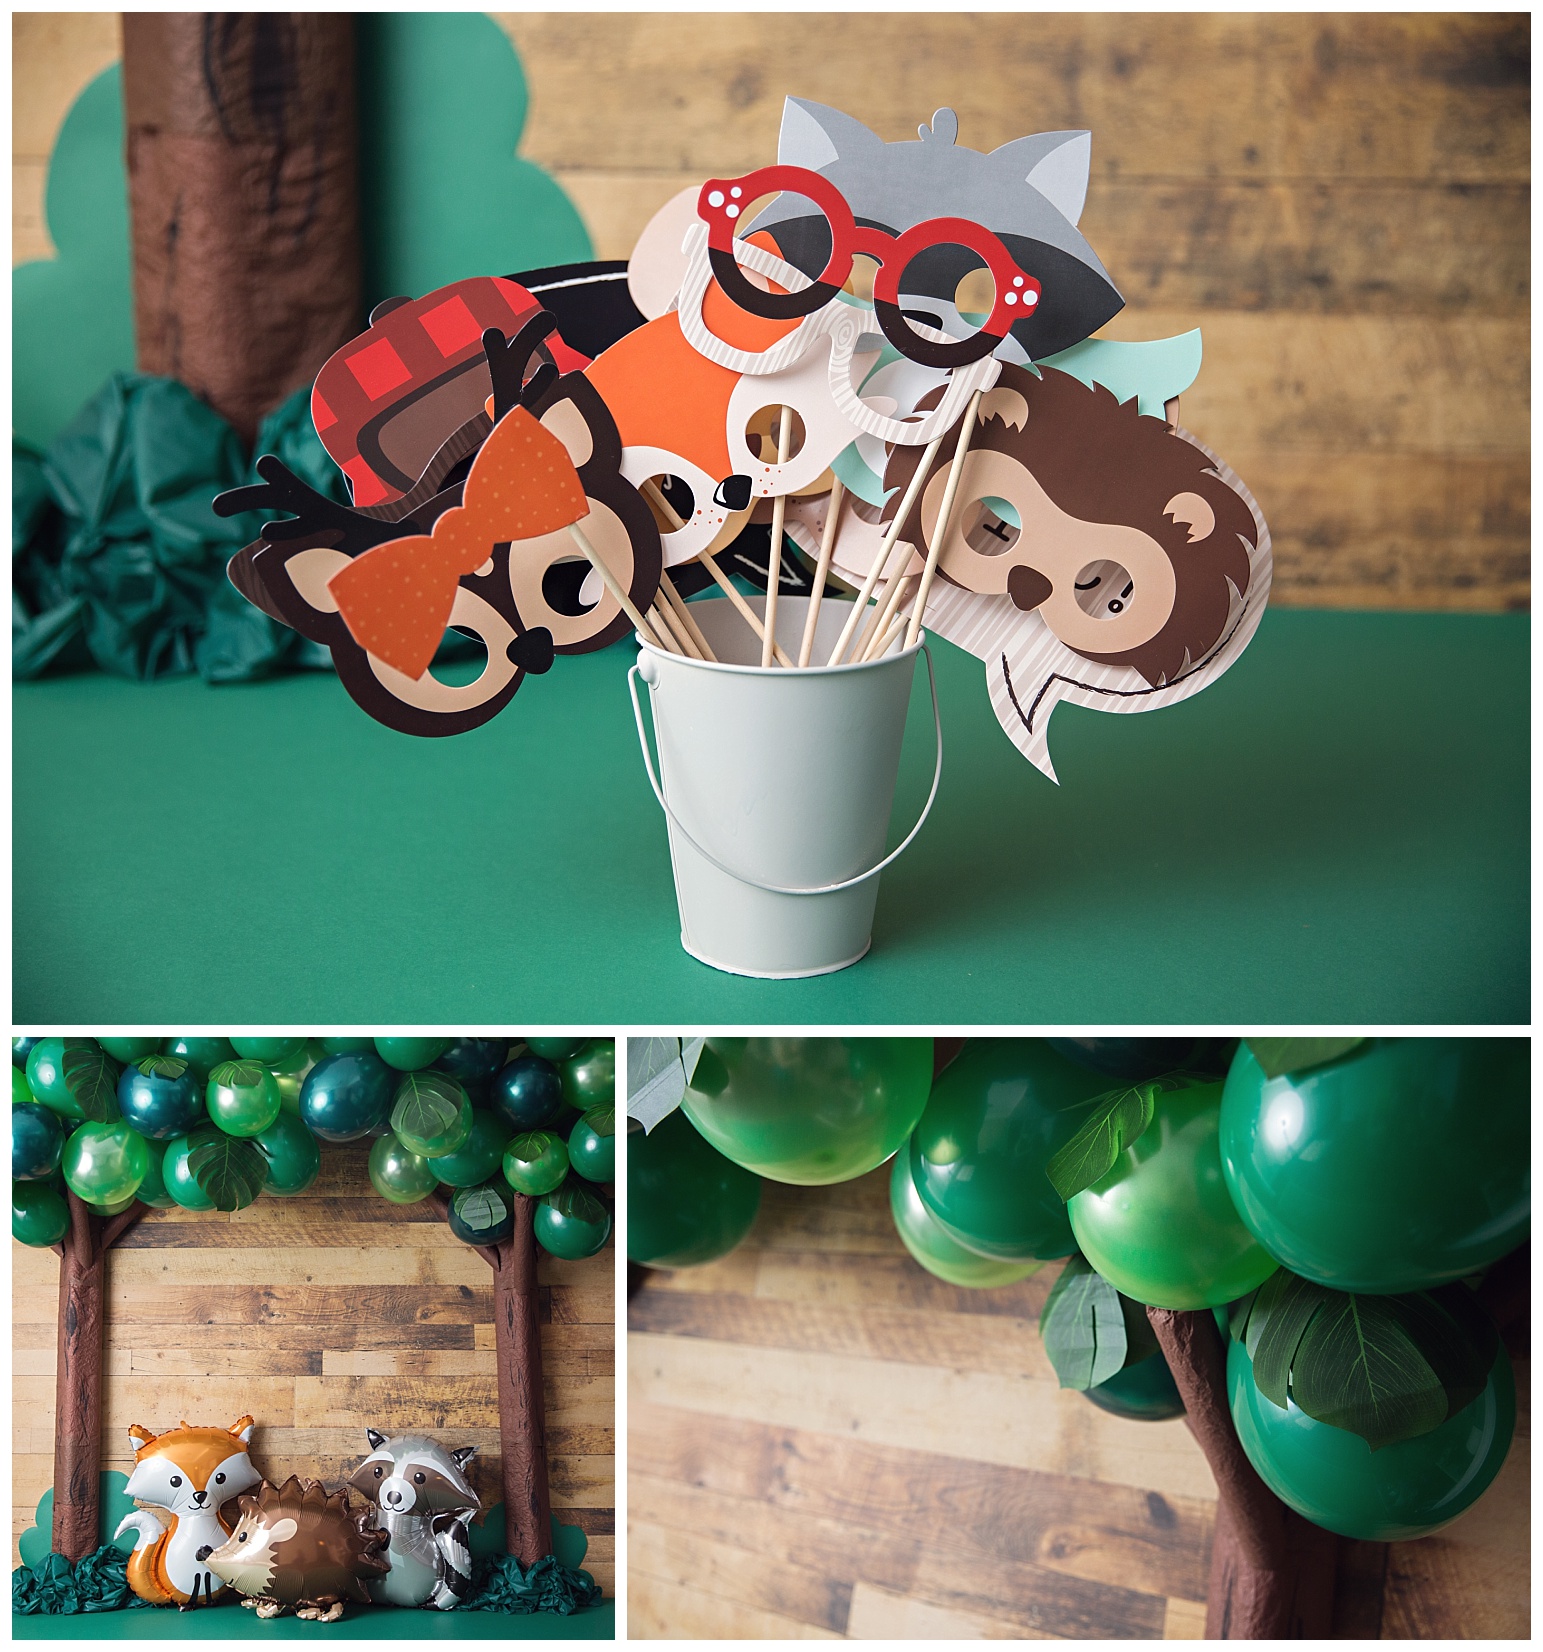
And now for the photo shoot. I found these cute little props online HERE that were perfect.
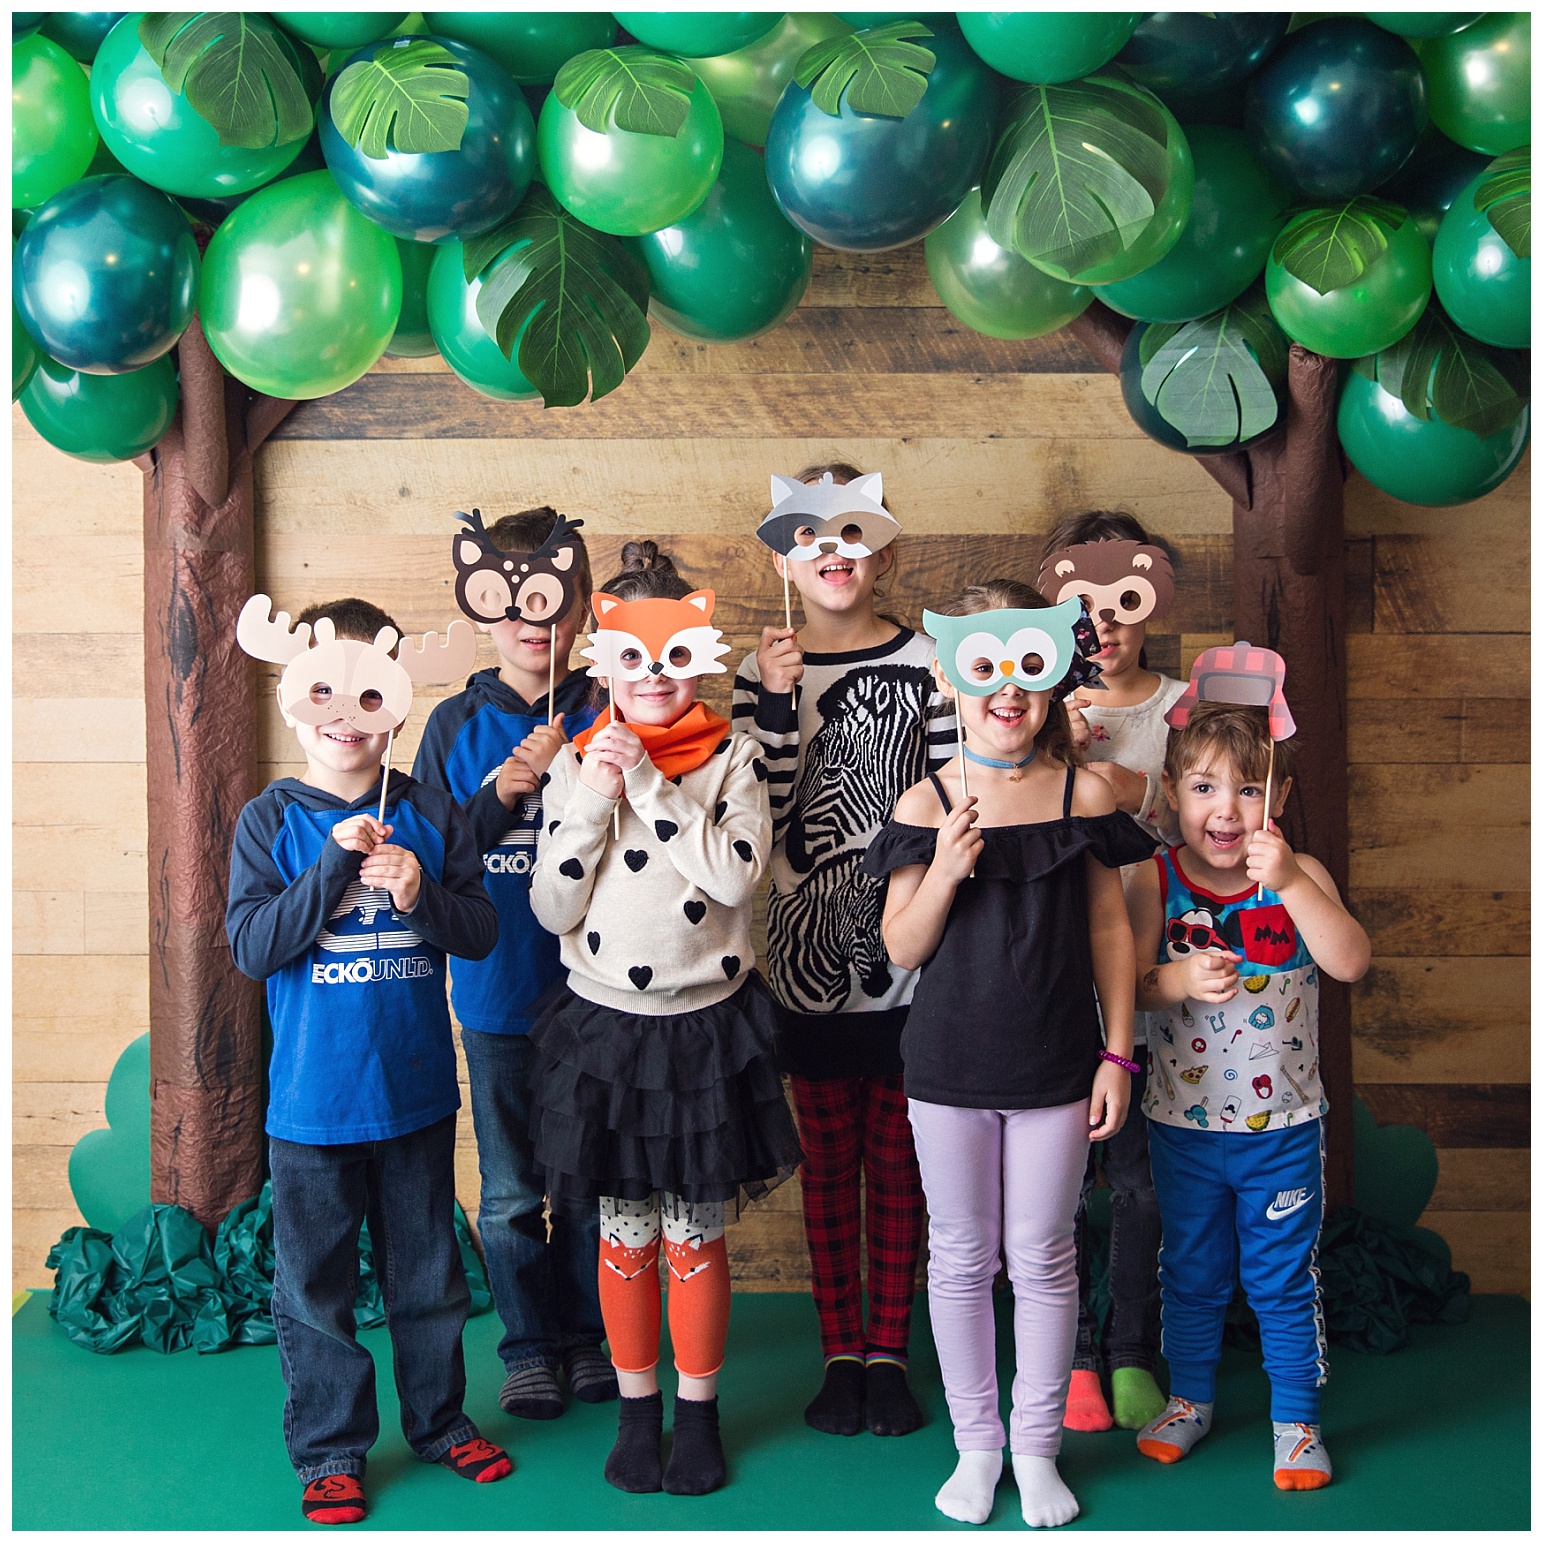
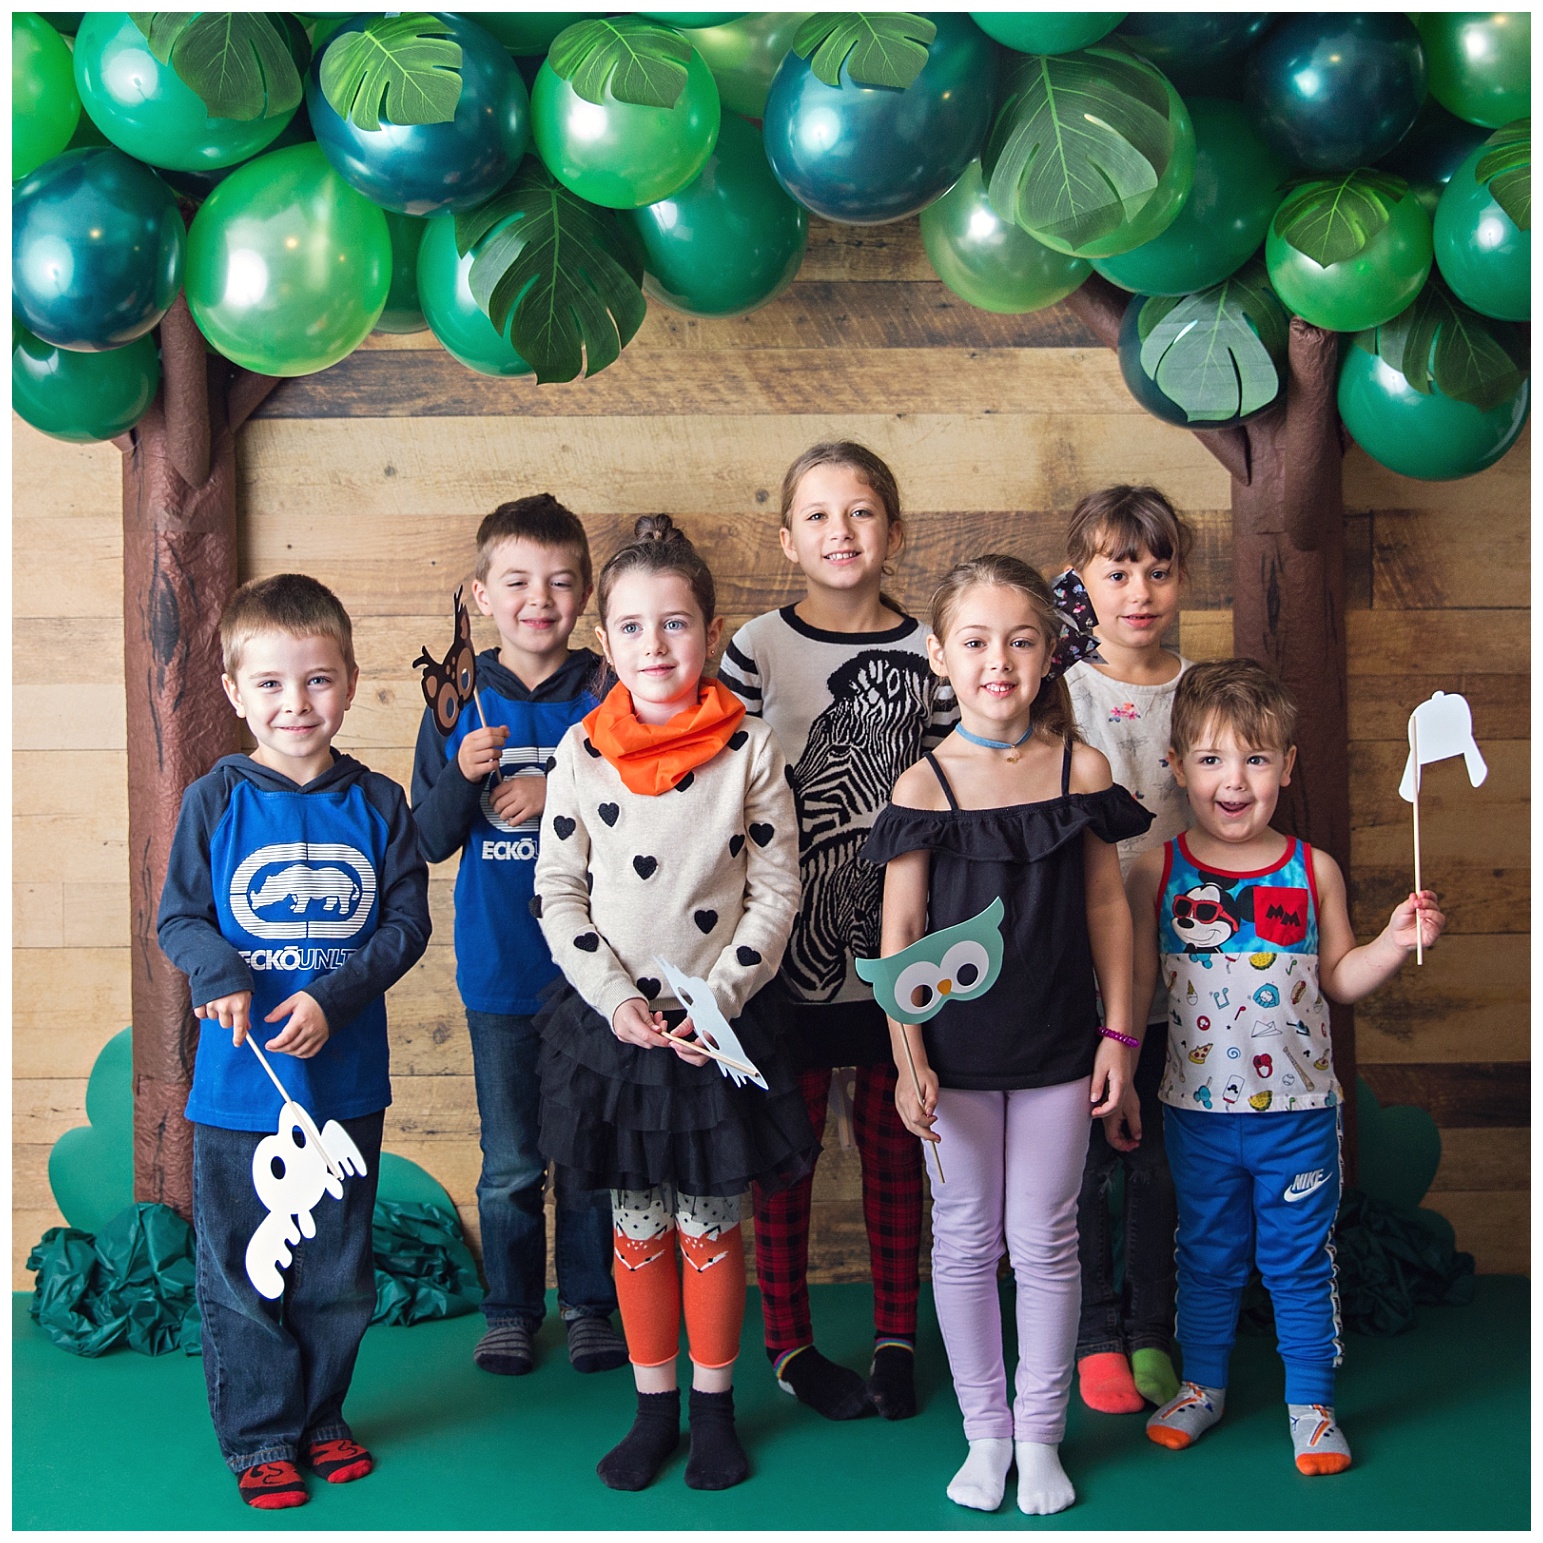
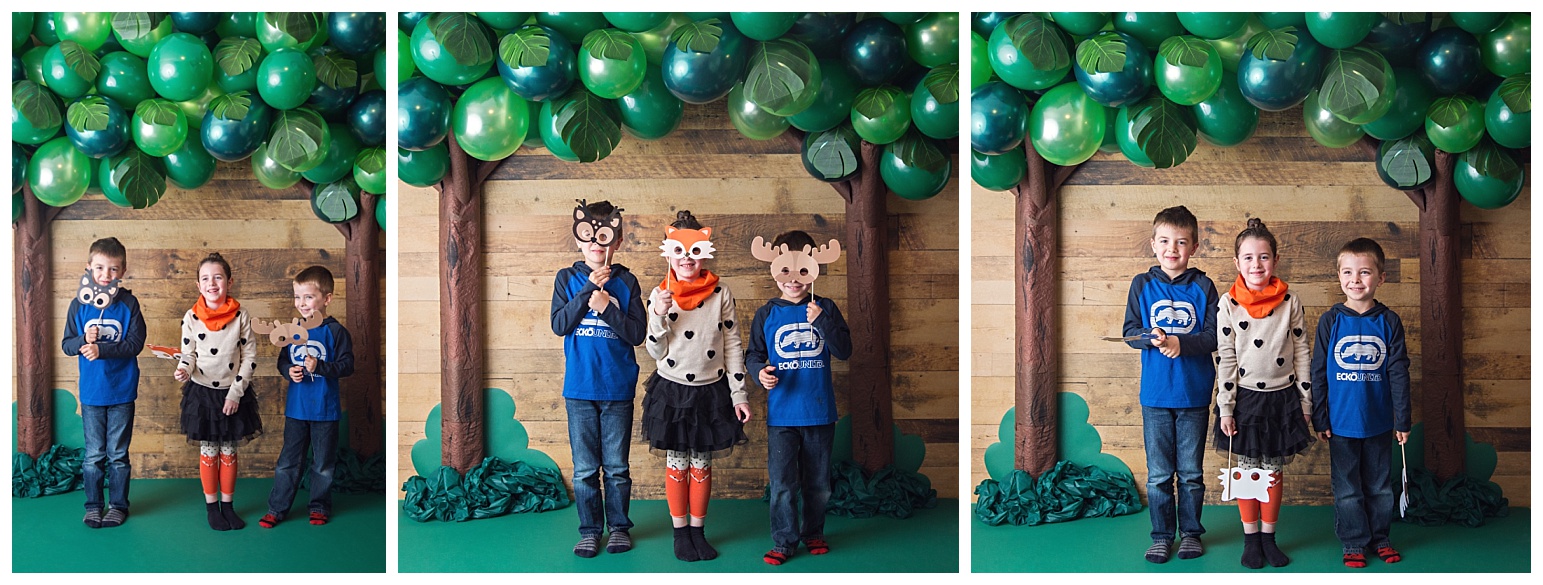
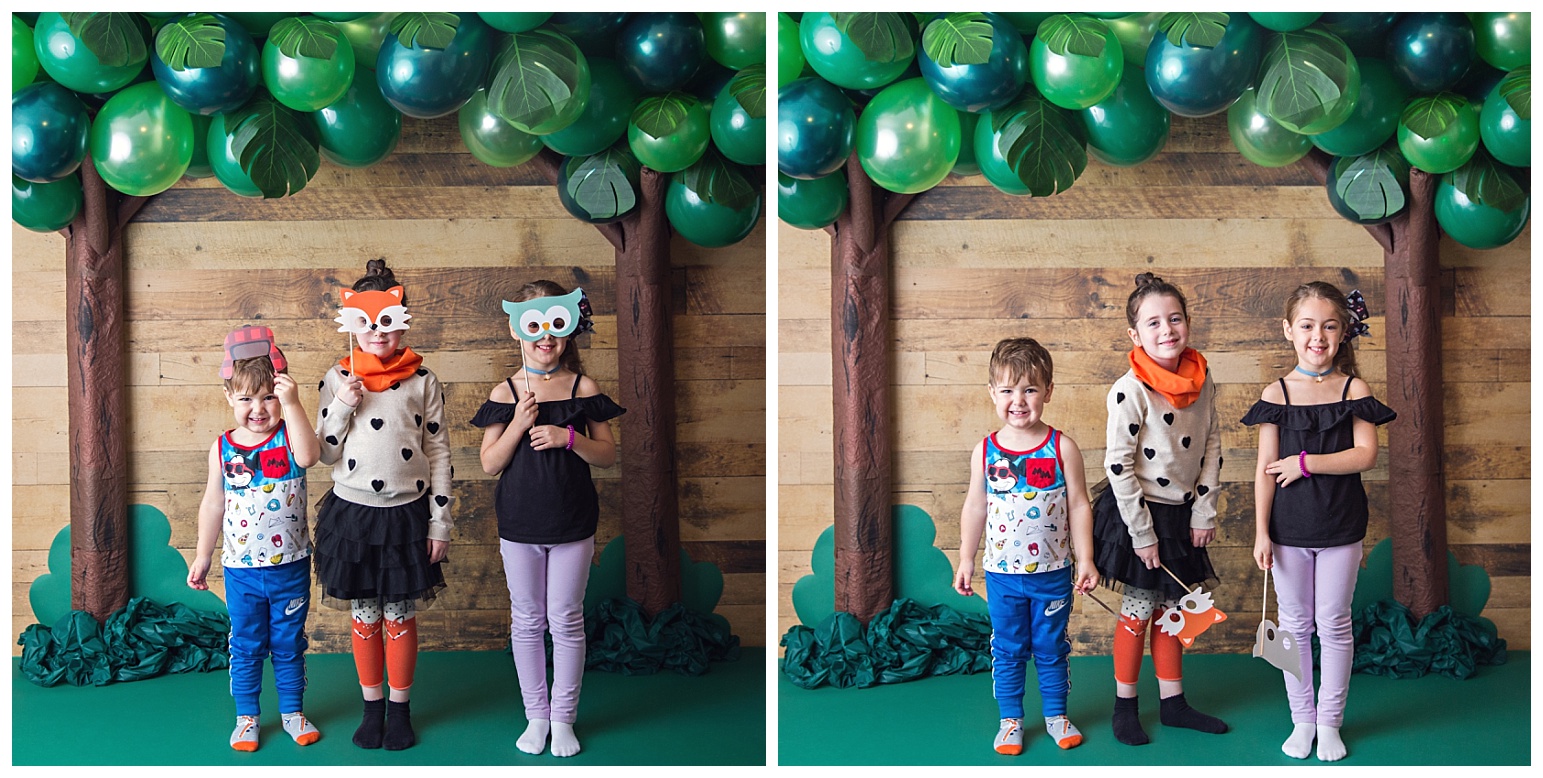
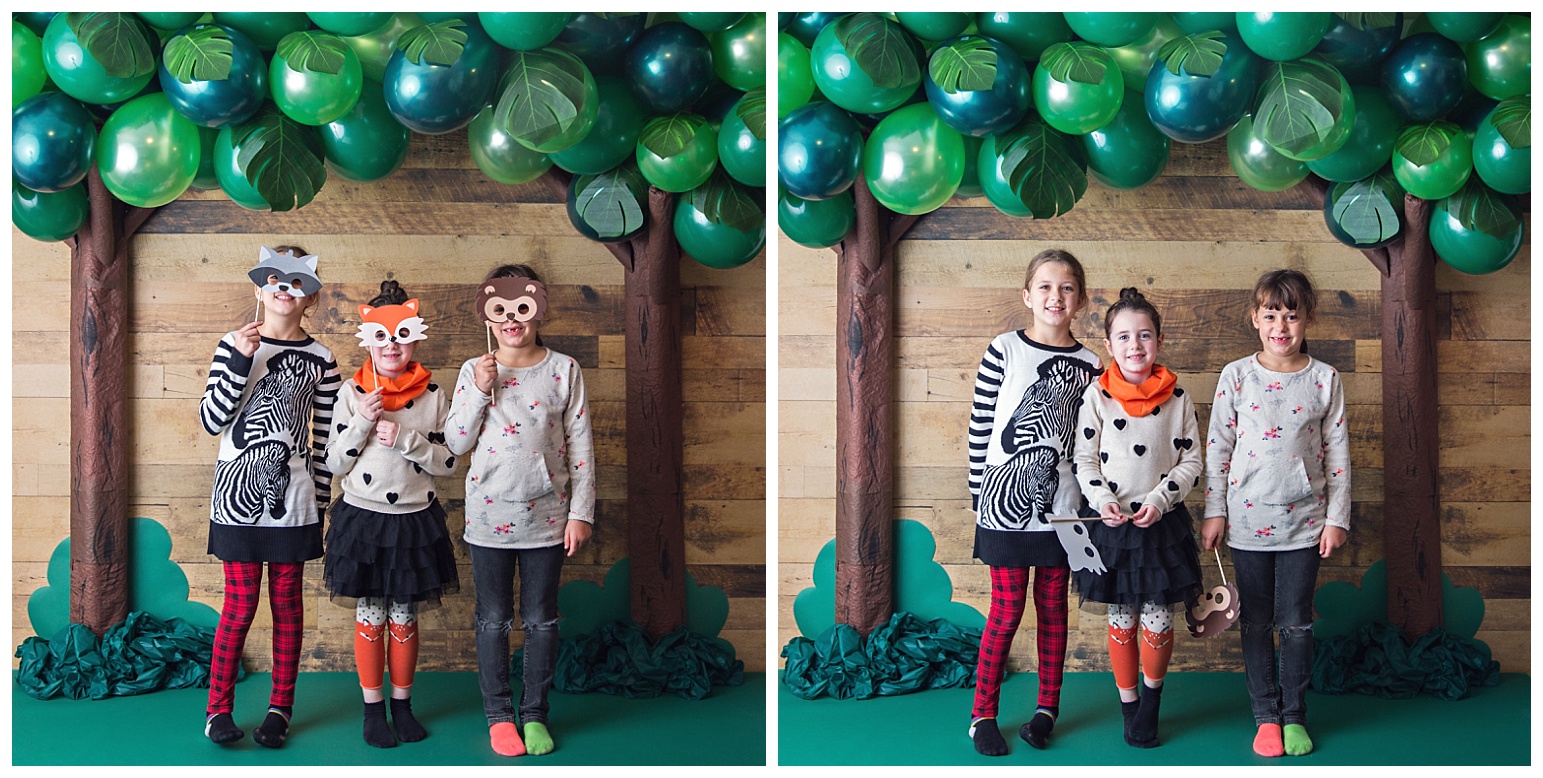
All in all … another super successful over-the-top birthday party for my special girl! I wonder how long she’s going to let me keep doing these. 😉
I want to send a HUGE shout out to all of my helpers … my mother-in-law for helping with multiple days of baking, my mom for helping with setup, tear down and everything in between. My husband Craig for doing the heavy lifting and letting me completely cover the house in forest for a couple of months. And to all of the Amazon delivery people … LOL!!
Until next year,
xoxo,
Melissa
Leave a Reply Cancel reply
© Moments by Melissa Miller
© Moments by Melissa Miller
Find ME ON
Hi there! You did such a great job with everything, I love it all! I was just wondering where you bought the picks for the s’mores marshmallows. I’m planning on doing those for my son’s birthday coming up.
Thanks so much!
Hi Chealsey,
I got them from Michaels. They are the sticks used for rock candy if that helps. I’m sure you could find them online somewhere if you used that search term.
xoxo, Melissa
Where did you get the find the woodland animal behinds for the cupcakes?
My baker made them out of fondant.
Melissa i’m blown away by your incredible talent and enthusiasm! I’m interested in the cake… Are the animal toppings fondant?
Hi Elaine,
Yes the critters on the cake were fondant.
Can you please tell me the font you used for the food label cards. Was it done with your cricut in writing mode?
Hello Heather!
The font is “Cabin Sketch”.
I just printed the labels off of my computer. 😉
xoxo,
Melissa
What size mason jars are the smore’s take-aways?
Absolutely love all of this!
[…] Candy Swiss Rolls as "Fire Logs" S'mores Marshmallow Pops Veggie […]
Hello- everything looks wonderful! Could you tell me how many yards of fabric you used to get your burlap sacks for the trail mix bar? Thank you!
Hmm … I don’t remember. My guess would be 2-3 probably.
Where did you purchase the trail mix holding bags?
They can be very handy for my woodland theme baby shower.
I actually purchased burlap fabric and made the bags myself. 😉
Melissa’s woodland-themed birthday party is an enchanting celebration of nature and imagination! From the rustic decor to the adorable animal accents, every detail captures the magic of the forest. It’s inspiring to see how she brought her vision to life, creating a whimsical and memorable experience for all. Well done, Melissa!